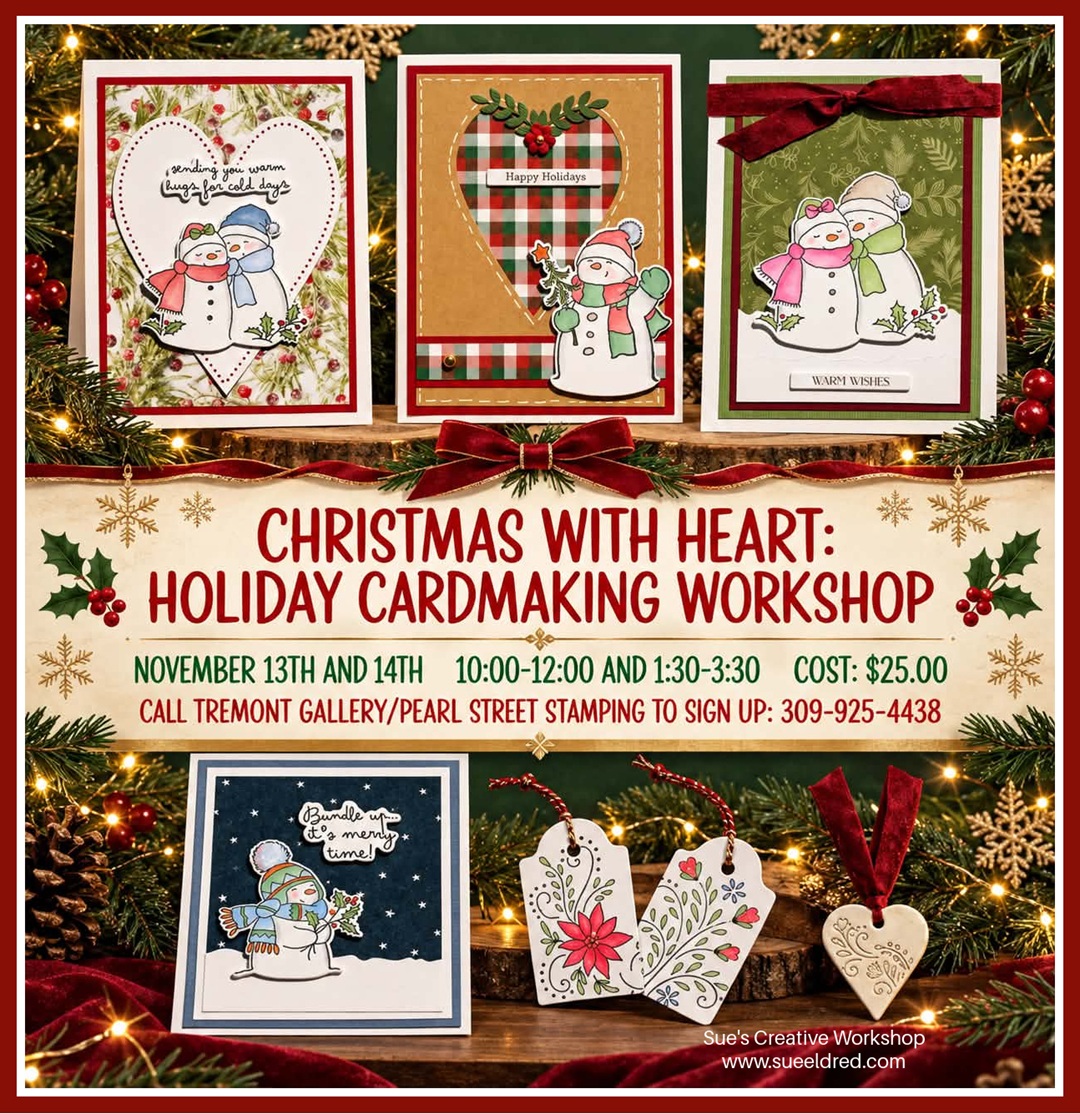
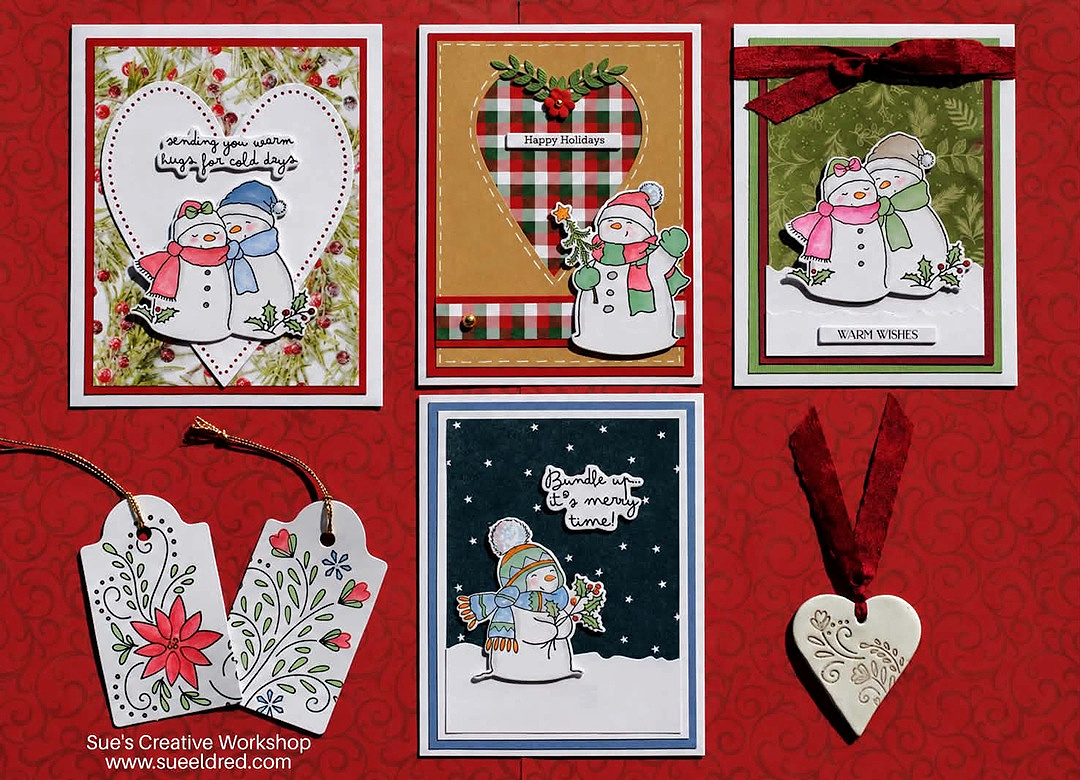
I’m happy to let you know I’ll be teaching my Holiday Cardmaking class again this year at Tremont Gallery/Pearl Street Stamping in Tremont, Illinois.
November 13th and 14th
10:00-12:00 and 1:30-3:30
Cost: $25.00
Kick off the holiday season by creating cheerful cards with Penny Black’s Bundled Snowman stamp and die sets. Learn easy watercolor techniques using ink pads and markers to bring your designs to life. We’ll also craft a pair of festive holiday tags and a charming, stamped heart ornament.
If water coloring is not your thing, feel free to bring colored pencils or your favorite markers.
Students Bring:
Water brush or Small Paintbrush
Tape Runner
Foam Mounting Squares
Scissors
White and Gold Gel Pens (if you have them)
Call Tremont Gallery to Sign Up: 309-925-4438 (Store Open Wednesday-Friday)
Tremont Gallery Pearl Street Stamping-109 West Pearl Street-Tremont, IL 61568
*Disclosure: This blog uses ads and affiliate links. If you choose to make a purchase using one of the links, I receive a small commission (at no additional cost to you) that helps offset the costs of maintaining this blog. Thanks for your support!
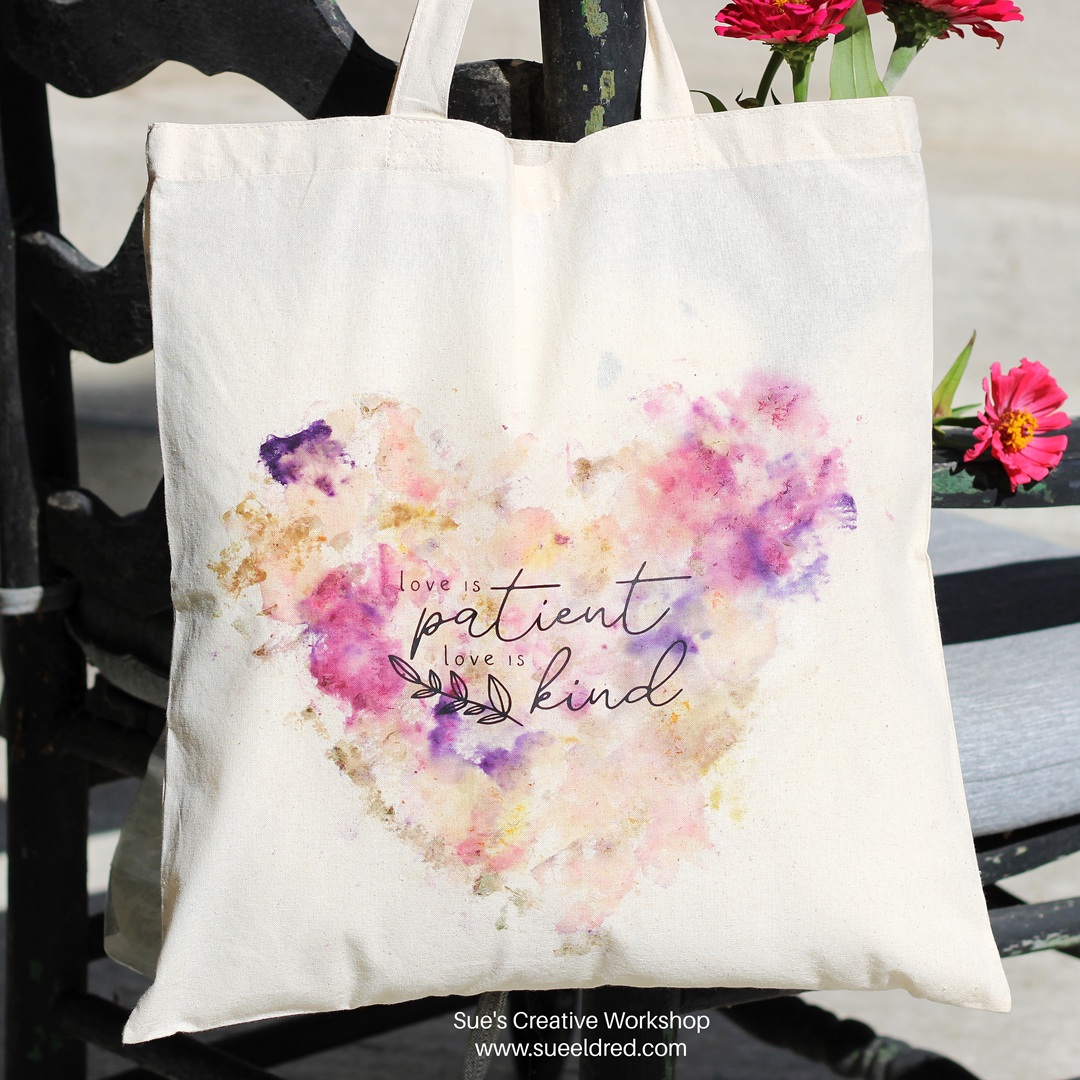
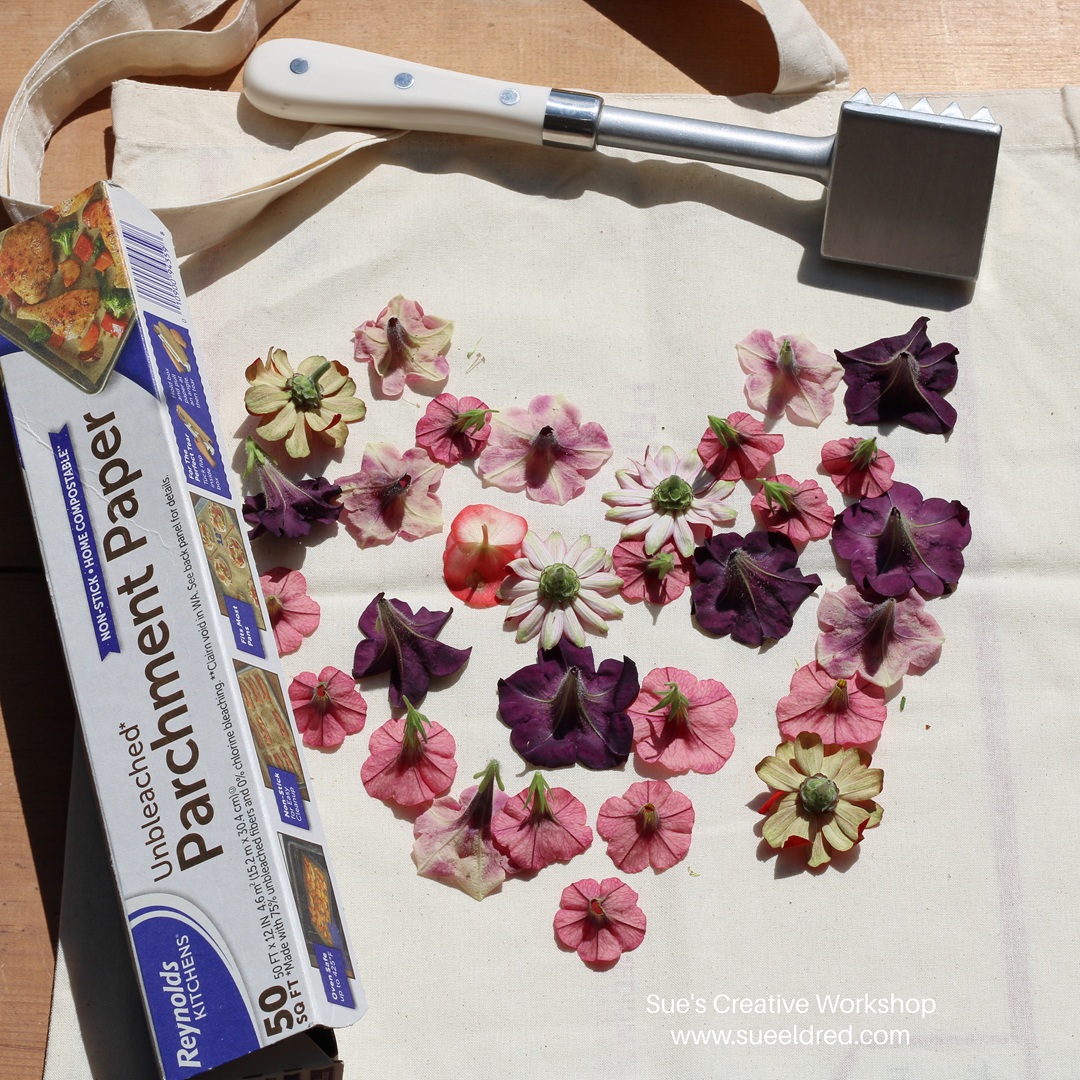
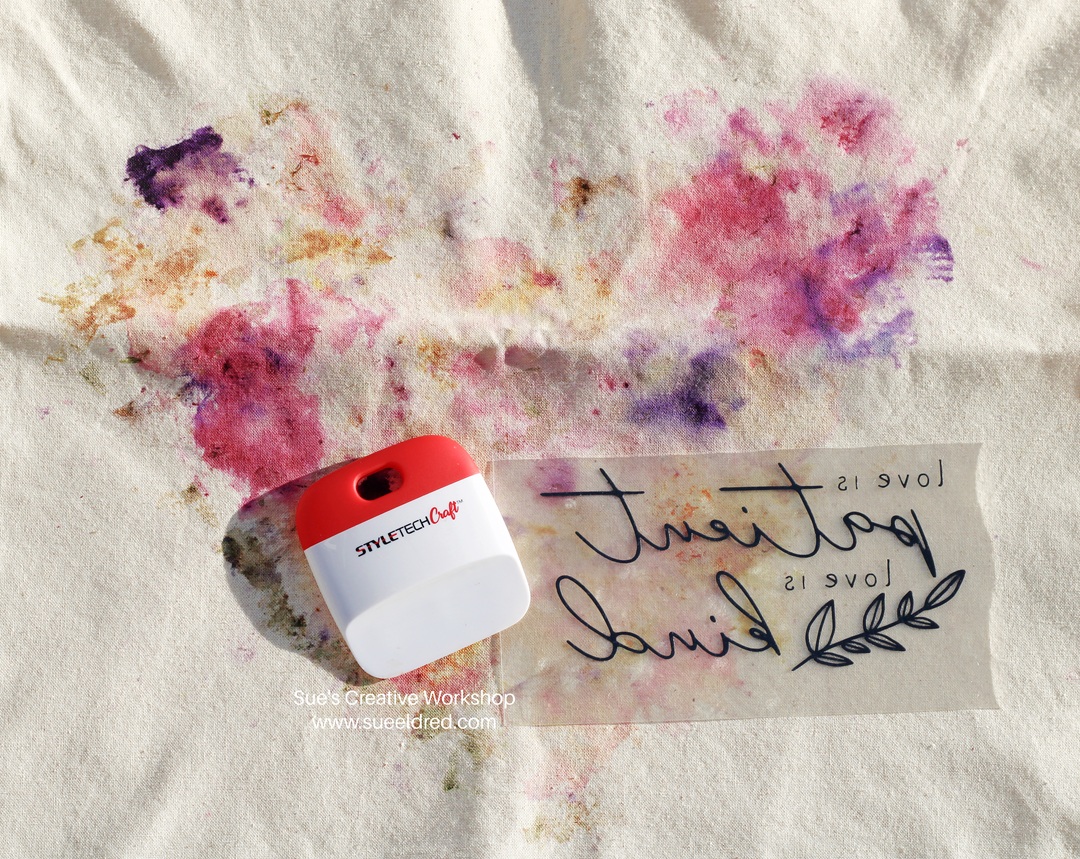
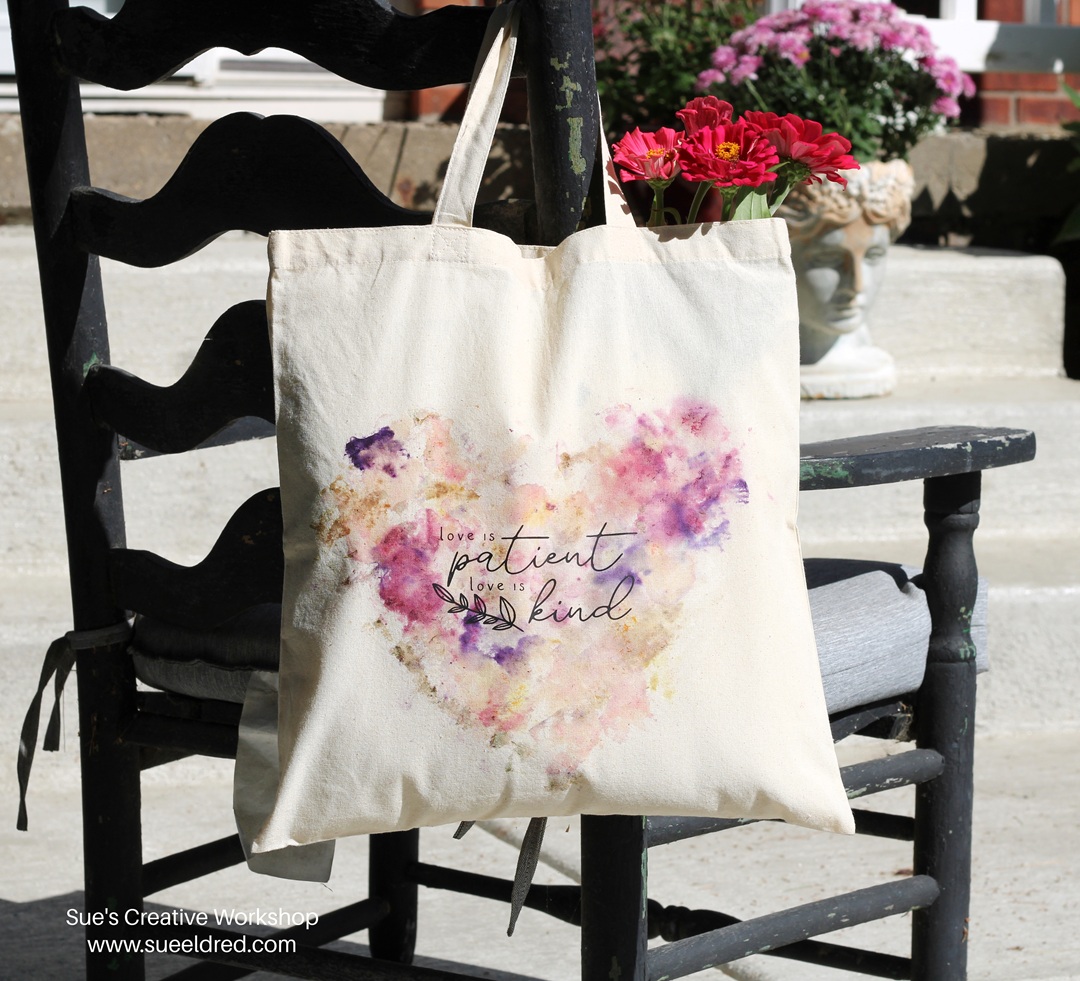
How to create the Flower Heart Bag.
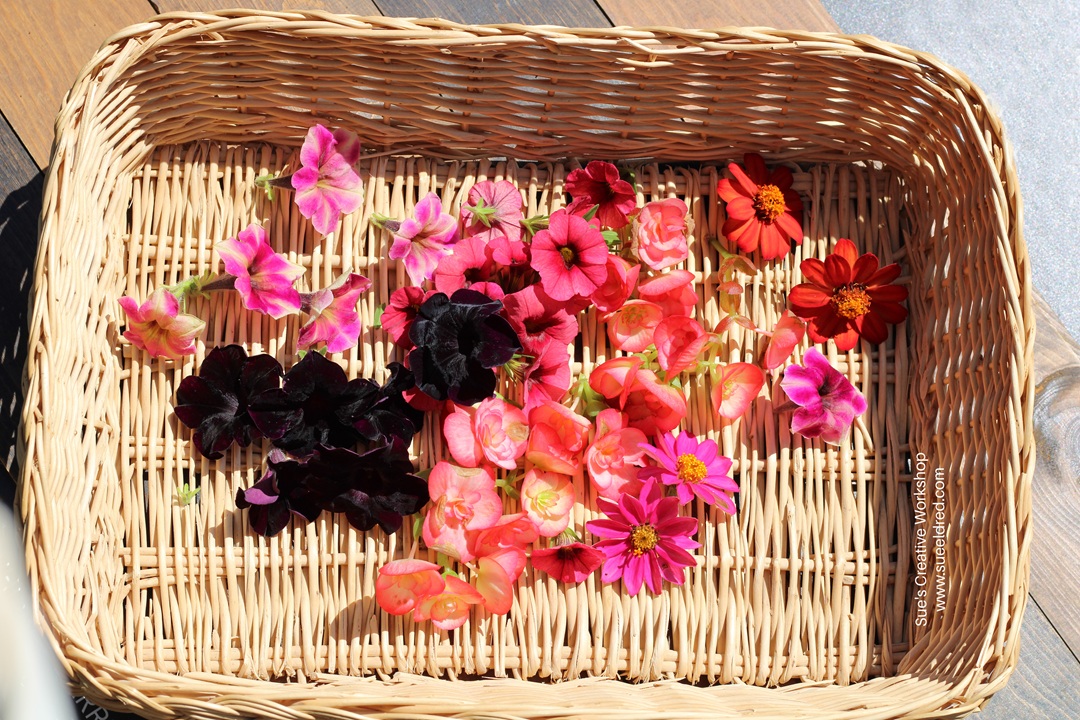
Pick several fresh blooms from your garden and flower pots.
Stick a piece of cardboard into the fabric bag to protect the bag from the flowers bleeding through to the other side.
Place the bag onto a hard surface. (I took mine outside and used a couple of wide boards.)
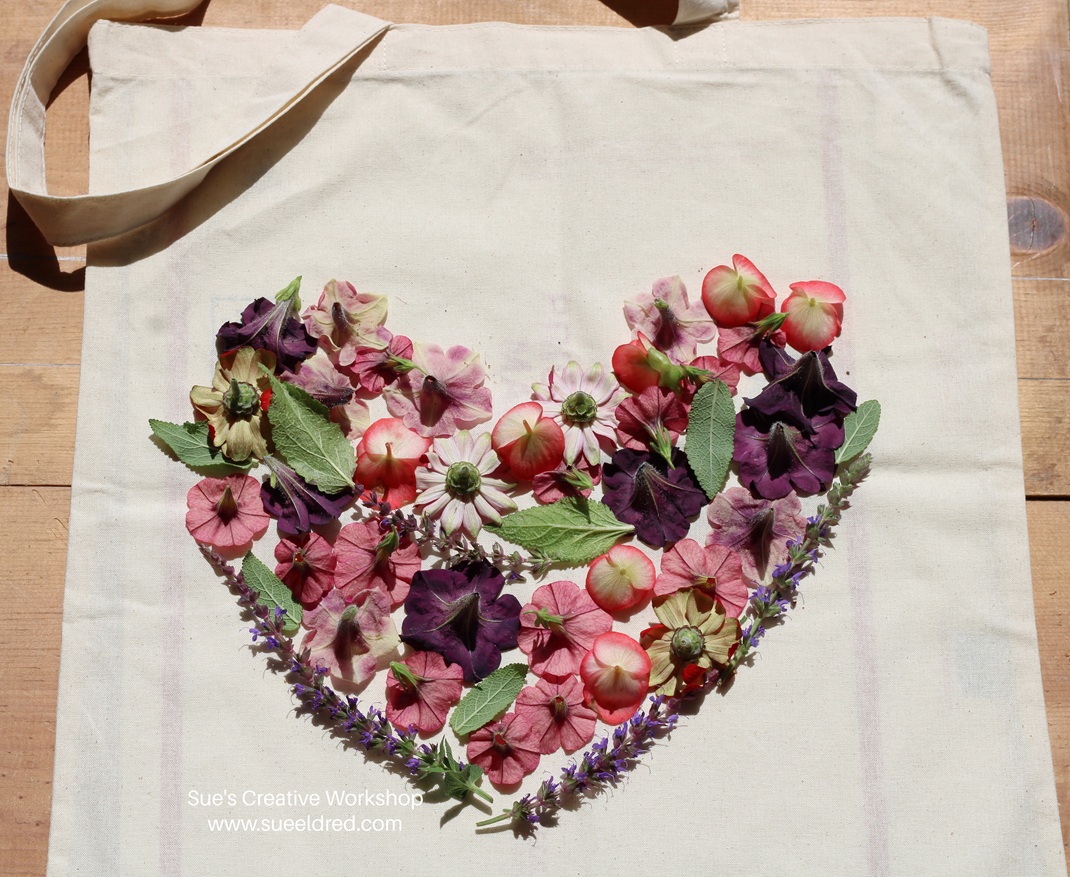
Arrange the flowers face down onto the fabric. I decided to make a heart design with the flowers.
Cover the design with parchment paper.
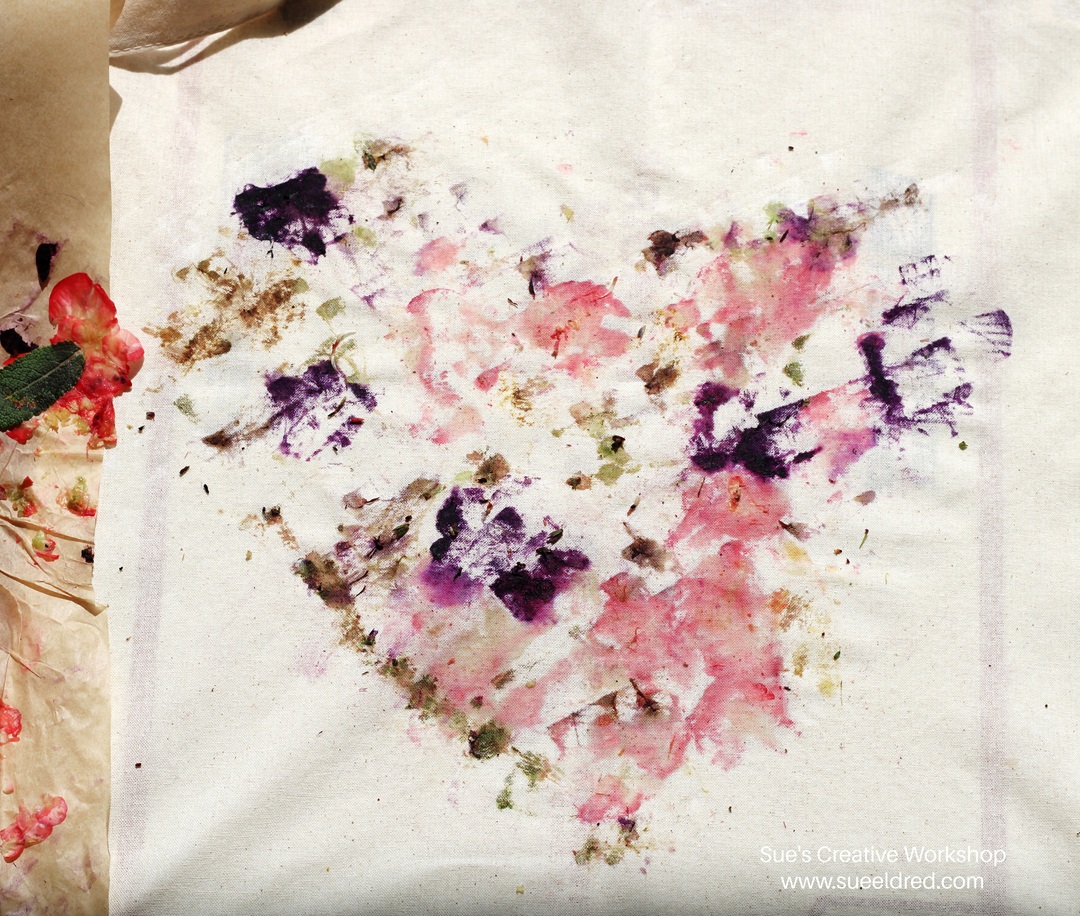
Gently tap with a mallet or hammer. Start on the edges and work your way in. Be careful when hammering, as the flowers shift while you pound.
Remove the parchment paper and flowers to reveal your design. If you’re not completely satisfied with the fullness of your design, add additional flowers and pound again.
I created my saying using an SVG file from the Silhouette Store and my Silhouette Electronic Die Cutting Machine*. When using HTV with words, you will need to mirror the words before cutting.
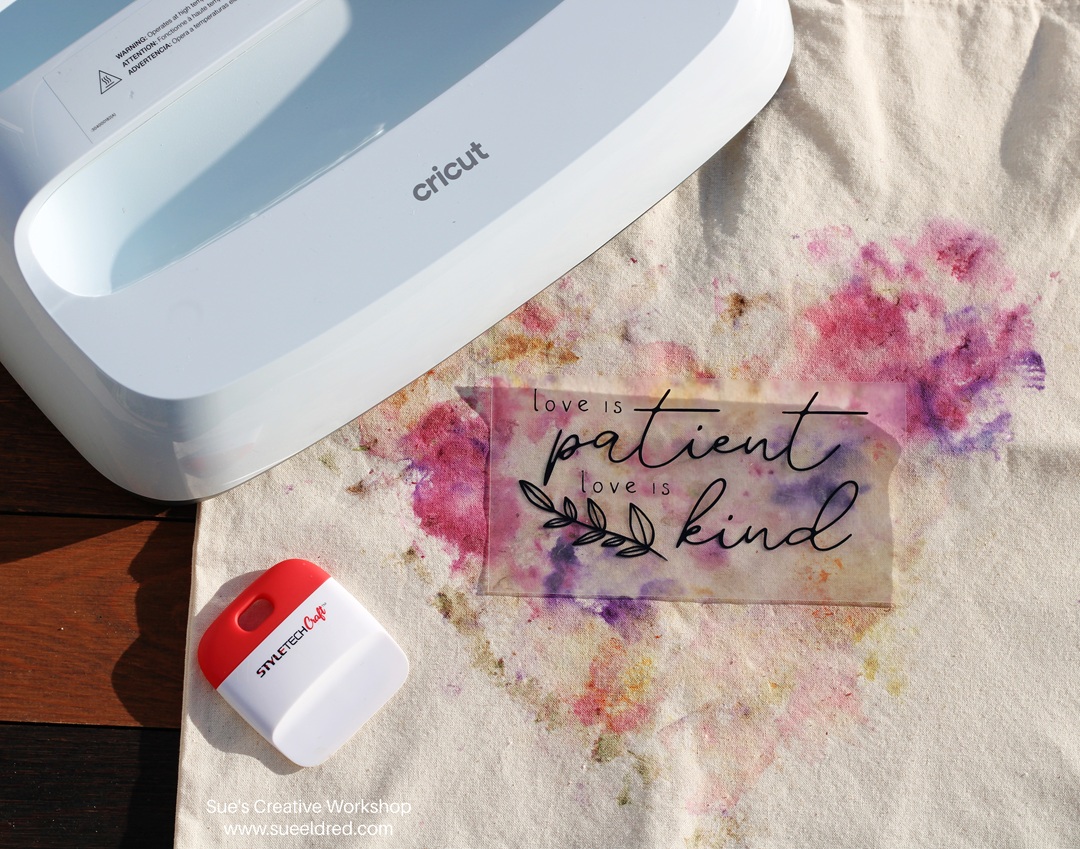
Place words on top of the heart with the shiny protective coating facing up.
I transferred my vinyl onto the fabric using my Cricut Easy Press*. (You could also use an iron.)
I love how easy and fun this project turned out. Flower pounding is such a simple way to save a bit of summer, and every bag comes out a little different. Hope you give it a try!
“This is a sponsored post. As a member of the StyleTechCraft Design Team I have been provided product and compensation in exchange for my creative ideas. The views and opinions are my own.
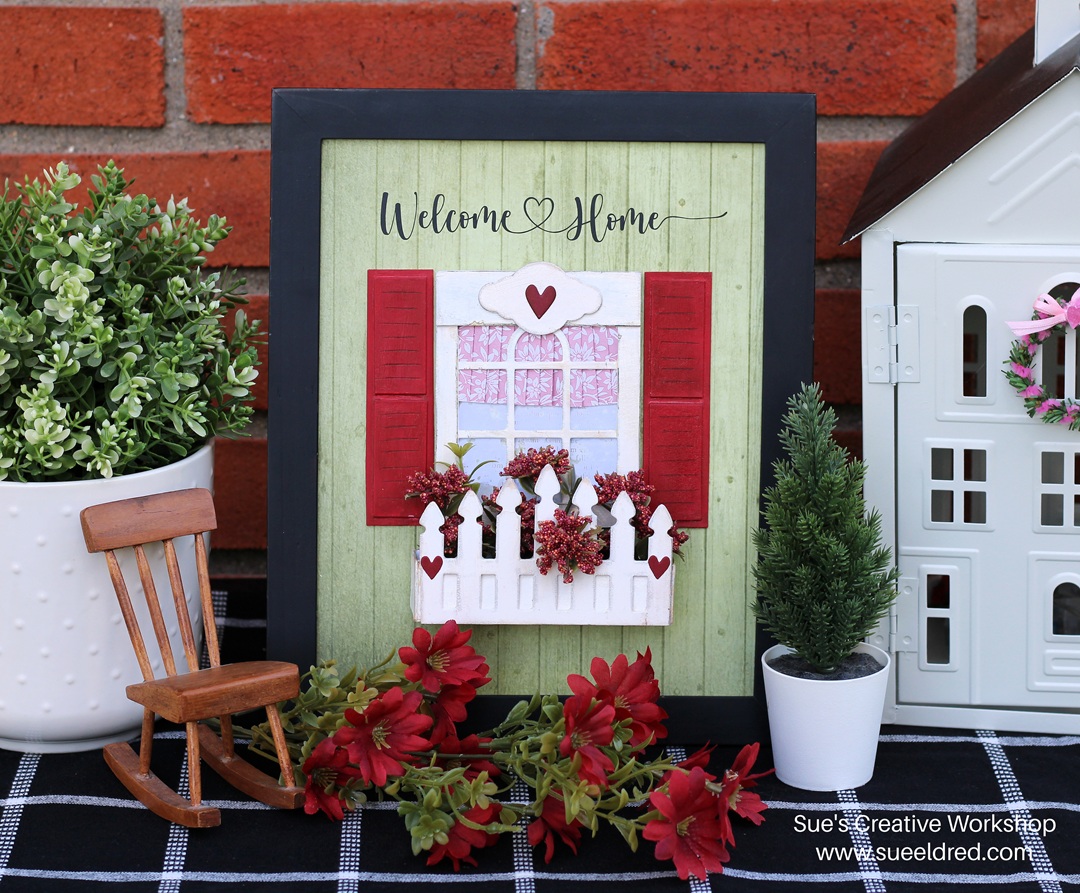
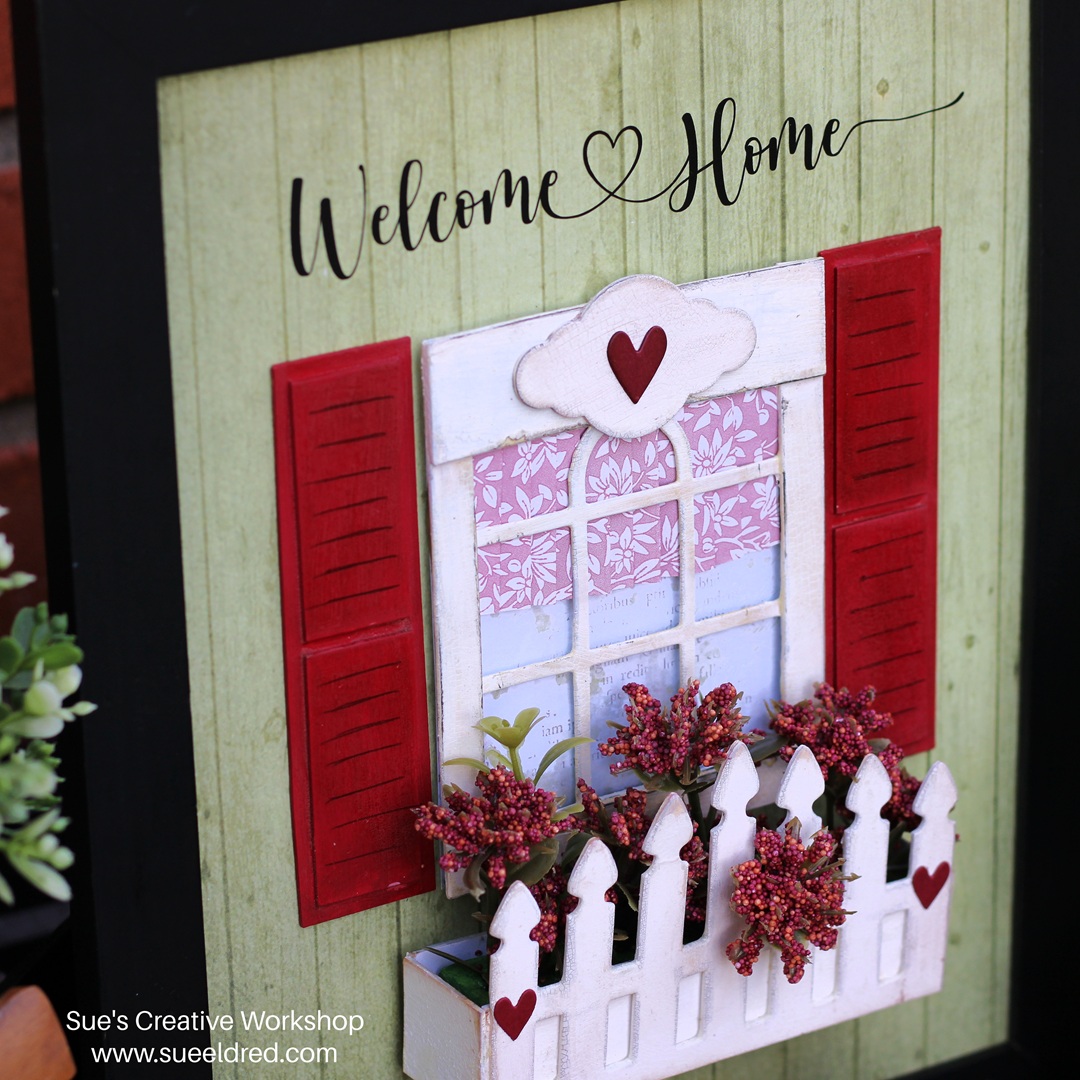
Bring a touch of whimsy to your crafts with this 3D Arched Window & Flower Box project.
Build a charming arched window and fill the flower box with colorful flowers. Easy to assemble and fun to customize, this project makes any space feel a little more welcoming.
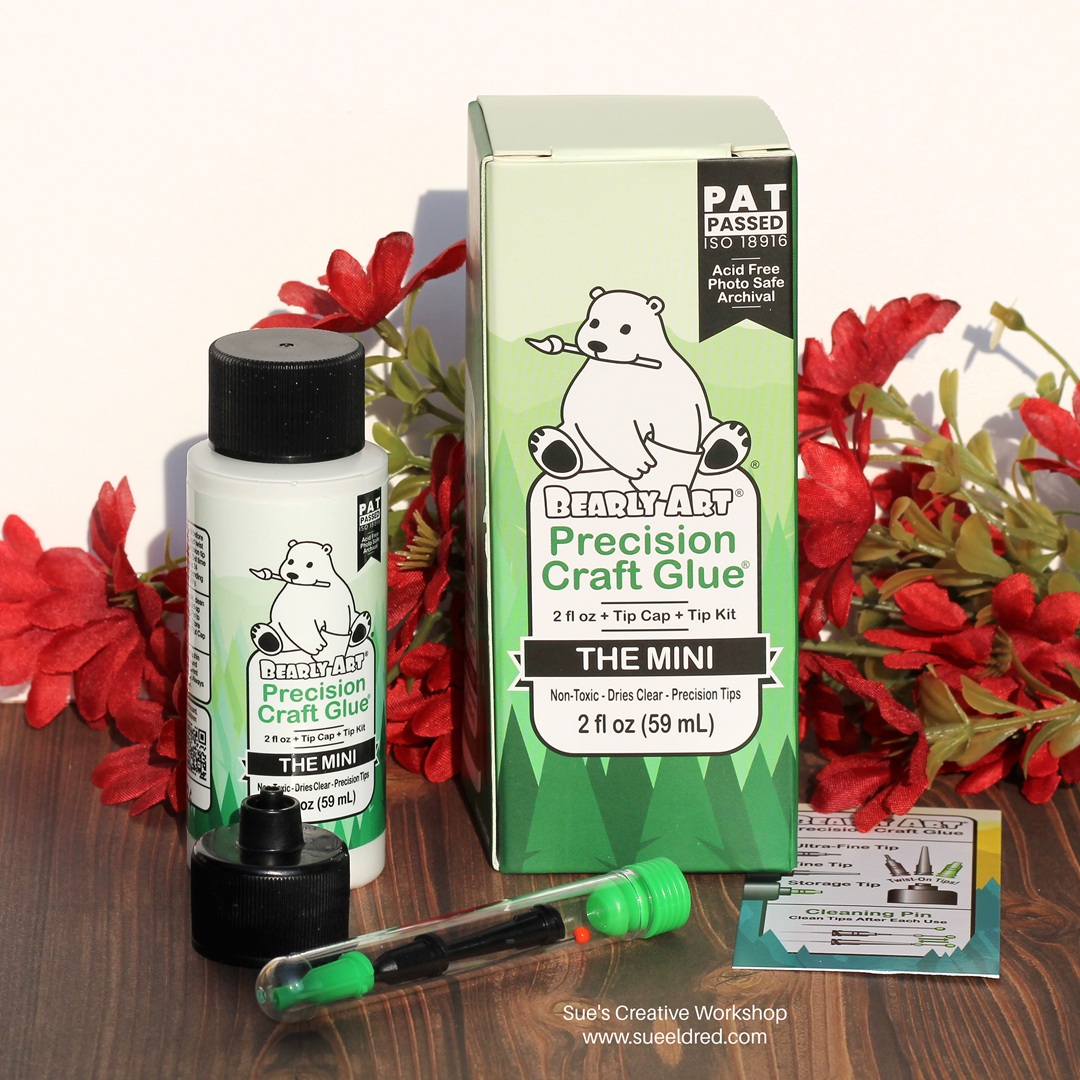
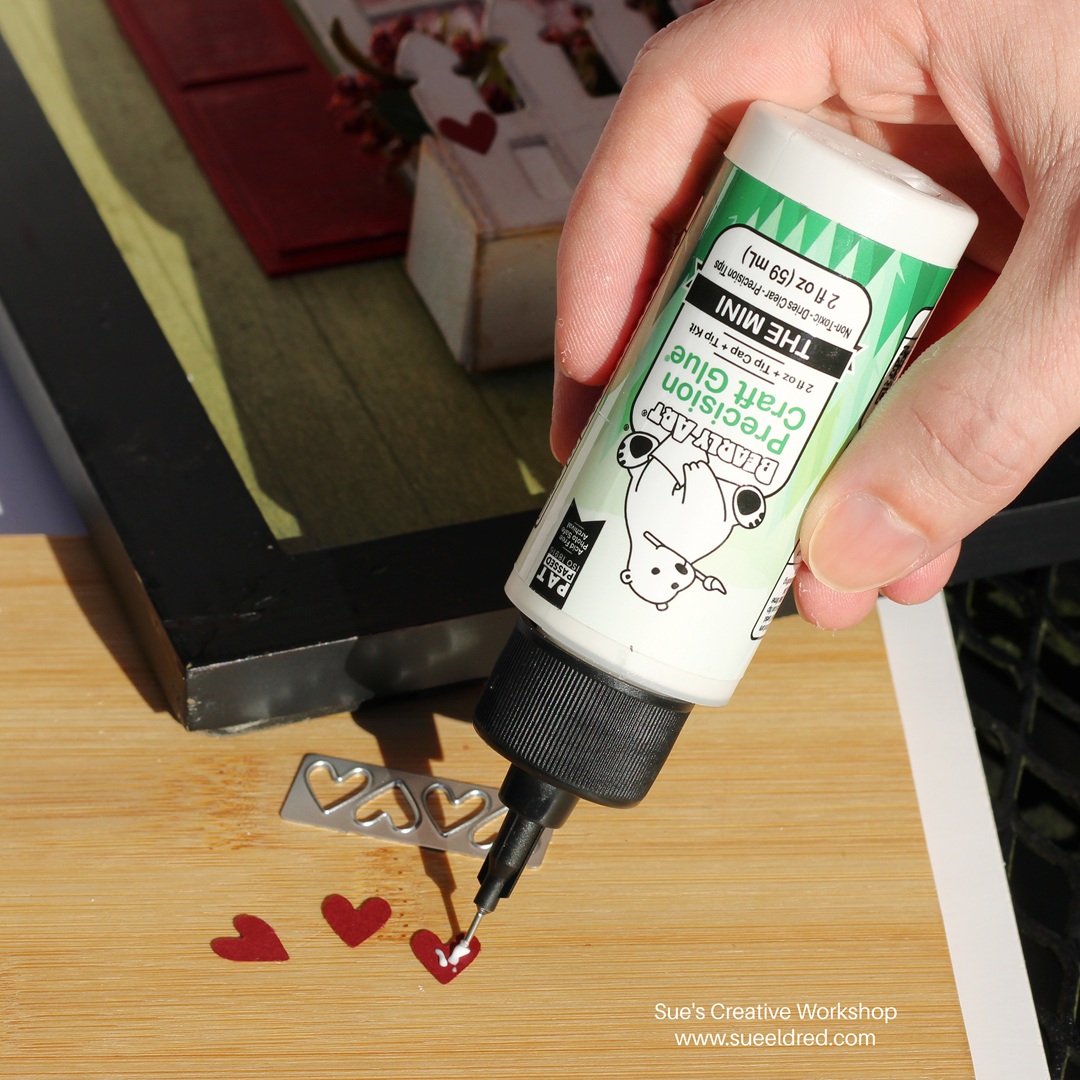
The generous folks from Bearly Art gave the Eileen Hull Design Team a bottle of Precision Craft Glue® to try. I love that it comes with a fine tip, ultra fine tip, and a storage tip. The tips were very easy to use, and it holds really well. It was perfect to use for my window project.
Window and Window Box Details:
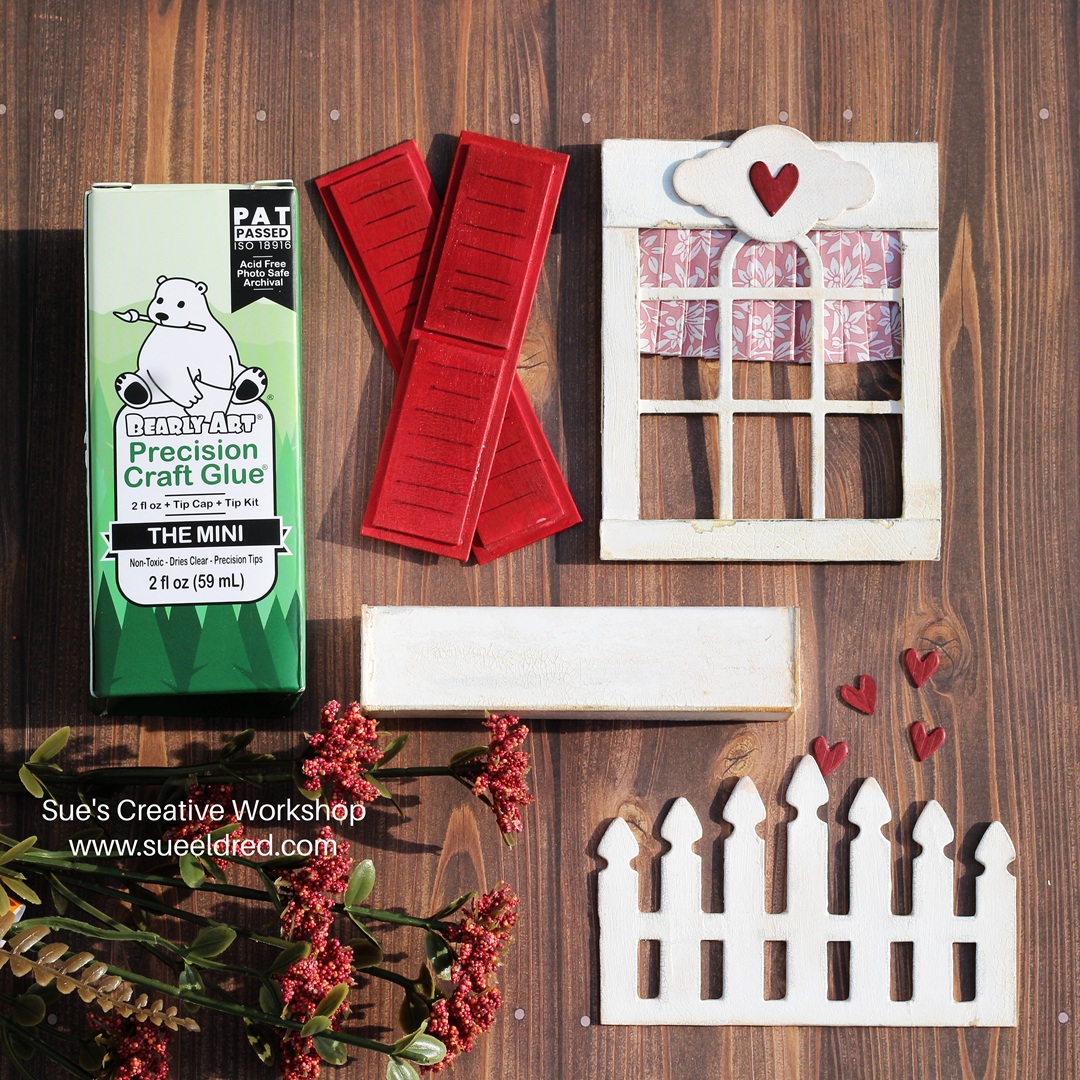
I used several of Eileen Hull’s Sizzix dies for the pieces that create my window and window box frame.
I die-cut and glued several pieces of the arched window die to create the window. I glued strips of matboard on the top and bottom of the window for added stability.
The shutters and window box was made using matboard glued together with Bearly Arts Precision Glue.
I painted all the pieces with acrylic paint and aged them using Deco Art One Step Crackle Finish.
For the curtain, I pleated a strip of thin one-sided scrapbook paper and glued it into place.
I placed a small piece of painted Styrofoam into the window box and glued the tiny flowers into place.
Used 3D foam strips under the window and window box to put inside my 8″ x 10 frame.
I created the words “Welcome Home” using Black Matte Vinyl from StyleTechCraft.
*Disclosure: This blog uses ads and affiliate links. If you choose to make a purchase using one of the links, I receive a small commission (at no additional cost to you) that helps offset the costs of maintaining this blog. Thanks for your support!
A little extra details.
I die-cut tiny hearts to decorate the window and window box using the Sizzix Stitched Heart Die.
Create a layered arched window and fill the flower box with bright, cheerful blooms.
This project is easy to assemble, simple to customize, and brings a warm, welcoming feel wherever you display it.
Happy crafting!
Disclosure: This is a sponsored post. As a member of the Eileen Hull Inspiration Team, I have been provided product in exchange for my creative ideas. The view and opinions are my own.
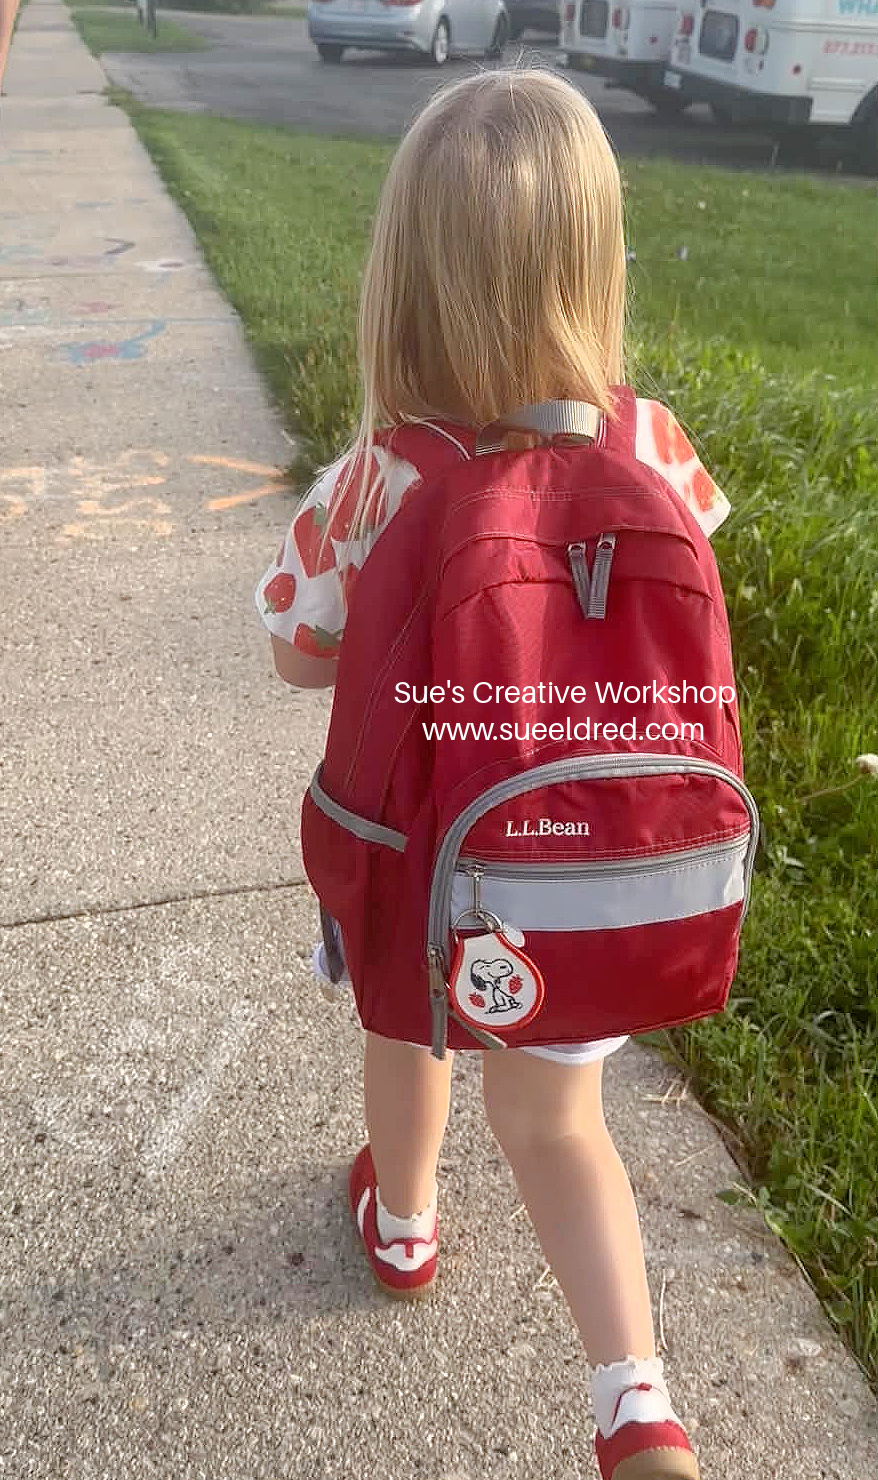
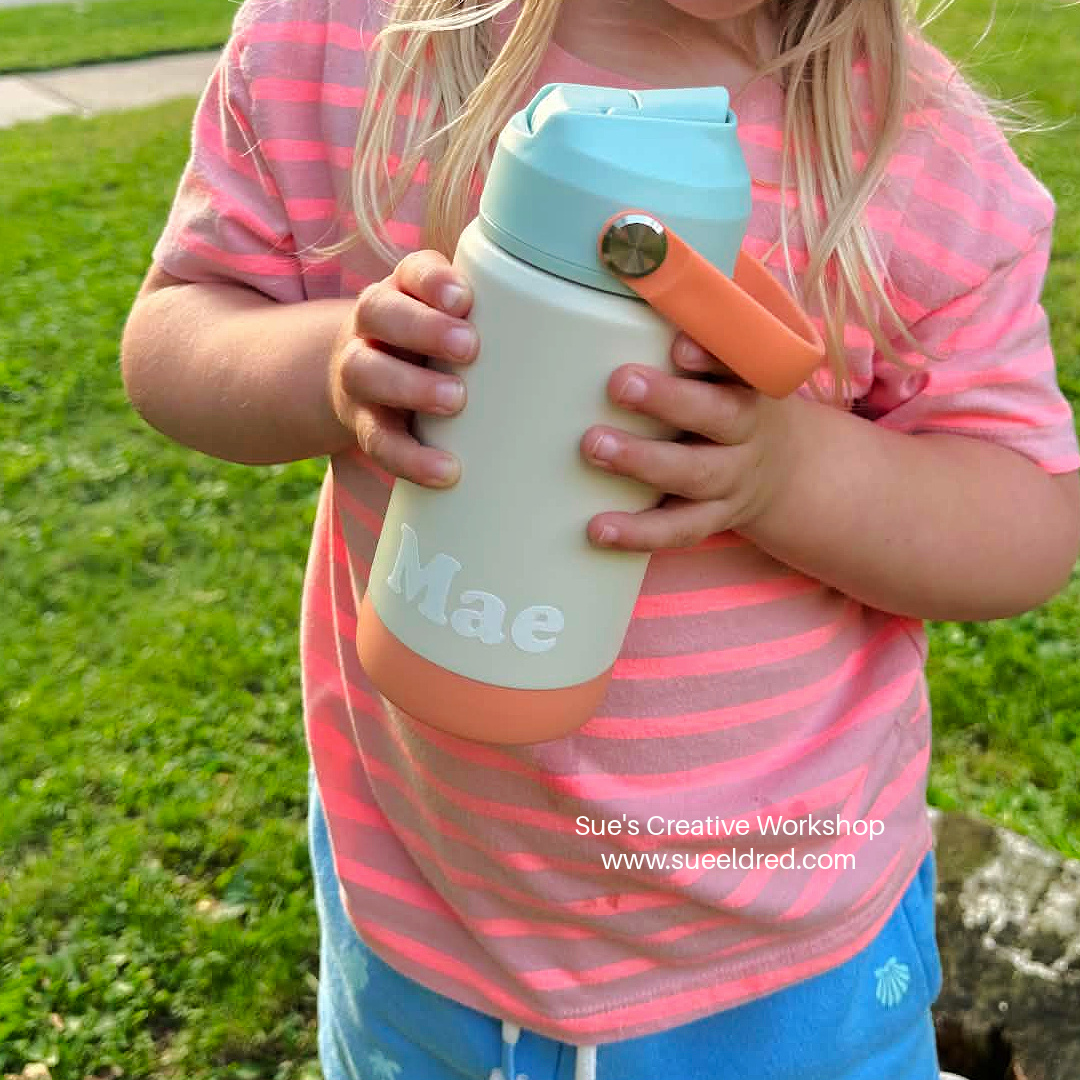
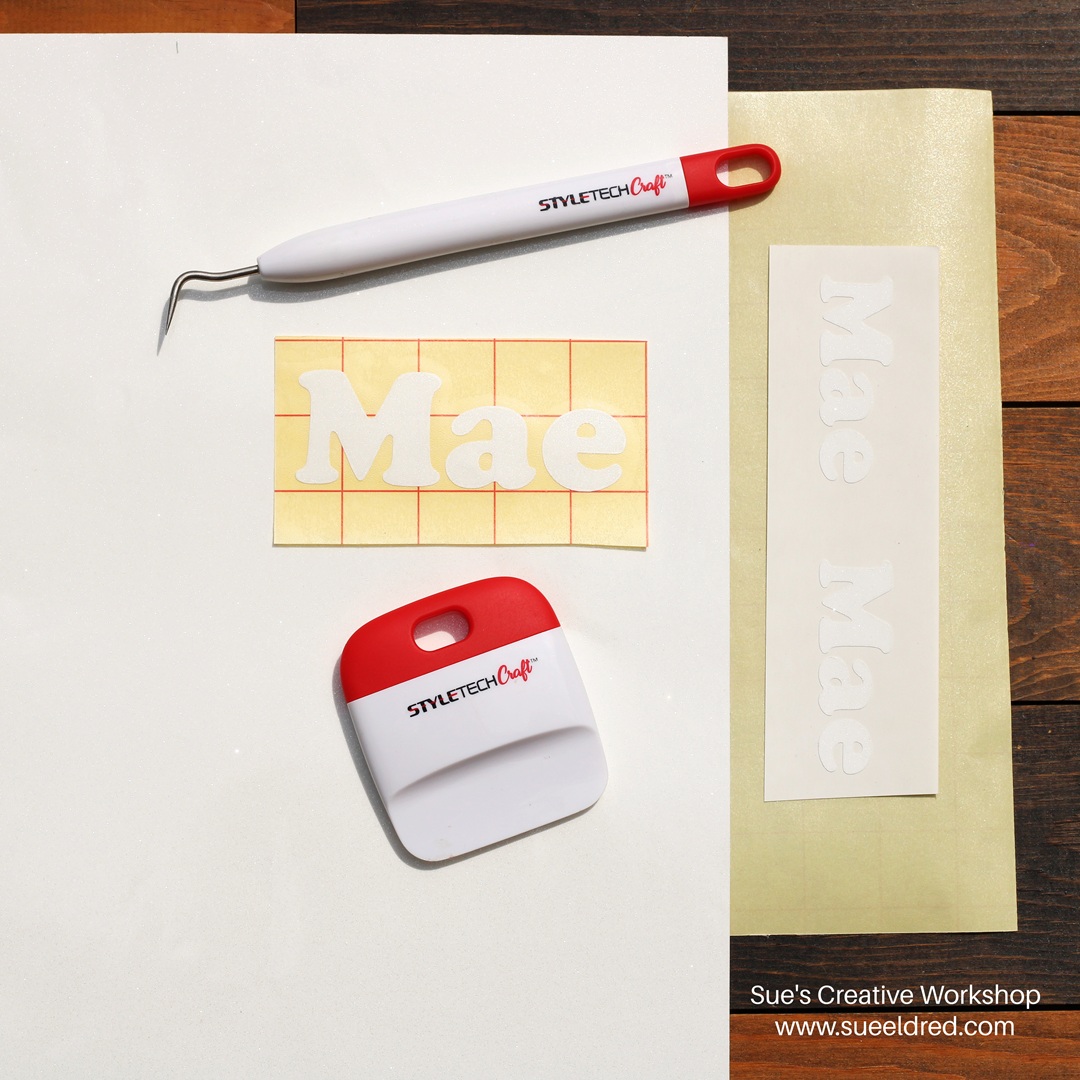
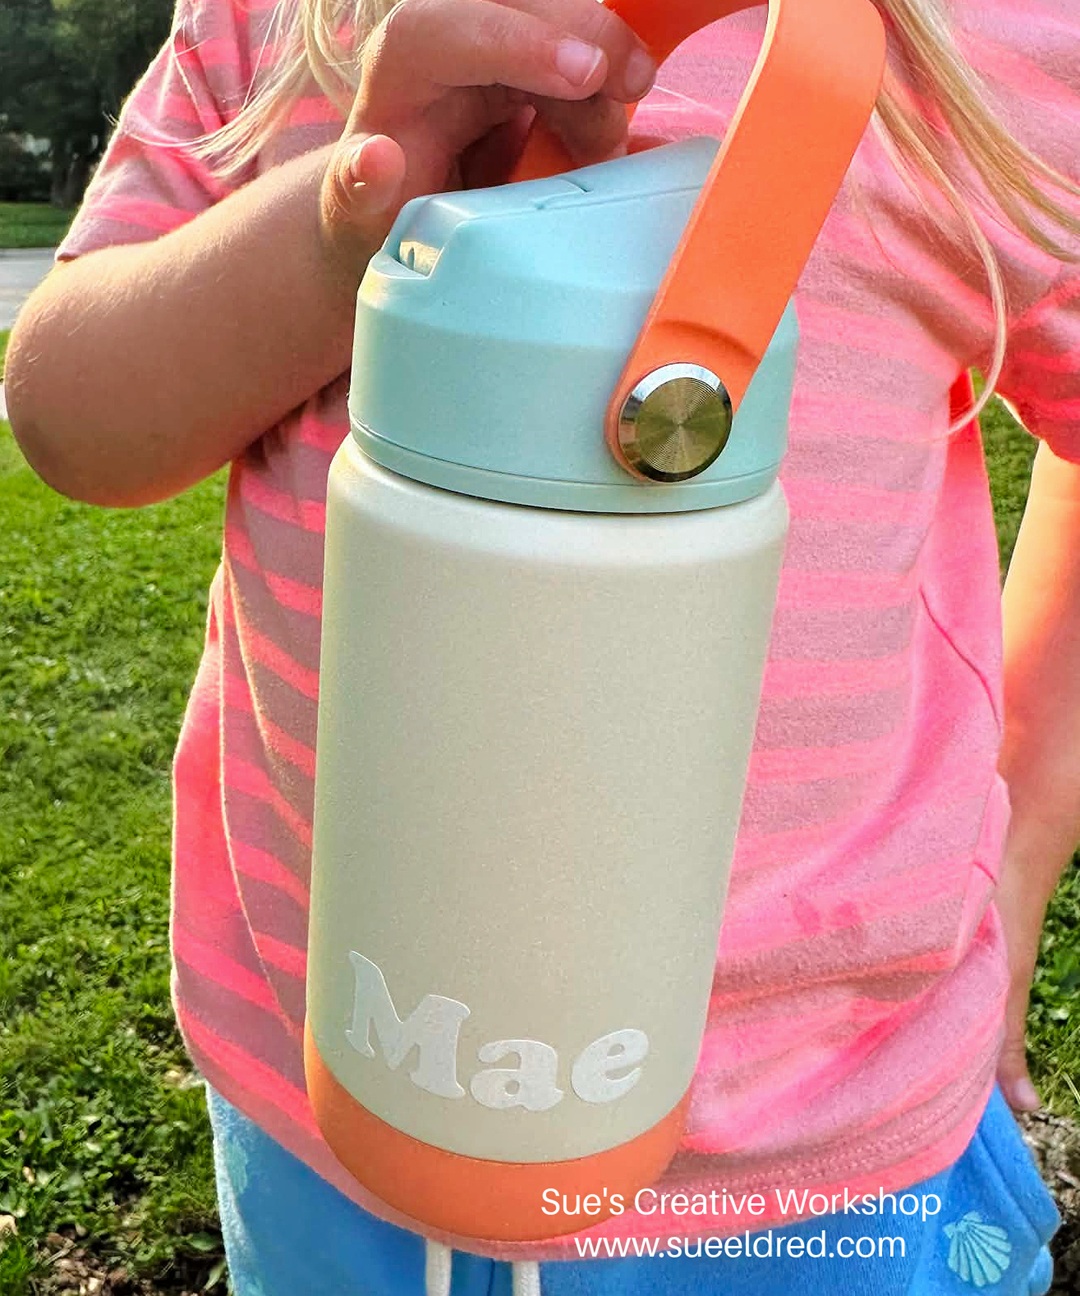
She had never used vinyl, but was pleased at how easy it was to use.
Now she’s thinking of upcoming seasonal uses for vinyl. (That’s my girl!)
*Disclosure: This blog uses ads and affiliate links. If you choose to make a purchase using one of the links, I receive a small commission (at no additional cost to you) that helps offset the costs of maintaining this blog. Thanks for your support!
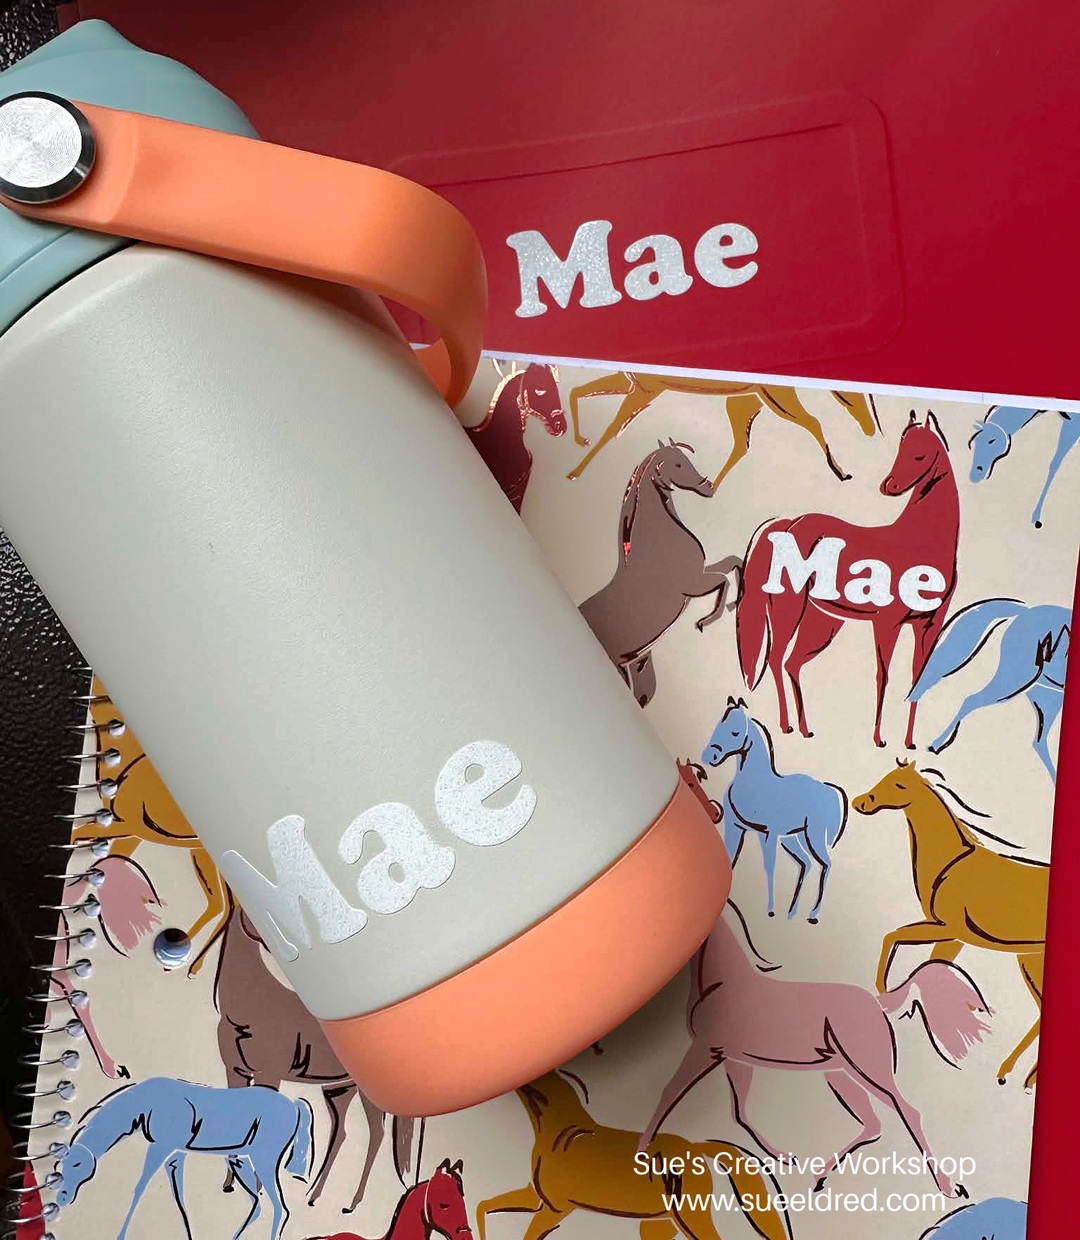
I use vinyl all around the house for various purposes, I think a little creativity and some vinyl can make everyday things extra special.
“This is a sponsored post. As a member of the StyleTechCraft Design Team I have been provided product and compensation in exchange for my creative ideas. The views and opinions are my own.
*Disclosure: This blog uses ads and affiliate links. If you choose to make a purchase using one of the links, I receive a small commission (at no additional cost to you) that helps offset the costs of maintaining this blog. Thanks for your support!
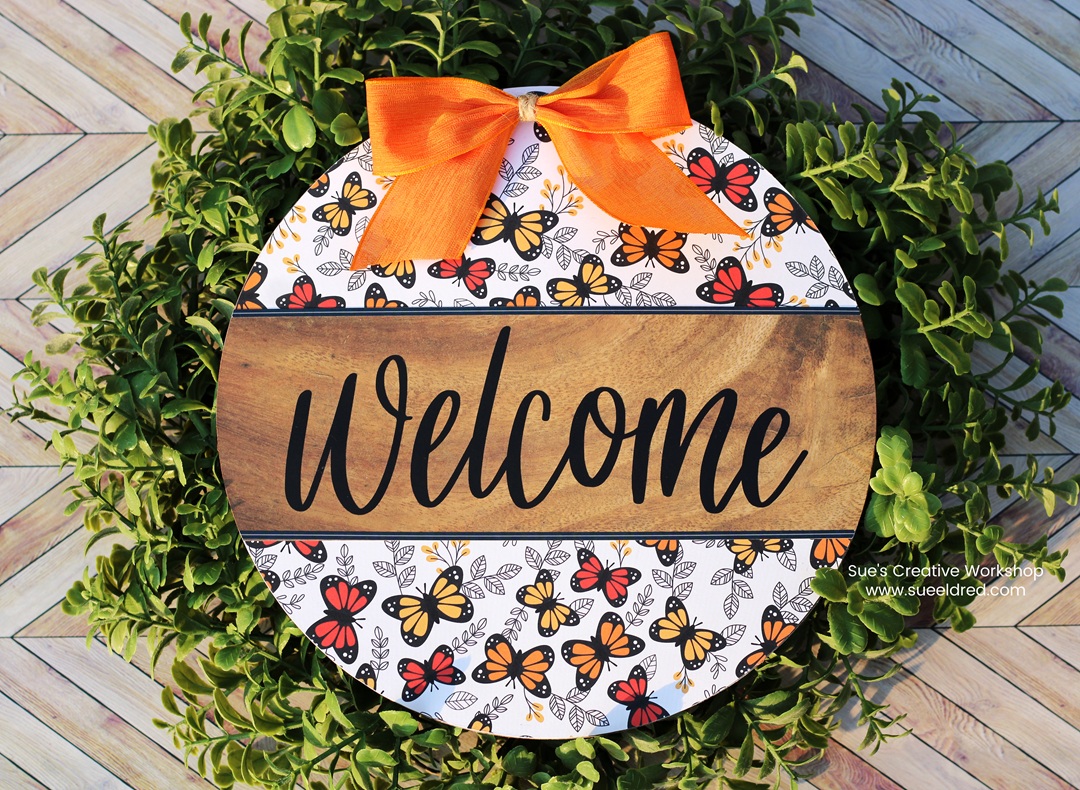
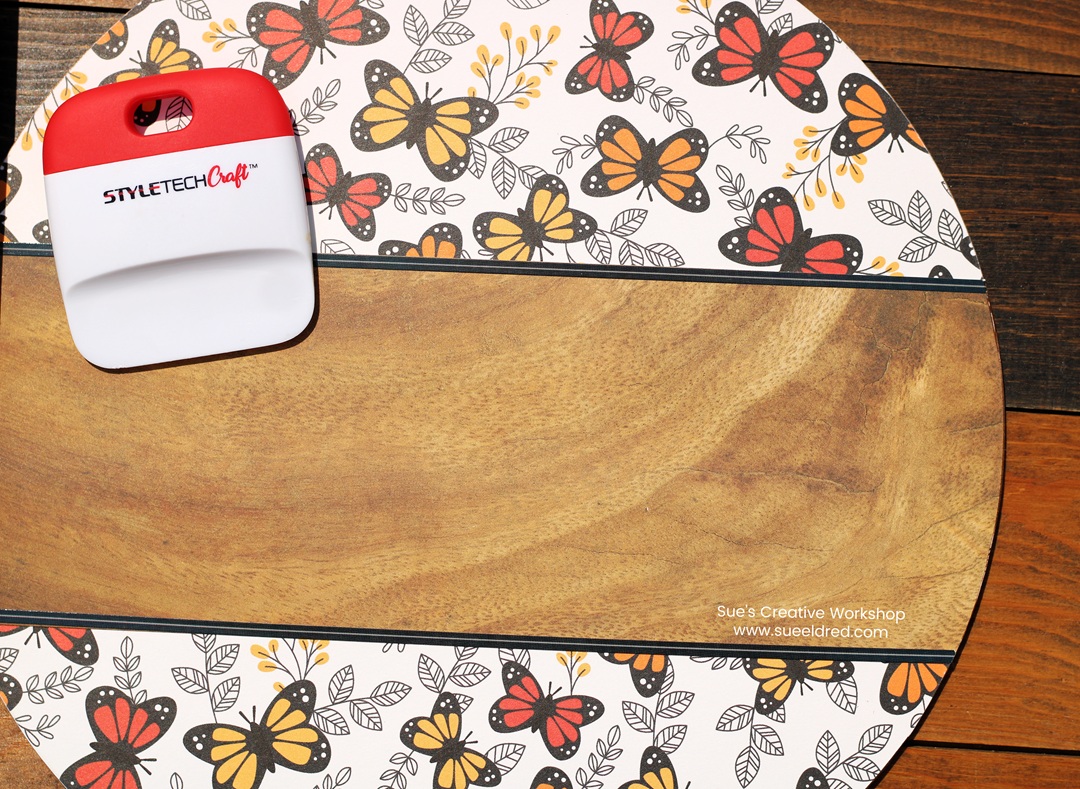
How I made the Butterfly Welcome Door Hanger:
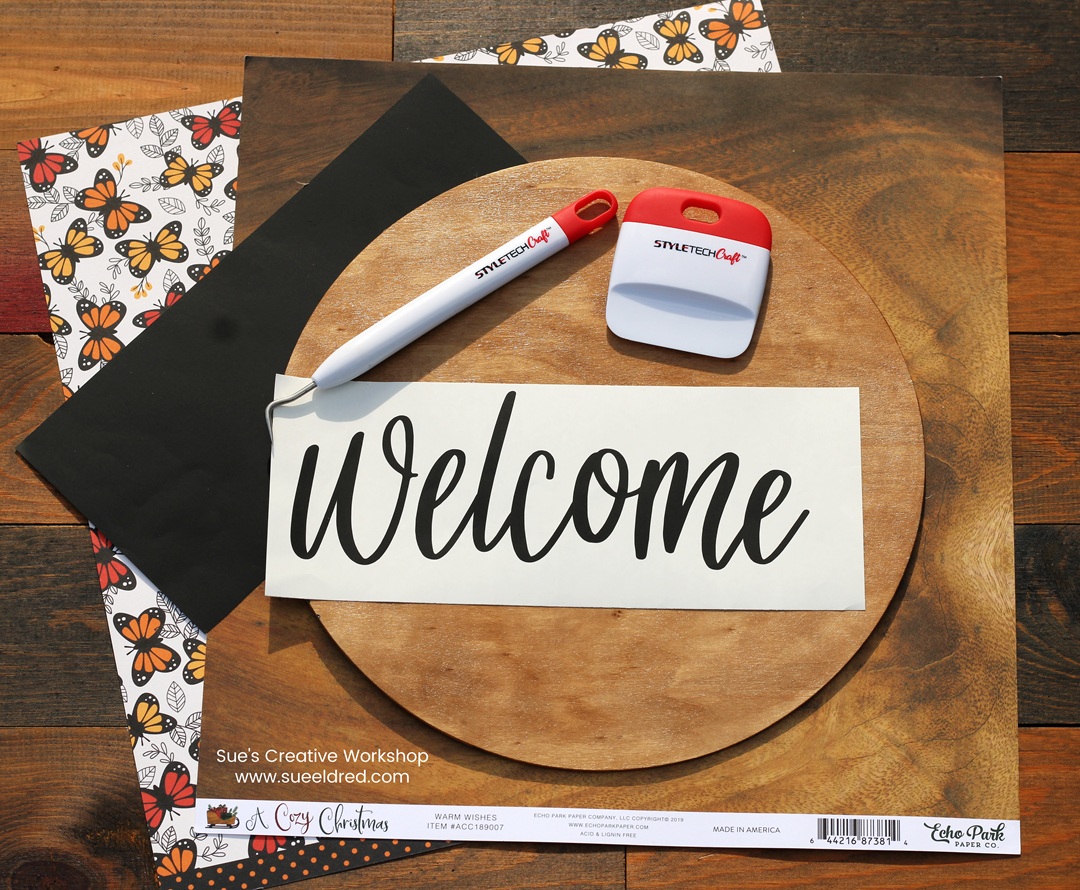
I used my Xyron Creative Station* to add adhesive to the back of the butterfly scrapbook paper. (You can also use a liquid adhesive such as Mod Podge or a spray adhesive. Whatever works best for you.)
I transferred the vinyl onto the front of the door hanger using transfer paper.
I made a simple orange bow to add to the top of the door hanger.
Drill a couple of holes in the top of the wood for hanging.
The door hanger would look great on its own or as part of a simple wreath.
Just a heads up—I didn’t seal the paper on this door hanger, so be sure to hang it somewhere protected from the weather.
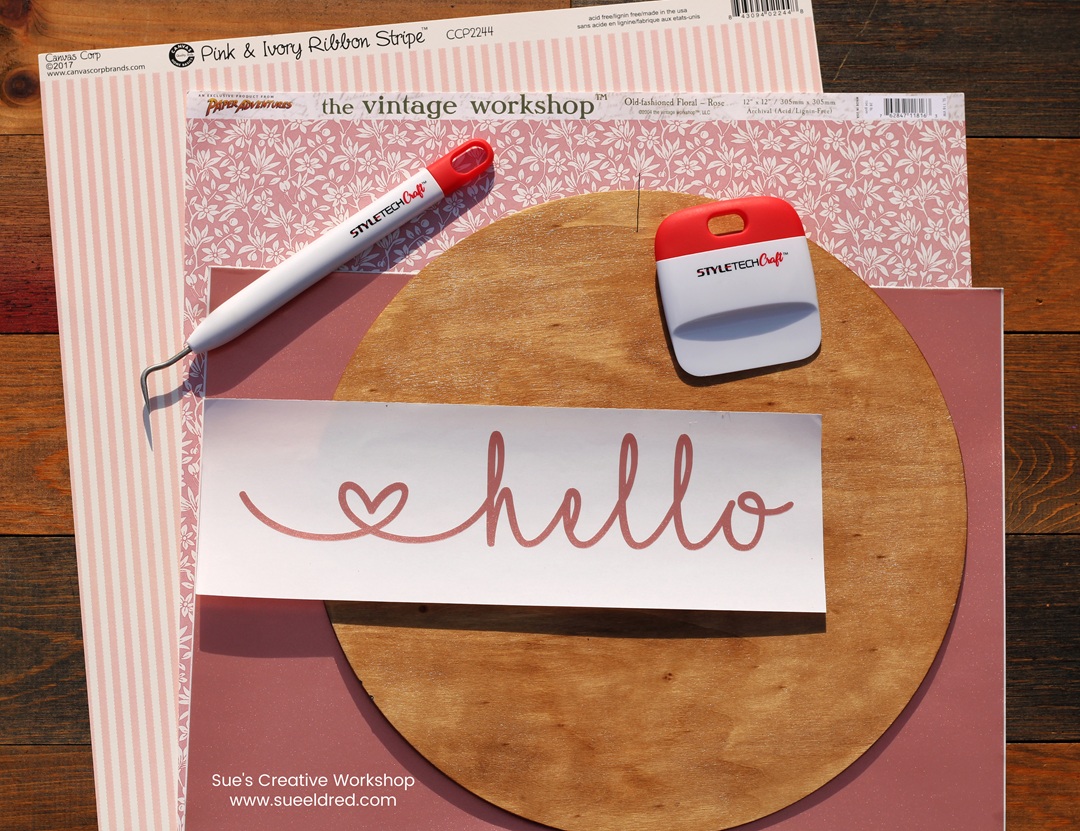
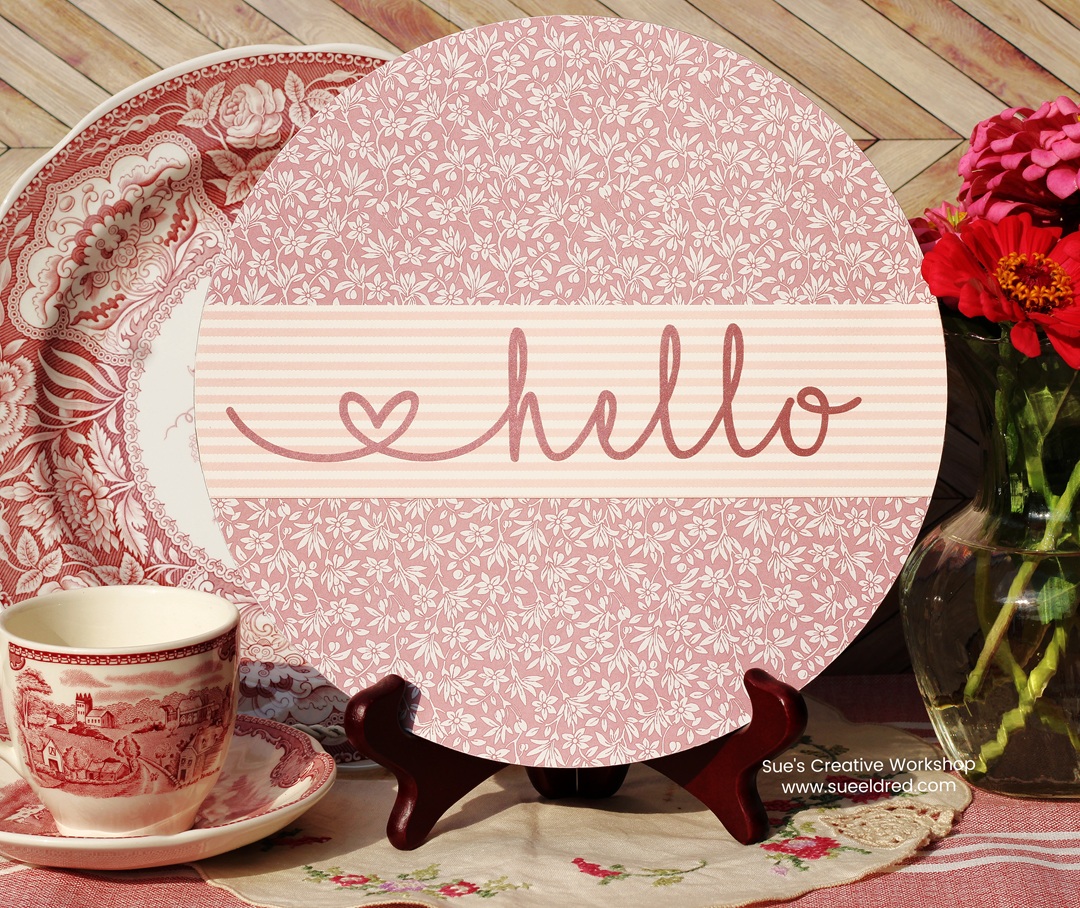
Pretty in Pink Door Hanger
I dug deep into my hoarded collection of paper for the right one
for this project. And because I couldn’t decide which papers I liked best,
I made a second one.
These door hangers are such an easy way to add a little cheer
to your home as summer winds down.
I had a lot of fun making them, and I hope you give this project a try too!
“This is a sponsored post. As a member of the StyleTechCraft Design Team I have been provided product and compensation in exchange for my creative ideas. The views and opinions are my own.
*Disclosure: This blog uses ads and affiliate links. If you choose to make a purchase using one of the links, I receive a small commission (at no additional cost to you) that helps offset the costs of maintaining this blog. Thanks for your support!
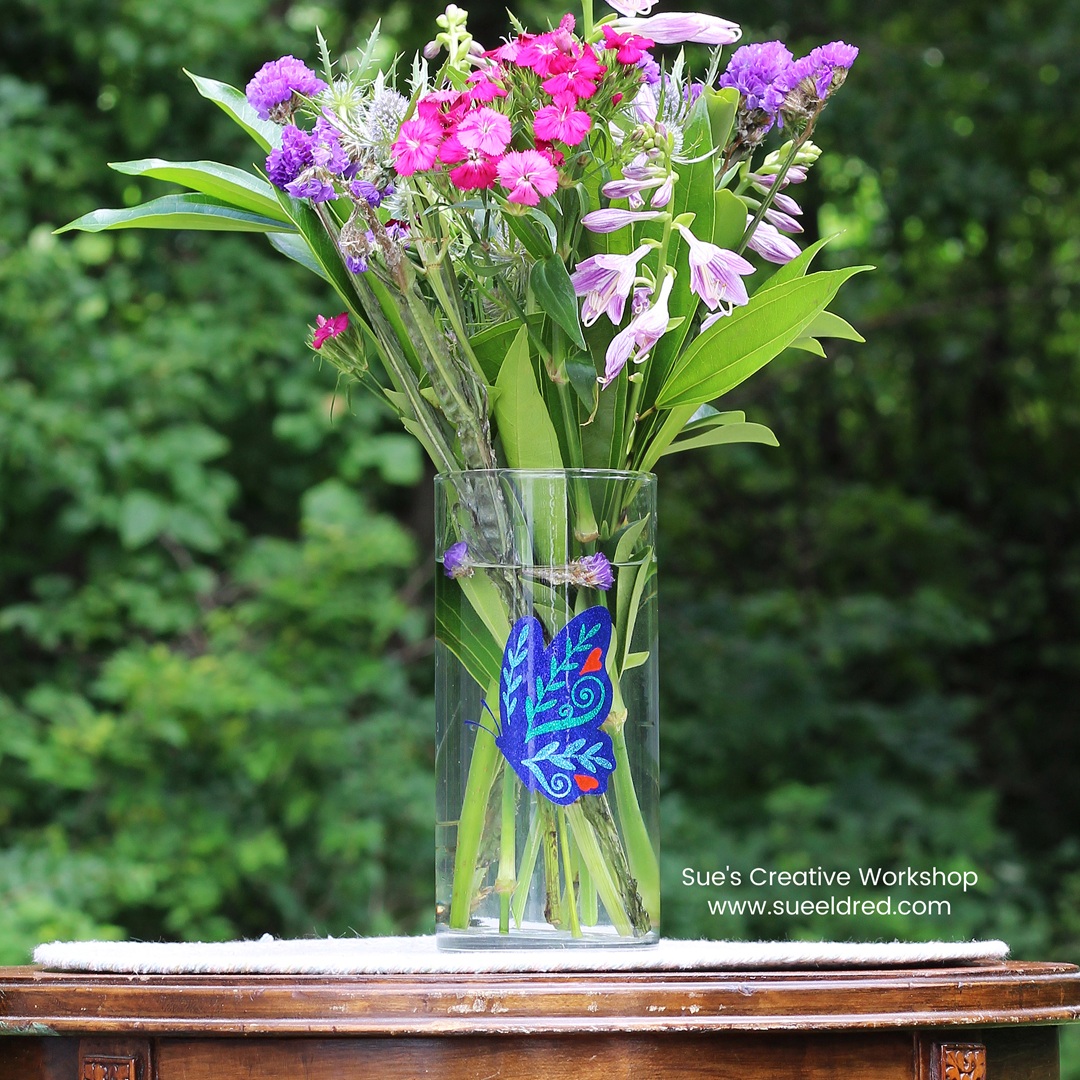
To Make the Butterfly Vase:
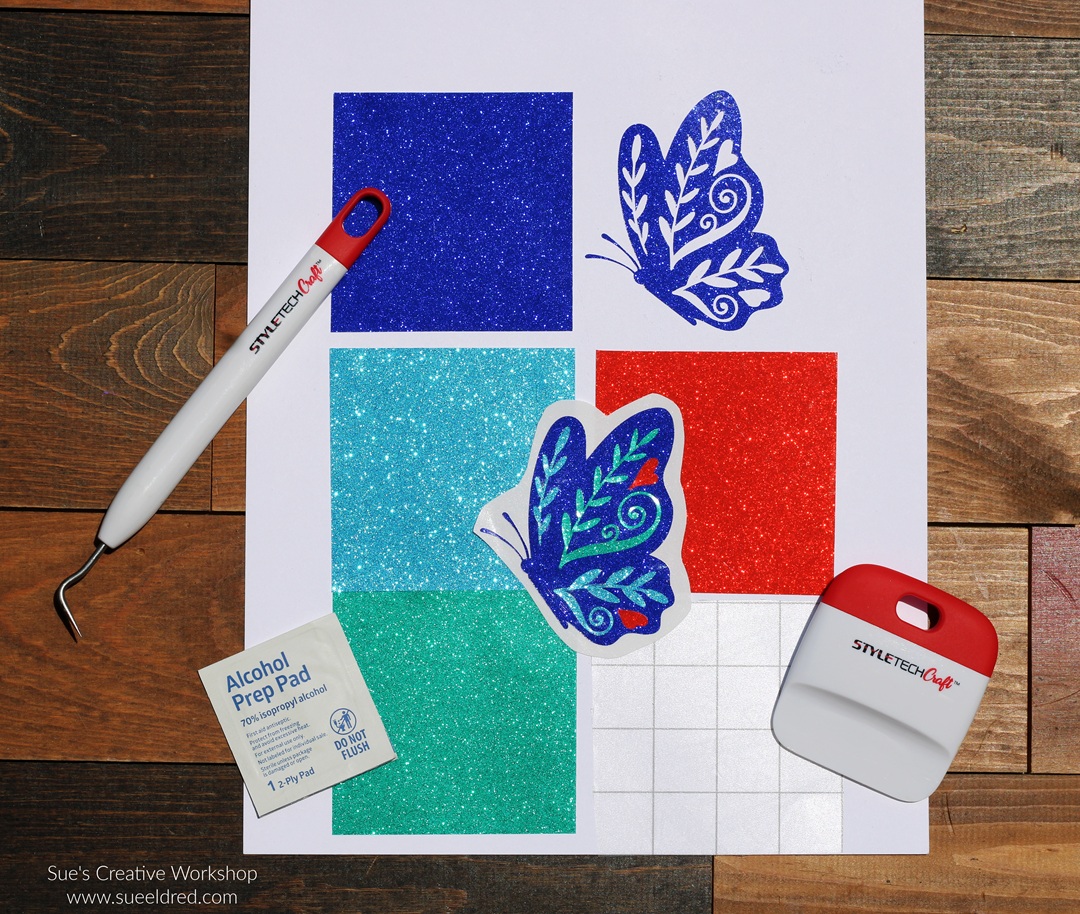
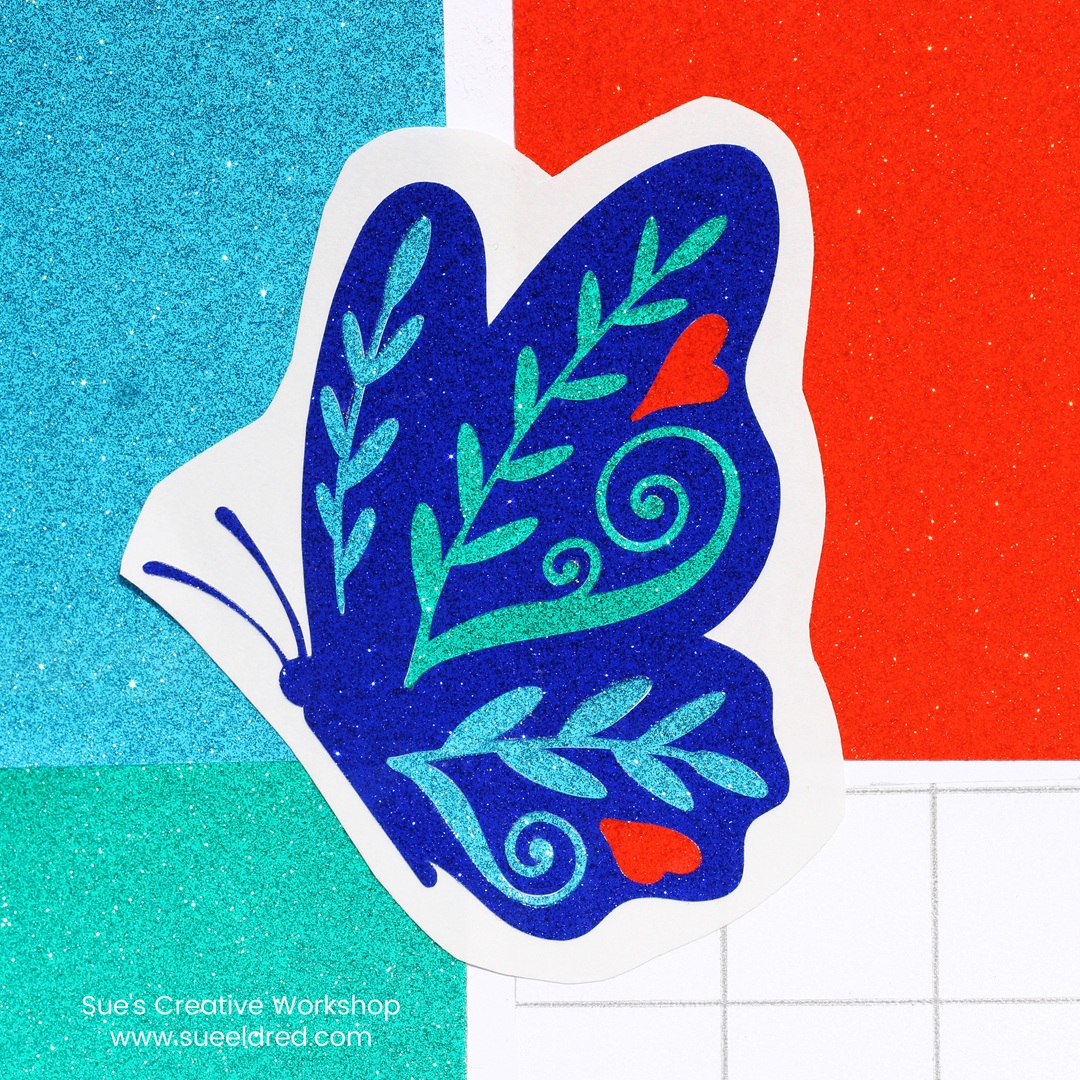
I used my Silhouette Electronic Die-Cutting Machine* to cut the butterfly image. I cut it four times, one each in the different colors of StyleTechCraft Transparent Vinyl Royal Blue, Sky Blue, Teal, and Orange.
I inlaid the inner butterfly pieces onto the design instead of layering the vinyl. I used a pick tool to carefully place the image inside the design.
To help the vinyl stick to the glass, clean the glass vase with rubbing alcohol* or an alcohol wipe. This will remove any oils or residue left on the surface.
Place the transfer paper over the image and gently rub with a vinyl scraper tool to transfer the image.
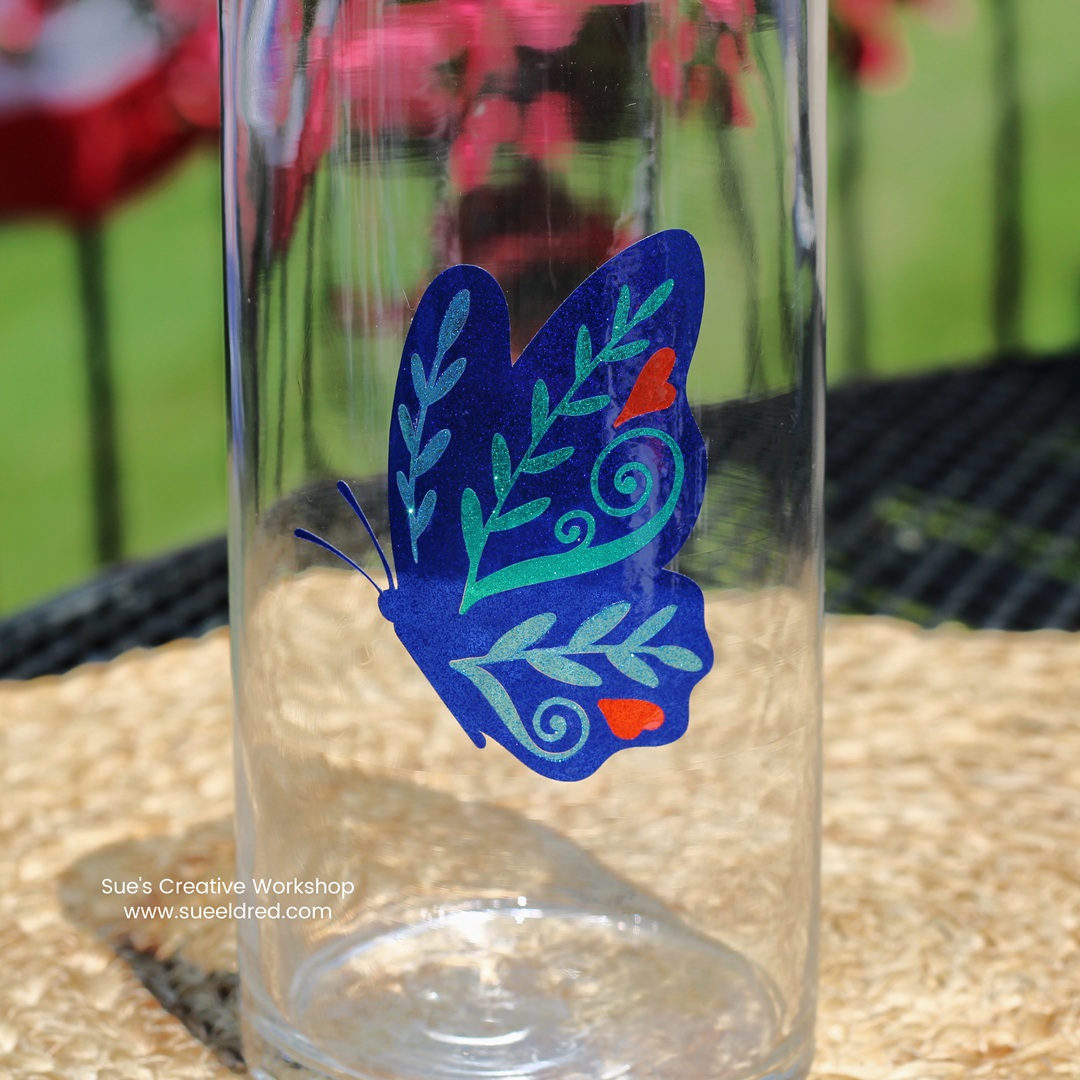
Place the image on the glass and gently rub to transfer the image onto the glass. Remove transfer paper.
The great thing about StyleTechCraft Transparent Glitter Vinyl is that it has glitter
on both sides of the vinyl. And it comes in some pretty amazing colors too!
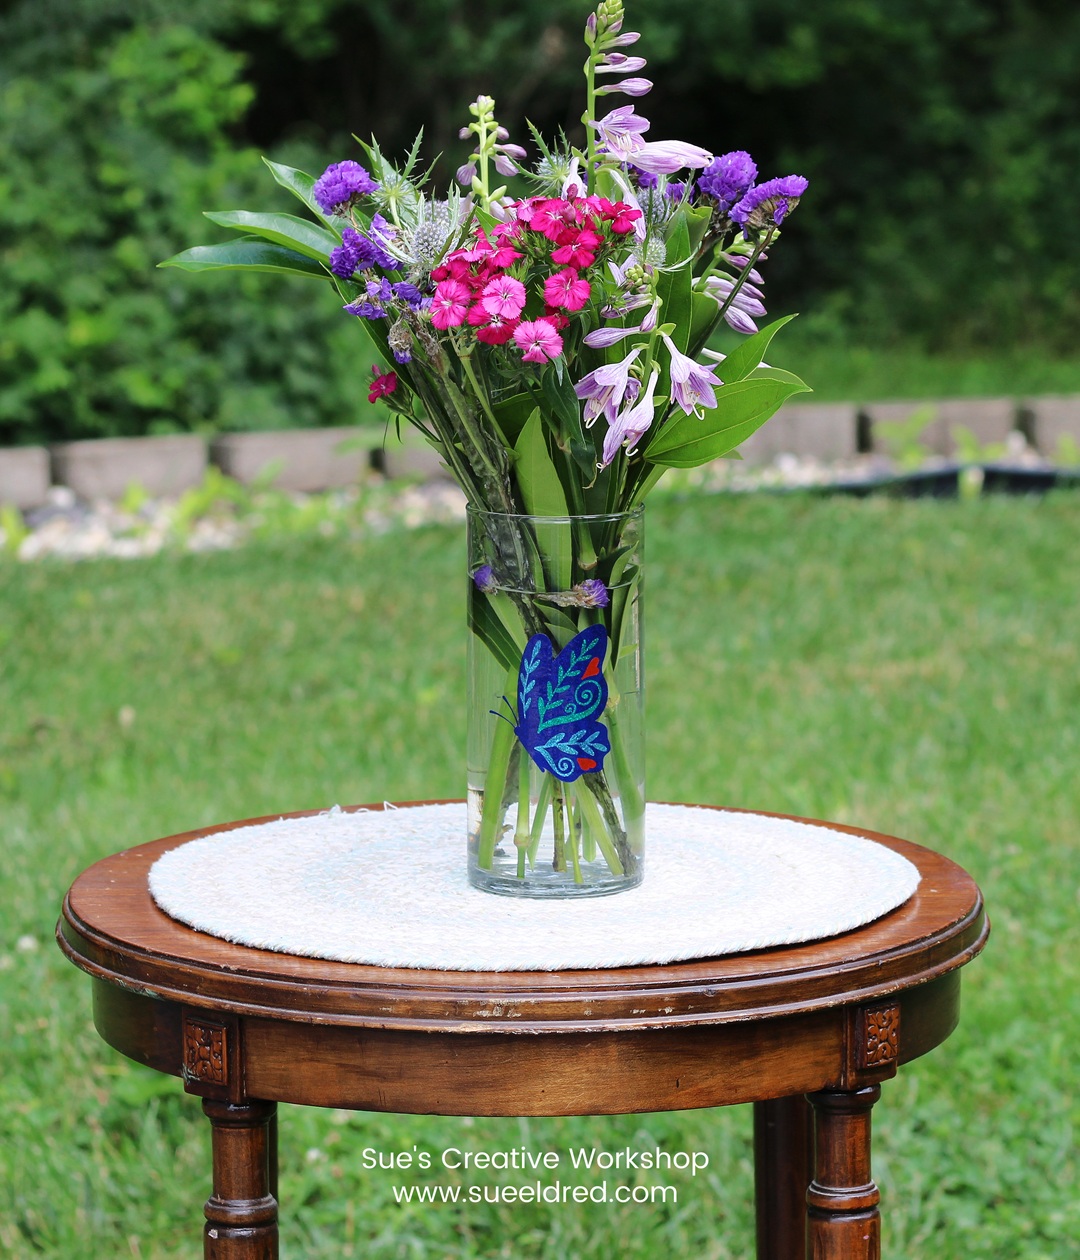
Now you have a sparkling butterfly vase that adds a touch of whimsy and brightness
to any room—simple to make, fun to display, and uniquely yours!
“This is a sponsored post. As a member of the StyleTechCraft Design Team I have been provided product and compensation in exchange for my creative ideas. The views and opinions are my own.
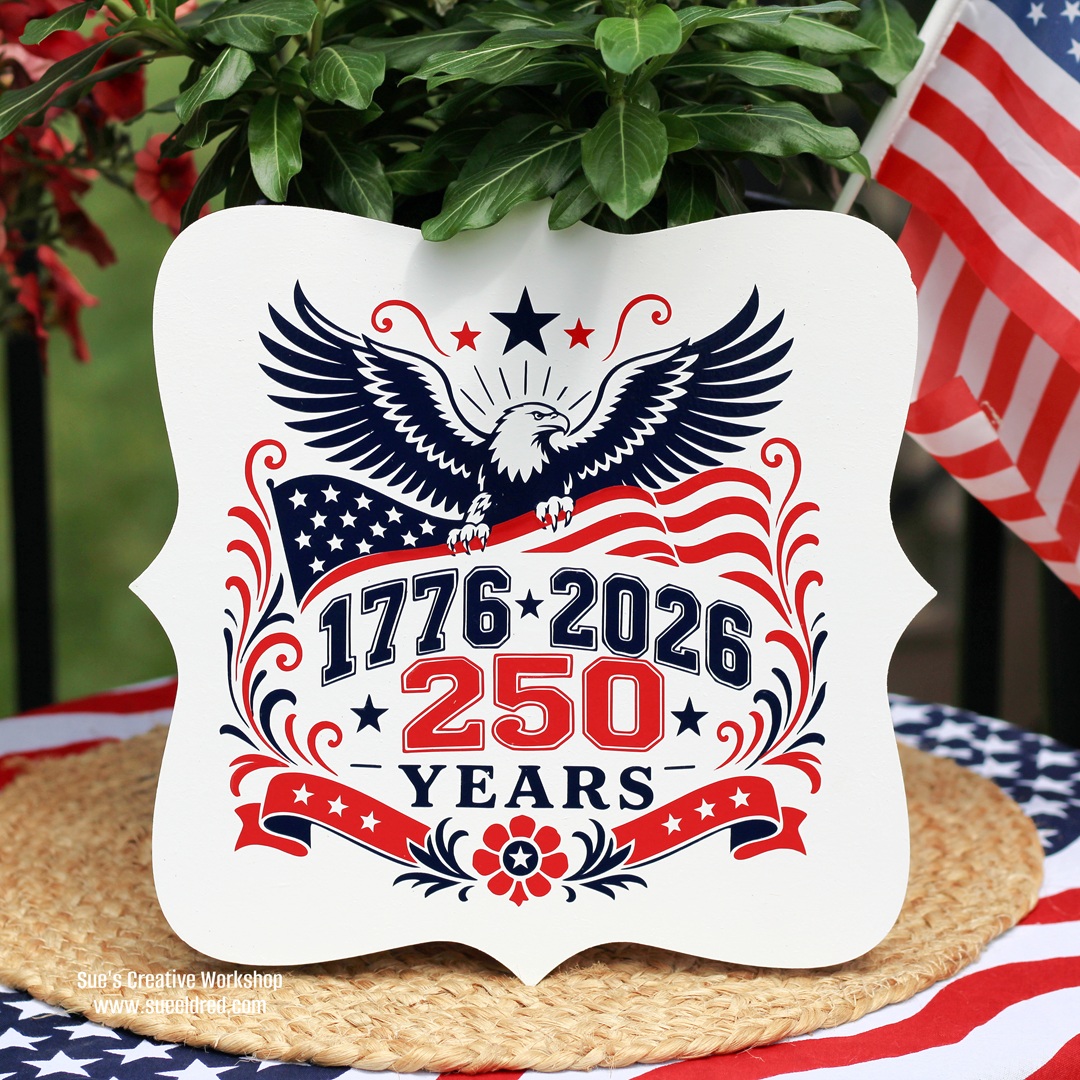
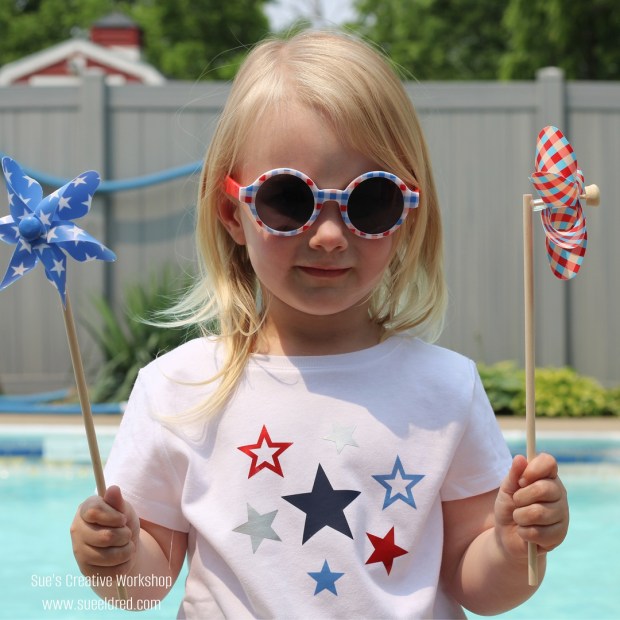
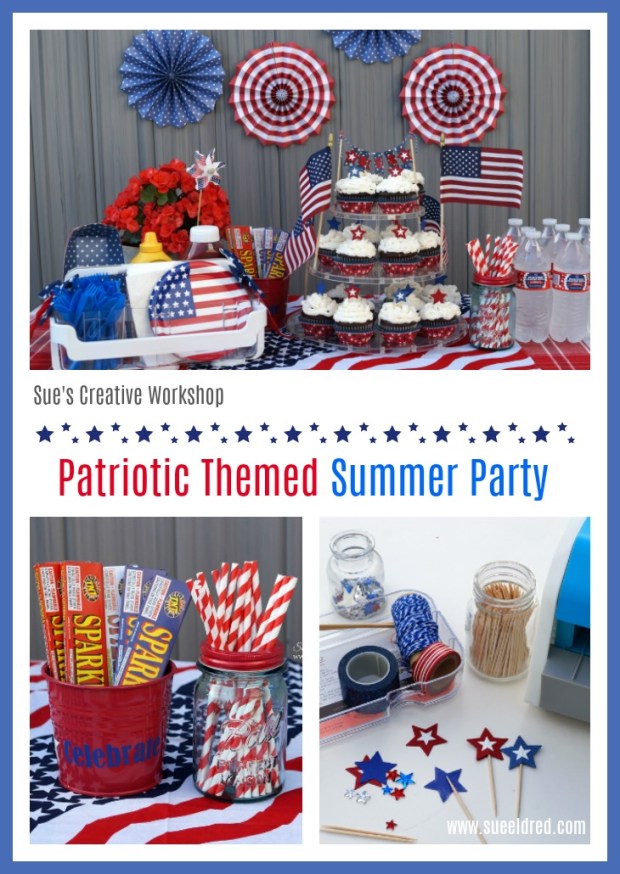
Ready to add some extra sparkle to your 4th of July celebration?
I always enjoy making new decorations for the holidays,
and with the USA celebrating 250 years,
I knew this was a milestone worth going big for!
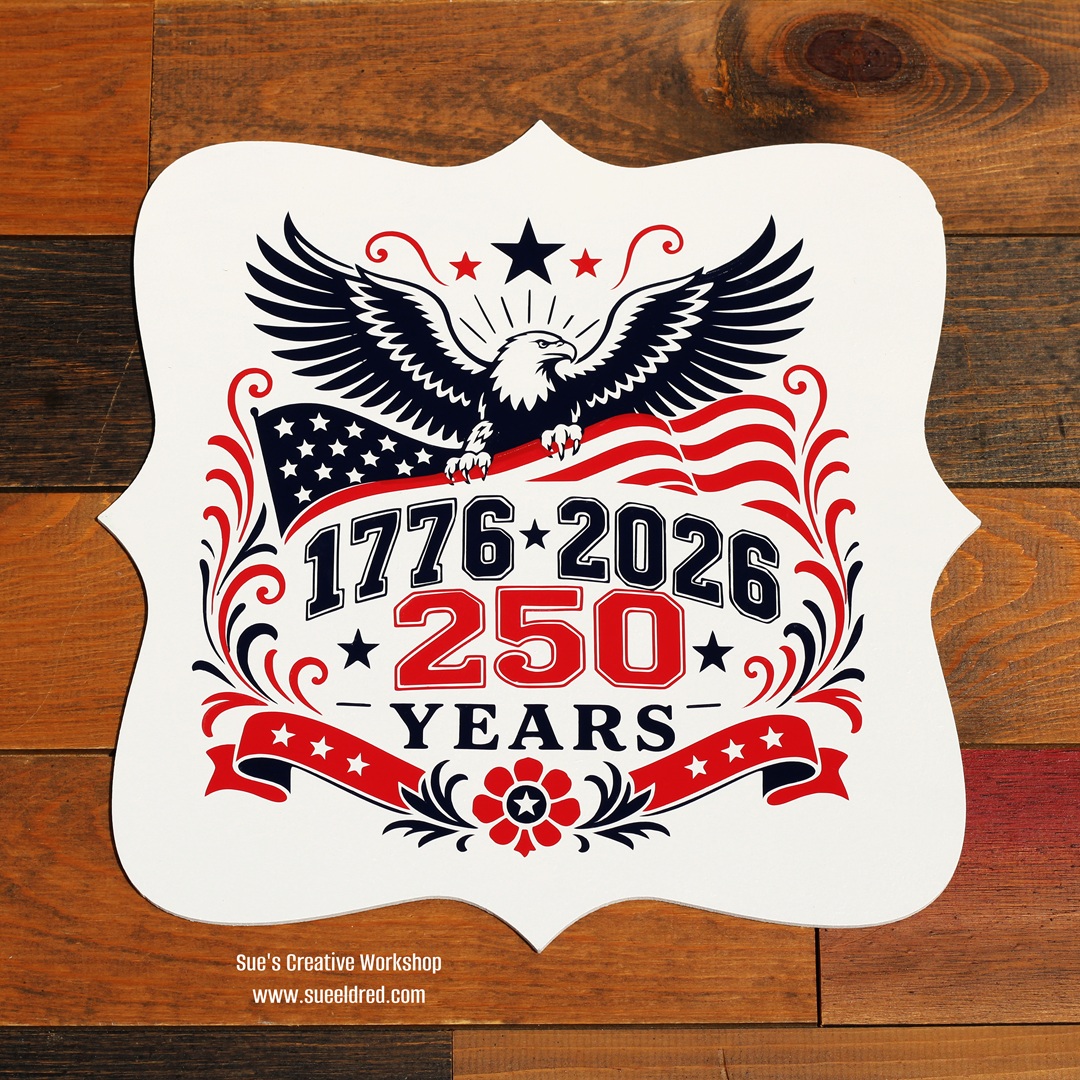
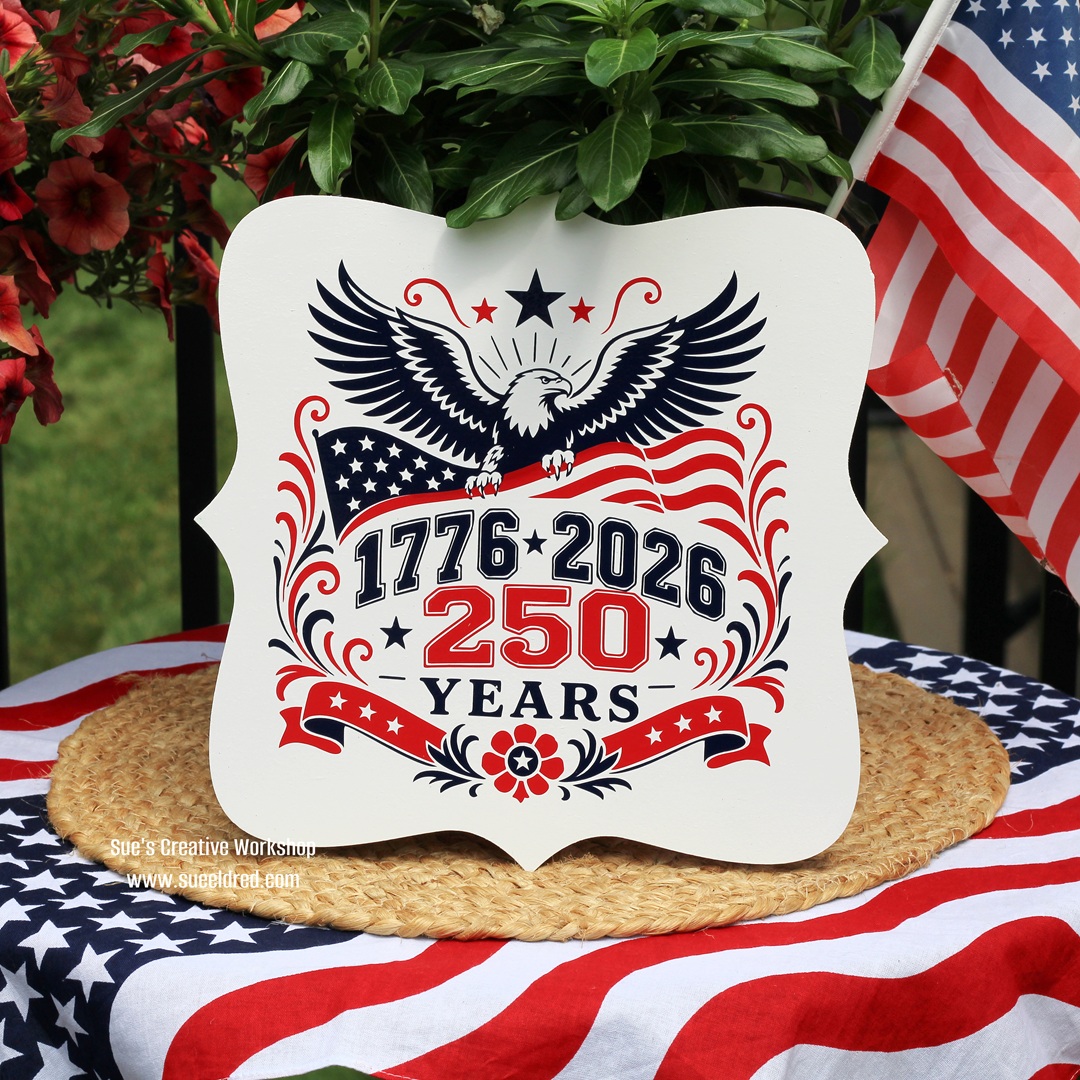
This year, I decided to make a patriotic sign using StyleTechCraft vinyl
and my Silhouette Cameo Electronic Die Cutter.
Not only is it a fun way to show off some red, white, and blue,
but it’s also a great project to mark such a special anniversary.
“This is a sponsored post. As a member of the StyleTechCraft Design Team I have been provided product and compensation in exchange for my creative ideas. The views and opinions are my own.
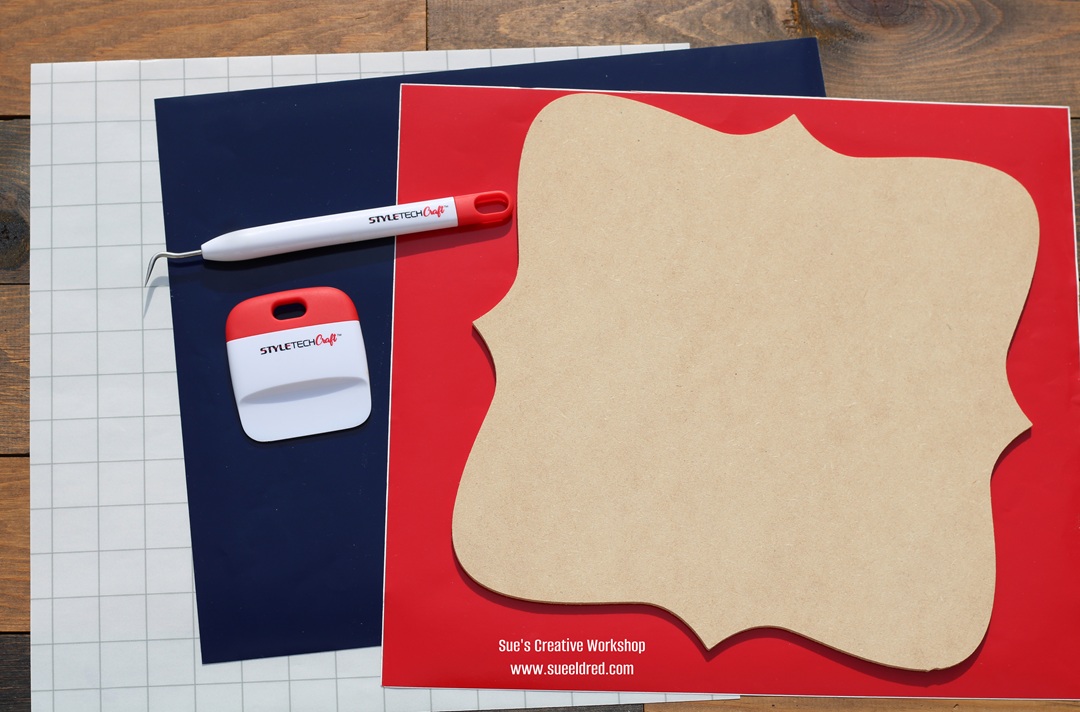
To make my Patriotic Sign I used: (*affiliate links)
*Disclosure: This blog uses ads and affiliate links. If you choose to make a purchase using one of the links, I receive a small commission (at no additional cost to you) that helps offset the costs of maintaining this blog. Thanks for your support!
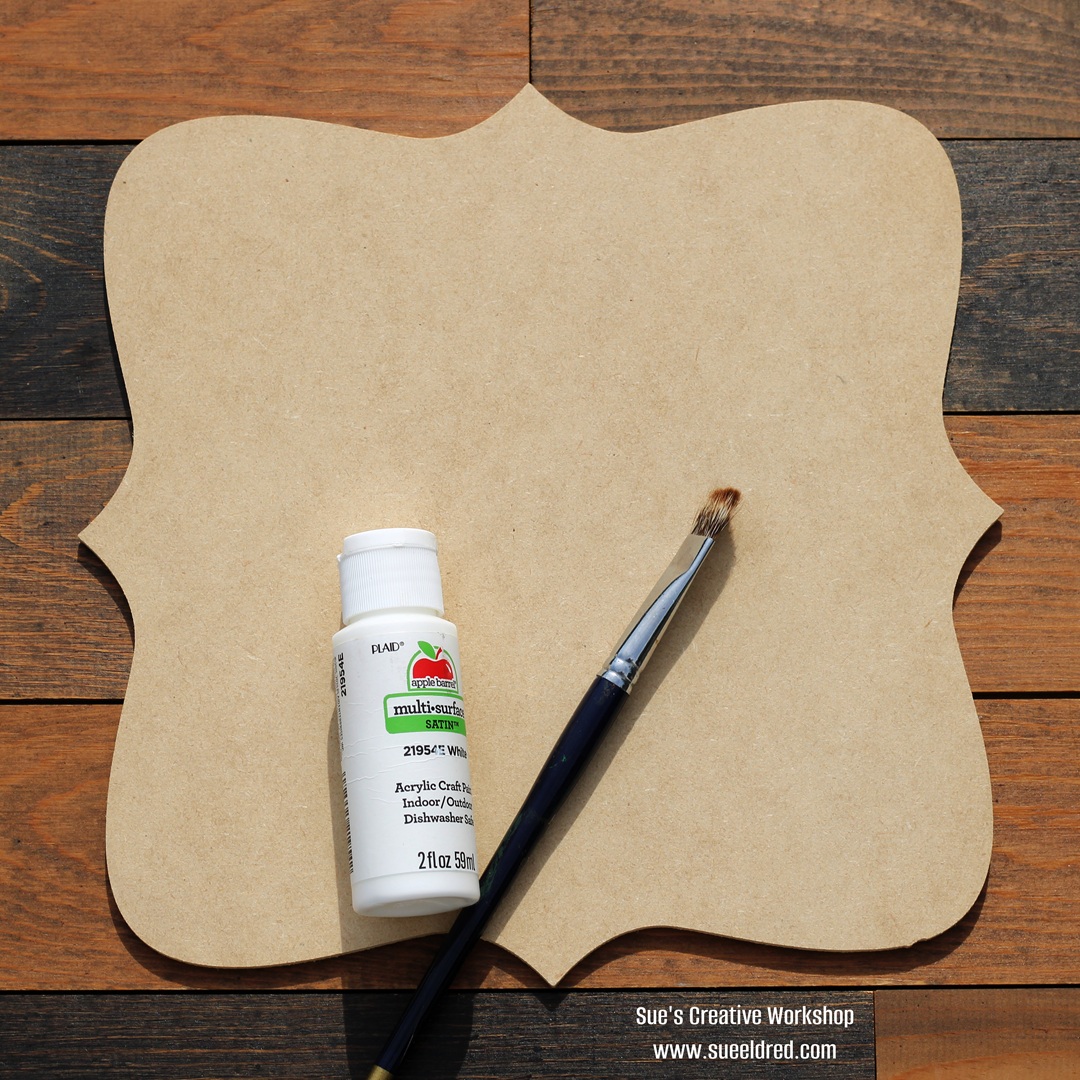
To begin,I painted an 8″ plain decorative wood sign with white paint.
For faster results, white spray paint also works well.
You can find several different sizes of wood signs on Amazon*. (click on the link)
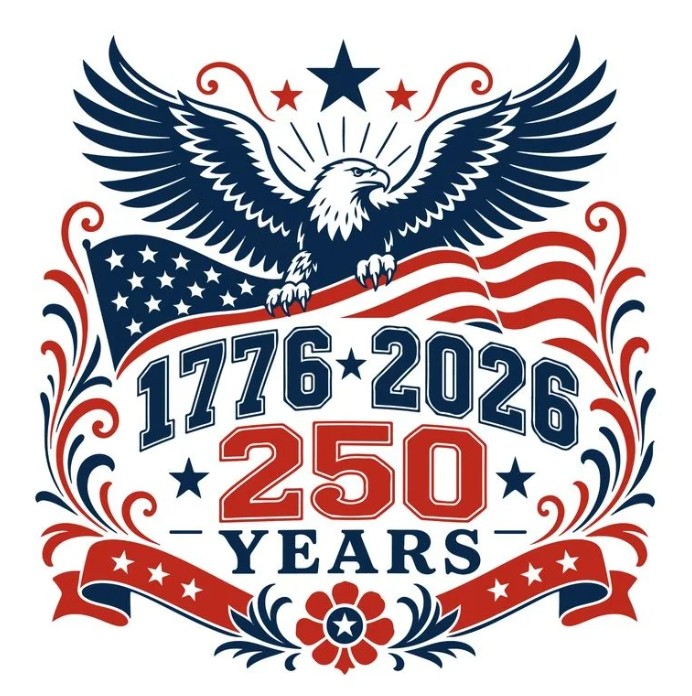
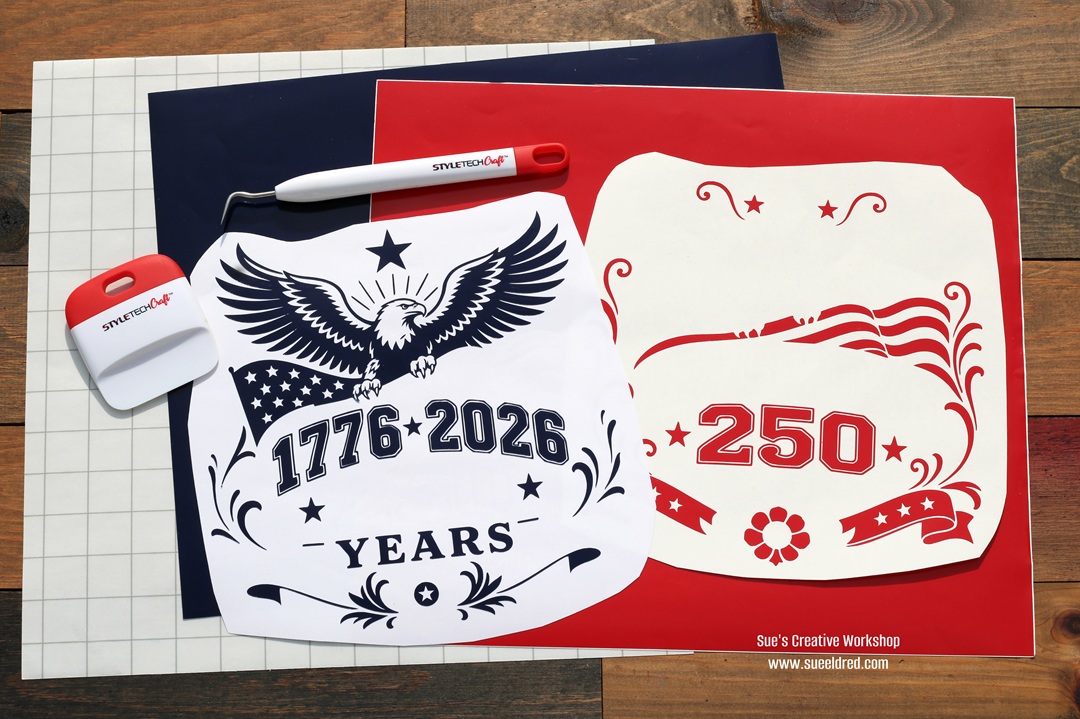
I cut it twice, once with navy vinyl and once using red vinyl.
Once the design was cut, I weeded the design using a vinyl craft pick*. Weeding vinyl is the process of removing excess vinyl from a cut design, leaving only the intended shapes, letters, or images.
Using the design image as reference, remove the parts from the blue design that will be red and vice versa with the red design.
Be careful around the numbers, as the thin shadow line is tricky to weed out.
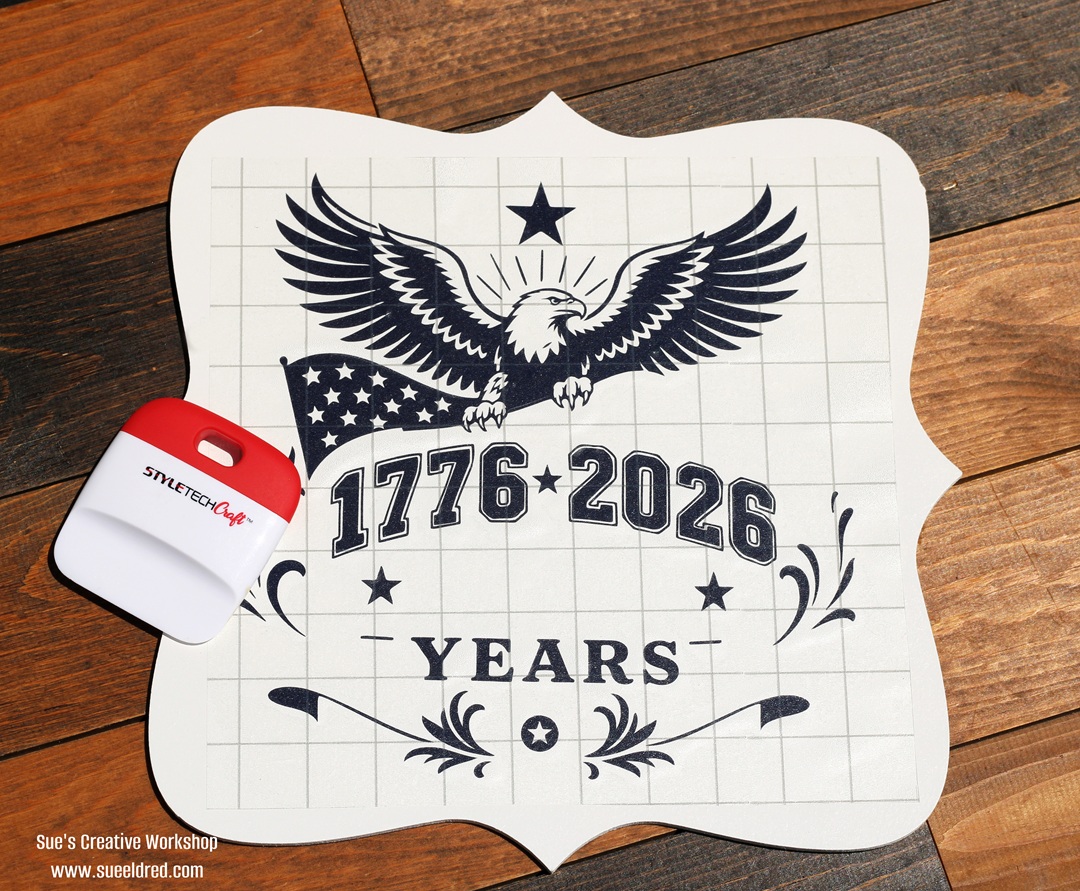
Place the navy blue design onto the sign first using transfer paper. I gently rubbed over the transfer paper and sign using a vinyl scraper tool*.
After the words have transferred to the sign, remove the transfer paper.
Here’s my tip: When transferring the red design, take it slow and line up small sections
one section at a time. I tried to transfer the entire design all at once and ended up having
to redo parts of it-trust me, working in smaller sections will save you time and frustration?
I hope this fun patriotic sign project helps you celebrate America’s 250th in style!
If you enjoyed this craft, be sure to check out some of my older posts for even more
holiday decoration ideas and inspiration.
Click the images below to discover more 4th of July projects featuring StyleTechCraft vinyl.
*Disclosure: This blog uses ads and affiliate links. If you choose to make a purchase using one of the links, I receive a small commission (at no additional cost to you) that helps offset the costs of maintaining this blog. Thanks for your support!
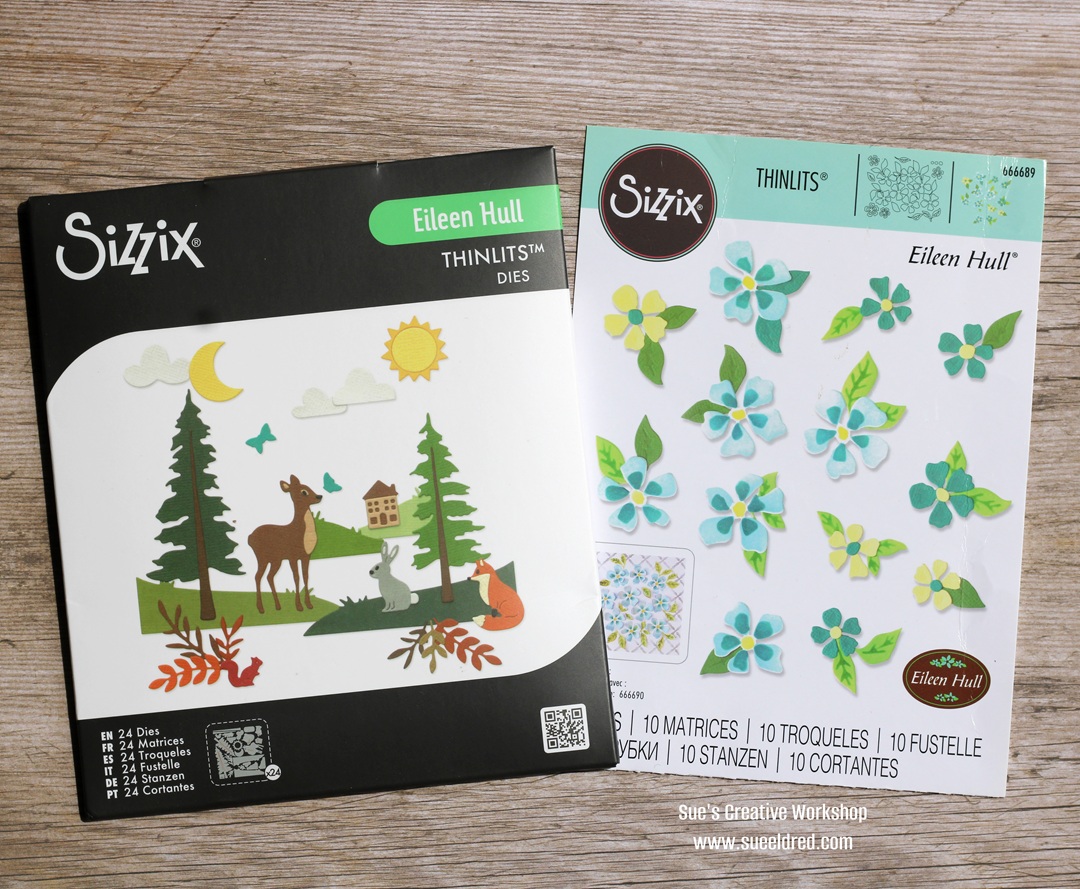
Get ready — the new Eileen Hull Sizzix Collection is here, and we’re celebrating LIVE from the show floor at Creativation!
Join Eileen and Susie as they broadcast the Sizzix Release Party straight from Eileen’s tiny vintage trailer, Daisy, bringing together her amazing creative team from all around the world. You’ll get an up-close look at the fabulous project samples created by the team, sneak peeks of the new products, and maybe even a glimpse of the excitement happening on the show floor!
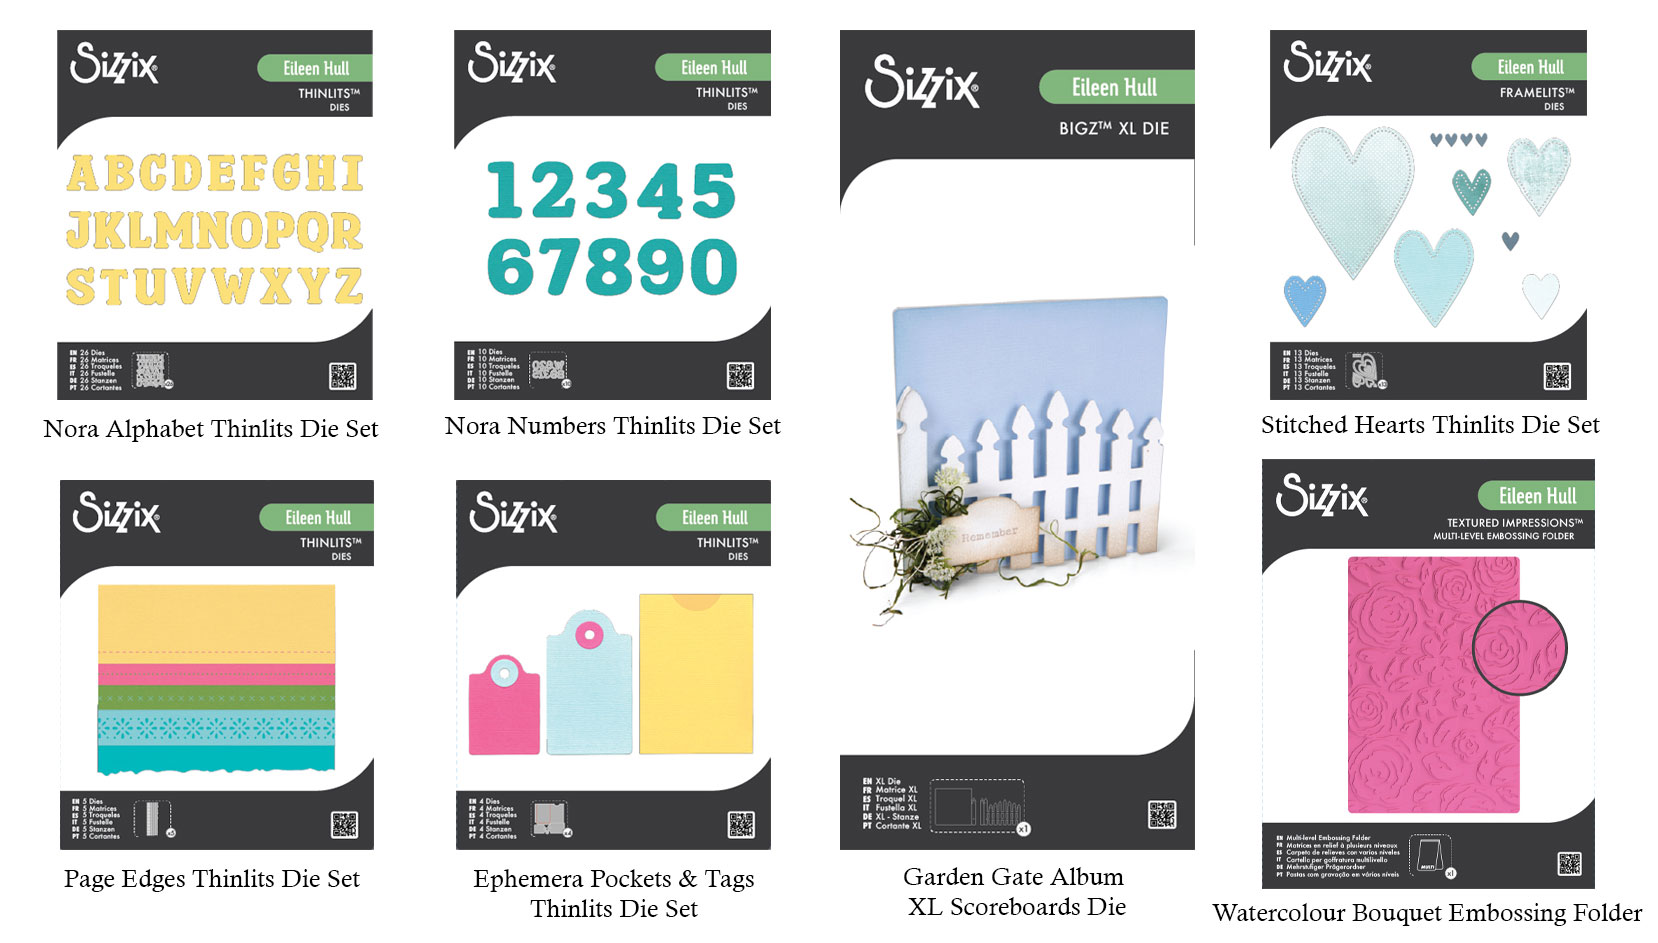
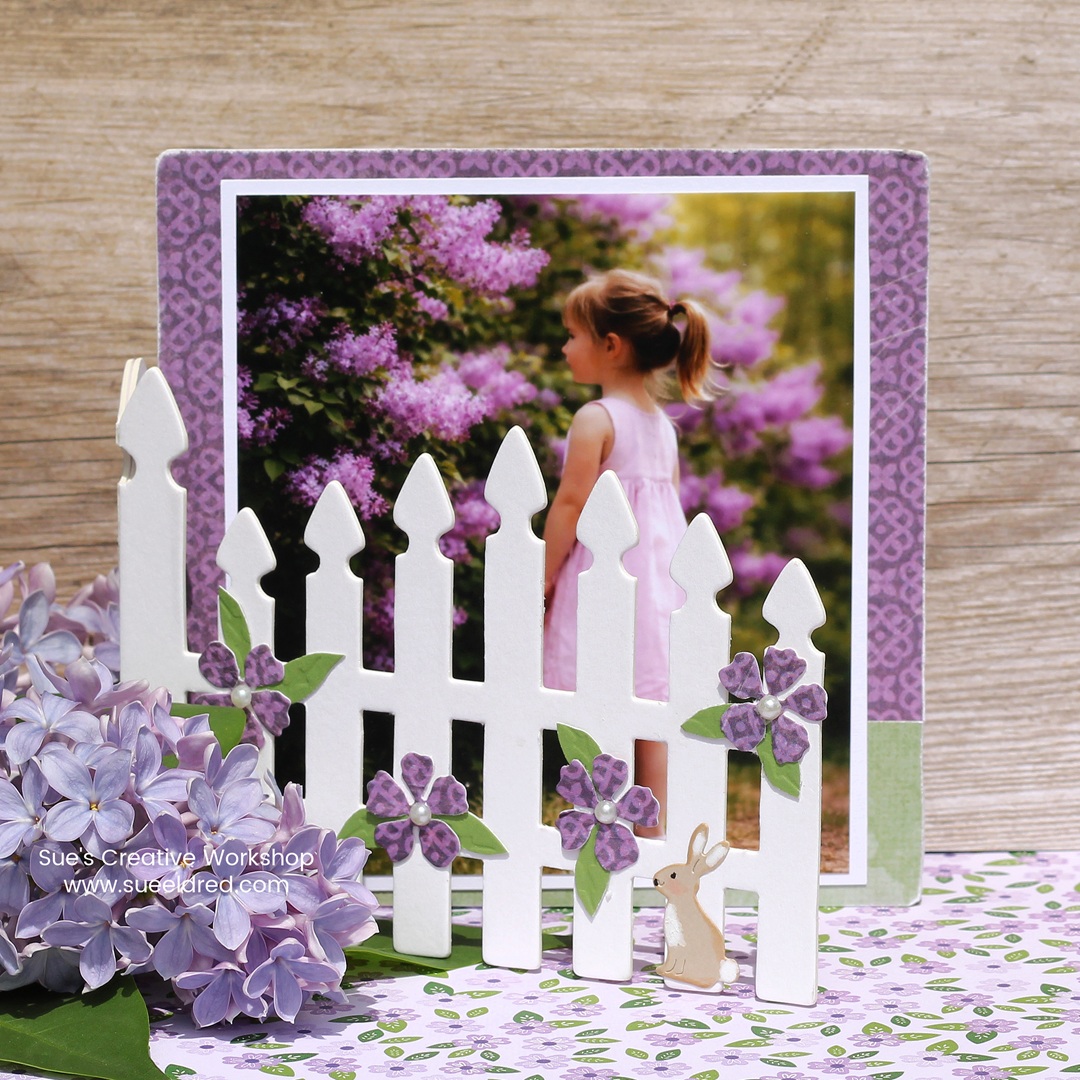
The May release includes seven exciting new products: • The fan-favorite Garden Gate Album die — brought back by popular request • Five brand-new Thinlits sets • A beautiful new embossing folder
We can’t wait to see what YOU create with the new collection! Be sure to share your projects in the Eileen Hull Fan Club so we can continue inspiring each other and celebrating creativity together.
Thank you for being part of this amazing journey with us — see you at the party!
Disclosure: This is a sponsored post. As a member of the Eileen Hull Inspiration Team, I have been provided product in exchange for my creative ideas. The view and opinions are my own.
*Disclosure: This blog uses ads and affiliate links. If you choose to make a purchase using one of the links, I receive a small commission (at no additional cost to you) that helps offset the costs of maintaining this blog. Thanks for your support!
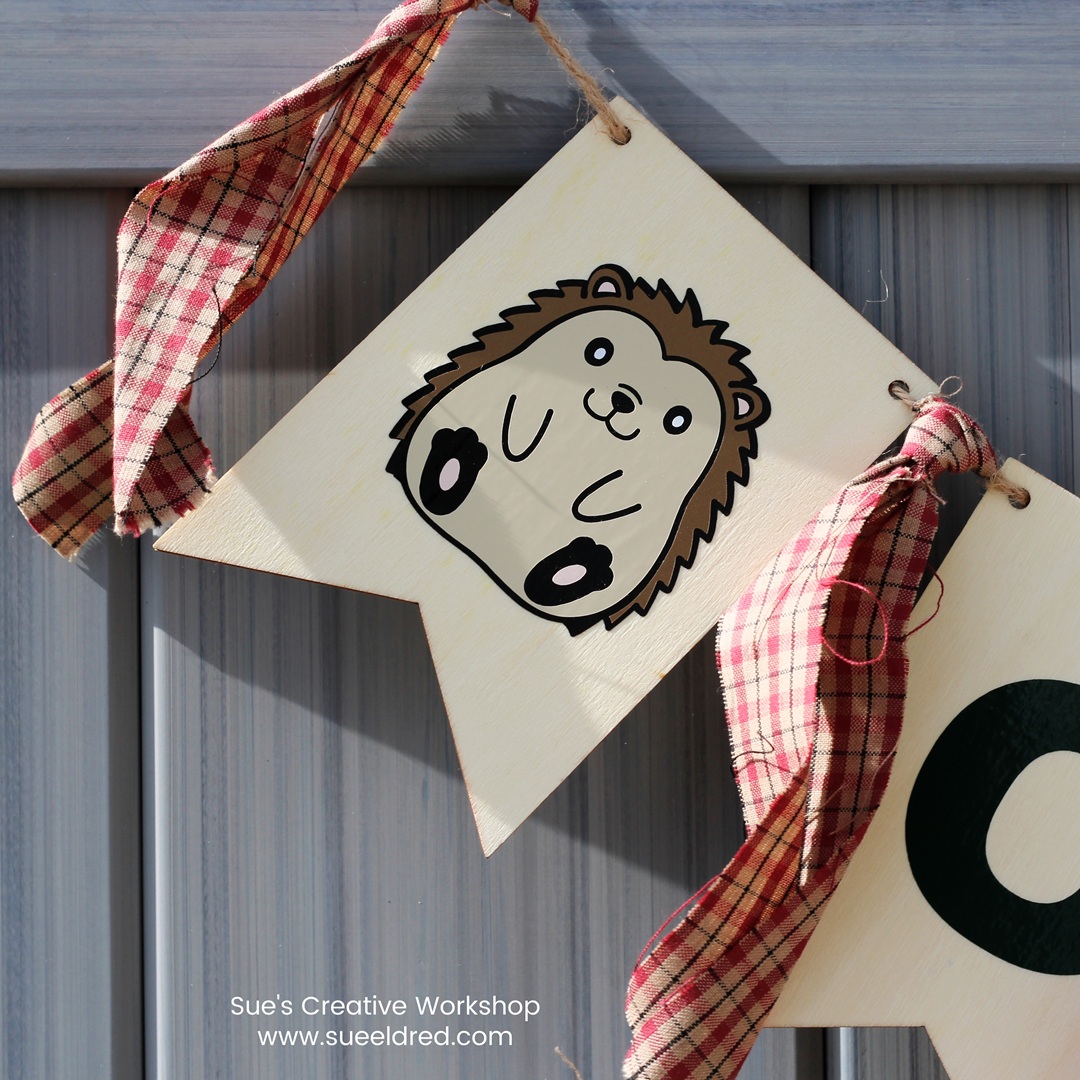
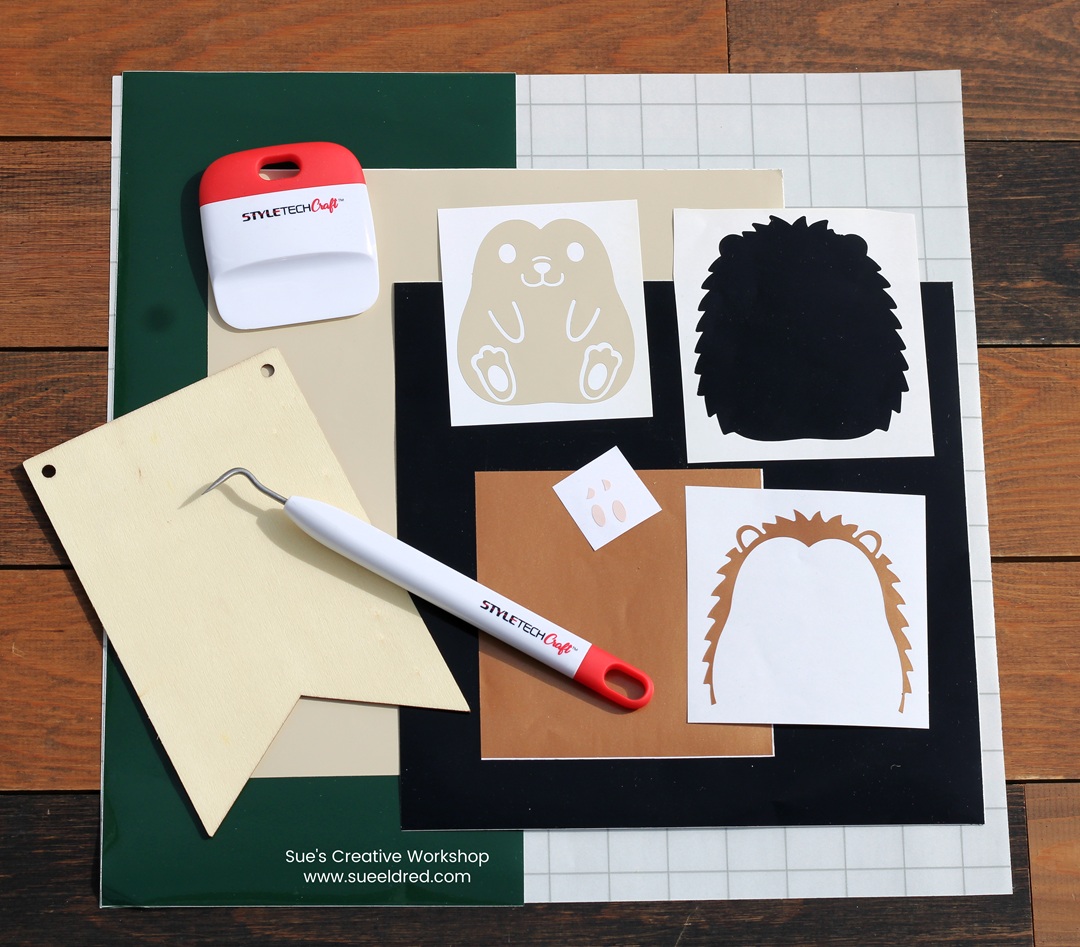
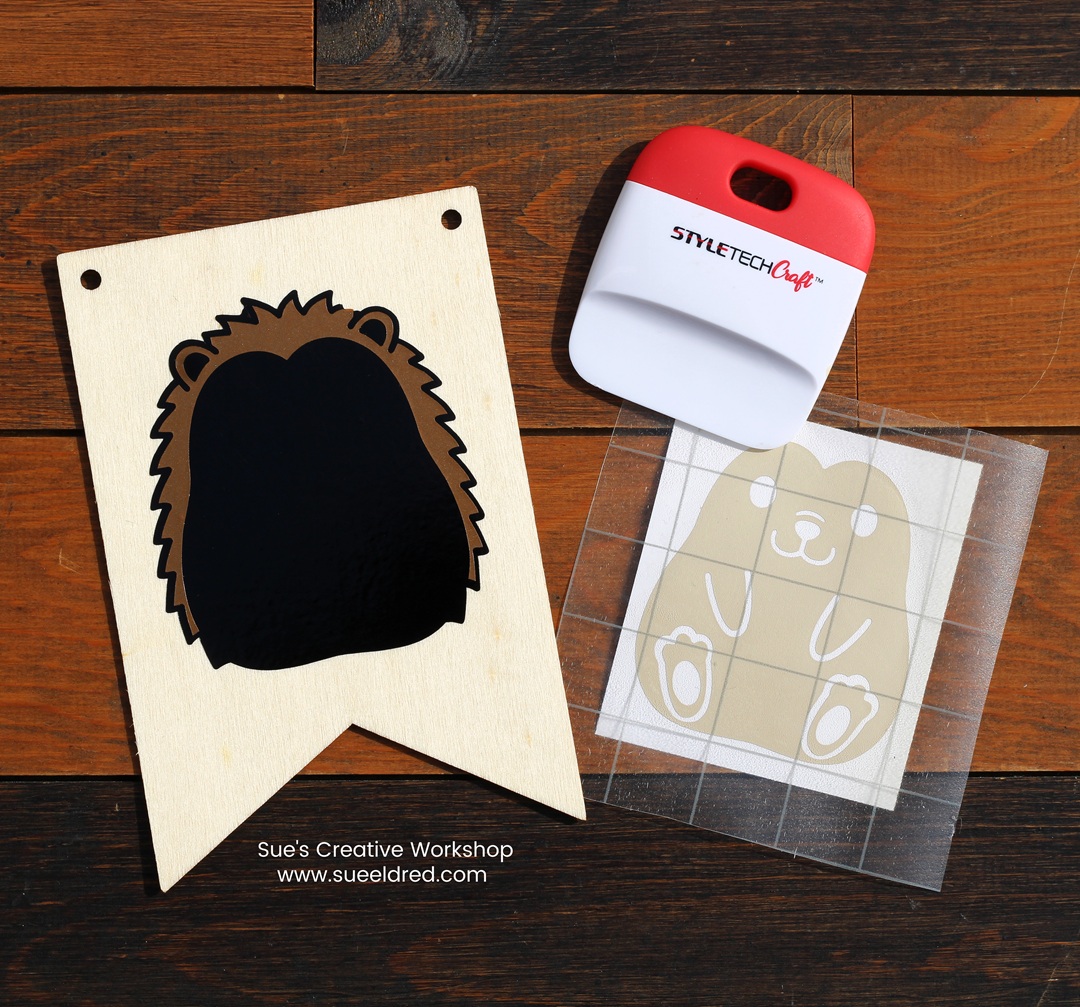
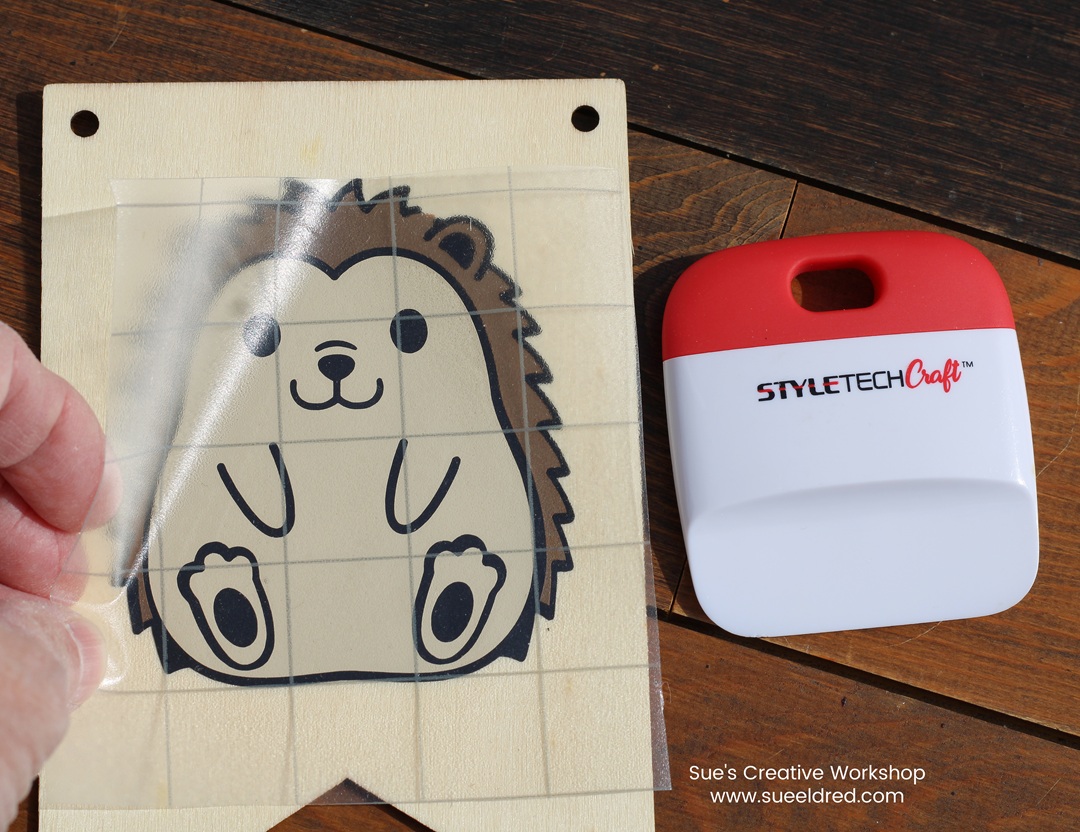
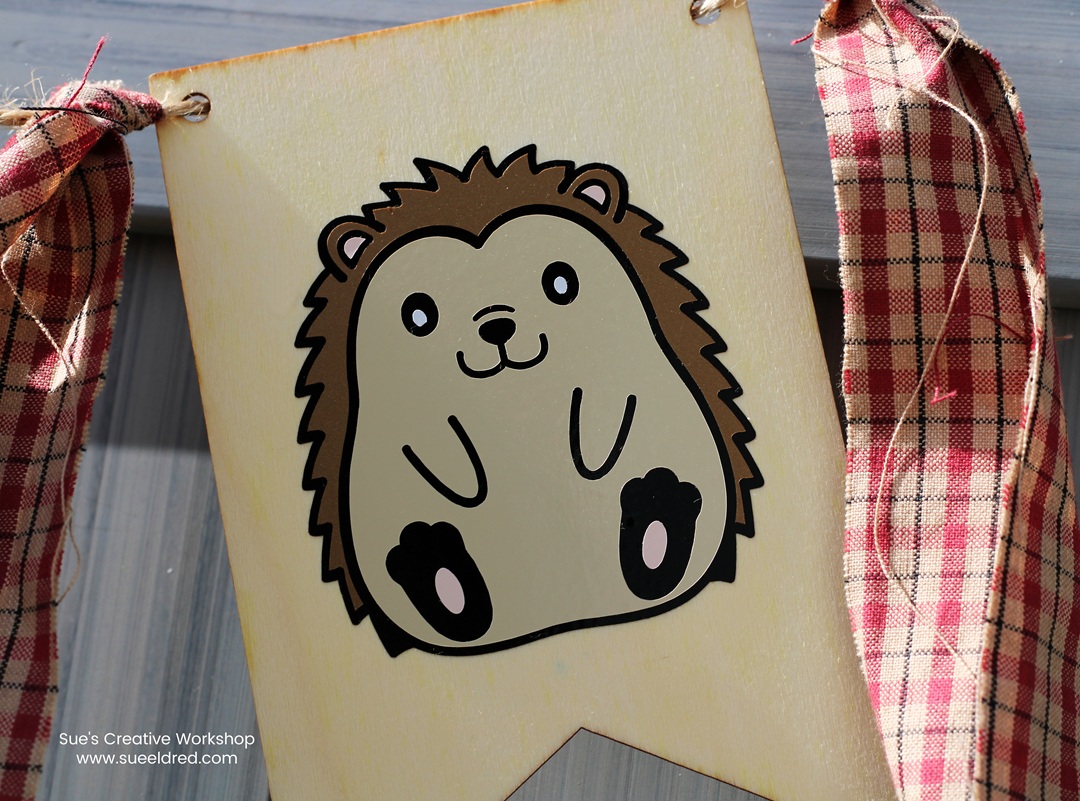
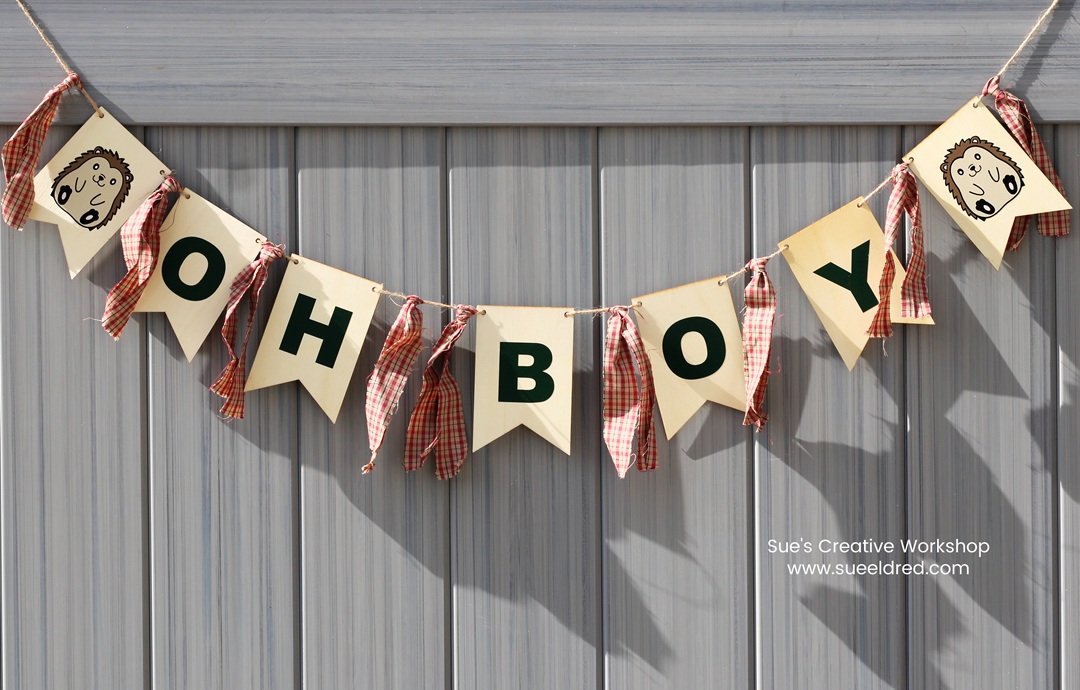
The banner was strung on a large piece of twine with strips of plaid material between.
The Finished Banner.
We all took pictures in front of the backdrop for a little memory book
for the new mother.
I wish I could share the banner with the balloon arch, but the photo I took
wasn’t clear enough to share. (I took this photo at home.)
It was a beautiful shower with friends and family gathered for a special little boy.
“This is a sponsored post. As a member of the StyleTechCraft Design Team I have been provided product and compensation in exchange for my creative ideas. The views and opinions are my own.
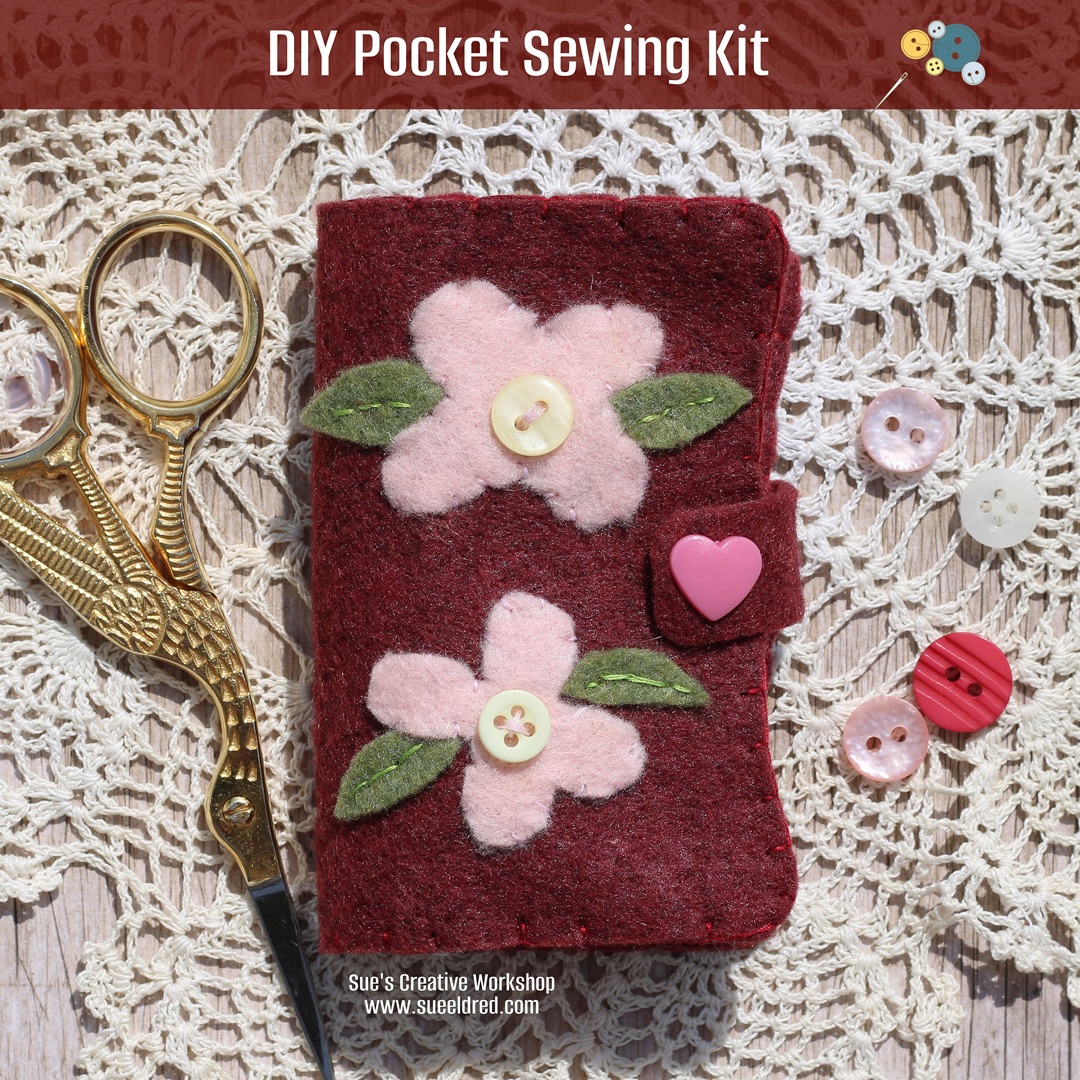
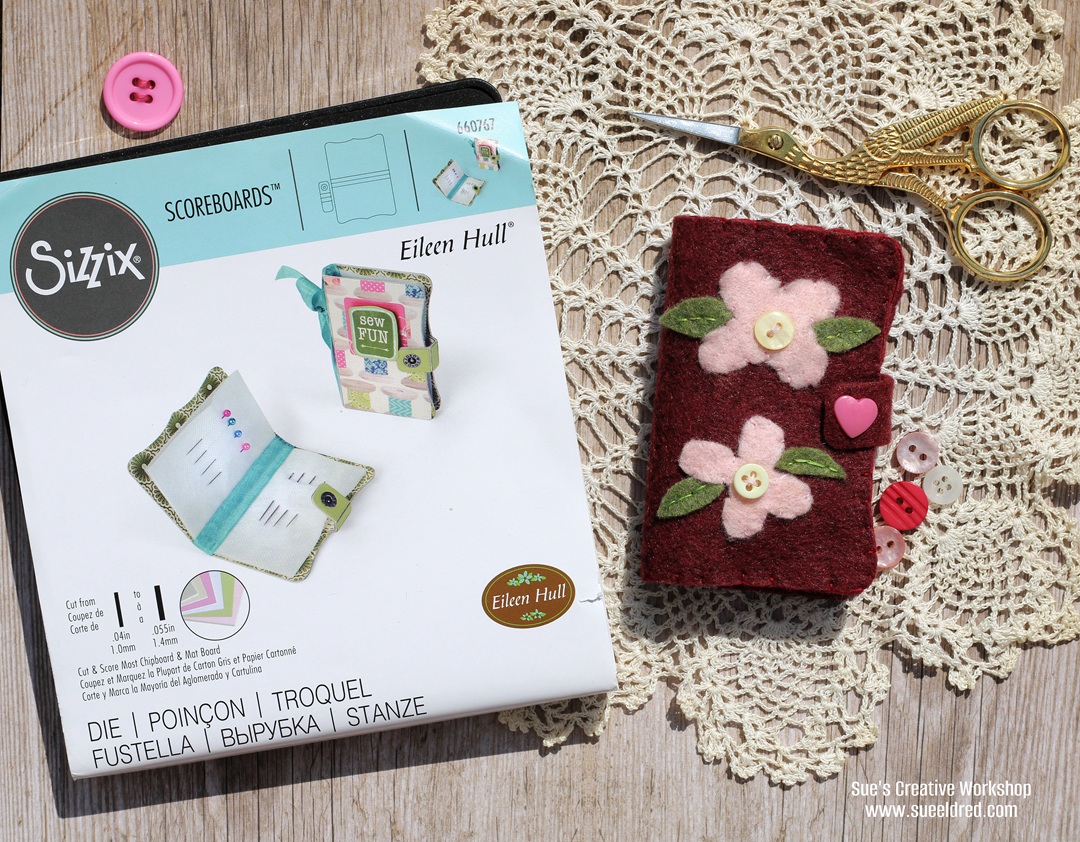
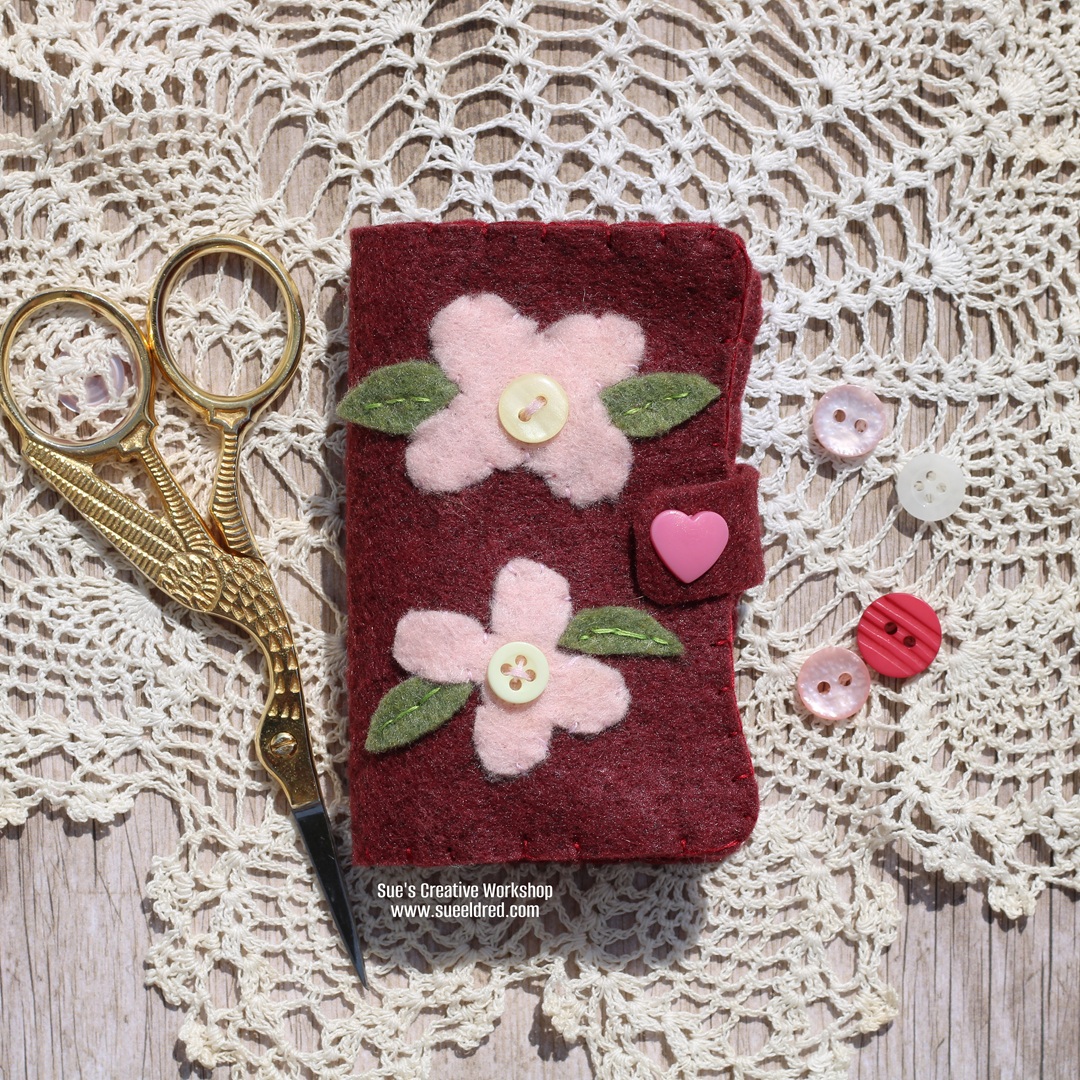
Hand-cut two simple flowers from pink felt, and stitch them with green felt leaves onto the front cover. Add small buttons to the flower centers.
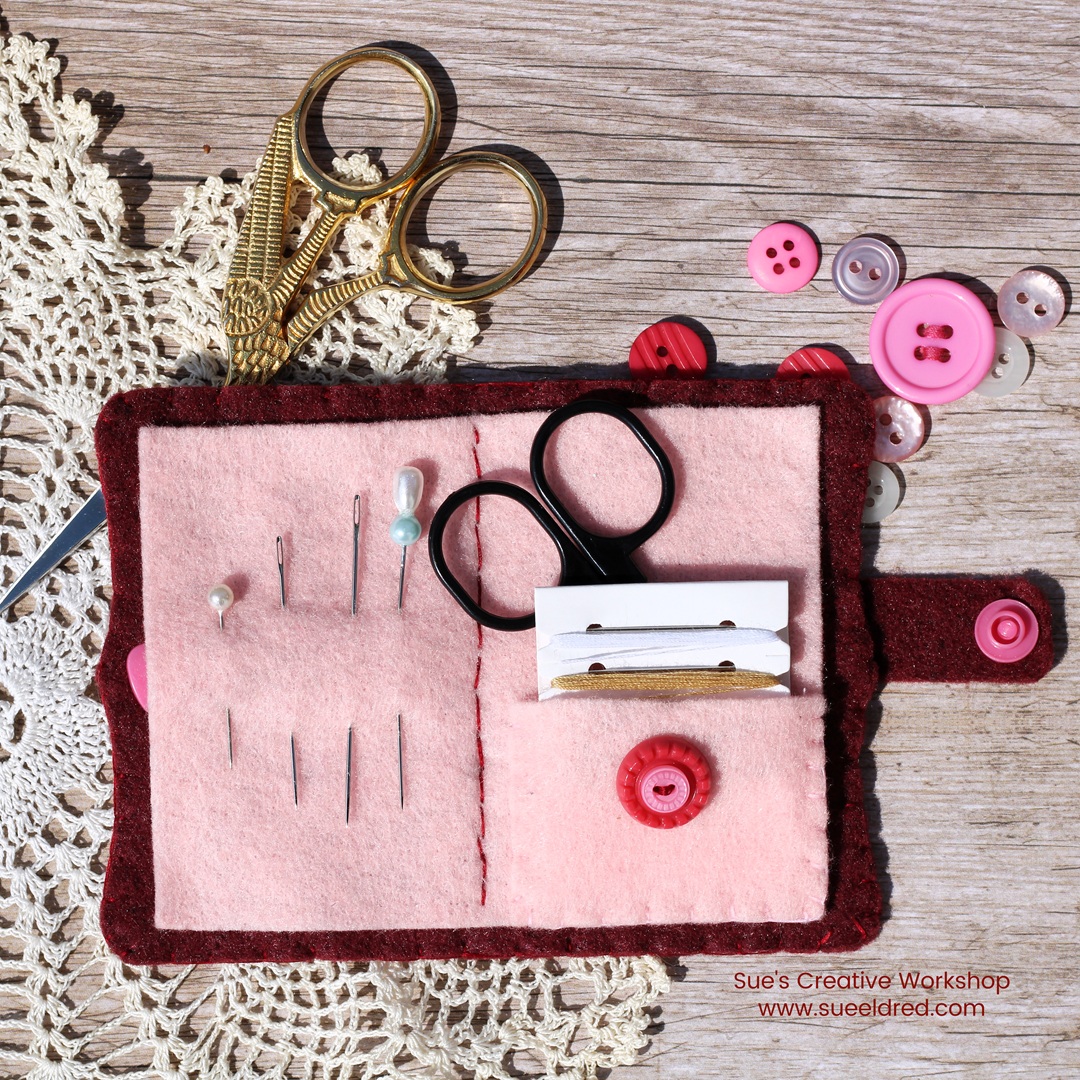
Cut a 3 ¼” x 4 ¼” piece of pink felt. Stitch a small pocket onto one side for holding small scissors, thread, and needles. Add a decorative button if you like.
Attach the pocket to the inside center of the second needle book cover.
Stitch the two covers together to form the book.
If you want an enclosure, cut and stitch it to the back cover. Add heart grommets to secure the closure.
Fill your finished kit with pins, needles, thread, and tiny scissors.
*Disclosure: This blog uses ads and affiliate links. If you choose to make a purchase using one of the links, I receive a small commission (at no additional cost to you) that helps offset the costs of maintaining this blog. Thanks for your support!
Enjoy the convenience of having your own sewing kit wherever you need it.
Disclosure: This is a sponsored post. As a member of the Eileen Hull Inspiration Team, I have been provided product in exchange for my creative ideas. The view and opinions are my own.