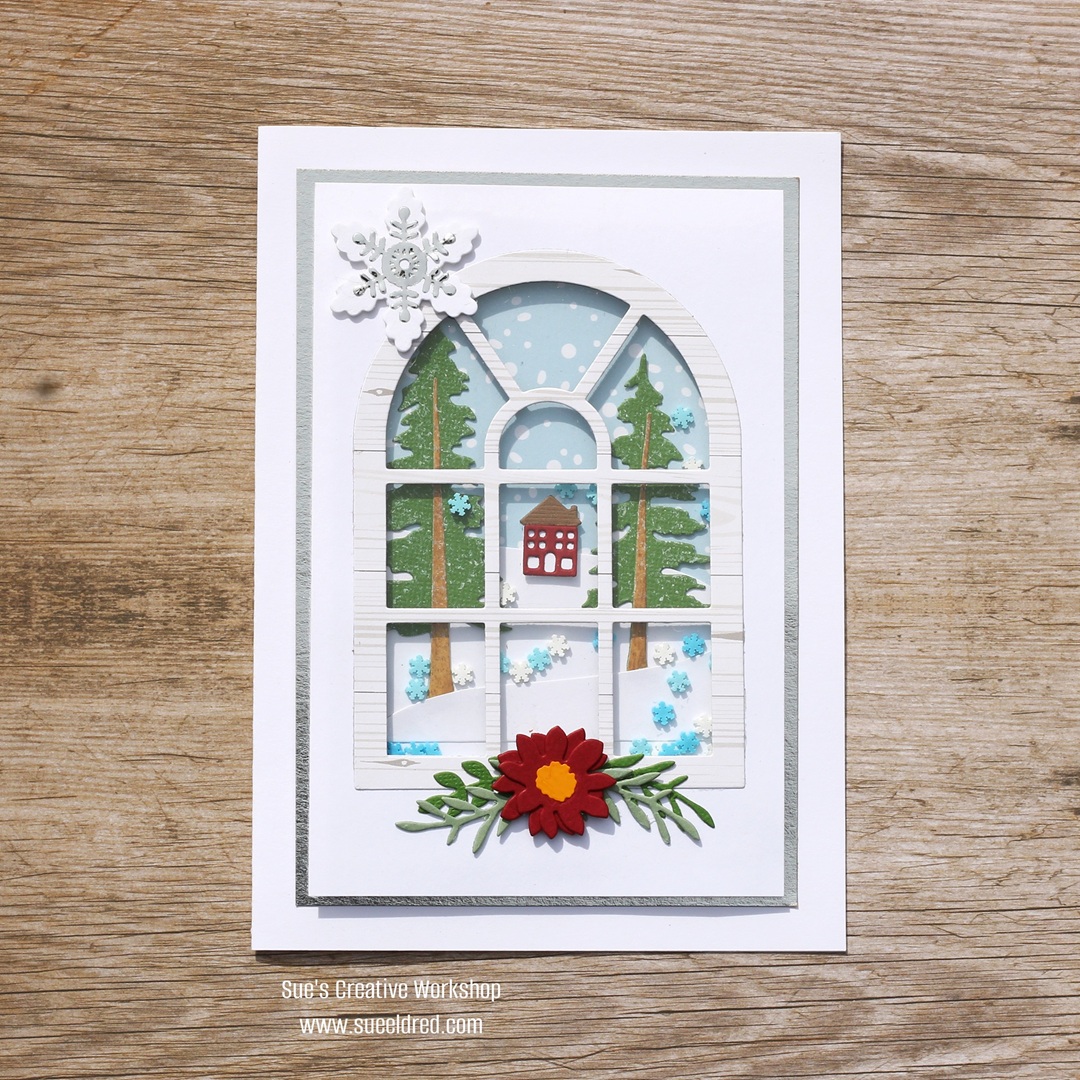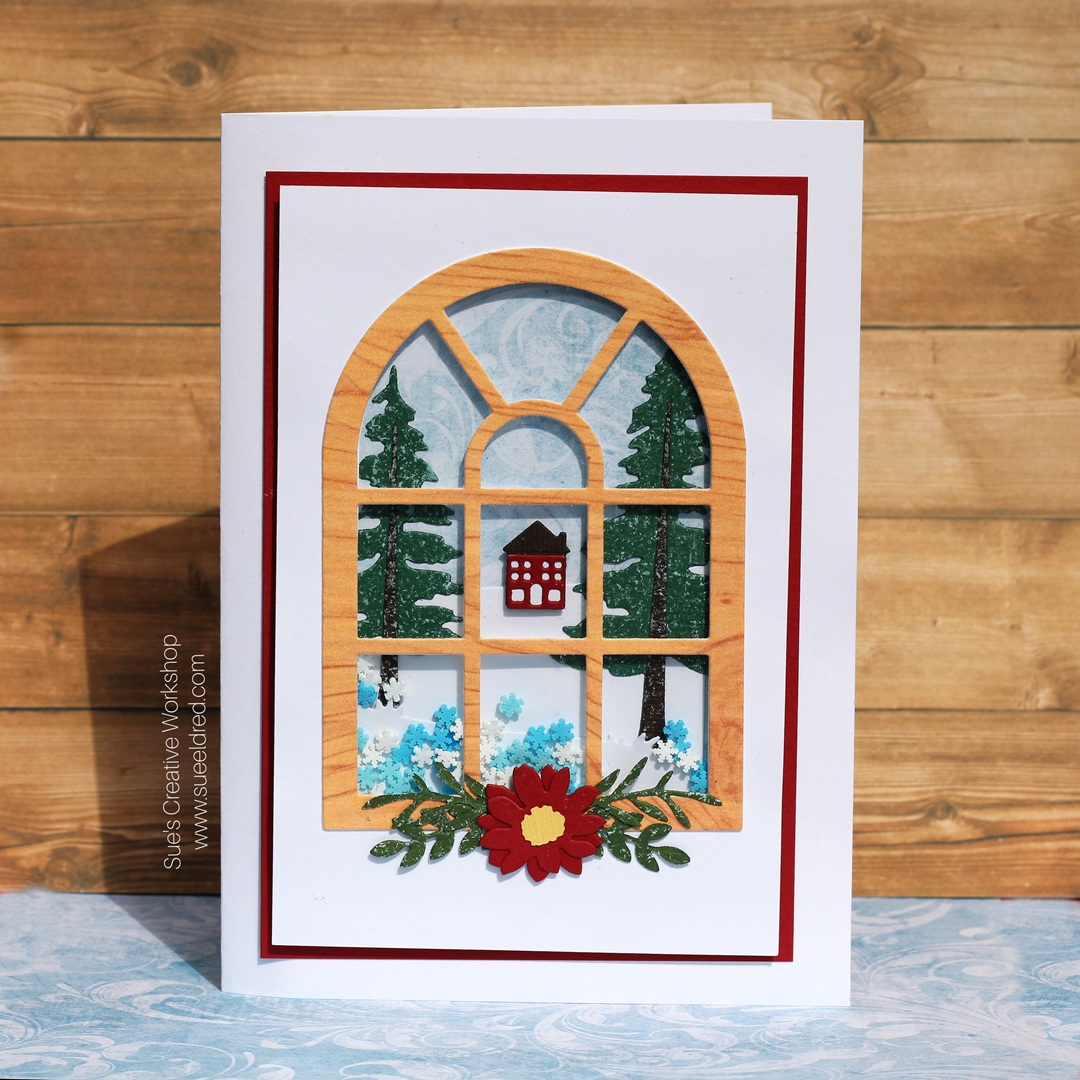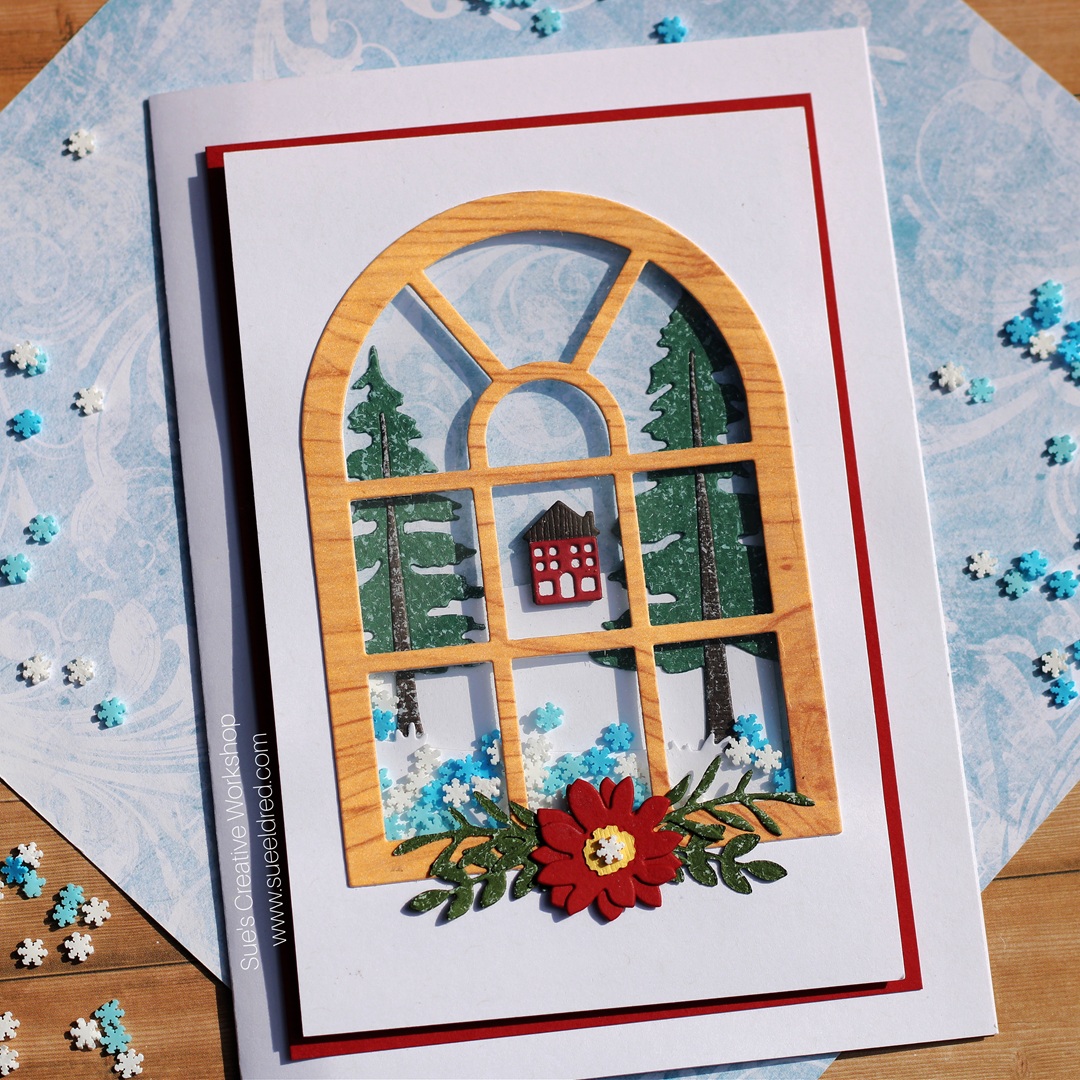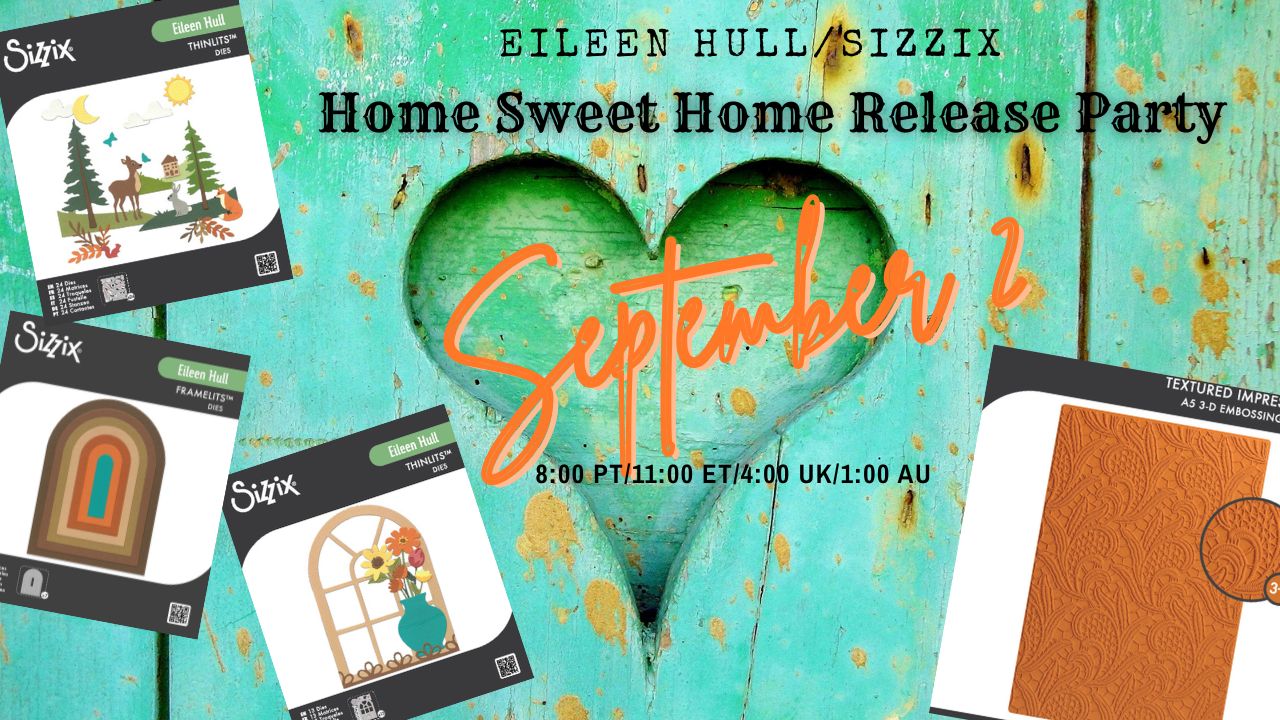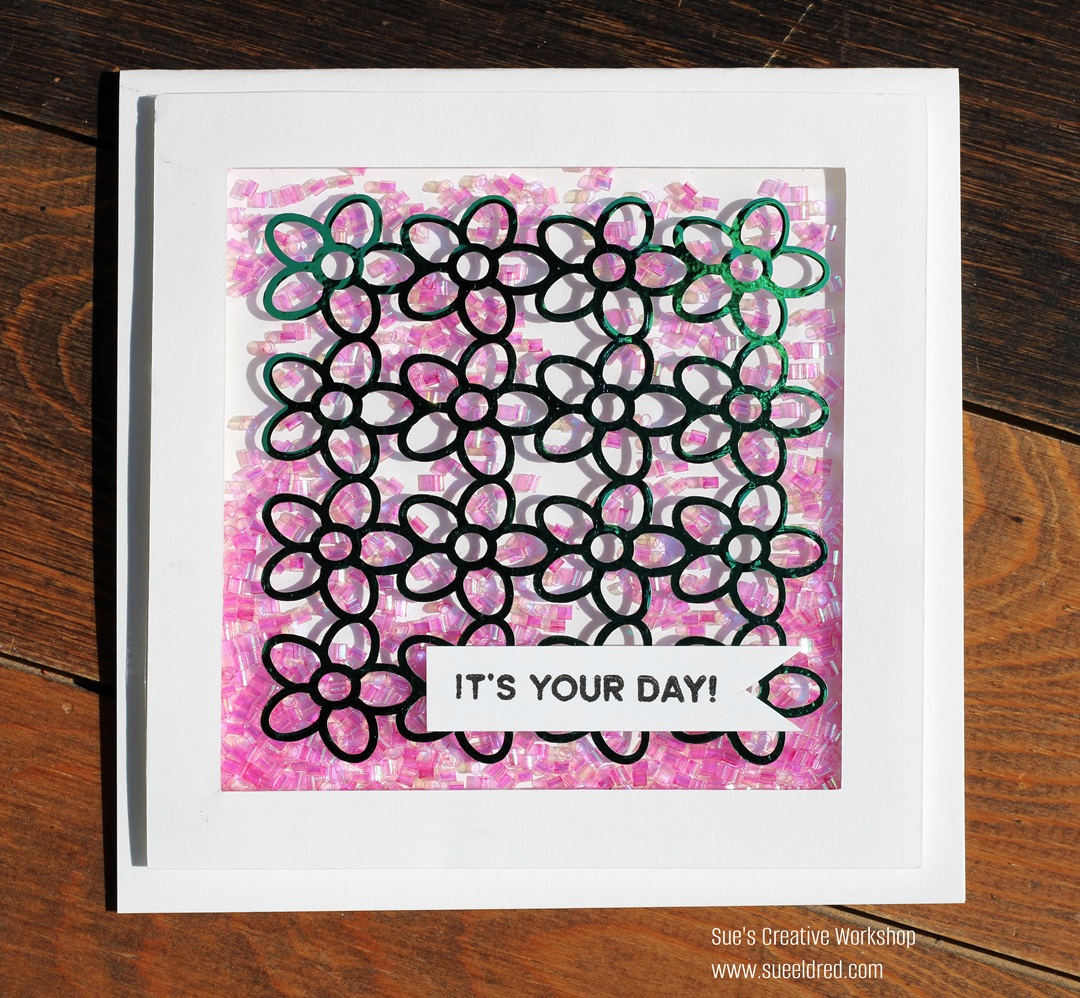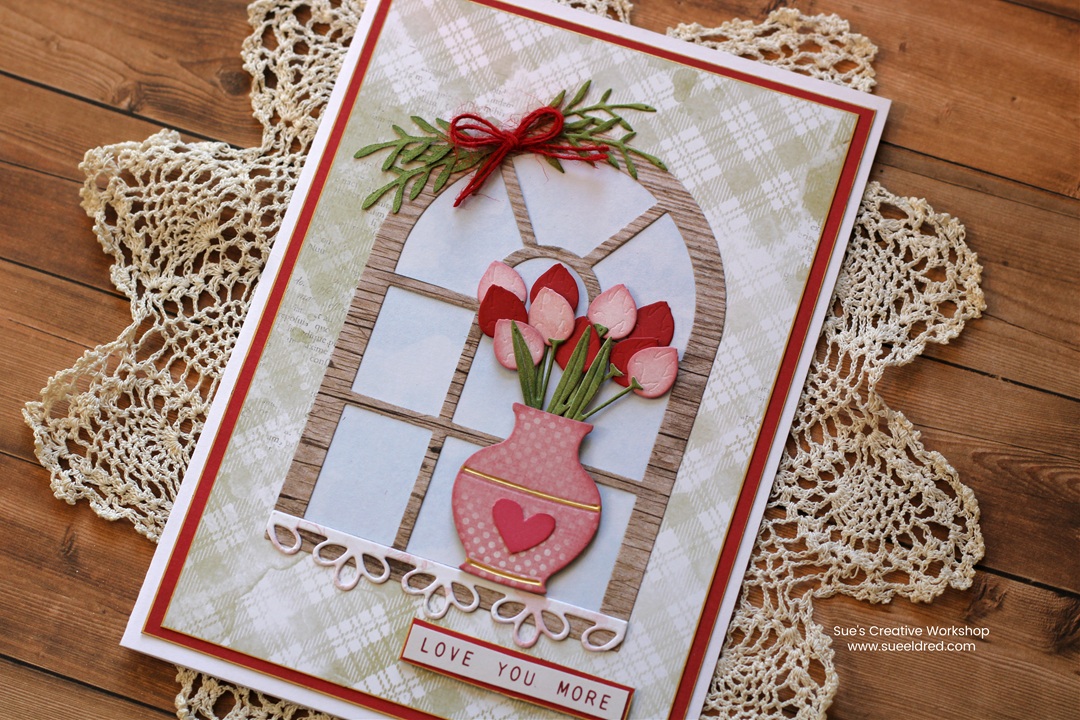
DIY Valentine Tulip Card
There’s something special about a vase of pink and red tulips.
They’re cheerful, vibrant, and the perfect Spring or Valentine’s Day gift.
Who really needs roses anyway? 🌷
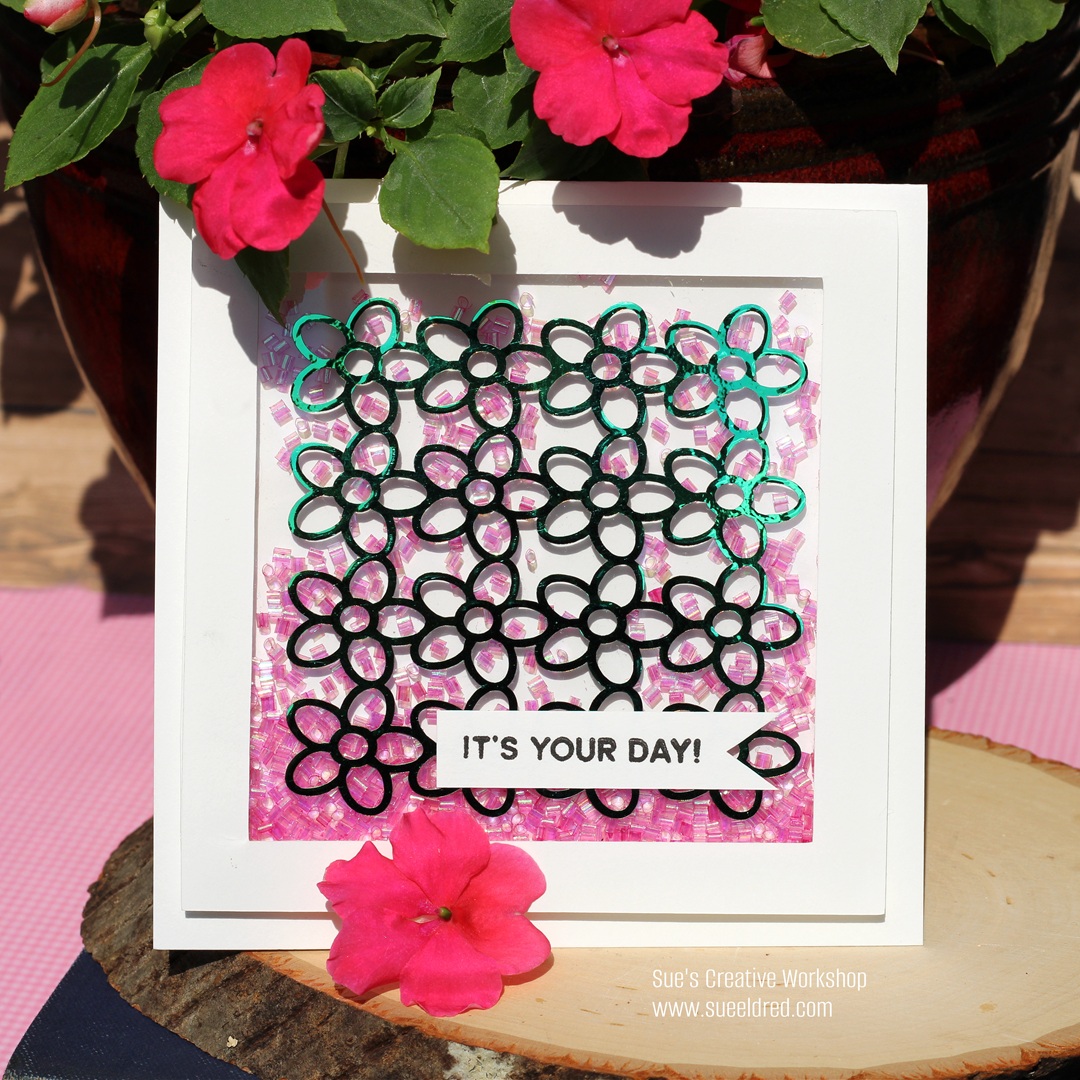
This DIY Valentine Tulip Card captures all that charm using
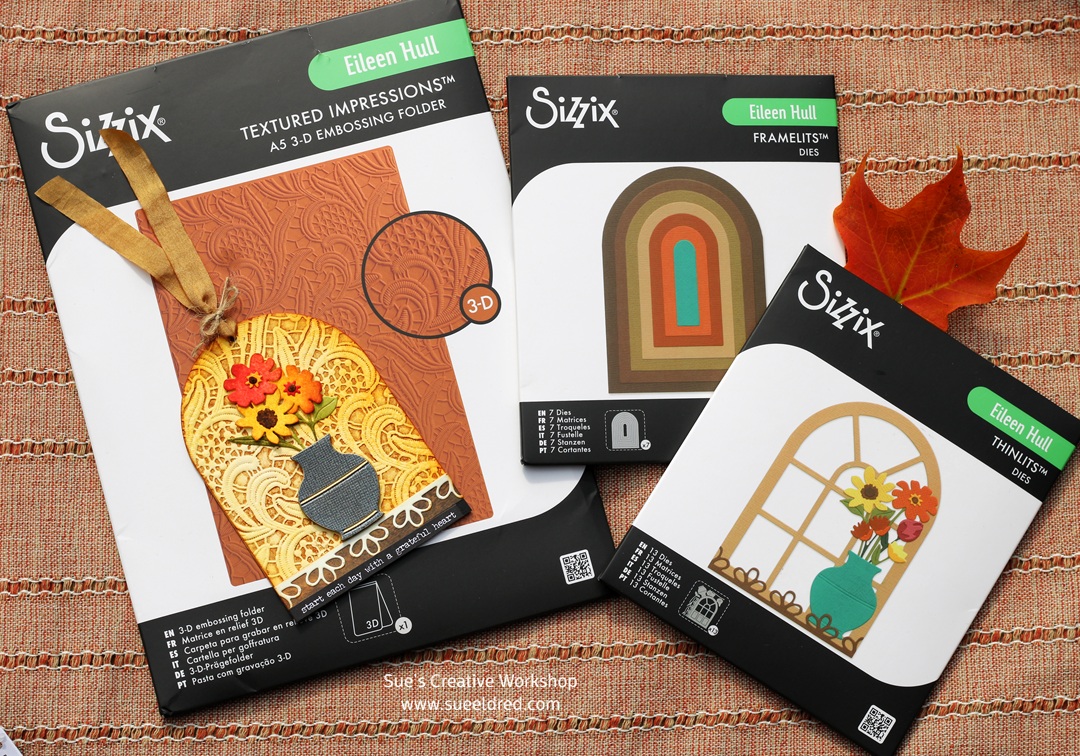
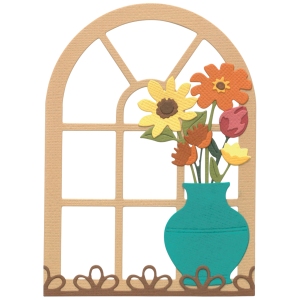
Eileen Hull’s Windowsill Flowers and Vase* by Sizzix.
It’s a beautiful way to send love without the wilting flowers.
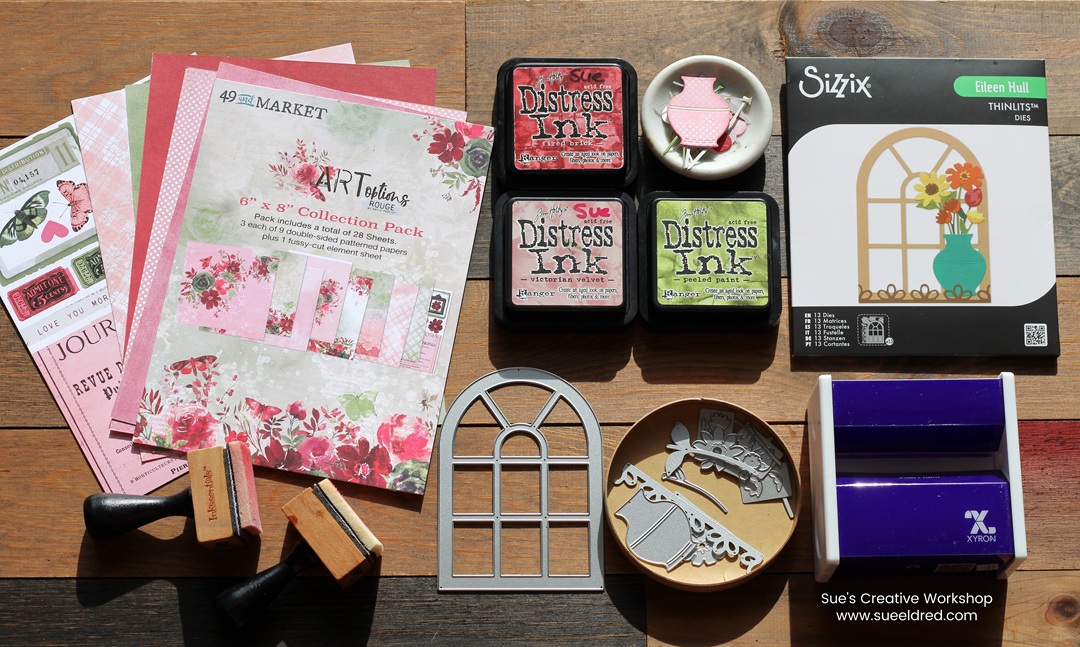
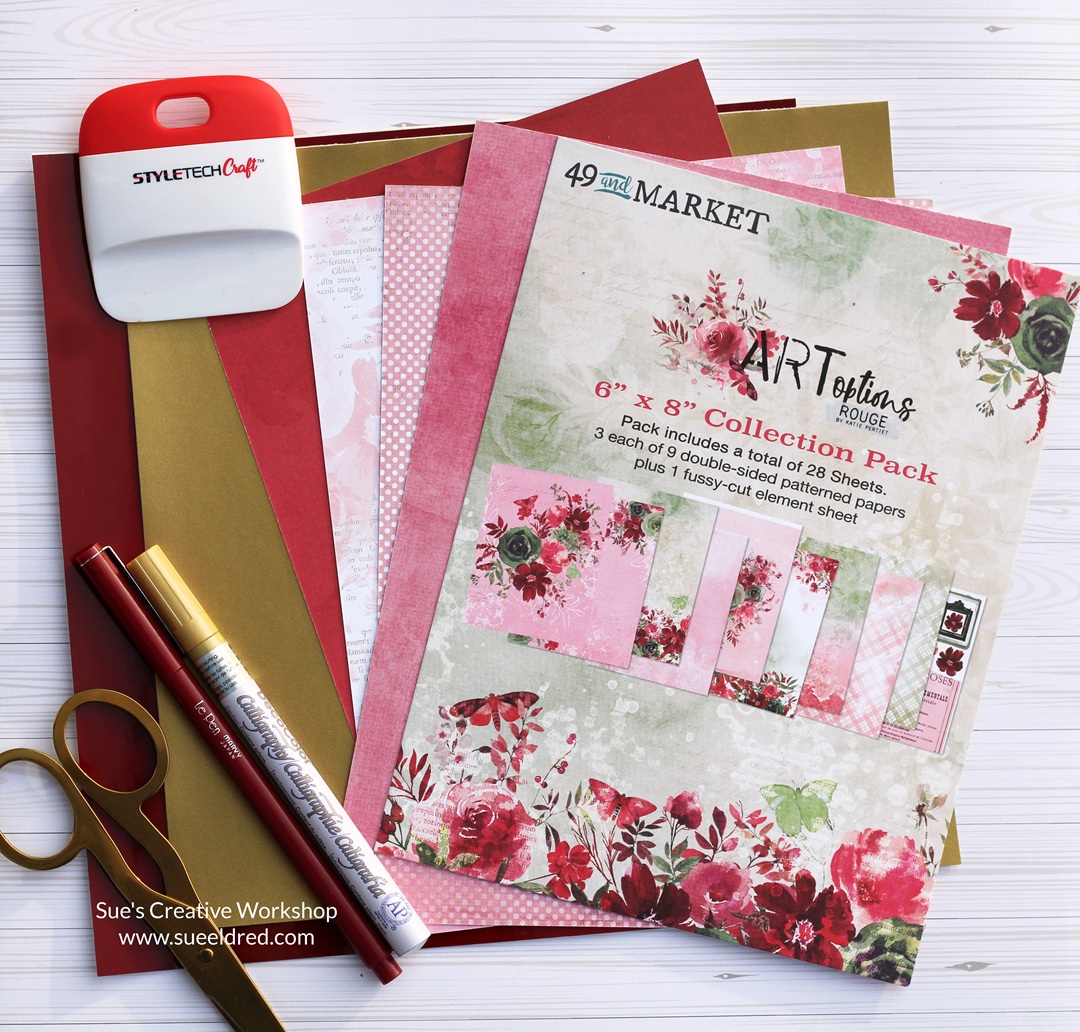
To make the Tulip Card I used: (*Affiliate Links)
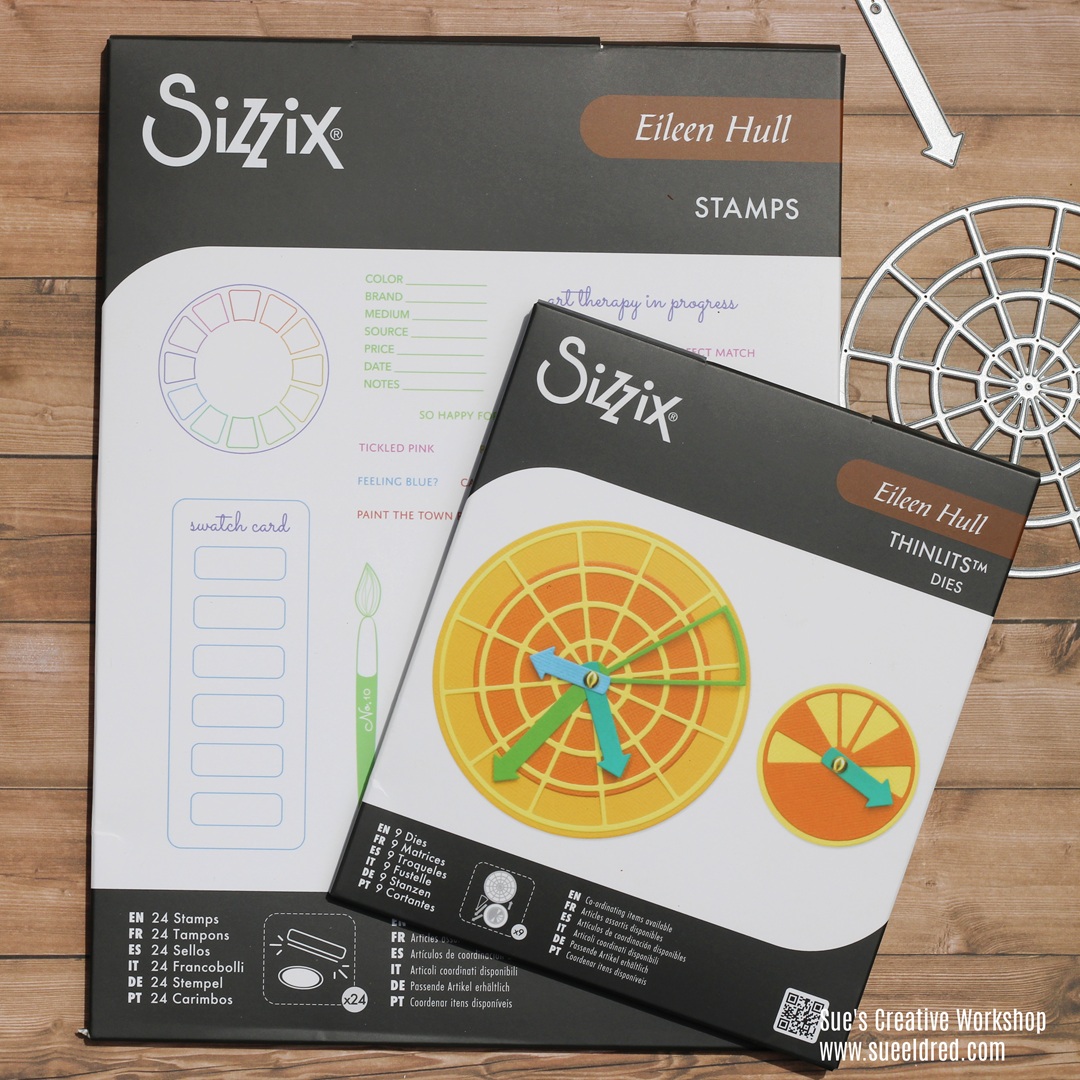
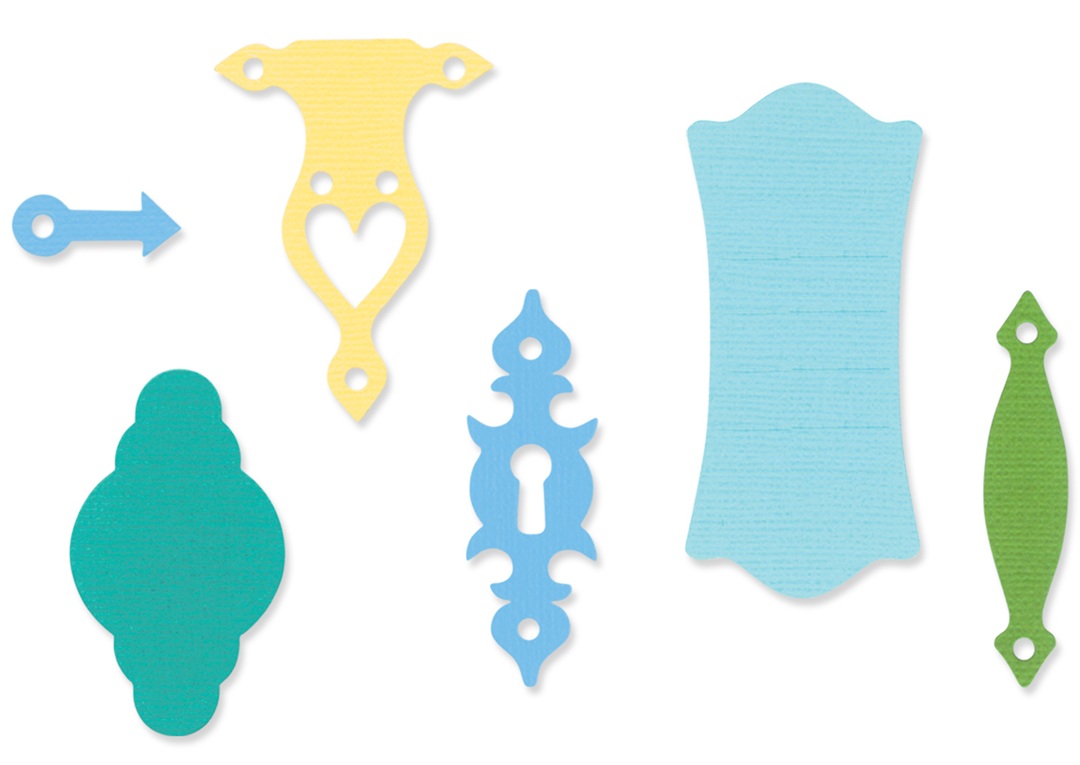
- Sizzix 13-piece Die Set-Windowsill Flowers and Vase by Eileen Hull*(shown in picture)
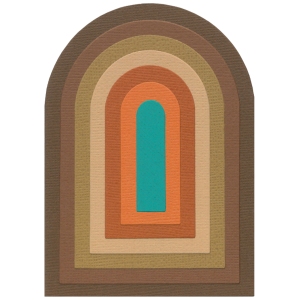
- Sizzix 7-piece Die Set-Tunnel Arches by Eileen Hull*
- Sizzix 24-piece Die Set – Home Sweet Home by Eileen Hull*
- Sizzix Big Shot Die-Cutting Machine*
- 49th and Market Art Options Rouge Collection Pack*
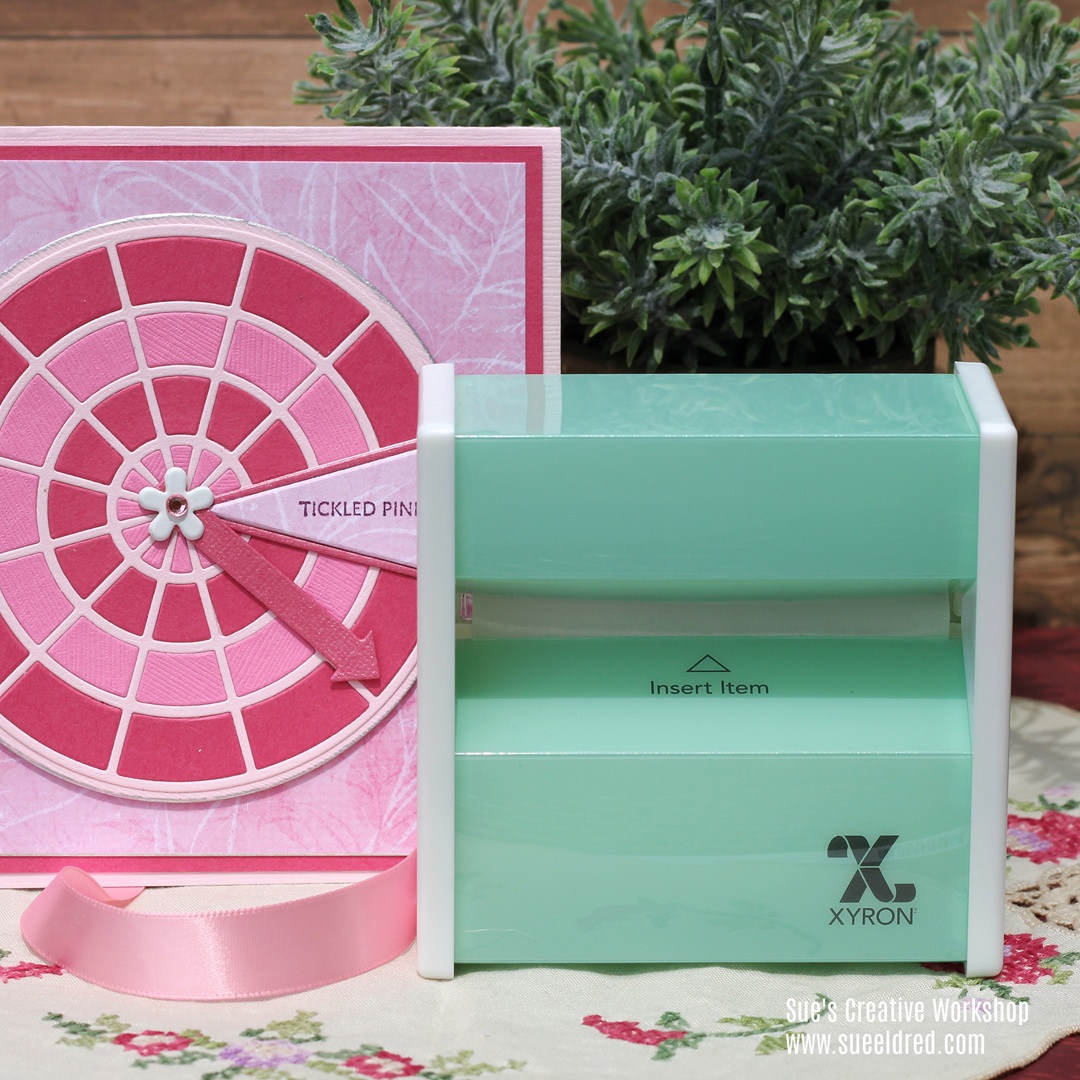
- Xyron Sticker Maker*
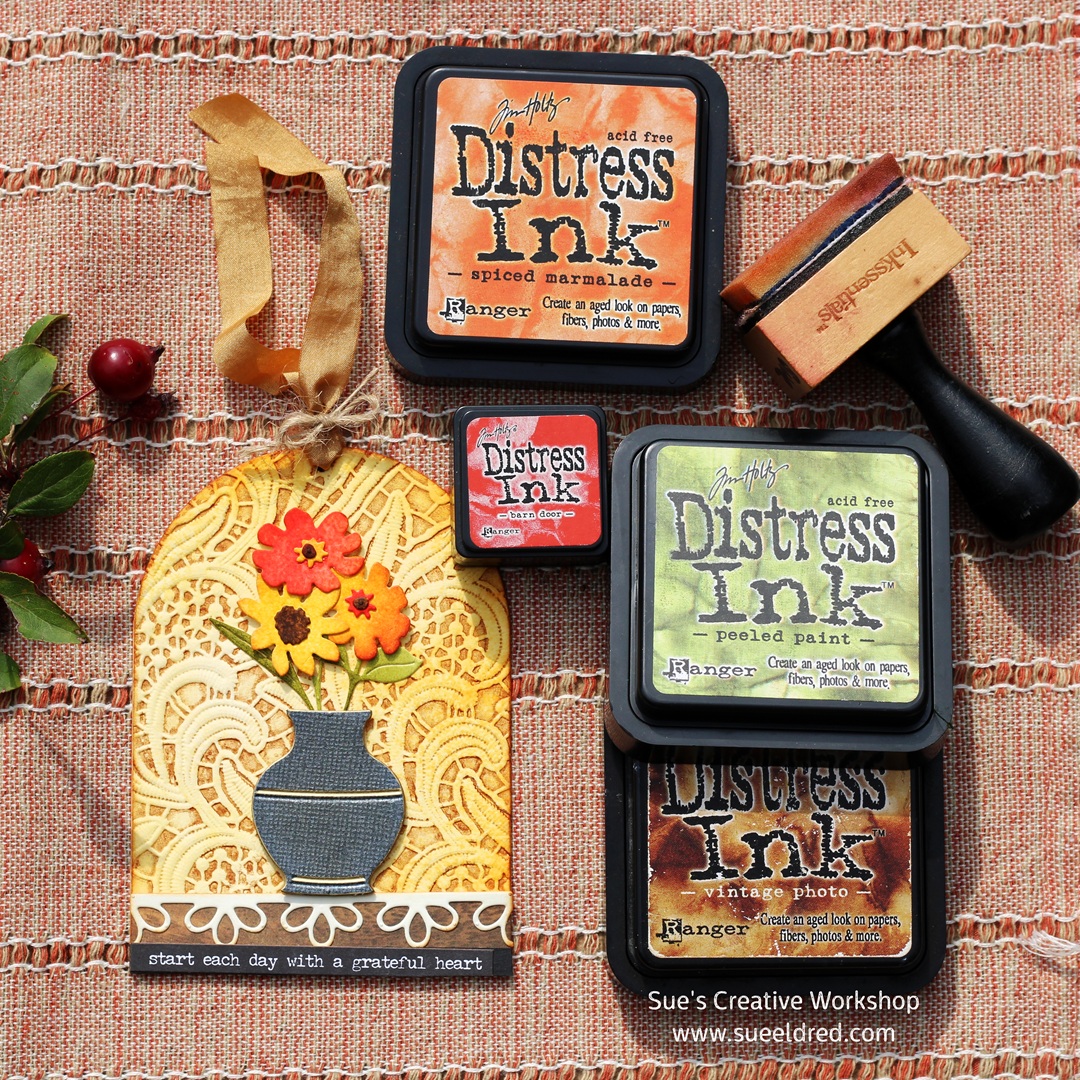
- Tim Holtz Distress Inkpads: Peeled Paint, Fired Brick, Victorian Velvet*
- Inkessentials Foam Ink Applicators*
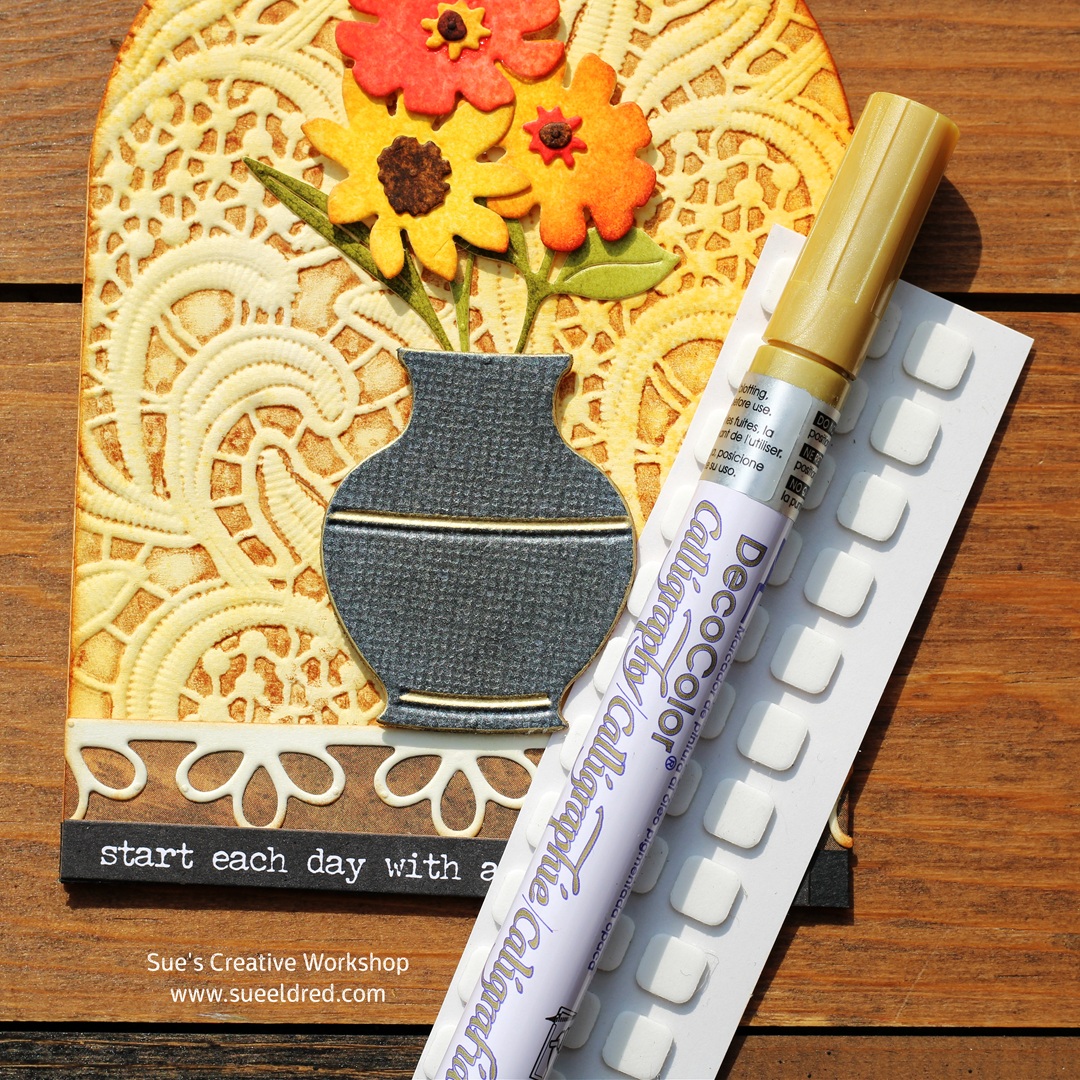
- Gold Chisel Point Calligraphy Pen*
- 3D Foam Squares*

*Disclosure: This blog uses ads and affiliate links. If you choose to make a purchase using one of the links, I receive a small commission (at no additional cost to you) that helps offset the costs of maintaining this blog. Thanks for your support!
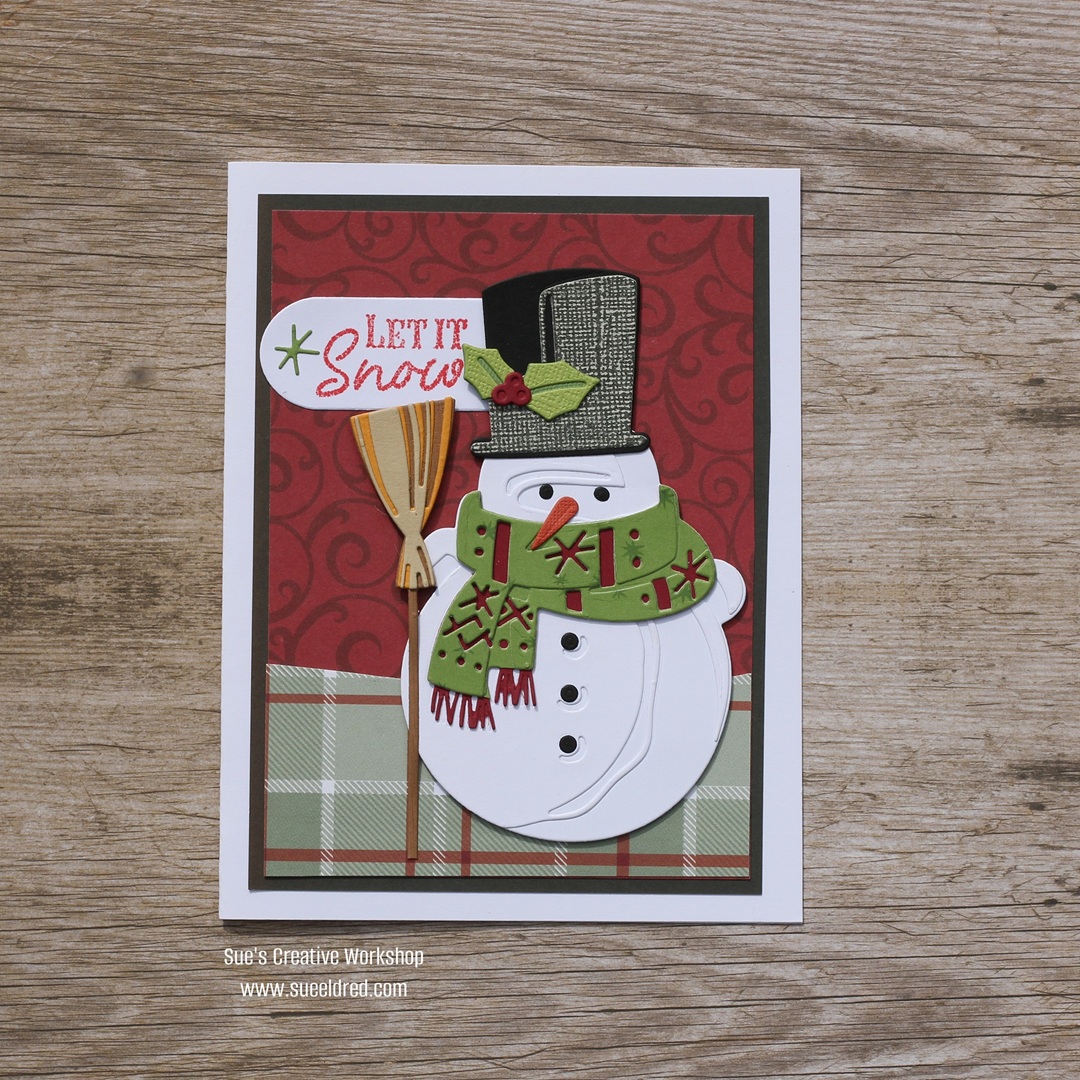
To make the Valentine Tulip Card.
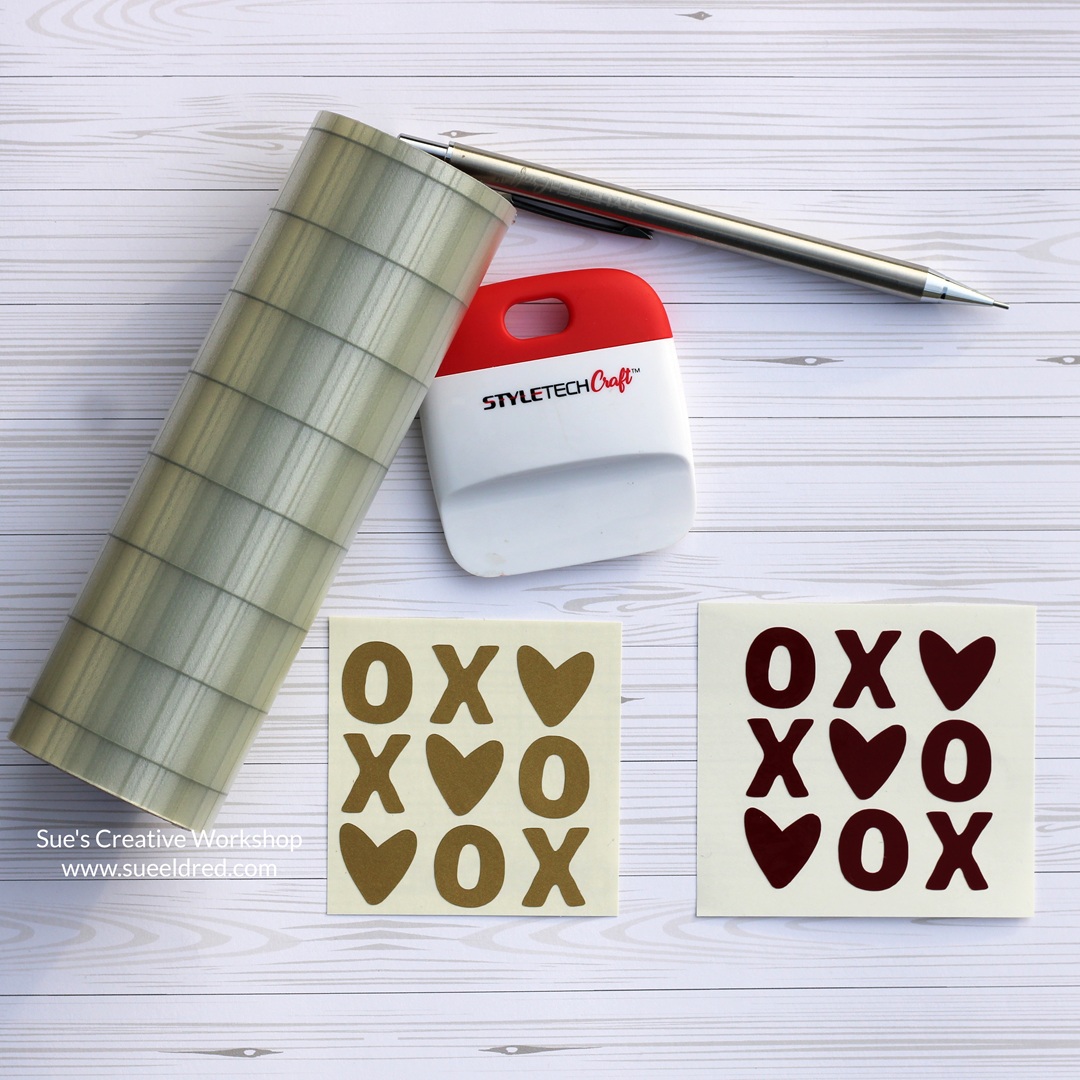
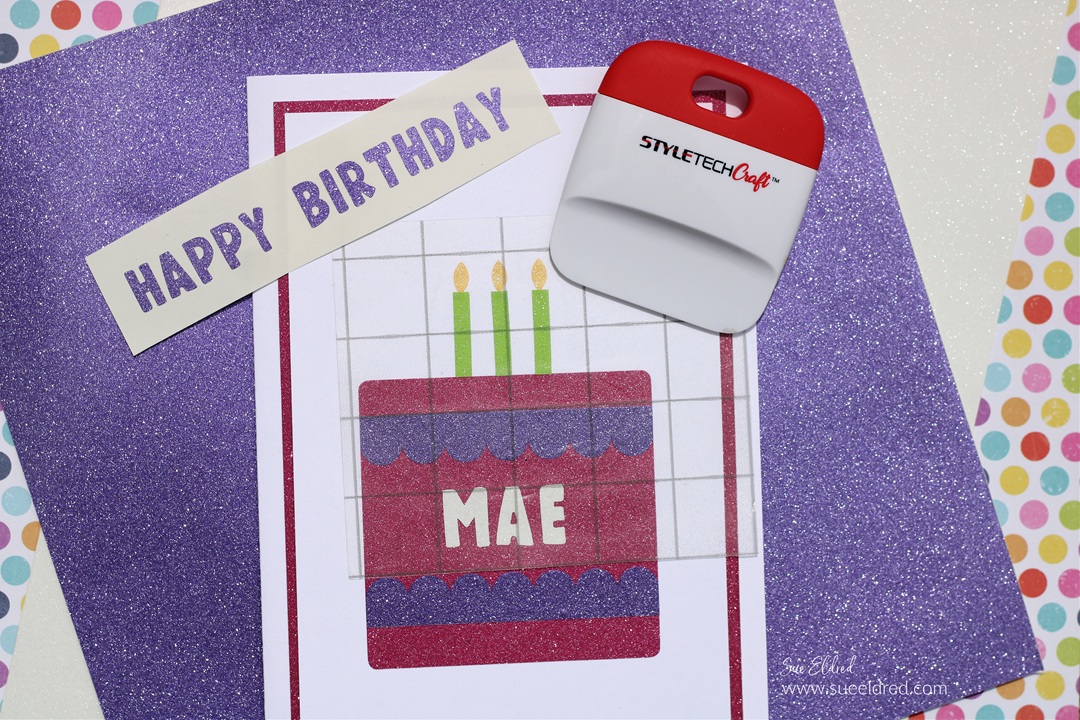
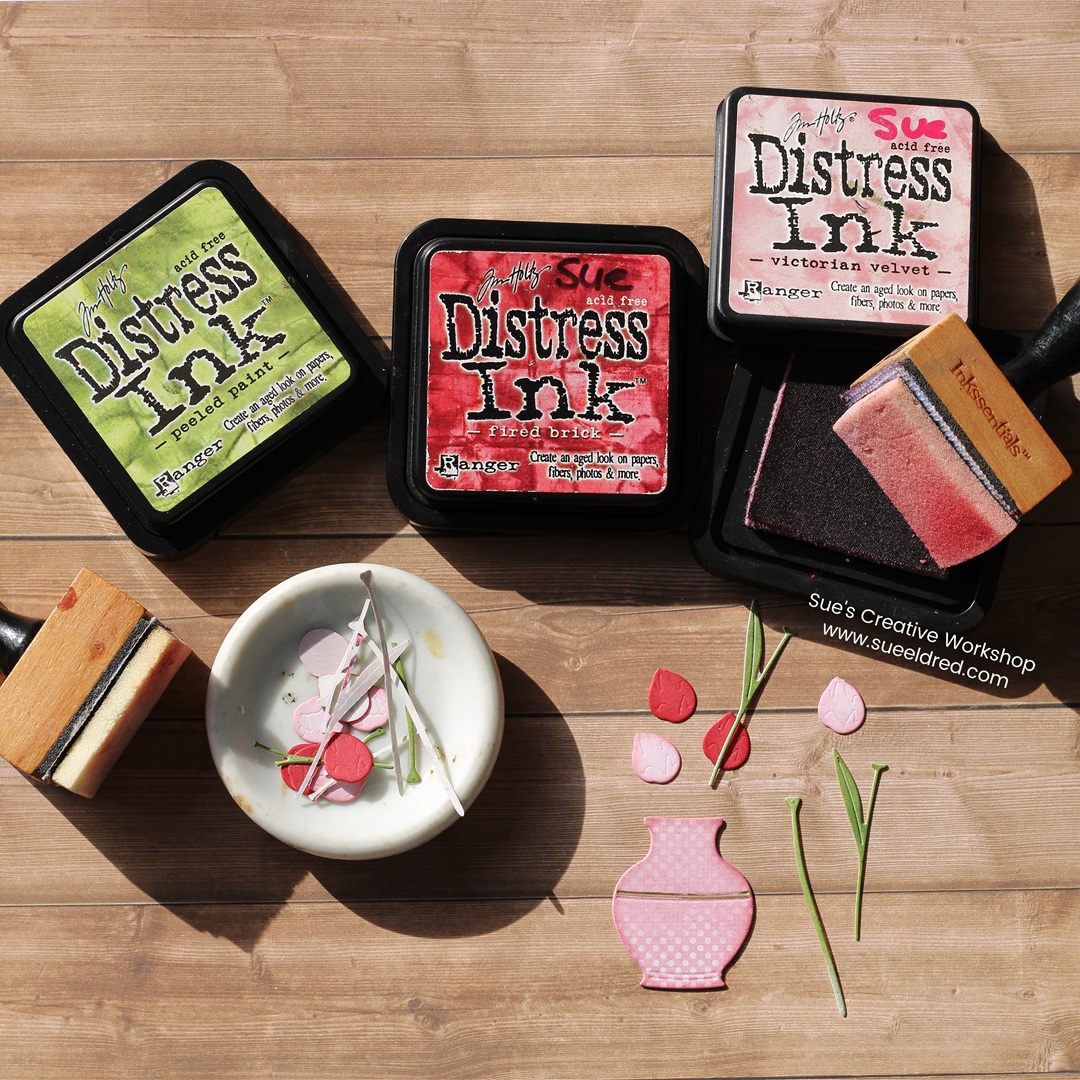
- Prepare the Paper: Before die-cutting, run your paper through the Xyron Sticker Maker* to add a complete layer of adhesive to the back. This makes assembly so much easier!
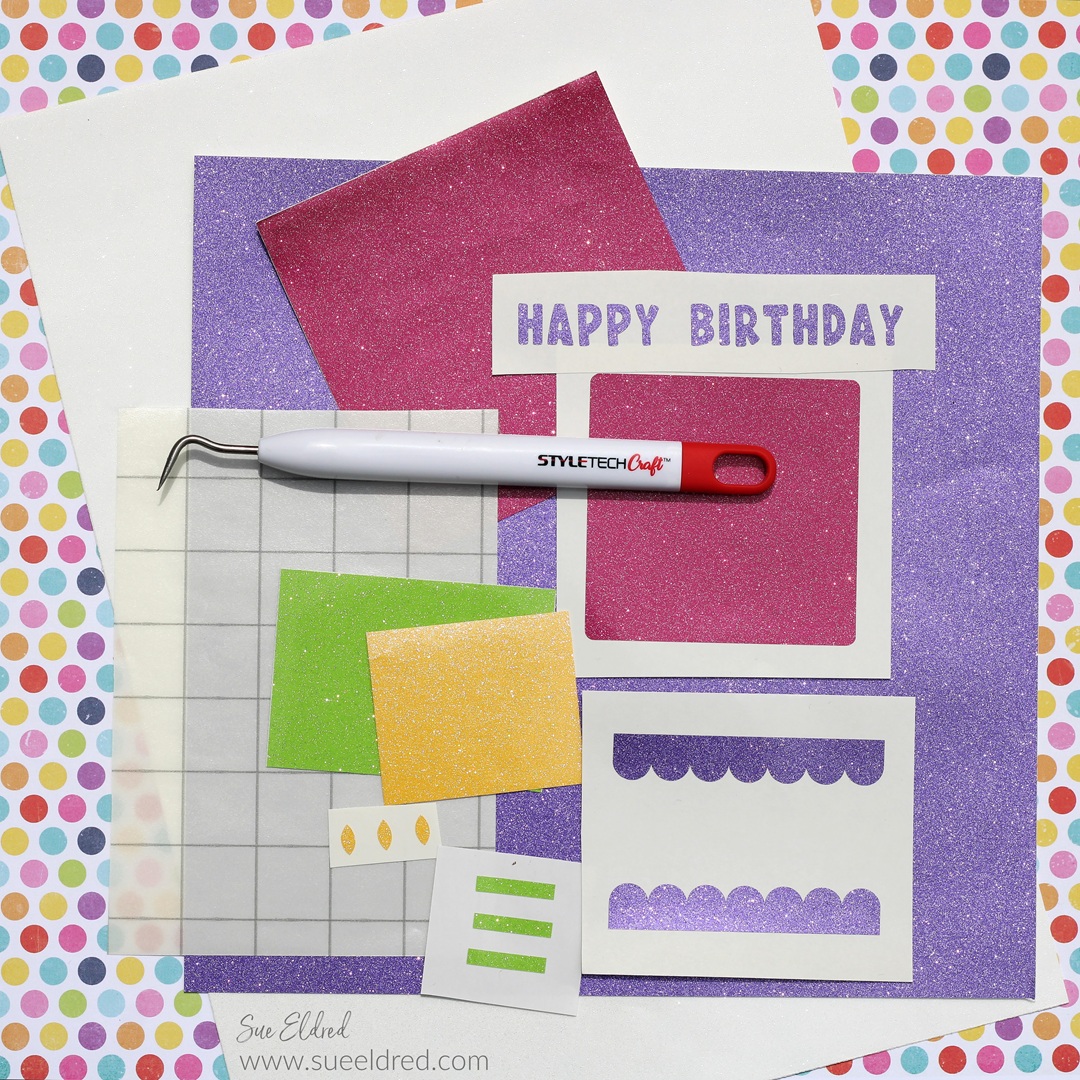
- Die-cut all the pieces: Using the Big Shot Die-Cutting Machine and Eileen Hull’s Dies, cut out all the pieces for your card.
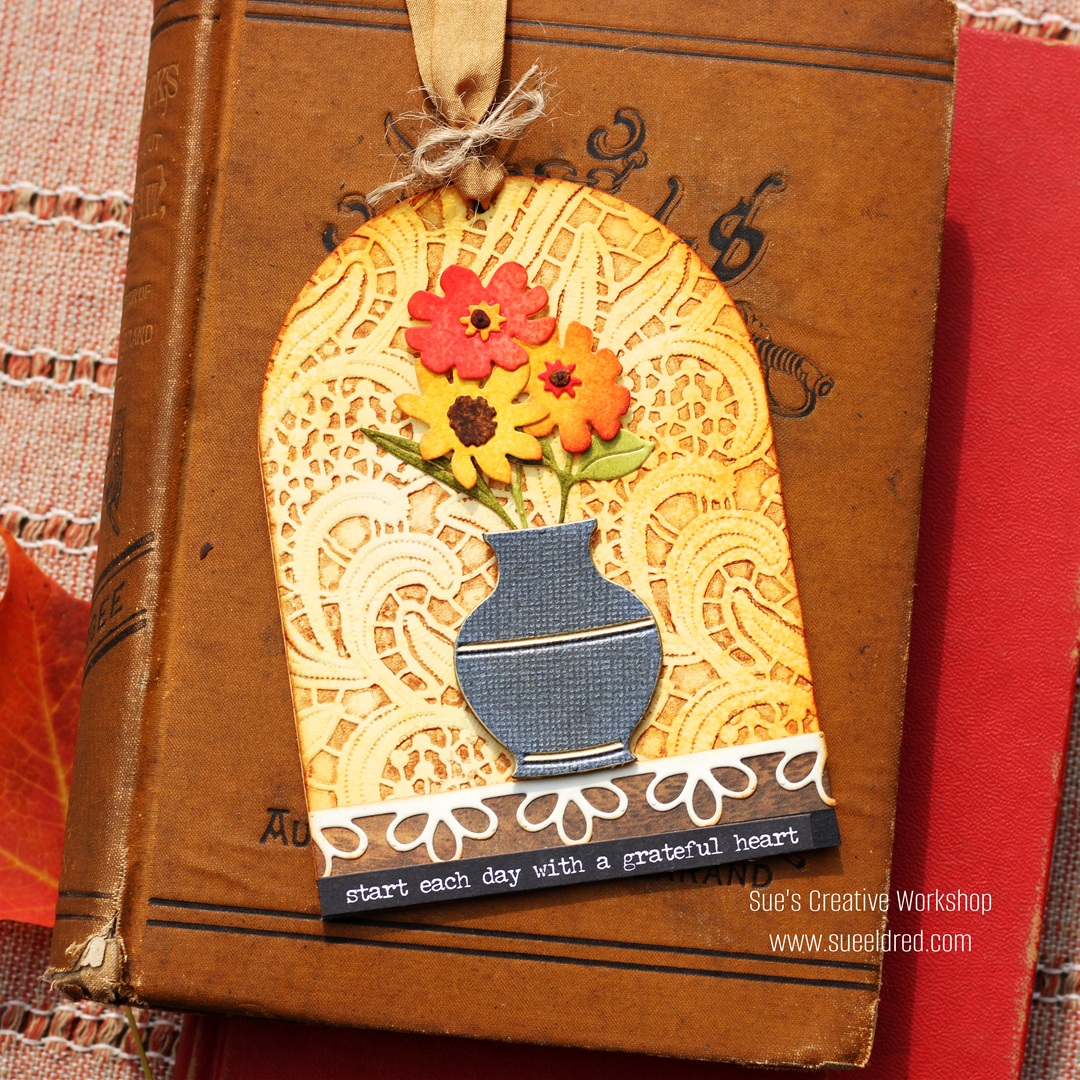
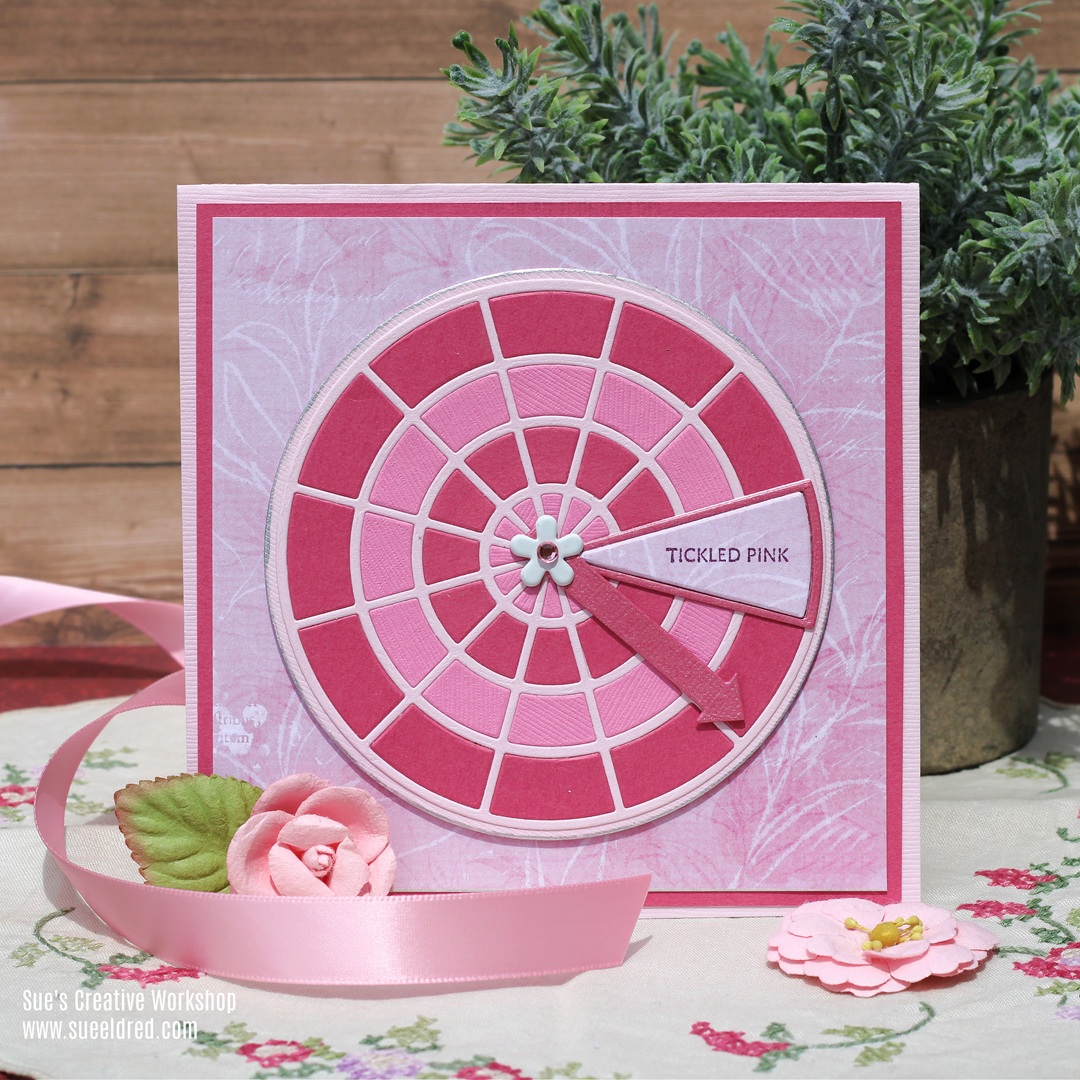
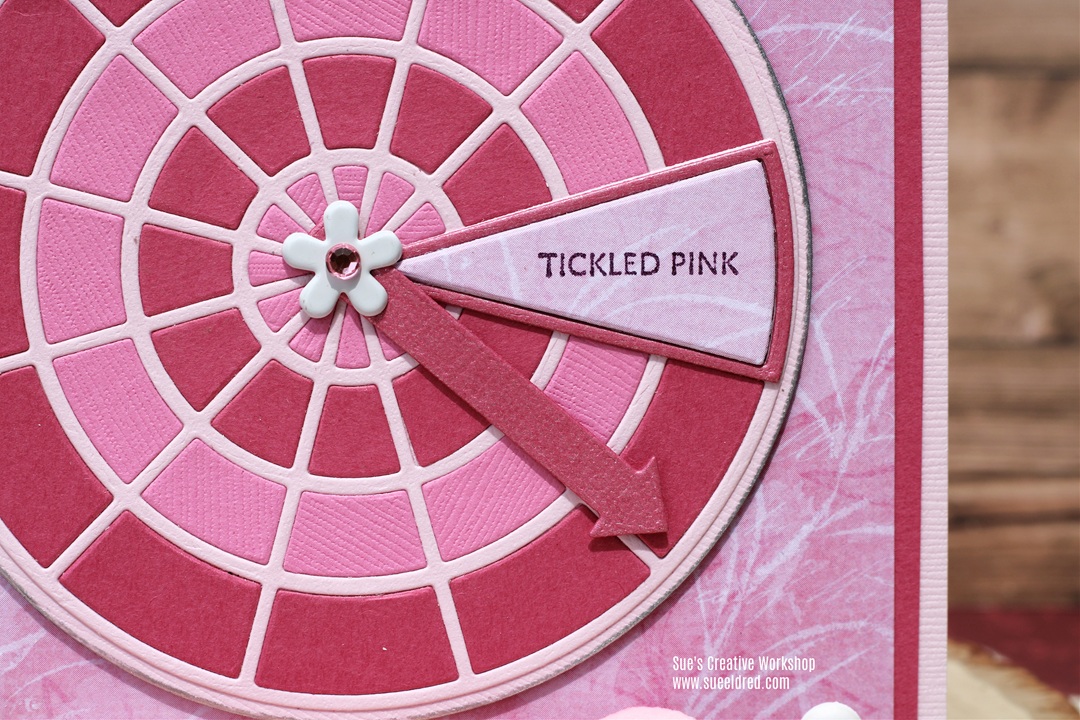
- Add Depth with Ink: Ink the small die-cut pieces with Tim Holtz Distress Inks*. This adds beautiful depth and richness while covering the white core of the paper.
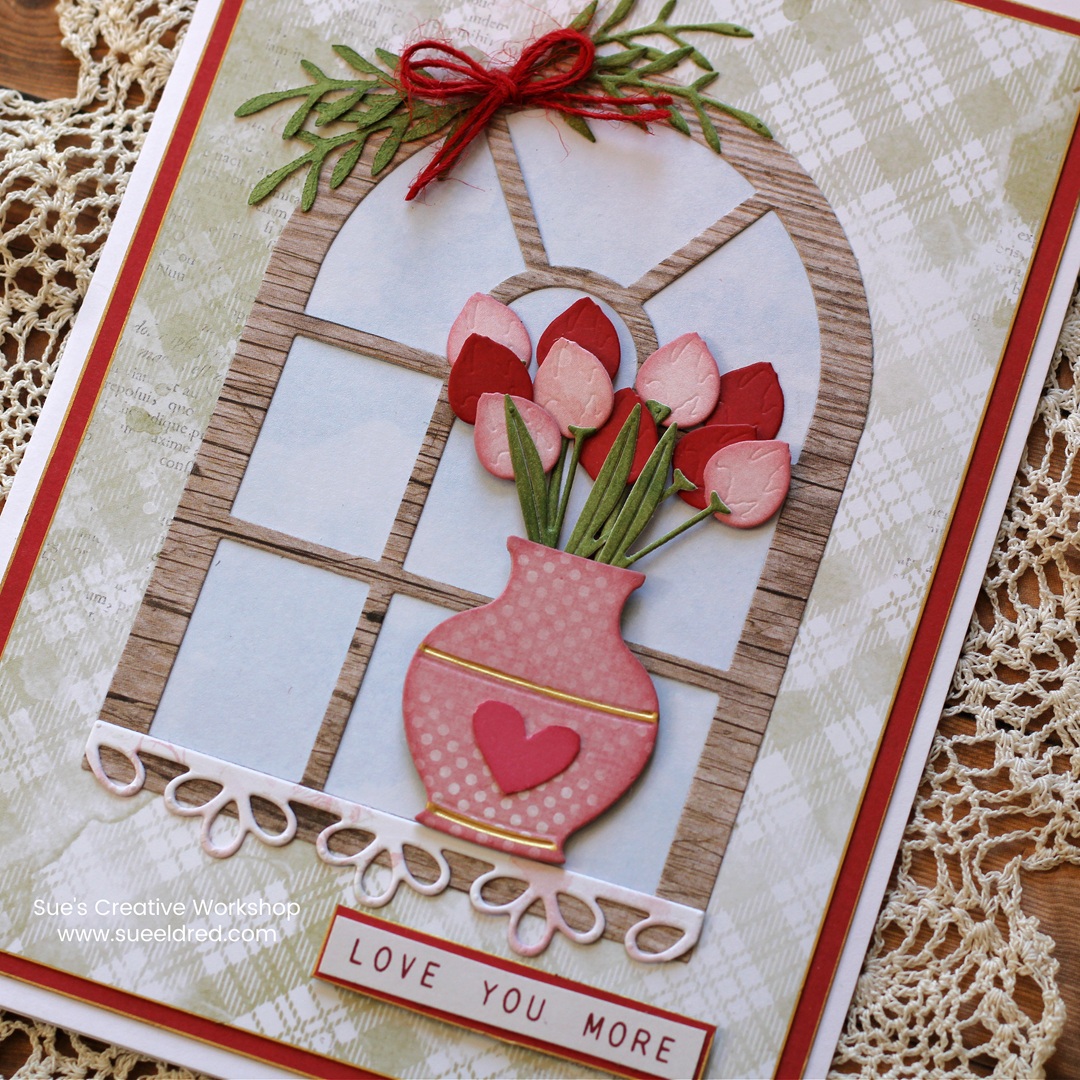
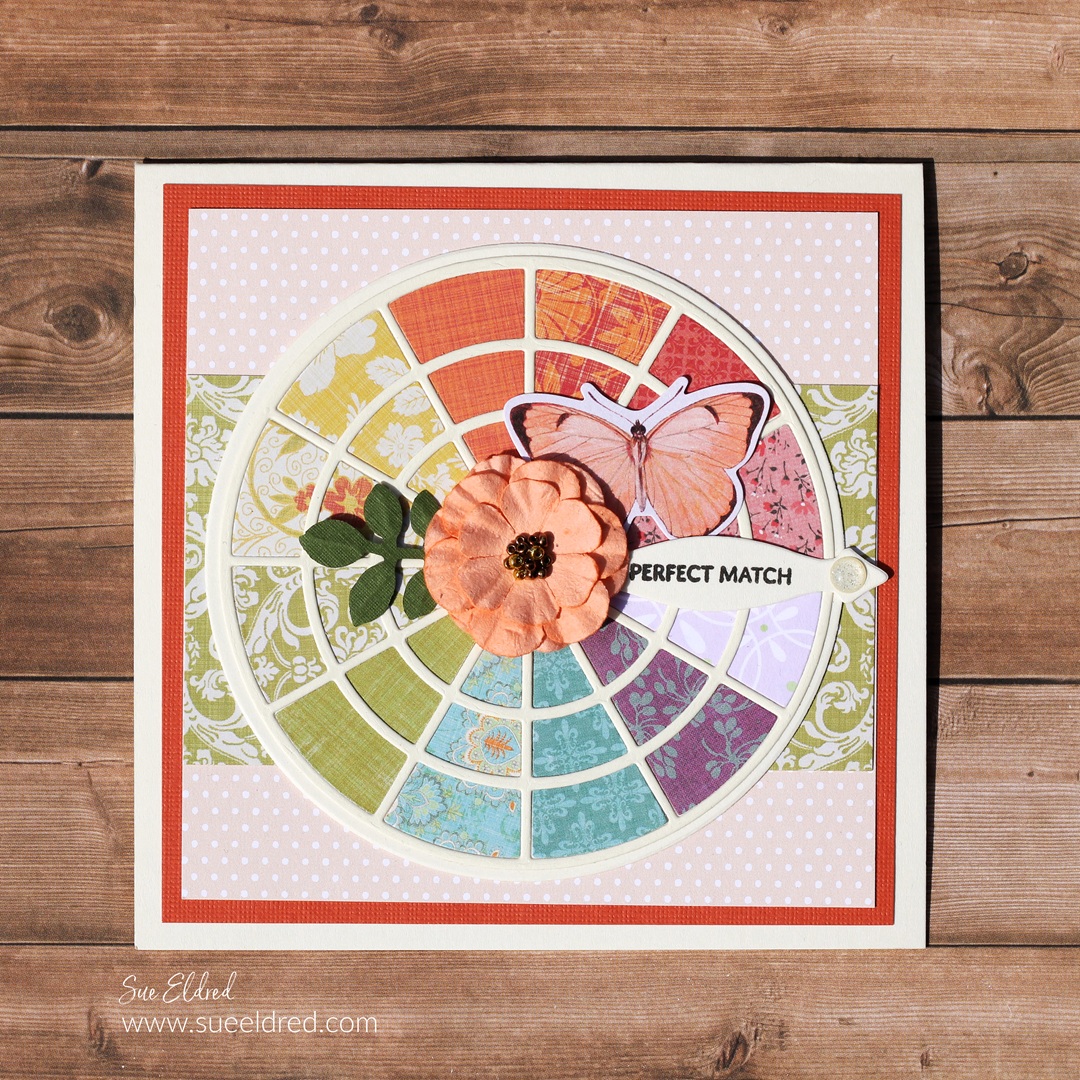
- Add Gold Accents: Use the Gold Chisel Point Calligraphy Pen* to add gold edging around the vase and cardstock layers.
- Floral Swag: Create a small floral swag using the leafy dies from the Home Sweet Home die set. Attach a small red twine bow to the center of the swag.
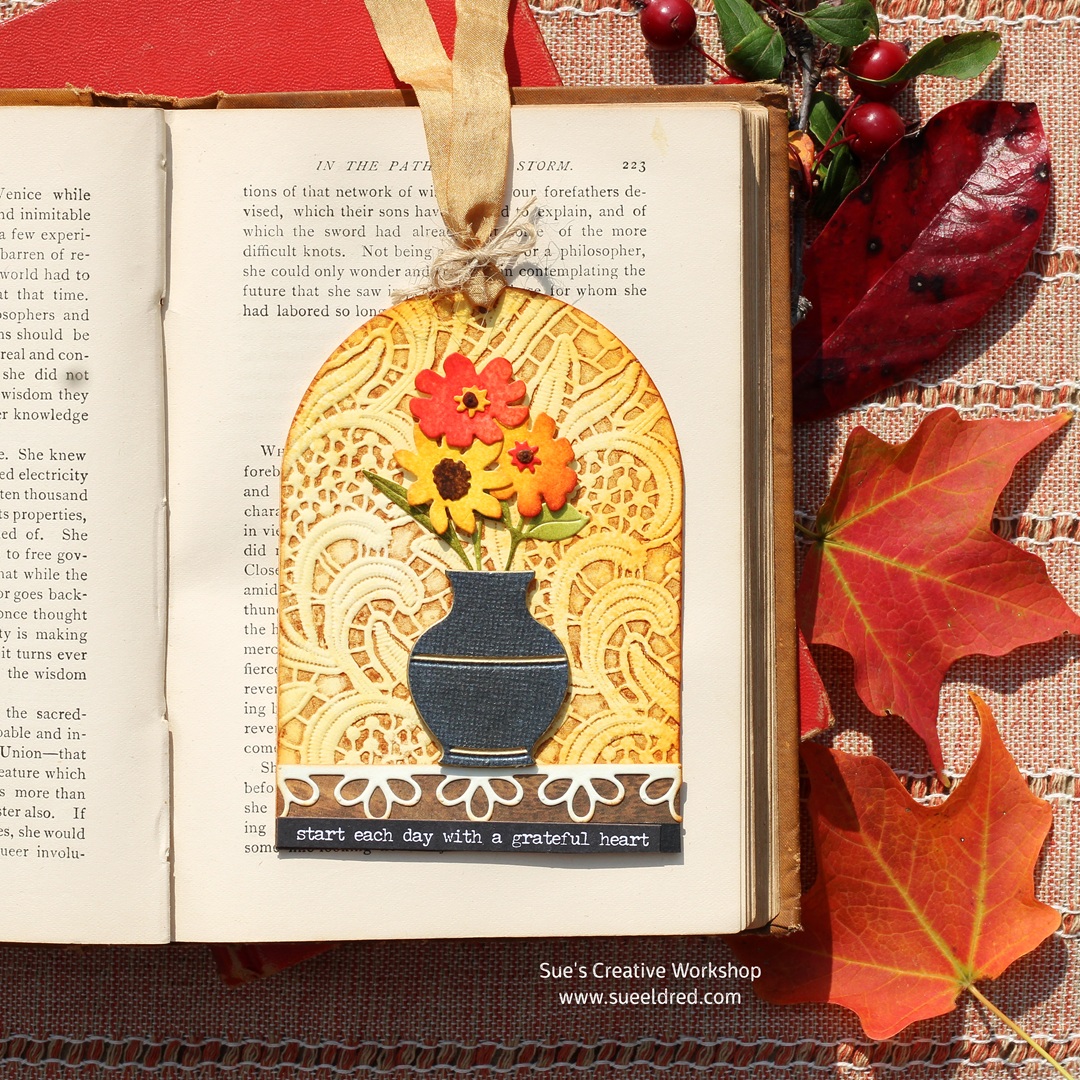
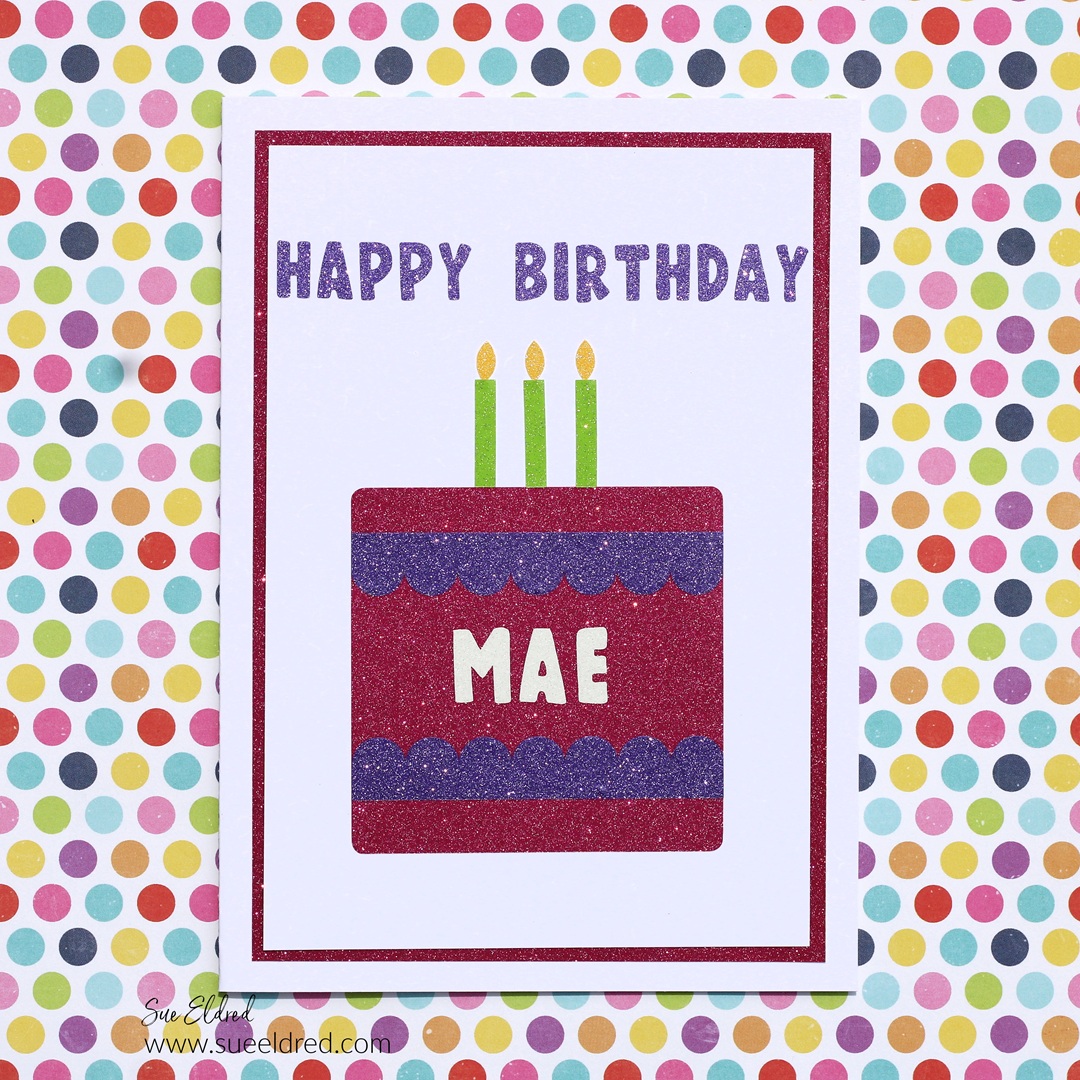
Your cheerful Valentine tulip card is complete—no watering required!
![]()
Disclosure: This is a sponsored post. As a member of the Eileen Hull Inspiration Team, I have been provided product in exchange for my creative ideas. The view and opinions are my own.