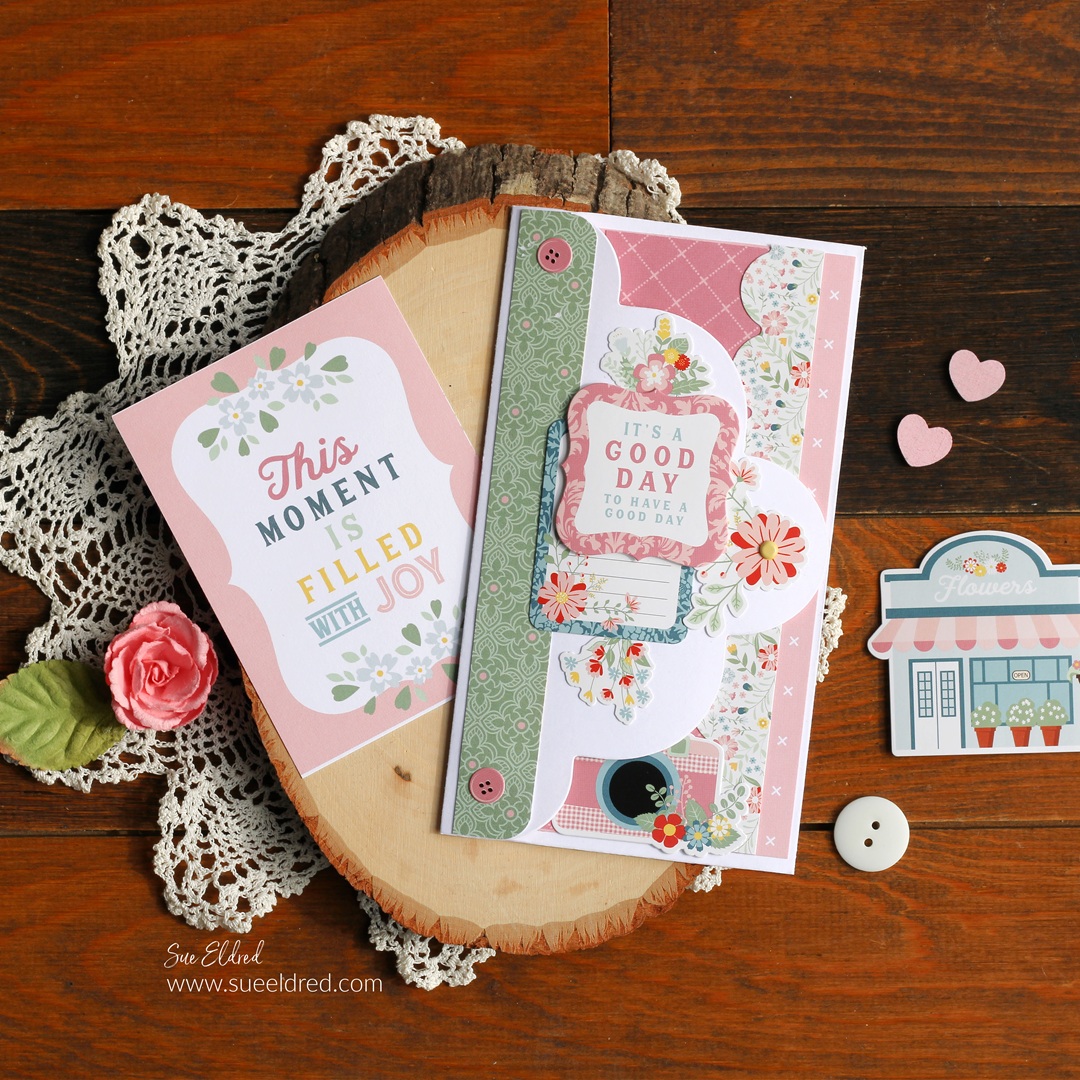
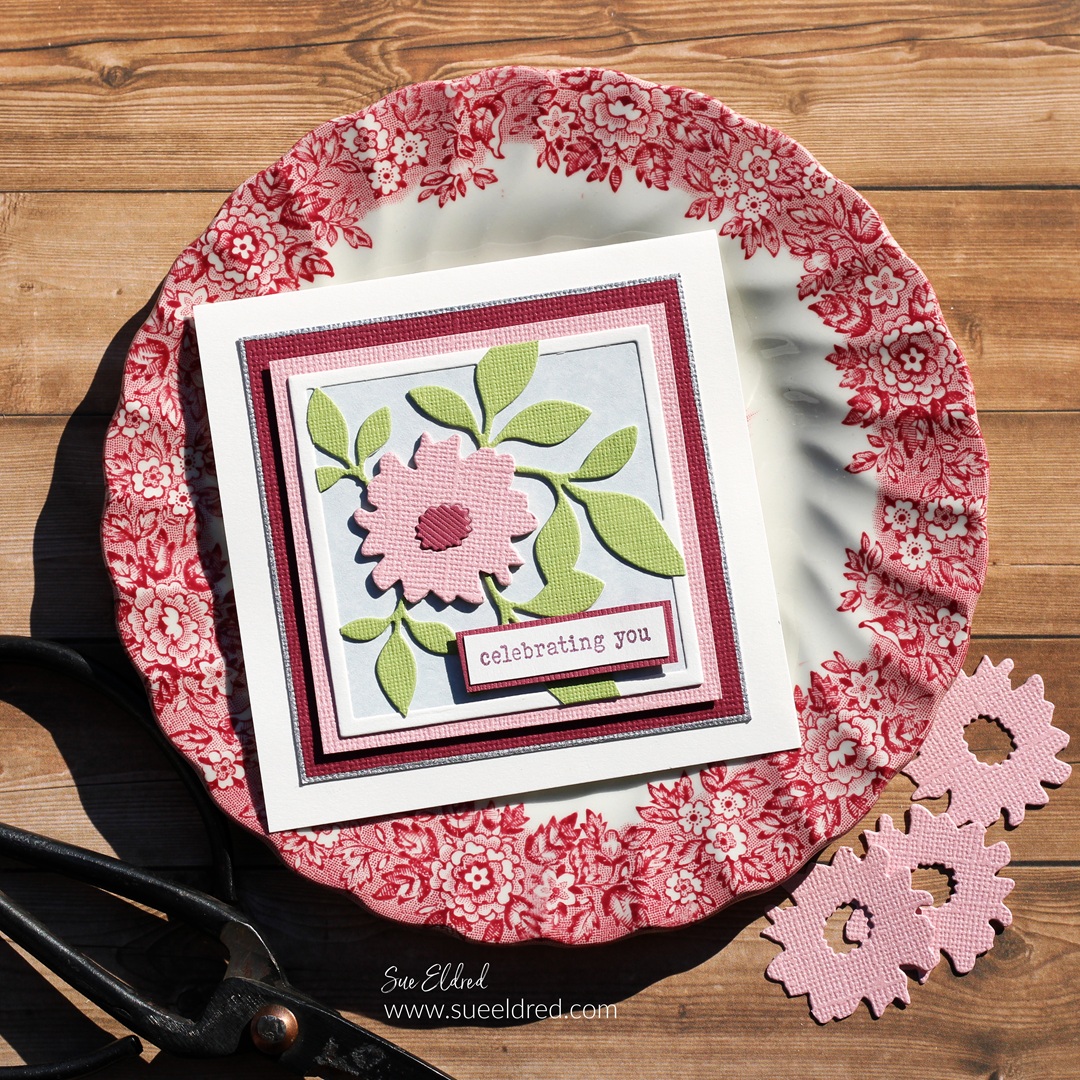
How to make a Celebrating You Gift Card.
I love it when I can use a tool or die set in several different ways.
I think the Sizzix Floral Pockets & Paperclips Die Set by Eileen Hull* is one of those.
And I haven’t even made everything you can make with this set.
![]()
Disclosure: This is a sponsored post. As a member of the Eileen Hull Inspiration Team, I have been provided product in exchange for my creative ideas. The view and opinions are my own.

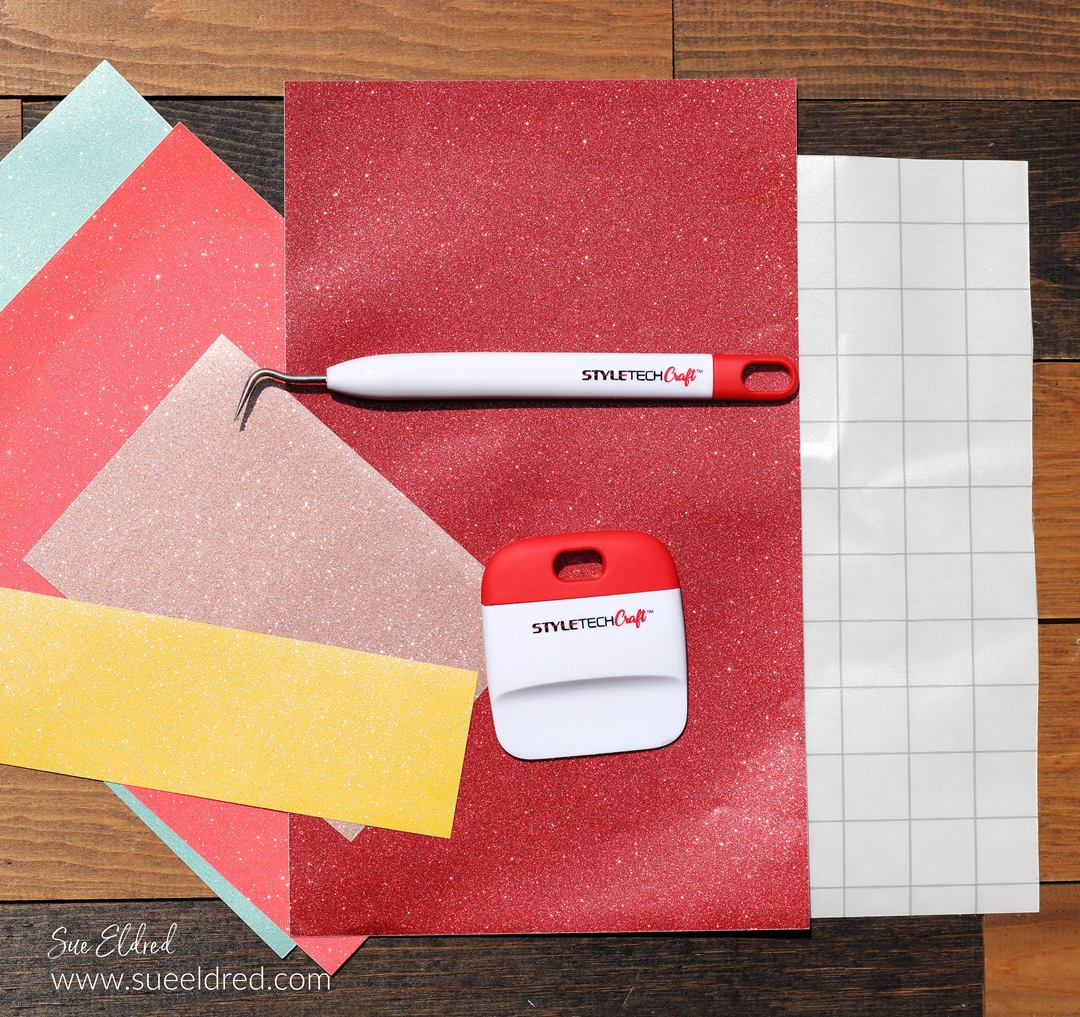
Materials Used: (*affiliate links)
- Sizzix Floral Pockets & Paperclips Thinlet Die Set*
- Sizzix Fan Favorites Stamp Set by Eileen Hull*
- Sizzix Big Shot Die-Cutting Machine*
- Stazon Gothic Purple Inkpad*
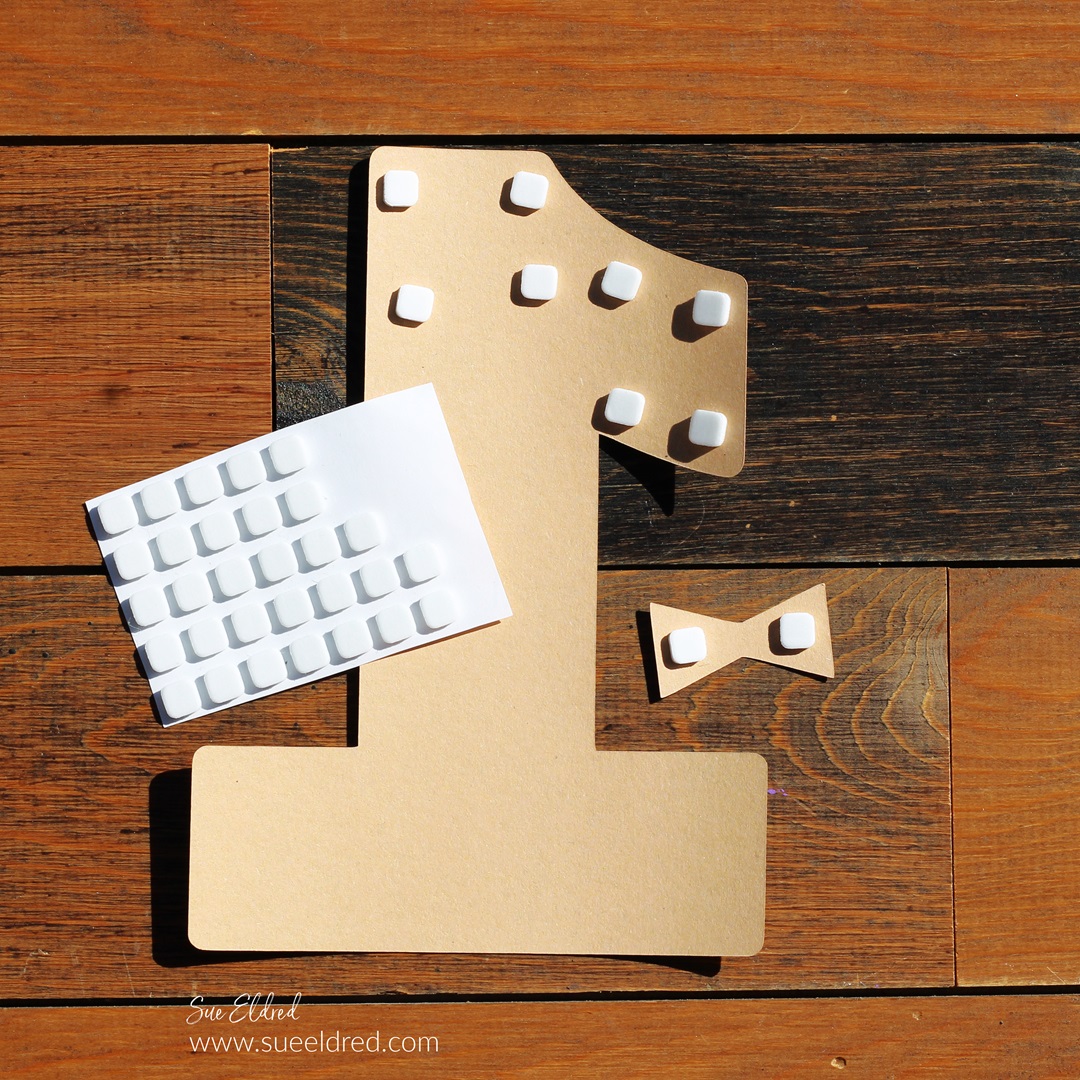
- Scrapbook Adhesives by 3L Foam Mounting Squares*
- Silver Calligraphy Paint Pen*

*Disclosure: This blog uses ads and affiliate links. If you choose to make a purchase using one of the links, I receive a small commission (at no additional cost to you) that helps offset the costs of maintaining this blog. Thanks for your support!
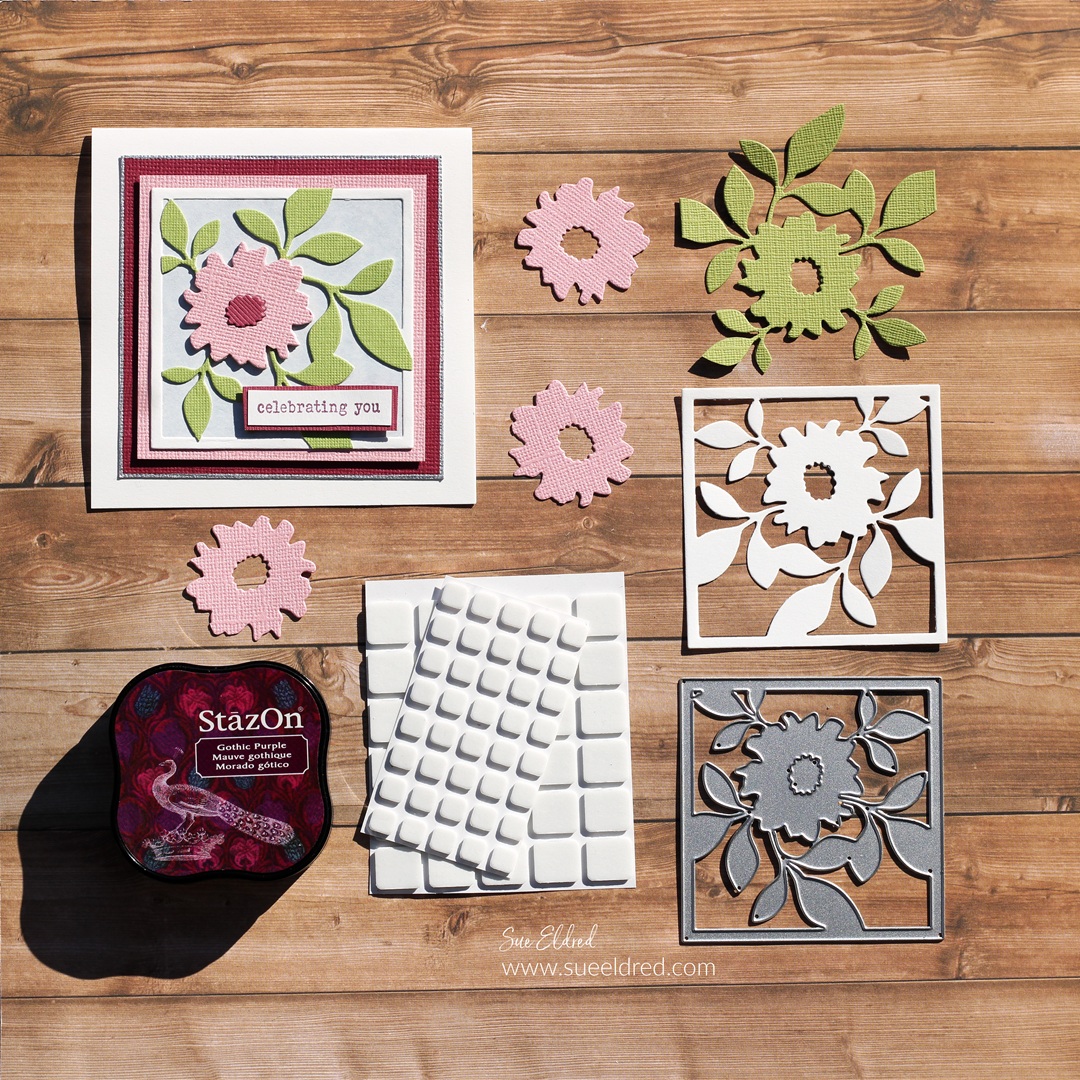
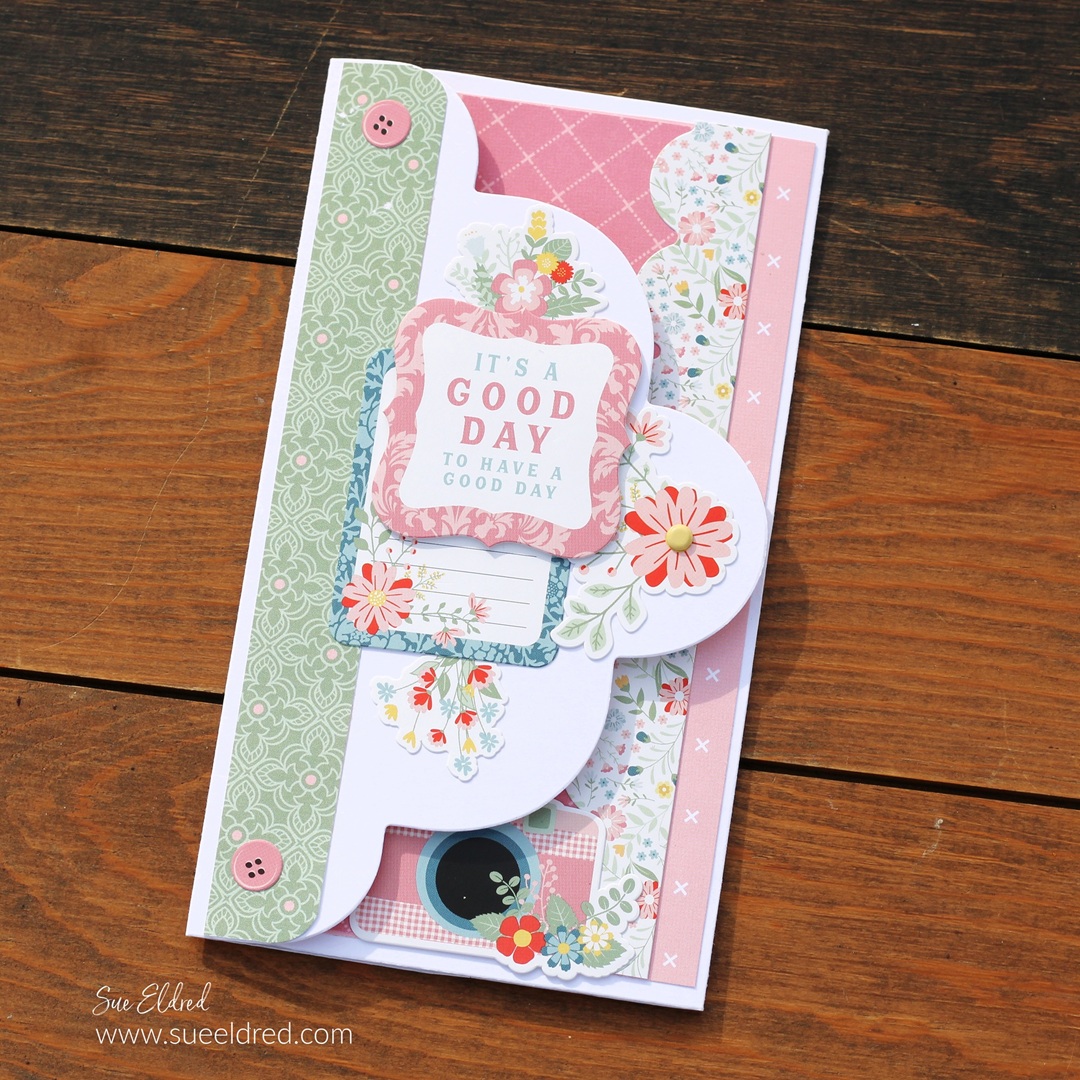
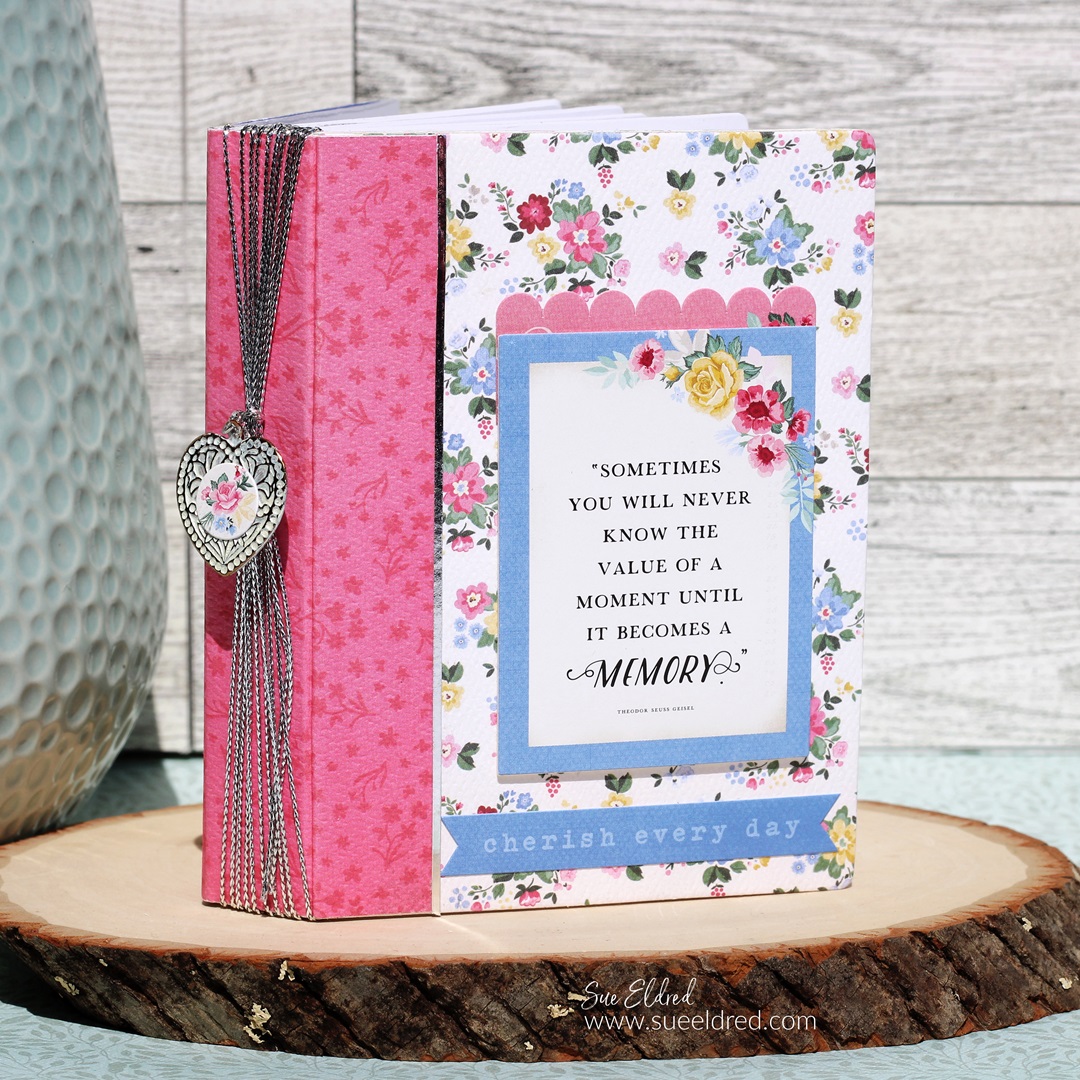
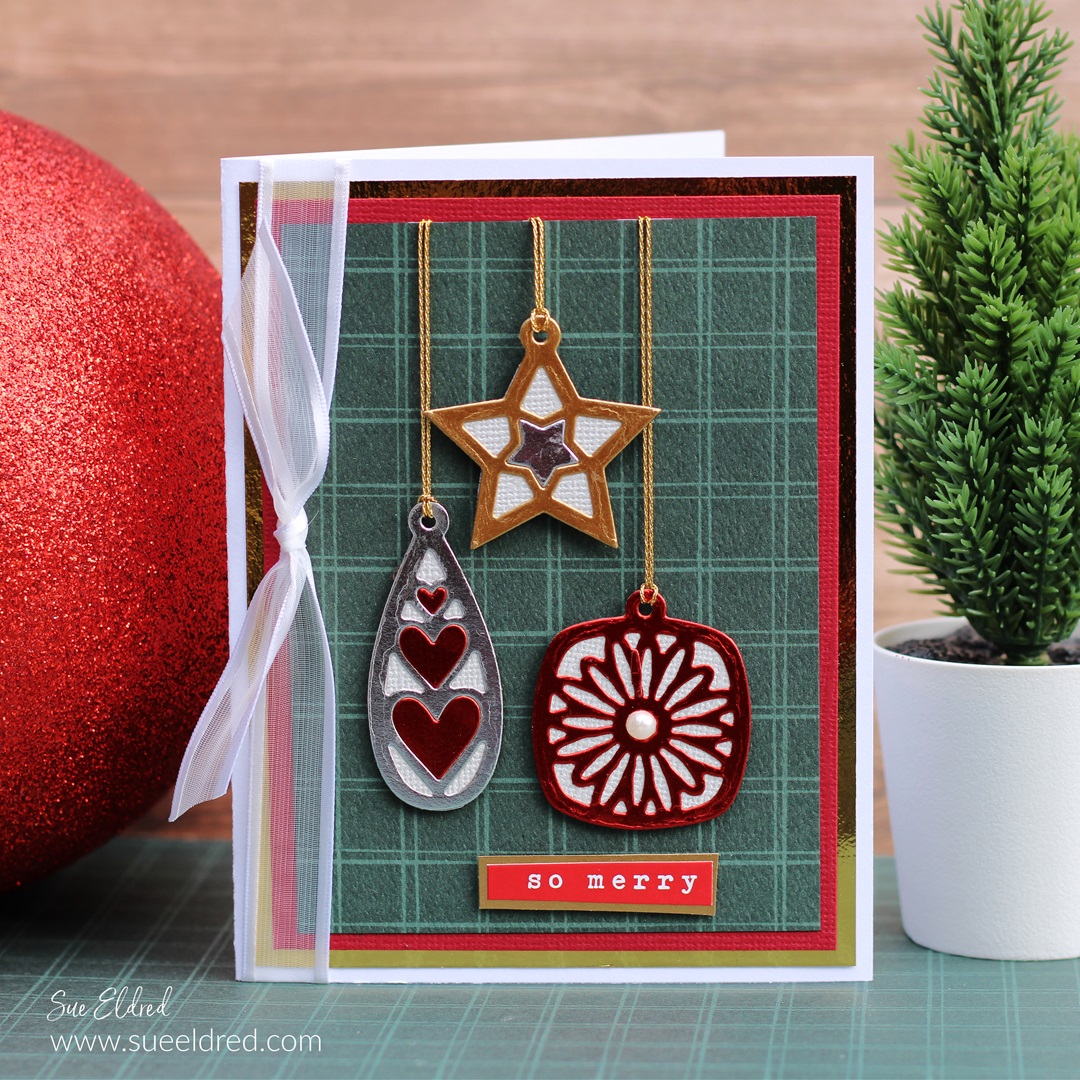
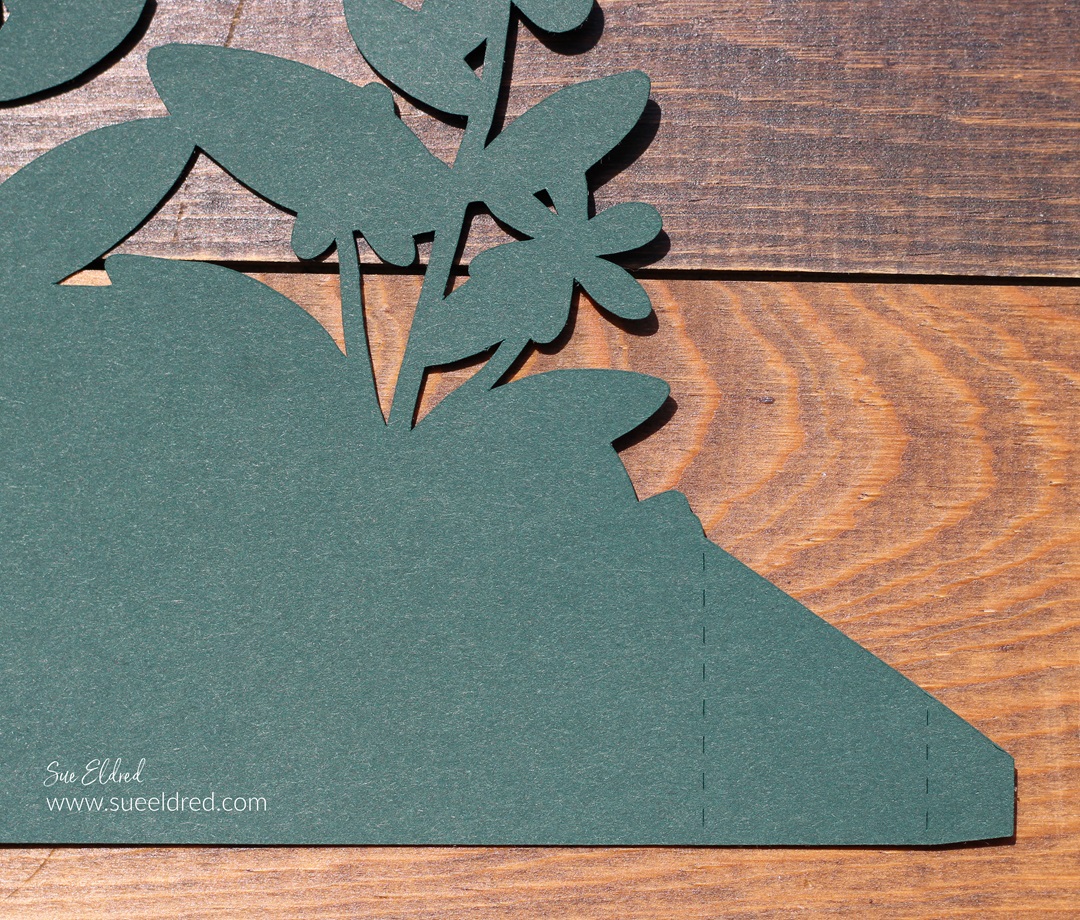
I used the Floral Square Die included in the set and die-cut it several times.
- I die-cut it once using cream cardstock for the cream frame.
- I adhered a small piece of blue parchment cardstock to the back of the cream floral base.
- I die-cut it using green cardstock and cut off the outside edges that make the frame. I glued the green layer onto the cream layer.
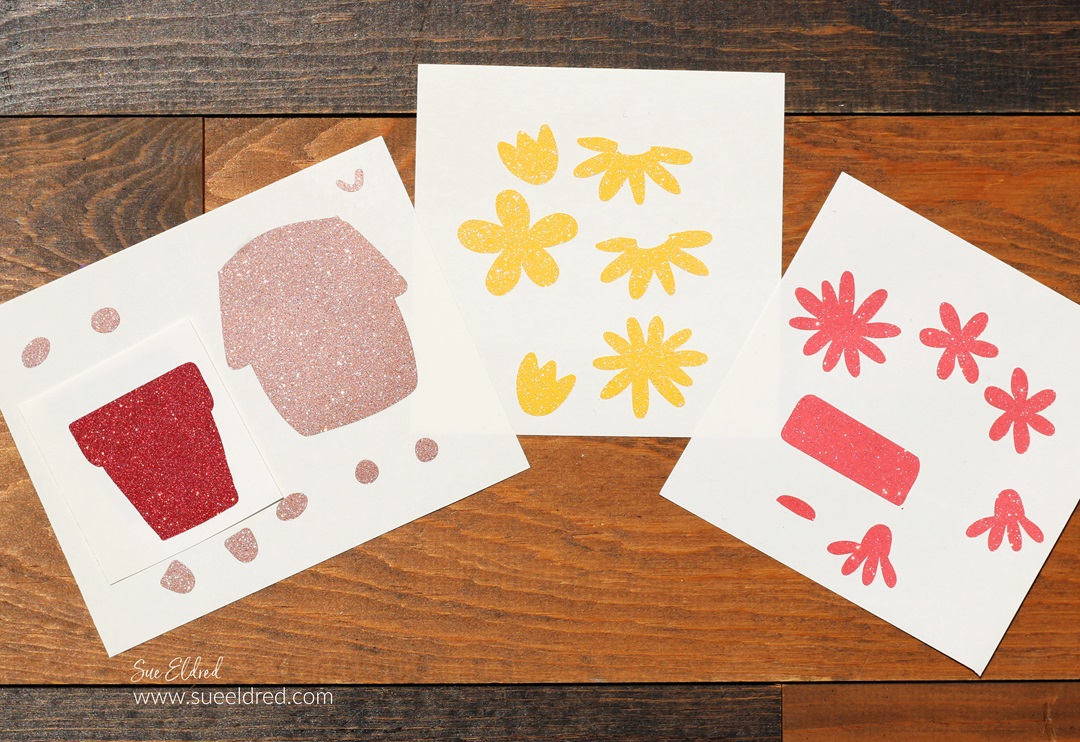
- For added dimension, I cut three flowers out of pink cardstock. I glued all three flowers together and then glued them onto the green flower.
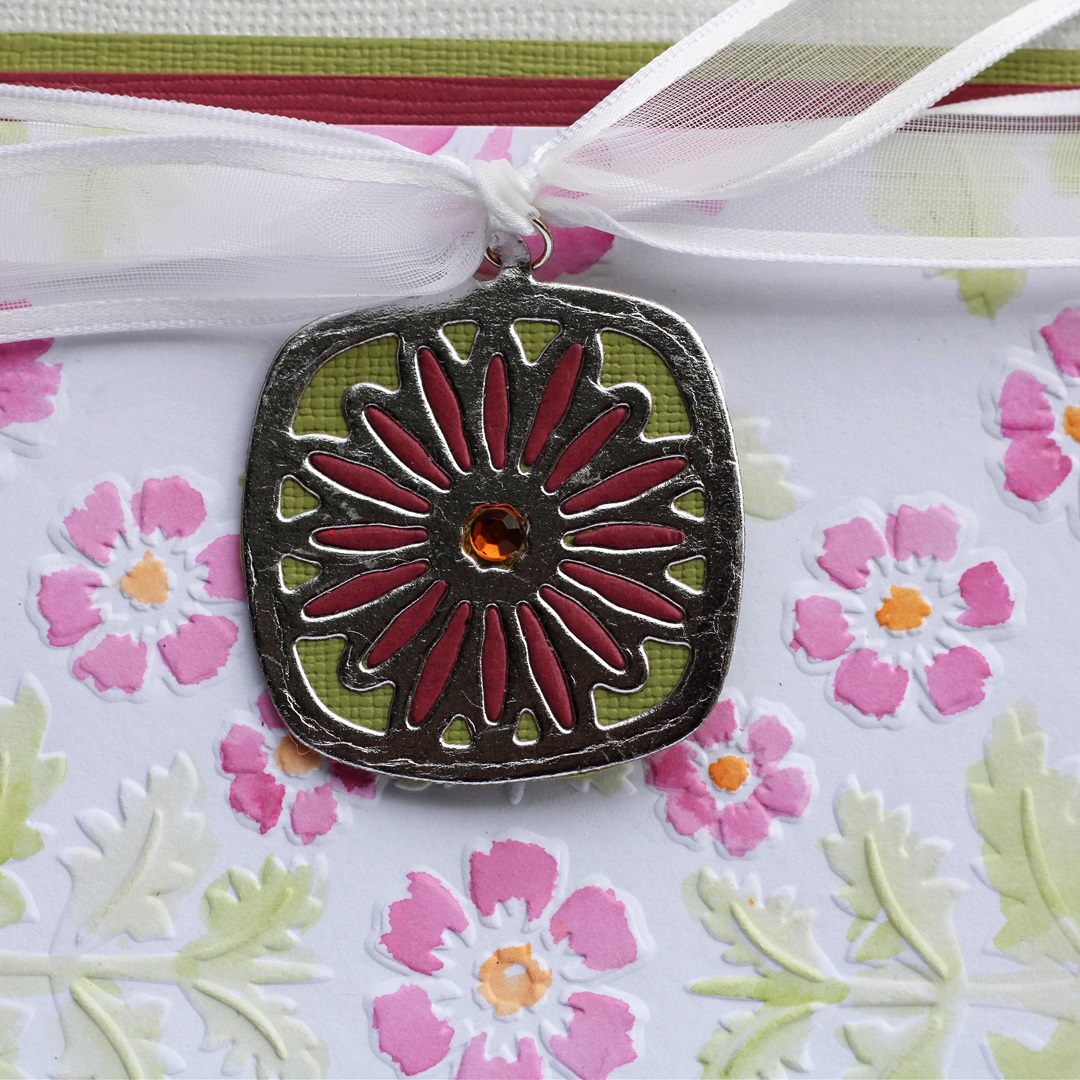
- I used maroon cardstock to die-cut three centers for the inside of the flower.

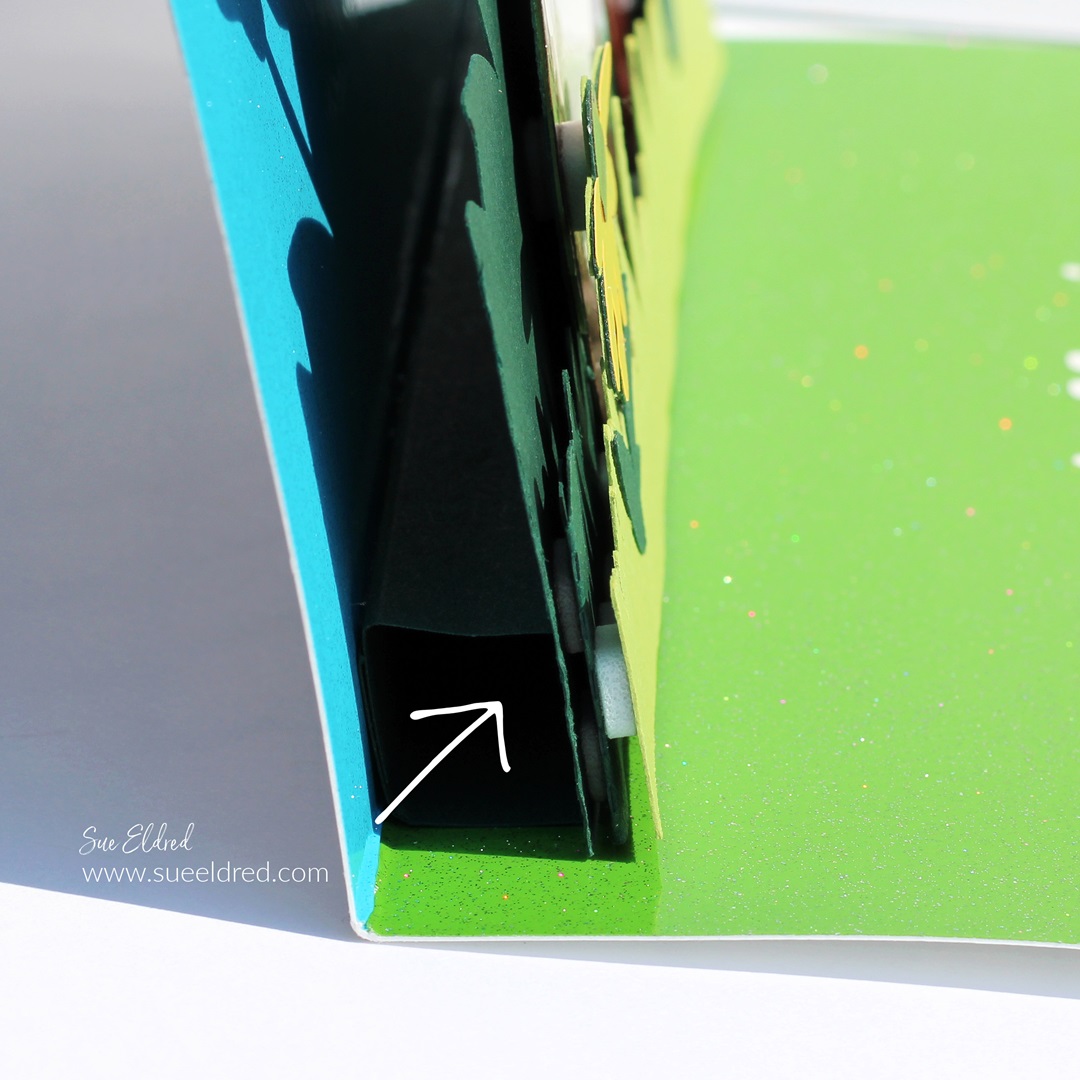
- I adhered the floral die-cut onto a pink cardstock layer. I added foam mounting squares to the back of the pink layer to give the card added dimension.
- I used a Silver Calligraphy Paint Pen* to draw a silver edge onto the maroon cardstock layer.
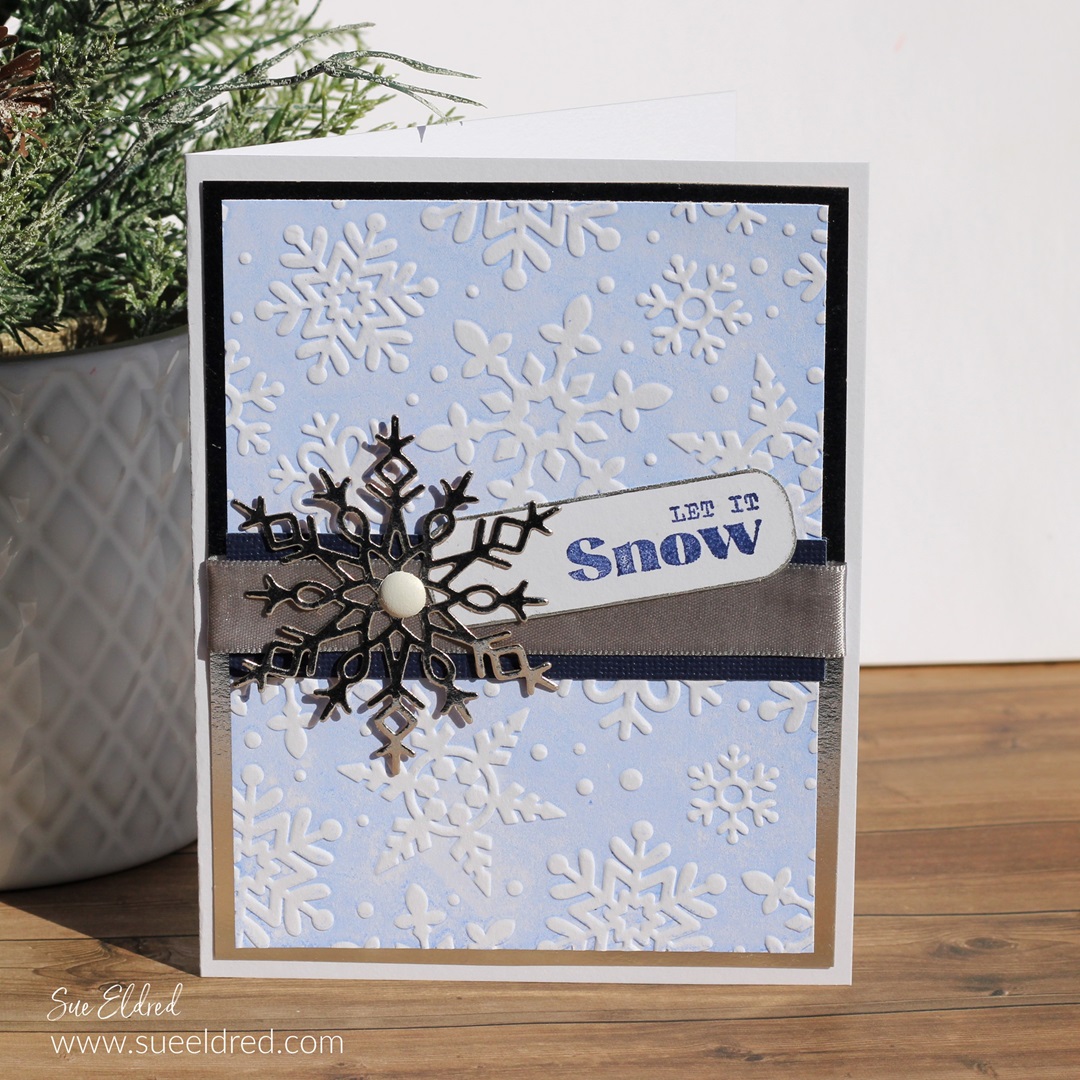
- I stamped the words “celebrating you” (from the Fan Favorites Stamp Set*) onto a small piece of cream cardstock and gave it a simple layer. I added Foam Mounting Squares* to the back of the word layer and added to the front of the card.

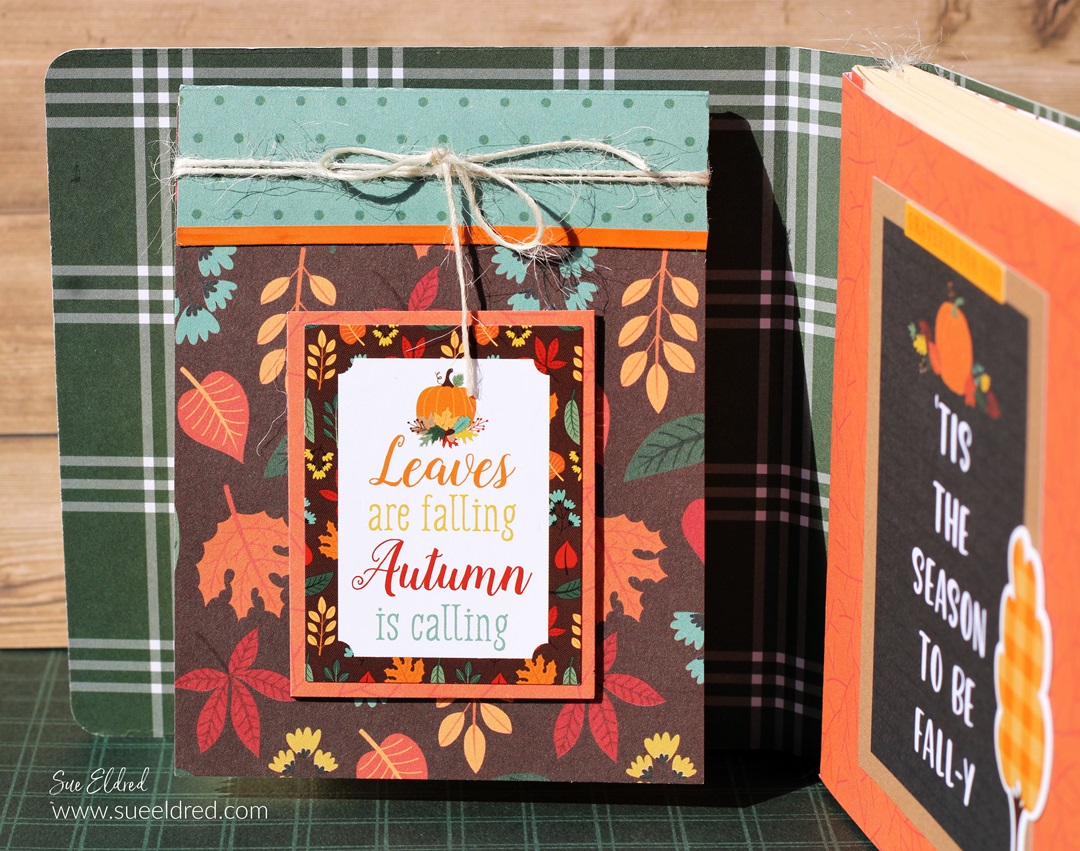
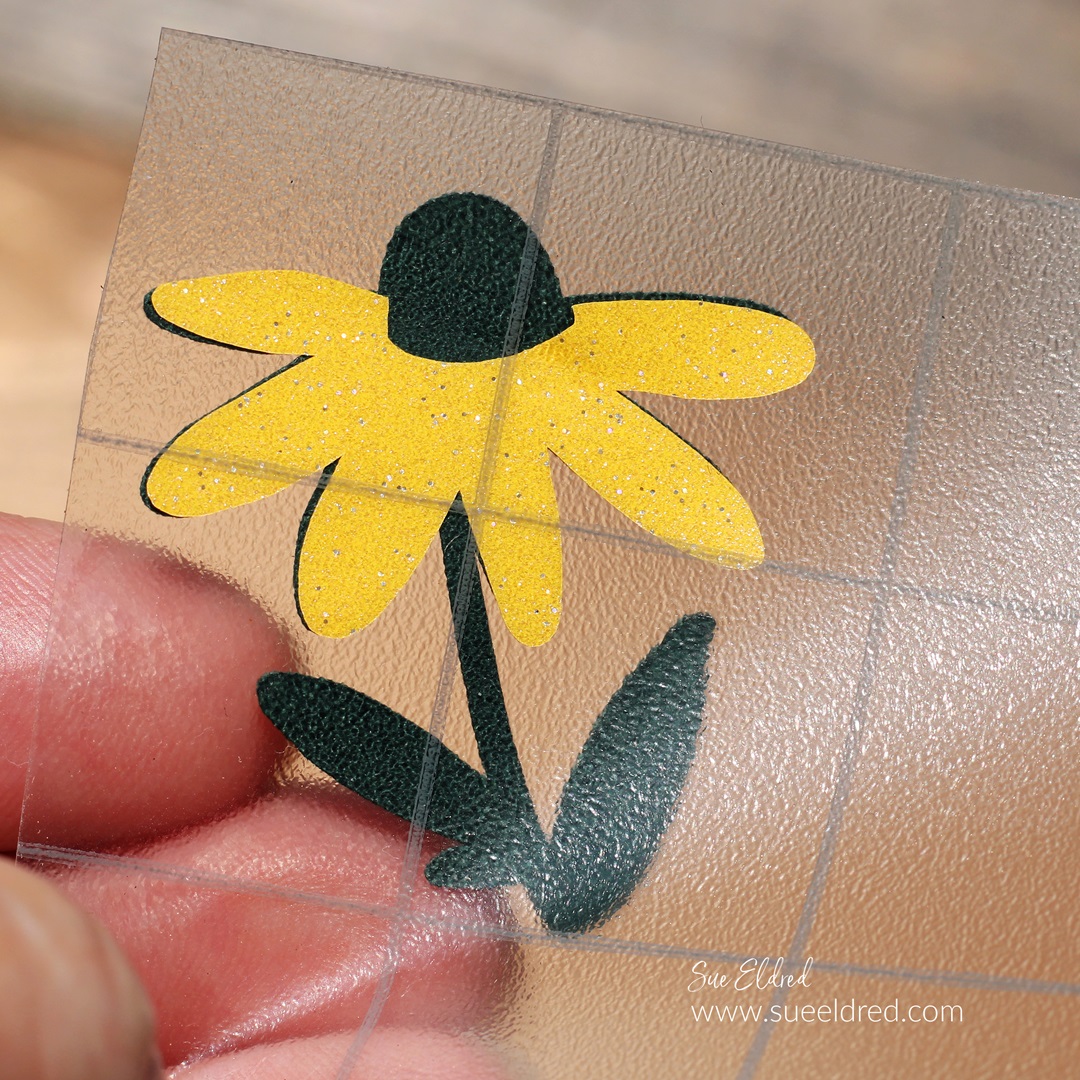
For another quick project, I made a Four Seasons Gift Card Set.
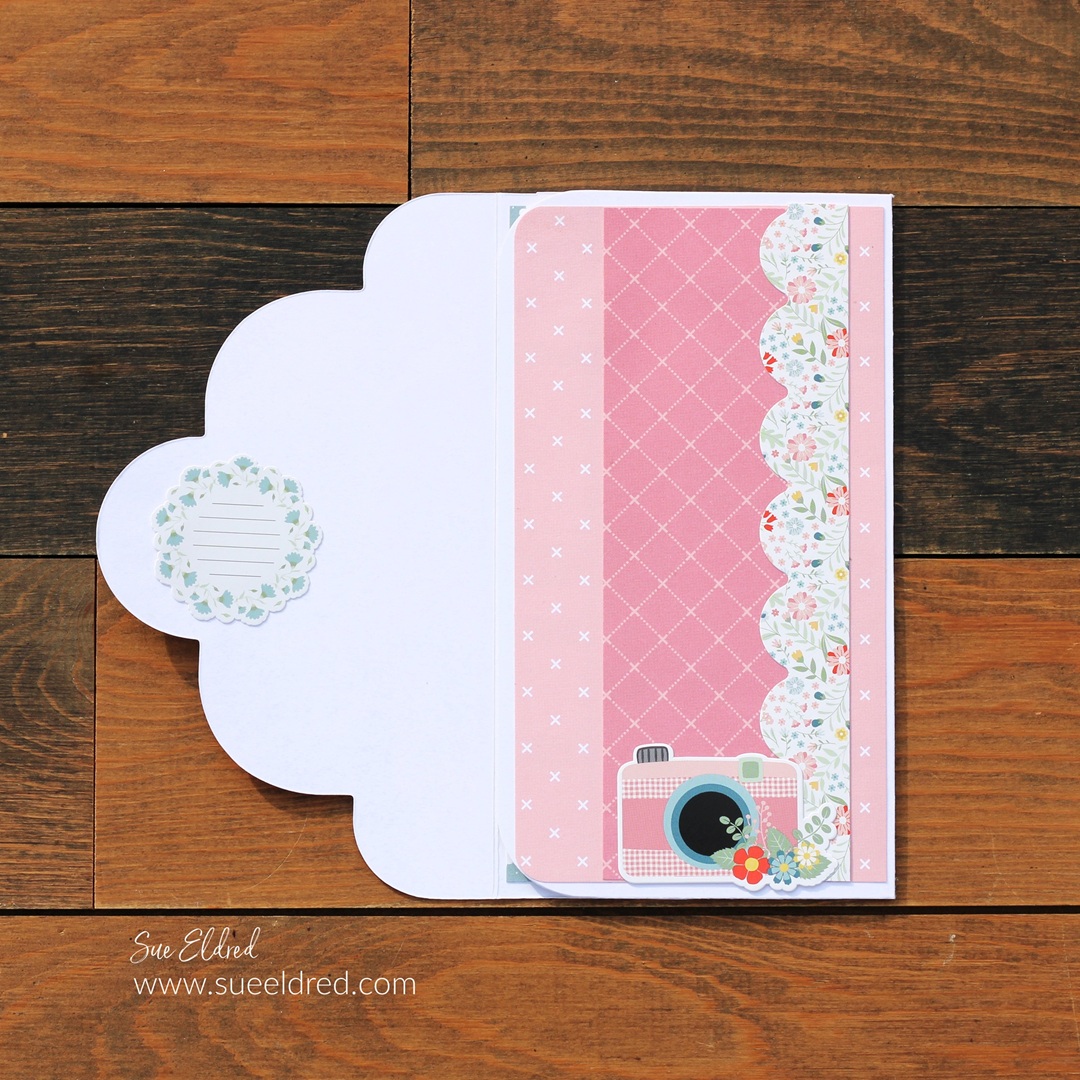
The 10-piece die set* also includes dies to make pockets, tags,
birds, paper clips, labels, notes, and lists. It’s a very versatile die set.