Wishing You a Less Stressful Year

The Perfect New Year Card…

With less than a week to go until Christmas, I think we can all admit this year has been stressful.

2020 has made me plain old tired.  I think we all deserve a card like this.

But, If you enjoy a little more sarcasm…

This Sarcastic New Years Stamp Set from The Maker’s Movement is perfect for letting everyone know just how your feeling. (how we’re all feeling)

  • IT CAN’T GET ANY WORSE…RIGHT?
  • SAME CRAP, NEW RESOLUTIONS
  • WISHING YOU A LESS STRESSFUL YEAR
  • I STAYED UP LATE FOR THIS?
  • LET’S GET IT RIGHT THIS TIME

Here’s to wishing everyone a Happy New Year!  May it be a lot less stressful.

Disclosure:  This is a sponsored post for the Maker’s Movement.  I have been provided product
and compensation in exchange for my creative ideas.  The view and opinions are my own.

Let it Snow Mug with Color Changing Vinyl

The new color changing vinyl from StyleTechCraft is fun for all ages.

Today we got our first Christmas snow.

So, when I should have been finishing up Christmas Cards, I spent the last couple

of hours playing with the heat color change vinyl and making this 30 second video.

You can find all StyleTechCrafts Color Change Vinyl here.

*Disclosure:  This blog uses affiliate links.  If you choose to make a purchase using one of the links, I receive a small commission (at no additional cost to you) that helps offset the costs of maintaining this blog.  Thanks for your support!
Materials Used:

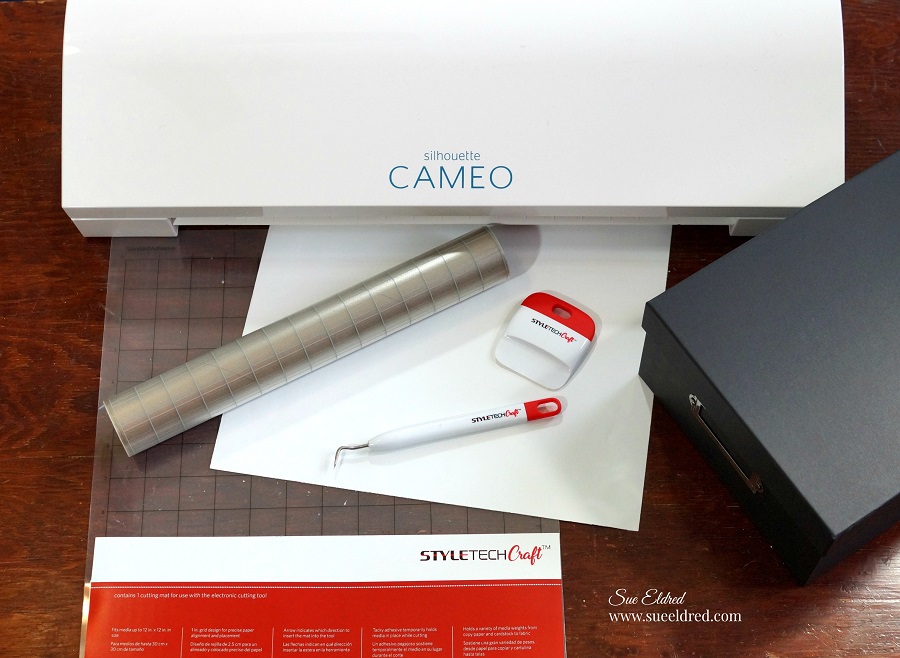
The design was cut using SVG files from The Silhouette Store and my Silhouette Cameo Electronic Die Cutting Machine*.

Elegant and Easy Holiday Card

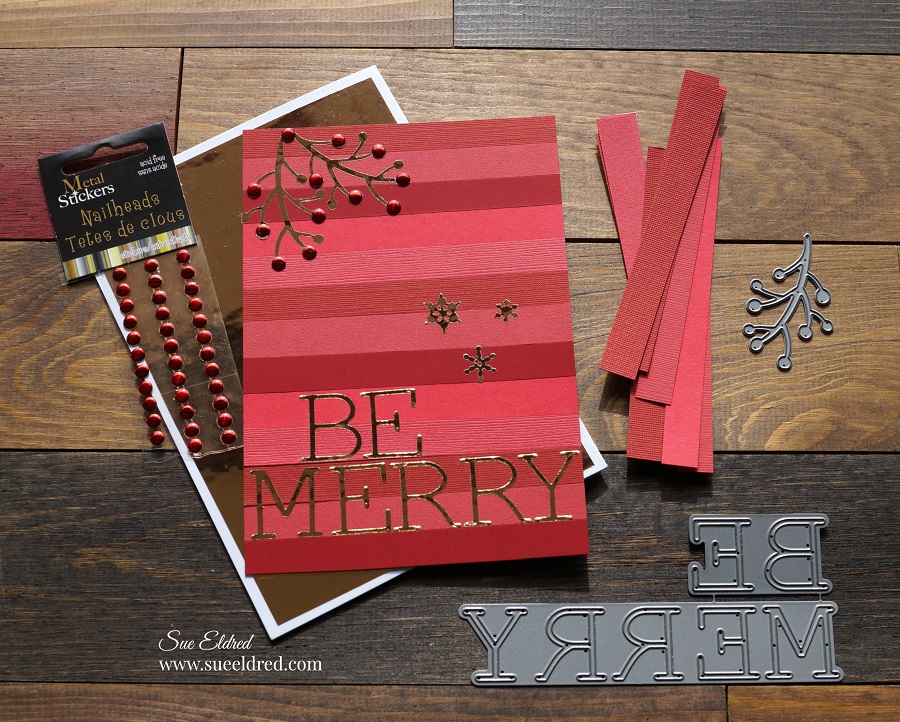
How to Make an Elegant and Easy Monochromatic Holiday Card.

When it comes to making cards for the Holidays, two words come to mind, elegant and easy.  This Merry little card is both.  With a few simple tricks and tips, this card is a snap to make.

Disclosure:  This is a sponsored post  for the Maker’s Movement.  I have been provided product
and compensation in exchange for my creative ideas.  The view and opinions are my own.

Materials Used:                        (*affiliate links)

*Disclosure:  This blog uses affiliate links.  If you choose to make a purchase using one of the links, I receive a small commission (at no additional cost to you) that helps offset the costs of maintaining this blog.  Thanks for your support!

Directions:

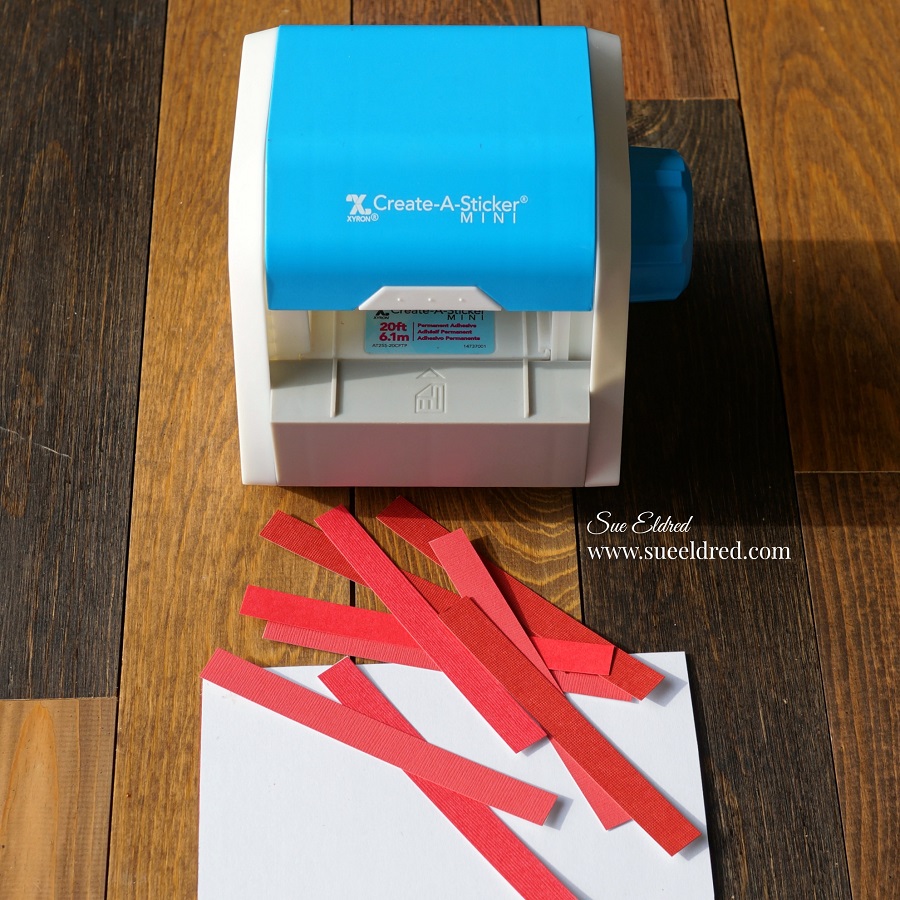
  • Choose several different shades of red cardstock.  (I used four.)  Cut into 2 1/2″ x 4 1/2″ strips.
  • To make assembly easy.  I used the Xyron Create a Sticker to add adhesive to the back of the strips of cardstock.
  • Trim the larger strips into 1/2″ x 4 1/2″ smaller strips.
  • Cut a 4 1/2″ x 6 1/2″ piece of red cardstock to use as the base.  Starting at the top, add the strips of red cardstock to the base.
  • Die-cut two branches using the Winter Foliage Die Set and Gold Chrome Vinyl.
  • Die-cut small snowflakes using the gold chrome vinyl and the snowflakes found in the Snow Globe Die Set.
  • Die-cut the words “Be Merry” using gold chrome Vinyl and the Be Merry Die Set.
  • Remove the white protective backing from the vinyl and use as stickers to decorate the front of the card.  I used the edge of the cardstock strip to help me line up the words.
  • Add red metal nailhead sticker embellishments onto the branch.
  • Cut a 4 3/4″ x 6 3/4″ piece of Chrome Adhesive Vinyl and adhere to a white 5″ x 7″ card.
  • Adhere the striped card front to the card base.

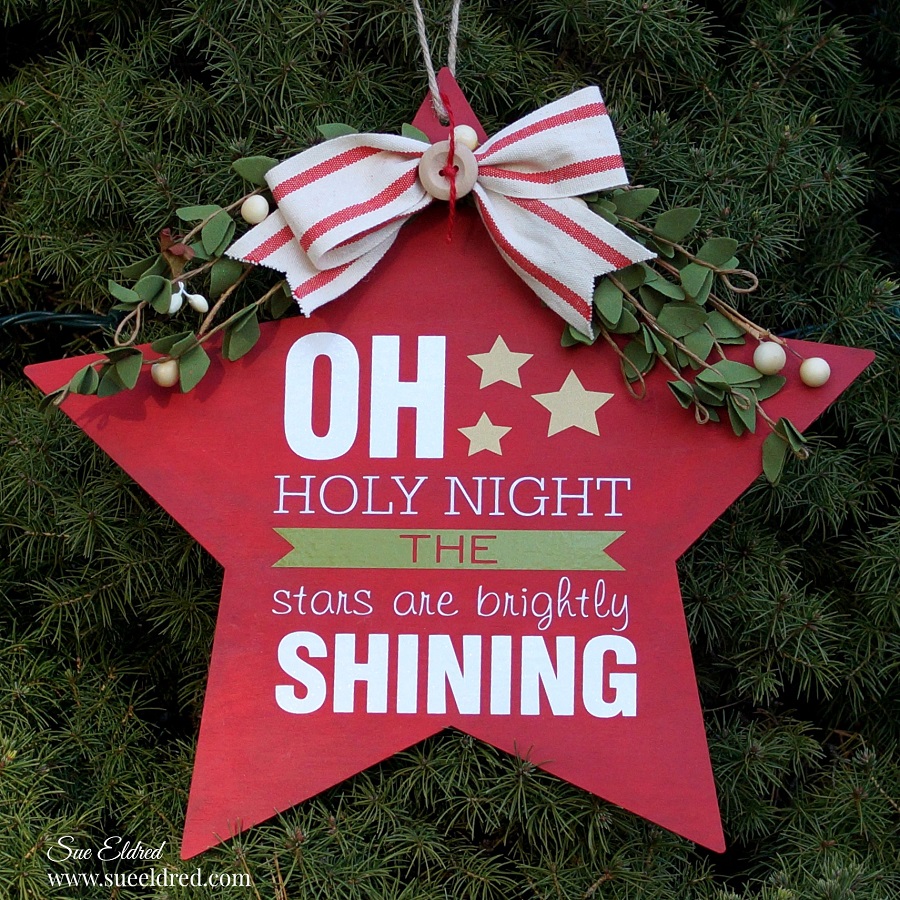
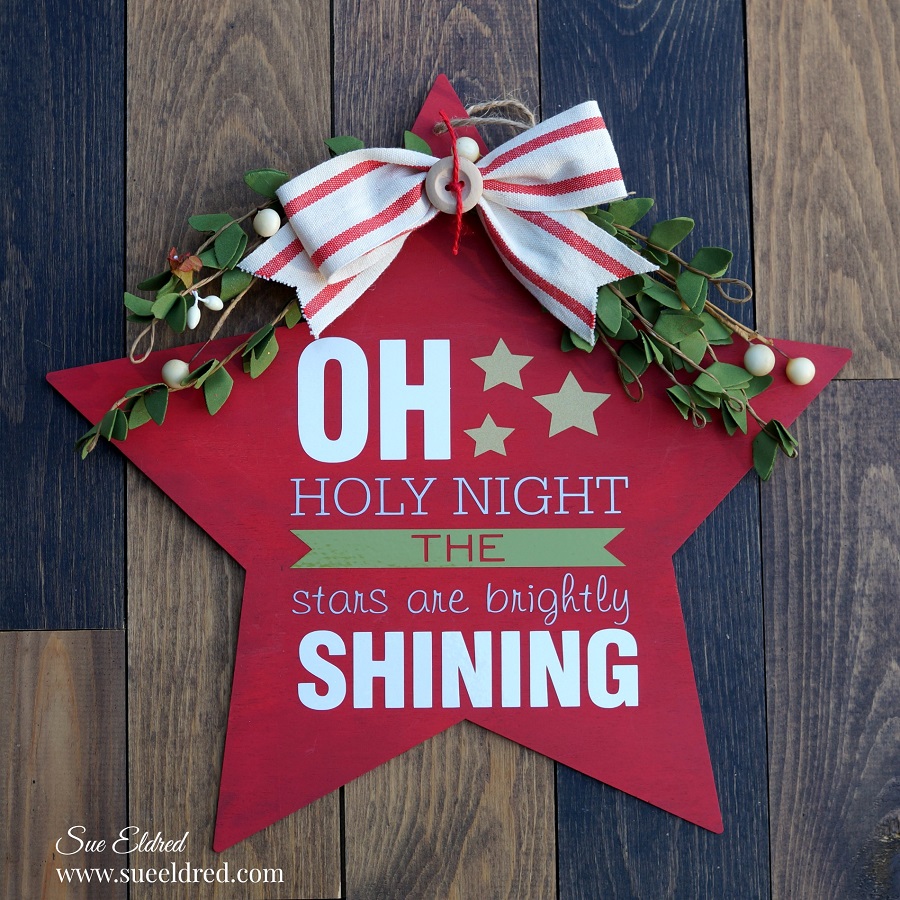
Oh Holy Night Christmas Star Decoration

My very most favorite Christmas Song is Oh Holy Night. 

The melody gets me every time.  To me, it’s one of the most beautiful songs.

I love to close my eyes when listening to it.   (And a good tenor can bring me to tears.)

I wanted a new Star to hang near the top of my tree this year, so I decided to make one using

my favorite song and an inexpensive wood star I found at Dollar Tree*.

*Disclosure:  This blog uses affiliate links.  If you choose to make a purchase using one of the links, I receive a small commission (at no additional cost to you) that helps offset the costs of maintaining this blog.  Thanks for your support!

Add some of my favorite Glossy Craft Vinyl from StyleTechCraft, and I have what I need to make the perfect star for me.

Materials Used:        (*affiliate link)

StyletechCraft products brought to you by ATSM Craft

Directions:

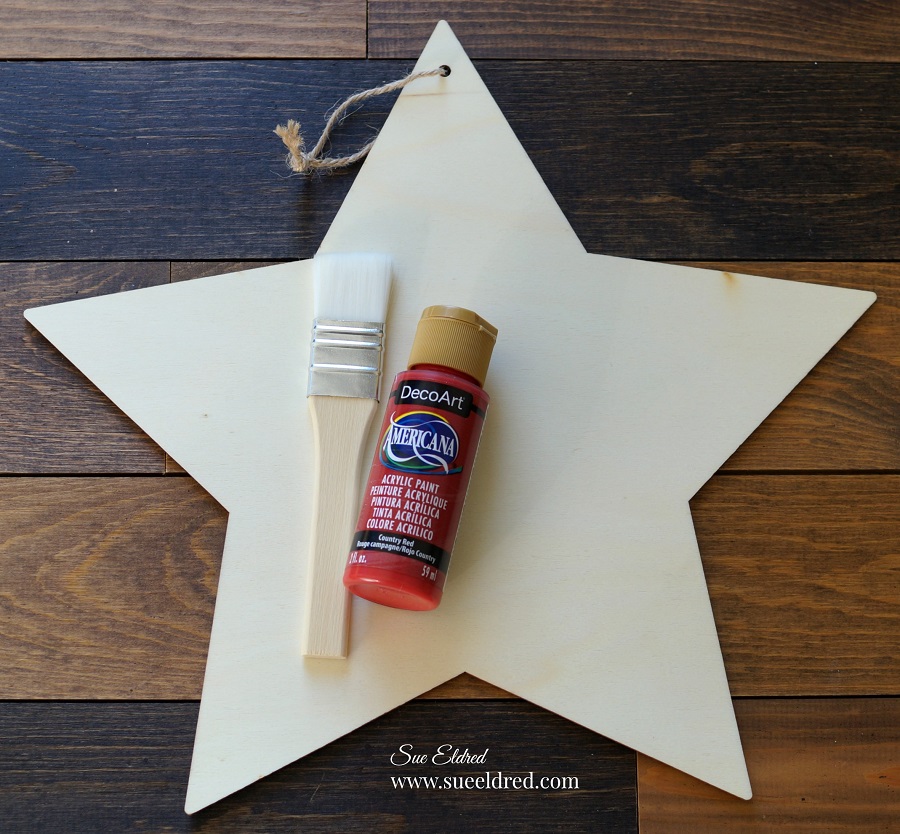
  • Paint the wood star using the Country Red Acrylic Paint*.
  • Use the Oh Holy Night SVG cut file and the Silhouette Cameo Electronic Die Cutting Machine* to cut the pieces out of vinyl.  (Make sure to keep the spacing the same as in the file.)
  • Use the vinyl pick tool to remove the excess vinyl from inside and around the letters and banner.
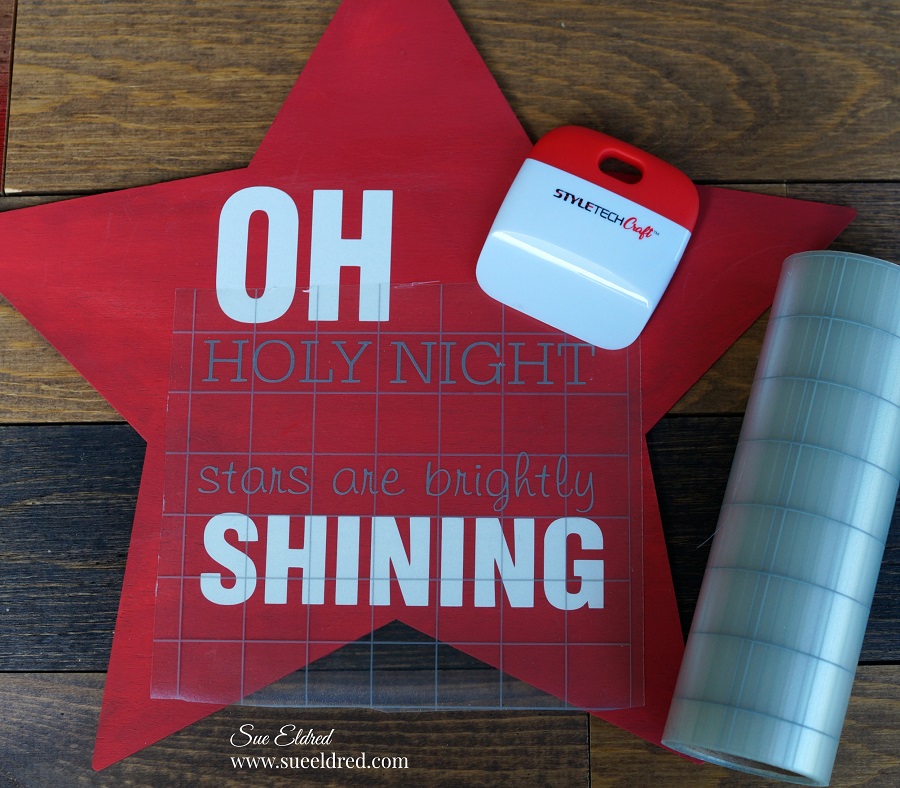
  • Cut a piece of Vinyl Transfer Tape* to fit over the vinyl words.  Gently rub over the transfer paper using the squeegee tool.  Lift the transfer tape to remove the vinyl from the white liner.
  • Using the vinyl transfer tape, line up the white vinyl words “Oh, and Shining” onto the star first.  Gently rub over the vinyl transfer tape using the squeegee tool to make sure all the image has transferred.   Remove the transfer tape.
  • Line up the silver words “Holy Night, and brightly shining” and place between the previous words.  Continue with the gold stars and the olive banner.  (It’s hard to see it from the pictures but the gold and silver stands out nicely on top the red star.)

Actually, the star would look fine, just as it is in the above picture.

But, I wanted to add a little ribbon and greenery on the top of my star to fancy it up.

I’m really happy with the way it turned out. This Star will go near the top of my tree and will go

beautifully with my decorations. The Star would look great in the center of a Christmas wreath.

Or, if you used a smaller star, it would make a cute ornament.

“This is a sponsored post.  As a member of the StyleTechCraft Design Team I have been provided product and compensation in exchange for my creative ideas.  The views and opinions are my own.

The Bow Maker Die for Paper Crafters

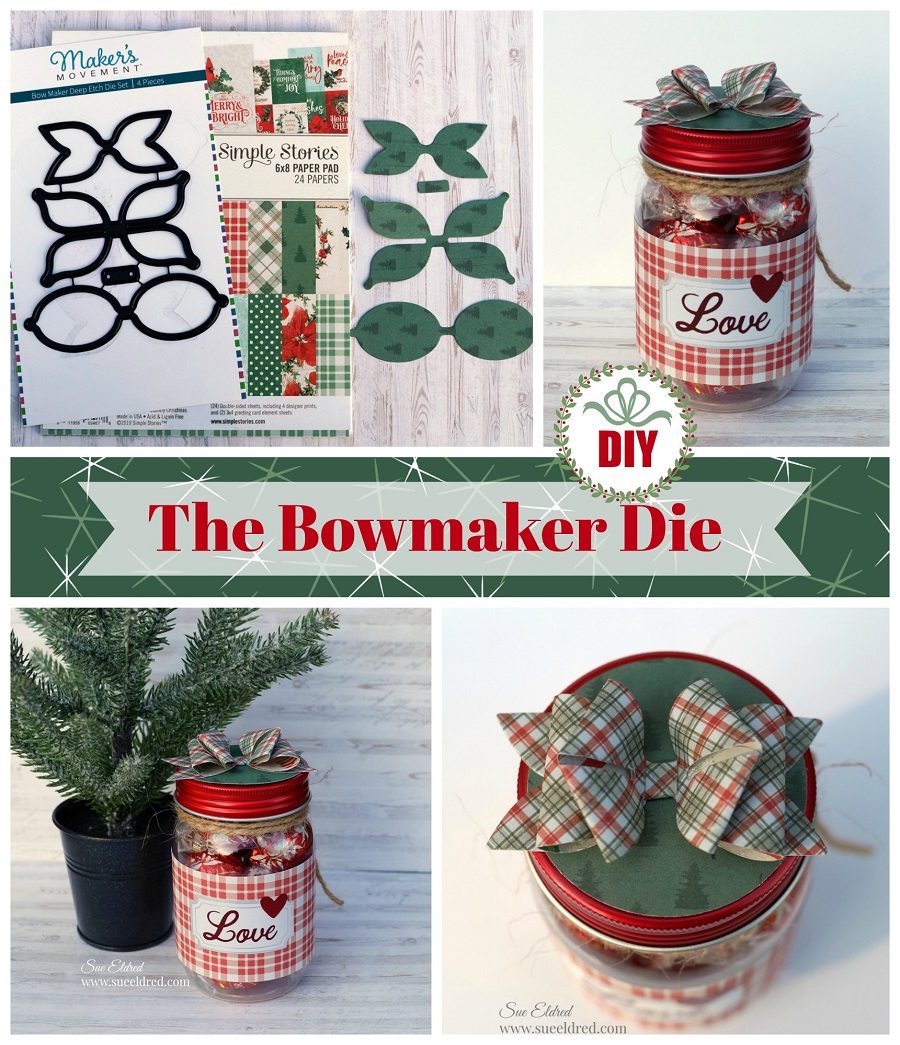
I recently got a chance to play with the Bow Maker Die from The Maker’s Movement.

While I will admit that I was confused for a brief moment on how it worked.

Once I figured out how easy it was to use, I wanted to share this simple project

and tutorial with you.

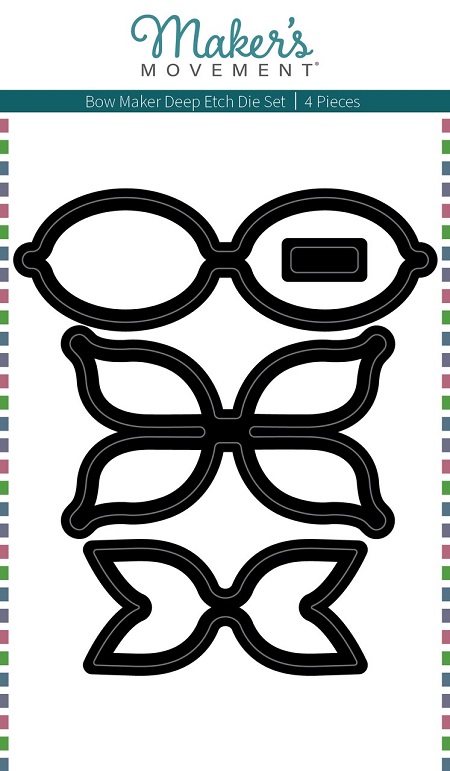
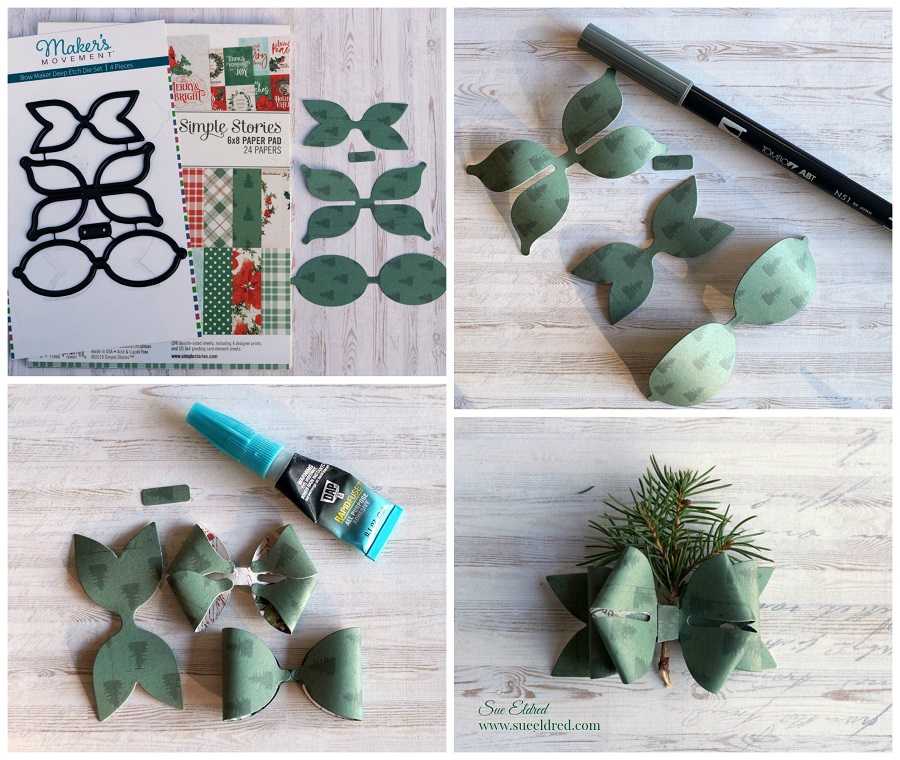
The Bow Maker is a four-piece die set that is deep etched, which makes it so easy to cut through cardstock, thick paper, and even fabric. They are great for greeting cards, birthday cards, scrapbooking, gift tags, and much more fun projects.

Disclosure:  This is a sponsored post  for the Maker’s Movement.  I have been provided product
and compensation in exchange for my creative ideas.  The view and opinions are my own.

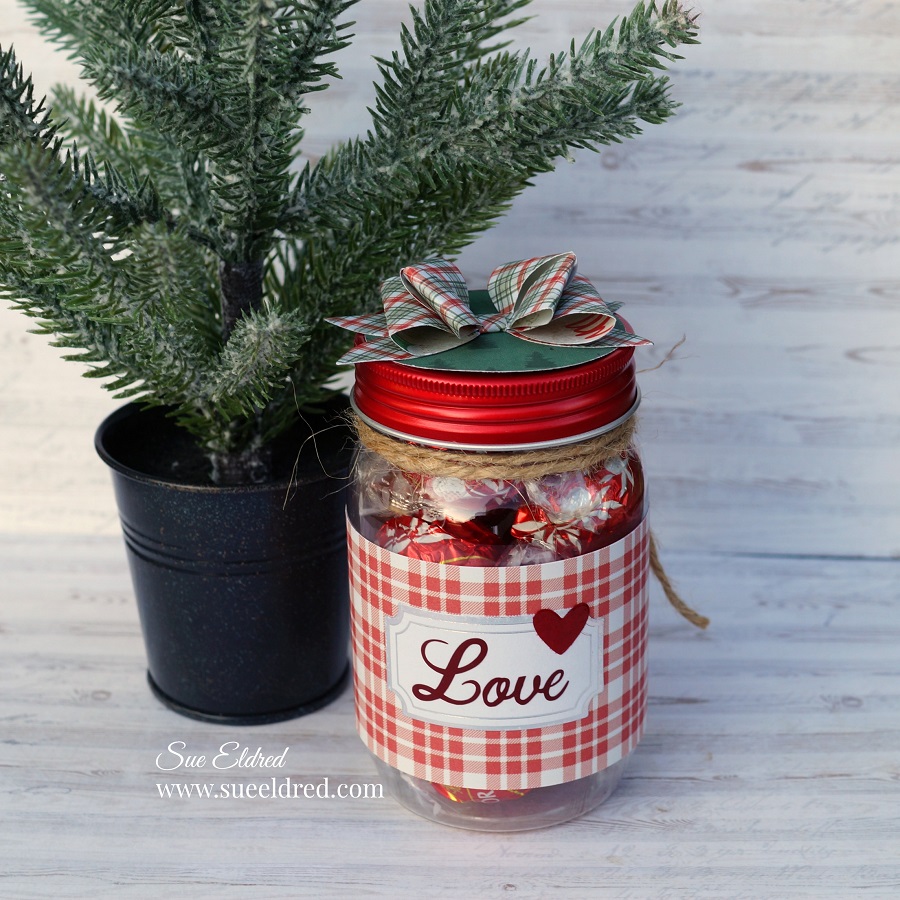
I decorated a little jar I found at  Dollar Tree and topped it off with a cute little paper bow.

*Disclosure:  This blog uses affiliate links.  If you choose to make a purchase using one of the links, I receive a small commission (at no additional cost to you) that helps offset the costs of maintaining this blog.  Thanks for your support!

It makes a quick, simple, and inexpensive gift.

Materials Used:     (*affiliate link)

Directions:

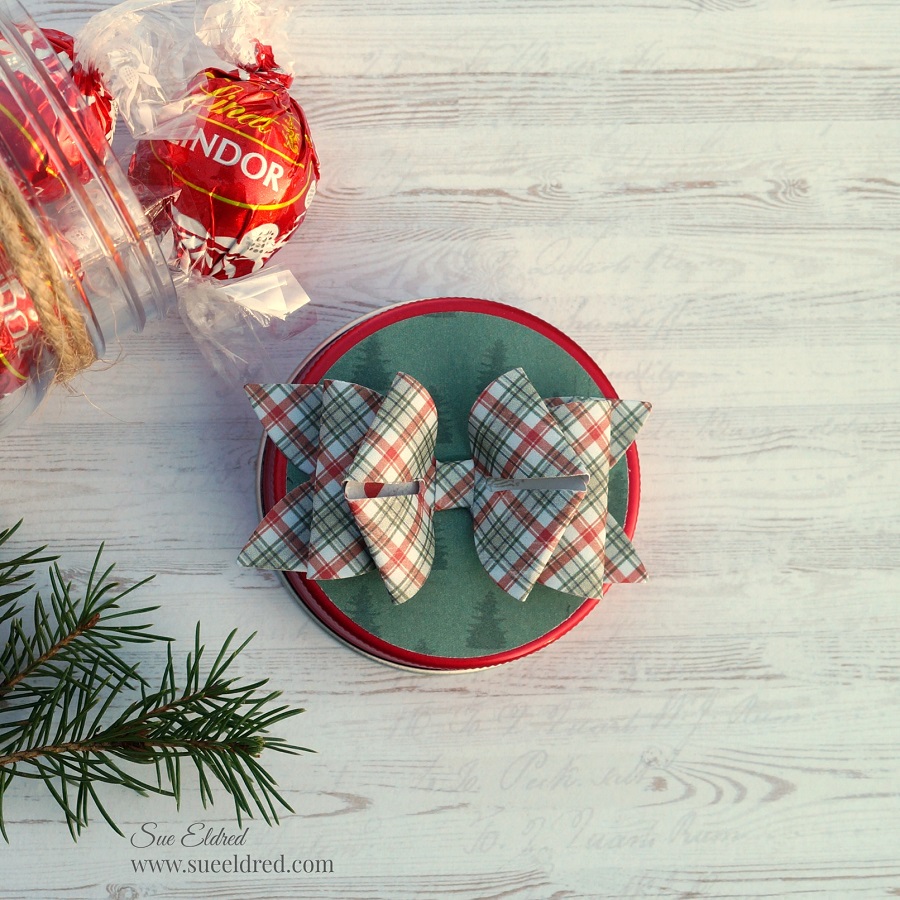
  1. Die-cut decorative scrapbook paper using the Bow Maker Die.  The dies cut four pieces, two bow loops, a center, and a bow base.
  2. Gently curl the paper on the two bow loops using your fingers or a small round marker to make the paper pliable for bending.
  3. Bend the ends over and glue to the underneath side of the paper using a quick setting glue like Rapid Fuse*.  (you could also use a small glue dot)
  4. Stack and glue the bow loops onto the bow base.
  5. Glue the center around the middle of the bow.

Handmade Holiday Paper Crafting Parade

Today I’m parading around with several talented designers on Instagram for Scrapbook.com’s

The Handmade Holiday Papercrafting Parade.

I recieved a great box of exclusive Scrapbook.com products to use for my projects.

Most of the items were the everyday type of products.

But, as you’ll see, you can easily use your regular products to make some very unique

holiday projects.

(Link for the Handmade Holiday Paper Crafting Parade at the bottom of this post. )

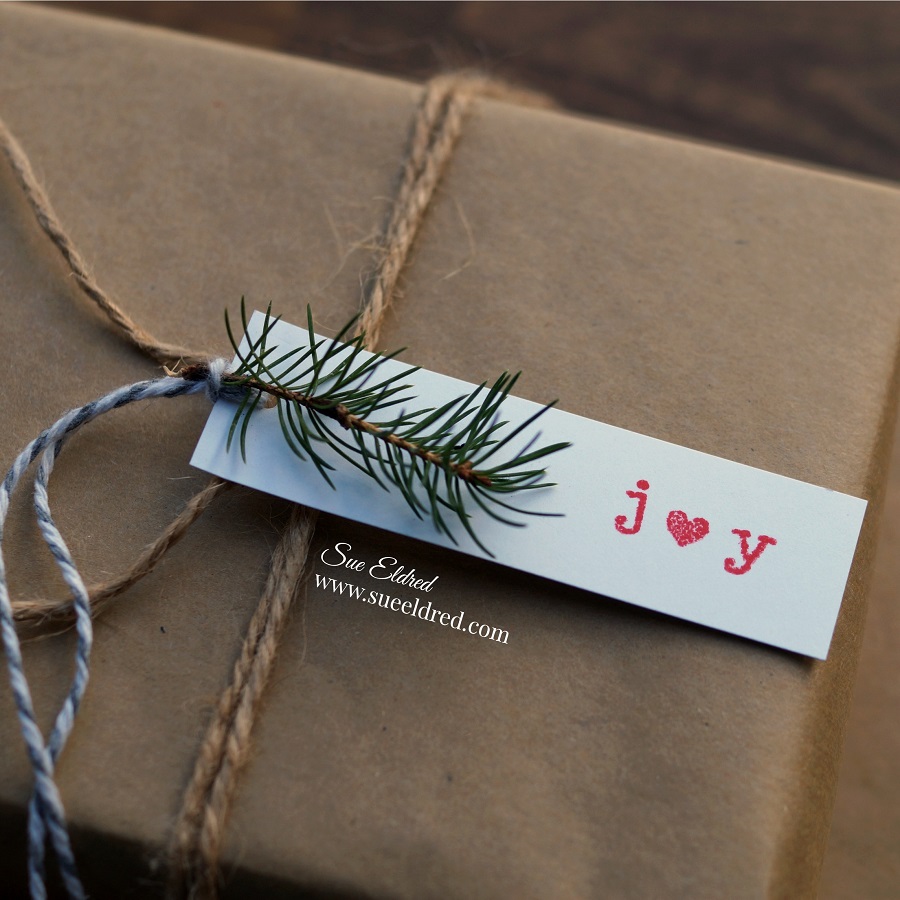
Sprig of Joy Tag

There’s something special about simple wrapped presents.

As Julie Andrews sang in the Sound of Music, “these are a few of my favorite things.”

Materials Used:          (*afiliate link)

*Disclosure:  This blog uses affiliate links.  If you choose to make a purchase using one of the links, I receive a small commission (at no additional cost to you) that helps offset the costs of maintaining this blog.  Thanks for your support!

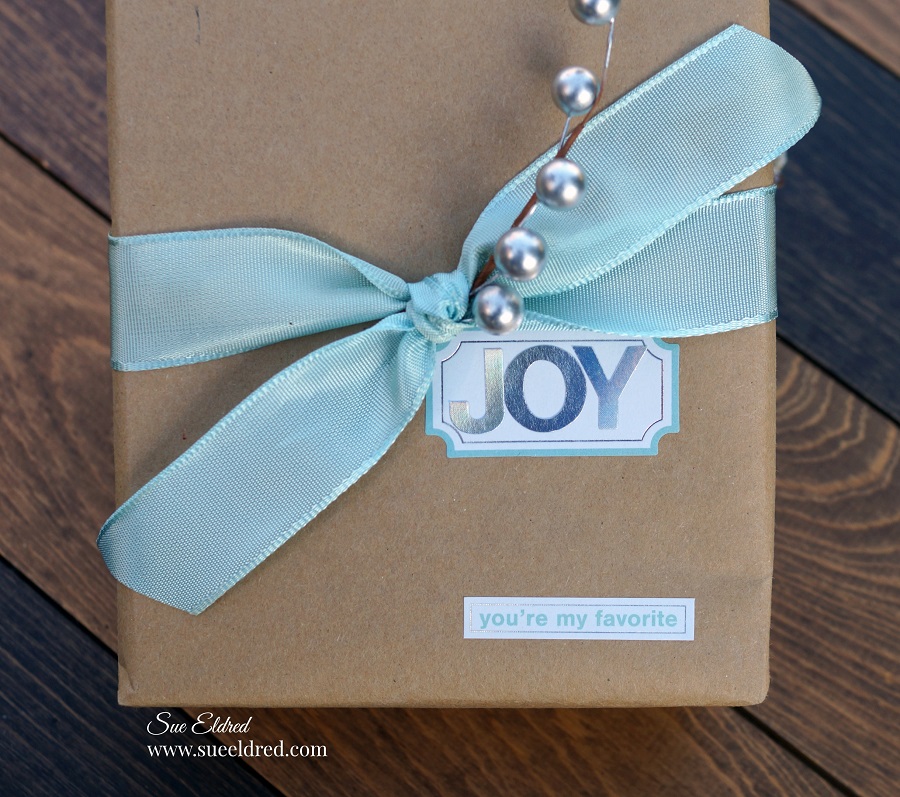
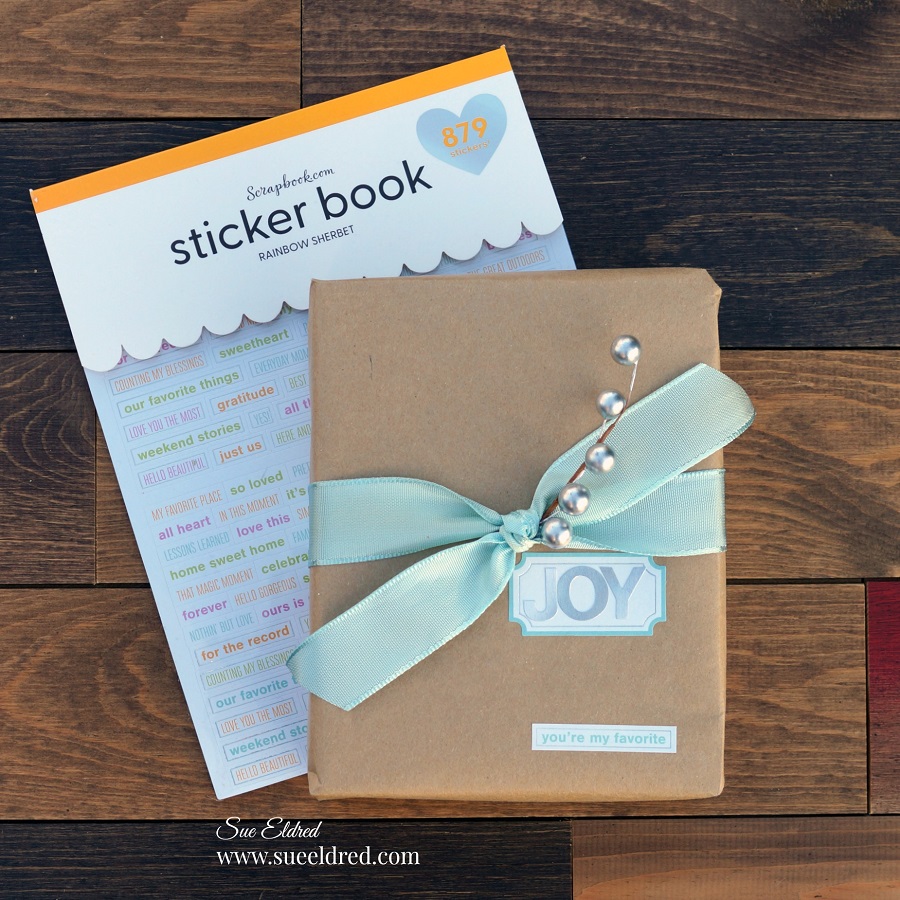
The Gift of Joy.

I love using every day stickers to embellish this package.

This sticker set came with labels, alphabet stickers (including this lovely silver one) and fun

word stickers.  If you’re bold enough, add “you’re my favorite” to a present and see who notices.

Materials Used:

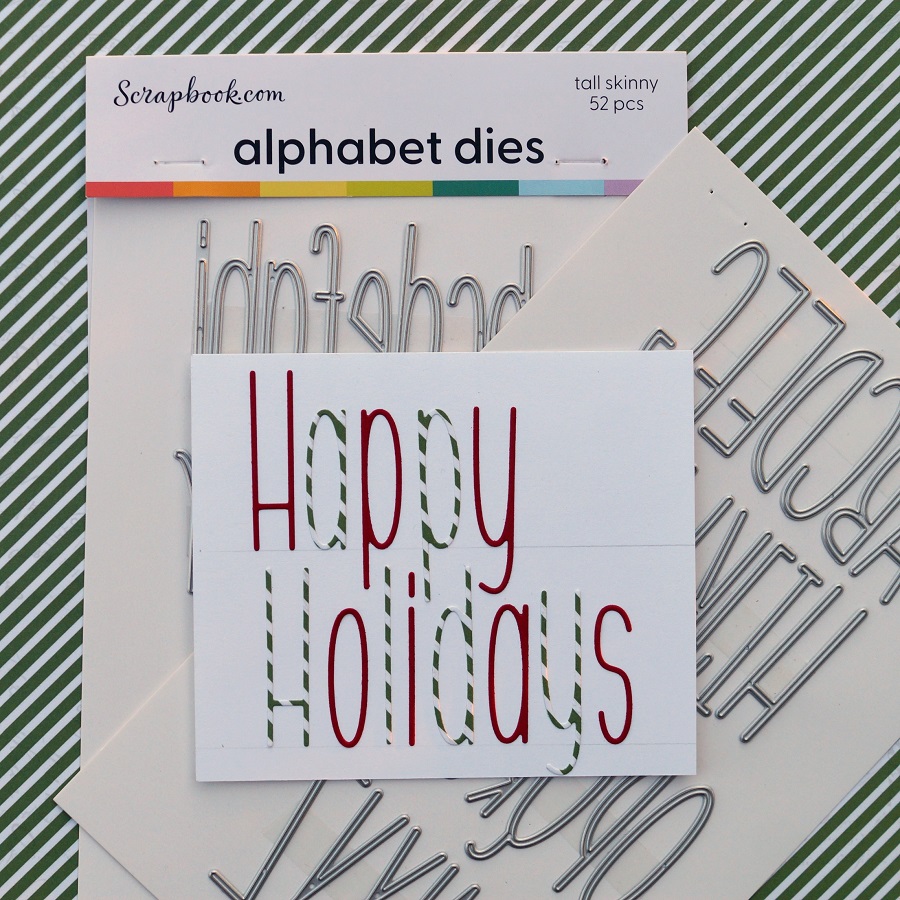
Happy Holidays Card

This simple card was easy to create.  I used the tall skinny alphabet dies to cut out the letters to

spell Happy Holidays.  To make assembly easy, I ran the paper through my Xyron Create A

Sticker before die-cutting the letters.

Draw a faint pencil line on the white cardstock to help line up the letters.

Erase the line after you’ve stuck on the letters.

Materials Used:

Click on the picture below to start on the Instagram Parade. 
And while you’re there, make sure to “Follow Me”.    (Thank You!!!)

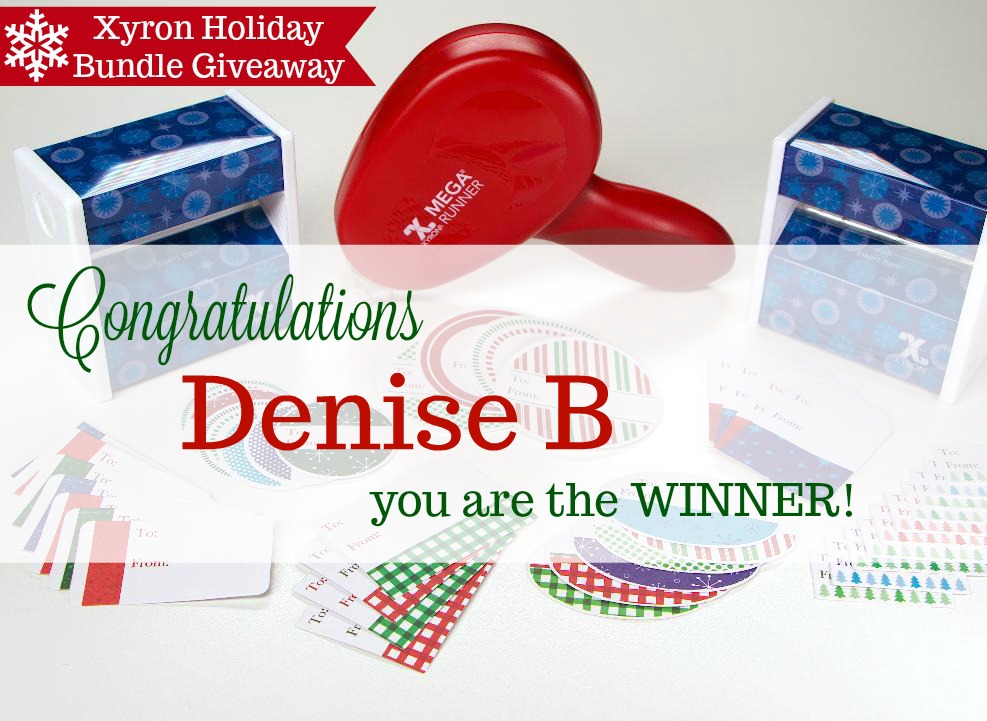
Xyron Holiday Bundle Winner

Congratulation goes out to Denise B of England,

You are the Winner of the Xyron 2020 Holiday Bundle.

Thanks to Everyone who entered into the contest.

And a Special Thanks to Xryon for giving me the Holiday Bundle to Give Away.

You all know how much I love my Xyron Products.

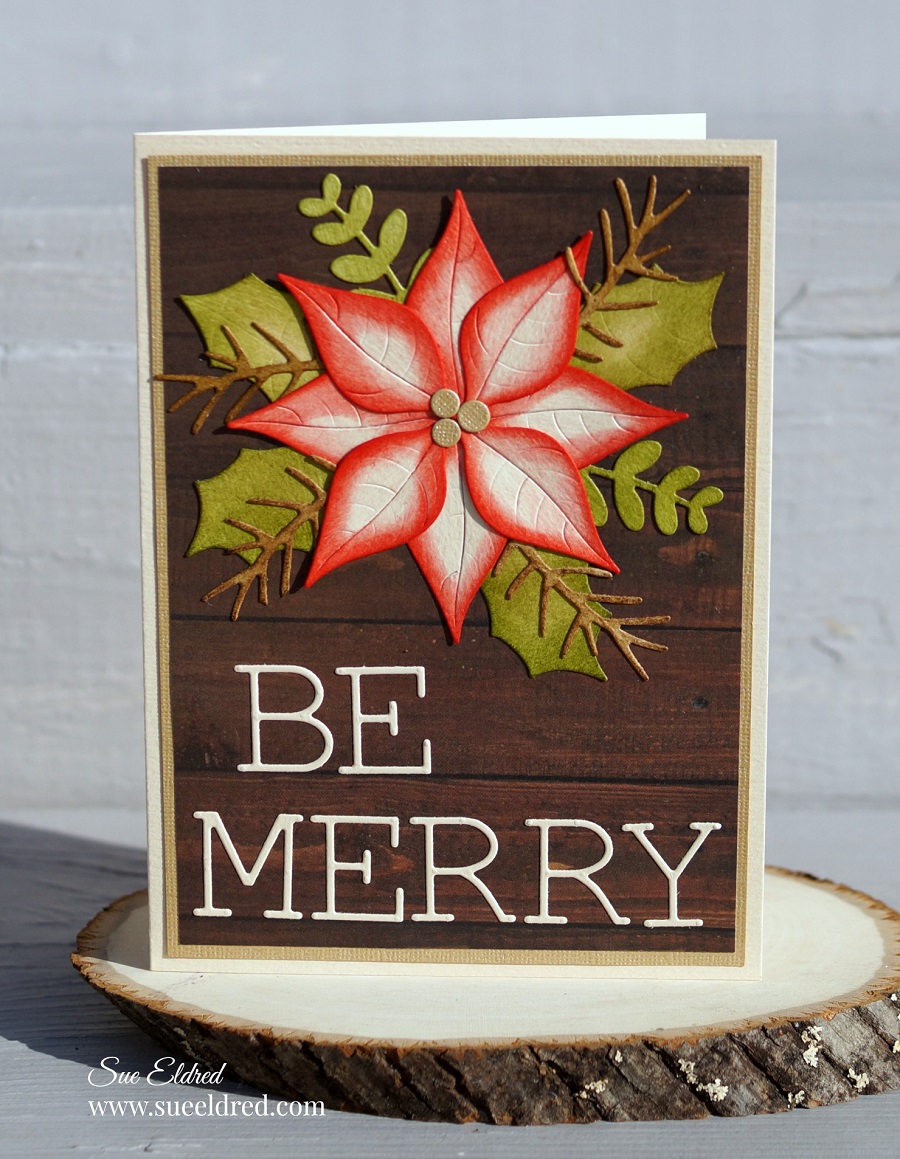
Be Merry Poinsettia Card

How to Create a Beautiful Poinsettia Christmas Card using Distress Ink.

I like making clean and simple cards.

But everyone once in a while, a card just calls out to be inked.

This card was one of those projects.   (It’s still kind of clean and simple.)

Disclosure:  This is a sponsored post  for the Maker’s Movement.  I have been provided product
and compensation in exchange for my creative ideas.  The view and opinions are my own.

Materials Used:        (*affiliate link)

Directions:

  • Run several strips of 3″ cream cardstock through the Xyron Sticker Maker*. The sticker maker adds an even layer of adhesive to the back of the cardstock. Do this before die-cutting to make each small piece a sticker. (it makes assembly so much easier)
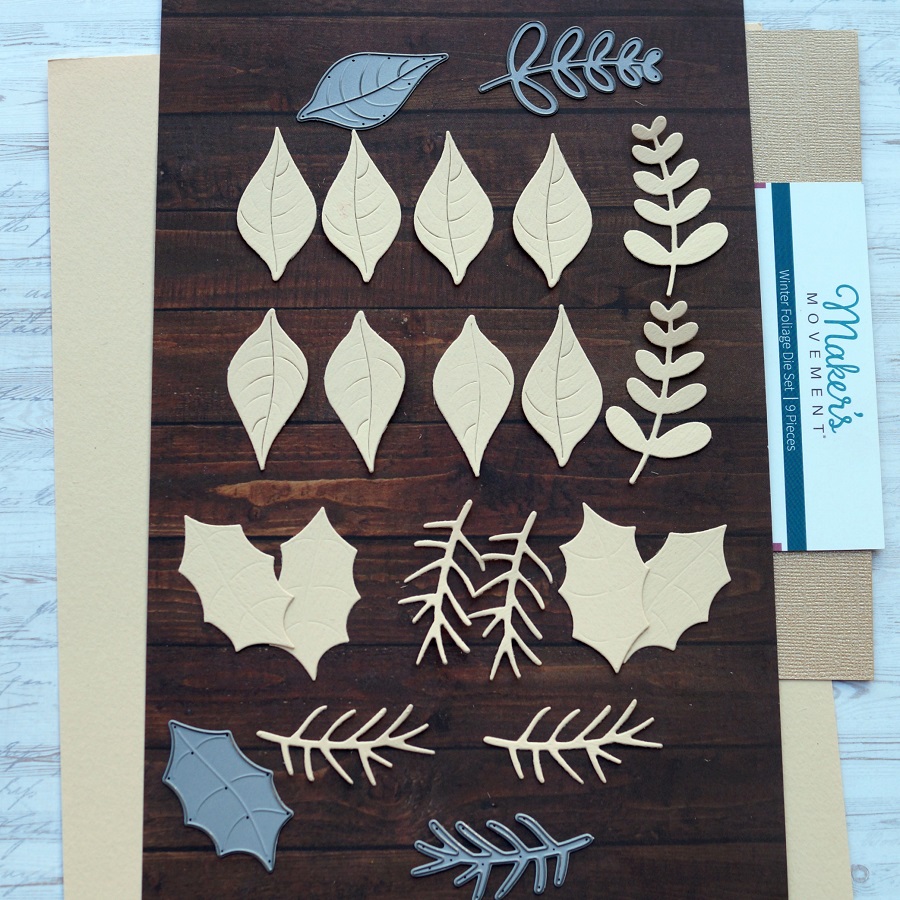
  • Using the Winter Foliage Die Set and the Crossover II Die-Cut Machine*, die-cut the pieces out of cream cardstock. You will need 8-smooth leaves for the flower, 4-pointed leaves for the foliage, 4-pine branches, and 2-small leaf die-cuts.

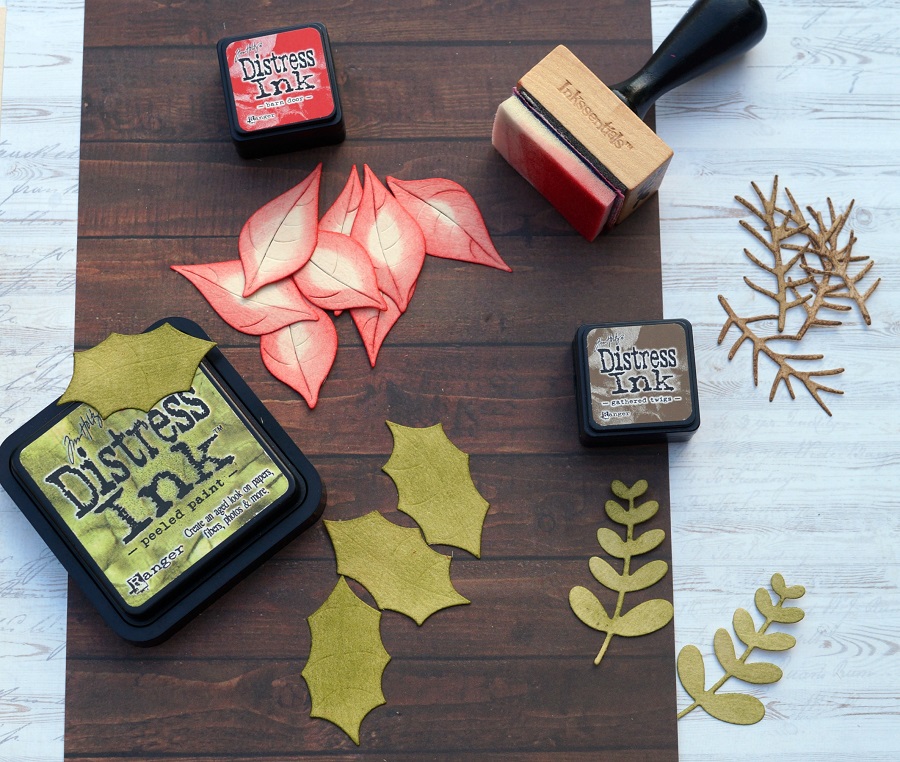
  • Ink the edges of the leaves using an Ink Blending Tool* and the Distress Inks.
  • For the base of the card, cut 4 3/4″ x 6 3/4″ piece of woodgrain scrapbook paper. Adhere the woodgrain paper onto a 5″ x 7″ gold cardstock layer. Adhere both layers onto a 5 1/4″ x 7 1/4″ cream card base.
  • Start with 4 of the smooth leaves inked with the Barn Door Red Ink and place onto the front of the top of the card. Place them so that they line up opposite of each other.
  • Place and stager the four additional red leaves on top of the first layer of leaves.
  • Adhere the leaves, foliage and, pine stem under the poinsettia flower.

  • Die-cut three small circles (from the Winter Foliage Die Set) out of gold cardstock and adhere to the center of the flower.
  • Die-cut the words “Be Merry” out of cream cardstock ran through the Xyron Sticker Maker* and place the stickered “Be Merry” onto the front of the card.

*Disclosure:  This blog uses affiliate links.  If you choose to make a purchase using one of the links, I receive a small commission (at no additional cost to you) that helps offset the costs of maintaining this blog.  Thanks for your support!

Xyron Holiday Bundle Giveaway

My friends at Xyron has generously given me a New Xyron 2020 Holiday Bundle to giveaway to one lucky person.

This limited-edition holiday bundle is perfect for gift wrapping over the holidays or anytime. The Xyron Mega Runner lets you wrap packages beautifully, without the messy tape. Have fun making your own labels for any occasion with the Xyron 3” Disposable Sticker Makers. Let Xyron help make your holidays easier!

The Xyron Holiday Bundle Includes:

  • Red Xyron Mega Runner
  • Two Xyron 3″ Disposable Sticker Makers with a Blue Snowflake Pattern.
  • 40 Holiday Labels

There are several ways to enter.  

  • Leave a comment on this post telling me you’d like to win.
  • Follow, Like and Comment on my Facebook Page
  • Follow, Like and Comment on my Instagram Page.
  • Follow Xyron’s Instagram Page and leave a comment on either this post or one of my other posts to let me know you followed them.

Winner will be chosen:  Sunday, November 15, 2020

Even if you don’t win you can get your own Xyron Holiday Bundle here.

Gnome for the Holidays

The Holiday Season isn’t even here yet, and Gnomes are popping up in stores everywhere.

That’s a good thing for me because I think they’re adorable.

I especially love the Holiday Gnomes.

Did you know that Gnomes are considered good luck?

The way things have been going this year, I’m going to need a lot more gnomes.

Have you tried making Gnomes yet?

I haven’t made any Gnomes yet myself, but it’s on my Holiday to-do list this year.

I thought this “Gnome for the Holidays” sign would look perfect with the two I already have.

I used StyleTechCraft metallic luster vinyl for a fun shimmery, metallic Holiday Decoration.

Materials Used:

StyletechCraft products brought to you by ATSM Craft

*Disclosure:  This blog uses affiliate links.  If you choose to make a purchase using one of the links, I receive a small commission (at no additional cost to you) that helps offset the costs of maintaining this blog.  Thanks for your support!

Directions:

  • Cut a piece of coordinating holiday scrapbook paper to fit inside of the frame.
  • Use the “Gnome for the Holidays” SVG cut file and the Silhouette Cameo Electronic Die Cutting Machine* to cut the pieces out of vinyl.
  • Use the vinyl pick tool to remove the excess vinyl from inside and around the letters and shapes.
  • Cut a piece of Vinyl Transfer Tape* to fit over the vinyl words.  Gently rub over the transfer paper using the squeegee tool.  Remove the vinyl from the white liner.
  • Using the transfer tape, line up the vinyl words onto the scrapbook paper.

  • Gently rub over the Vinyl Transfer Tape* to make sure all the image has transferred.   Remove the transfer tape.
  • Continue adding the vinyl layers that make up the Gnome.
  • Add into a fun red metallic frame and enjoy it.

“This is a sponsored post.  As a member of the StyleTechCraft Design Team I have been provided product and compensation in exchange for my creative ideas.  The views and opinions are my own.