Farmhouse Style Christmas using Free or Thrifted Items
Earlier this past fall, while walking my dog, I stumbled upon
a guy having an Estate Sale out of a Storage unit.
He came up to me and said that everything was FREE!
He needed to empty the unit so that he could go back home to Arizona.
I quickly took my dog home and picked up a few treasures.
(okay, more than I needed)
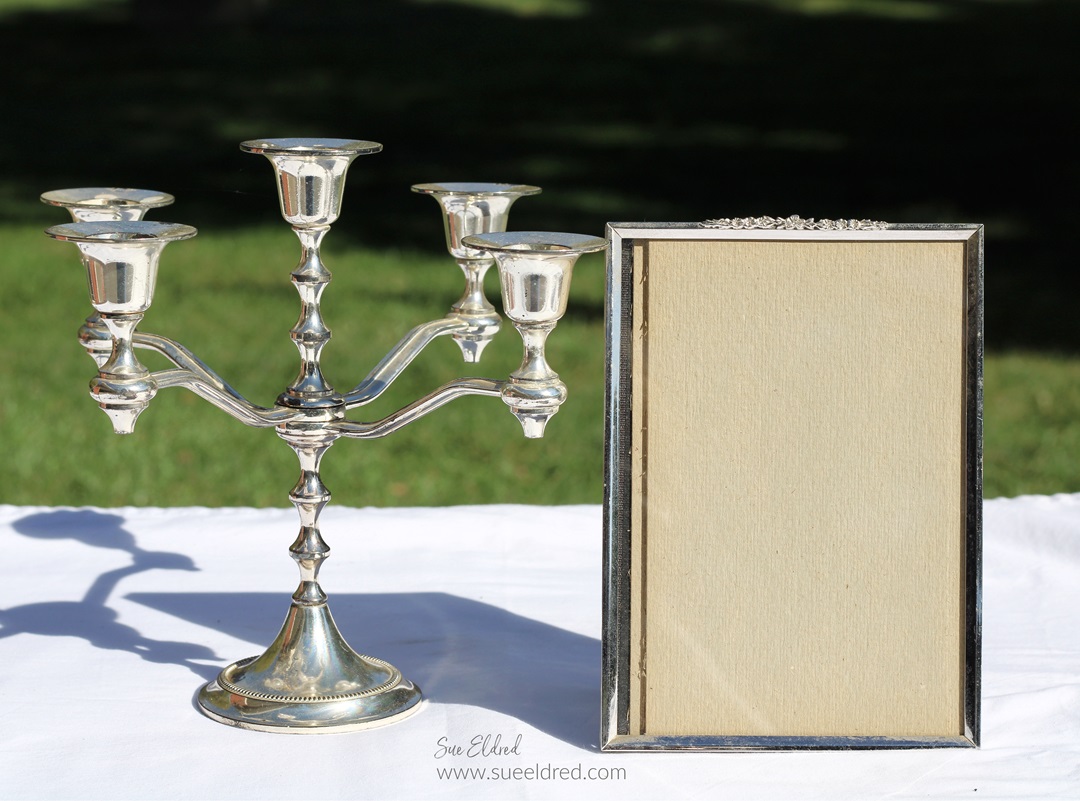
A few of my new treasures were this candelabra
and a vintage metal frame.
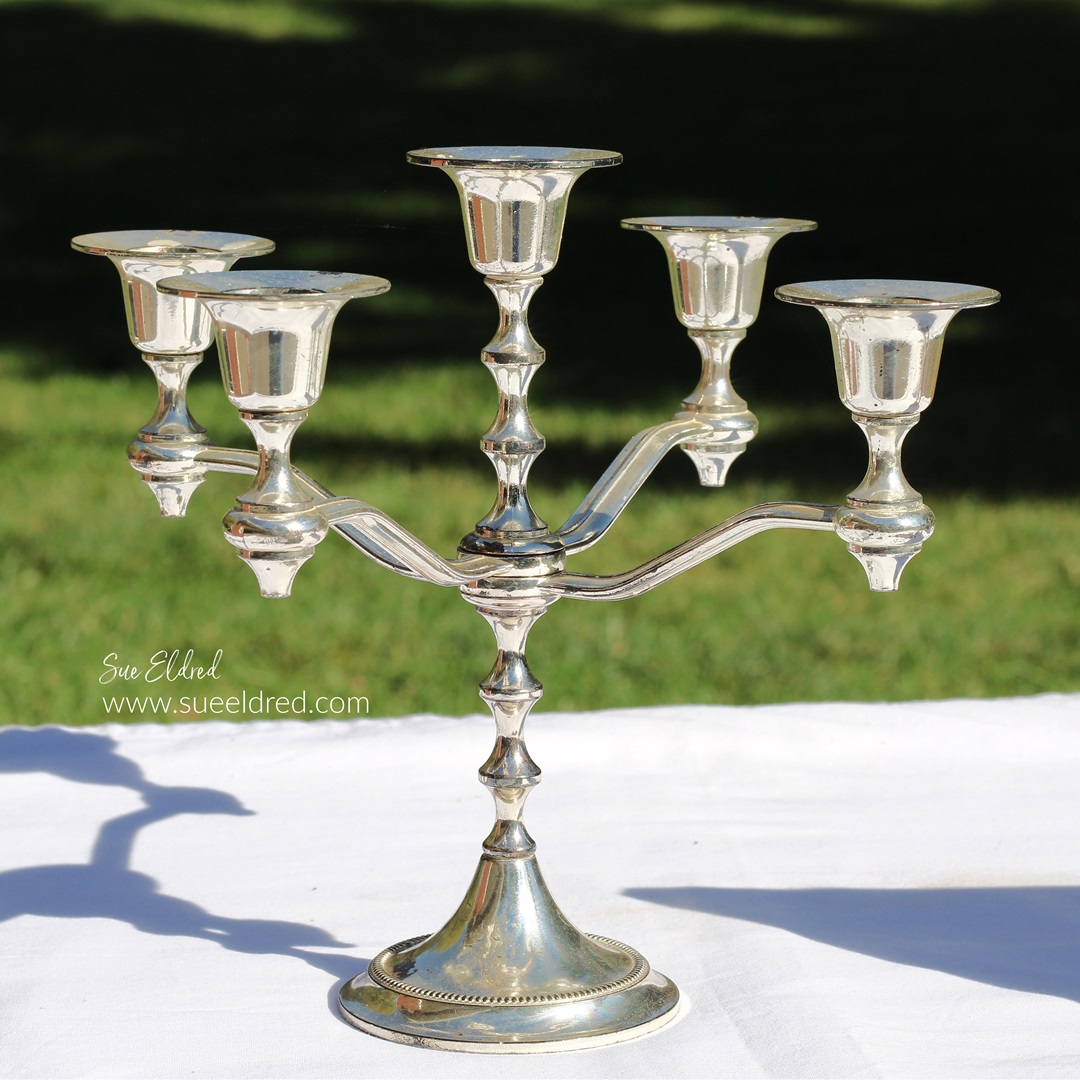
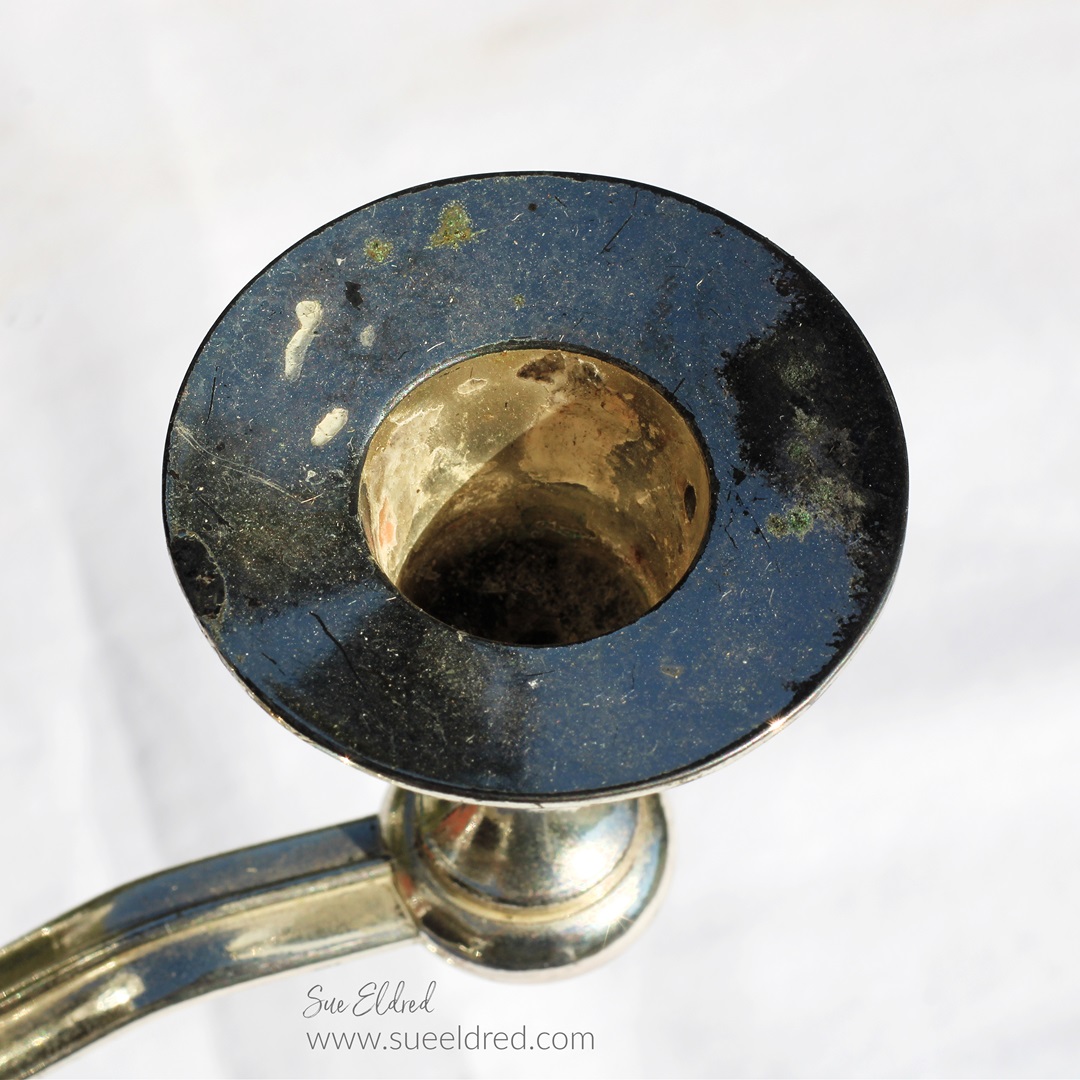
The candelabra wasn’t in the best shape and kept falling apart.
But it was FREE!!!

The vintage metal frame was silver (which is not quite my style).
But I had an idea of what I wanted to do with the frame.
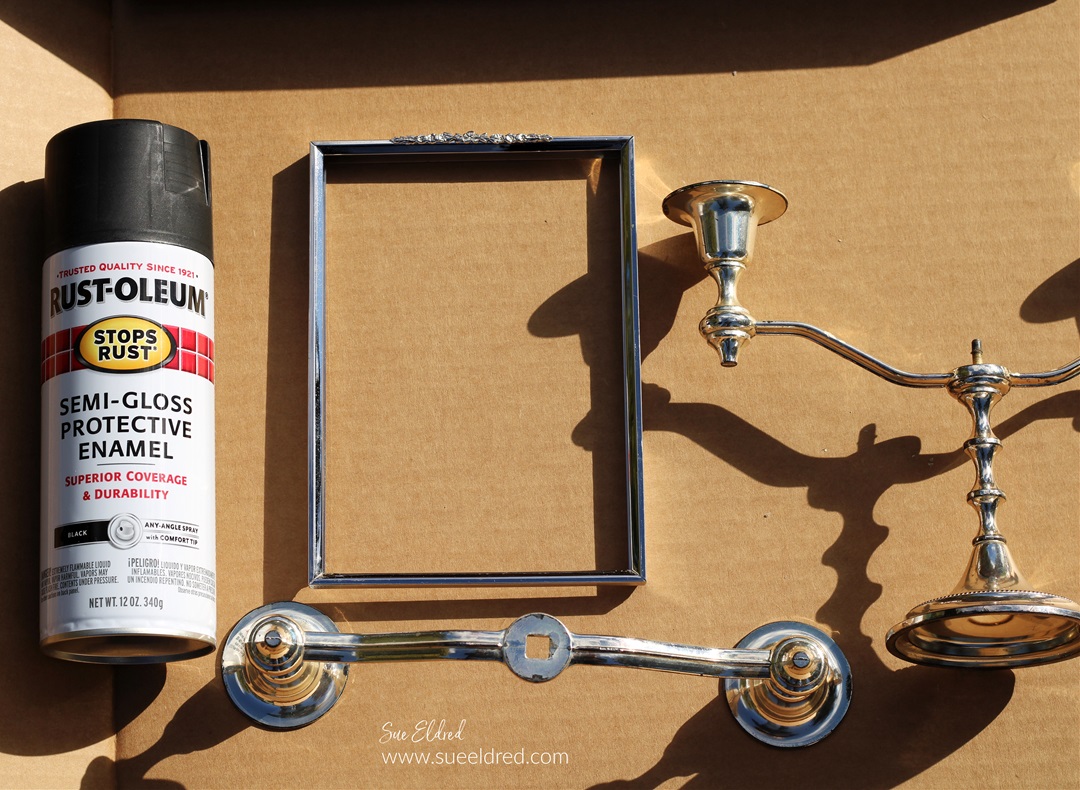
I gave everything a good cleaning and a light sanding.
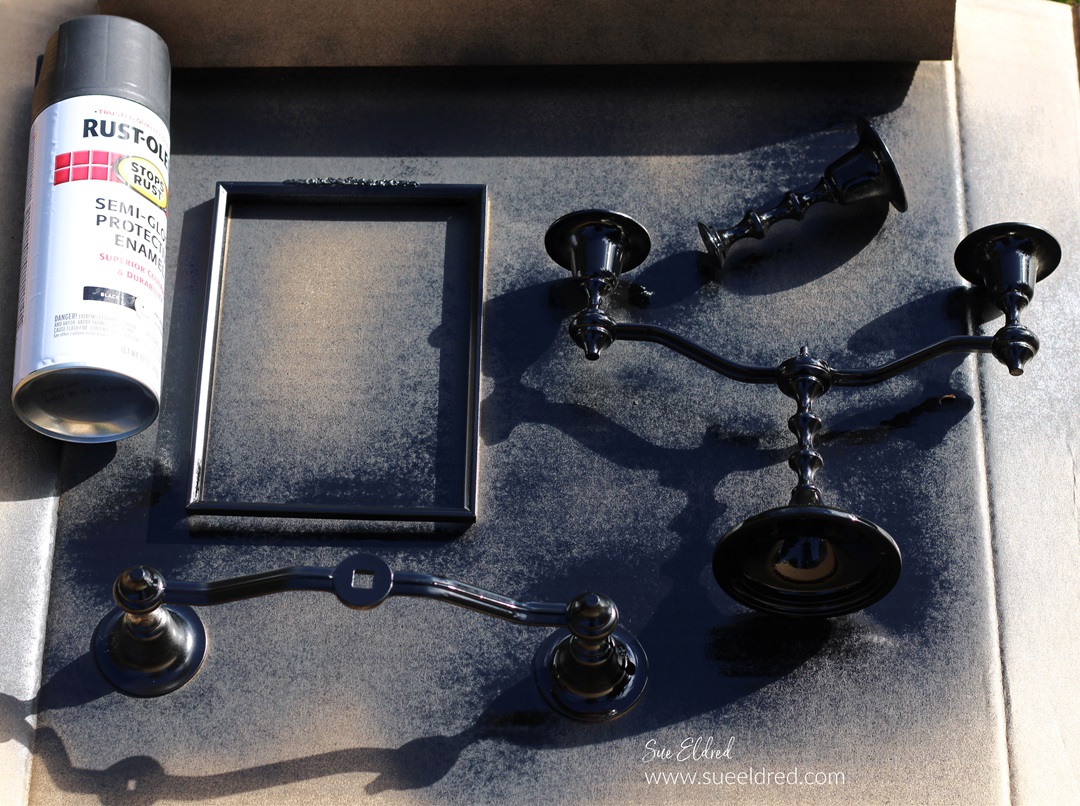
I spray-painted both the candelabra and the silver frame
with Rust-oleum Semi-Gloss Black Spray Paint*.
Because the candelabra kept falling apart, I glued it together
with E6000 glue*. (It worked like a charm.)
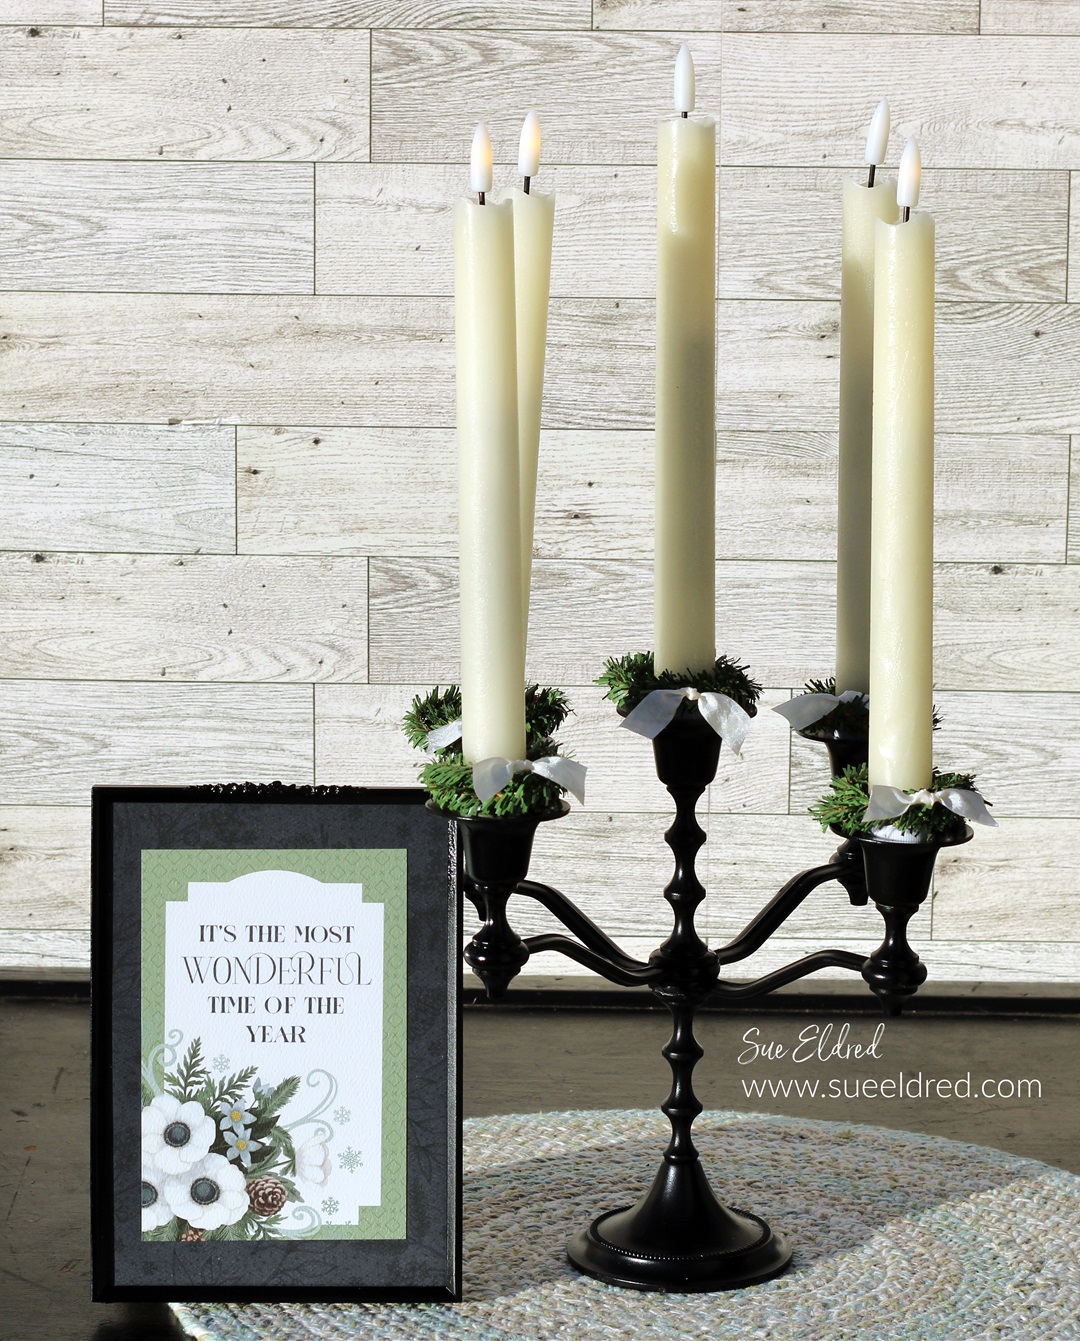
I added a Christmas Greeting inside my frame
using Carta Bella’s Winter Wonderland Collection*.
I purchased flameless battery taper candles on Amazon*.
These came with a remote, which was perfect.

Disclosure: This blog uses ads and affiliate links. If you choose to make a purchase using one of the links, I receive a small commission (at no additional cost to you) that helps offset the costs of maintaining this blog. Thanks for your support!
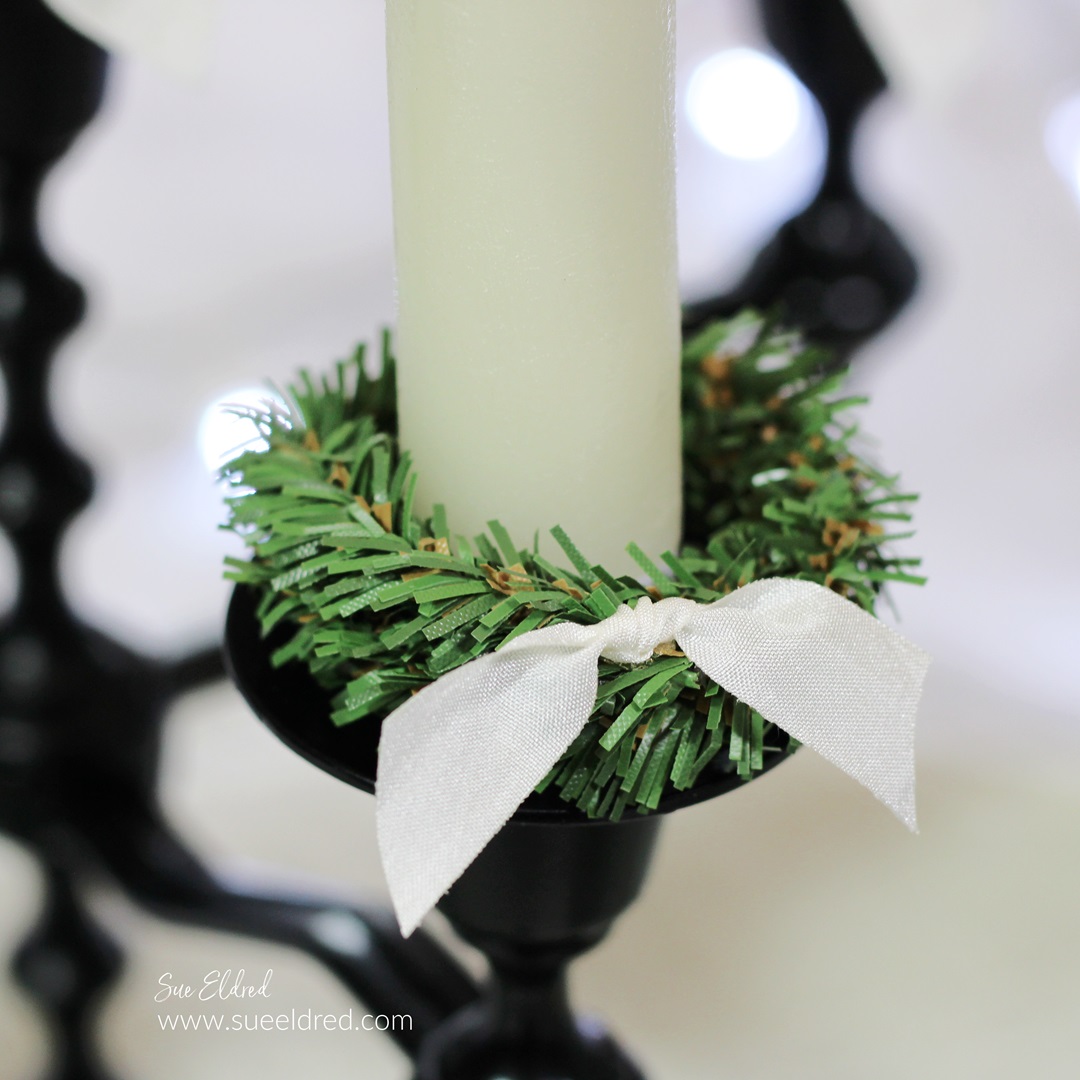
I made small wreaths for each candle using craft pine stems.
I wrapped the craft stem around the base of the candle.
I removed the wreath and manipulated and resized it to
make it the size I wanted.
I made small cream bows and hot glued them onto the bows.
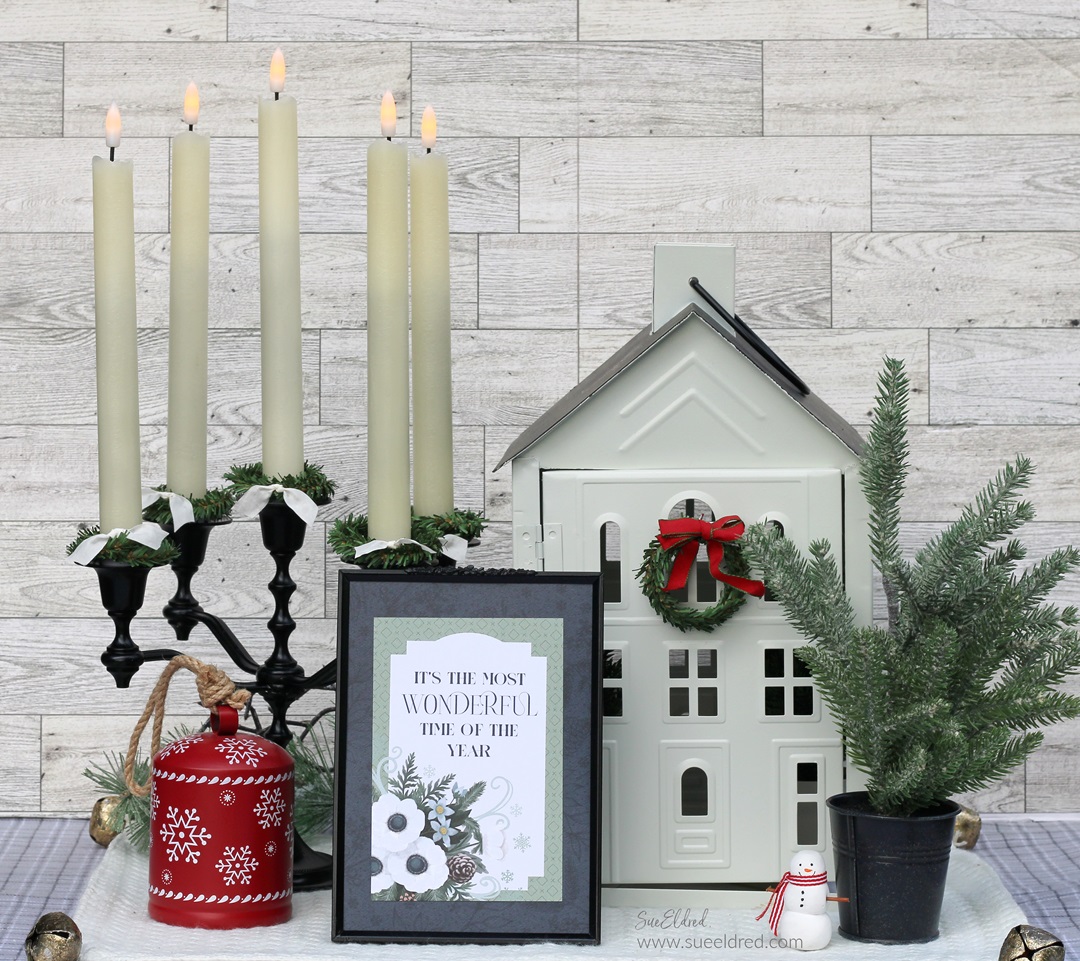
It’s now a cute Farmhouse Style Display to add to my Holiday Decorations.