Eileen Hull and Sizzix October New Release Stamps and Dies
This Eileen Hull Sizzix release was designed with journaling in mind!
If you have never journaled before, this collection of seven products
is a great place to start!
In it, you will find everything that you need to get going.
If you have been journaling for a while, you will want to add these items
to your stash- the pieces are very versatile and will coordinate with many
of the other dies you may already have.

Disclosure: This is a sponsored post. As a member of the Eileen Hull Educator Team, I have been provided product in exchange for my creative ideas. The view and opinions are my own.

Hello Fall Mini Album
This cute little Fall album uses the New Sizzix Mini Album by Eileen Hull*
and the Happy Fall Paper Collection* from Echo Park Paper.

*Disclosure: This blog uses ads and affiliate links. If you choose to make a purchase using one of the links, I receive a small commission (at no additional cost to you) that helps offset the costs of maintaining this blog. Thanks for your support!

The New Sizzix Mini Album by Eileen Hull* creates a 5” x 5” x 1” Mini-Album. The die is a Scoreboard die specially designed to cut and score thick material. And it cuts in one pass- so easy and quick! You can also use this die to cut the pages that go inside.
I added a flip book on one side of the album and a small signature book on the other.
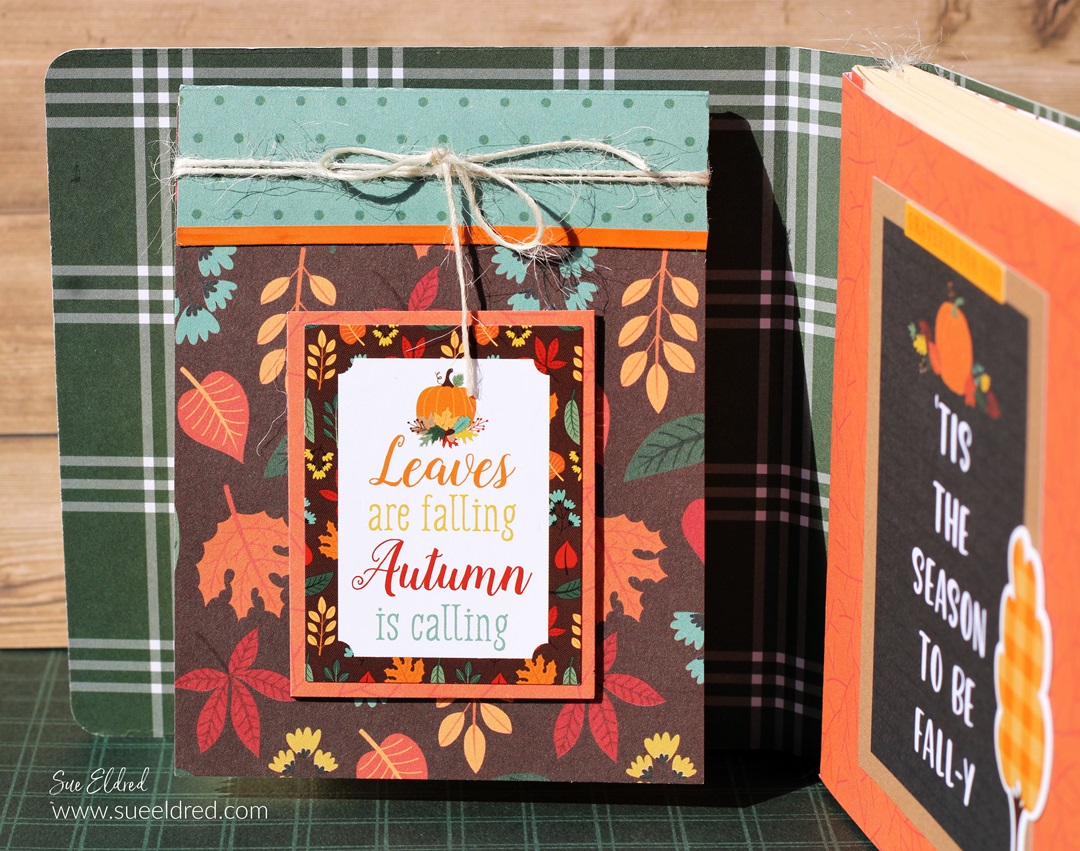
It’s a great little album for adding Fall Memories.
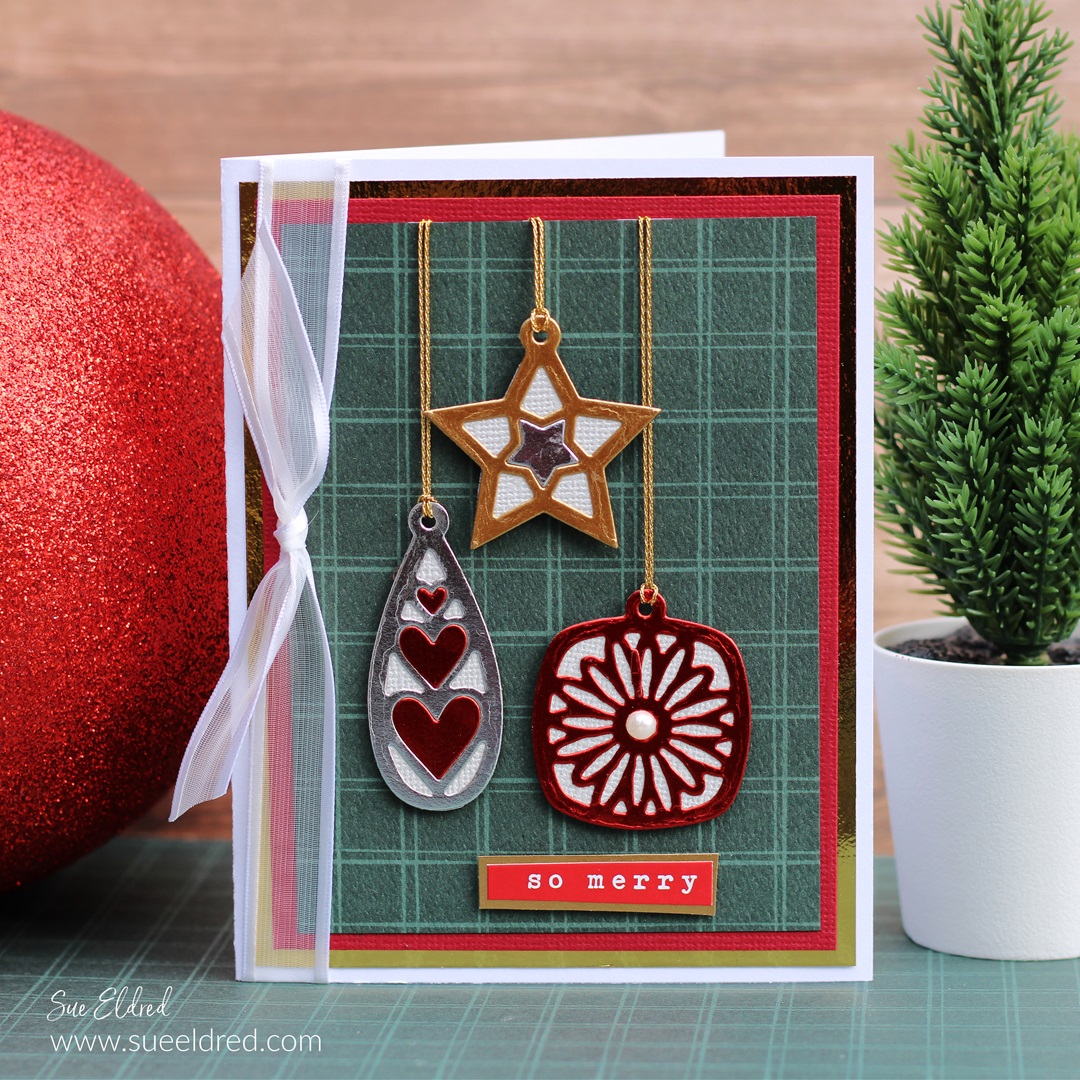
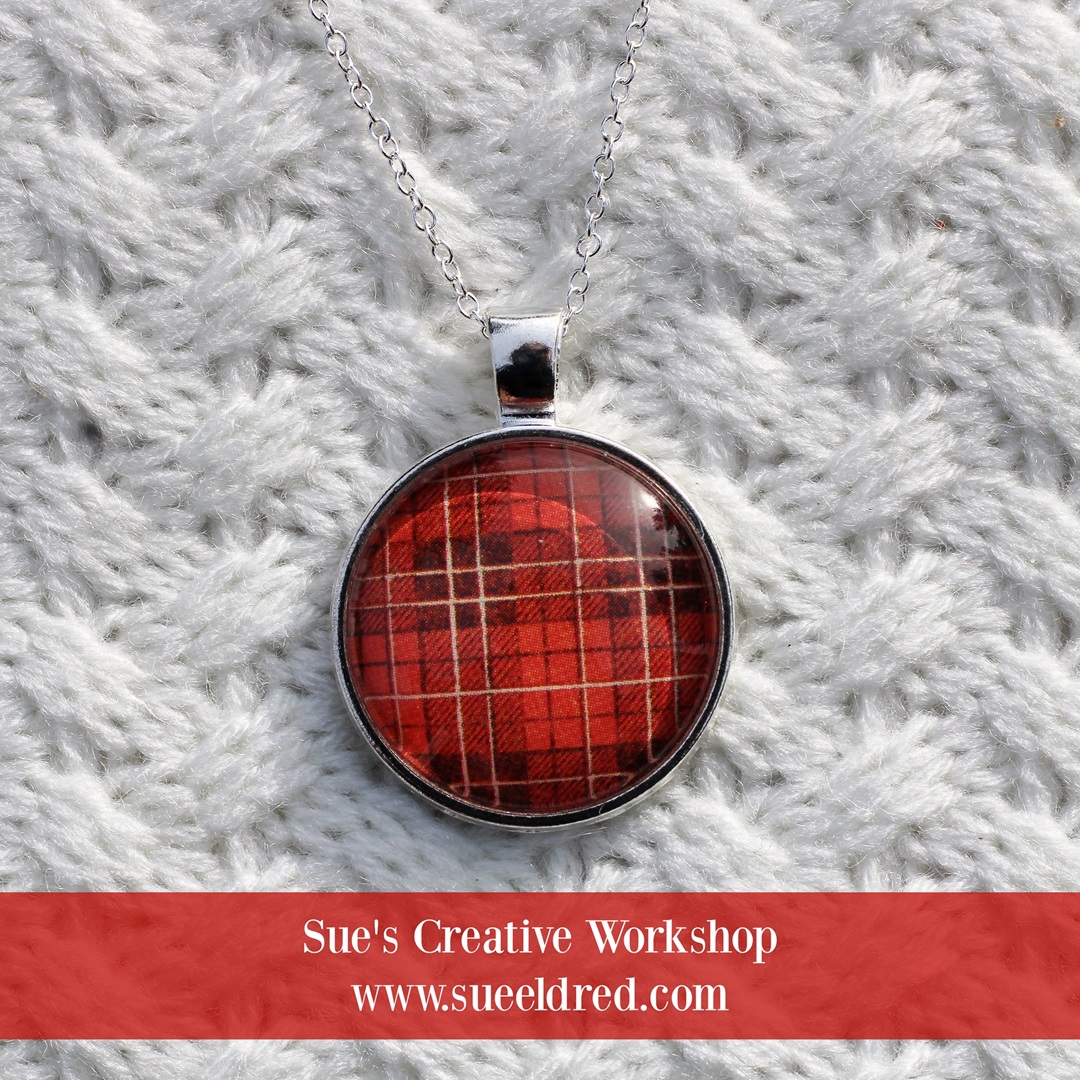
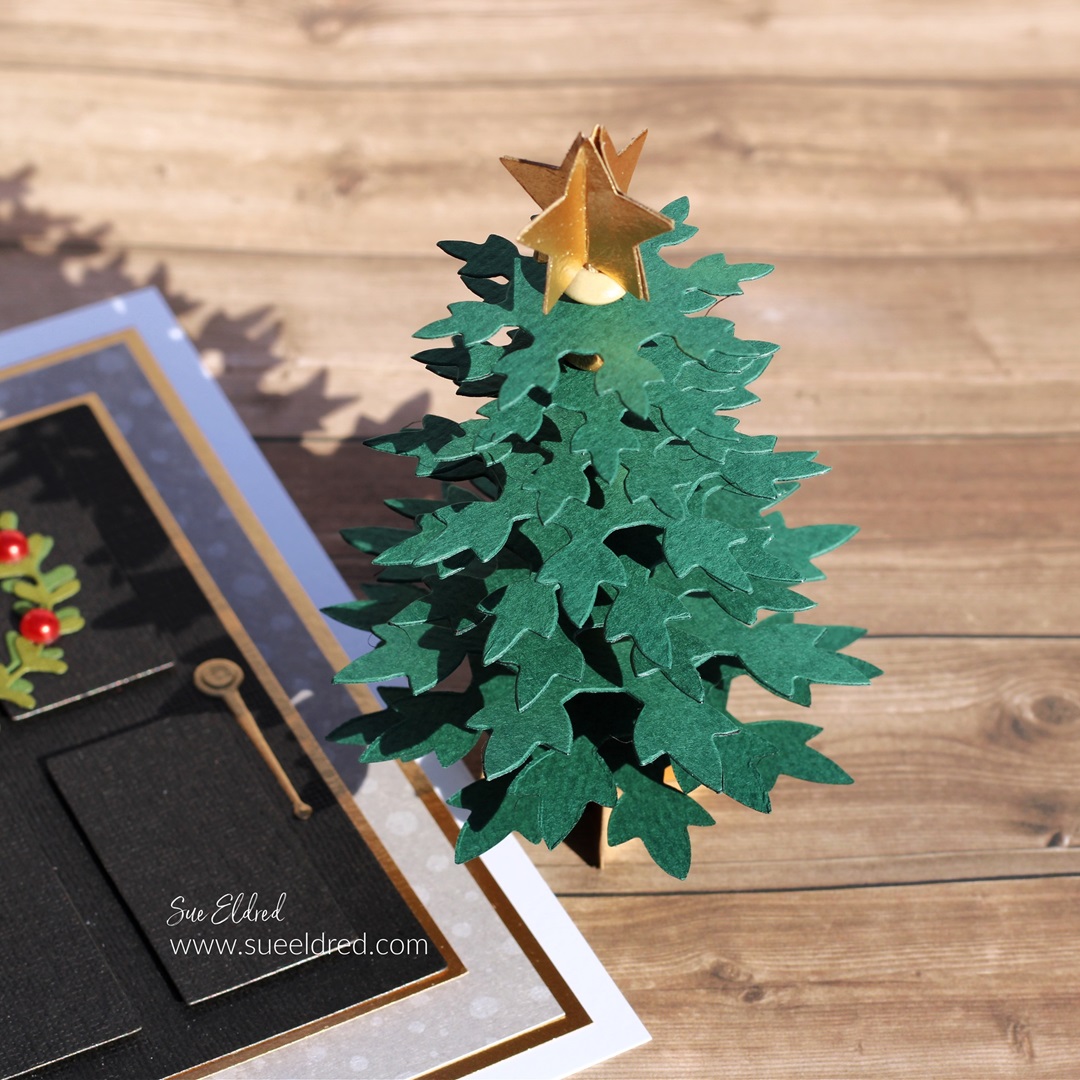
Ornament Card
When I saw the New Sizzix Charms 6-piece Thinlit Die Set*,
I knew I had to make them into ornaments for a Christmas Card.

Wine Glass Charms
The Charms Die Set* also made these super cute Wine Glass Charms.
I cut them using Sizzix Shrink Plastic*. Once they were cut, I made the top hole a little bigger with a 1/8th hole punch* and then used a heat tool* to shrink them. I color them using Decocolor paint markers*.

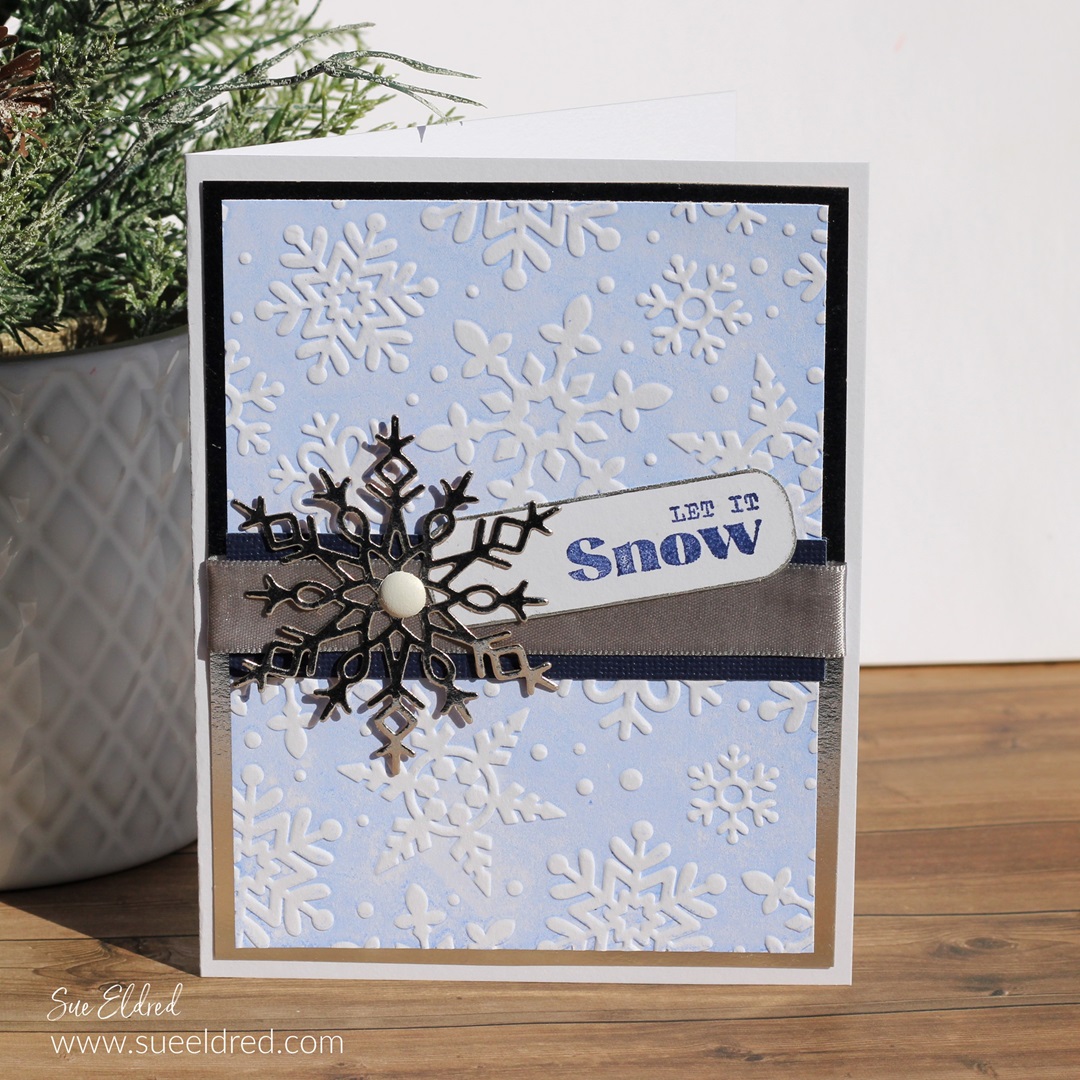
Damask Embossed Watercolor Card
I used the New Large Floral Damask Embossing Folder* to emboss white cardstock. I water colored on top of the raised areas for a simple floral damask.
I made a coordinating charm for the top of the card using the Charms Die Set*.
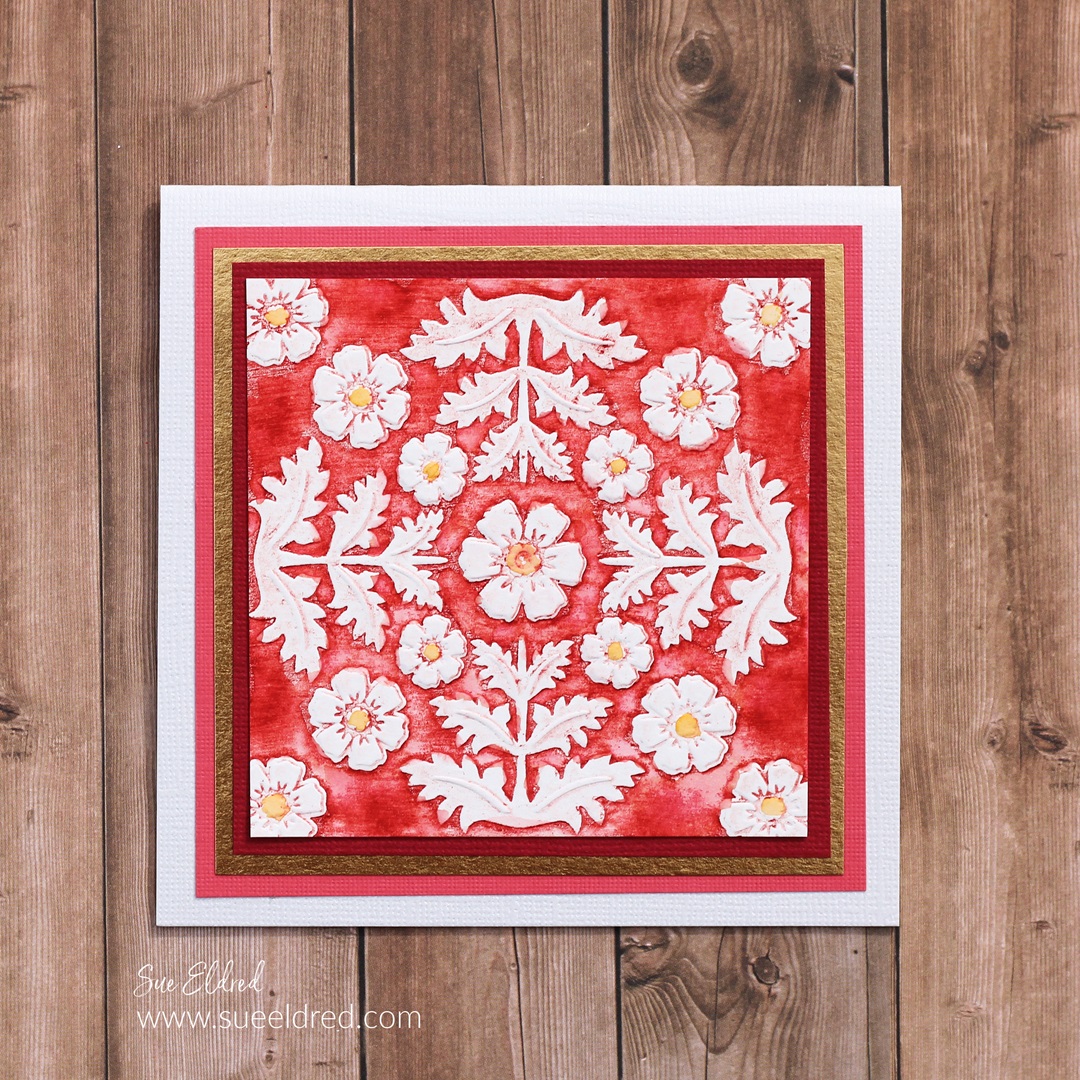
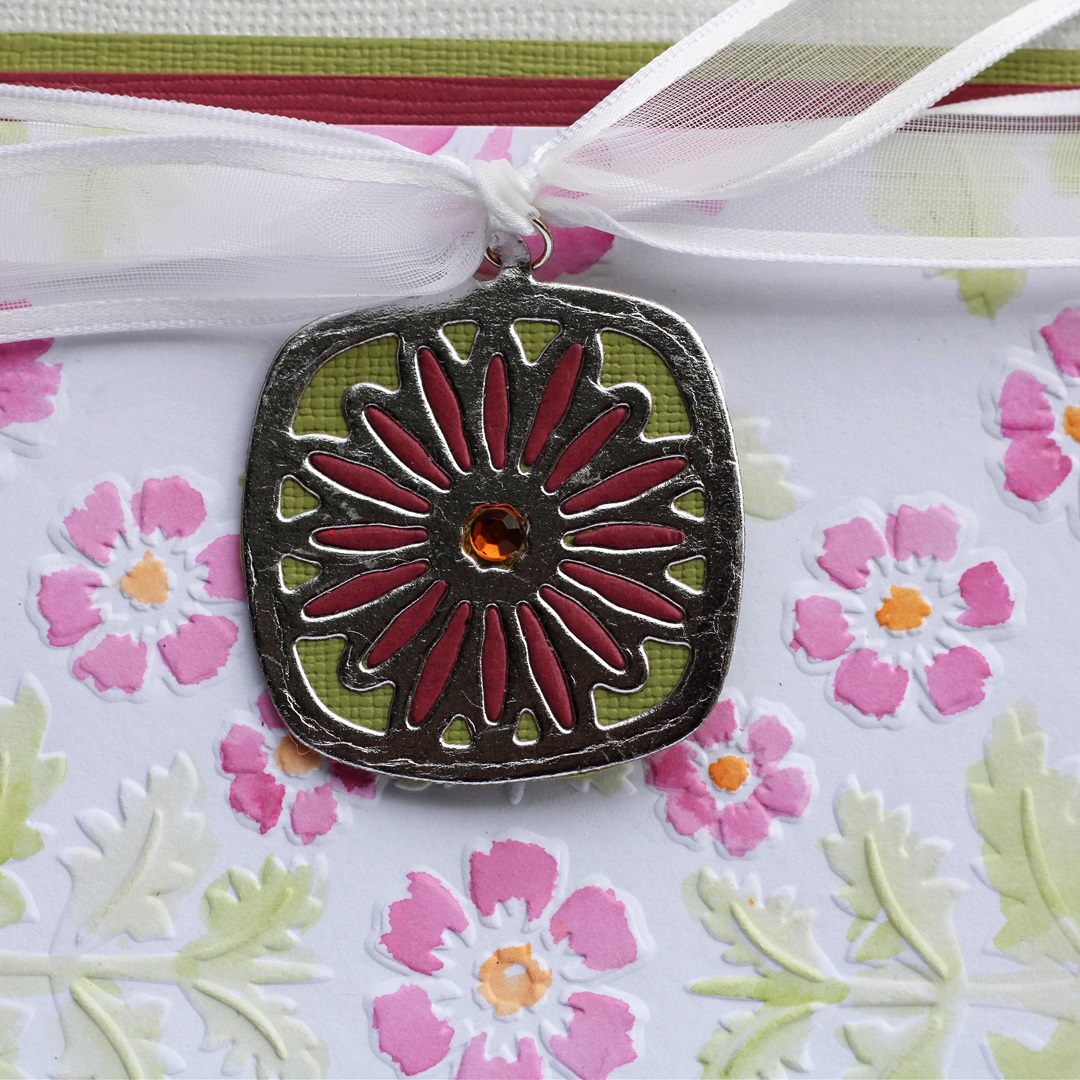
Red and White Embossed Damask Card
For the Red and White Embossed Damask Card, I used a red dye ink pad and rubbed it over the floral damask embossing folder* before embossing. Once it was run through the Big Shot Machine* it transferred the red ink to the background of the paper. I water colored the center with yellow ink.

Here’s the Full Eileen Hull Sizzix October Release:

We are celebrating the Eileen Hull Sizzix October Release with an Instagram Hop
Eileen will be giving away prizes! A lucky winner on IG and one on YouTube
will have a chance to win the entire 7 piece set of products.
TWO more will win prizes by participating in the Hop! Good luck!