How to make a Pumpkin Gift Box
using the XL Card Caddy Die* from Sizzix and Eileen Hull.
It’s a fun little Halloween Treat Box for your favorite Trick or Treaters.
![]()
Disclosure: This is a sponsored post. As a member of the Eileen Hull Educator Team, I have been provided product in exchange for my creative ideas. The view and opinions are my own.

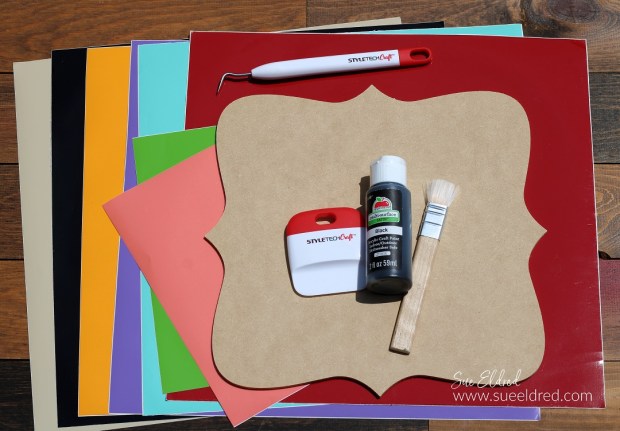
Materials Used: (*affiliate links)
- Sizzix XL Card Caddy Die by Eileen Hull*
- Sizzix Big Shot Plus Die-Cutting Machine*
- Sizzix White Mat Board Sheet*
- DecoArt Acrylic Paint: Jack-o-lantern* and Orange Twist
- Paint Brush
- Tim Holtz Vintage Photo Distress Ink*
- Ranger Ink Applicator*
- Dap Rapid Fuse Adhesive*
- Jack-o-lantern SVG File from The Silhouette Store
- Silhouette Cameo Electronic Die Cutting Machine*
- StyleTechCraft Black Glossy Craft Vinyl*
- StyleTechCraft Vinyl Tool Kit*
- StyleTechCraft Vinyl Transfer Tape*
- Wood Beads
- Wire and Pliers

*Disclosure: This blog uses ads and affiliate links. If you choose to make a purchase using one of the links, I receive a small commission (at no additional cost to you) that helps offset the costs of maintaining this blog. Thanks for your support!

Directions:
- Use the Sizzix Big Shot Plus Die-Cutting Machine*, a White Mat Board Sheet*, and the Sizzix XL Card Caddy Die by Eileen Hull* to create the base for the treat box.
- Paint the base and sides of the box with Jack-o-lantern acrylic paint*. Once the paint is dry, add a few lighter highlights using the Orange Twist Acrylic Paint.
- Use the ink applicator and Vintage Photo Distress Ink* to the edges of the box.
- FYI, Vintage Photo Ink is my favorite go to ink to give something an aged look.
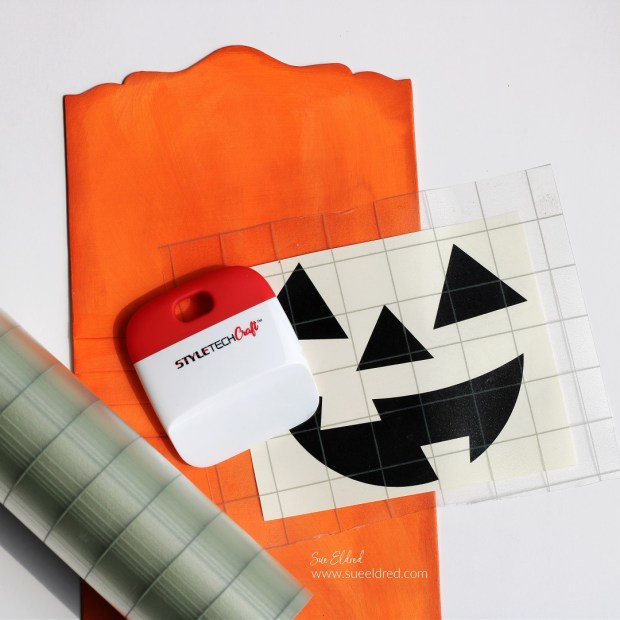
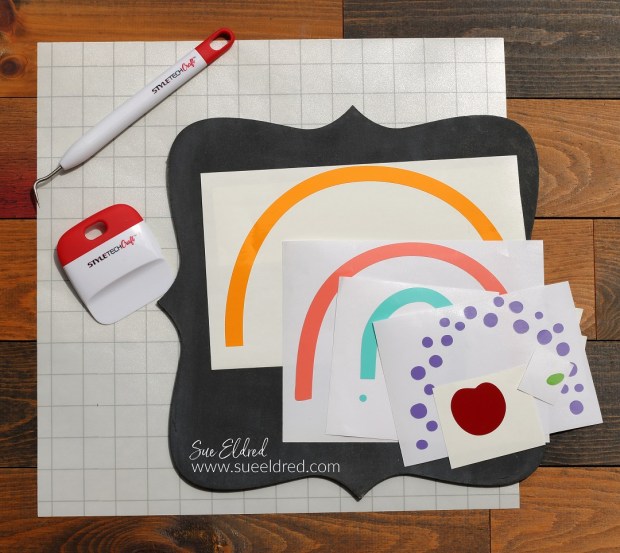
- I created the Jack-o-Lantern face using StyleTechCraft Black Glossy Craft Vinyl* and a Silhouette Cameo Electronic Die Cutting Machine*.
- Lay the Vinyl Transfer Tape* over the jack-o-lantern face. Rub over the Transfer Tape* with a vinyl scraper tool and lift the design from the white paper backing.
- Lay the Transfer Tape* onto the treat box and rub over the design.
- Remove the Transfer Tape*.

StyletechCraft products brought to you by ATSM Craft*
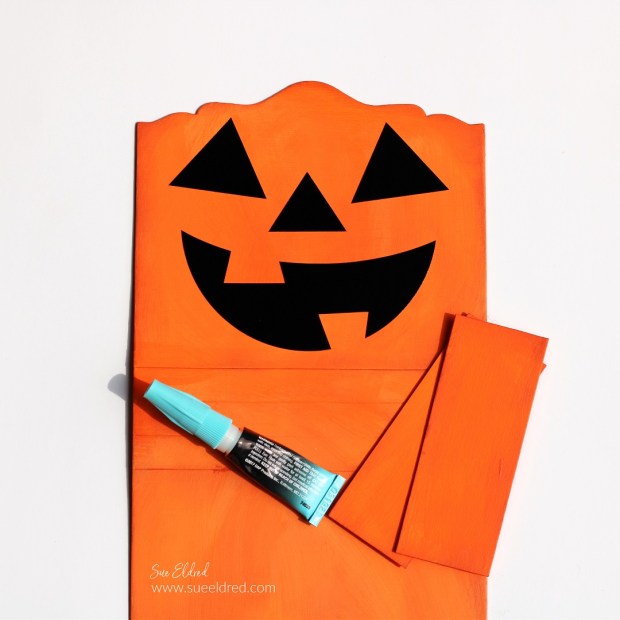
- Adhere the sides to the card caddy base using Rapid Fuse Adhesive*. The Die comes with scored side pieces that are perfect for putting the box together. I wasn’t thinking and cut two pieces of matboard for my sides. Both will work. (the one that comes with the die would have been a lot easier)


- Create a handle for the pumpkin treat box using wire and small wood beads.
- Punch a hole on both sides of the box and attach the handle.


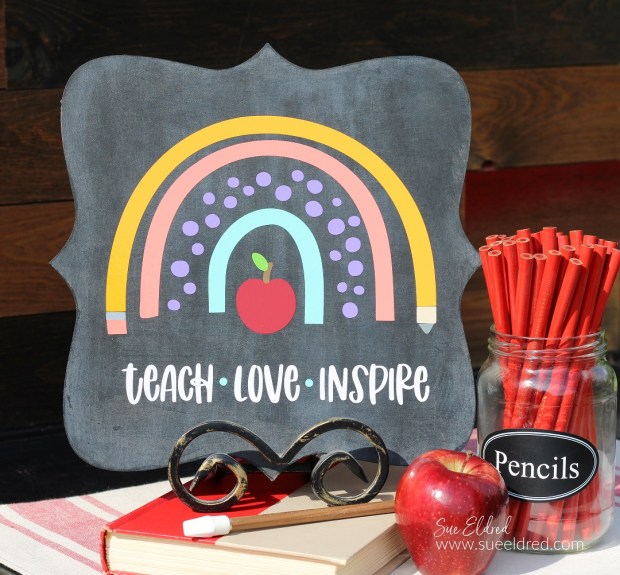
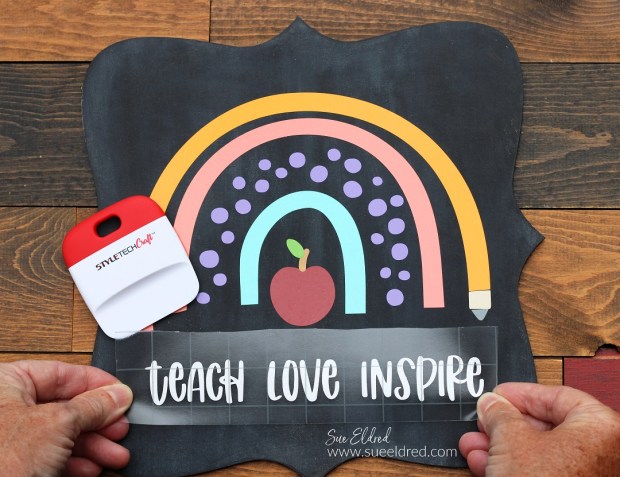


 The back to school sign is a great gift for the favorite teacher in your life.