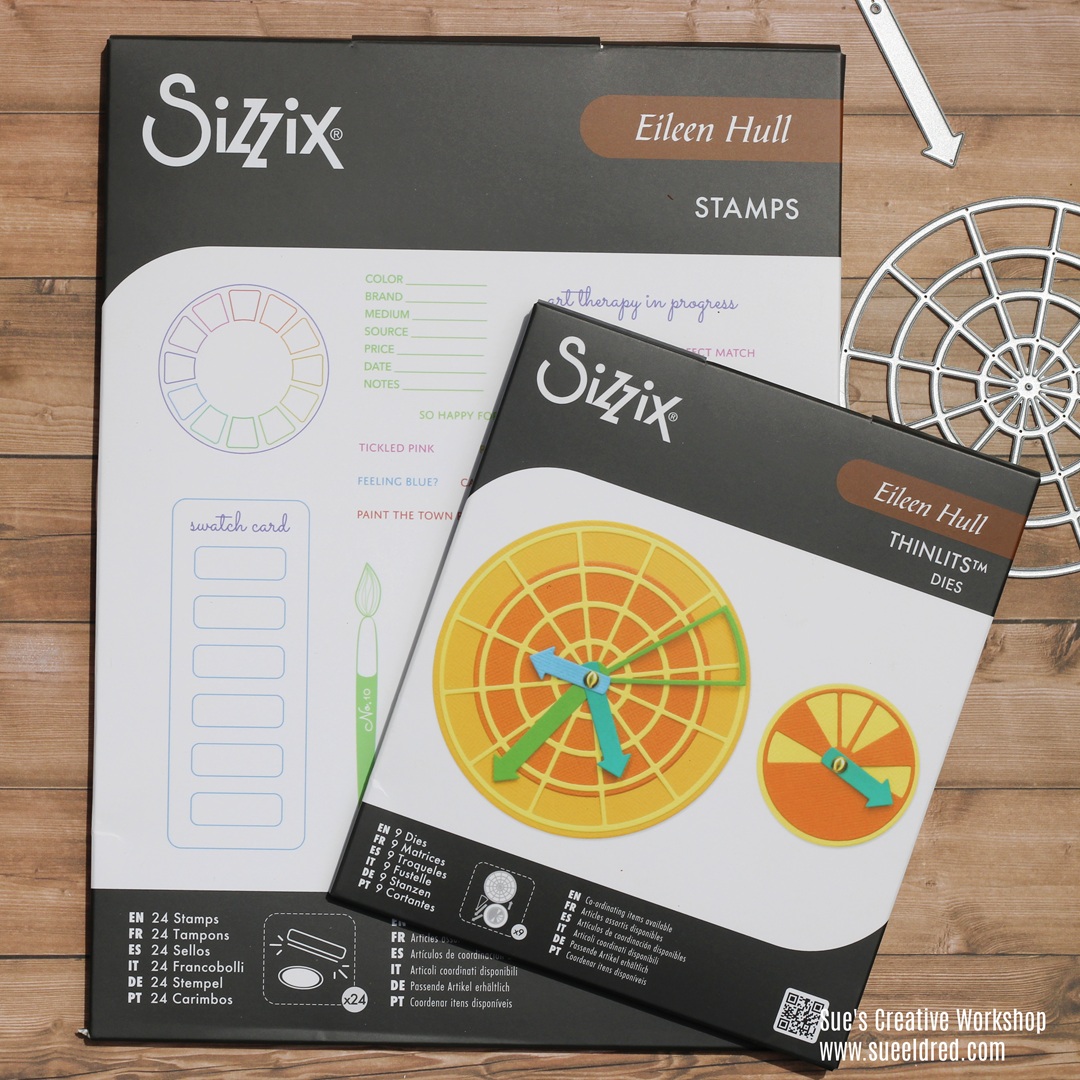
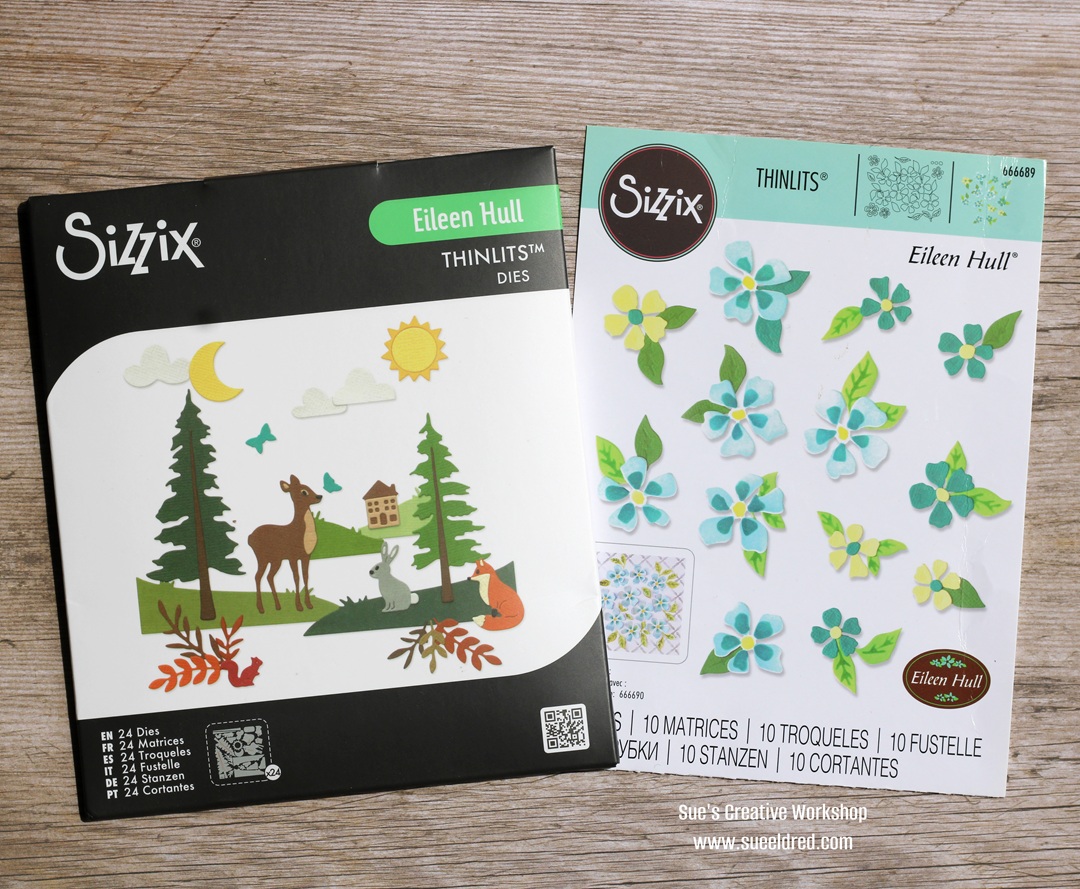
The May 2026 release from Sizzix designer Eileen Hull
is brimming with vintage charm, florals, and creative possibilities for makers of all kinds.
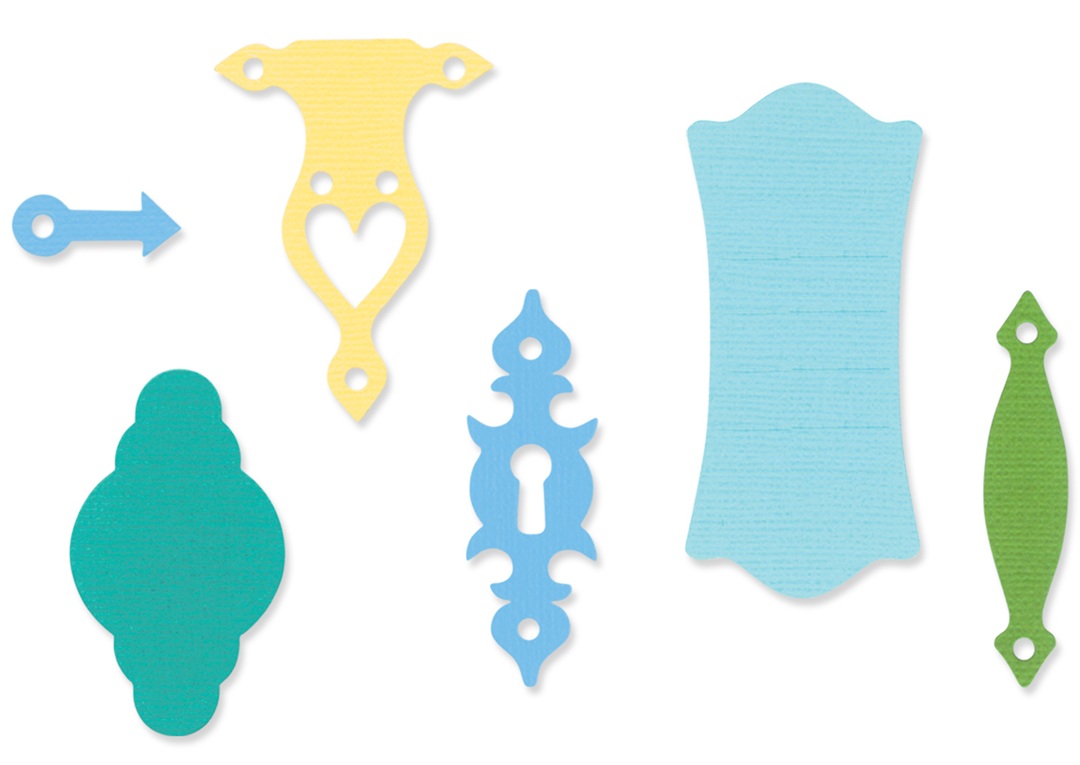
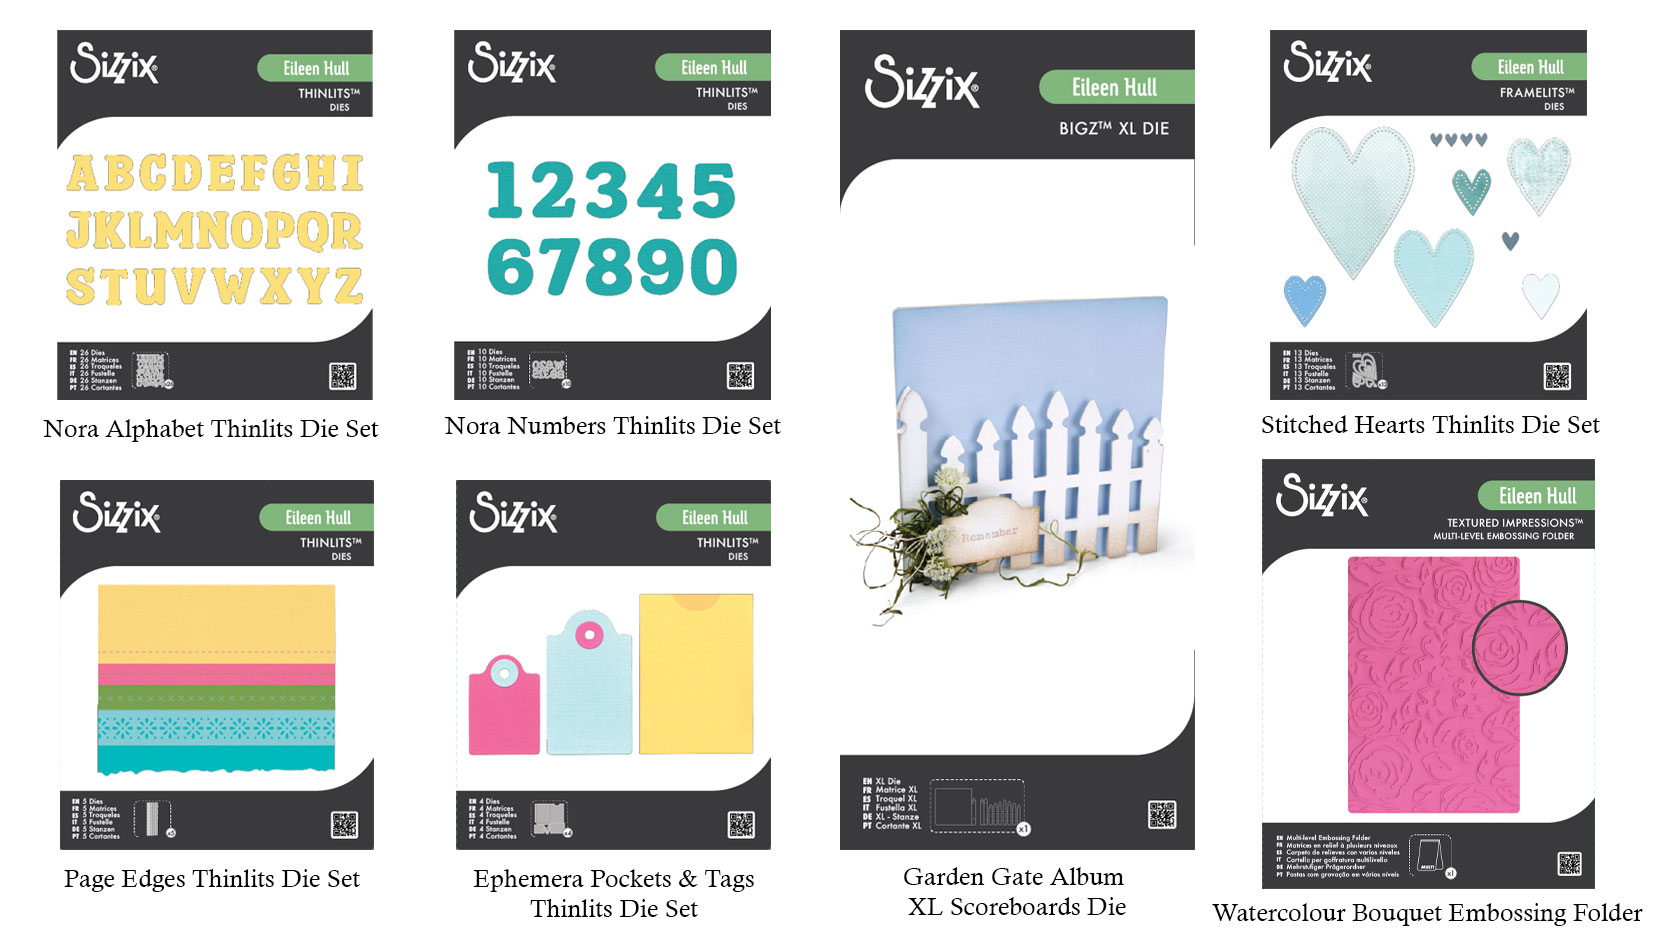
This exciting collection features seven new products,
including the return of the beloved Garden Gate Album die* by popular demand,
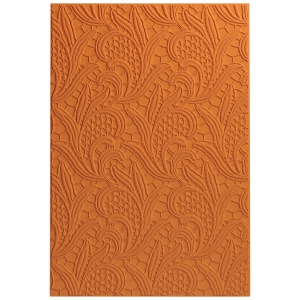
five new Thinlits die sets, and a beautiful new embossing folder inspired
by watercolor florals.
Designed for journaling, cardmaking, mixed media, and dimensional projects.
The collection blends Eileen’s signature style of storytelling, texture,
and interactive design with endless opportunities for customization and creativity.
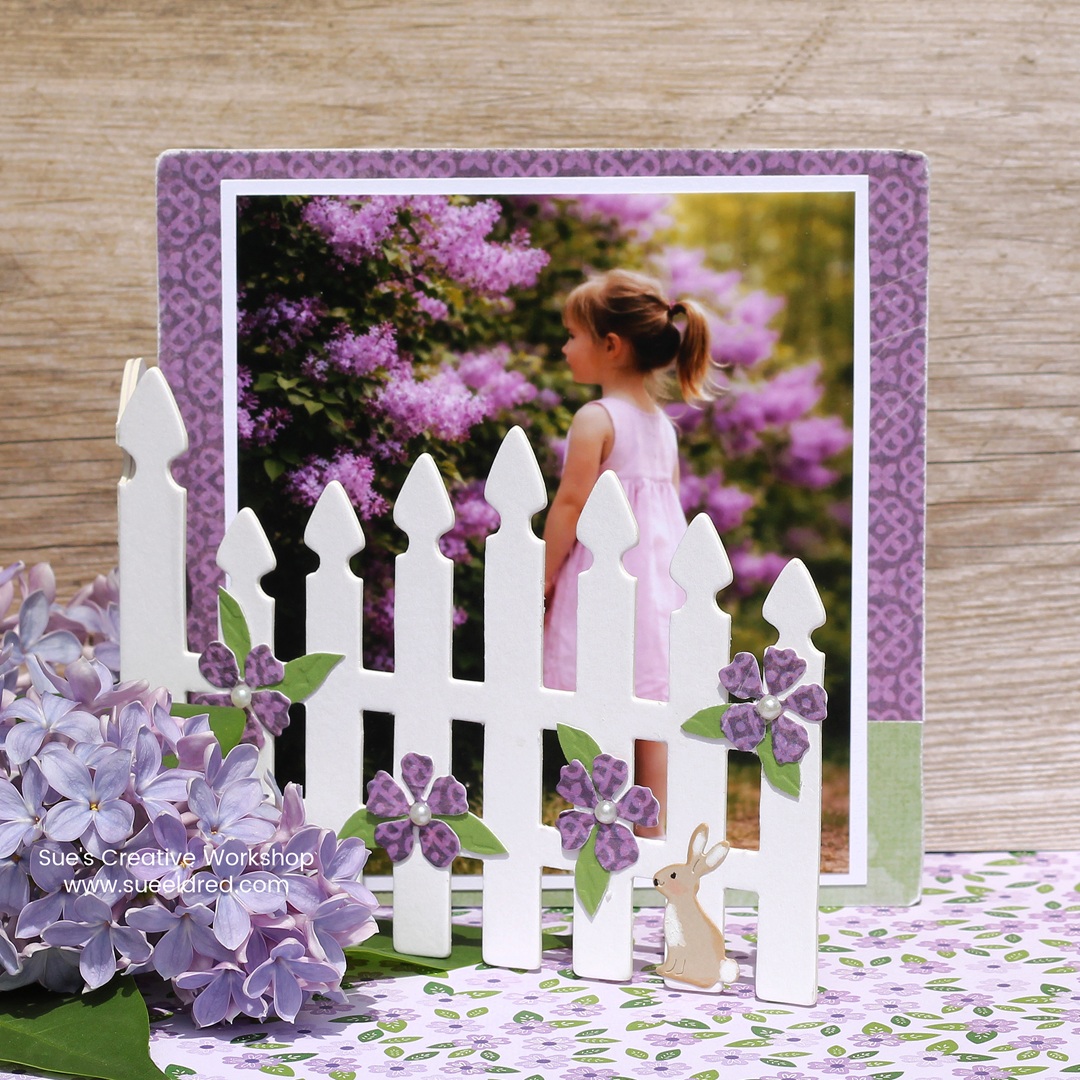
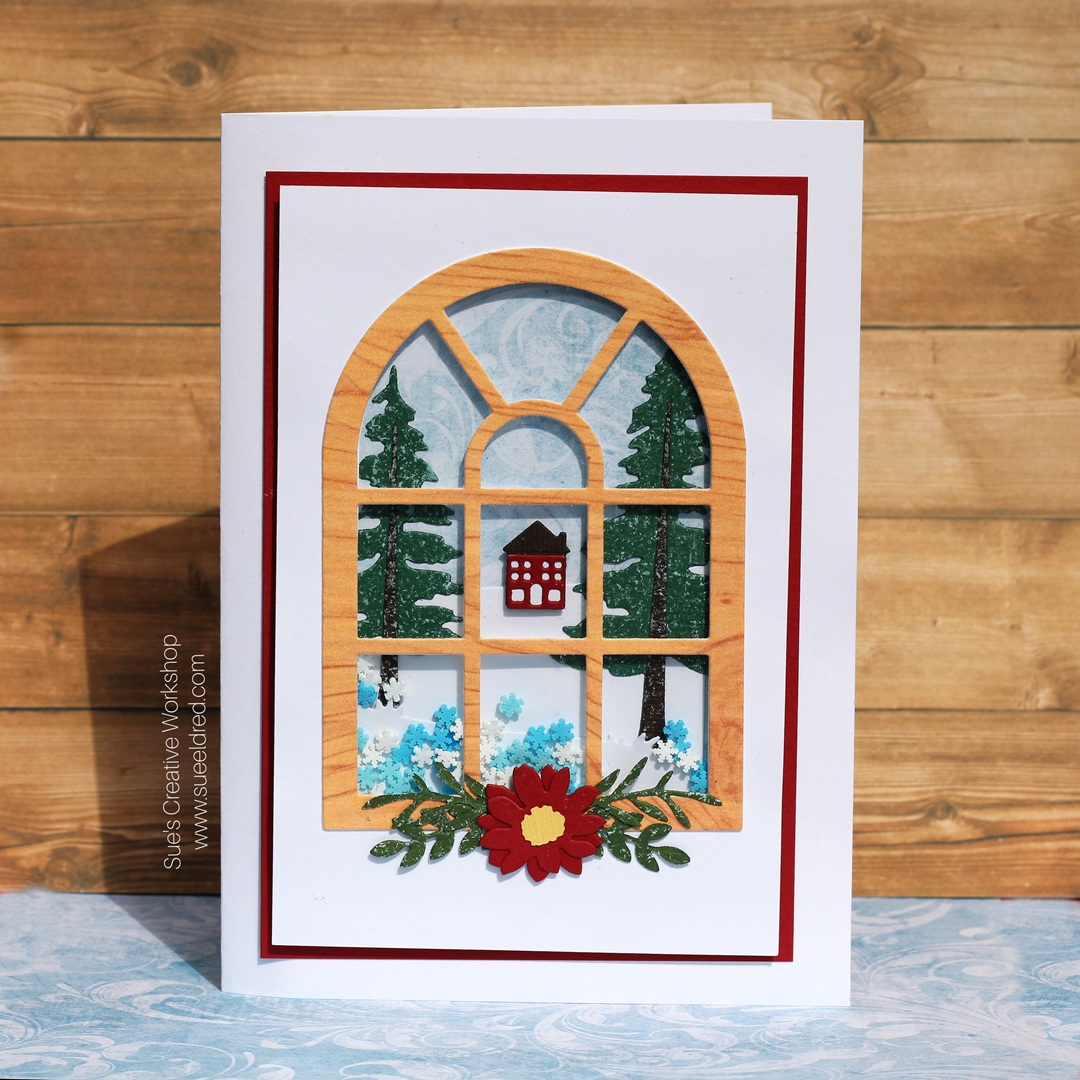
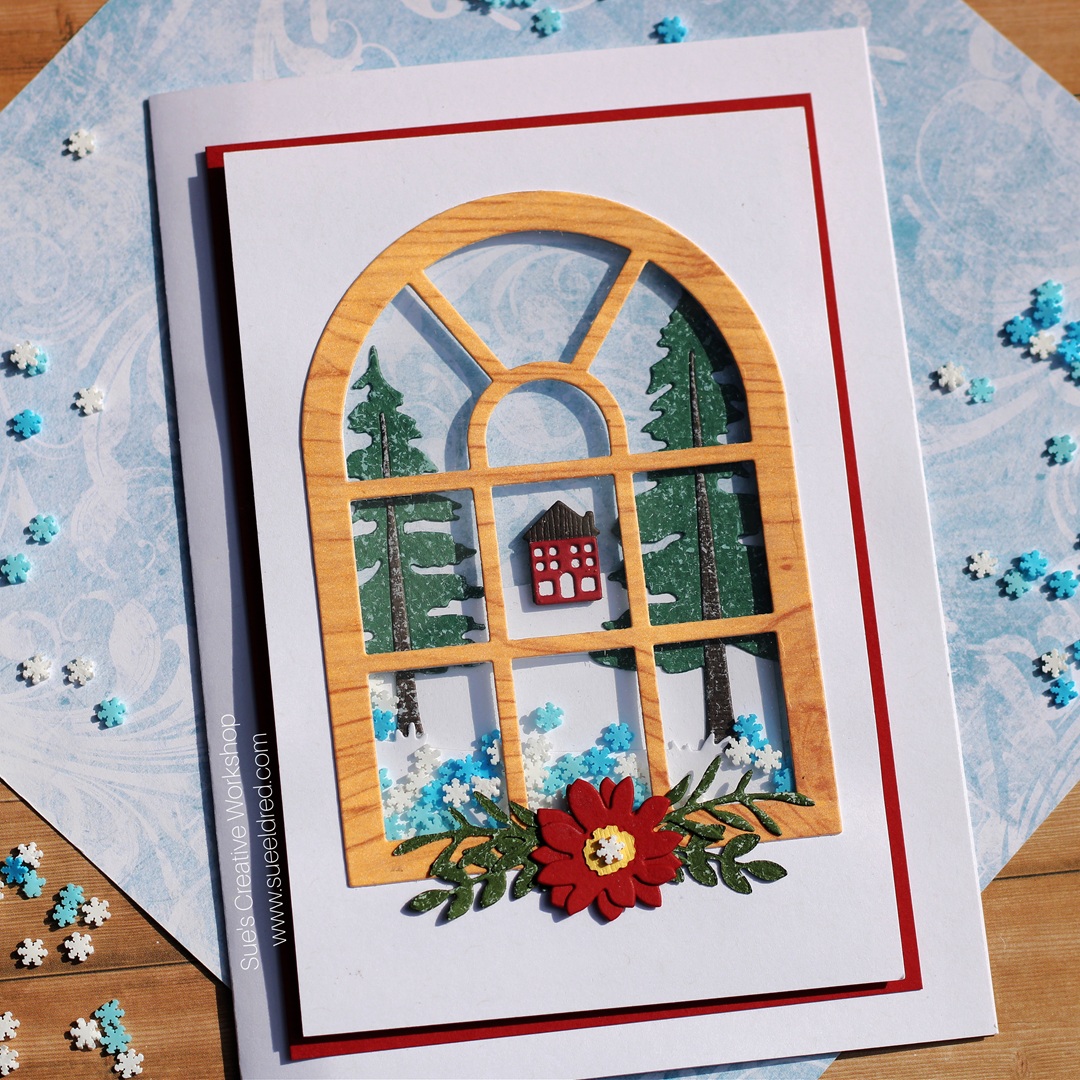
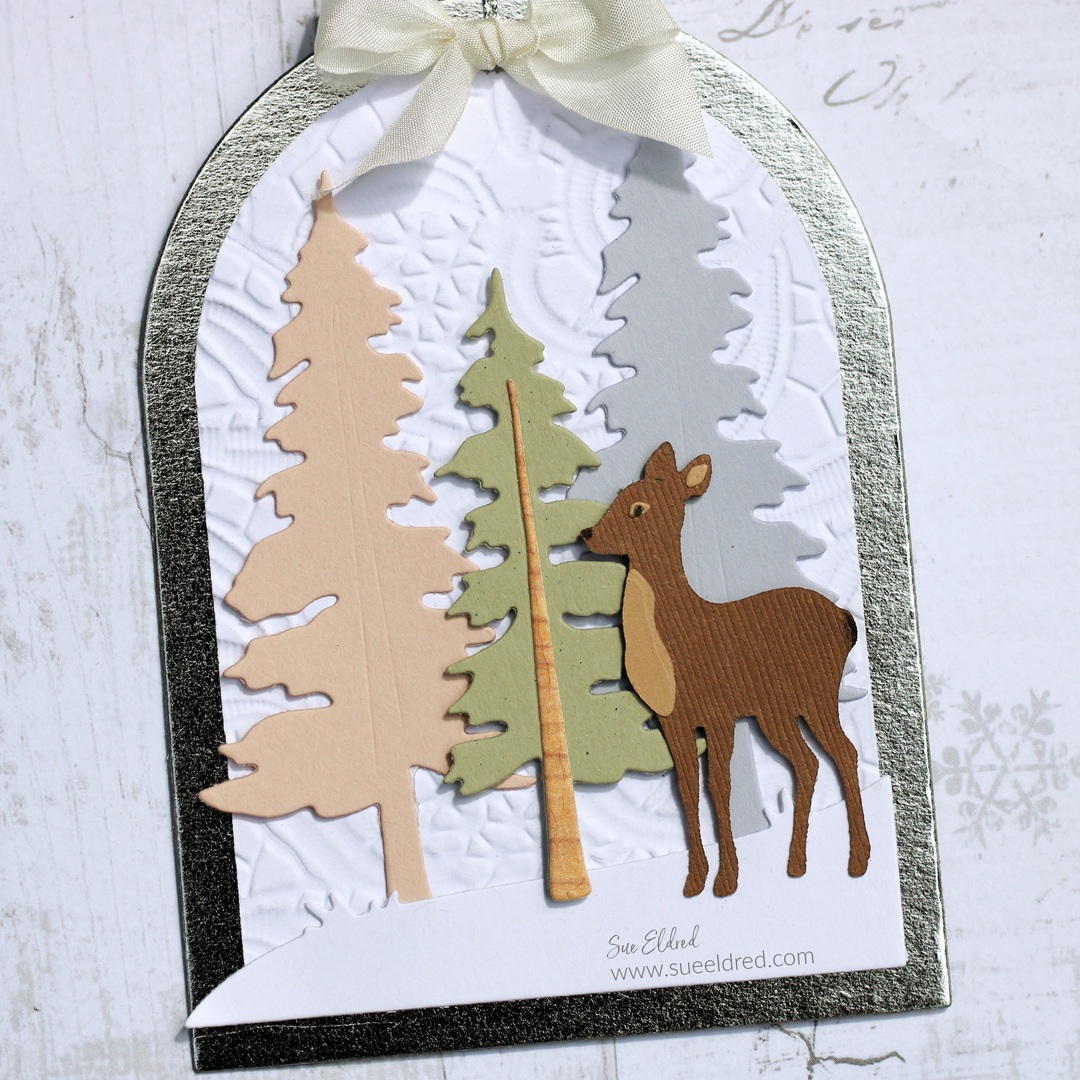
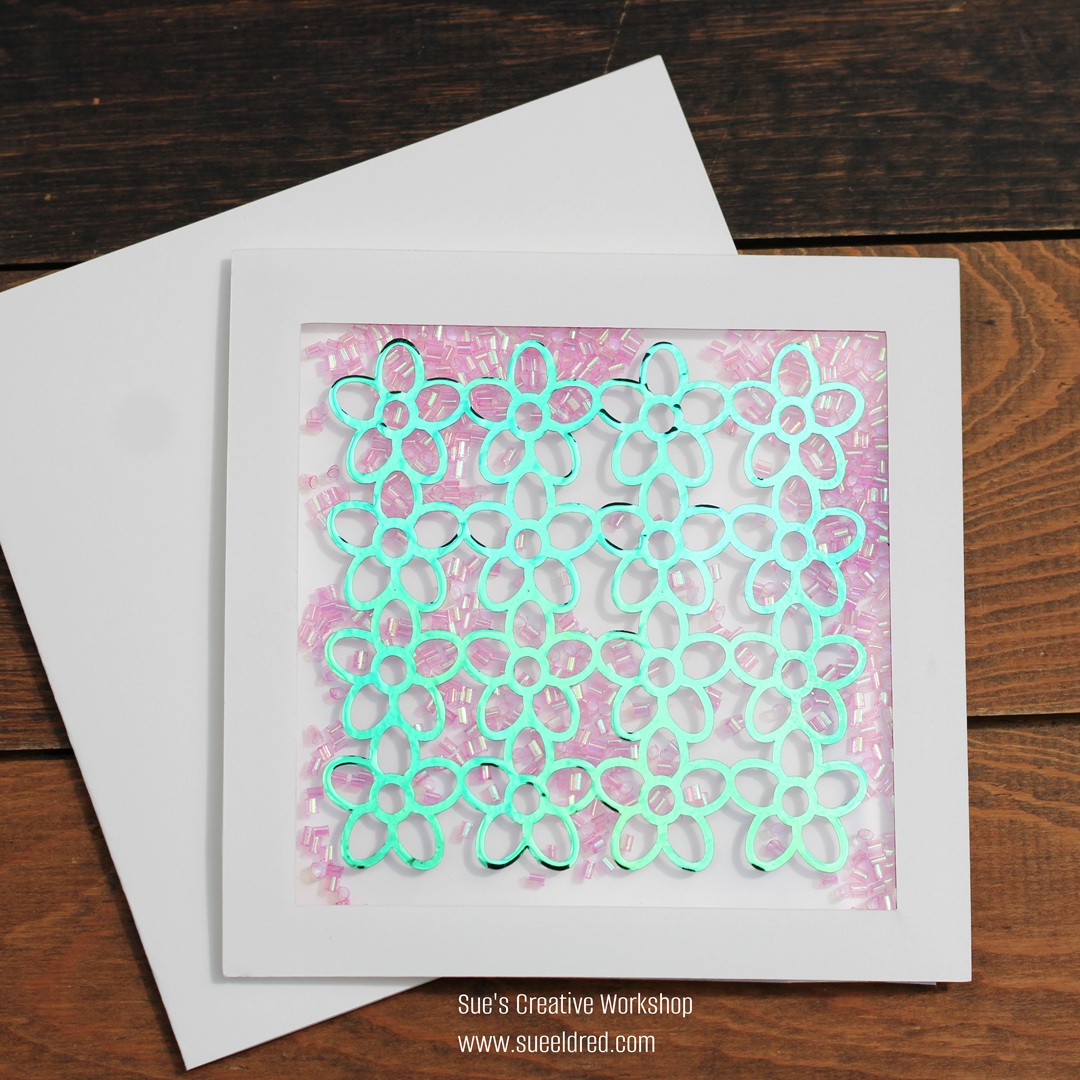
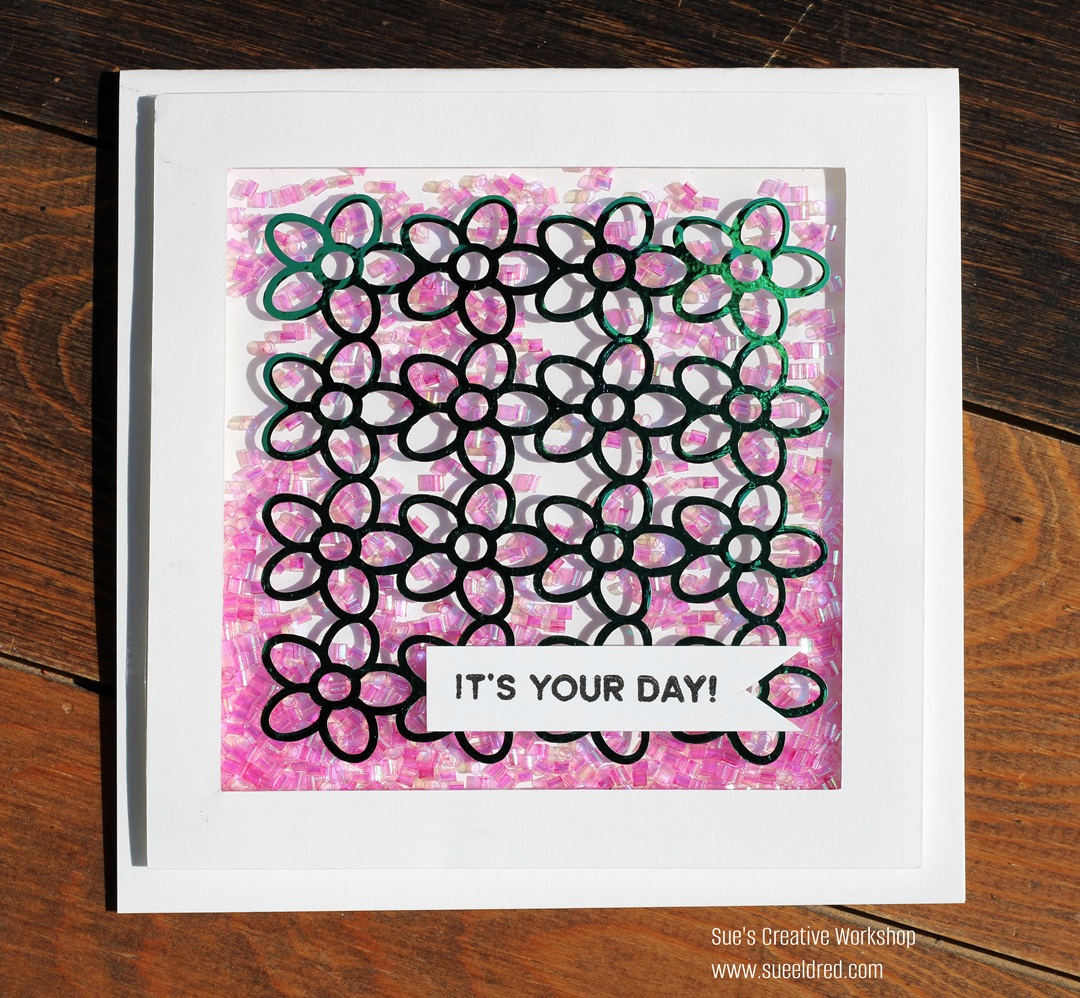
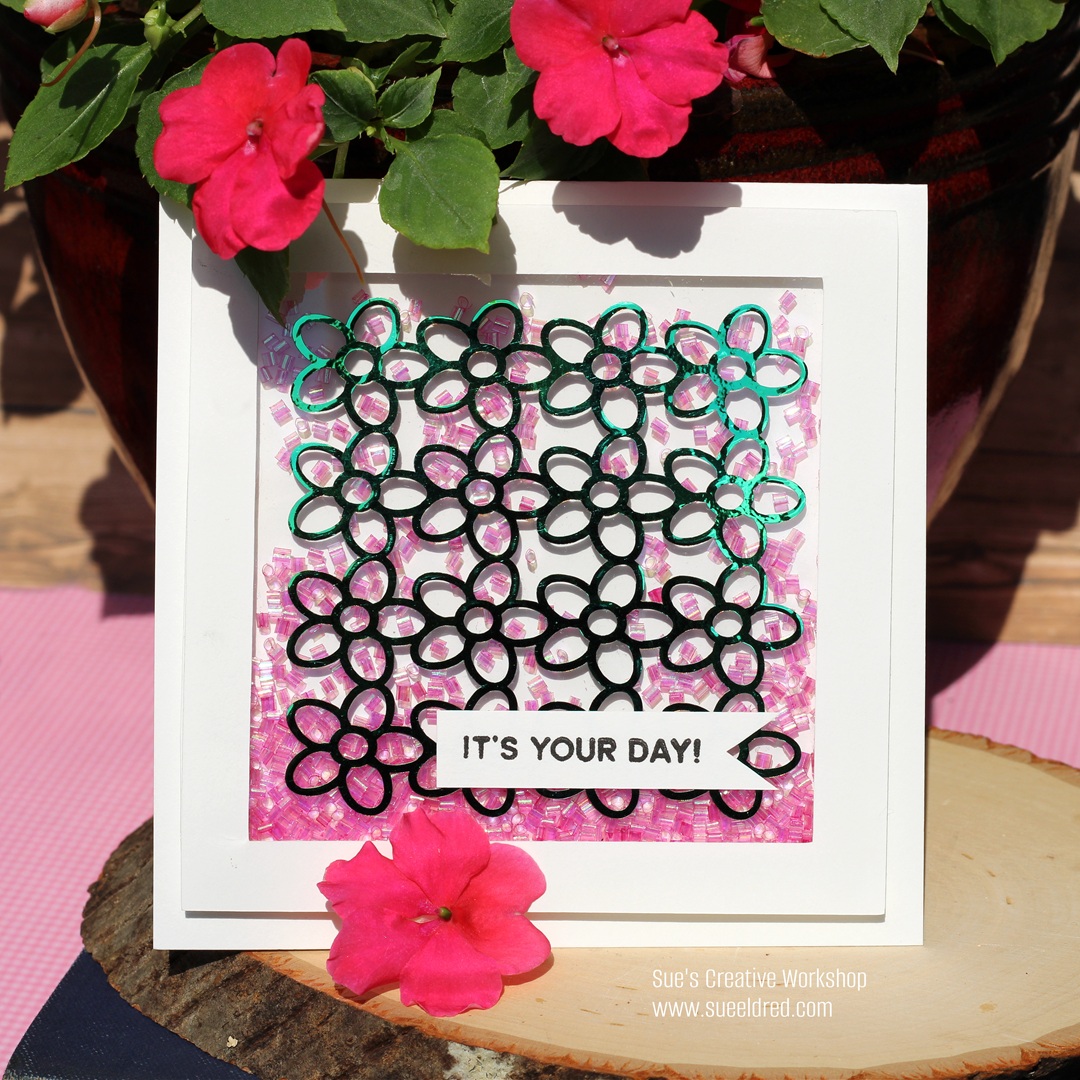
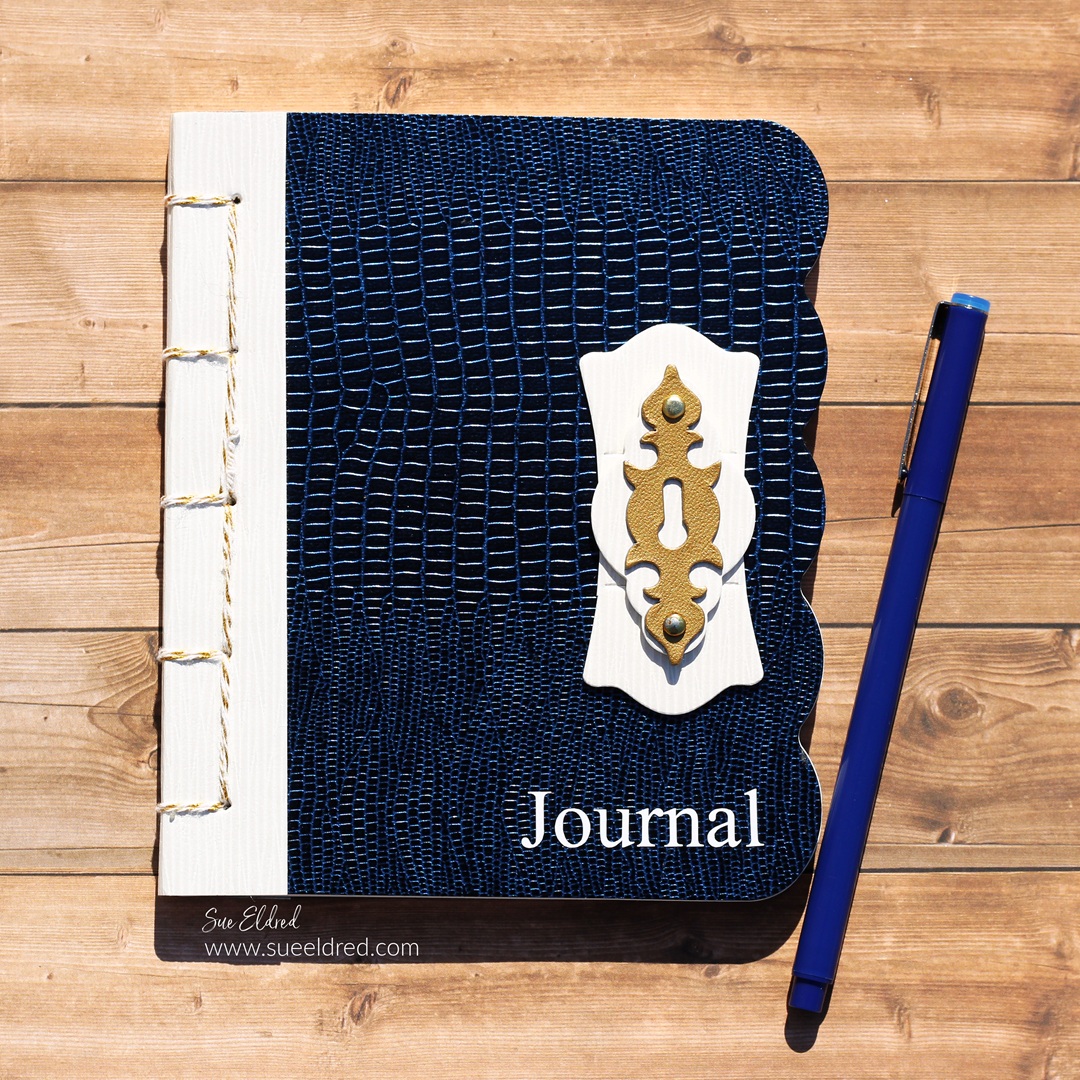
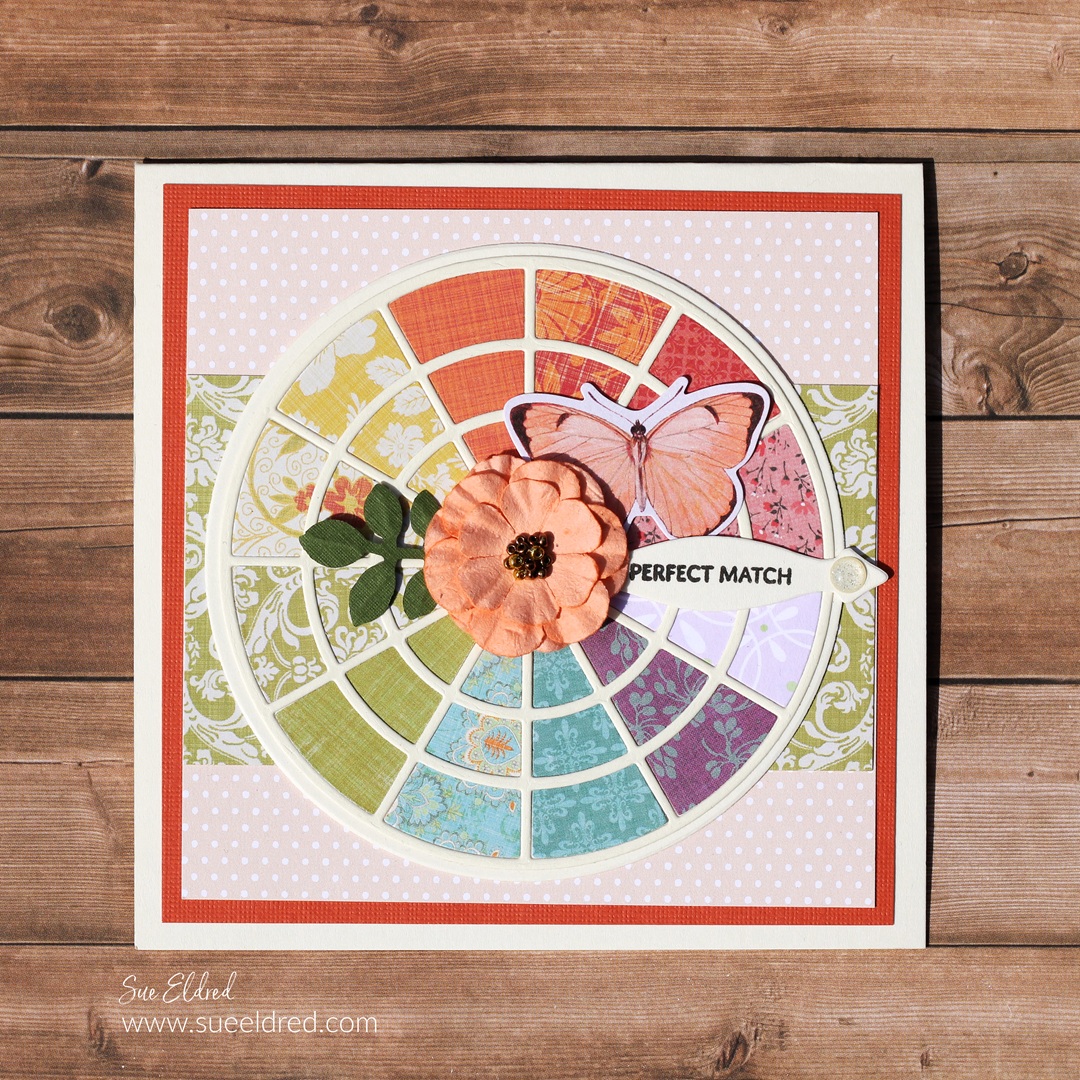
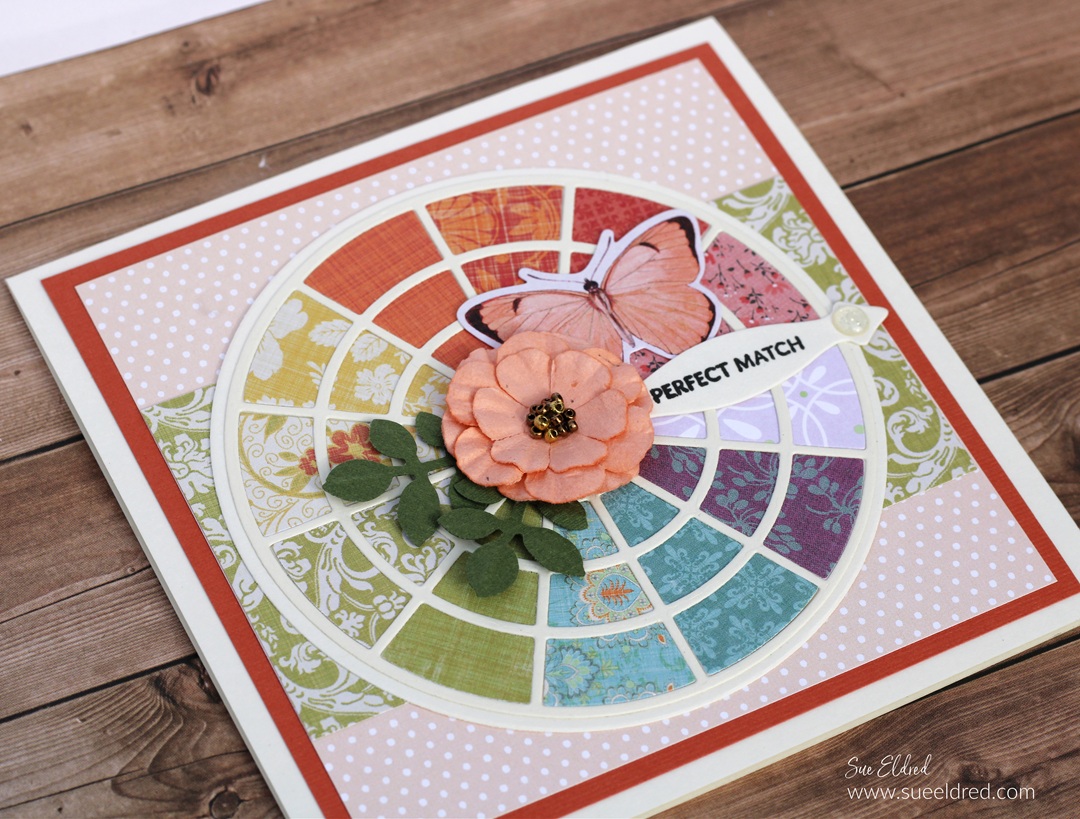
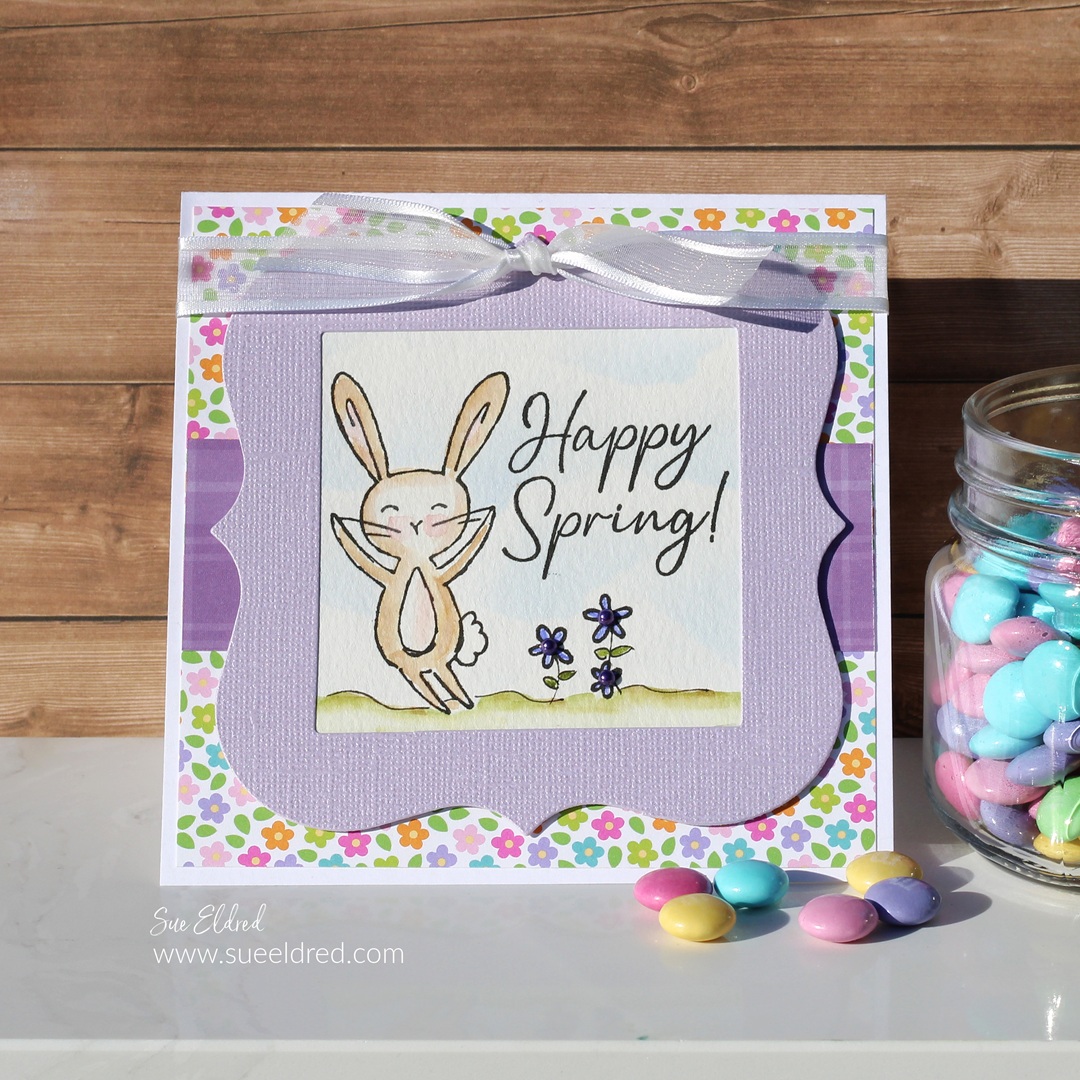
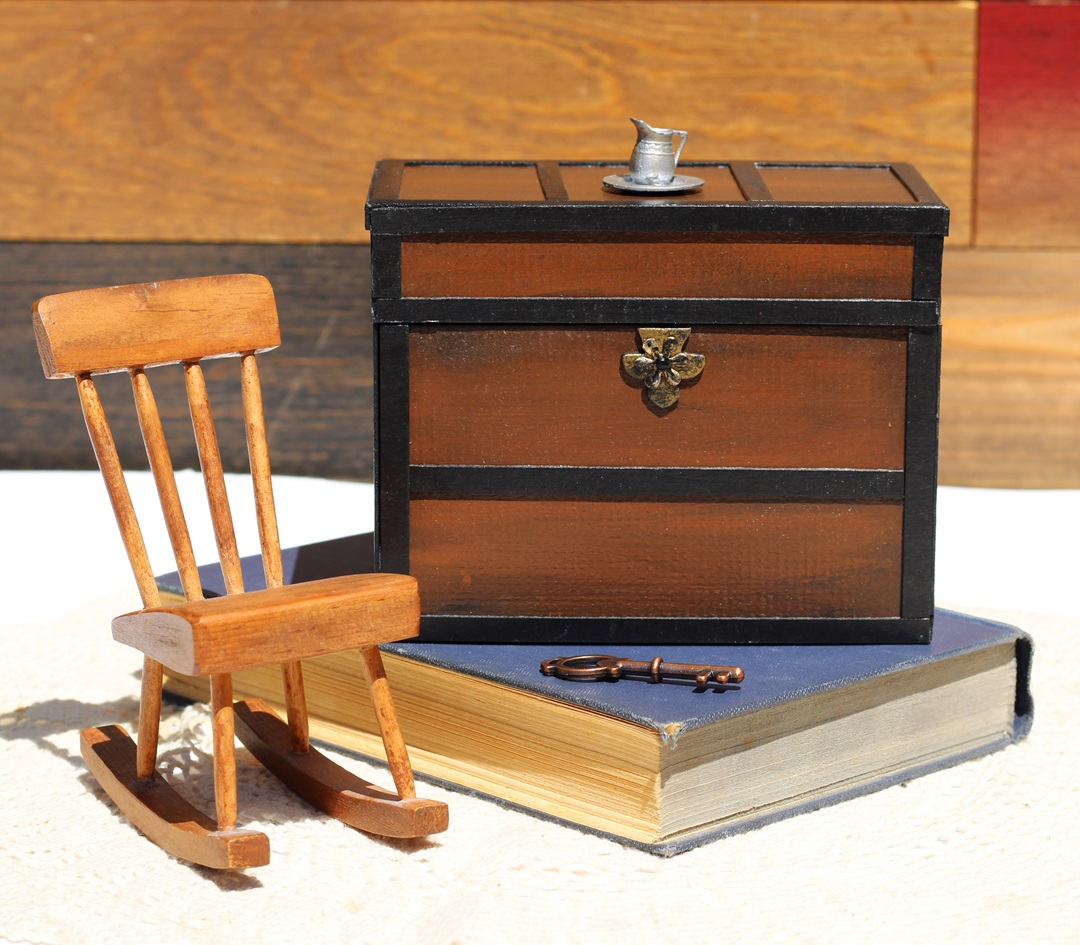
The Garden Gate Die* makes the perfect stand for a sweet floral photo.
I used the Garden Gate Die* along with the Home Sweet Home Die Set*
and the Painterly Blooms Die Set*.
I cut the garden gate out of Sizzix Mat Board* for a sturdy base
to the photo stand.

*Disclosure: This blog uses ads and affiliate links. If you choose to make a purchase using one of the links, I receive a small commission (at no additional cost to you) that helps offset the costs of maintaining this blog. Thanks for your support!
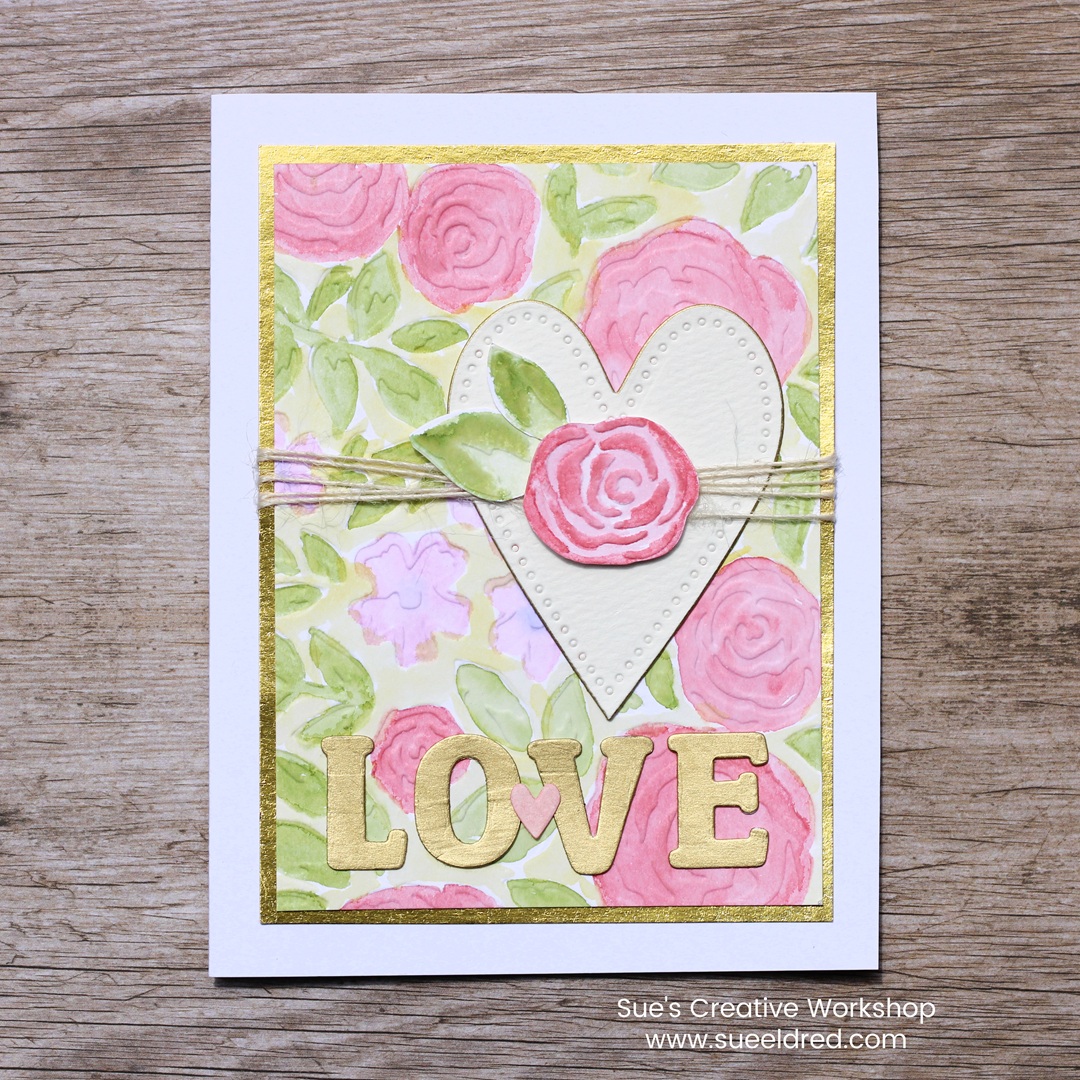
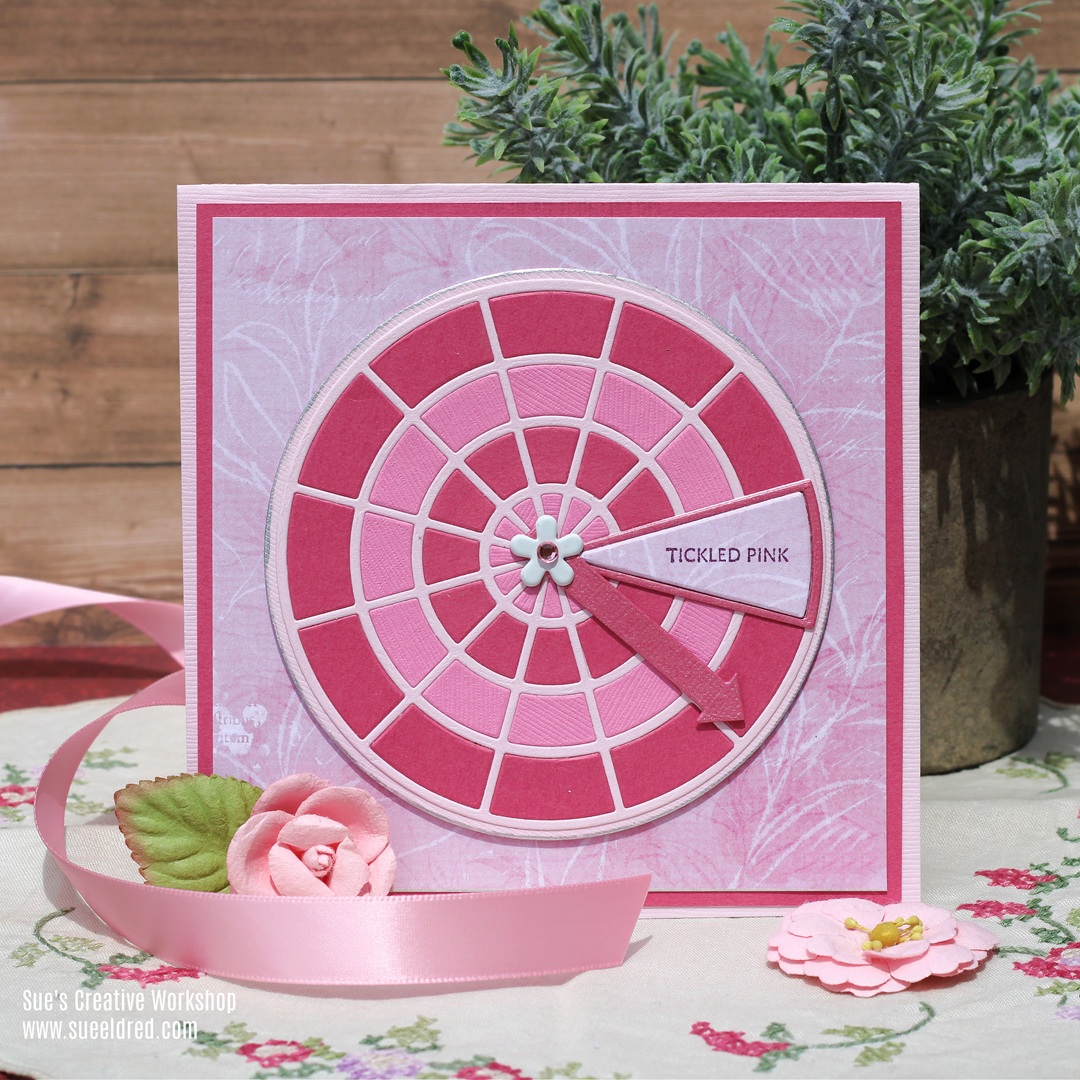
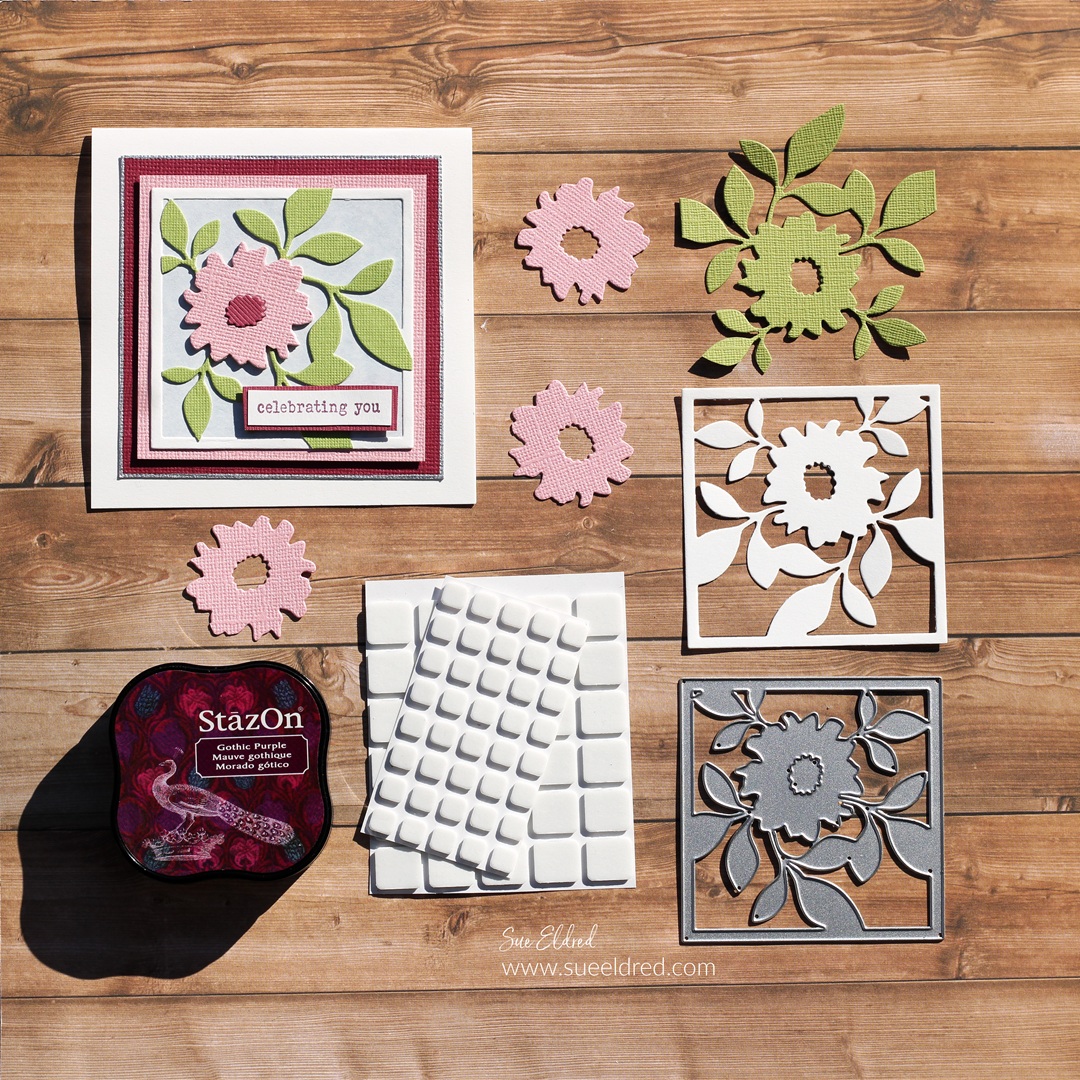
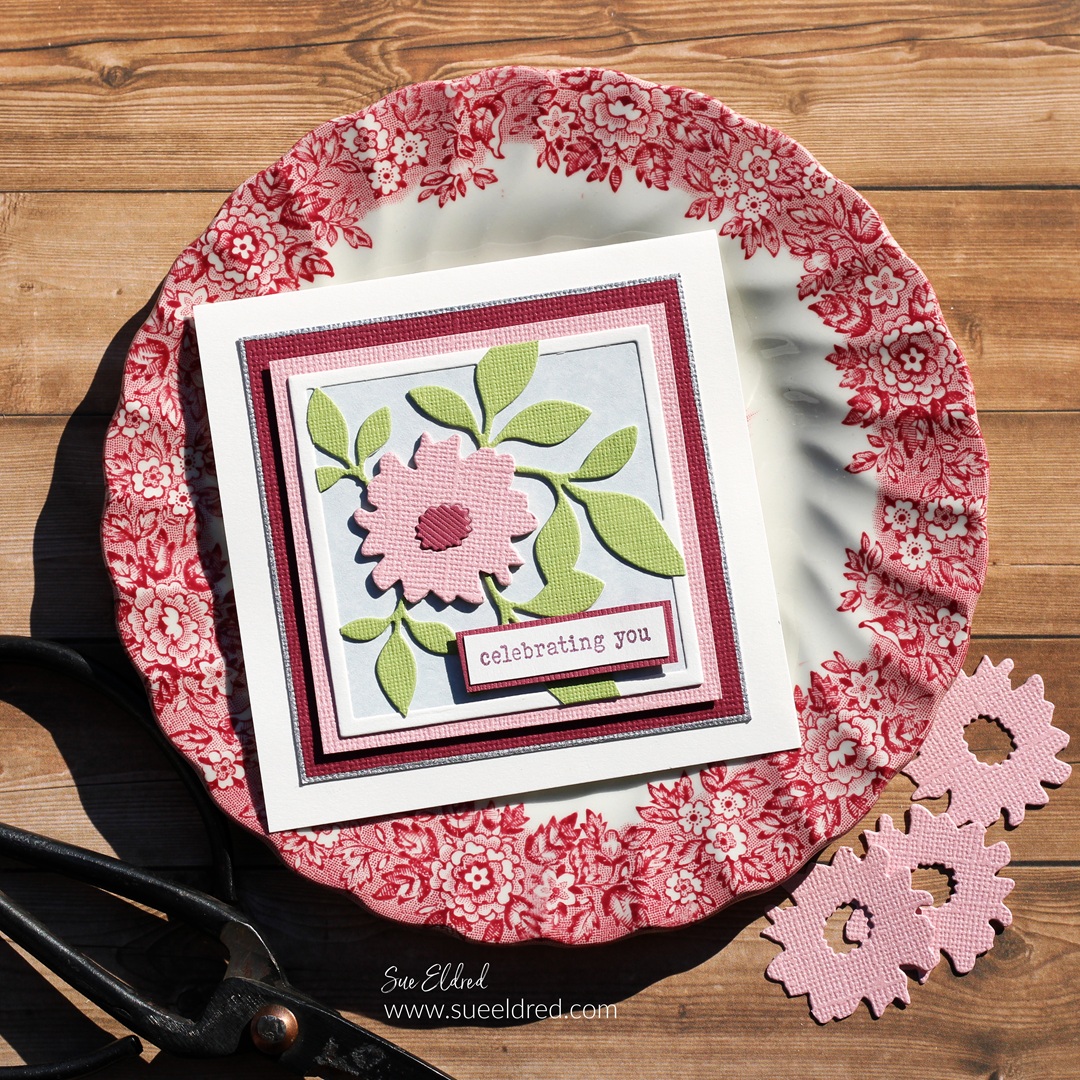
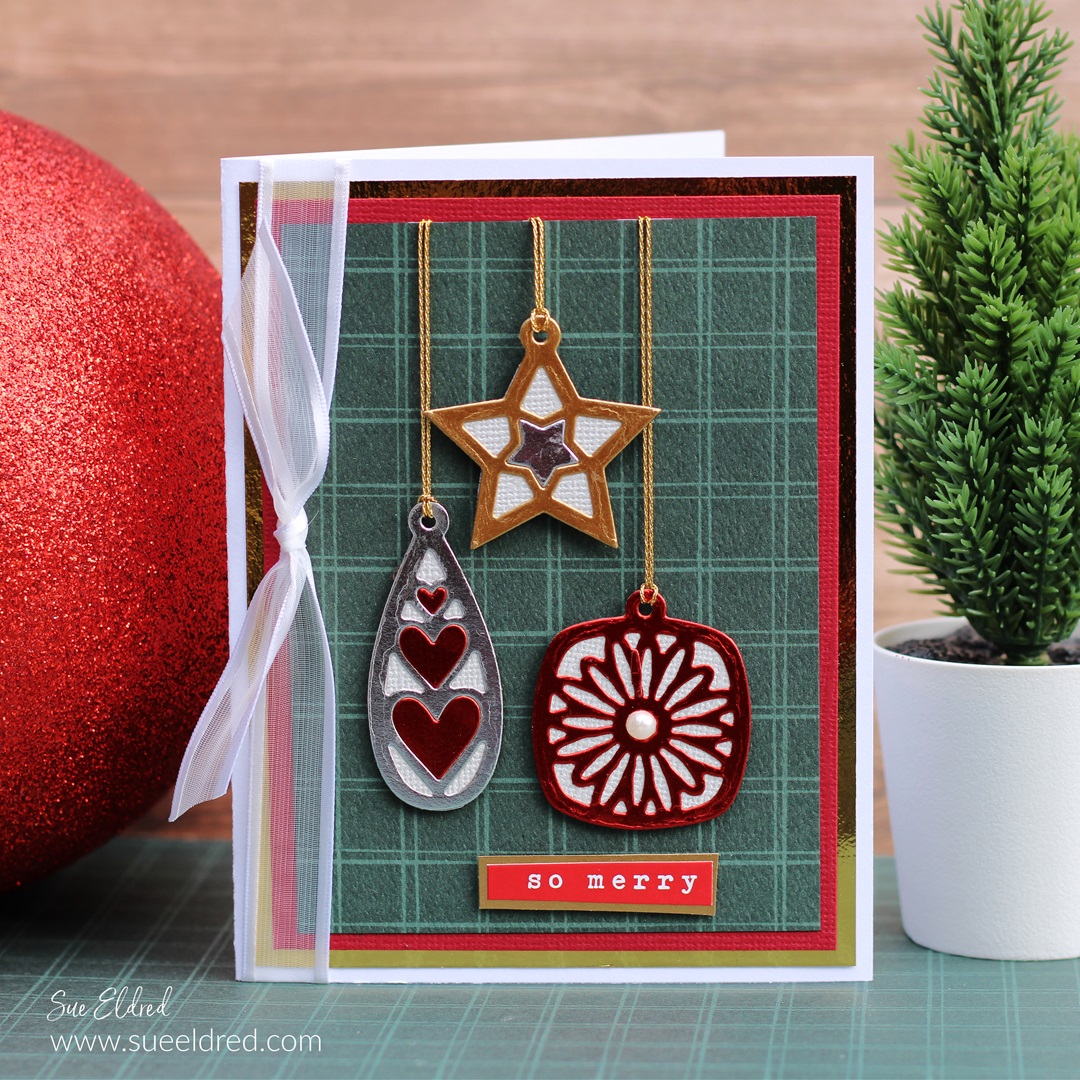
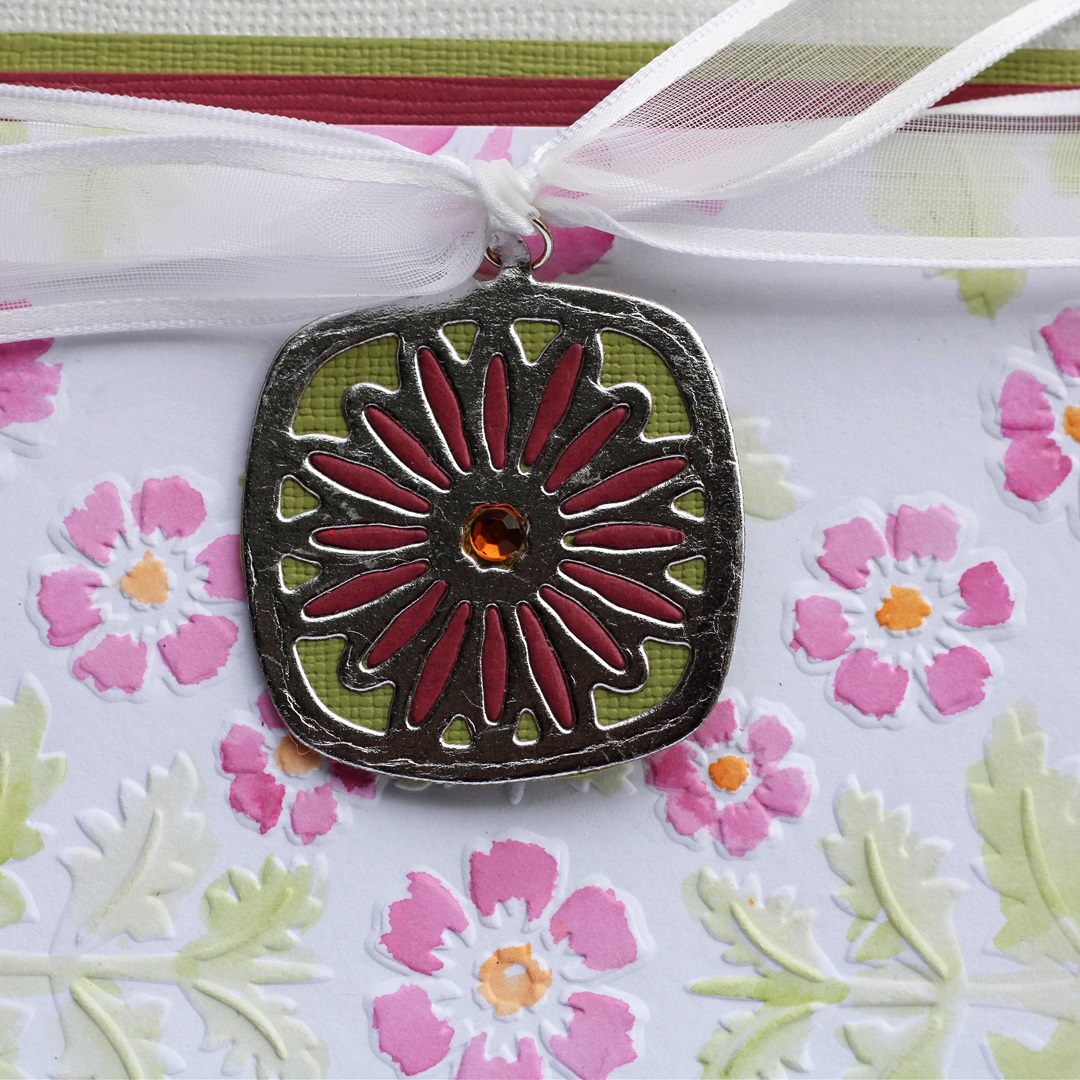
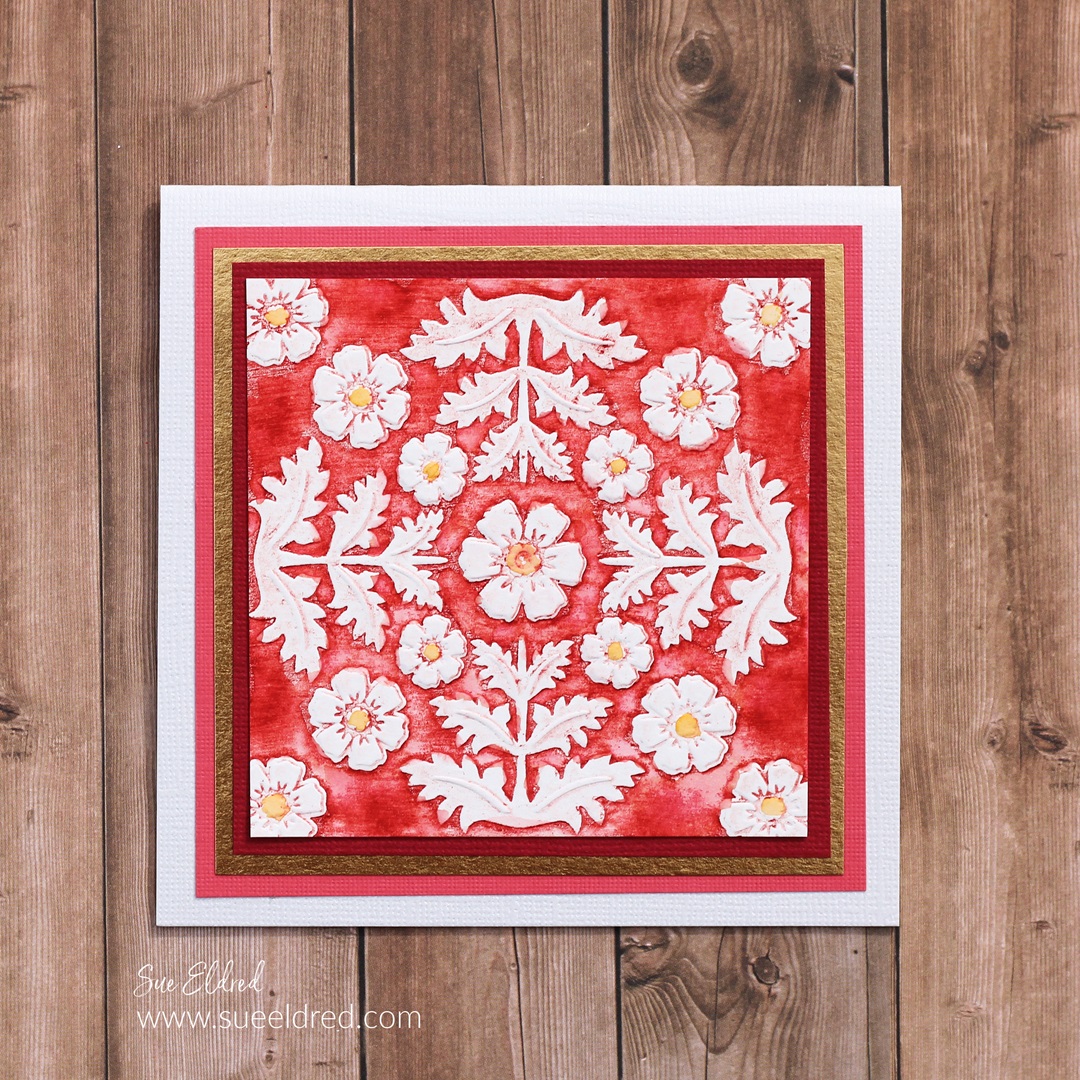
The Watercolor Rose Card was made using the Watercolor Bouquet Embossing Folder*,
Stitched Heart Die Set* and the Nora Alphabet Die Set*.
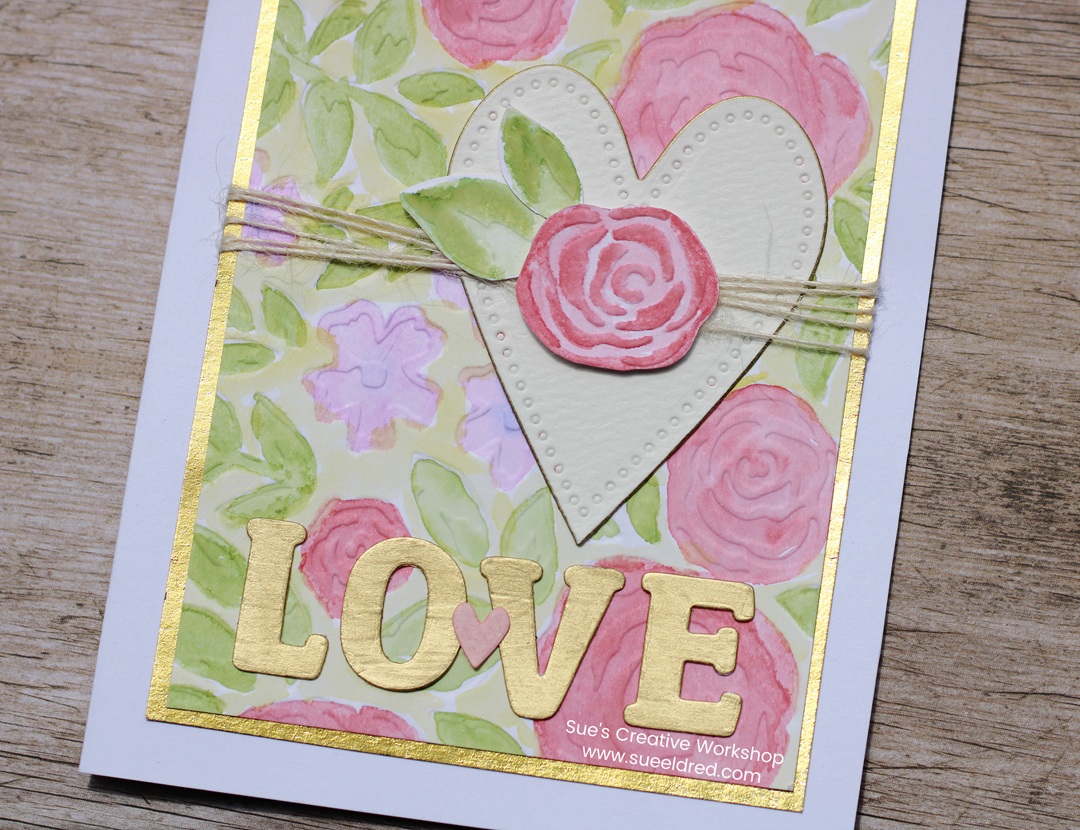
For the base of the card, I used the “debossed” side of the paper.
I used dye inks to watercolor the design.
I loved watching the color pool in the debossed areas.
The raised rose on the front of the heart was cut out using a watercolored rose
from the embossed side of a second piece of paper.

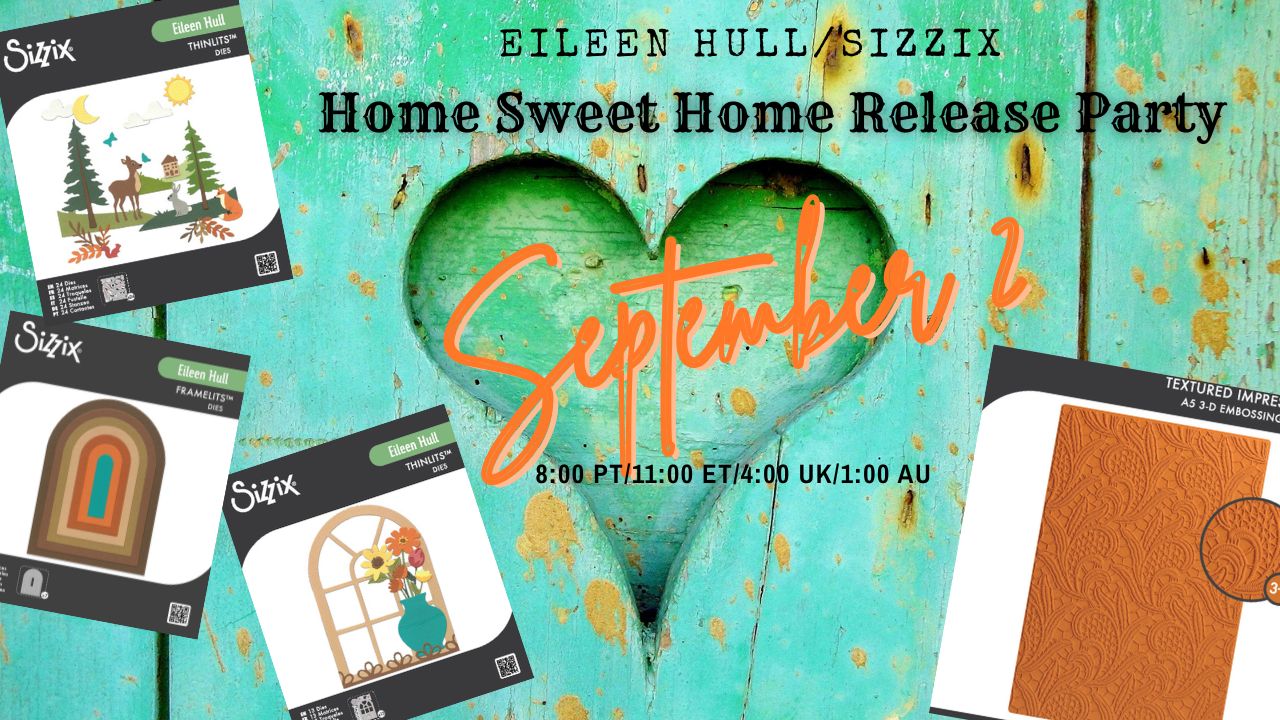
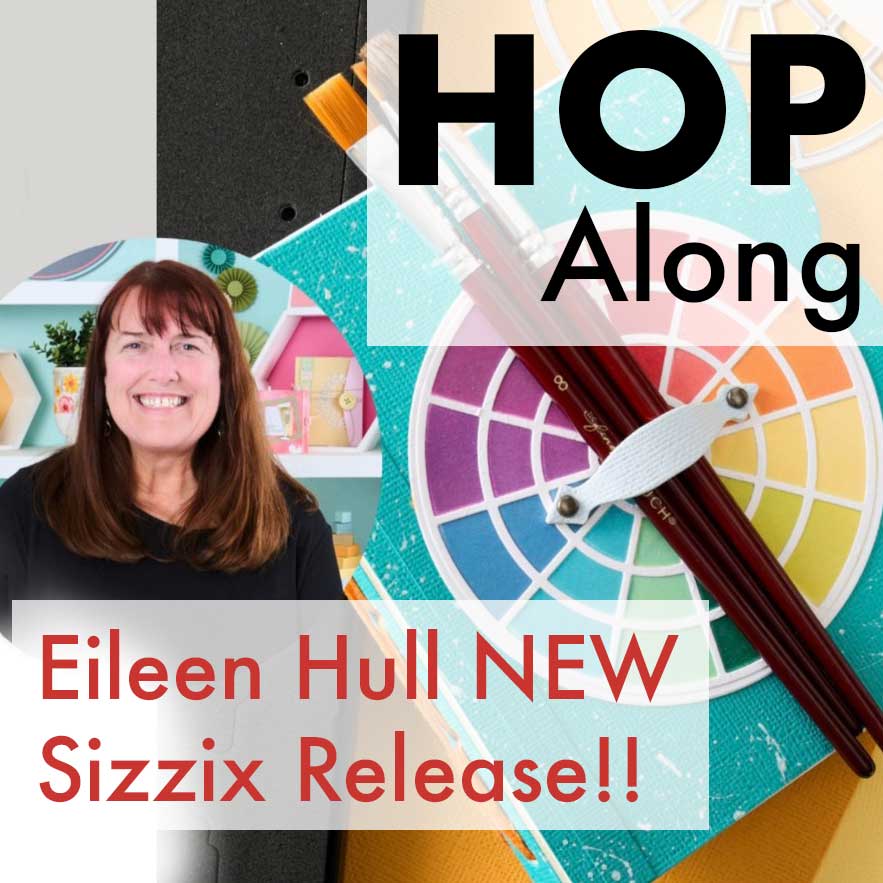
Eileen Hull New Release Party at the Creativation Trade Show.
You can find Eileen’s live on the Eileen Hull Fan Club Facebook Page.
Get ready — the new Eileen Hull Sizzix Collection is here, and we’re celebrating LIVE from the show floor at Creativation!
Join Eileen and Susie as they broadcast the Sizzix Release Party straight from Eileen’s tiny vintage trailer, Daisy, bringing together her amazing creative team from all around the world. You’ll get an up-close look at the fabulous project samples created by the team, sneak peeks of the new products, and maybe even a glimpse of the excitement happening on the show floor!
The May release includes seven exciting new products:
• The fan-favorite Garden Gate Album die — brought back by popular request
• Five brand-new Thinlits sets
• A beautiful new embossing folder
We can’t wait to see what YOU create with the new collection! Be sure to share your projects in the Eileen Hull Fan Club so we can continue inspiring each other and celebrating creativity together.
Thank you for being part of this amazing journey with us — see you at the party!
Disclosure: This is a sponsored post. As a member of the Eileen Hull Inspiration Team, I have been provided product in exchange for my creative ideas. The view and opinions are my own.