Looking for a Creative Valentine’s Day Card design?
This tic-tac-toe card puts a playful twist on traditional Valentines!
Featuring hearts, X’s and O’s arranged in a game board pattern,
this design is perfect for kids, classmates, or anyone who loves
a fun, whimsical Valentine. Using StyleTechCraft’s adhesive vinyl
and a Silhouette Electronic Die-Cutting Machine, you can make
a charming card that stands out from the rest.
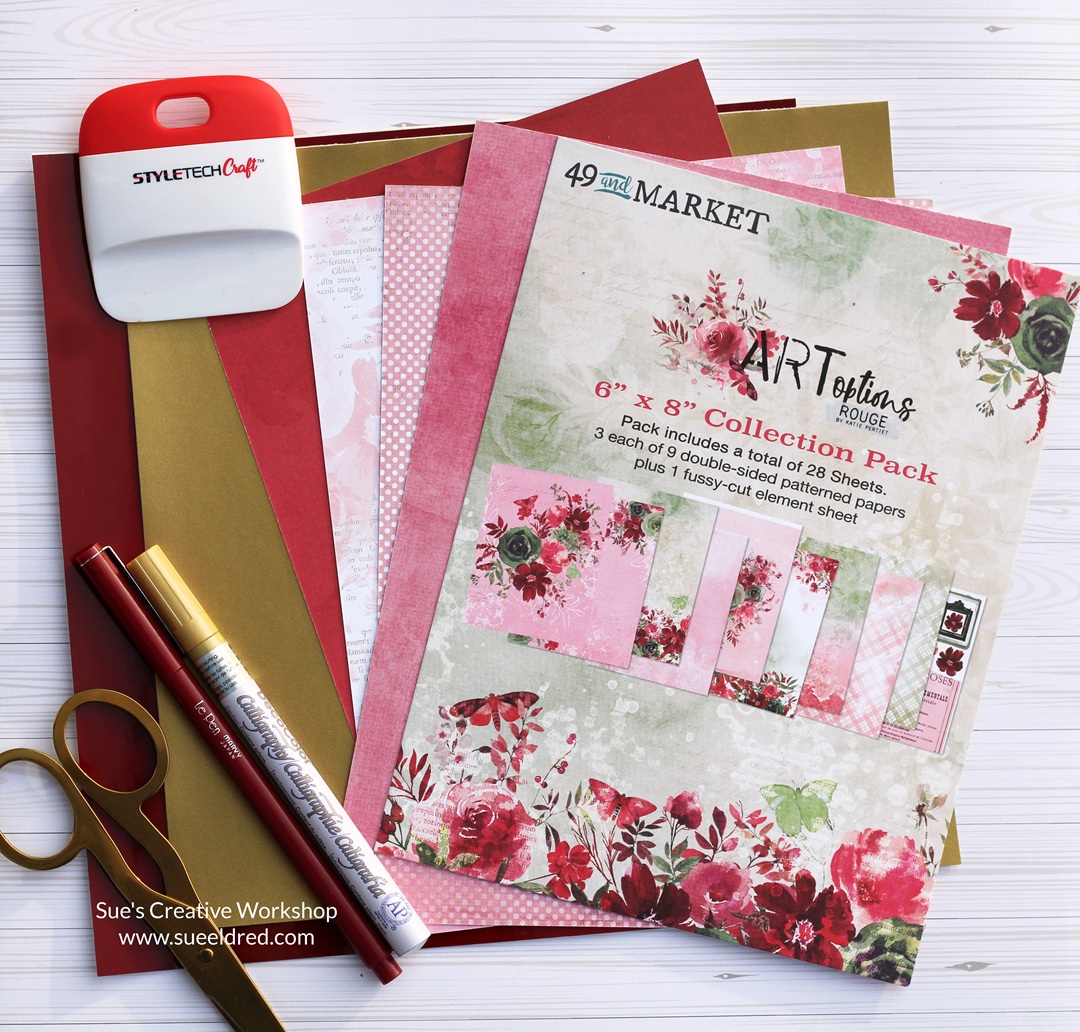
Materials Used: (*affiliate links)
- StyleTechCraft Gold and Dark Red Adhesive Glossy Craft Vinyl
- StyleTechCraft Transfer Tape*
- Vinyl Tools*
- Silhouette Electronic Die-Cutting Machine*
- 49th and Market Art Options Rouge Collection Pack*
- Gold Calligraphy Pen*
- Cream Cardstock*

*Disclosure: This blog uses ads and affiliate links. If you choose to make a purchase using one of the links, I receive a small commission (at no additional cost to you) that helps offset the costs of maintaining this blog. Thanks for your support!

DIY Valentine’s Day Tic-Tac-Toe Card Tutorial:
- Using plain decorative scrapbook paper, cut a 4 3/8″ x 4 3/8″ square layer.
- Cut nine 1 ¼” squares from two different coordinating scrapbook papers.
- Adhere the 9 squares onto the layer, leaving even spacing between the squares.
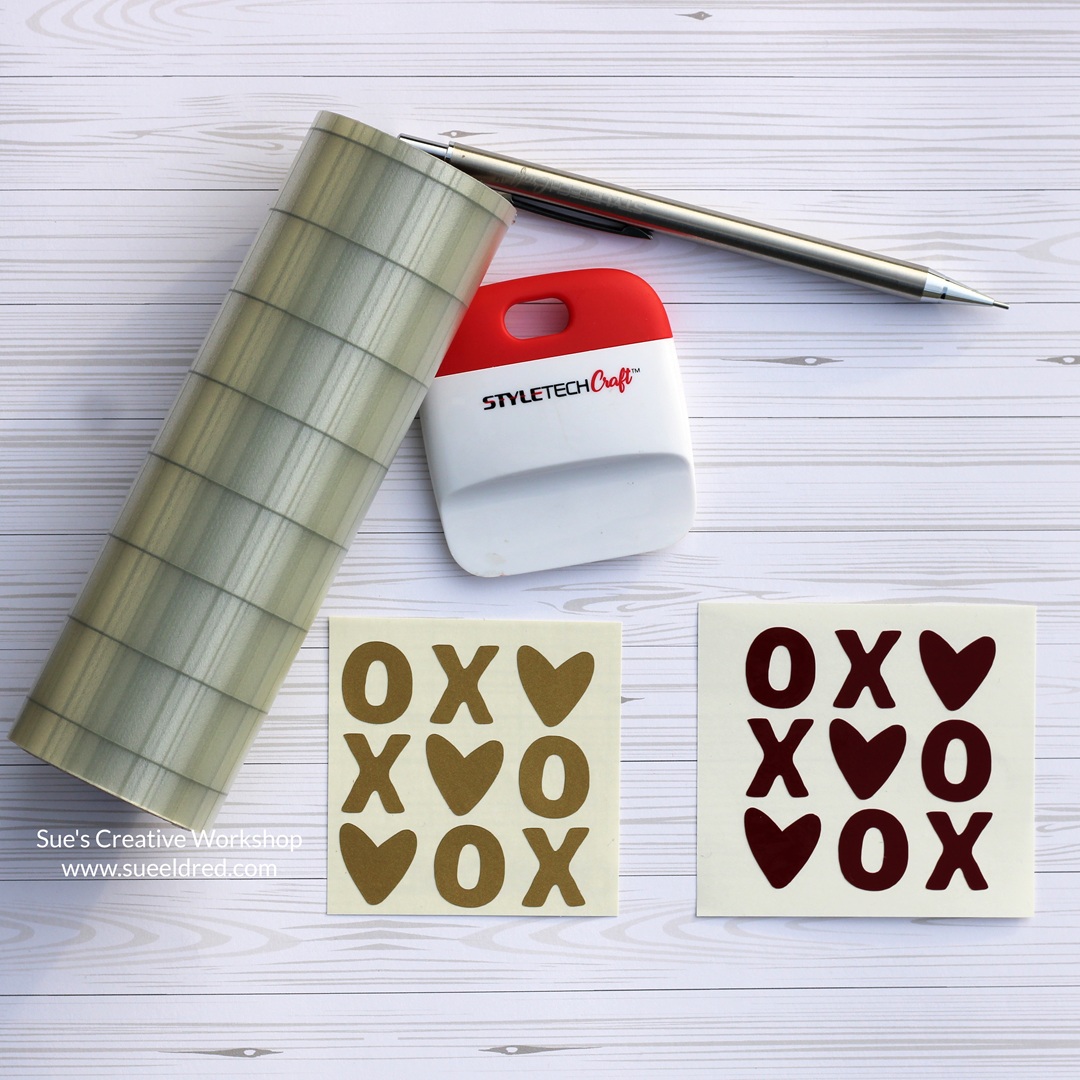
- Using the “Heart Tic Tac Toe” SVG file from the Silhouette Store, cut out the hearts, “X’s,” and “O’s” using Dark Red and Gold craft vinyl from StyleTechCraft. (Option: If you don’t have access to vinyl and an electronic die-cutting machine, you can use Valentine and Heart Stickers.)
- Use StyleTechCraft’s transfer tape to add the hearts and “X’s” and “O’s” to the center of each mini square.
- Add a thin gold border around the 4 3/8″ layer using a gold calligraphy pen. If you like the look of a “quilted card,” use a thin marker to add small lines in and around the small squares.
- Adhere the layered tic tac toe design onto a 4 5/8″ decorative layer and onto a 5″ x 5″ cream card base.
![]()
“This is a sponsored post. As a member of the StyleTechCraft Design Team I have been provided product and compensation in exchange for my creative ideas. The views and opinions are my own.

This playful tic-tac-toe design is a fun way to show someone you care!
Whether you’re making cards for a classroom exchange or
sending valentines to friends or family, this creative design
is sure to bring smiles.
Happy Crafting and have a wonderful Valentine’s Day!