a boy and his cars…

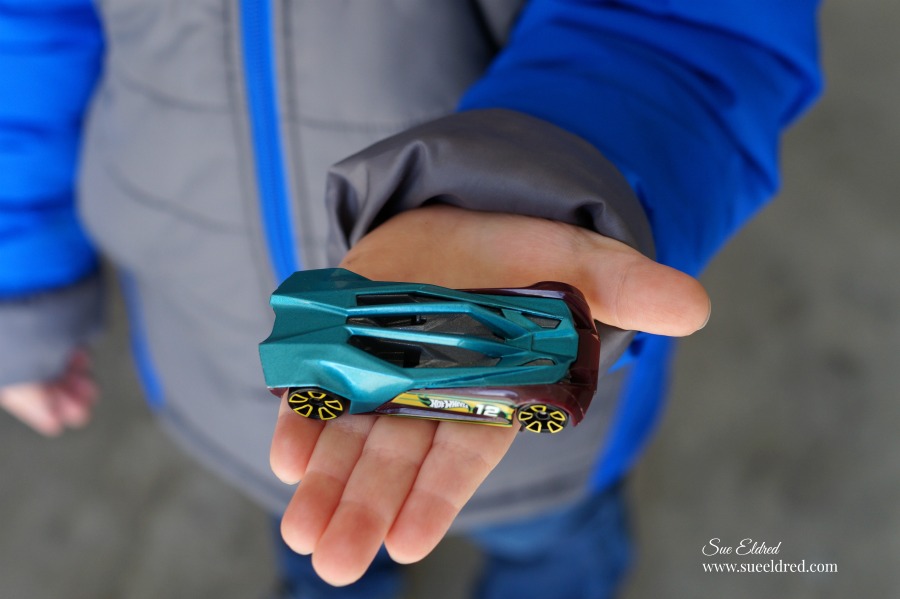
I have this sweet boy in my life that loves cars.

Hotwheels to be exact.  (he’s very brand loyal)

Whenever he walks in my house he puts out his hand to show me the car of the day.

“Grandma, I have a new car to show you, you’re going to love this”…

This one’s Split Vision.  He’s aerodynamic and he goes really fast.”

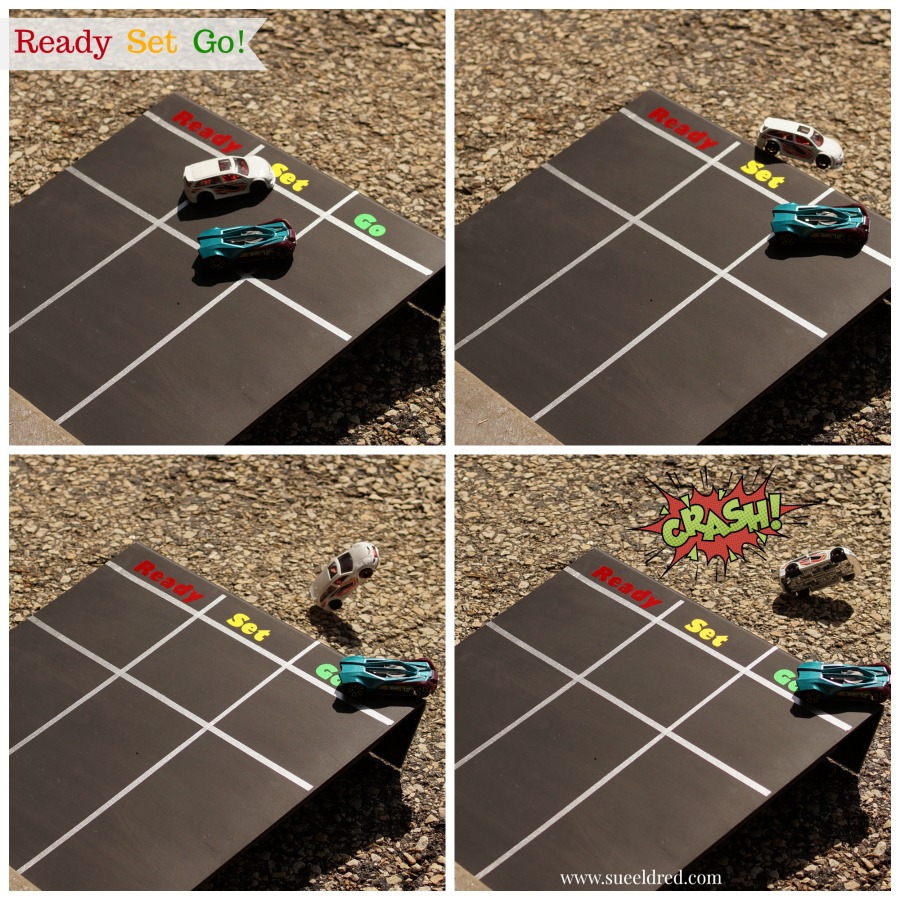
I imagine he’s going to be a Race Car Driver or something equally cool when he gets older.

This kid always has a car with him wherever he goes.

I watched him at his big brother’s Spring Concert roll his car along the bleachers,

checking to see if it would fit under the boot heel of the guy sitting next to me.

To him… everything’s a potential ramp or tunnel.

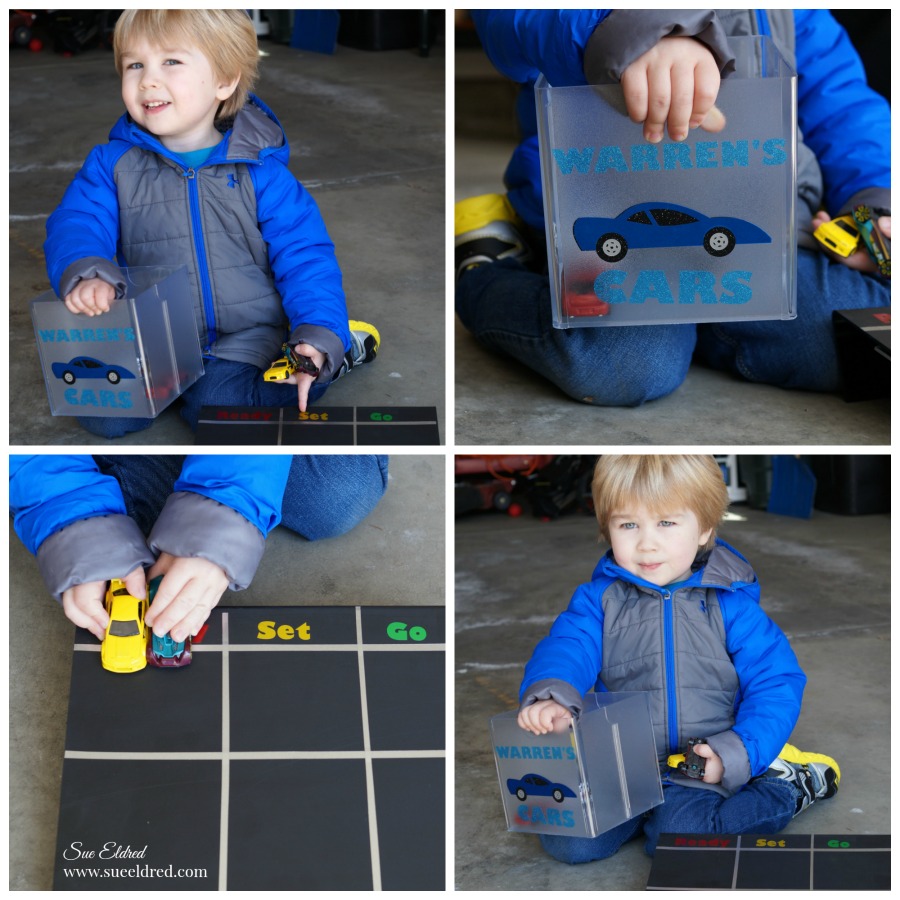
For my Deflecto Design Team project this month, I decided to “think like he does” and make

a Deflecto 12″ x 12″ Clear Craft Picture Frame* into a “super cool” ramp for my grandson.

(*Affiliate Link)

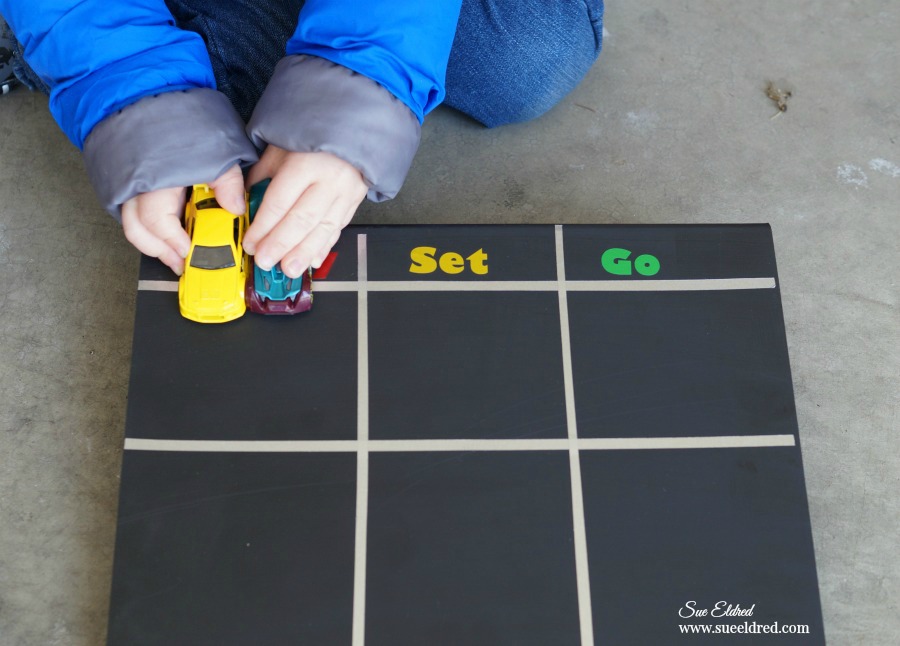
I gave the Deflecto Frame* a light sanding with an extra fine sanding block to help the paint

adhere better.  Then, I painted the frame with Rust-Oleum Chalkboard Black Spray Paint*.

I used my Silhouette Cameo* and Glitter Vinyl* from Tape Technologies to create

the words and stripes for “our” new ramp.

Shop Your Fav Brands at Scrapbook.com

And… because you always need more storage for your cars.

I made him a new car box using a Deflecto Stackable Cube Organizer*.

“This is a sponsored post. As a member of the Deflecto Design Team I have been provided product in exchange for my creative ideas, views and opinions.”

*Disclosure:  This blog uses ads and affiliate links.  If you choose to make a purchase using one of the links, I receive a small commission (at no additional cost to you) that helps offset the costs of maintaining this blog.  Thanks for your support!

Shop Amazon Scrapbooking Supplies*

How to make a Floral Chalkboard

DIY Chalkboard with Adornit…

The Floral Chalkboard makes a fun decorative Home Décor piece and is really easy to make.

To make the Floral Chalkboard you’ll need…        (*affiliate links)

Shop Your Fav Brands at Scrapbook.com

Directions:

  1. Apply an even coat of Mod Podge* over the larger Wood Bracket shape.  Lay decorative scrapbook paper over shape and smooth with your hand.

2.  Using an x-acto knife and cutting mat, cut excess paper away from the Wood Bracket.

3.  Rub Vintage Photo Distress Ink*onto the outside edges of the wood shape using the Ink Blending Tool*.

4.   Paint the smaller wood shape with the Black Chalkboard Paint*.  Add small white dots around the outside of the wood shape with the white paint marker*.

5.  Stencil the words “be Happy” onto the chalkboard using white acrylic paint and the Deco Art Americana Decor Stencil, Inspiration*.

6.  Cut a few flower shapes using the second sheet of scrapbook paper.  Apply a thin coat of Mod Podge* to the back of the flowers and glue to the front of the chalkboard.  Add decorative pearl embellishments to the inside of the flowers.

7.  Glue chalkboard to the front of the floral base using Beacon’s Quick Grip All-Purpose Permanent Adhesive*.

8.  Drill two holes on the top of the chalkboard and add Twine* for hanging.


This Chalkboard was sponsored by Adornit as an“it girl” Ambassador.

If you liked the Floral Chalkboard, you might also like the DIY Bloom Floral Plaque.

You can see the full tutorial here.


Don’t Miss a Thing…Make Sure to Follow me

Shop Amazon Scrapbooking Supplies*

*Disclosure:  This blog uses ads and affiliate links.  If you choose to make a purchase using one of the links, I receive a small commission (at no additional cost to you) that helps offset the costs of maintaining this blog.  Thanks for your support!


Countdown to Christmas

Hello December Christmas Countdown

I had this idea to make a Countdown to Christmas using a small wood clipboard.

I’d been thinking about it and planning it in my head for a while.

When I went to the store all I could find were bright colored acrylic ones.

I knew if I kept searching I could find a wood one…

But, I really didn’t want to go running around to more stores so I picked one up

and decided I would change my plan.

Christmas Countdown Clipboard

The more I looked at this neon clipboard, I knew I wasn’t happy.

So… I decided to improvise.

I lightly sanded both sides of the clipboard with a fine grit sanding block.

Next, I gave the clipboard a couple of coats of Red Chalky Finish Paint.

After it was completely dried, I masked off an area with removable painter’s tape

and painted the inside of the masked area with black chalkboard paint.

Christmas Countdown Close Up

 “Hello December” is from a sheet of scrapbook paper from Simple Stories “Claus & Co.” Collection.

I embellished the clipboard with a silver ribbon, jingle bell and sparkly red berries.

Christmas Countdown 2

I’m never satisfied with my own handwriting on these things…

so I added letter stickers on the bottom.  (now I’m happy!)


Here’s what I used:

These products available at your local craft stores or online on amazon.com*

*Disclosure:  I am a Amazon Affliate.