Elegant and Easy, Quick and Simple…
that pretty much sums up this beautiful Holiday Card made with the Believe Die Set
from The Maker’s Movement.
Don’t tell my family, but this may be this year’s Christmas Card.

Disclosure: This is a sponsored post for The Maker’s Movement. I have been provided product and compensation in exchange for my creative ideas. The view and opinions are my own.
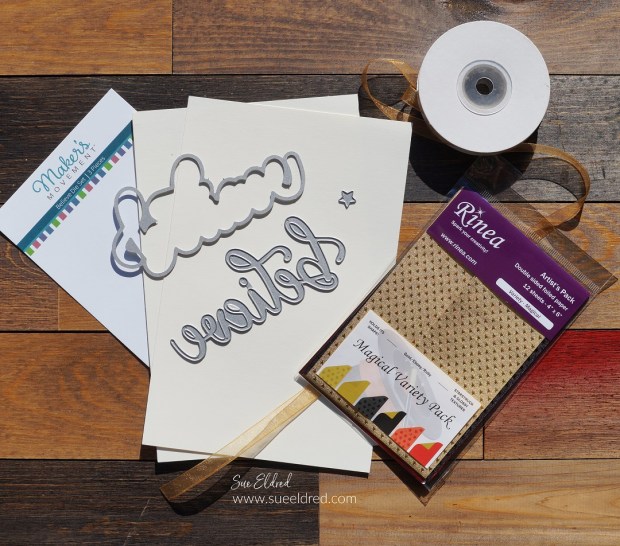
Materials Used:
- M12869 Believe Die Set
- Mini Maker Die Cut Machine
- Xyron Create A Sticker Mini*
- Rinea Gold Star Foiled Paper*
- Thin 3D Foam Squares by Scrapbook Adhesives by 3L*
- 3/8″ Gold Organdy Ribbon*
- Cream Cardstock*

*Disclosure: This blog uses ads and affiliate links. If you choose to make a purchase using one of the links, I receive a small commission (at no additional cost to you) that helps offset the costs of maintaining this blog. Thanks for your support!

If you’re a fan of clean and simple cards, it doesn’t get much easier than this one.

Directions:
- Cut a 2 ½” x 5″ piece of cream cardstock. Place the cardstock into the Xyron Create A Sticker Mini*. Crank the handle of the Sticker Maker to run the paper through the machine. As it runs through the machine it adds a complete layer of adhesive to the back of the paper.
- Cut a gold foiled paper and run it through the Xyron Create A Sticker Mini*.


- Place the “believe” die sandwiched between the Mini Maker cutting plates. Turn the handle to run the die through the Mini Maker Die Cut Machine.
- By running the paper through the Xyron Create A Sticker Mini* first, it creates a sticker out of the die-cut piece.
- Cut the gold background and stars using the adhesive gold foiled paper, die, and the Mini Maker.

- Cut a 3 ¾” x 5″ cream cardstock layer. Place the gold foiled believe background, believe words and gold foiled stars directly onto the cardstock layer.
- Place several thin 3D foam squares* onto the back of the cardstock layer.
- Adhere the layer onto the front of a 4 ¼” x 5 ½” cream card.
- Tie a simple gold ribbon around the front of the card.