Not Quite Ready for Fall Decor…
As summer began to wind down and my patriotic decorations came off the door,
I found myself searching for the perfect transition piece-
something cheerful enough for late summer, but with just a hint of fall
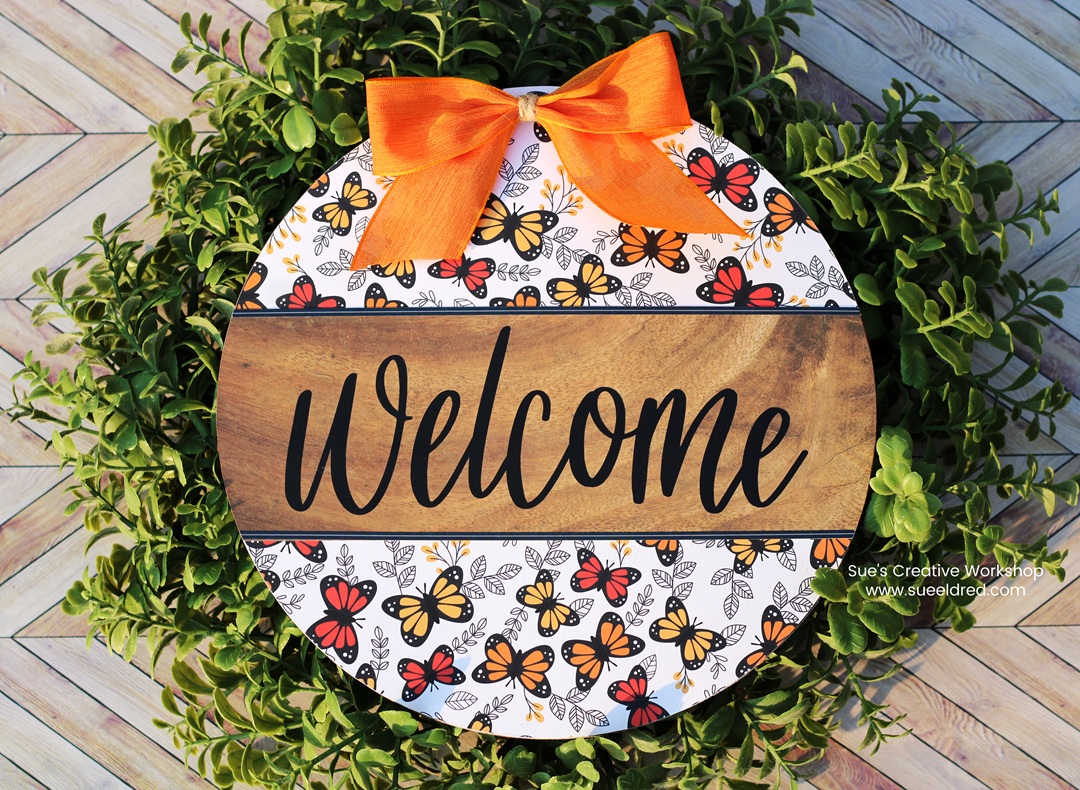
The Welcome sign has “fall-ish” colors while still being summer themed.
Butterfly Welcome Door Hanger
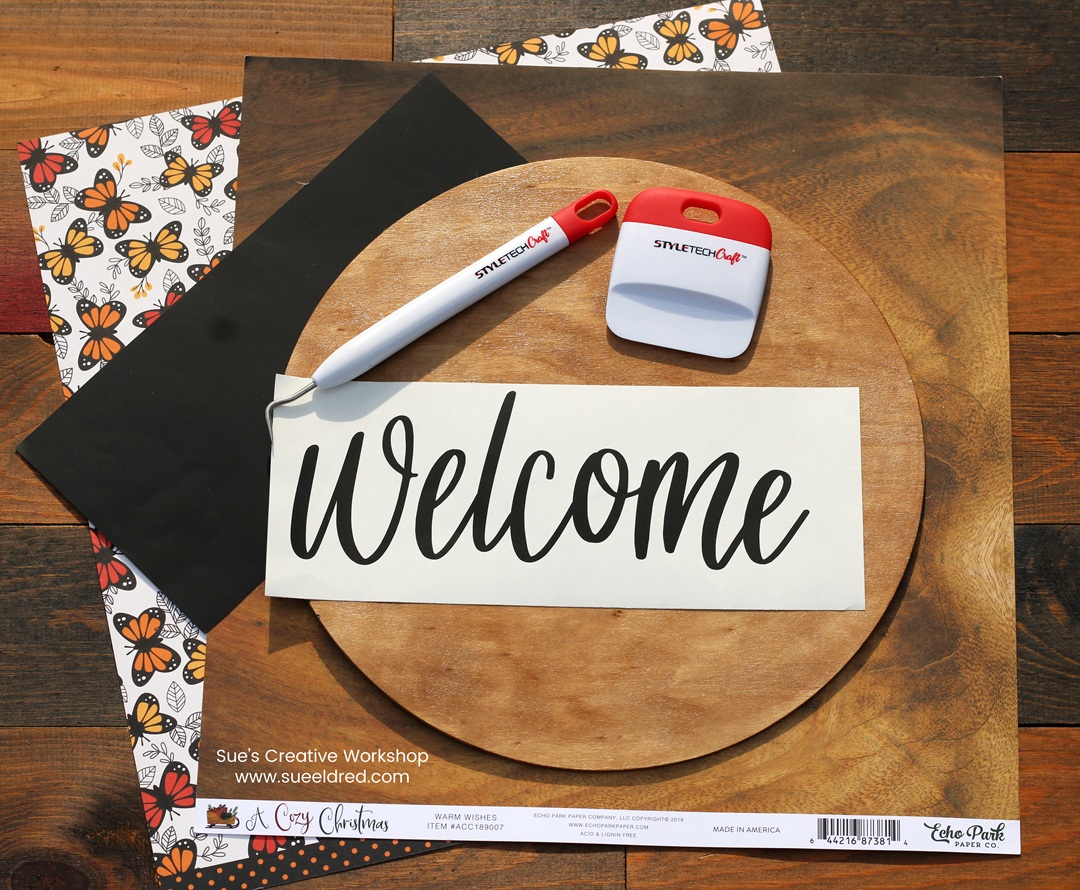
I made the door hanger using a 10″ Wood Circle*, decorative scrapbook paper,
and StyleTechCraft adhesive vinyl.
Additional Materials used: (*affiliate links)
- 10″ Wood Circle*
- Craft Cutting Mat and Craft Knife*
- Decorative Scrapbook Paper
- StyleTechCraft Adhesive Vinyl
- Silhouette Electronic Die-Cutting Machine*
- Vinyl Craft Tools*
- StyleTechCraft Clear Transfer Tape*
- Xyron Creative Station*

*Disclosure: This blog uses ads and affiliate links. If you choose to make a purchase using one of the links, I receive a small commission (at no additional cost to you) that helps offset the costs of maintaining this blog. Thanks for your support!
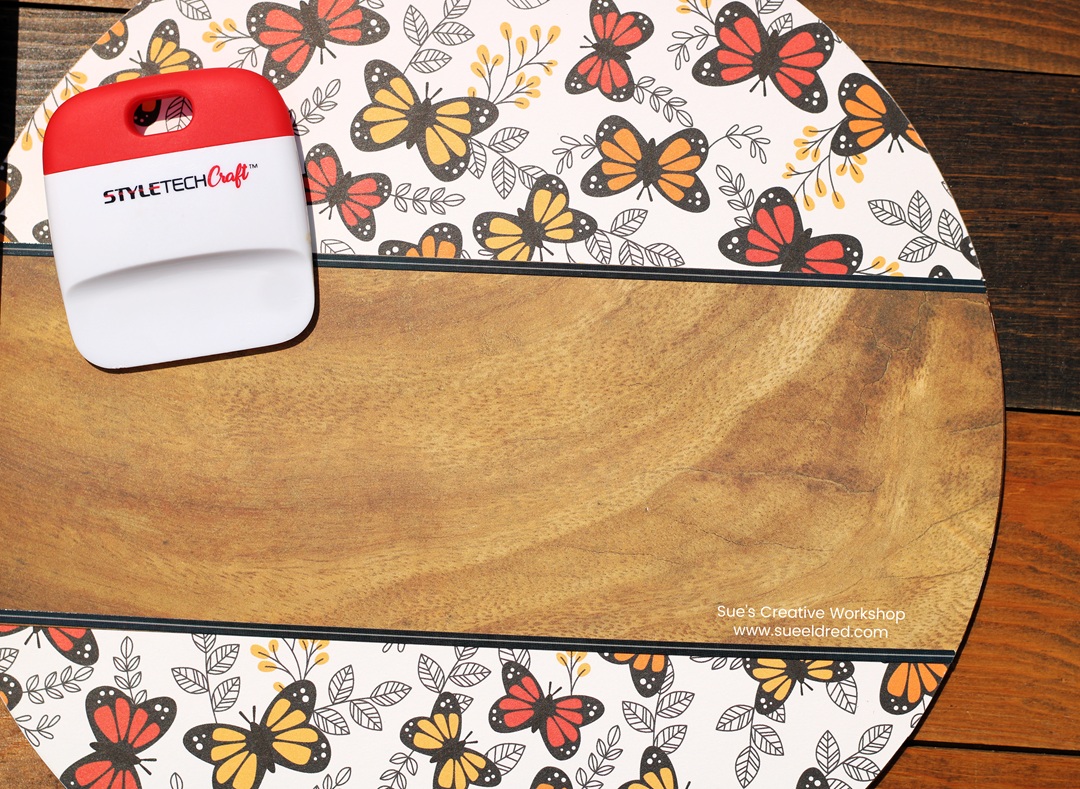
How I made the Butterfly Welcome Door Hanger:
- I used my Xyron Creative Station* to add adhesive to the back of the butterfly scrapbook paper. (You can also use a liquid adhesive such as Mod Podge or a spray adhesive. Whatever works best for you.)
- Trim around the edge of the paper using a Craft Cutting Mat and Craft Knife*. For a smoother edge, lightly sand edges with a fine grit sanding block*.
- I cut a 3 1/2″ strip of woodgrain scrapbook paper to add to the middle of the circle. It gives me a plain base to add my greeting.
- To make the woodgrain stand out, I used a thin border sticker on the top and bottom of the woodgrain strip.

- I cut the word “Welcome” using a Silhouette Electronic Die-Cutting Machine* and black matte vinyl from StyleTechCraft.
- I transferred the vinyl onto the front of the door hanger using transfer paper.
- I made a simple orange bow to add to the top of the door hanger.
- Drill a couple of holes in the top of the wood for hanging.
- The door hanger would look great on its own or as part of a simple wreath.
Just a heads up—I didn’t seal the paper on this door hanger, so be sure to hang it somewhere protected from the weather.
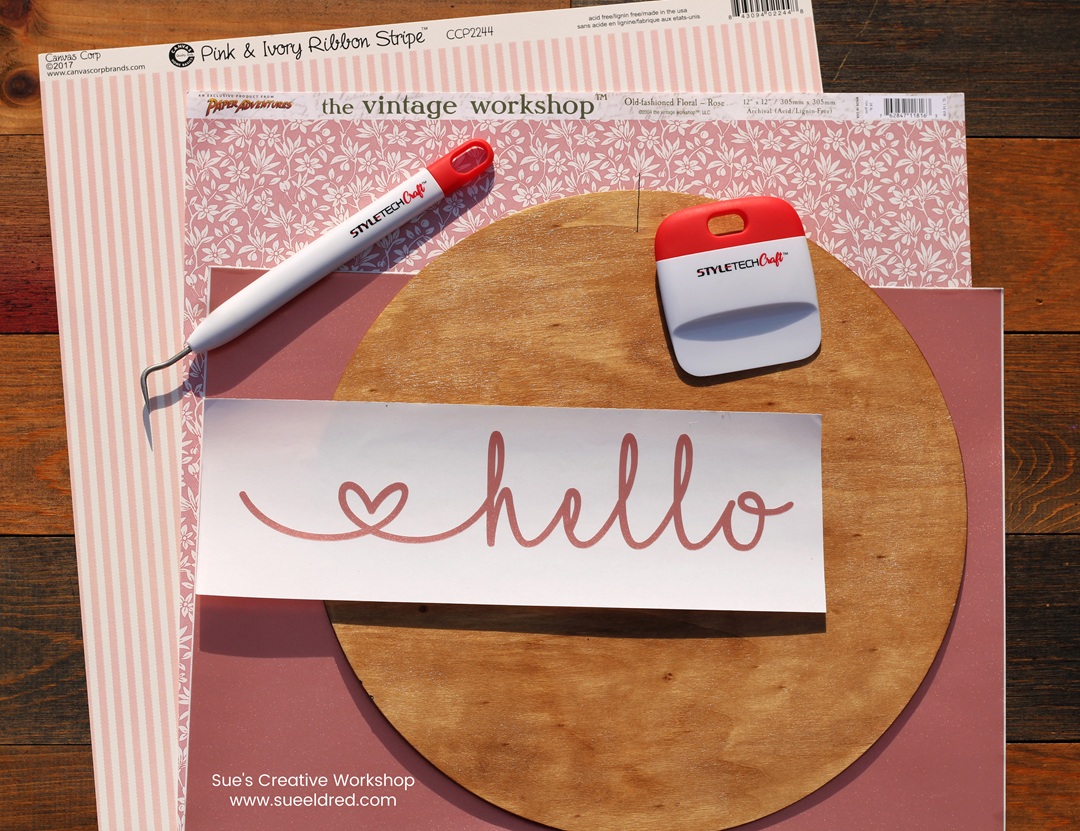
Pretty in Pink Door Hanger
I dug deep into my hoarded collection of paper for the right one
for this project. And because I couldn’t decide which papers I liked best,
I made a second one.
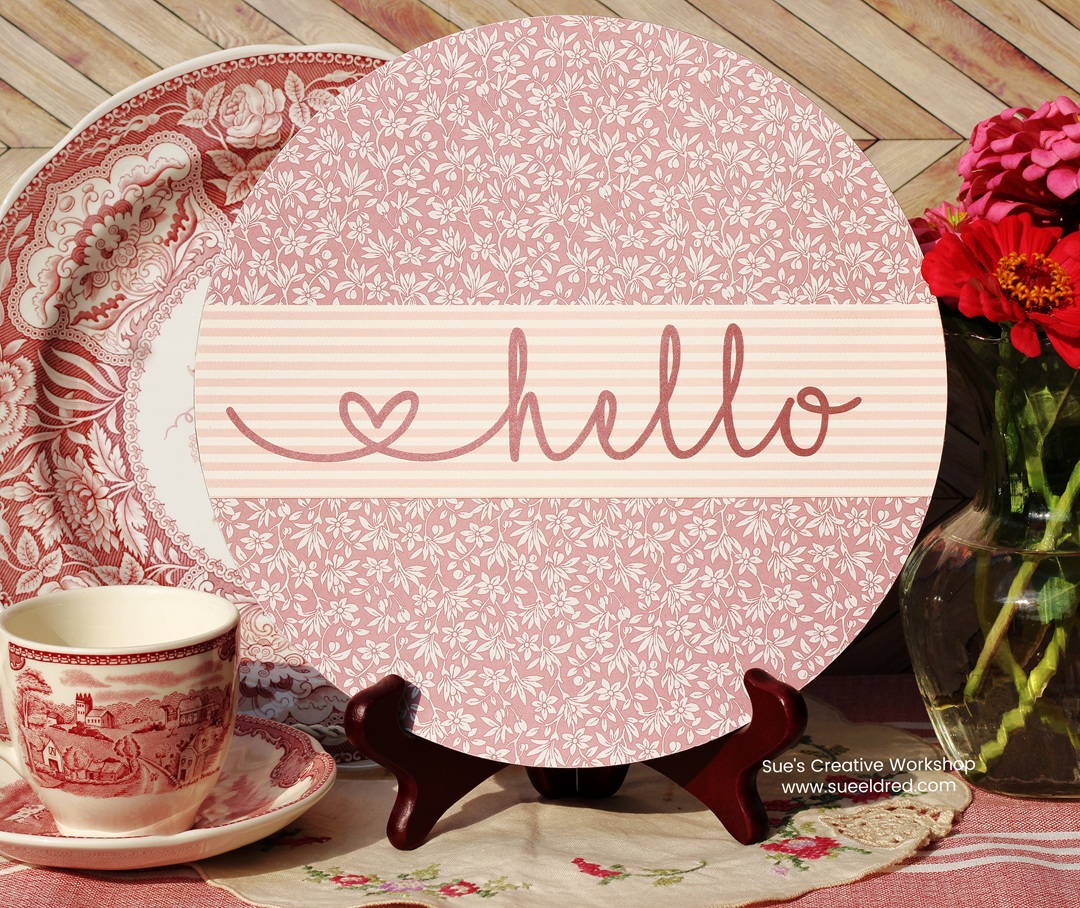
These door hangers are such an easy way to add a little cheer
to your home as summer winds down.
I had a lot of fun making them, and I hope you give this project a try too!

“This is a sponsored post. As a member of the StyleTechCraft Design Team I have been provided product and compensation in exchange for my creative ideas. The views and opinions are my own.