Personalized Travel Activity Kit for Kids
A lot of parents nowadays are looking for alternatives to screen time
to keep little ones happy and busy on trips or when eating out.
When my kids were young, we didn’t have phones or tablets
to keep them occupied while sitting in church or restaurants.
When we would go on a long road trip, I’d make each kid a new
“Busy Box” and bring a few extra items to add along the way.
I can’t tell you it’s fail-proof, but it did work most of the time.
Back to School is a great time to look for items to put in your box.
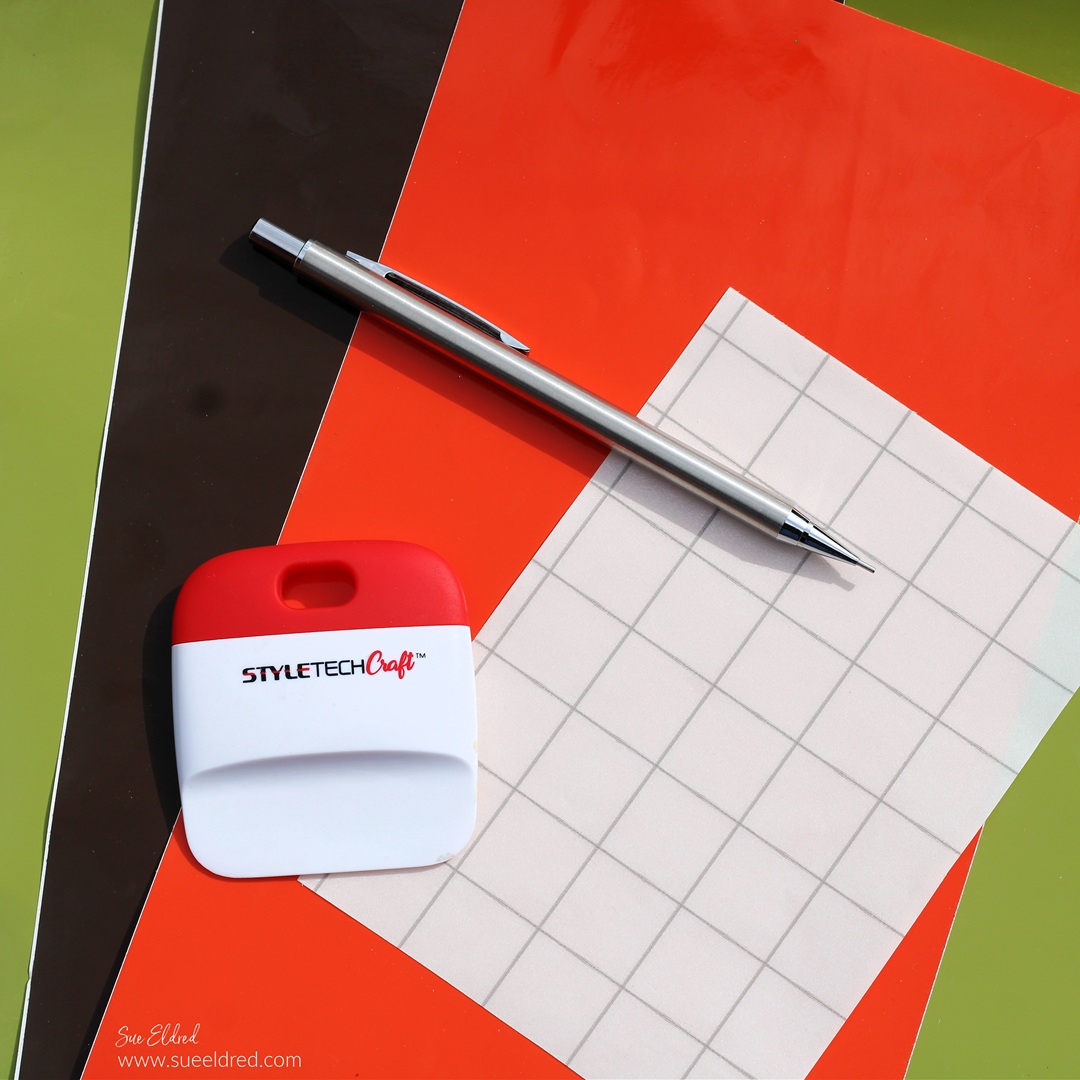
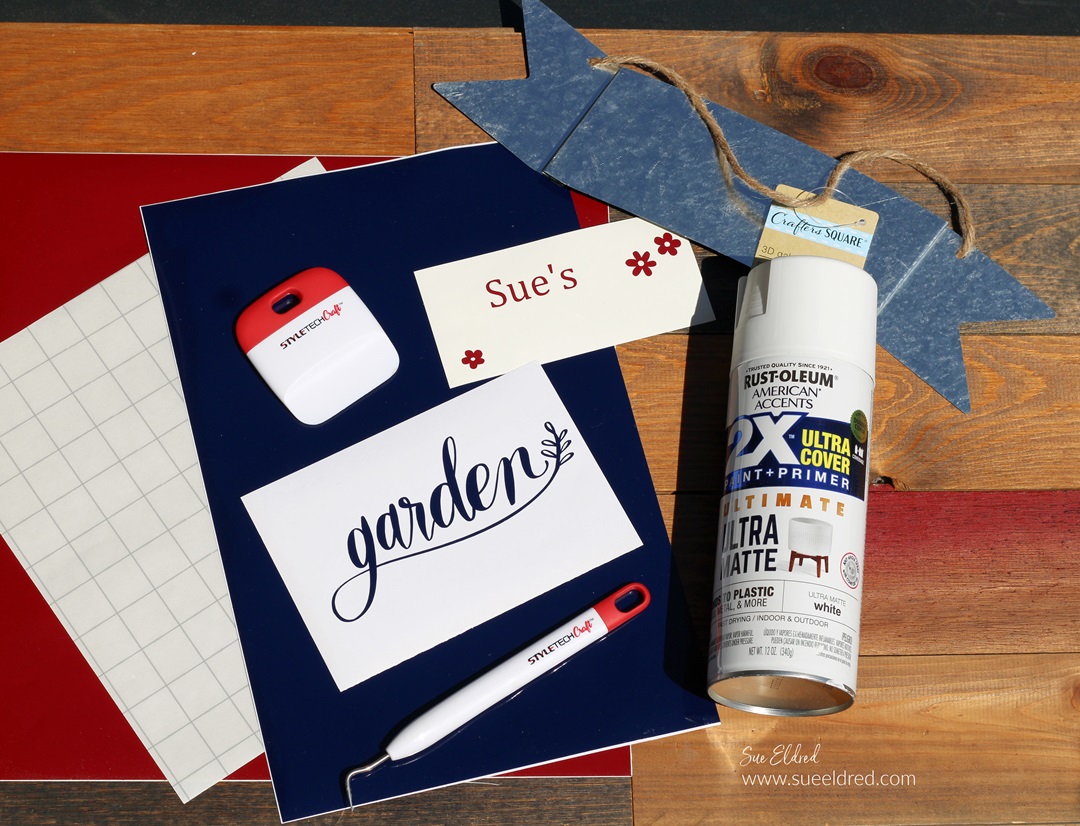
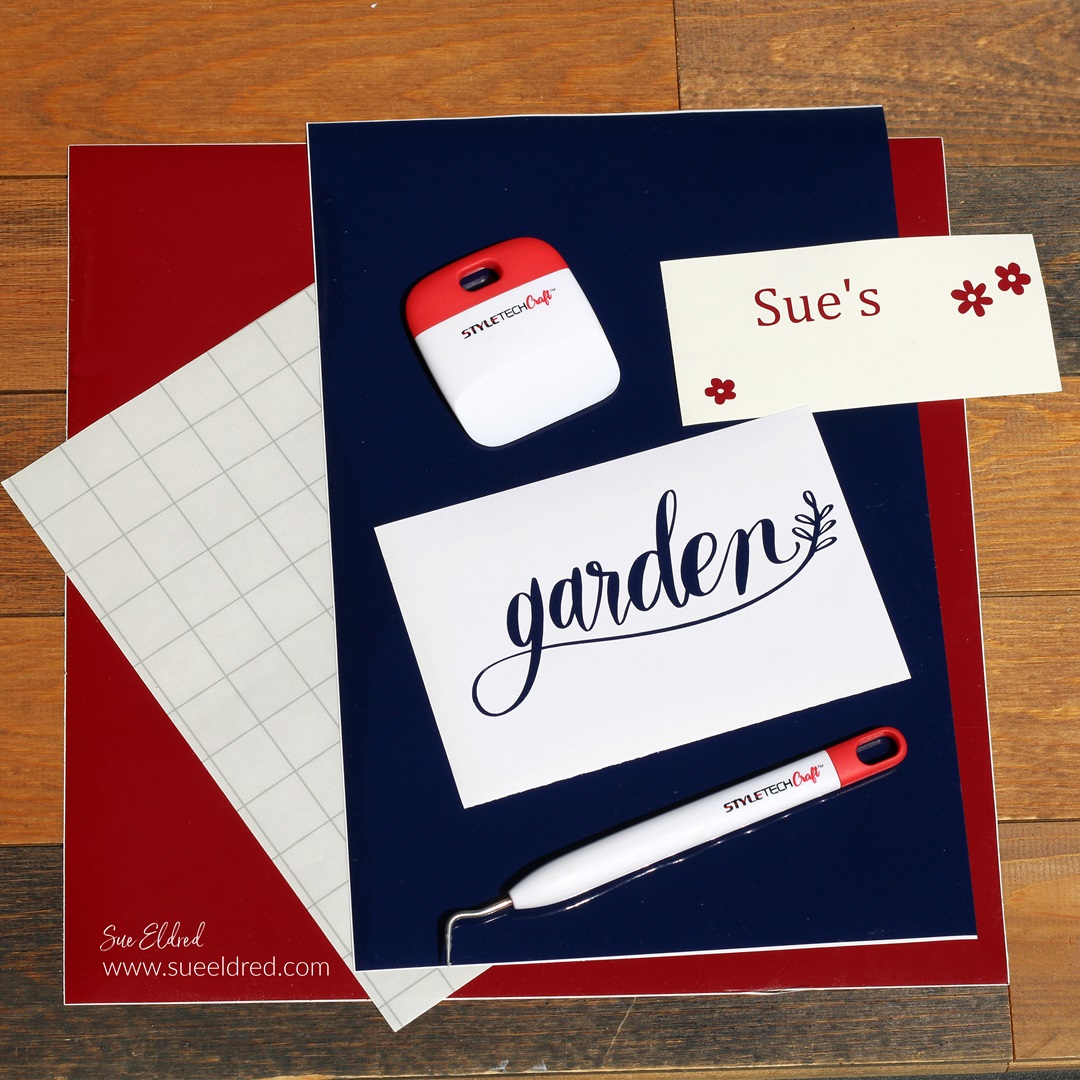
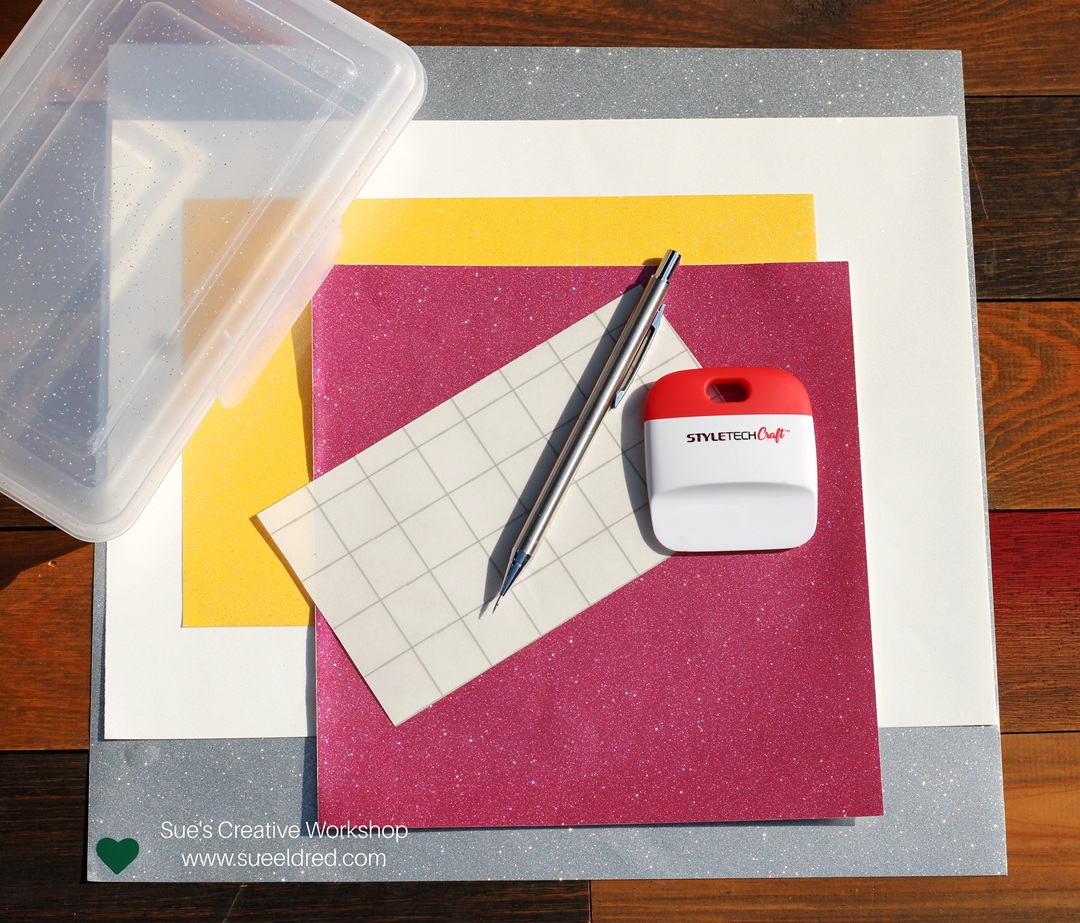
Materials Used: (*affiliate links)
- pencil box (at Walmart for 50¢.)
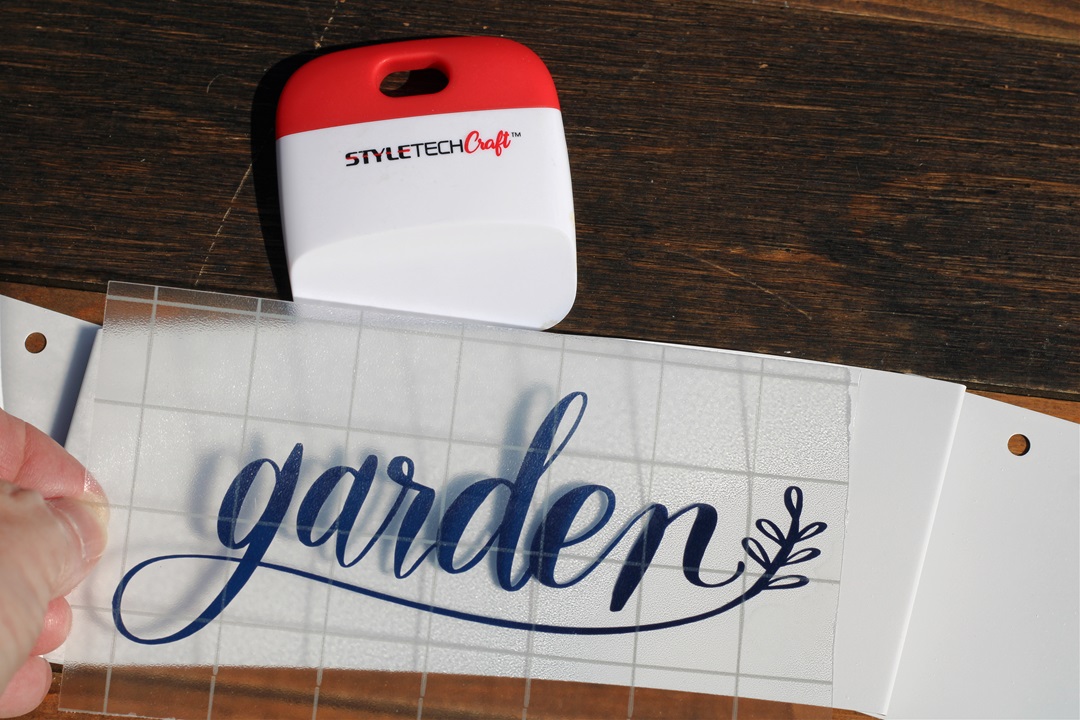
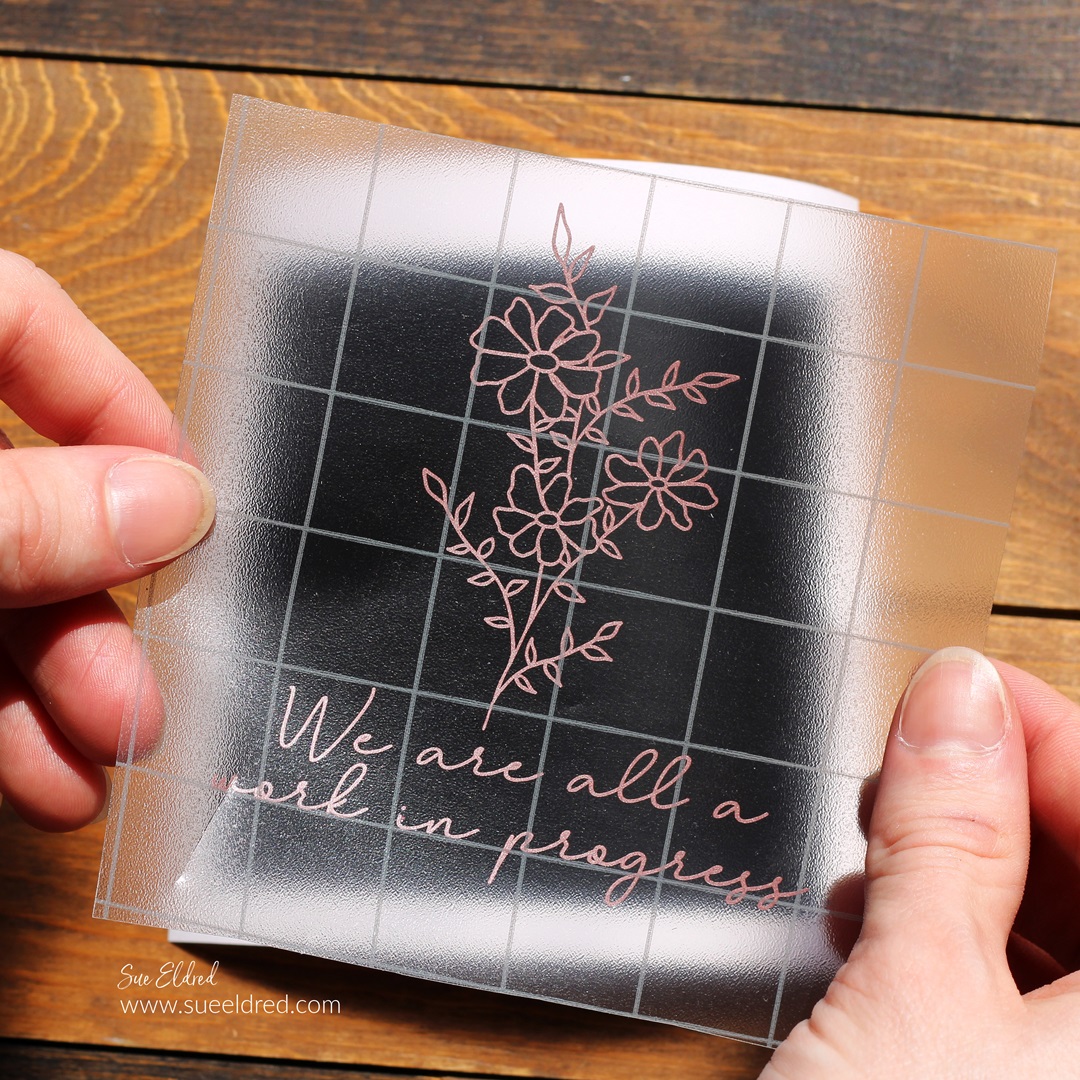
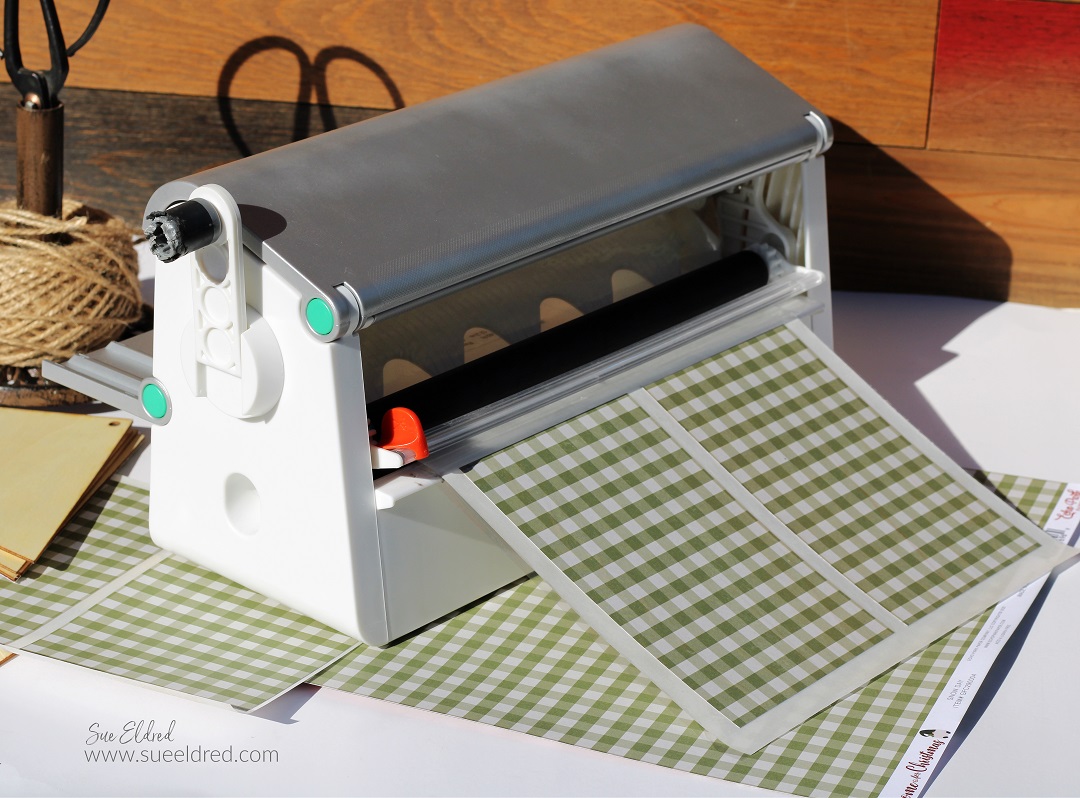
- StyleTechCraft Ultra Metallic Vinyl
- StyleTechCraft Transfer Tape*
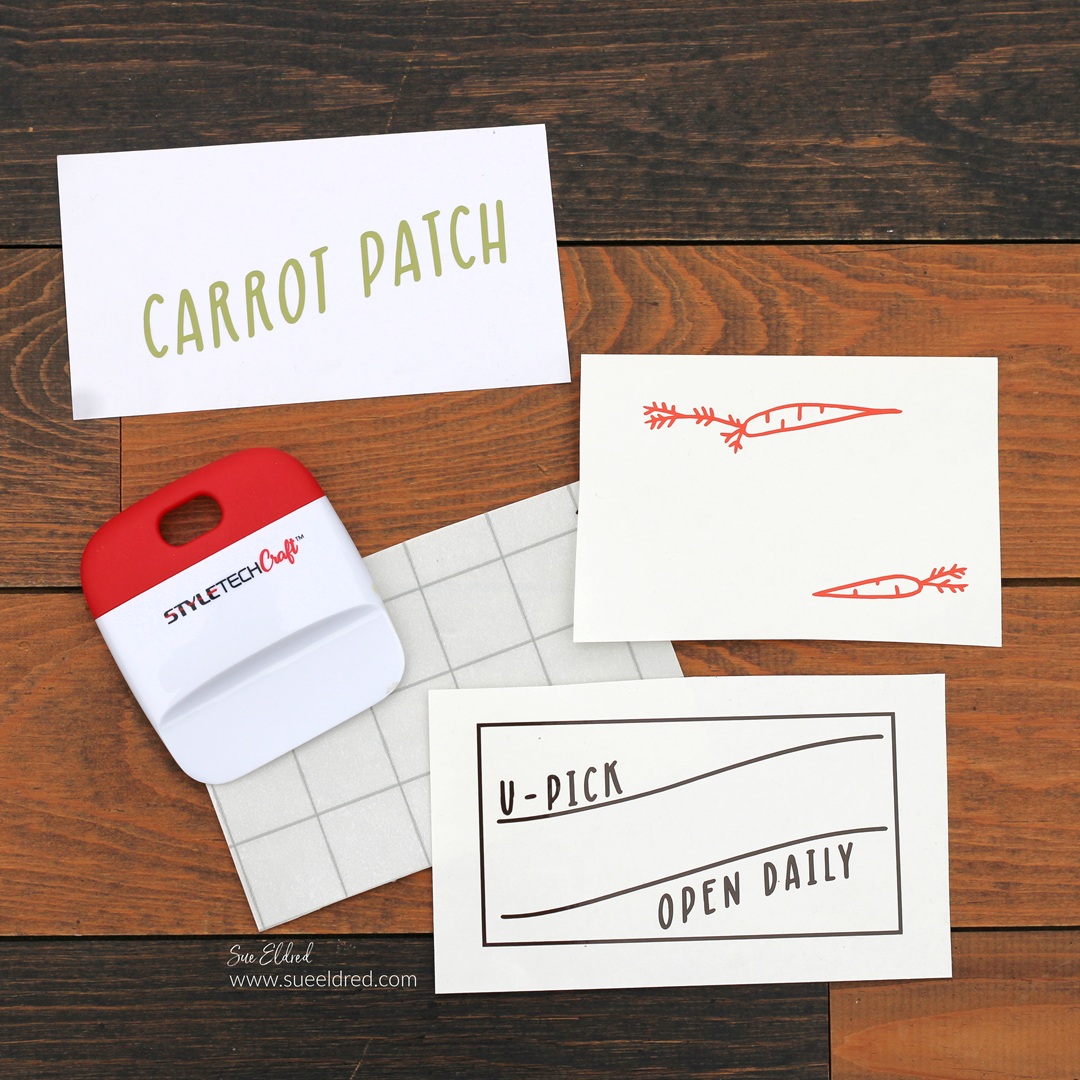
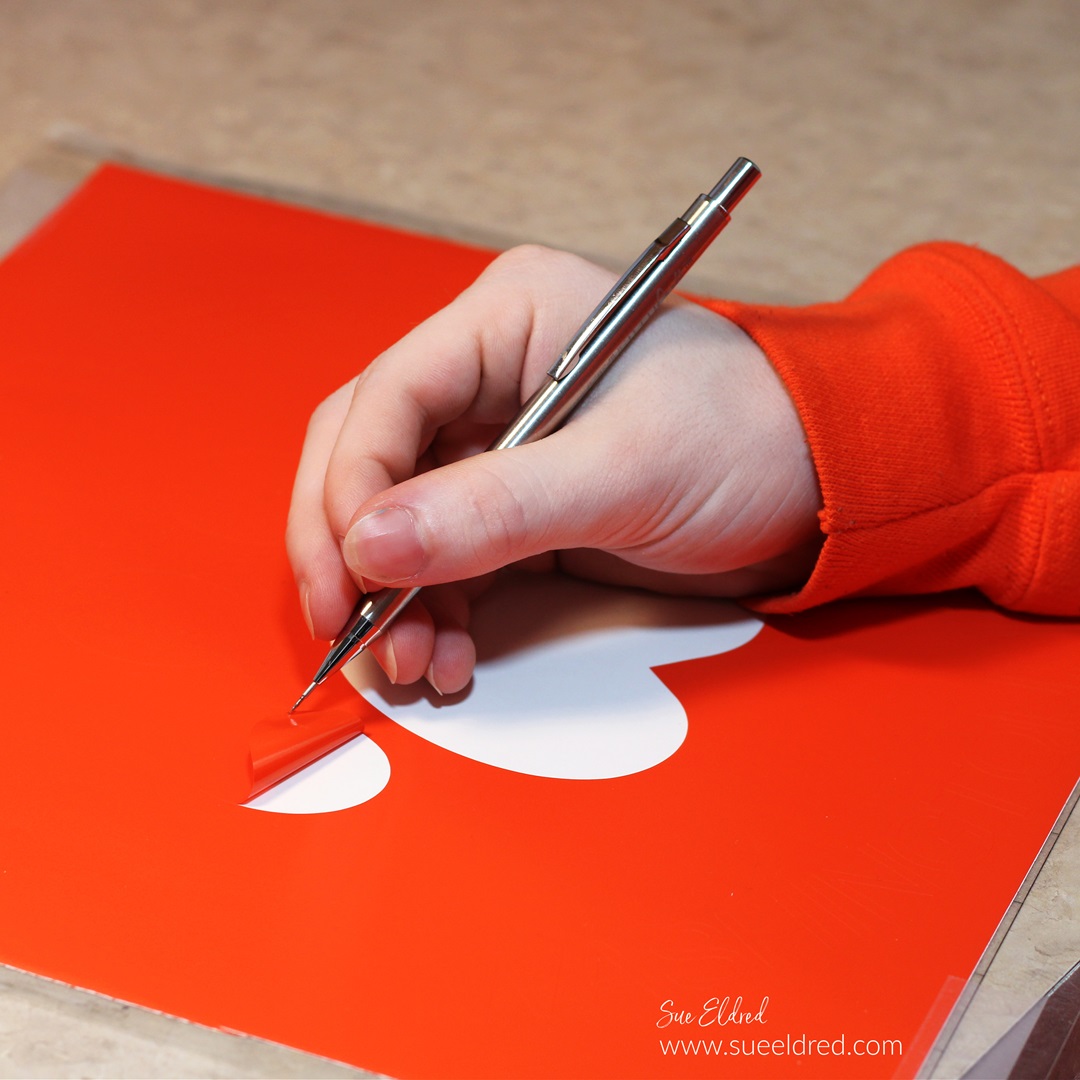
- StyleTechCraft Scraper Tool and Weeding Pen
- Silhouette Cameo Electronic Die-Cutting Machine*
- Optional Flower Dies

*Disclosure: This blog uses ads and affiliate links. If you choose to make a purchase using one of the links, I receive a small commission (at no additional cost to you) that helps offset the costs of maintaining this blog. Thanks for your support!
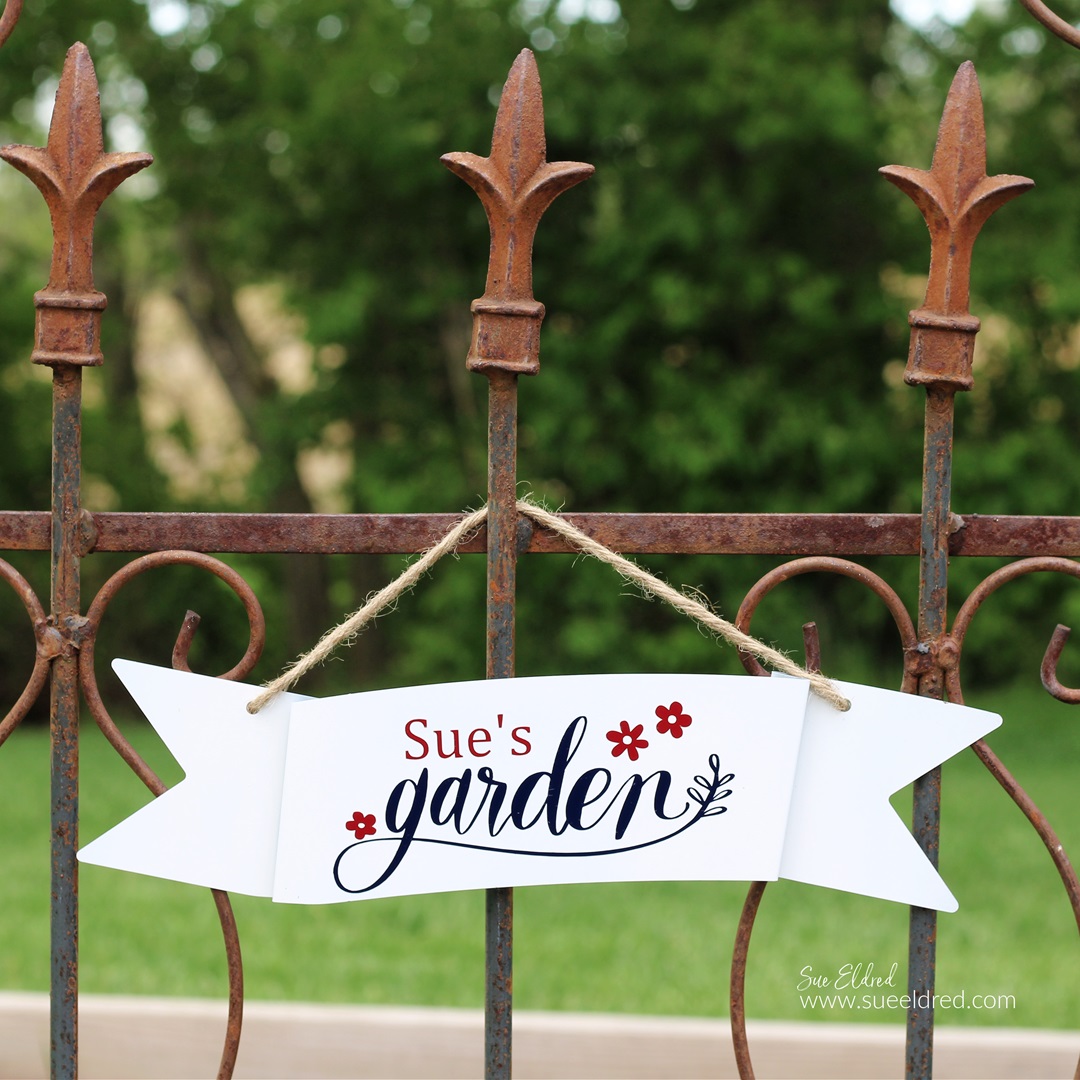
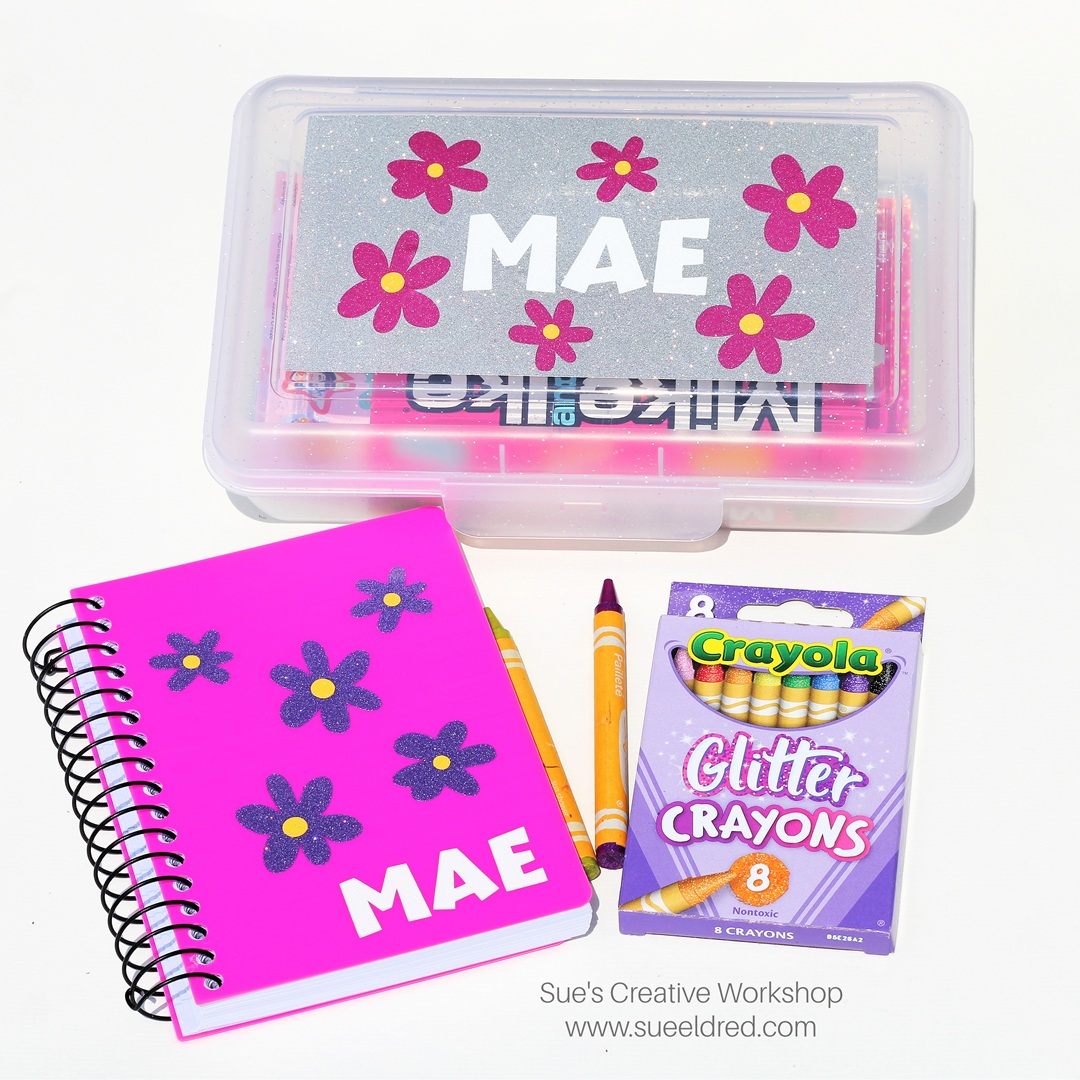
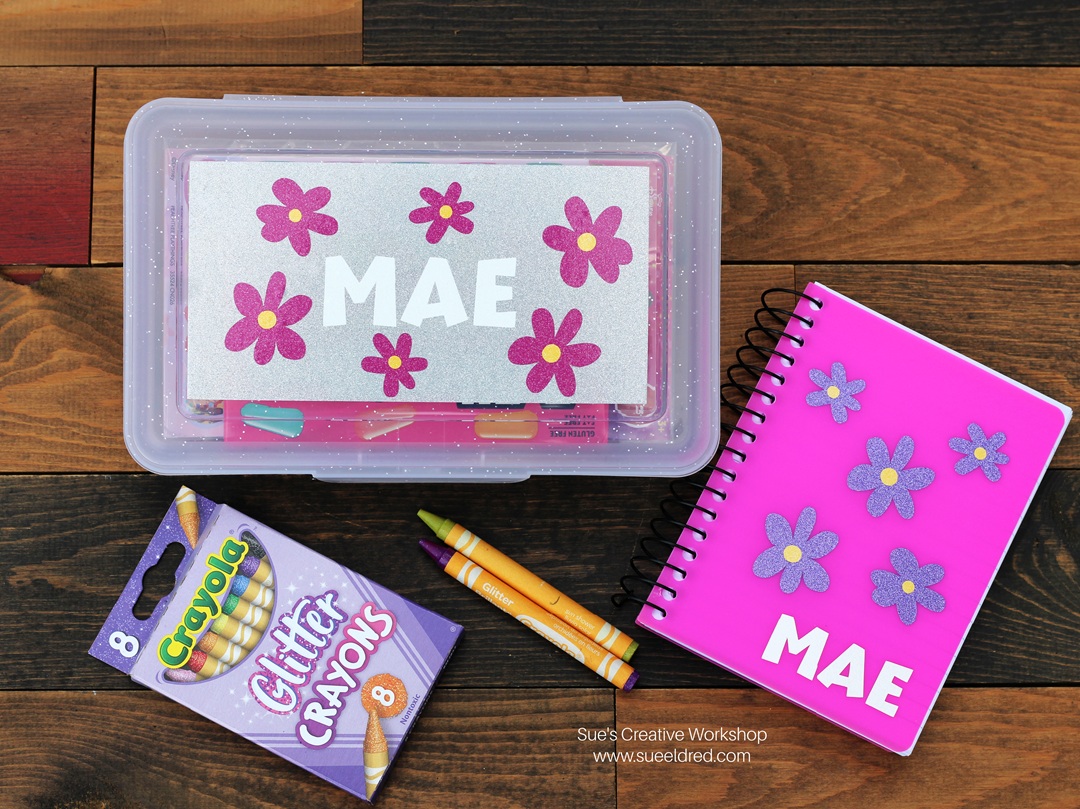
Since I’m making a girl box for my granddaughter…
I chose a box that had glitter on it.
I also used StyleTechCraft Ultra Metallic Glitter Vinyl for my designs.
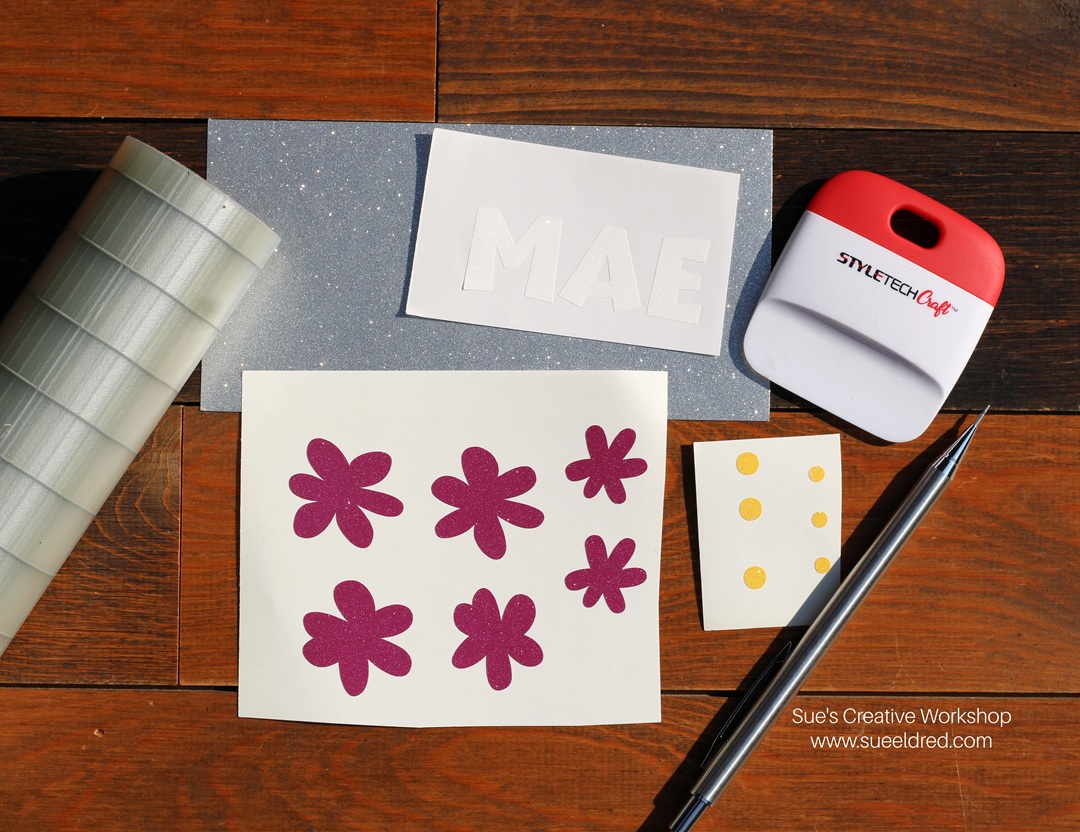
Directions:
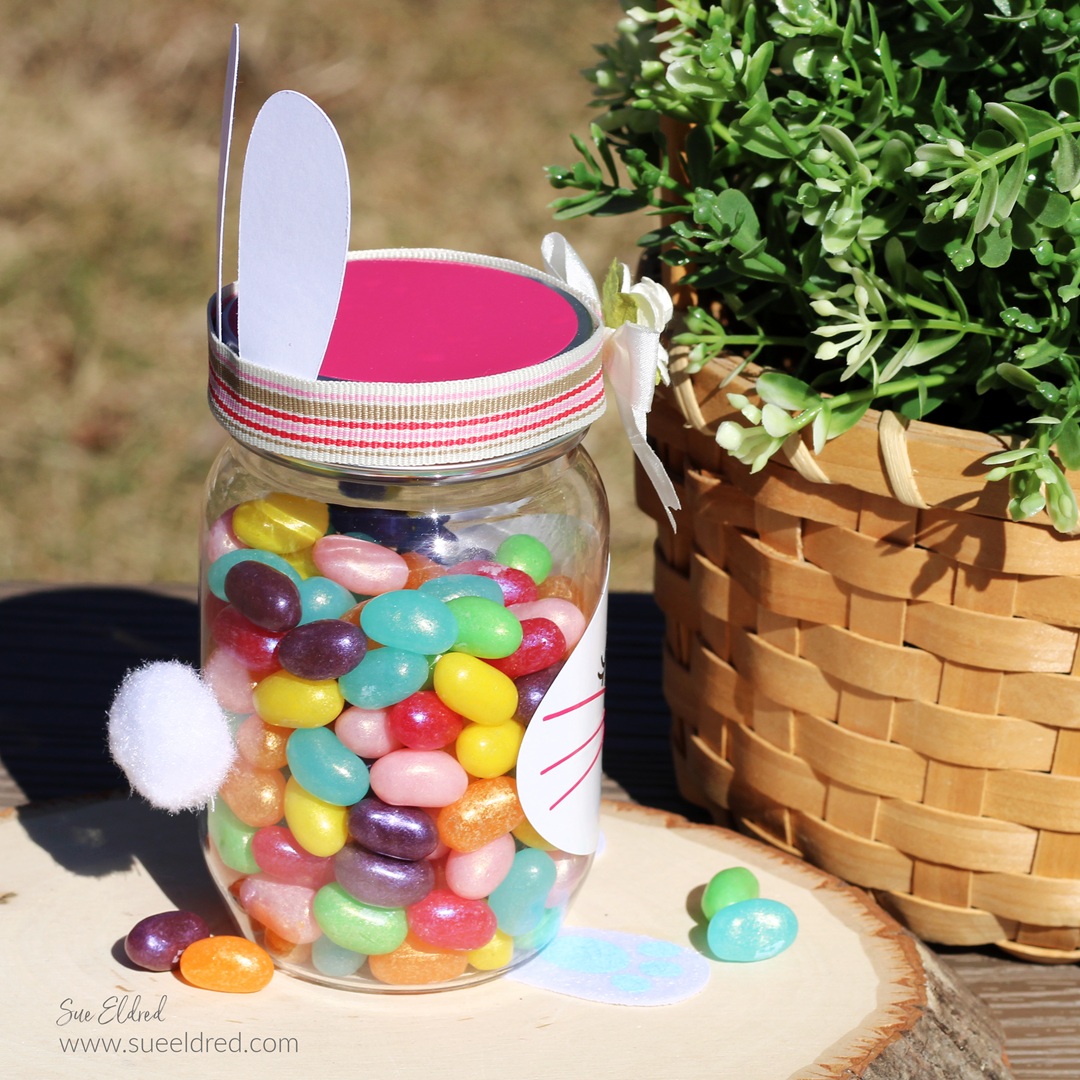
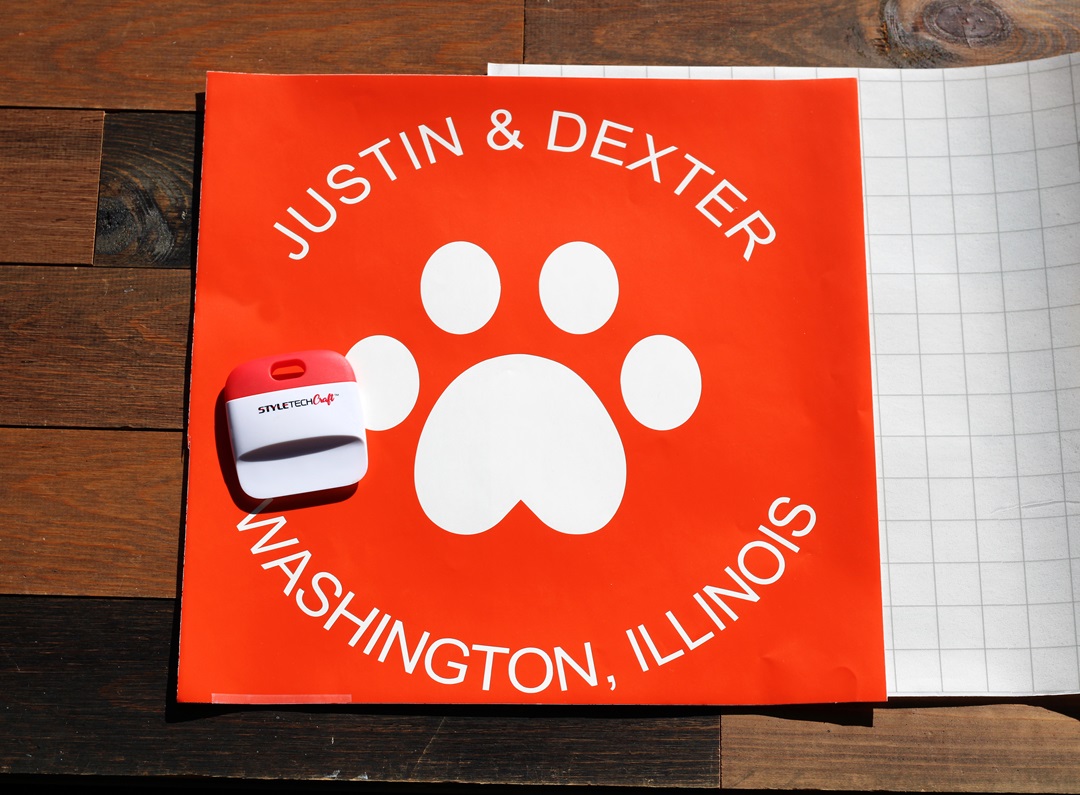
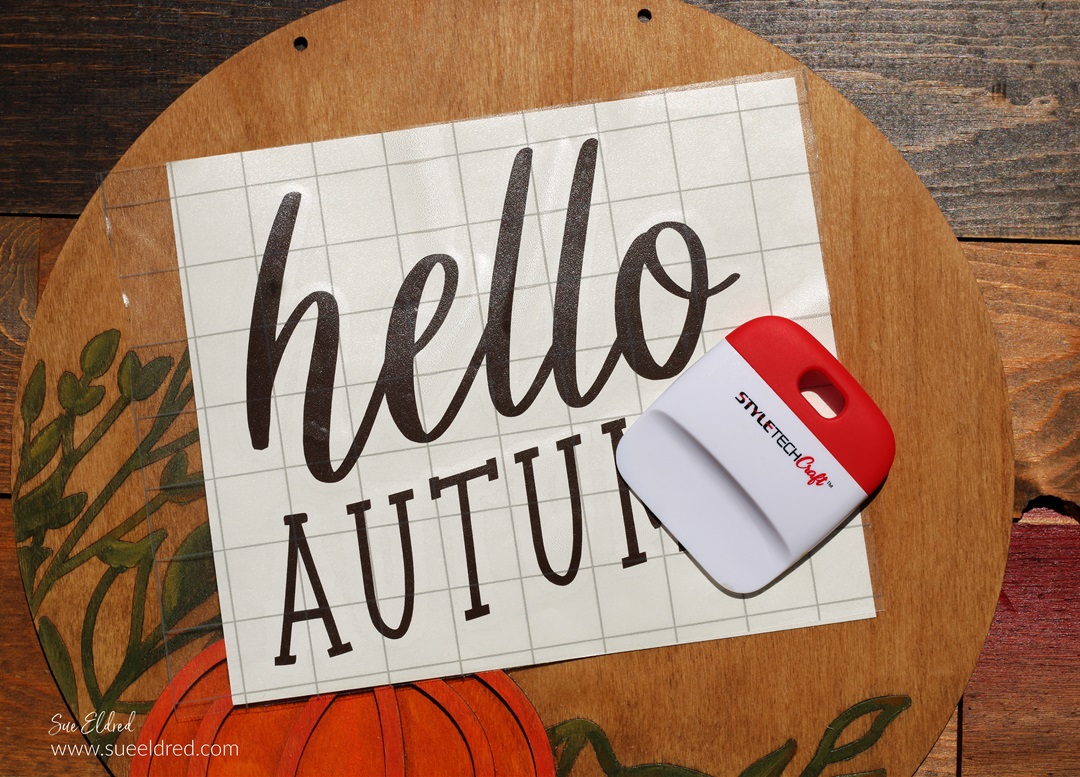
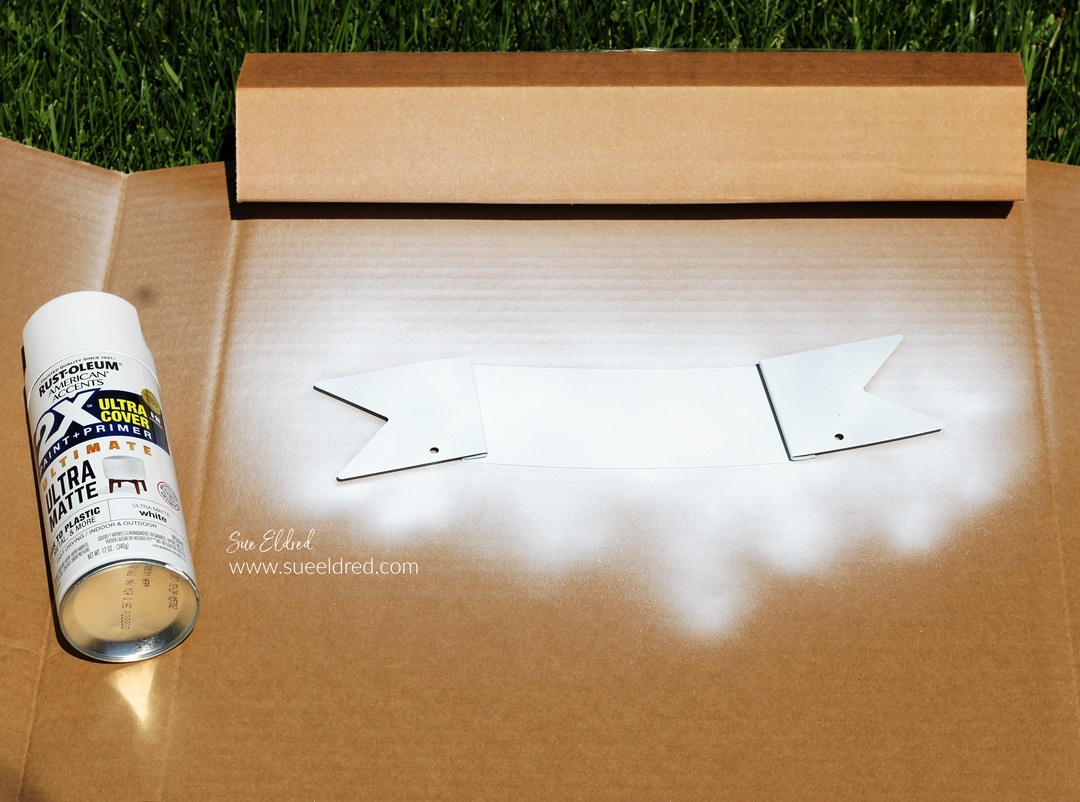
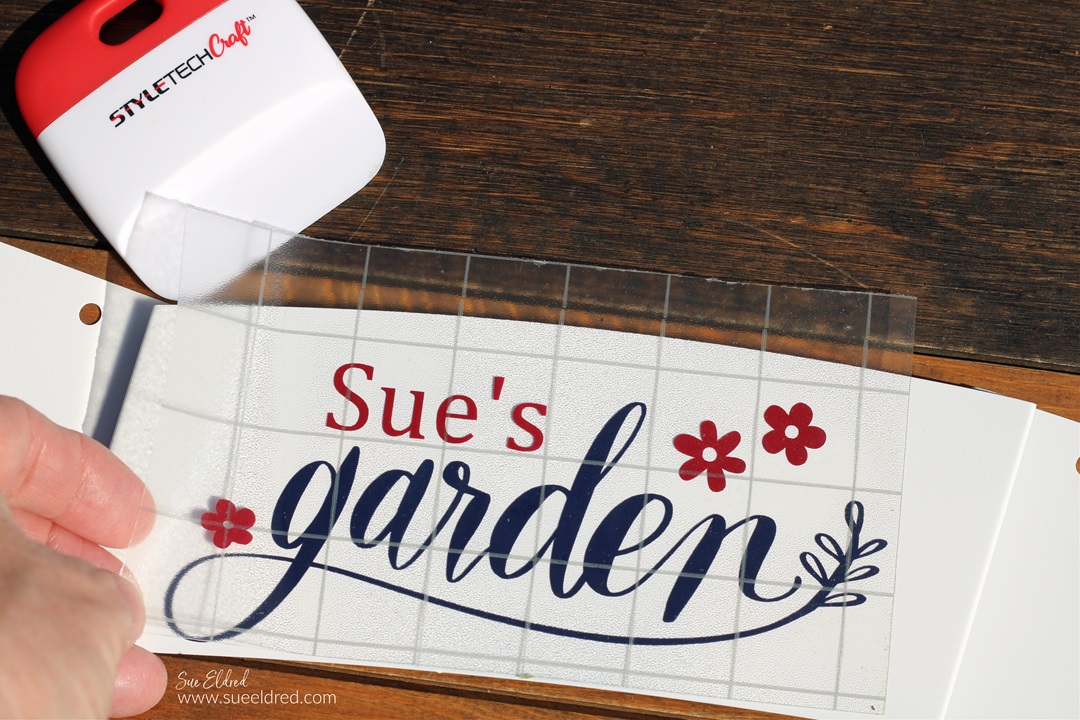
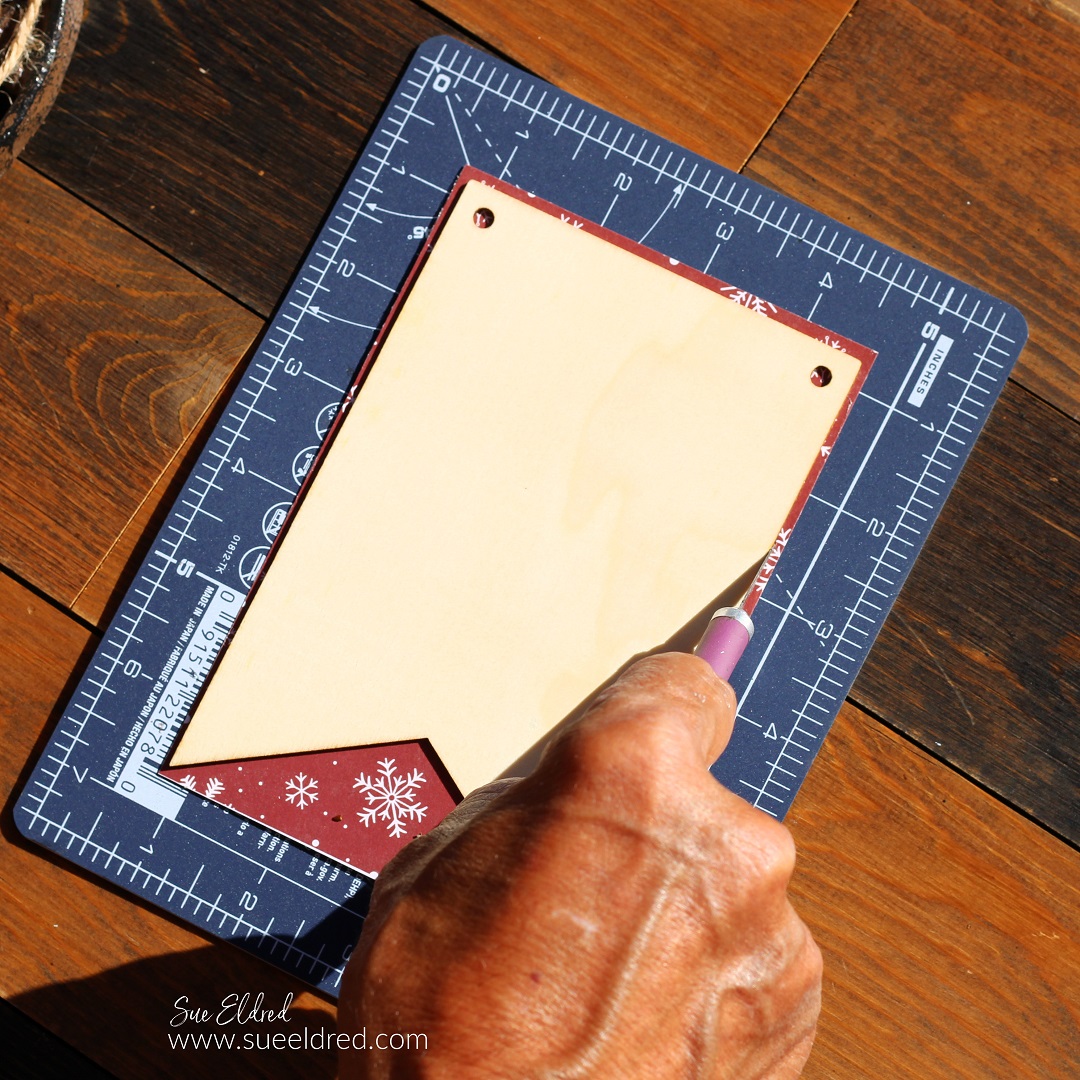
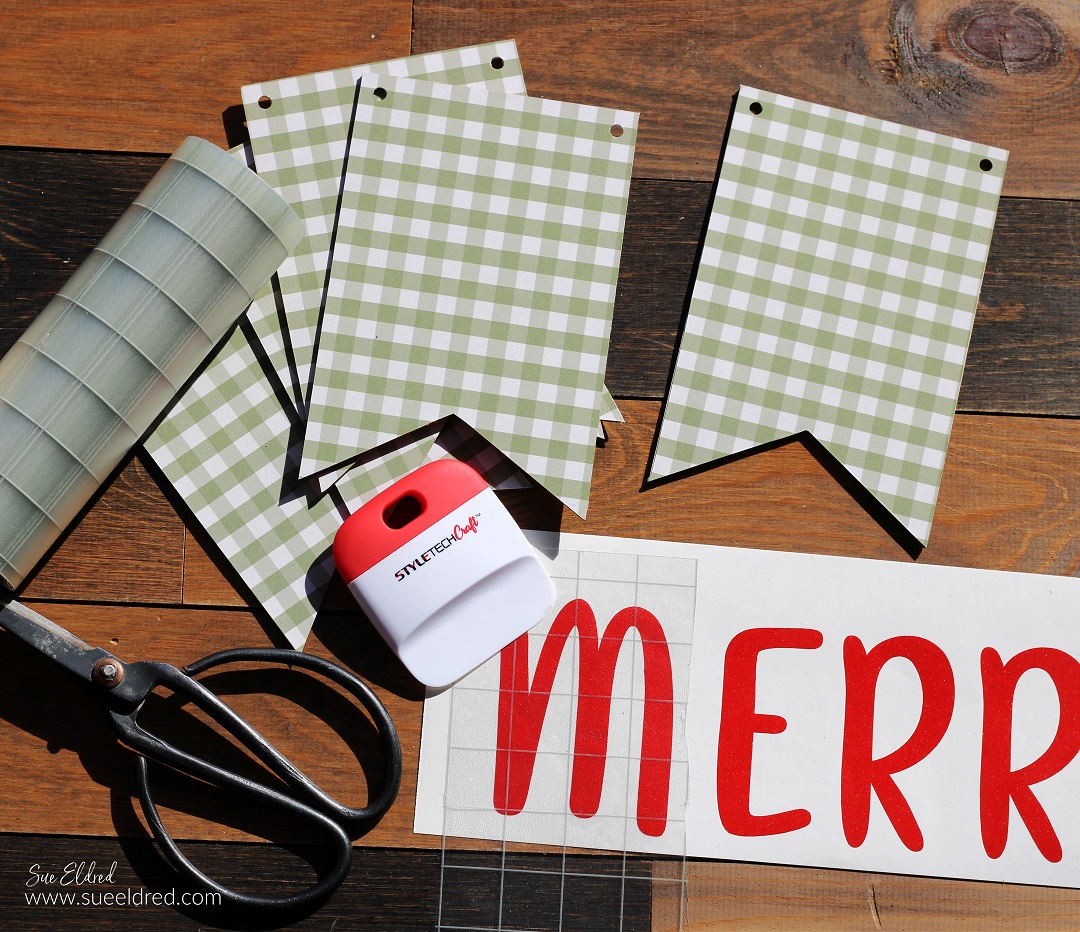
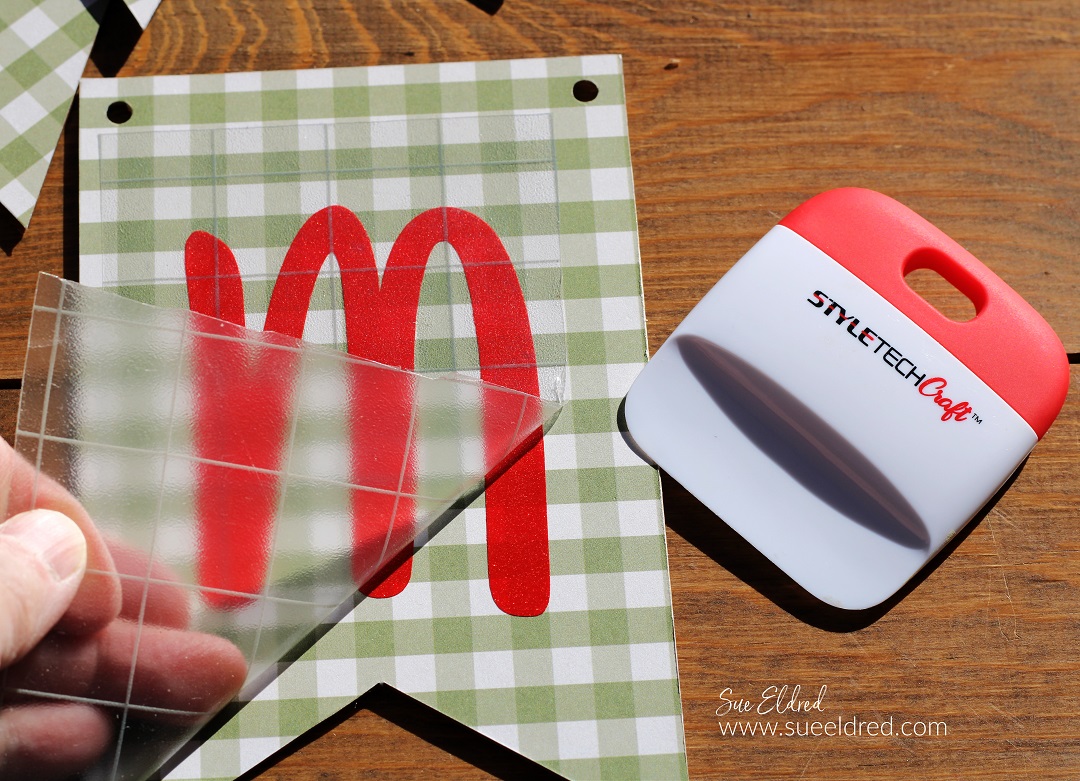
- I used a Silhouette to cut out flowers and letters to decorate the box using StyleTechCraft Ultra Metallic Vinyl. I also cut a 3 1/4″ x 6 1/4″ piece of silver vinyl to put on the lid.
- If you don’t have an electronic die-cutting machine, you can also use thin metal dies to cut the vinyl.
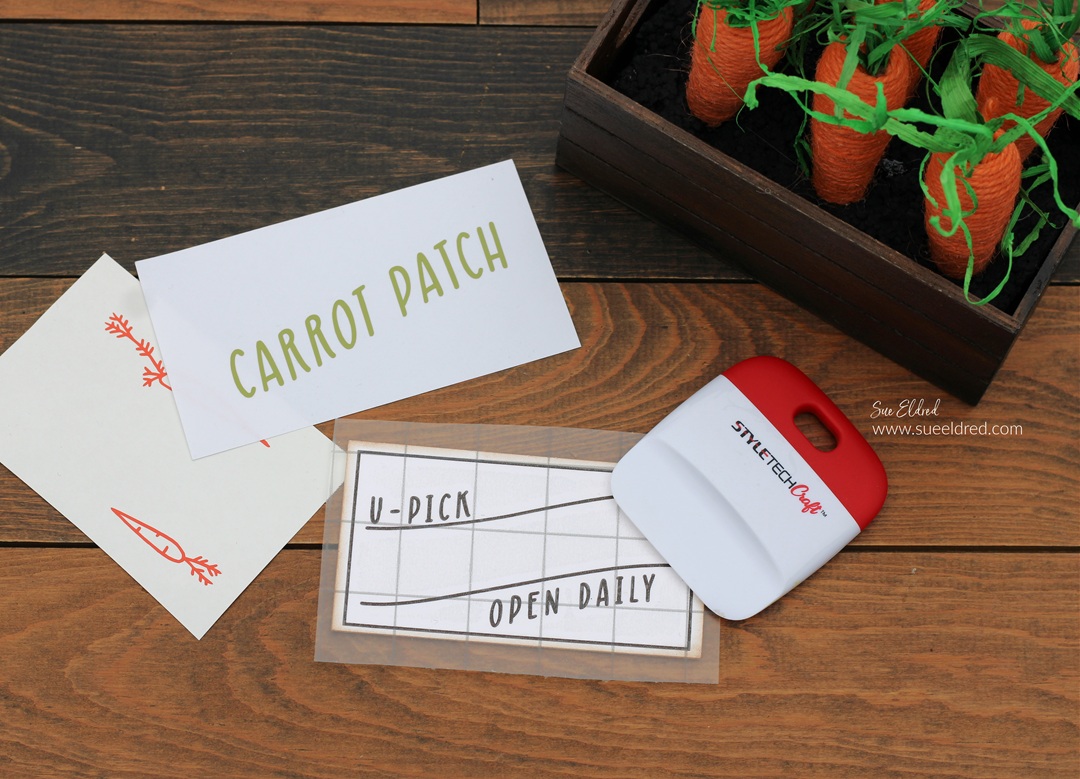
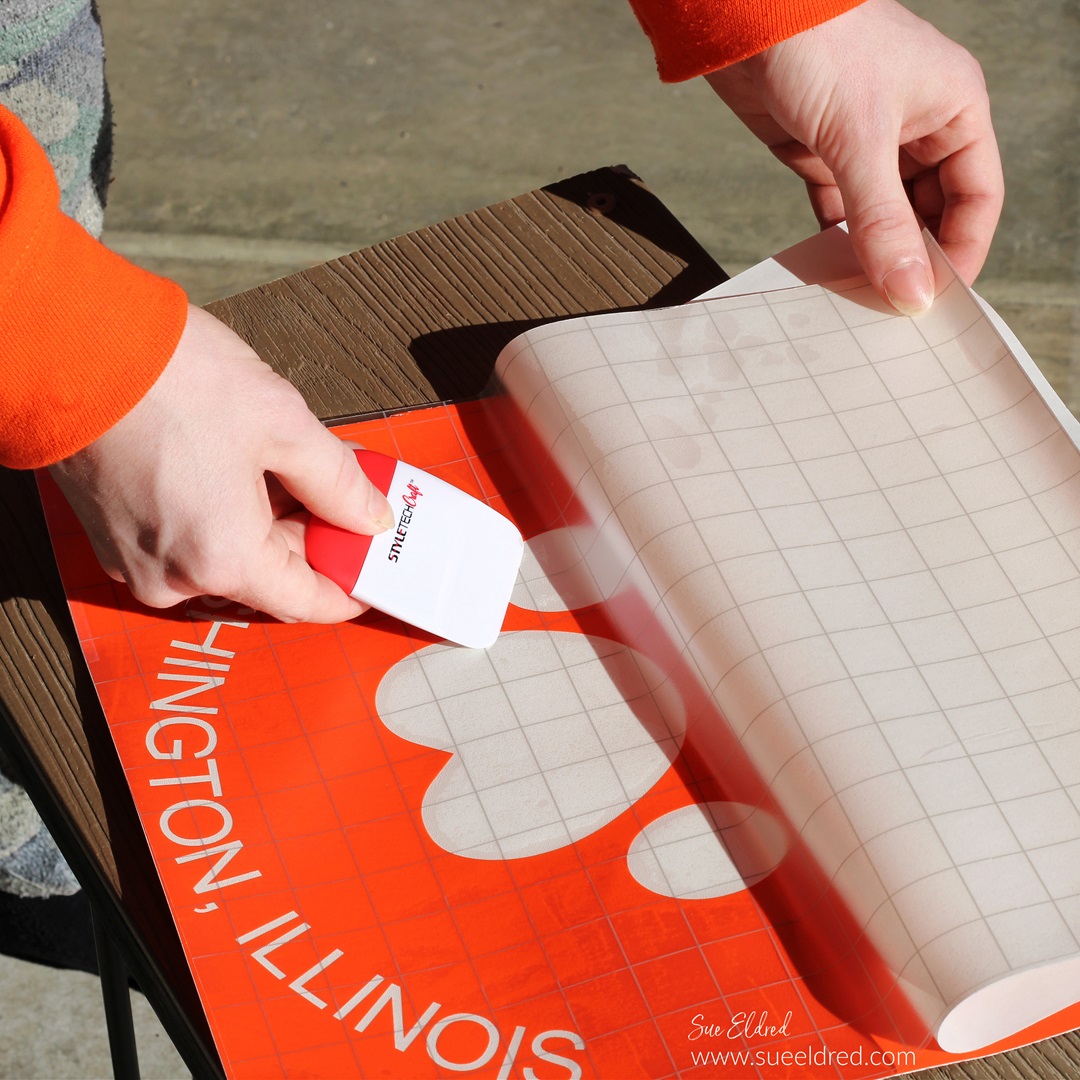
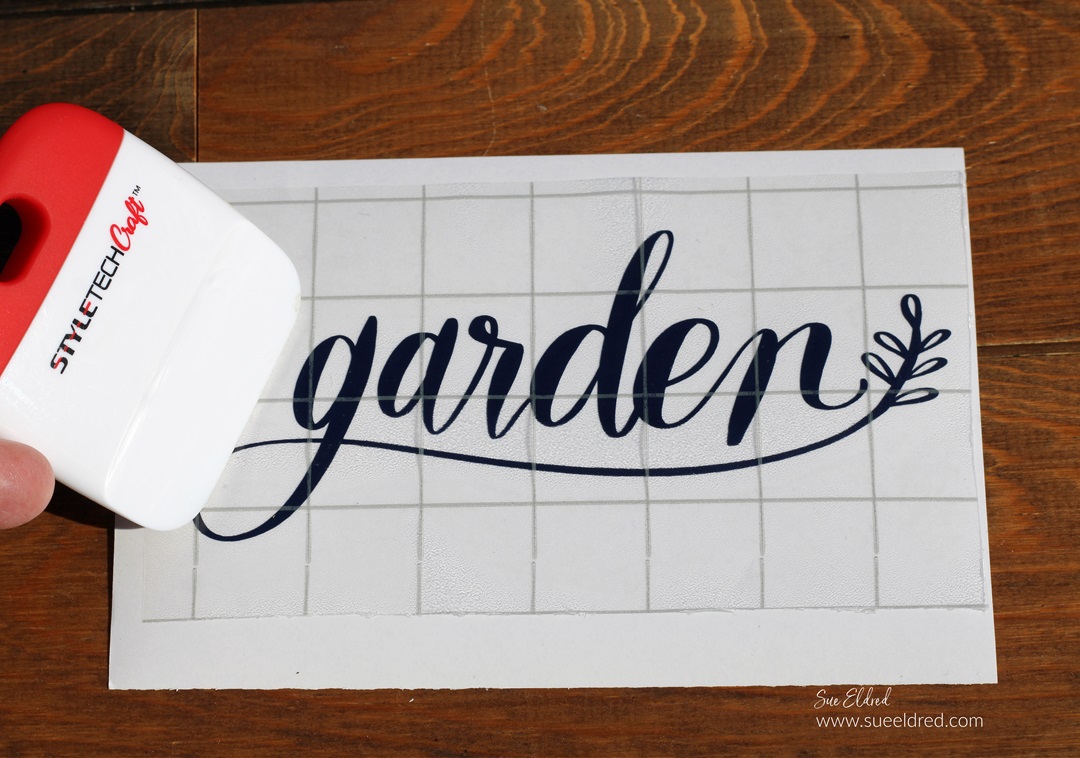
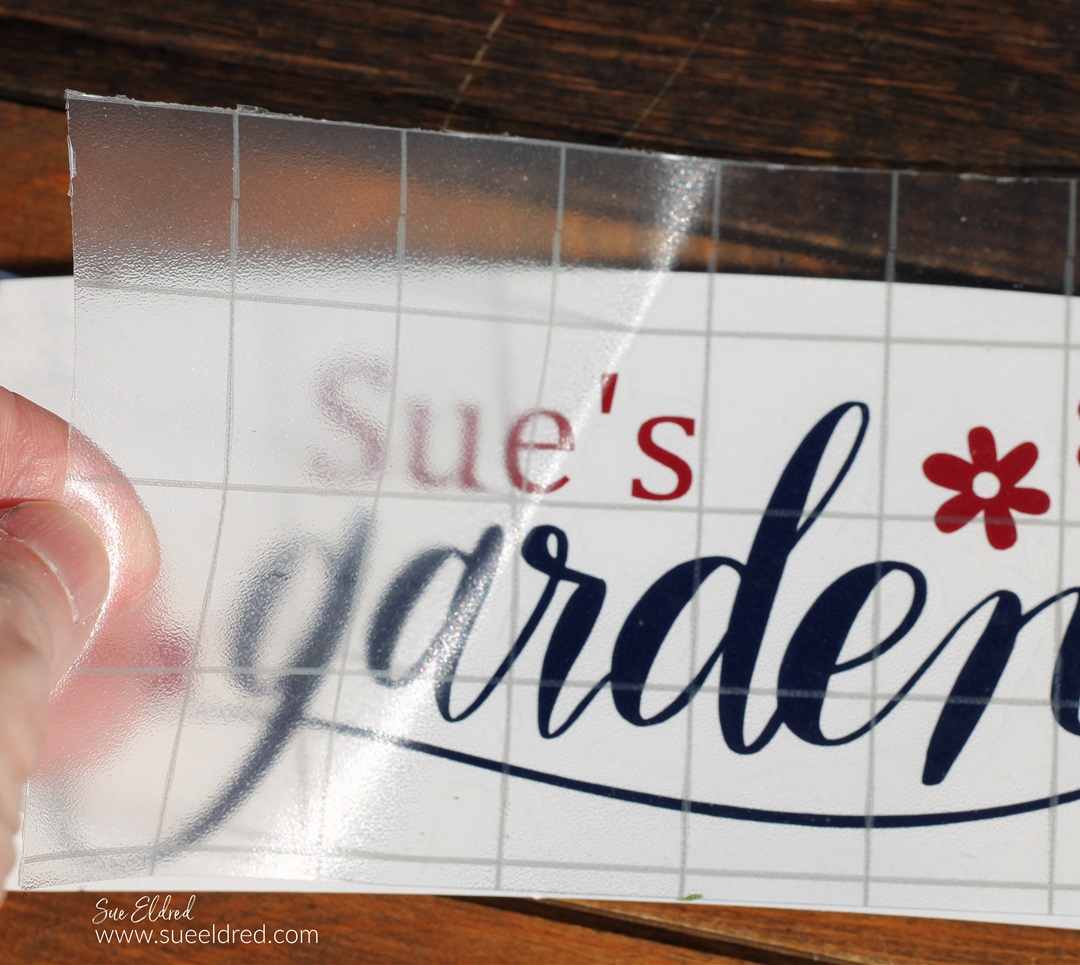
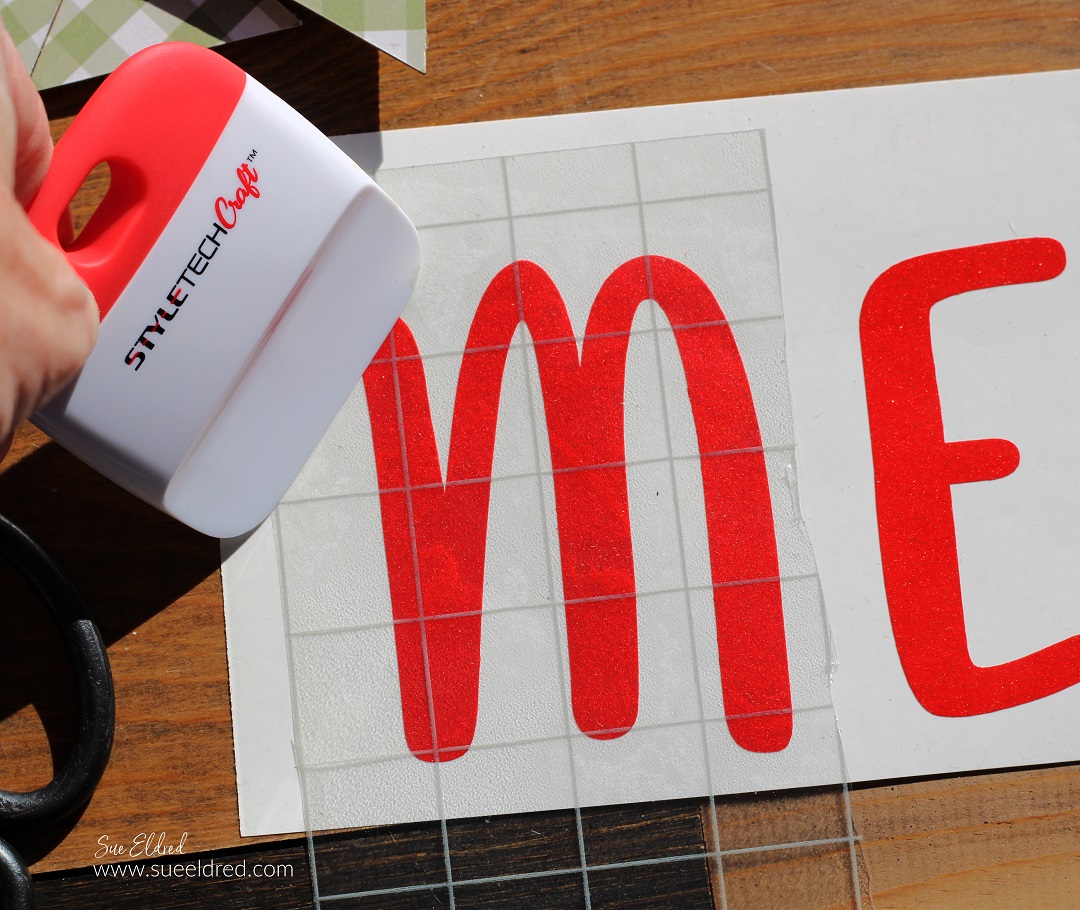
- Place transfer paper over the cut vinyl. Gently rub over the vinyl with the scraper tool.
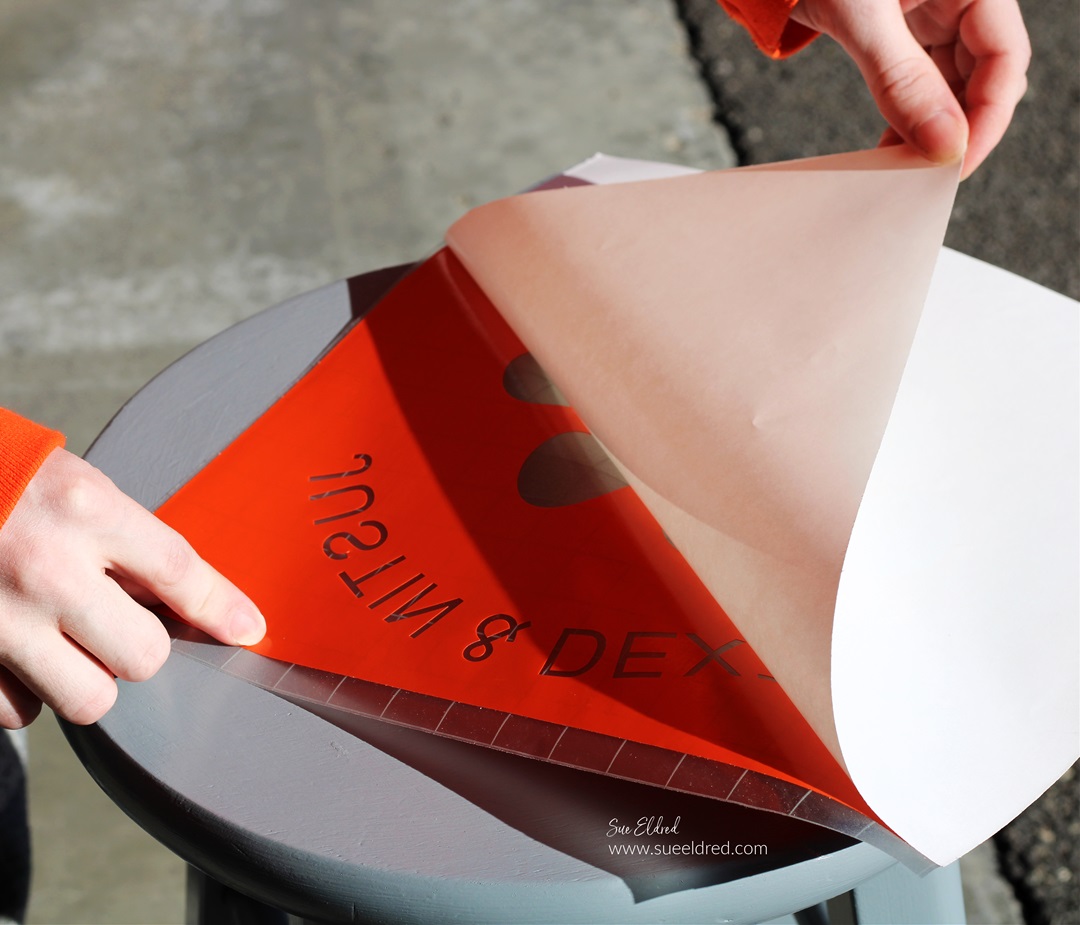
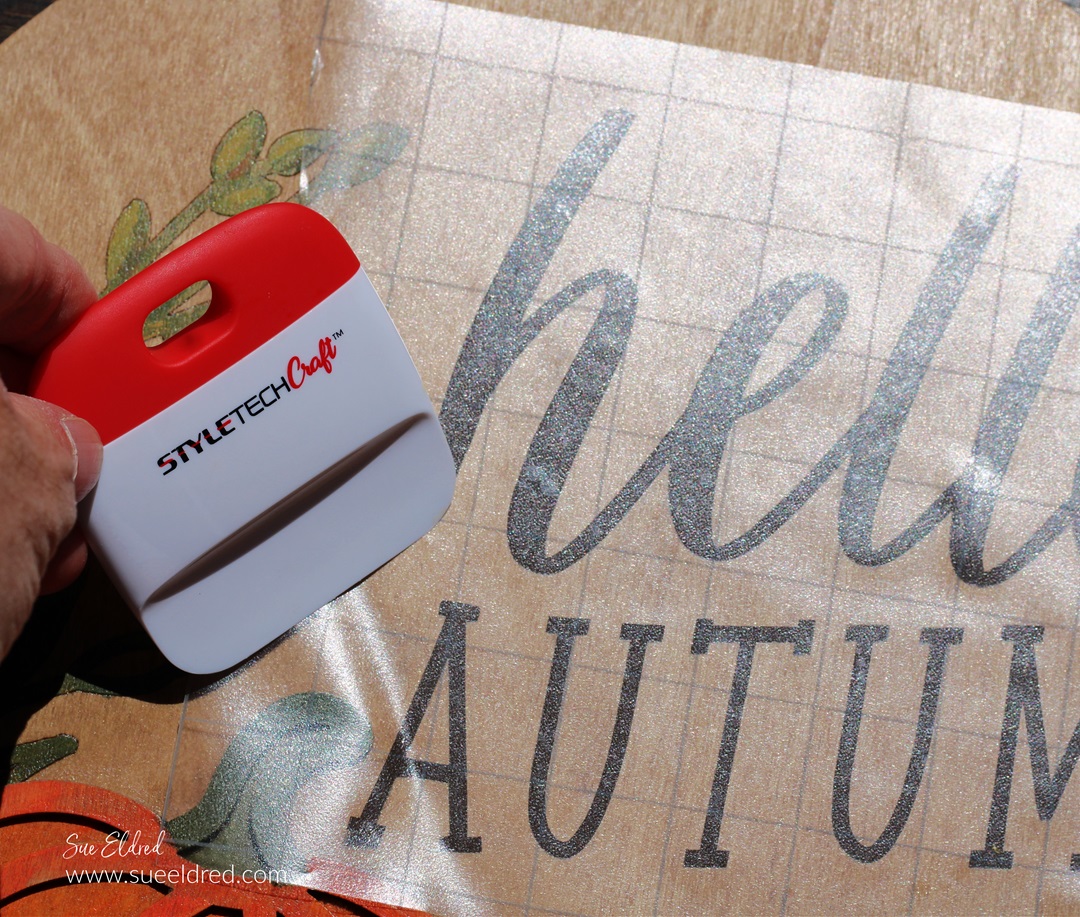
- Remove the transfer paper from the white protective backing and place it onto the box.
- Rub the transfer paper with the scraper tool to ensure the vinyl has transferred. Remove the transfer paper.
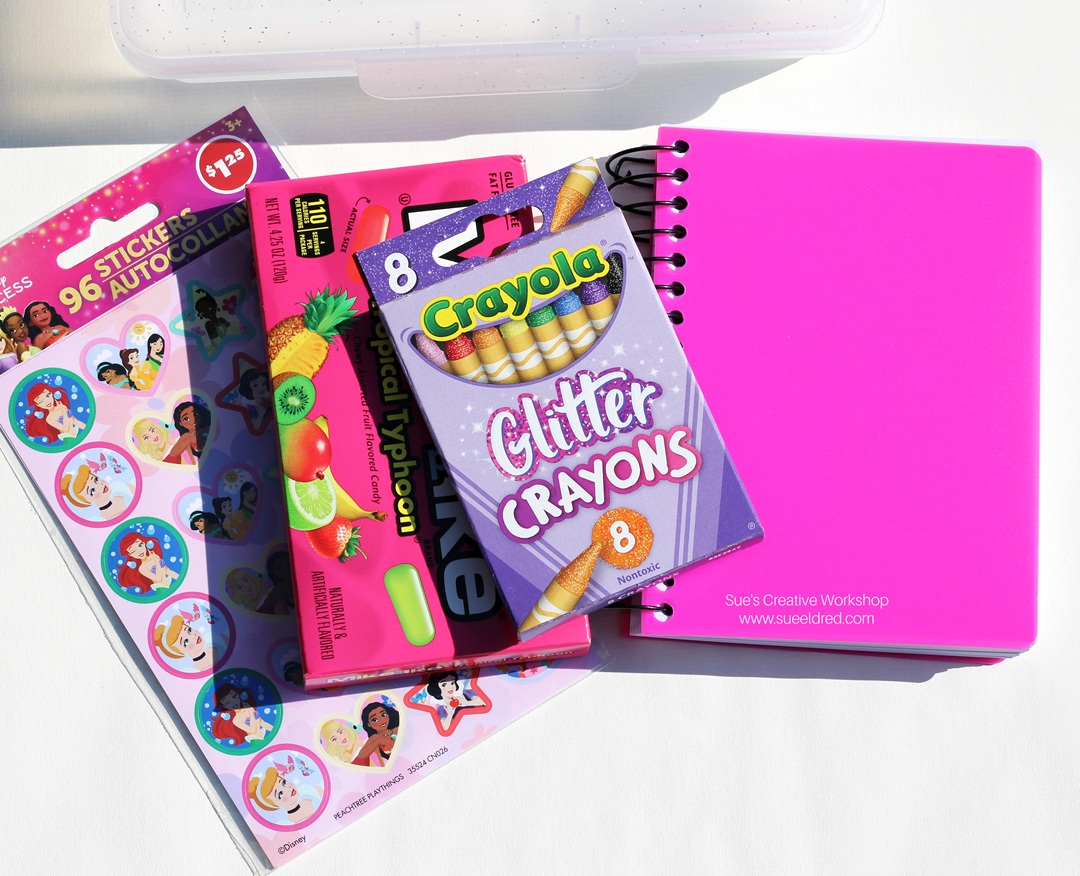
I picked up a few items for my box at Dollar Tree.
Don’t forget to also pick up an age-appropriate snack.
![]()
Shop Dollar Tree for Back to School and Crafting Supplies!
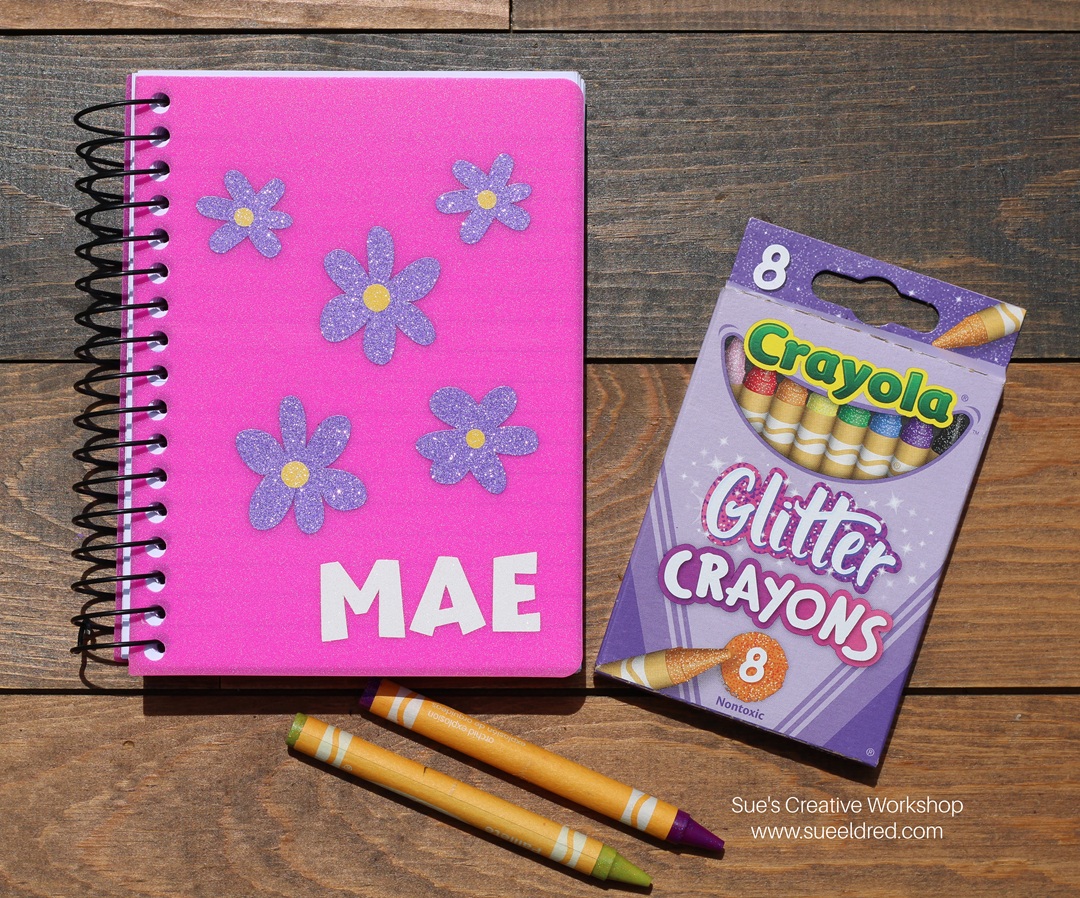
To go with the theme, I decorated a plain notebook to match the box.
Somewhere, I have a picture of my daughter covered in foil stars on one long road trip.
Oh, and on a side note…make sure you don’t leave crayons in a hot car.
![]()
“This is a sponsored post. As a member of the StyleTechCraft Design Team I have been provided product and compensation in exchange for my creative ideas. The views and opinions are my own.