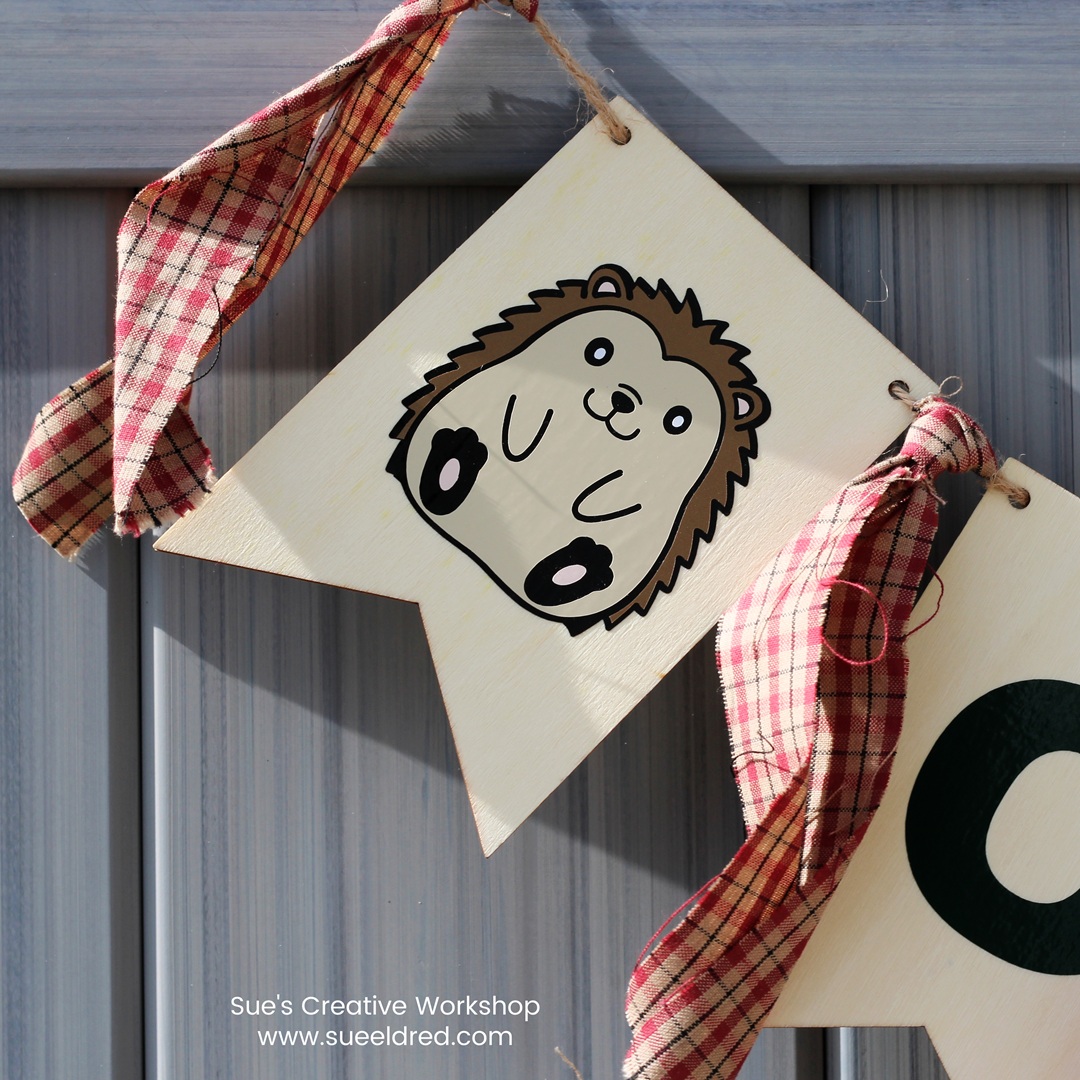
DIY Baby Hedgehog Banner
My sister recently hosted a charming hedgehog-themed baby shower for her daughter.
At the shower she created a backdrop with a balloon arch with little
forest friends. It was so cute.
To make the backdrop even more special, she asked me to help her
create a baby hedgehog banner.
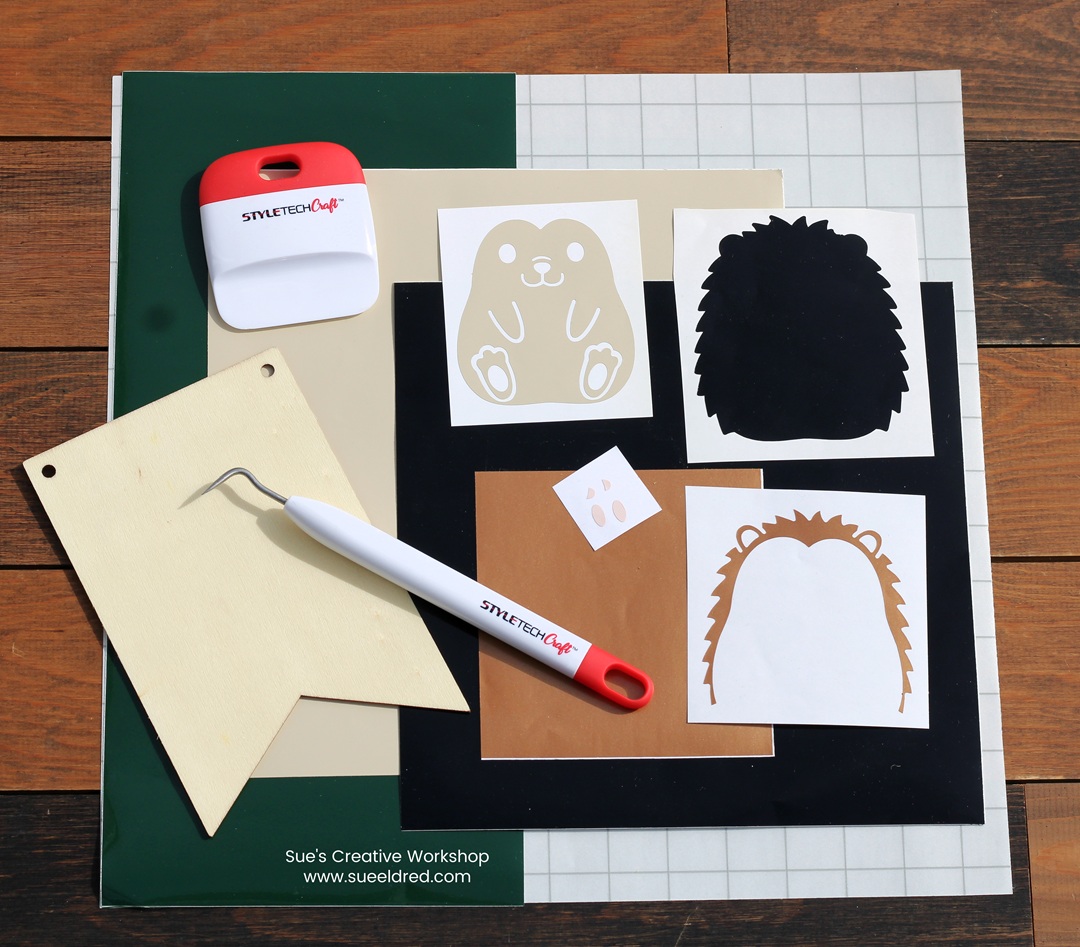
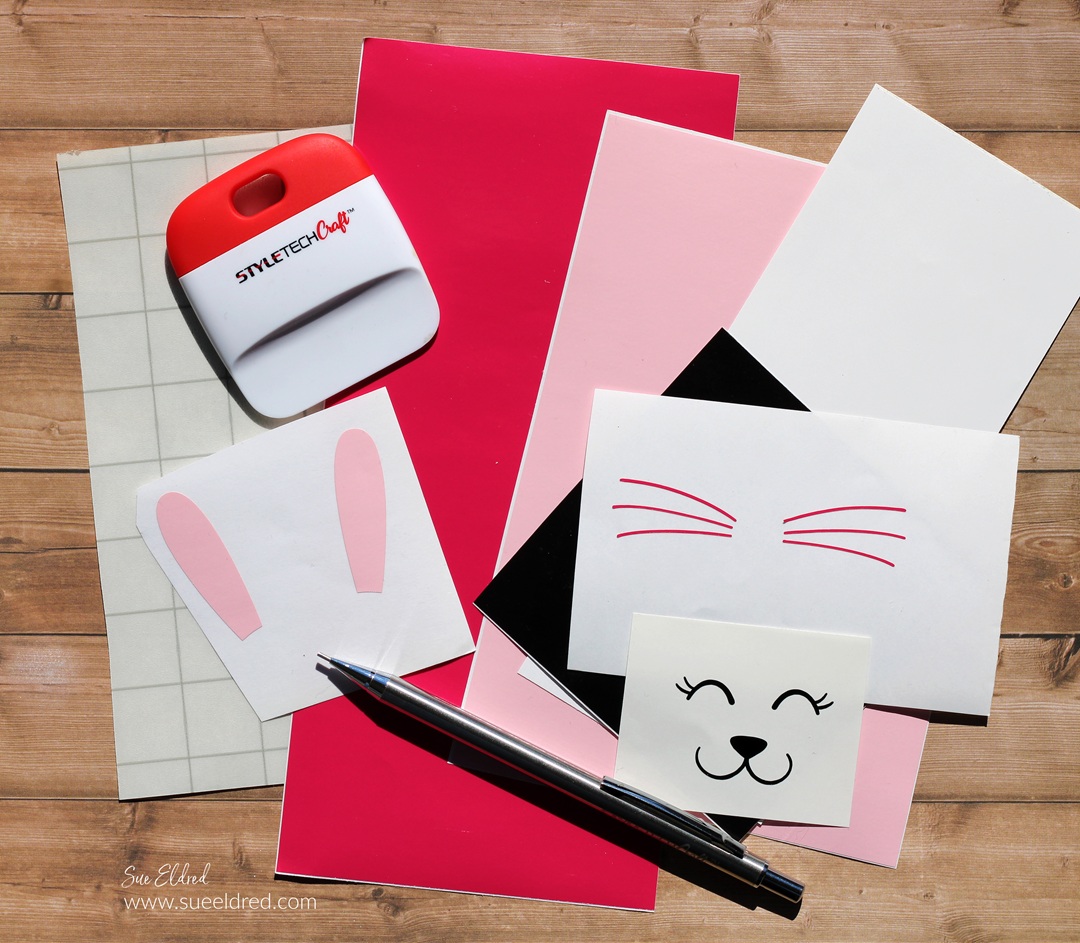
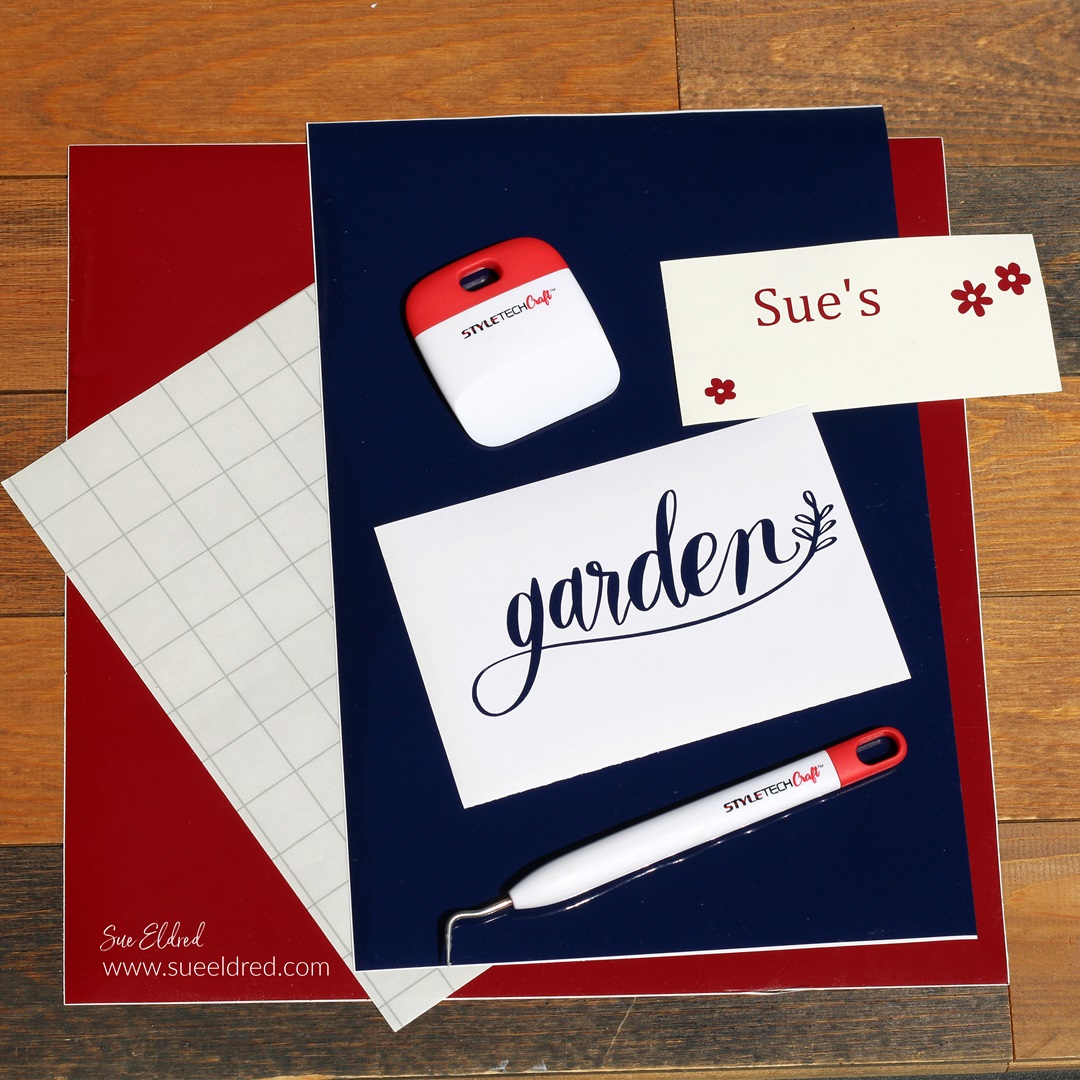
Materials Used: (*affiliate links)
- Baby Hedgehog SVG file from The Silhouette Online Store
- Styletechcraft Glossy Craft Vinyl
- Vinyl Craft Tools*
- StyleTechCraft Clear Transfer Tape*
- Silhouette Electronic Die-Cutting Machine*
- Wood Banner Pieces from Amazon*
- Strips of Material

*Disclosure: This blog uses ads and affiliate links. If you choose to make a purchase using one of the links, I receive a small commission (at no additional cost to you) that helps offset the costs of maintaining this blog. Thanks for your support!
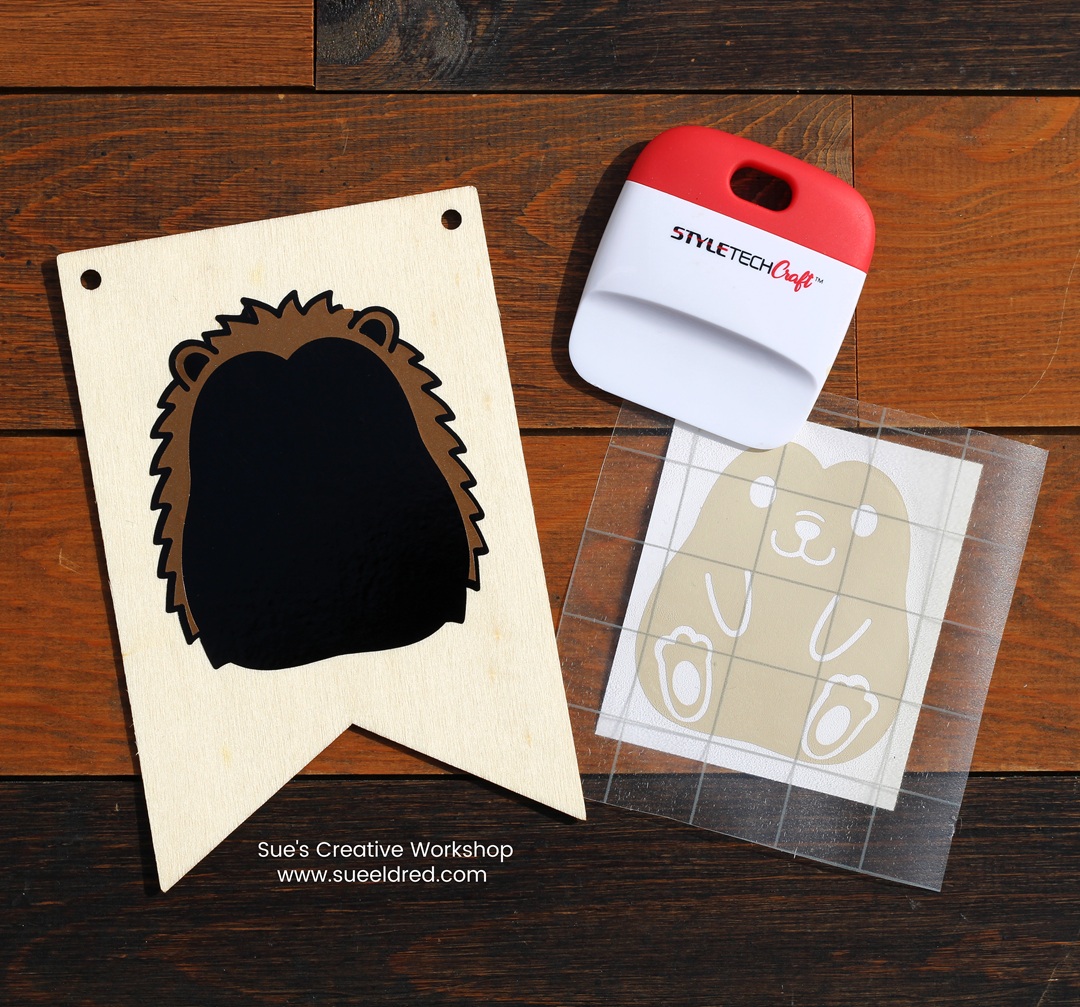
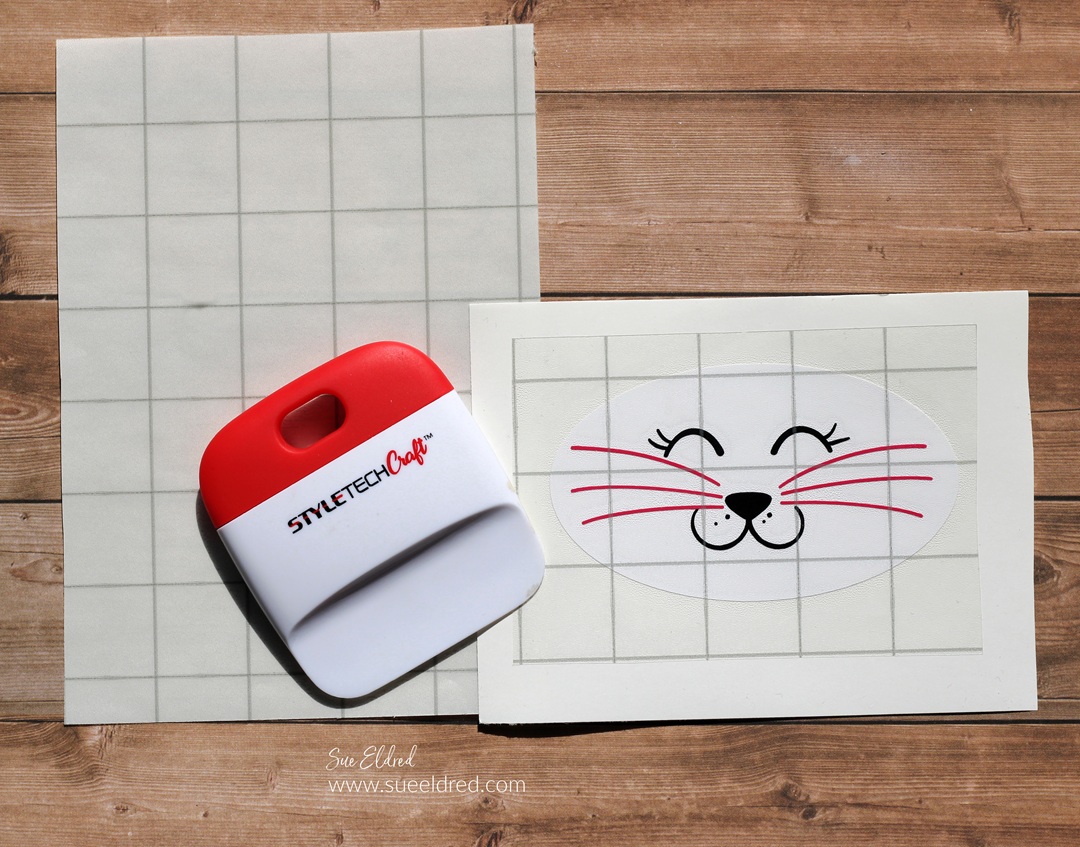
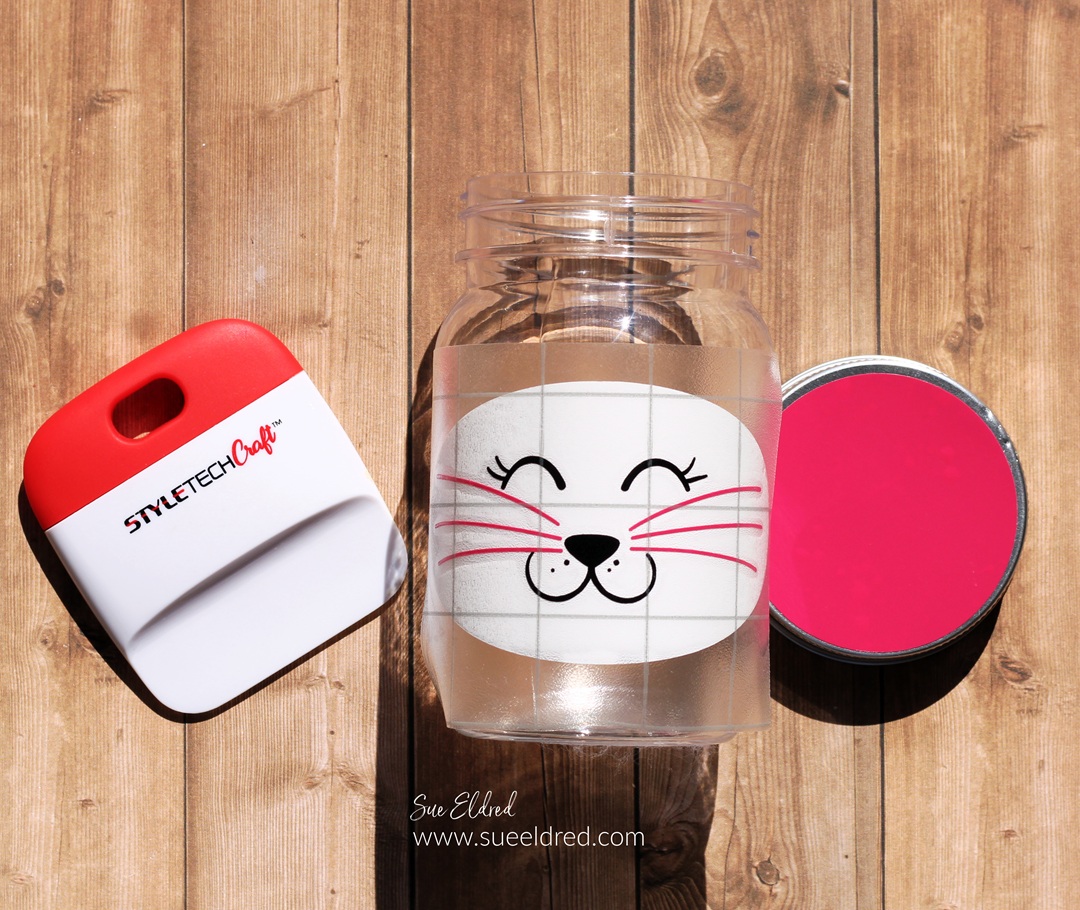
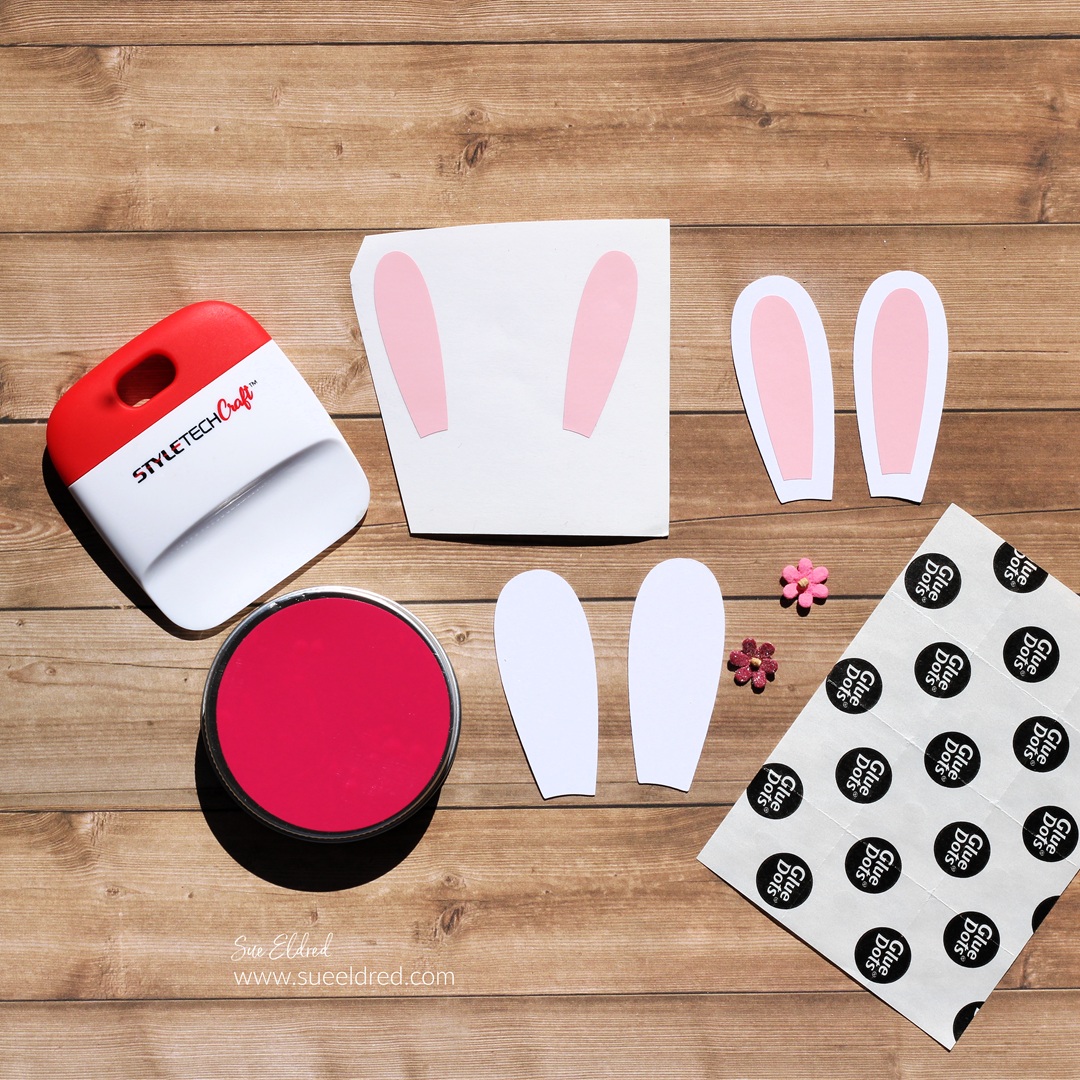
To make the banner:
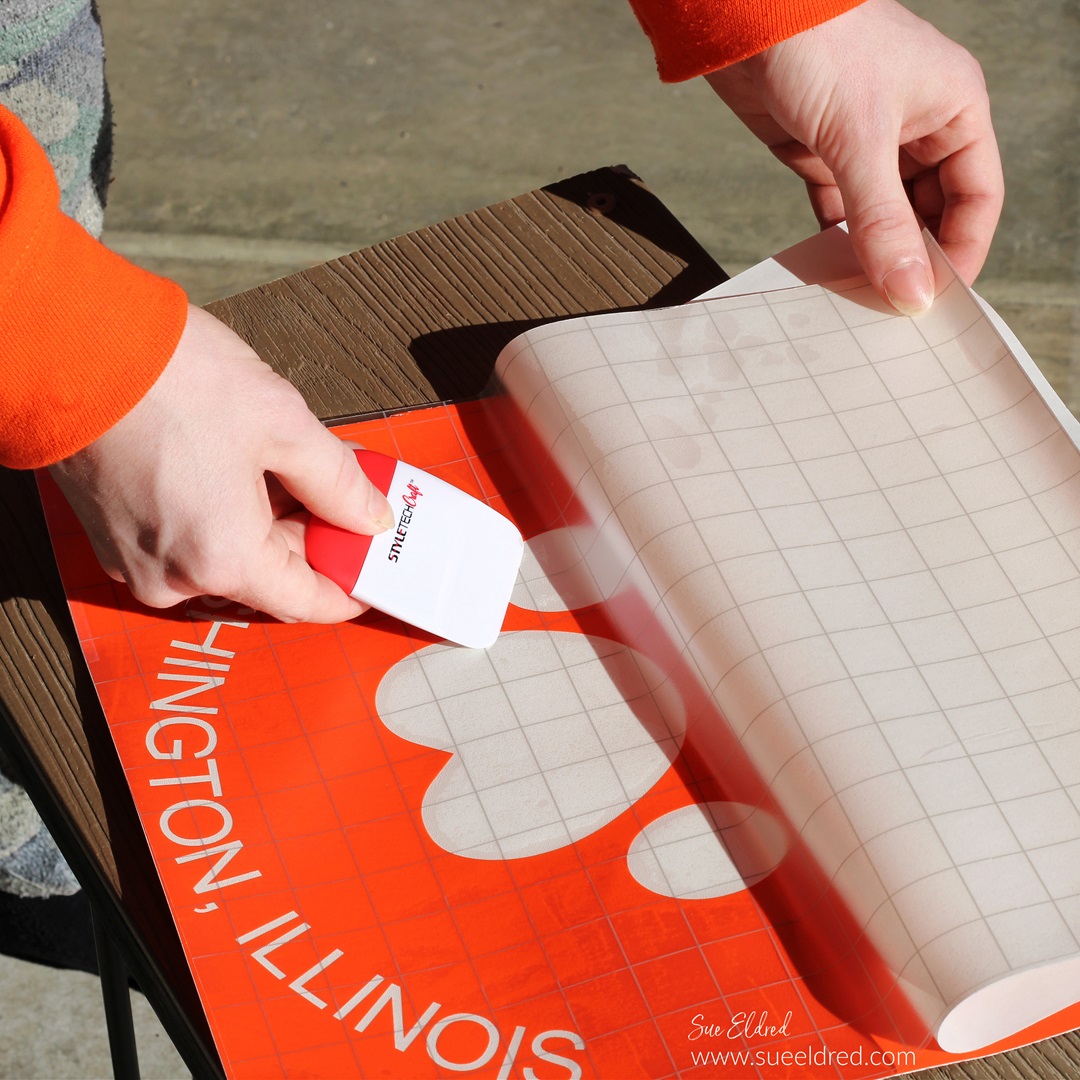
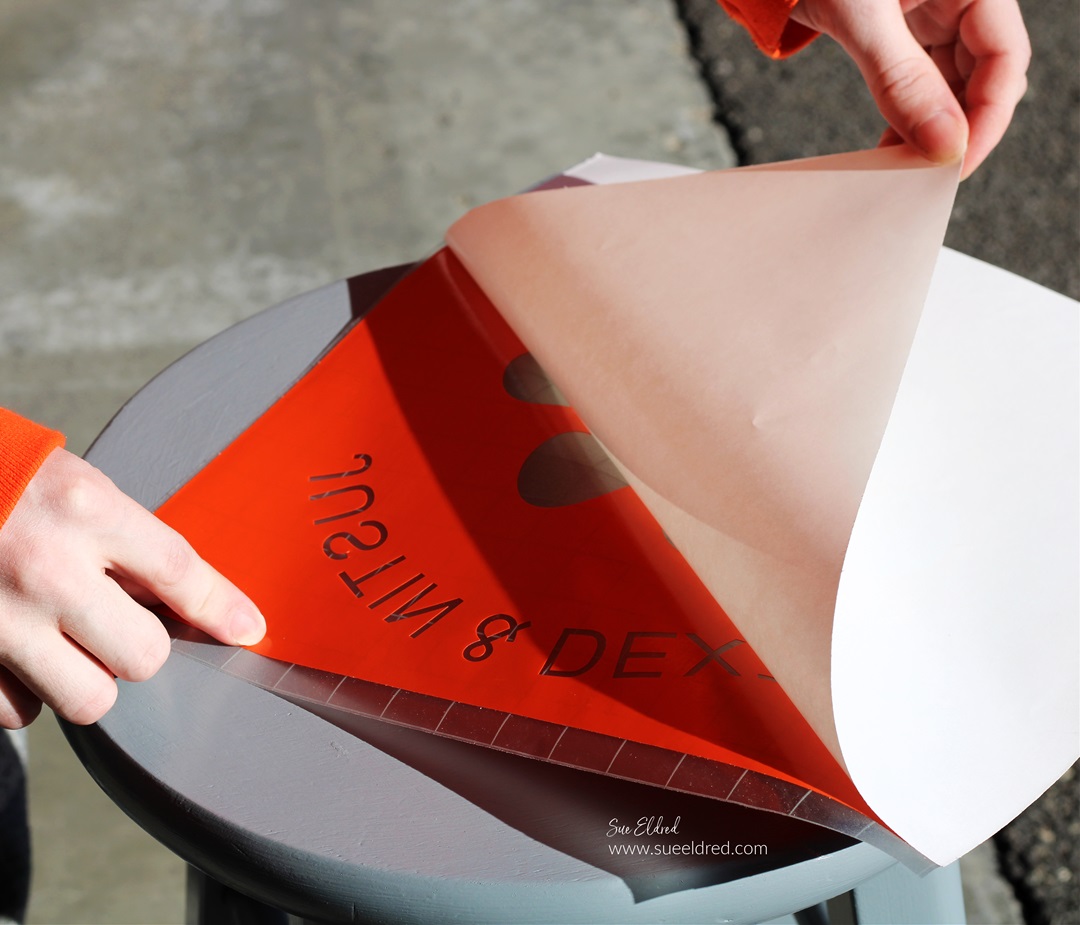
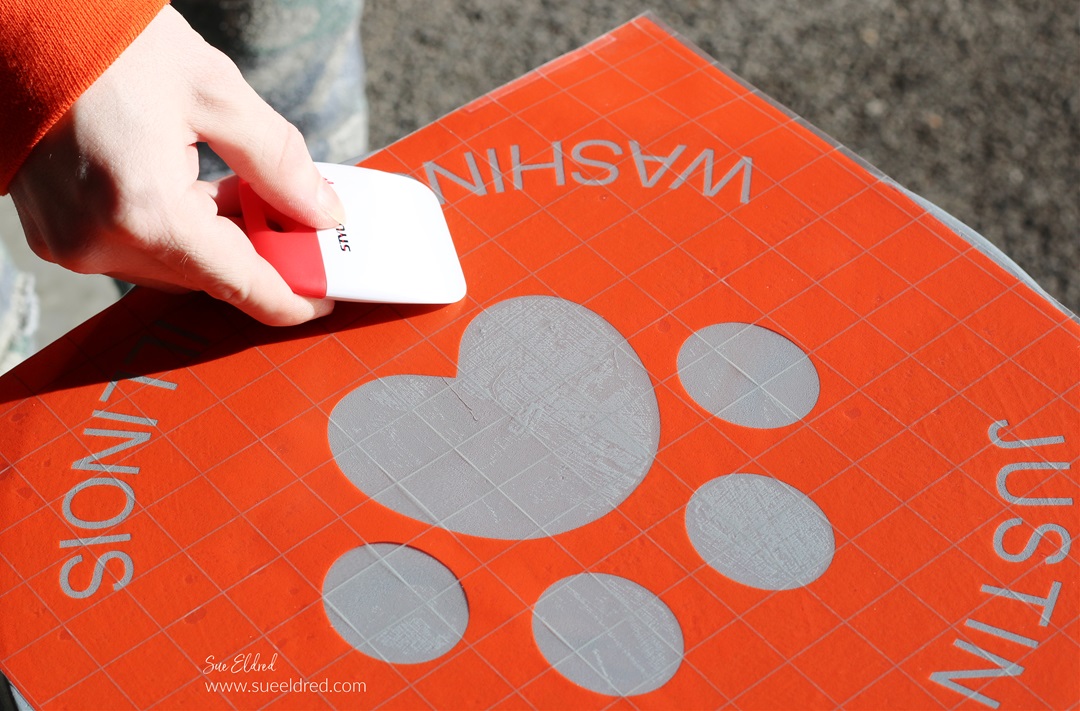
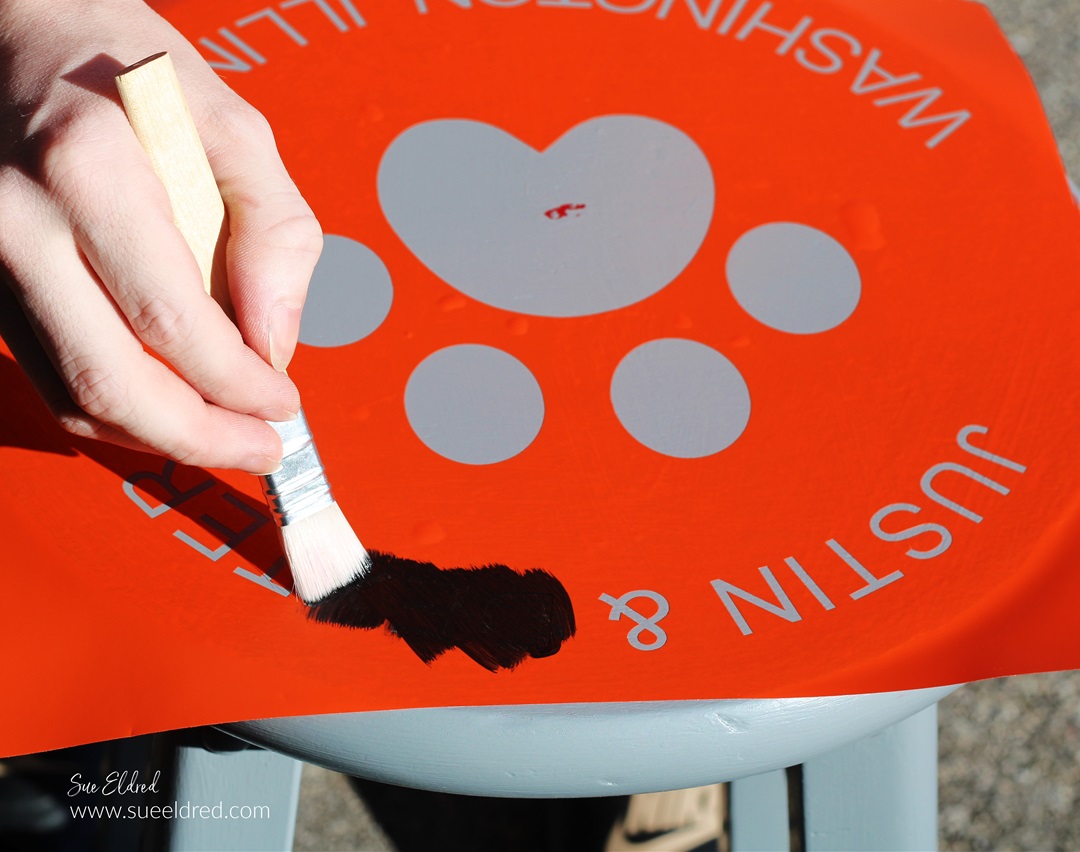
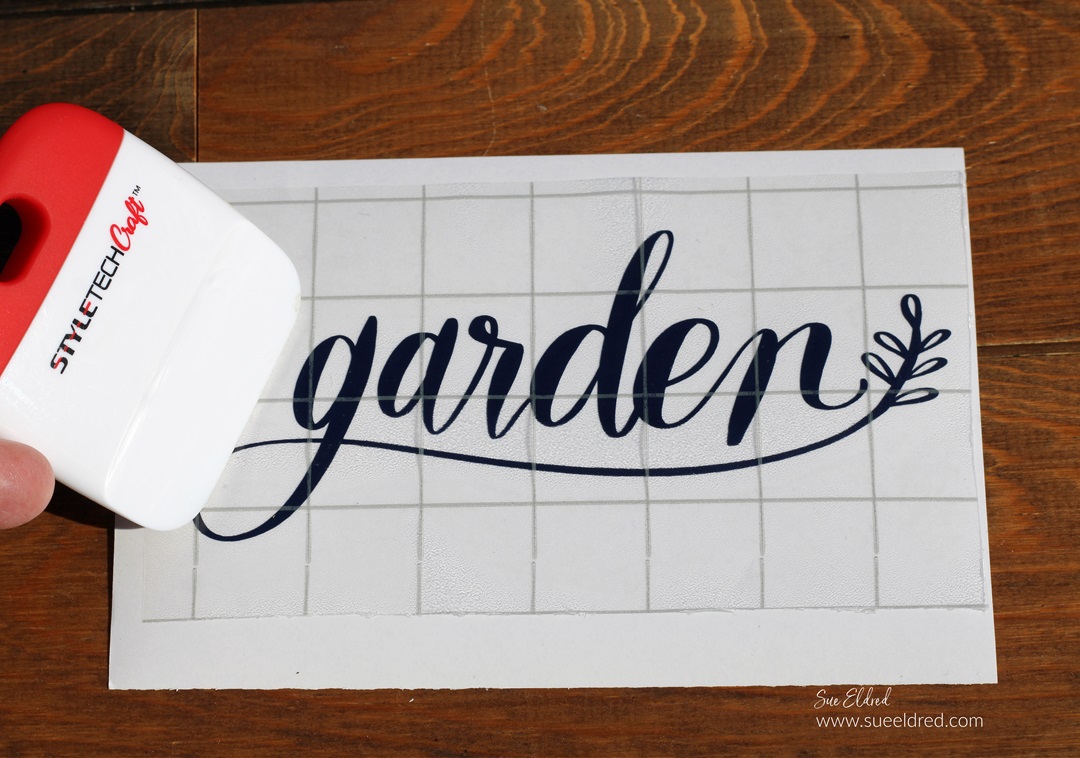
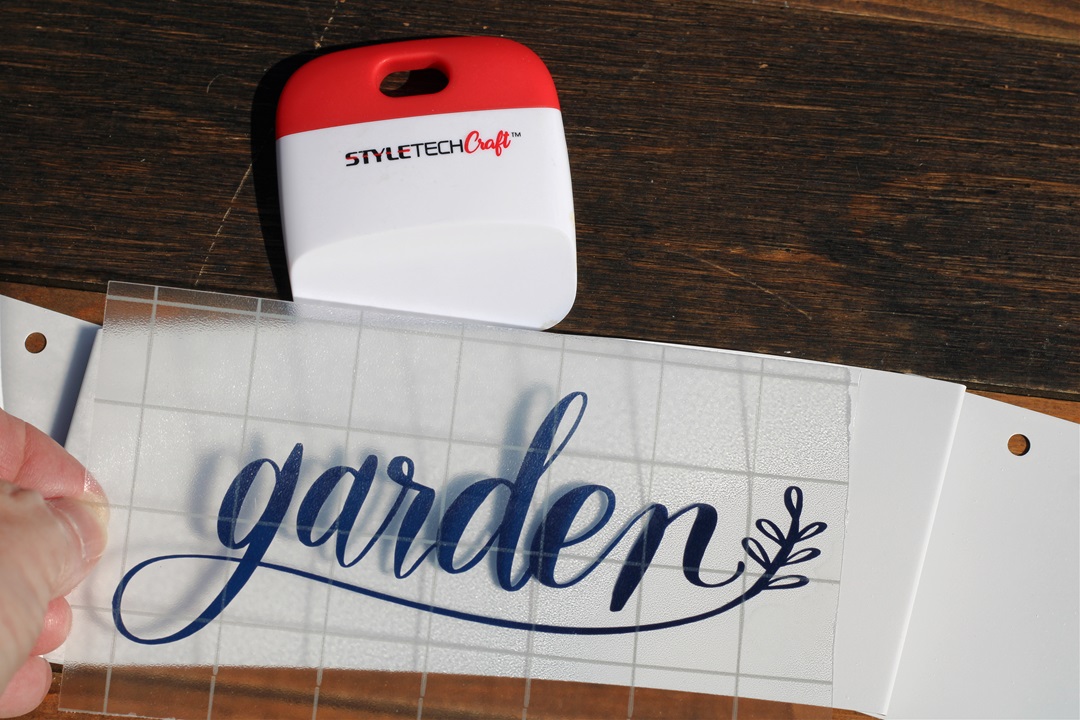
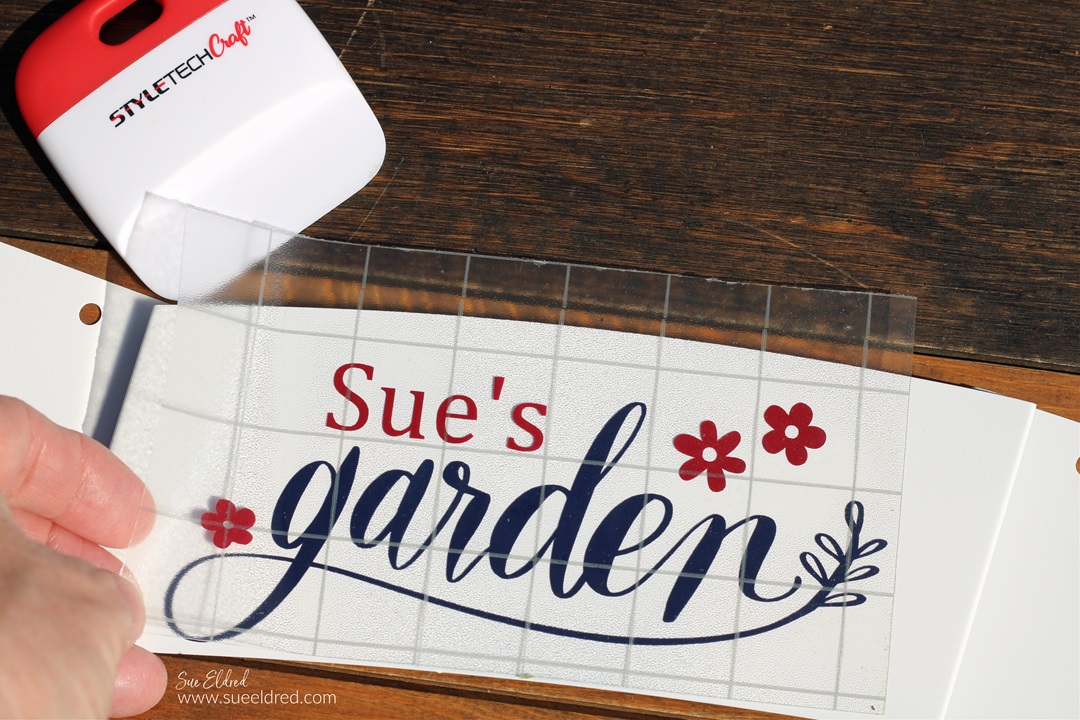
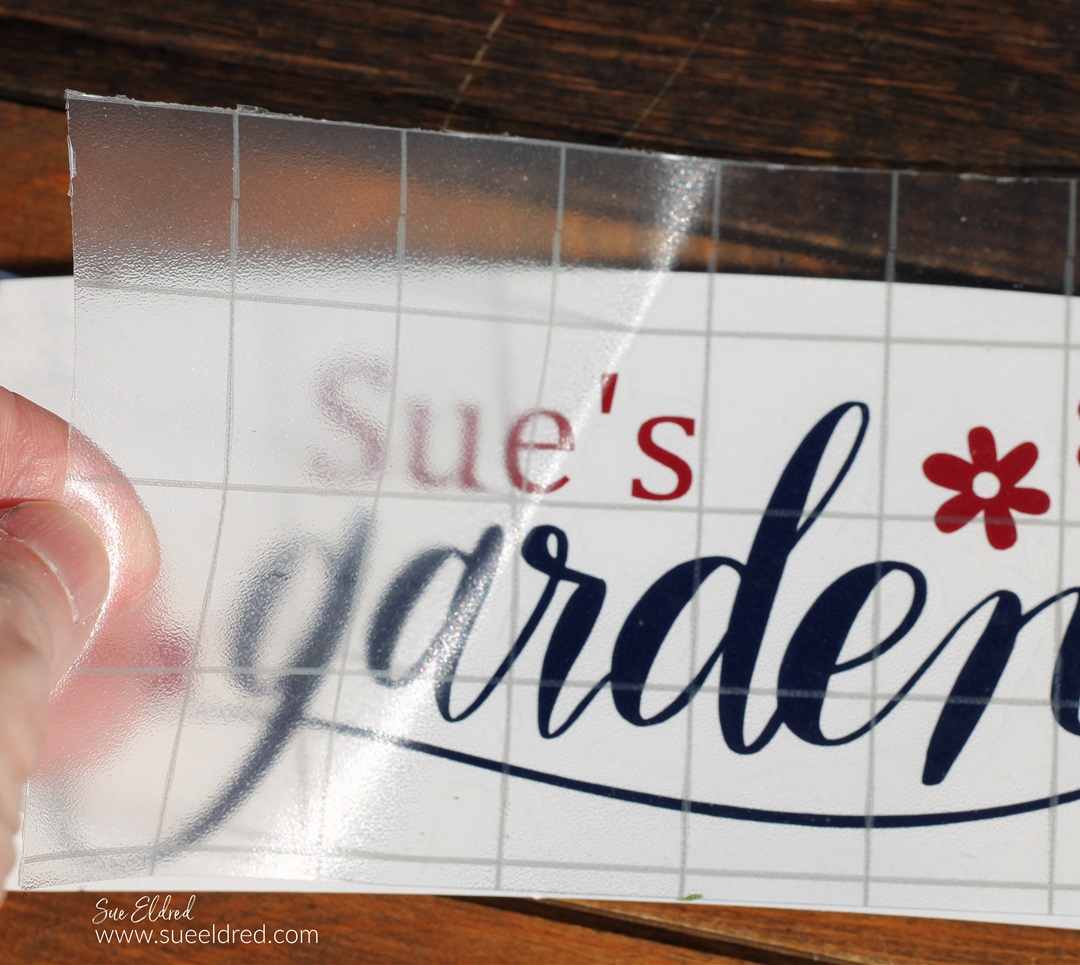
We cut the images and letters using a Silhouette Electronic Die-Cutting Machine*
and vinyl from Styletechcraft and mounted them on Wood Banner Pieces.
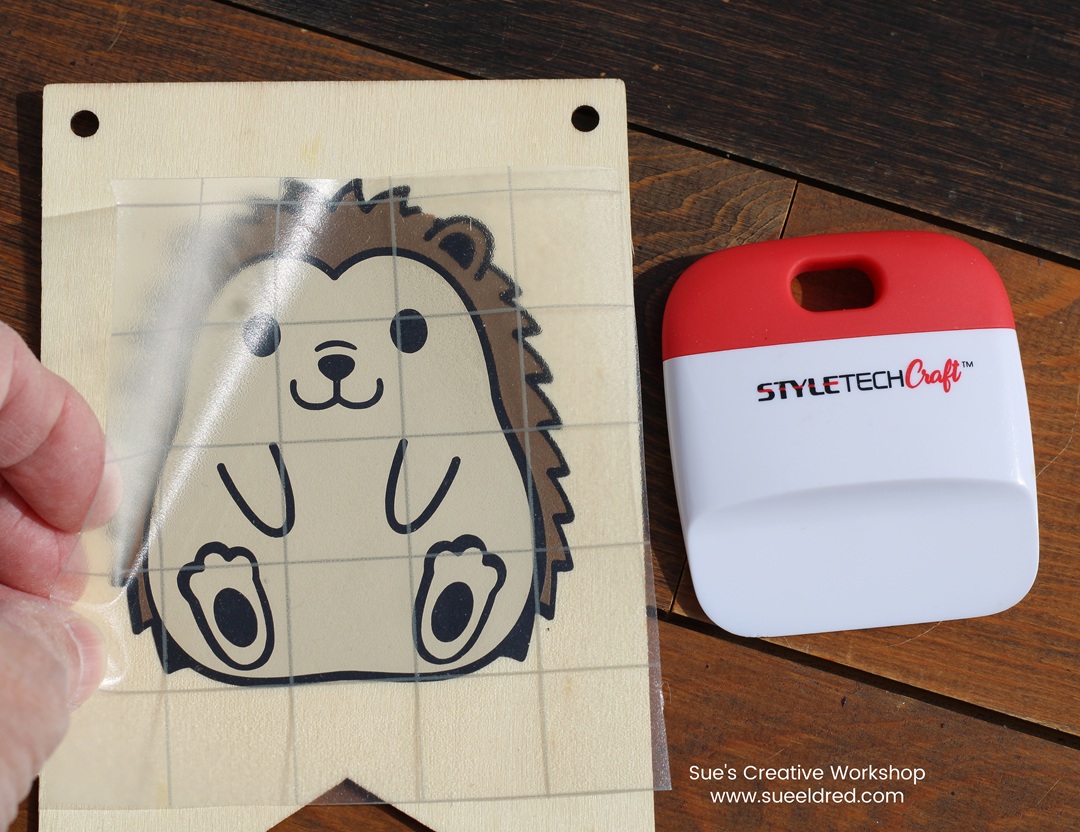
We layered each part of the image using StyleTechCraft Clear Transfer Tape*.
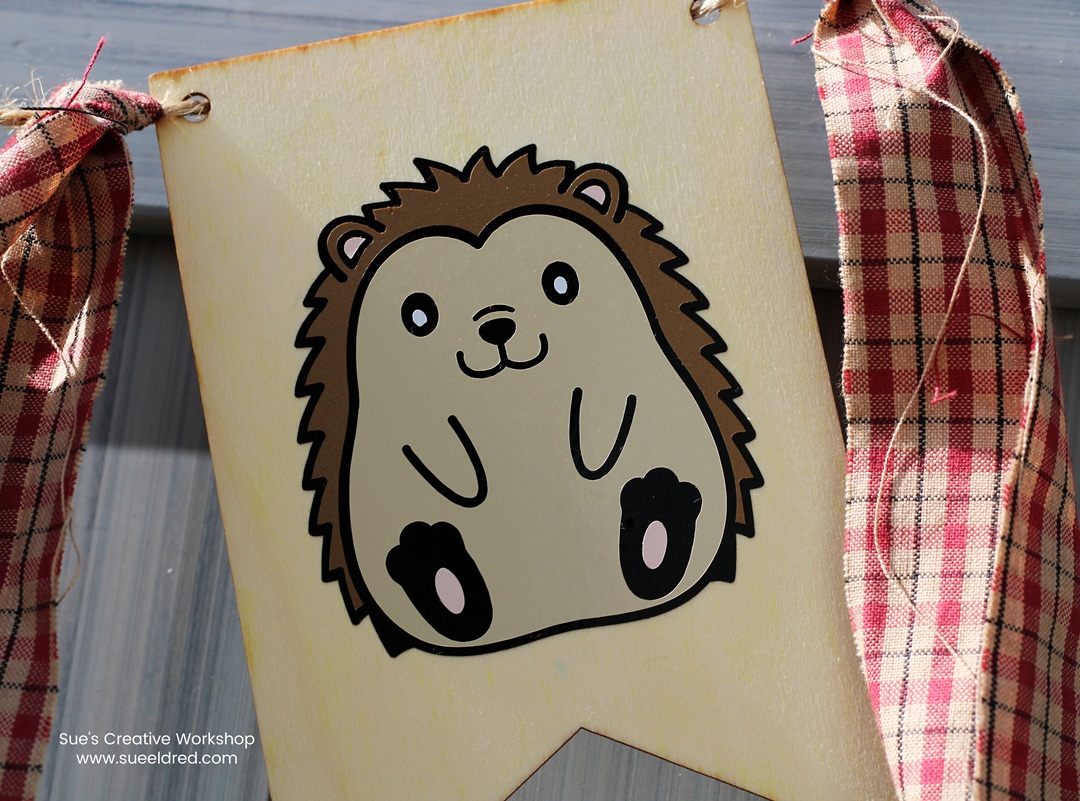
The banner was strung on a large piece of twine with strips of plaid material between.

The Finished Banner.
We all took pictures in front of the backdrop for a little memory book
for the new mother.
I wish I could share the banner with the balloon arch, but the photo I took
wasn’t clear enough to share. (I took this photo at home.)
It was a beautiful shower with friends and family gathered for a special little boy.
![]()
“This is a sponsored post. As a member of the StyleTechCraft Design Team I have been provided product and compensation in exchange for my creative ideas. The views and opinions are my own.