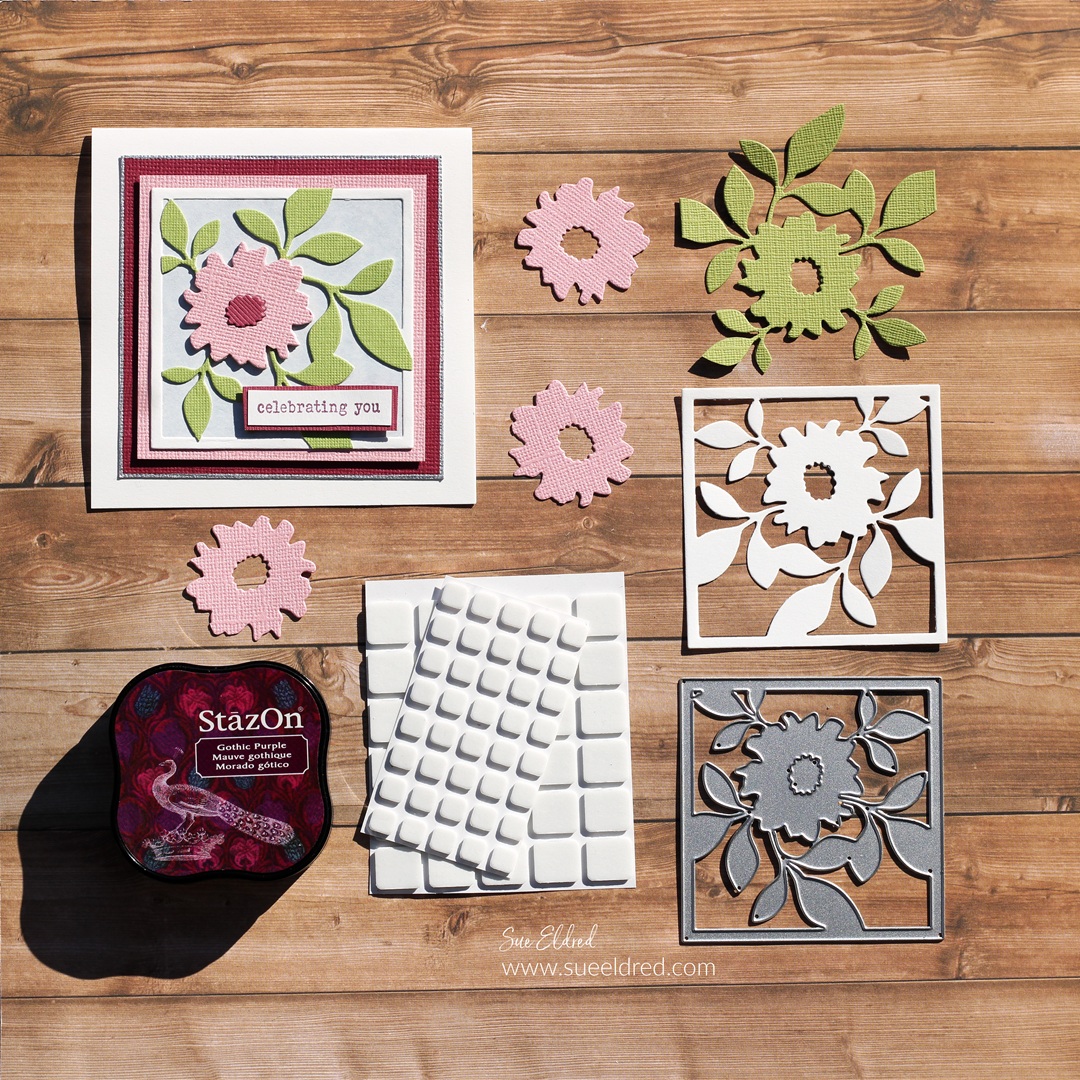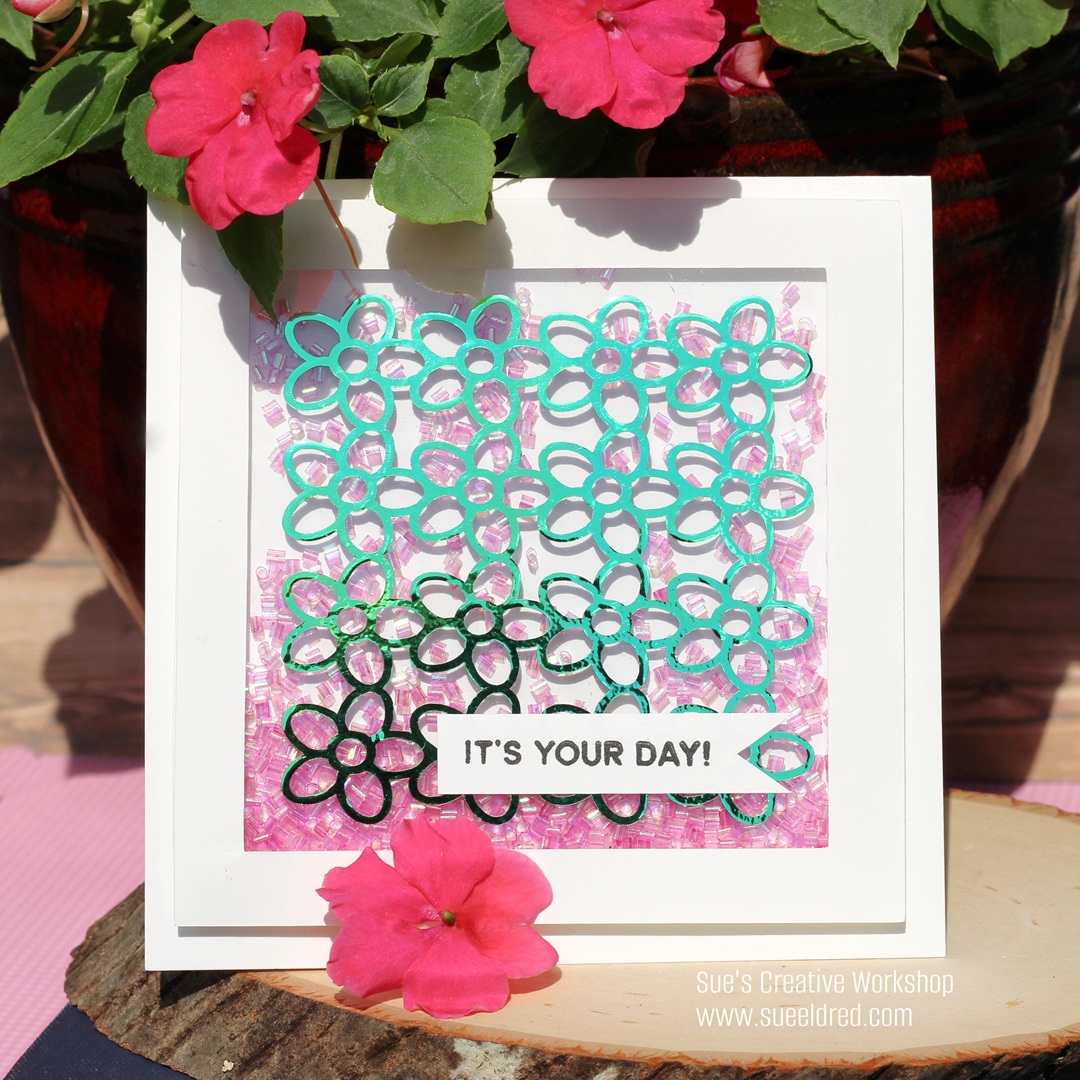
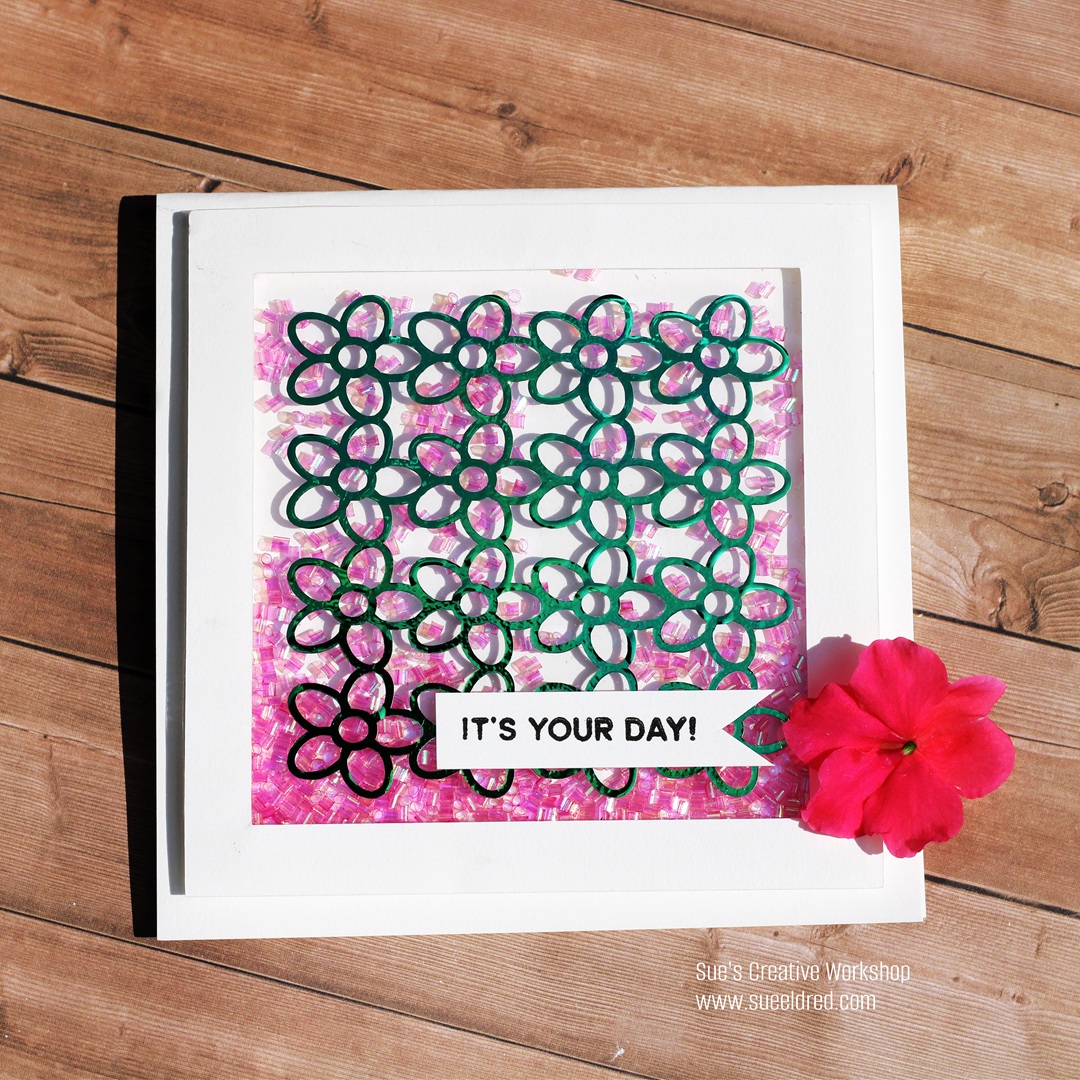
How to make a Flower Power Shaker Card.
One of my favorite cards to make is a shaker card.
I love using dimension and movement.
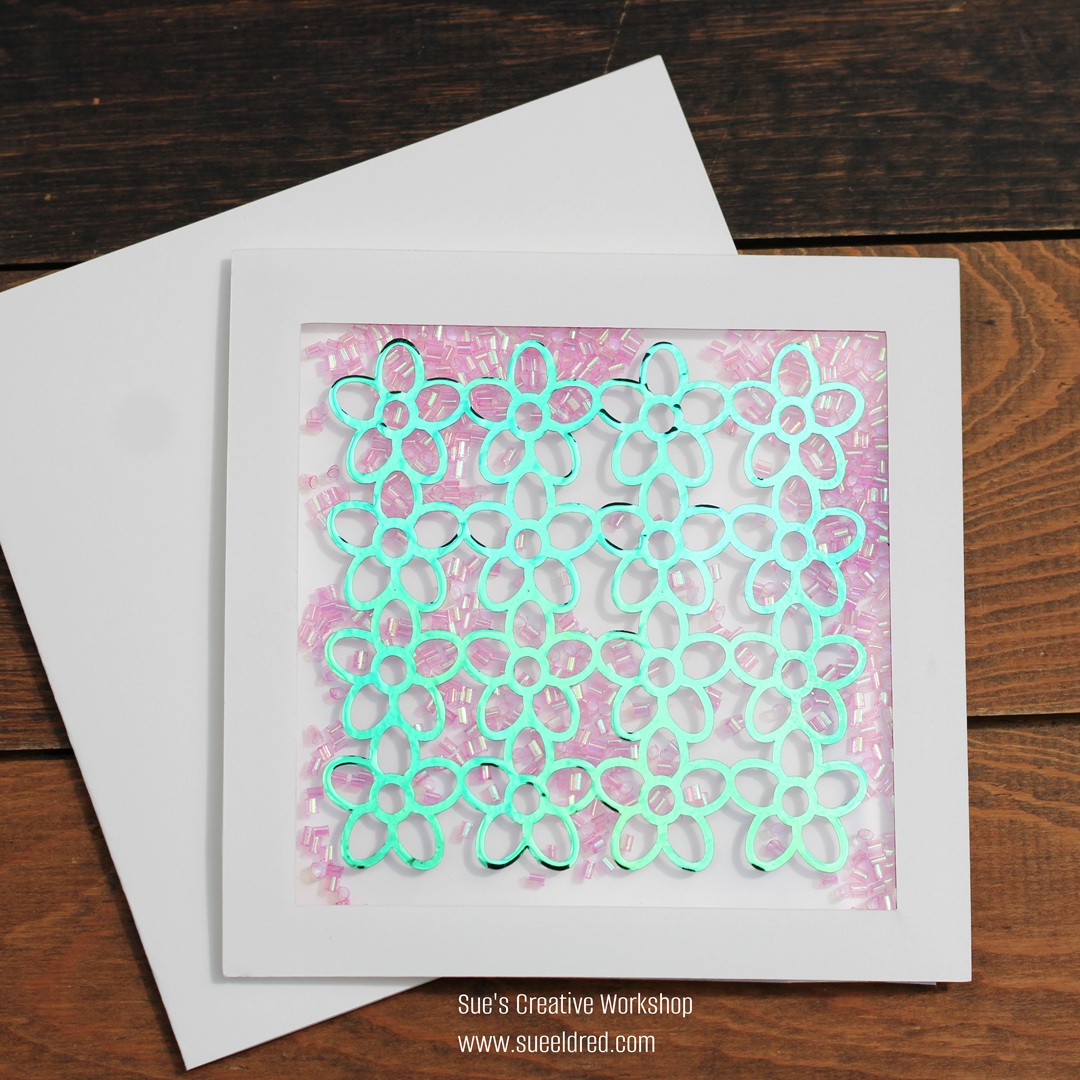
Did you know that vinyl is perfect for cardmaking?
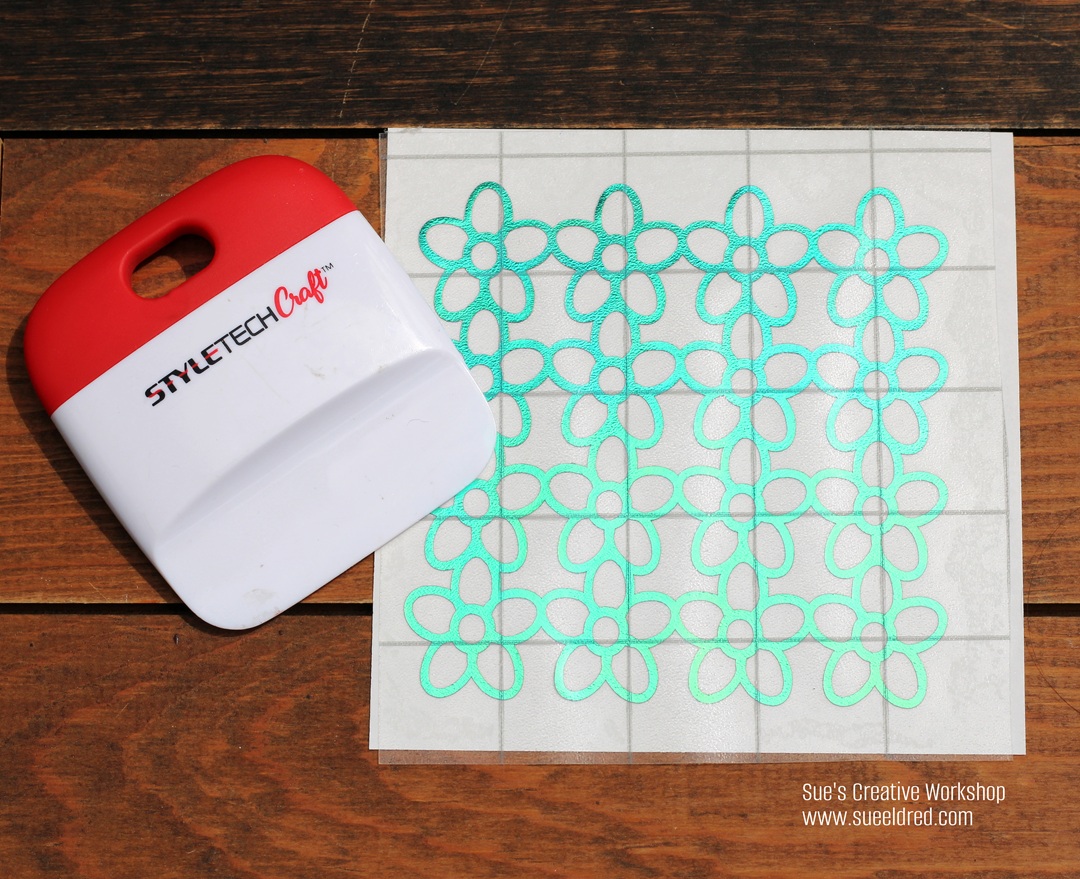
For my card, I used StyleTechCraft Green Opal Adhesive Craft Vinyl*.
The Opal Vinyl is a color-shifting vinyl that takes on a different look
depending on how you hold it.
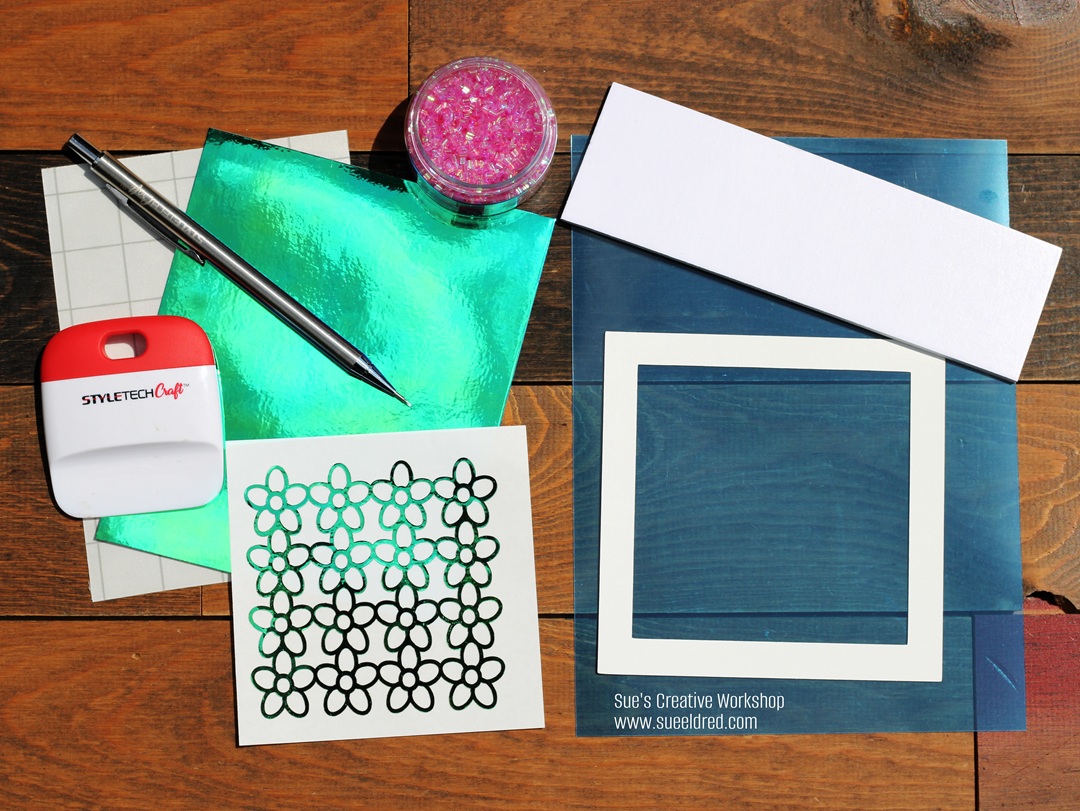
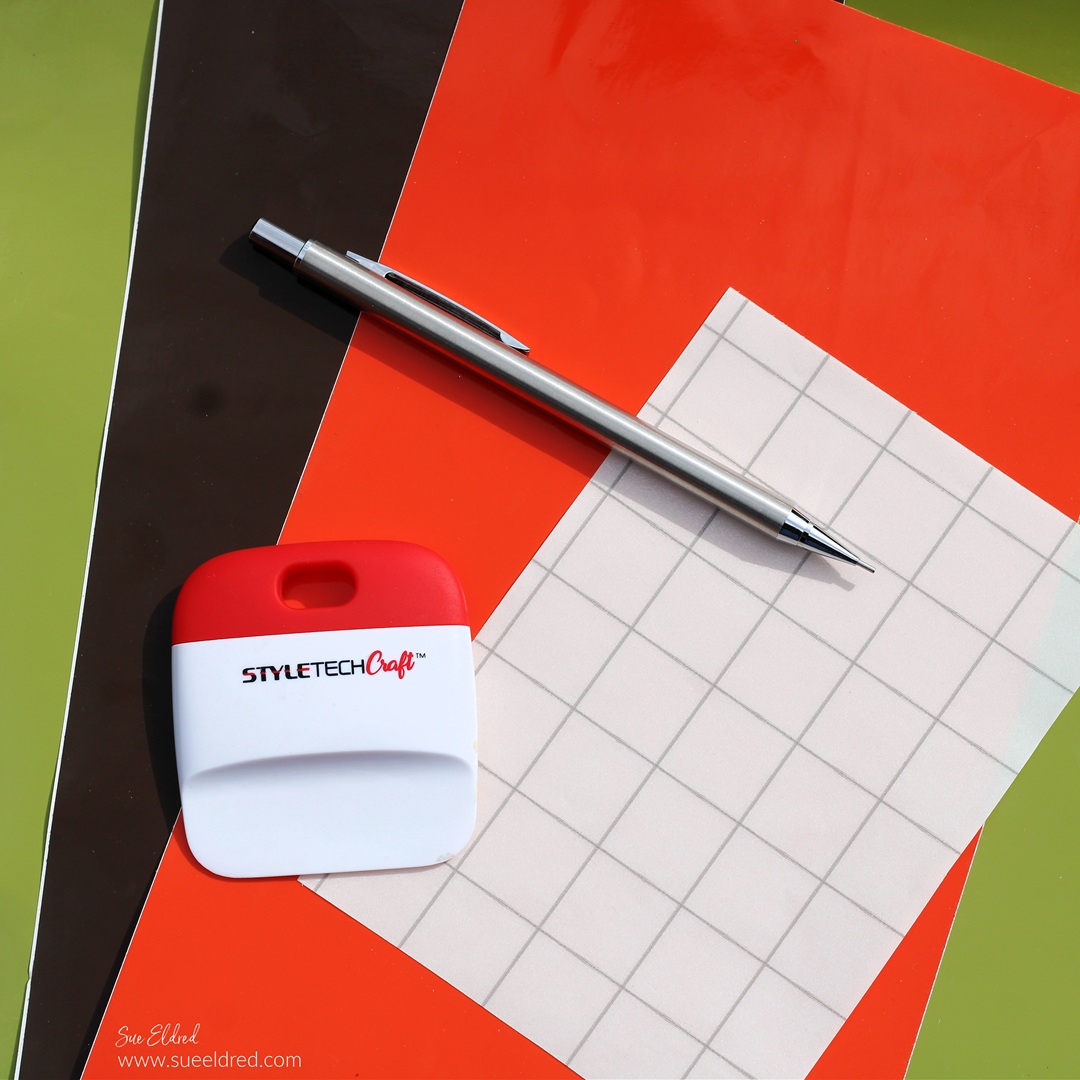
Materials Used to make the Flower Power Shaker Card: (*affiliate link)
- StyleTechCraft Opal Adhesive Craft Vinyl*
- StyleTechCraft Transfer Tape*
- StyleTechCraft Scraper Tool* and Weeding Pen*
- Silhouette Cameo Electronic Die-Cutting Machine*
- “Daisy Background” SVG Cut File from the Silhouette Store
- Clear Acetate Sheet*
- Scor-tape*
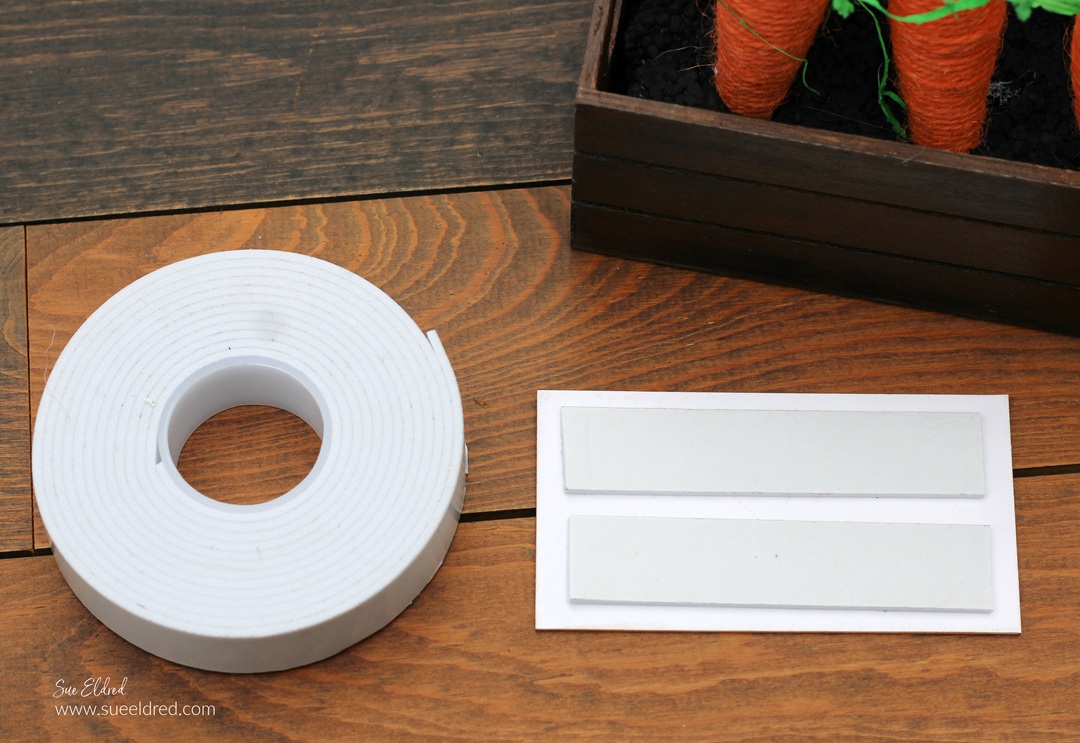
- Double Sided Foam Strips*
- Shaker Sprinkles*
- Cardstock

StyletechCraft products brought to you by ATSM Craft*
*Disclosure: This blog uses ads and affiliate links. If you choose to make a purchase using one of the links, I receive a small commission (at no additional cost to you) that helps offset the costs of maintaining this blog. Thanks for your support!
Directions:
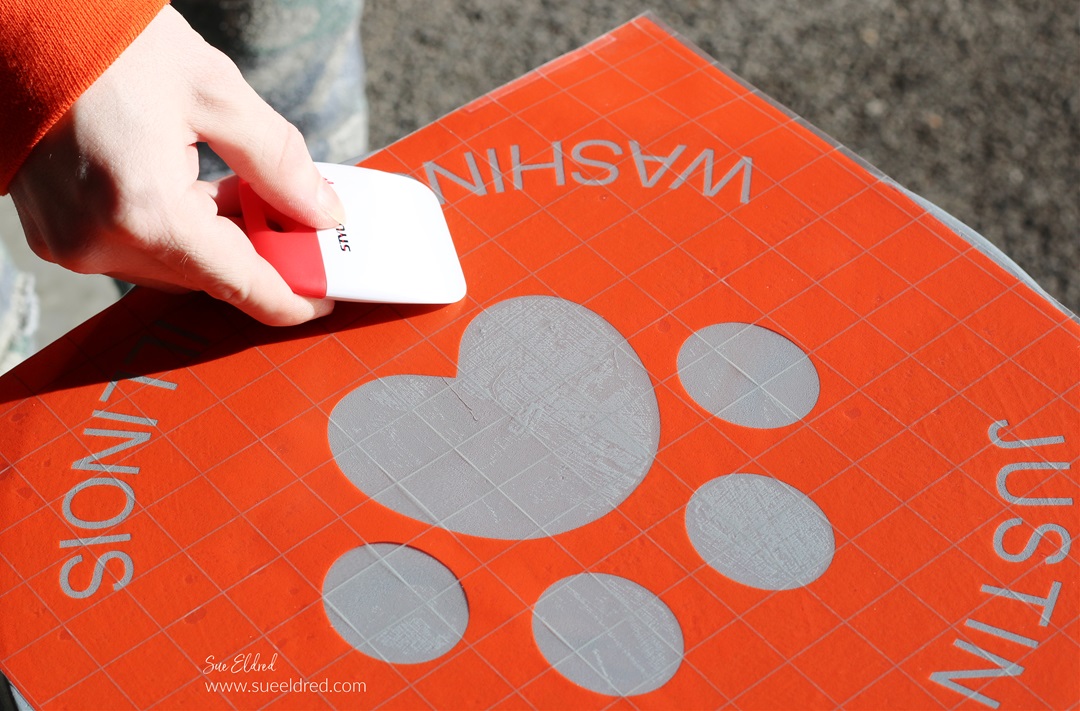
- Cut the “Daisy Background” using Opal Vinyl and the Silhouette Die Cutting Machine. (I sized the image to a 3 ¼” x 3 ¼” design.)
- Remove the excess vinyl around the design using a Vinyl Weeding Pen*.
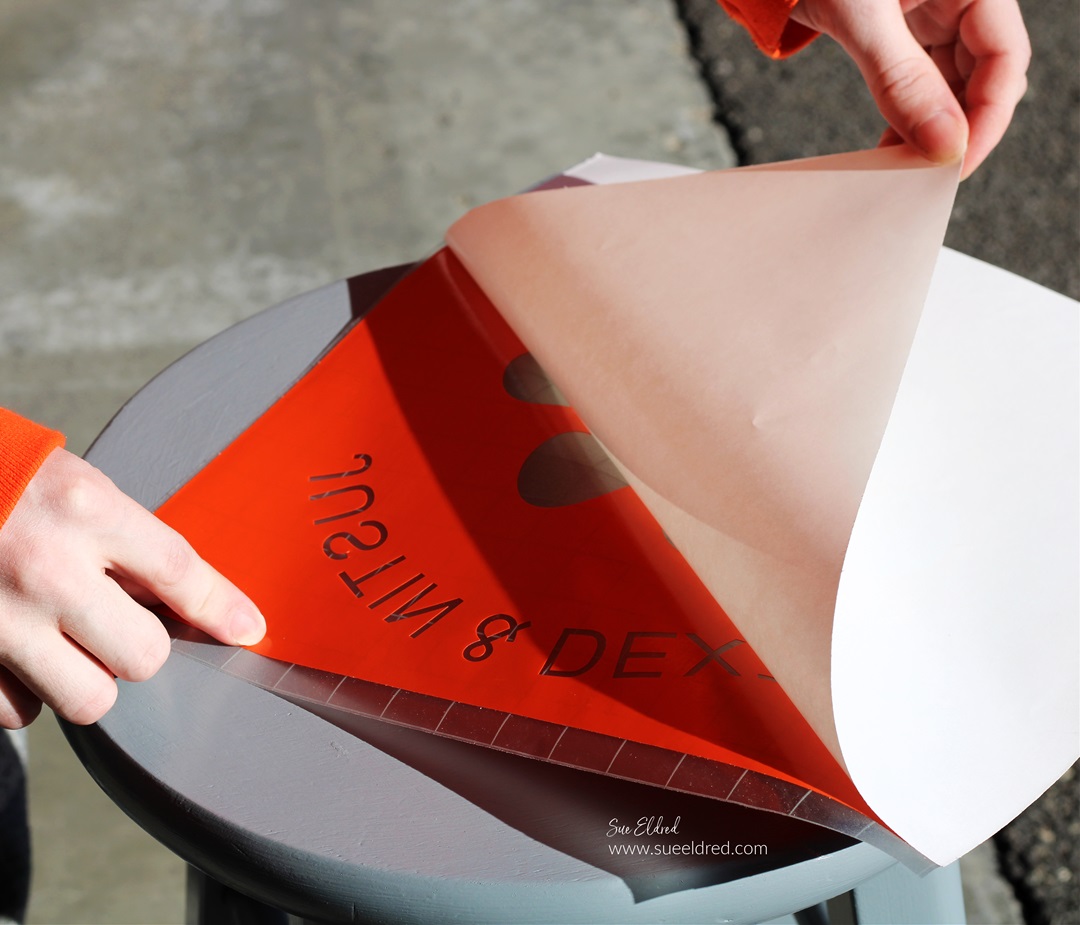
- Cut a piece of transfer tape and place it over the vinyl design.
- Gently rub over the design with the Scraper Tool*.
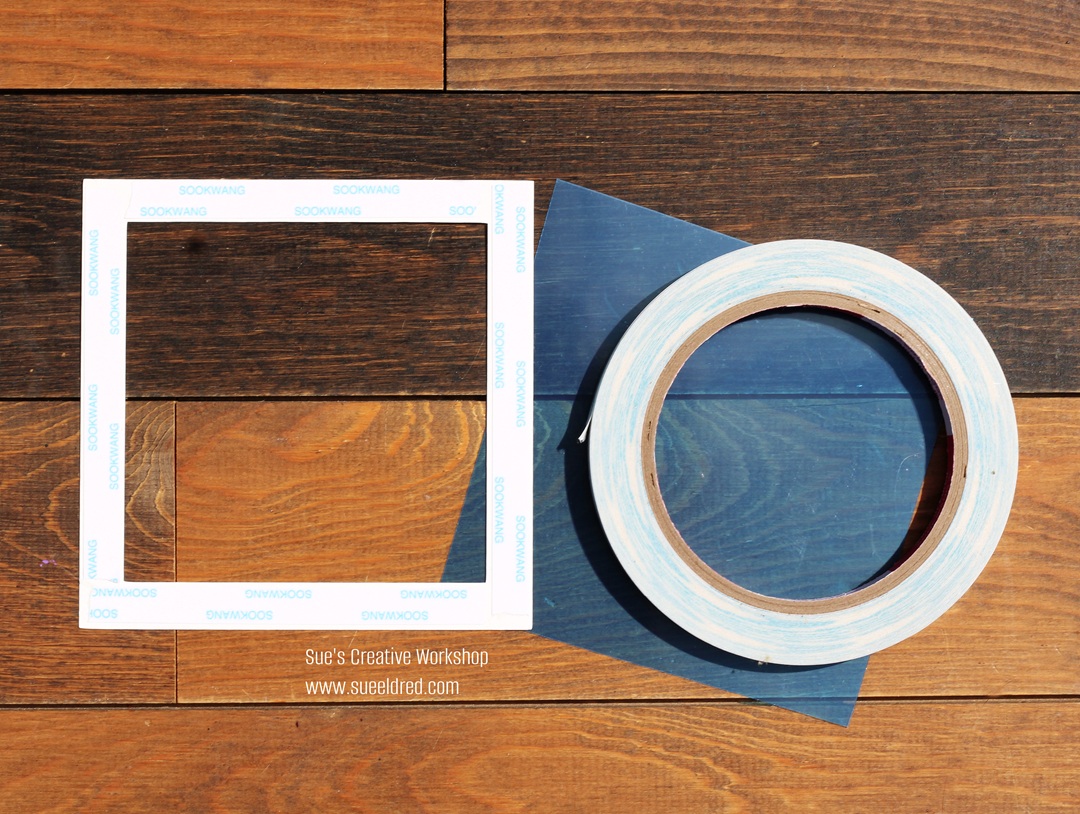
- I cut a simple cardstock frame using my Silhouette Die-Cutting Machine. My frame measures 4 ½” x 4 ½”. The inside cutout measures 3 ½” x 3 ½”, which leaves a ½” border around the frame.
- Cut a 4 ¼” x 4 ¼” piece of clear acetate. (My acetate has a blue protective coating on both sides.) Place Scor-tape* around the border of the frame.
- Remove the protective coating from both sides of the acetate. (If yours has them.)
- Place acetate over the sticky Scor-tape*.
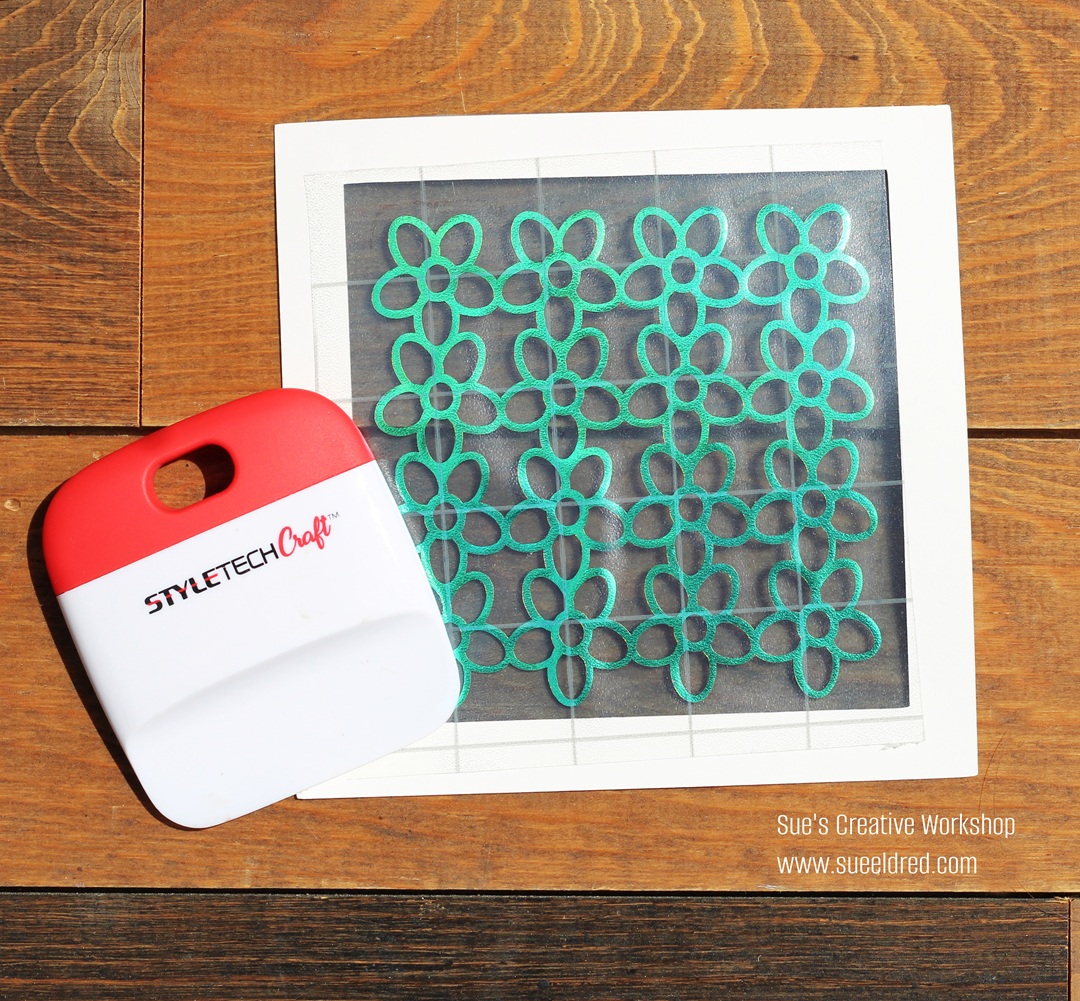
- Remove the design from the vinyl backing sheet using the transfer paper.
- Place the design onto the acetate on the front of the frame.
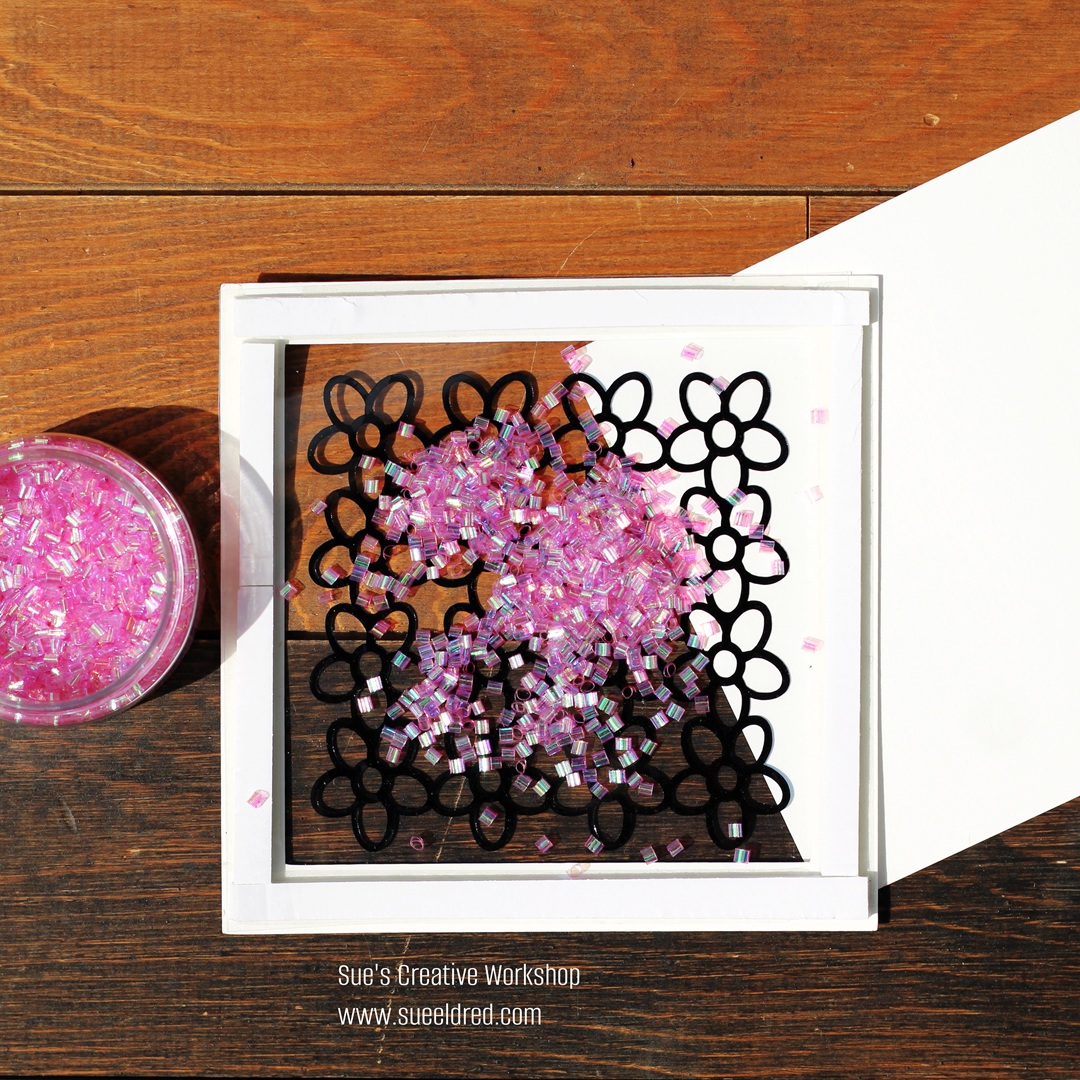
- Cut a piece of cardstock 4 ¼” x 4 ¼”.
- Cut thin strips from the adhesive foam sheet.
- Adhere the strips to the back of the frame.
- Add iridescent shaker sprinkles inside the frame. (Do not overfill with shaker sprinkles.)
- Adhere the 4 ¼” piece of cardstock to the back of the frame to create your shaker element.
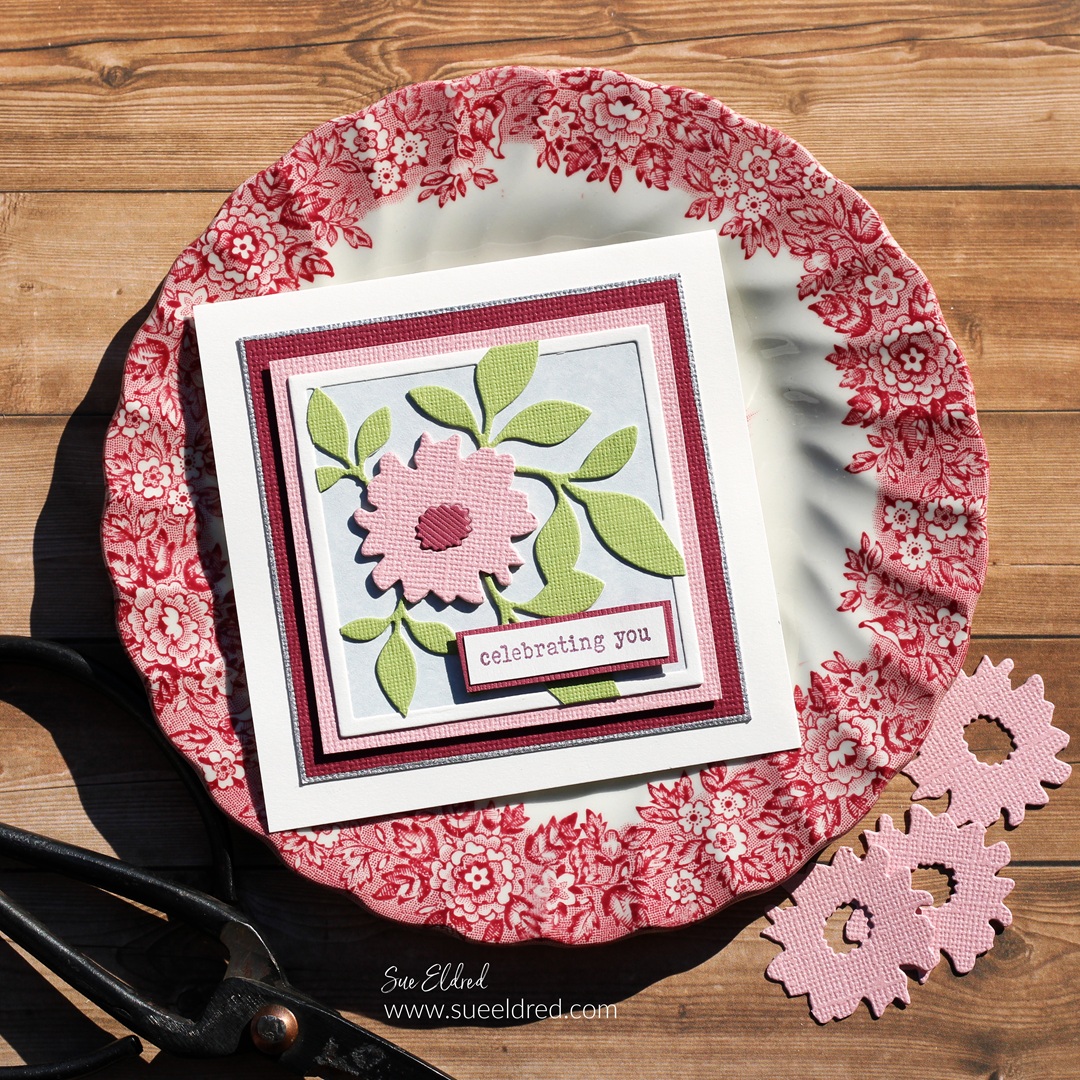
- Adhere the shaker to a 5″ x 5″ card.
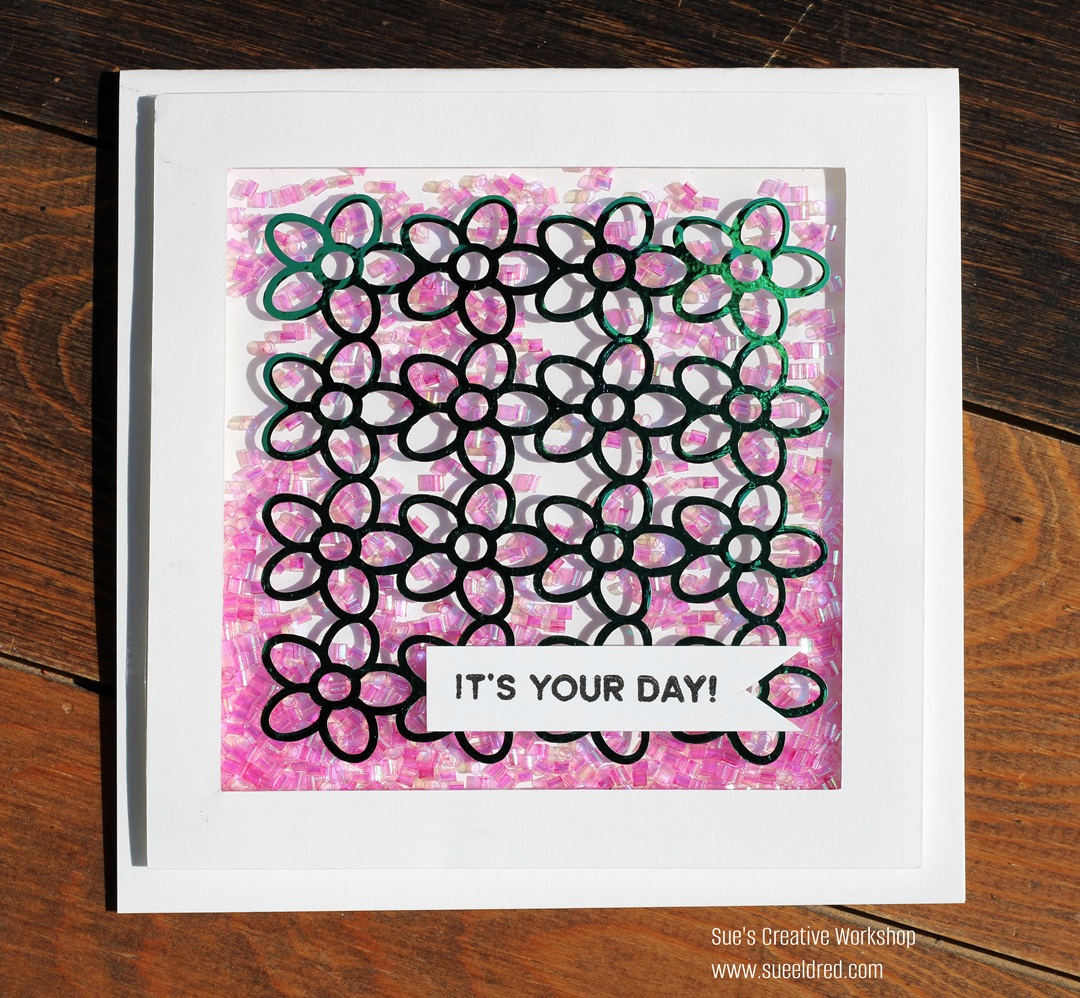
- Stamp a small greeting onto cardstock. Notch one end to create a banner.
- Adhere the greeting to the front of the card.
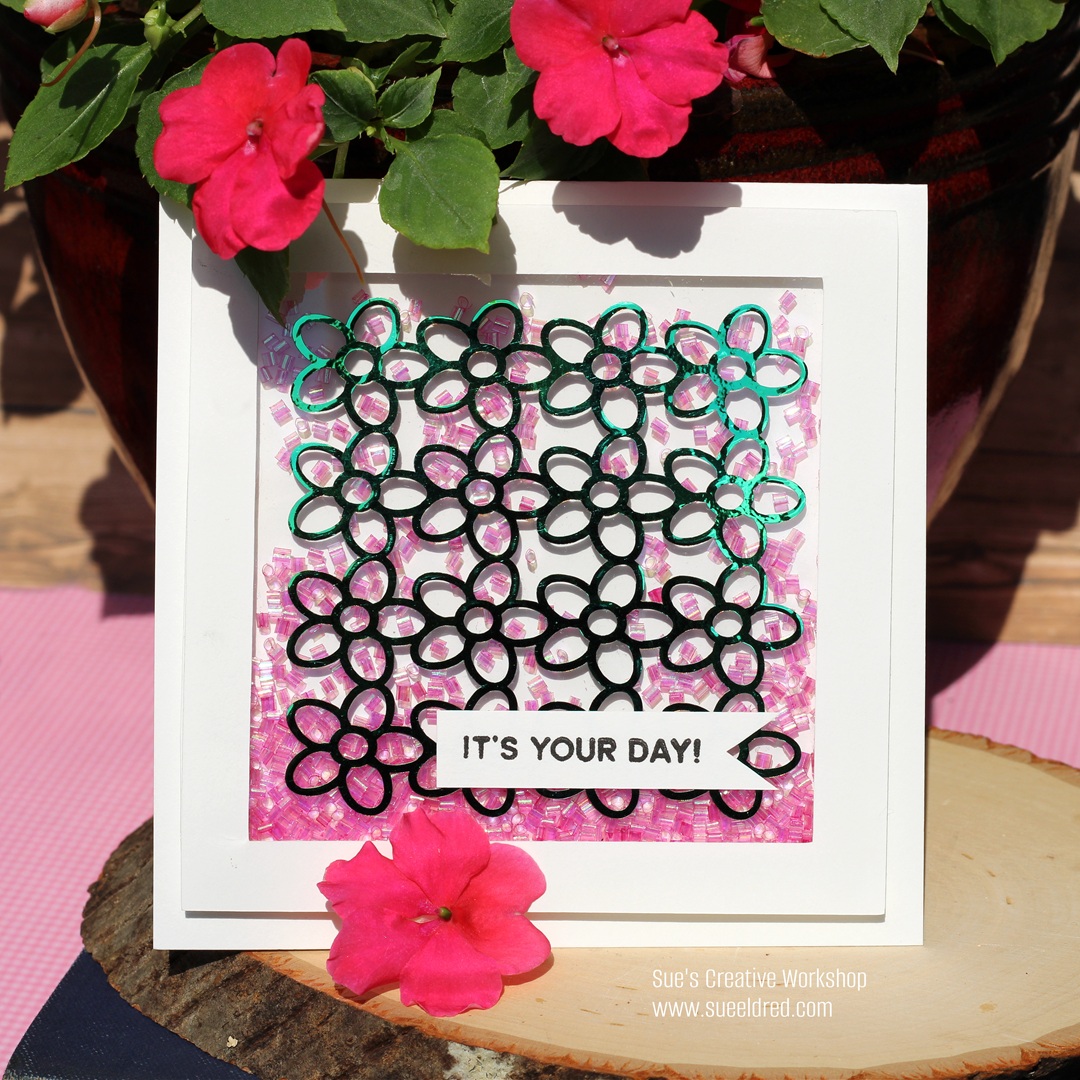
I hope you enjoyed the Iridescent Opal Shaker card.
It’s a nod to those vintage Flower Power Shirts of the 70s.
![]()
“This is a sponsored post. As a member of the StyleTechCraft Design Team I have been provided product and compensation in exchange for my creative ideas. The views and opinions are my own.