Family Game Night
The people in my family love to play games.
When we get the whole big group together for a Family Dinner,
someone usually brings out the dice.
Everyone crowds around the table, and we play a game or two.
Dice is one of their favorite games because even young kids can play along.
(that is until they get bored and leave)
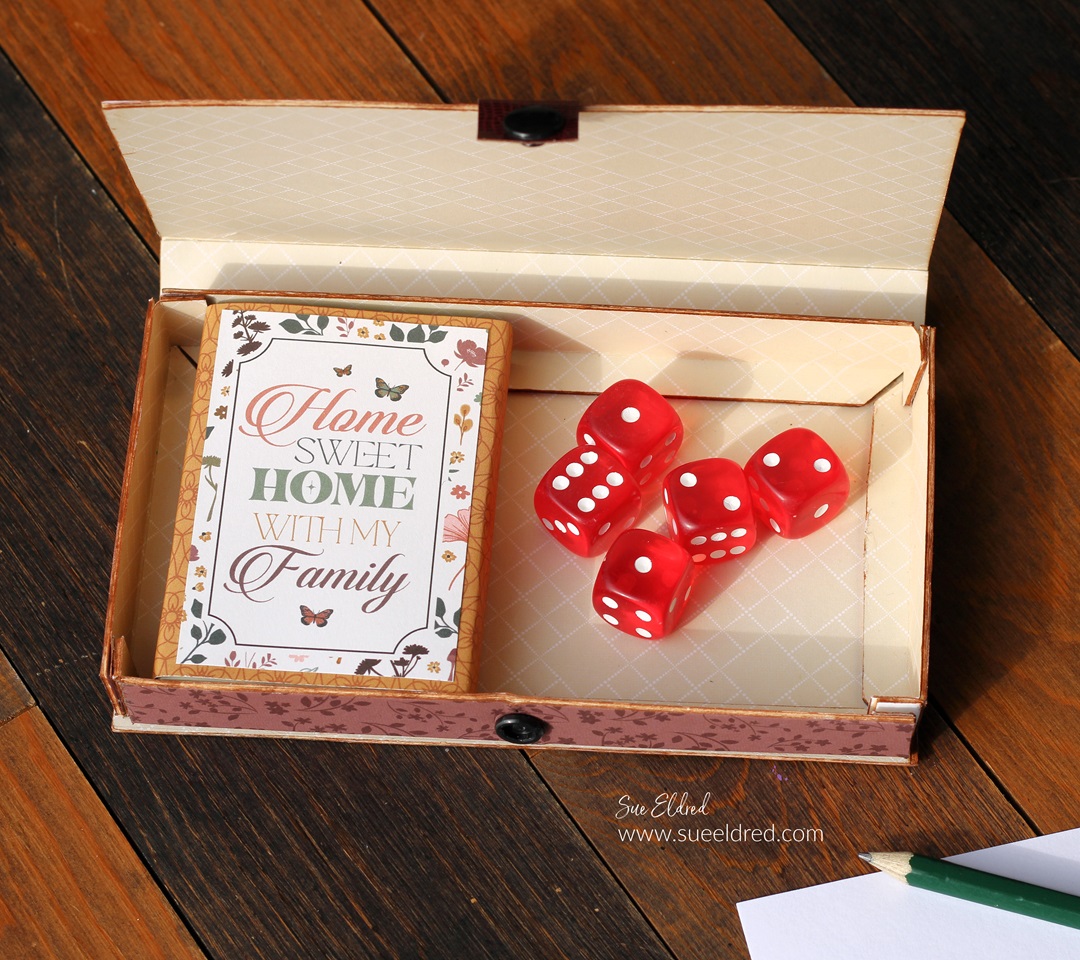
For fun, I made a small box just the right size for holding
a deck of cards and a set of dice.
Inside the box, there is enough space to add a small pencil
and paper for keeping score.
To Make the Box:
- Two pieces of 6″ x 13″ Matboard* are needed to make the box.
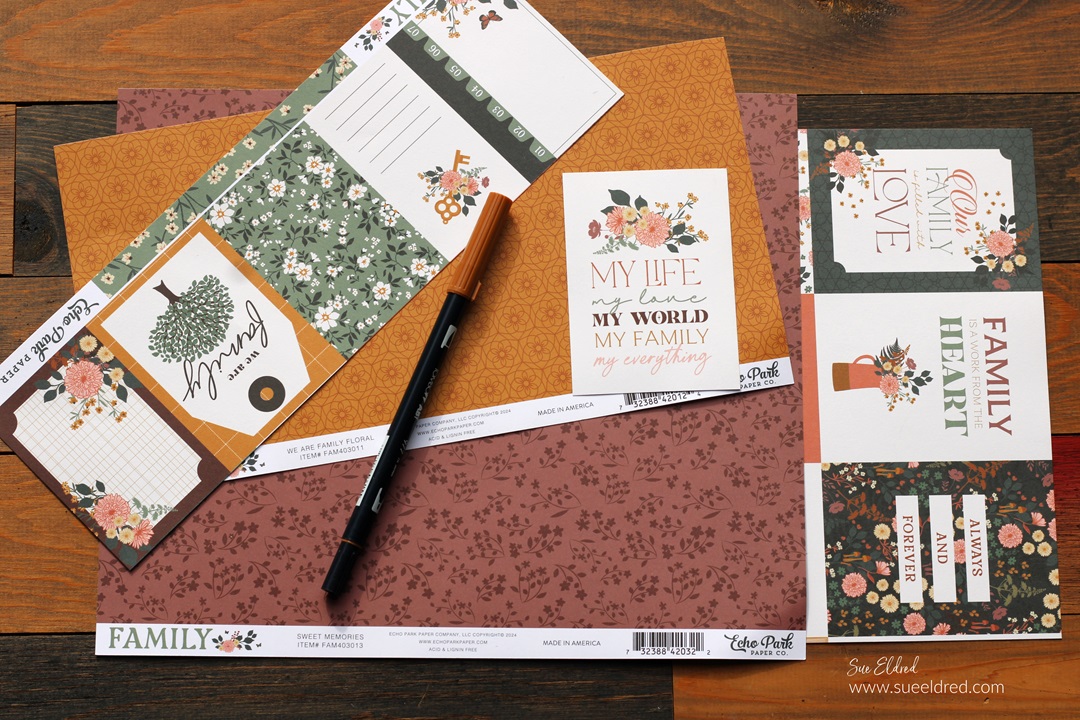
- Cover both sides of the mat board using scrapbook paper from
- Echo Park Family 12″ x 12″ Scrapbook Collection*. I used an Xyron Creative Station* to put adhesive on the back of the paper before sticking it onto the mat board. The Xyron Creative Station* adds a complete layer of adhesive to the paper so that you get great adhesion.
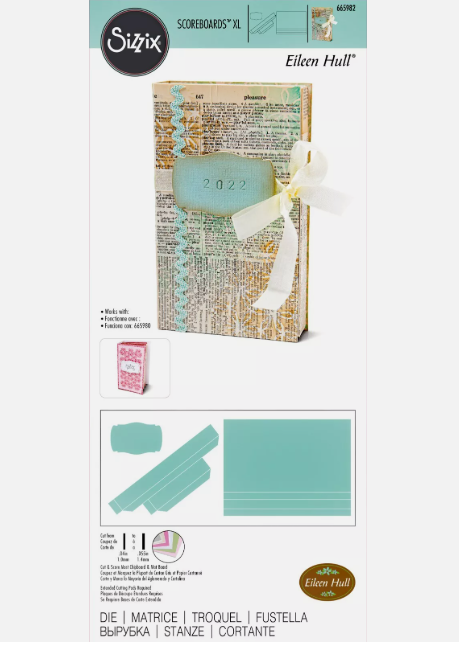
- I die-cut two of all the pieces of the box using a Big Shot Die-Cutting Machine* and the Sizzix #665982 XL Skinny Mini Book Box Die.
- Gently fold the scored edges and tabs of the mat board.
- Adhere the box together using 3/8″ Scor-Tape*.
- If the white core of the mat board bothers you, go around the edges of the mat board with a brown marker to hide the white core.

*Disclosure: This blog uses ads and affiliate links. If you choose to make a purchase using one of the links, I receive a small commission (at no additional cost to you) that helps offset the costs of maintaining this blog. Thanks for your support!
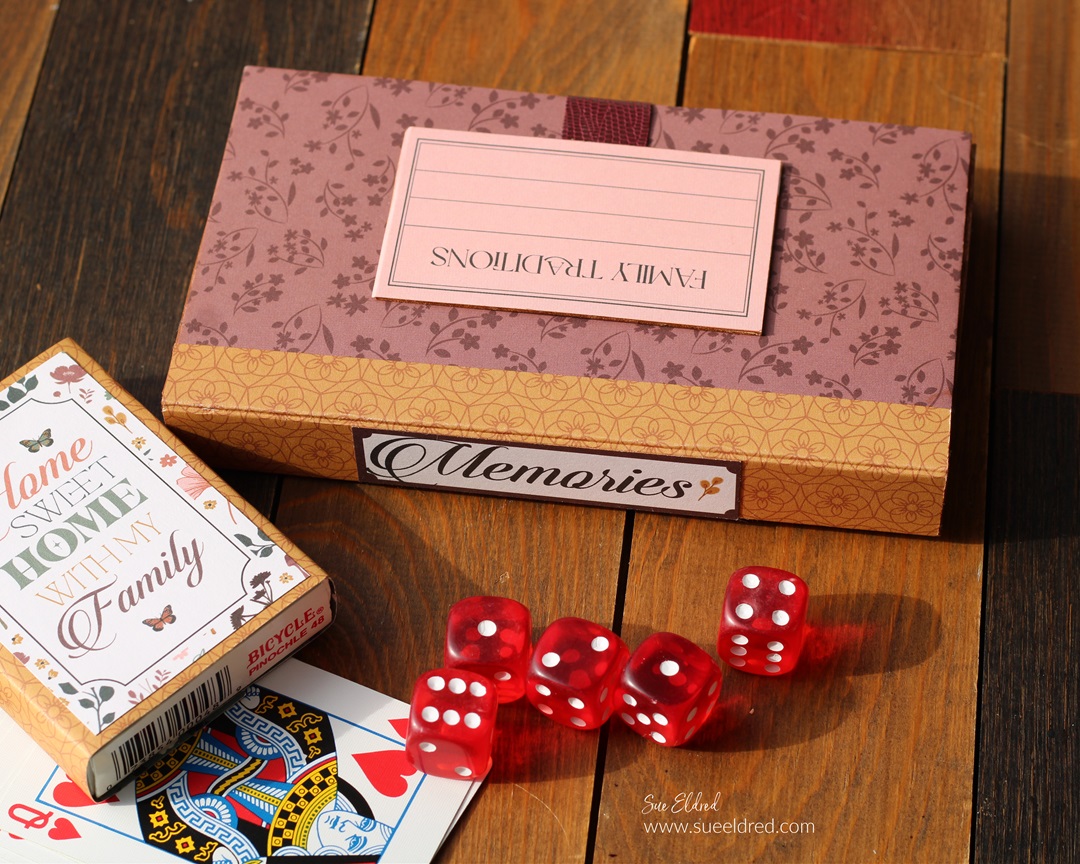
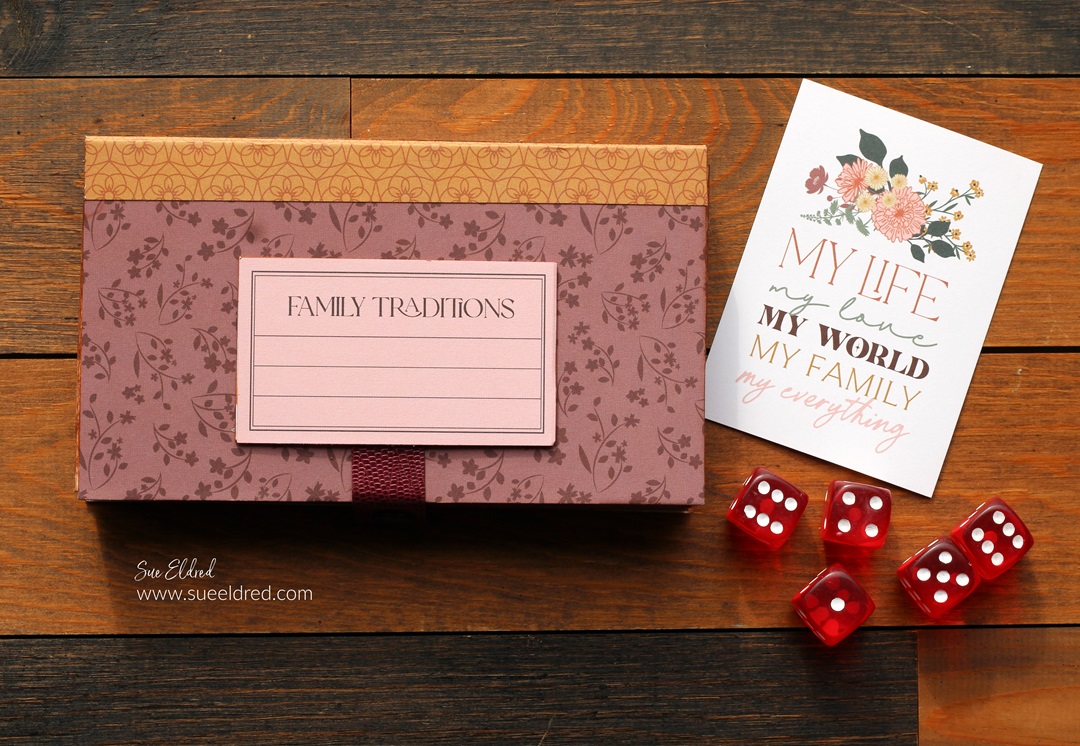
I added the word “Memories to the spine of the box.
Isn’t making memories what it’s all about?
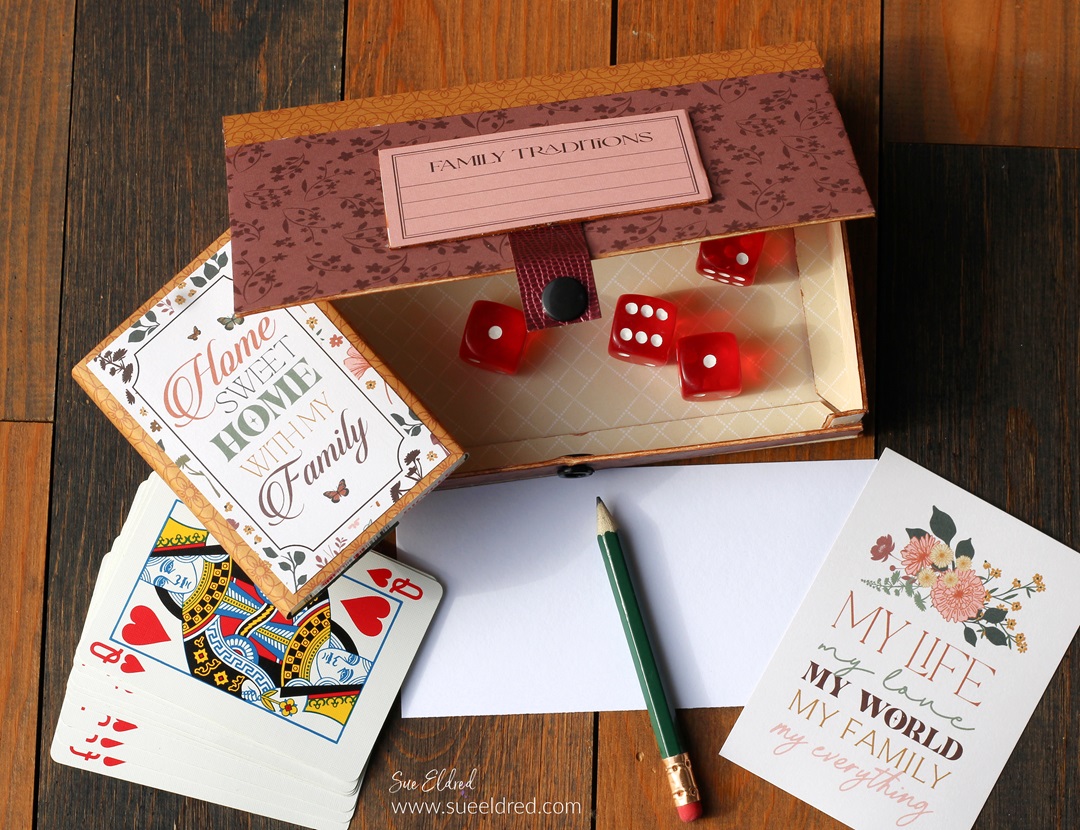
I used a strip of faux leather paper, and a simple snap to
hold the box closed when not in use.
Materials Used: (*affiliate links)
- Sizzix #665982 XL Skinny Mini Book Box Die by Eileen Hull*
- Big Shot Die-Cutting Machine*
- Matboard*
- Echo Park Family 12″ x 12″ Scrapbook Collection*
- Xyron Creative Station*
- Tape Roller*
- 3/8″ Scor-Tape*
- #977 Saddle Brown Tombow Marker*
- Snap Fastener Kit*


The Puppy Love Album is another project that I made
using the Skinny Mini Book Box Die*.
You can see more here.
![]()
Disclosure: This is a sponsored post. As a member of the Eileen Hull Inspiration Team, I have been provided product in exchange for my creative ideas. The view and opinions are my own.