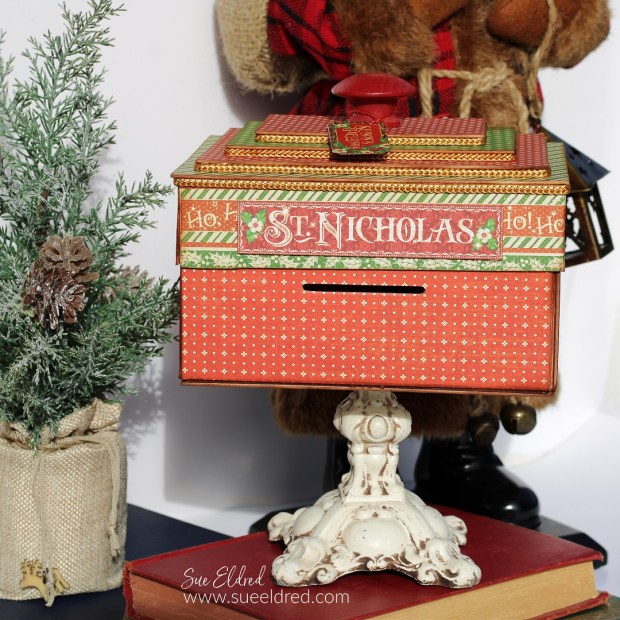
Create a Holiday Mailbox for letters to Santa using the Sizzix Slotted Treat Box Die by Eileen Hull*.
A fun project to make for Christmas!
To say I have a lot of Holiday Scrapbook paper would be a understatement!
Paper crafters have a tendency to “save” their special scrapbook paper
for just the right project.
We also have a tendency to hoard said special paper.

Sometimes its fun to use what you have on hand.
I dug deep into my hoarded Graphic 45 Christmas Scrapbook paper
to make the Santa Letter Box.

One of my favorite tips…
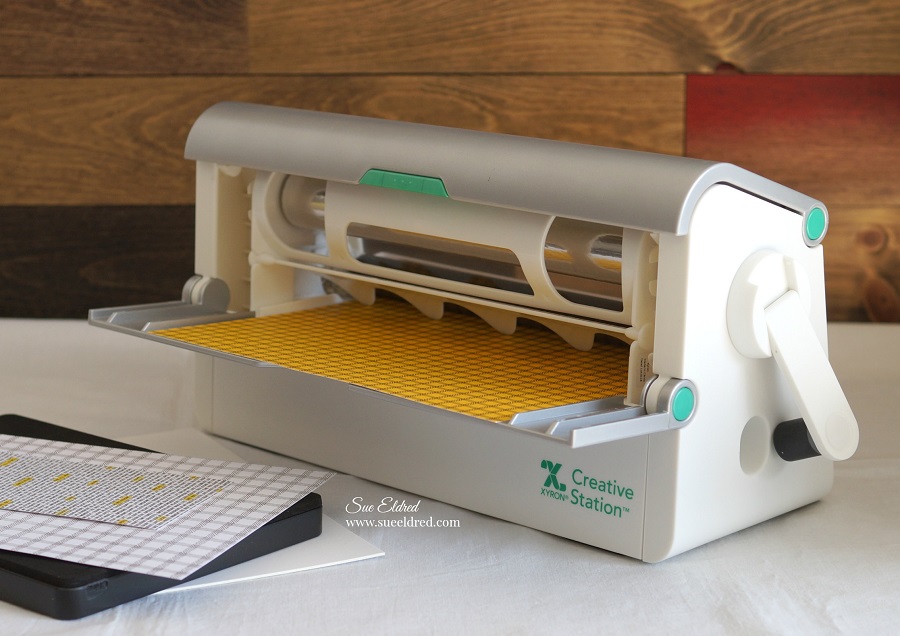
- Before I die-cut the mat board, I like to use the Xyron Creative Station* to add adhesive to the back of the paper. It gives the paper a complete layer of adhesive with no bubbles. It really is easy to use.
*Disclosure: This blog uses ads and affiliate links. If you choose to make a purchase using one of the links, I receive a small commission (at no additional cost to you) that helps offset the costs of maintaining this blog. Thanks for your support!

When making the Santa Letter Box…
- I adapted the box by adding 1″ strips of matboard* around the existing box lid. The extra strips allowed the box to have a lip that fits over the edge of the box.

- I added three additional layers of graduated sized matboard to the lid for dimension using foam tape.
- I glued thrifted gold cording around each layer to cover the Foam Tape*.
- A wood knob painted red completes the lid.

For the base of the letter box, I used an old metal lamp base.
(At least, that’s what I think it is.)
We found it in my Dad’s garage while cleaning it out a few years ago.
It’s fun to use old things in unusual ways.
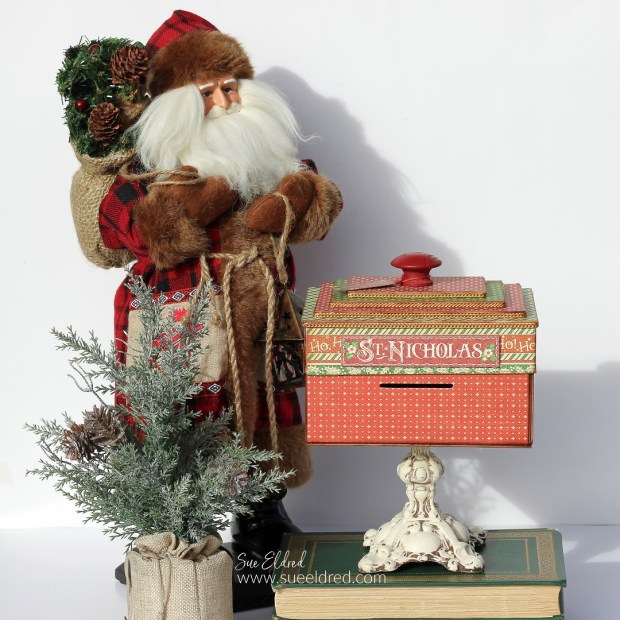
The Santa Letter Box adds a little Christmas Magic to your Holiday Decorating.


Materials Used: (*affiliate links)
- Sizzix Slotted Treat Box Die by Eileen Hull*
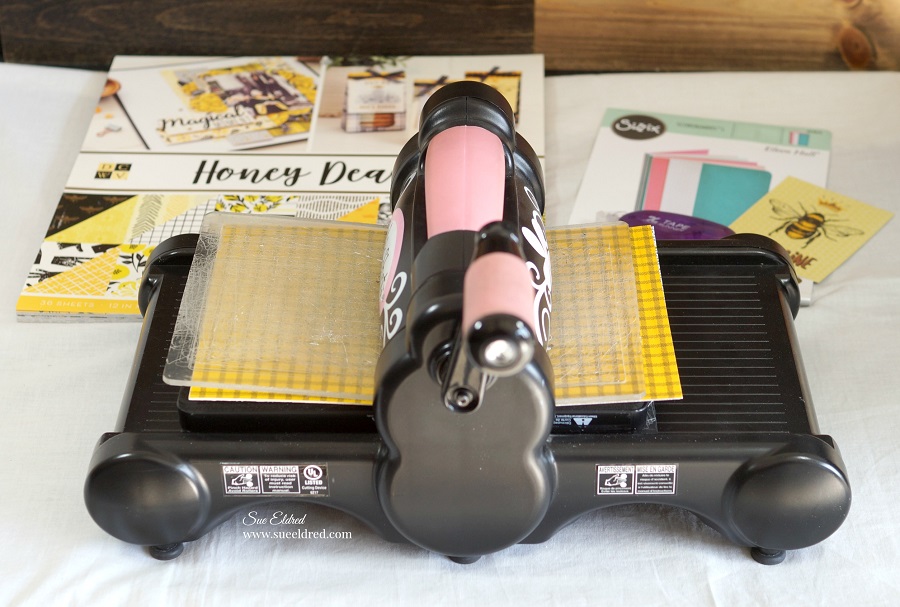
- Big Shot Plus Manual Die-Cutting Machine*
- Sizzix White Matboard*
- Holiday Scrapbook Paper
- Xyron Creative Station*
- Tim Holtz Distress Ink, Vintage Photo*
- Ink Applicator*
- Black Foam Tape*
- Gold Cord
- Tombow Mono Aqua Liquid Glue*
- Wood Knob
- Vintage Base from an old lamp

![]()
Disclosure: This is a sponsored post. As a member of the Eileen Hull Educator Team, I have been provided product in exchange for my creative ideas. The view and opinions are my own.