Do you have any UFOs lying around your crafting space?
This month the Eileen Hull Creative Team was challenged to
complete an unfinished project.
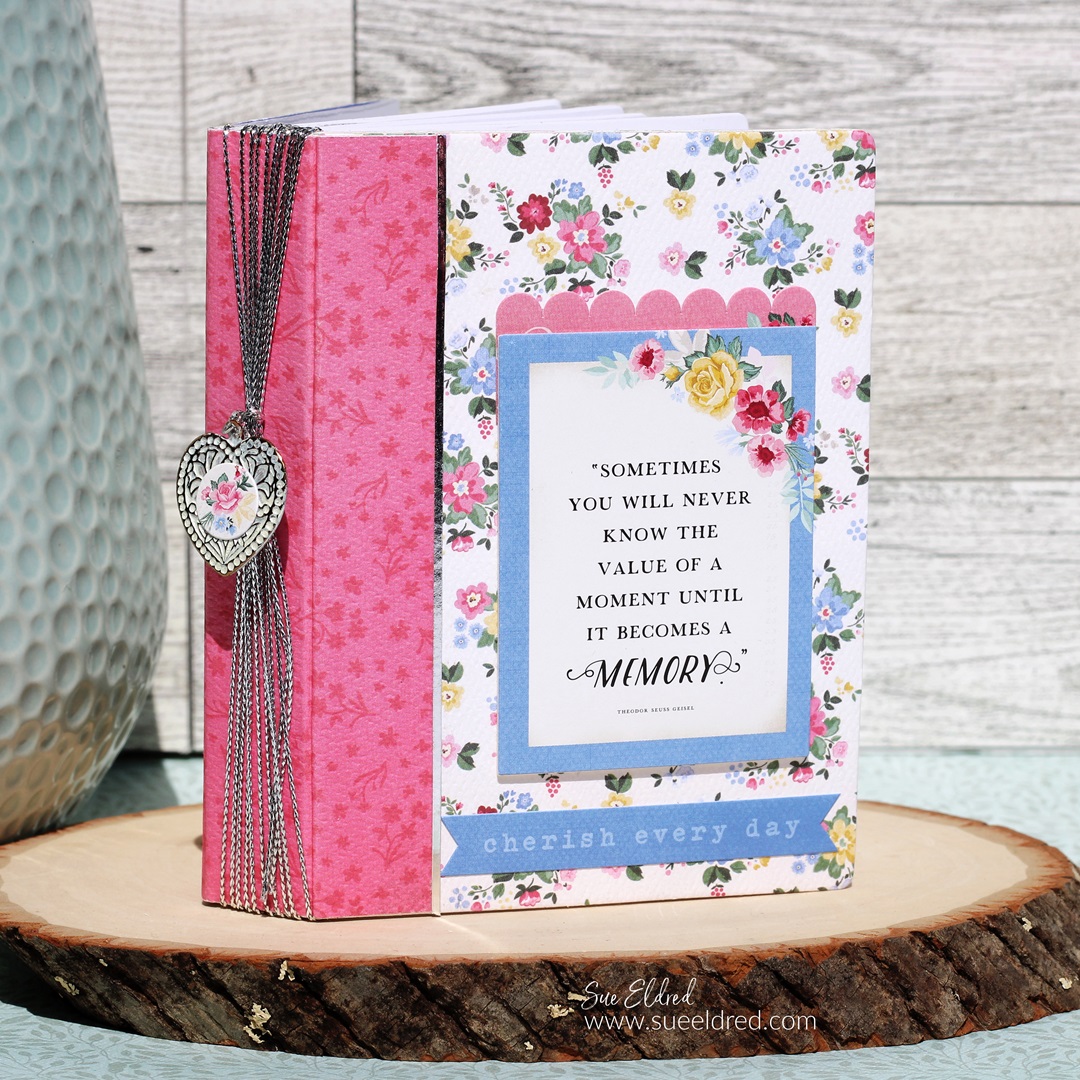
This one was not as much as a UFO as it was revisiting old stuff.
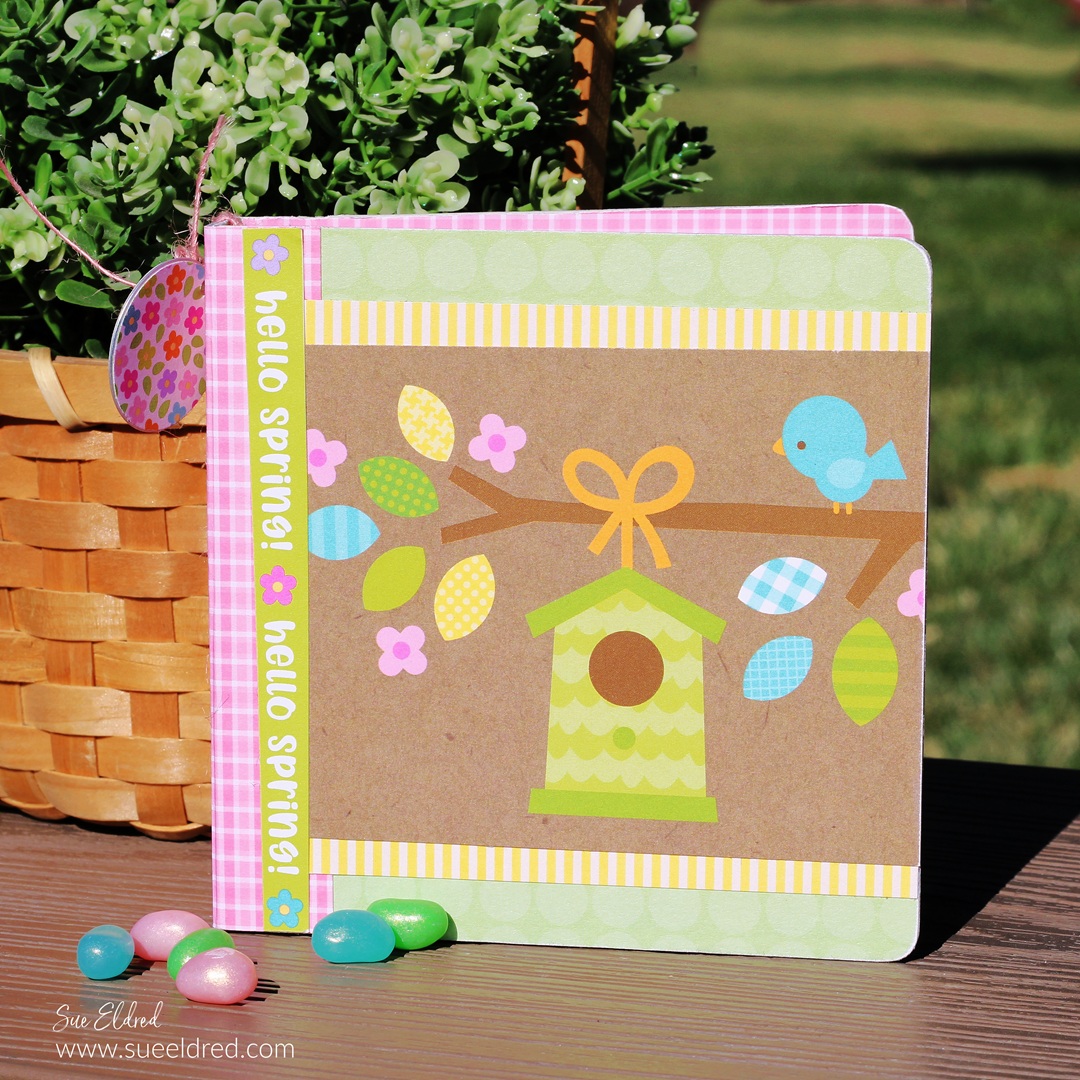
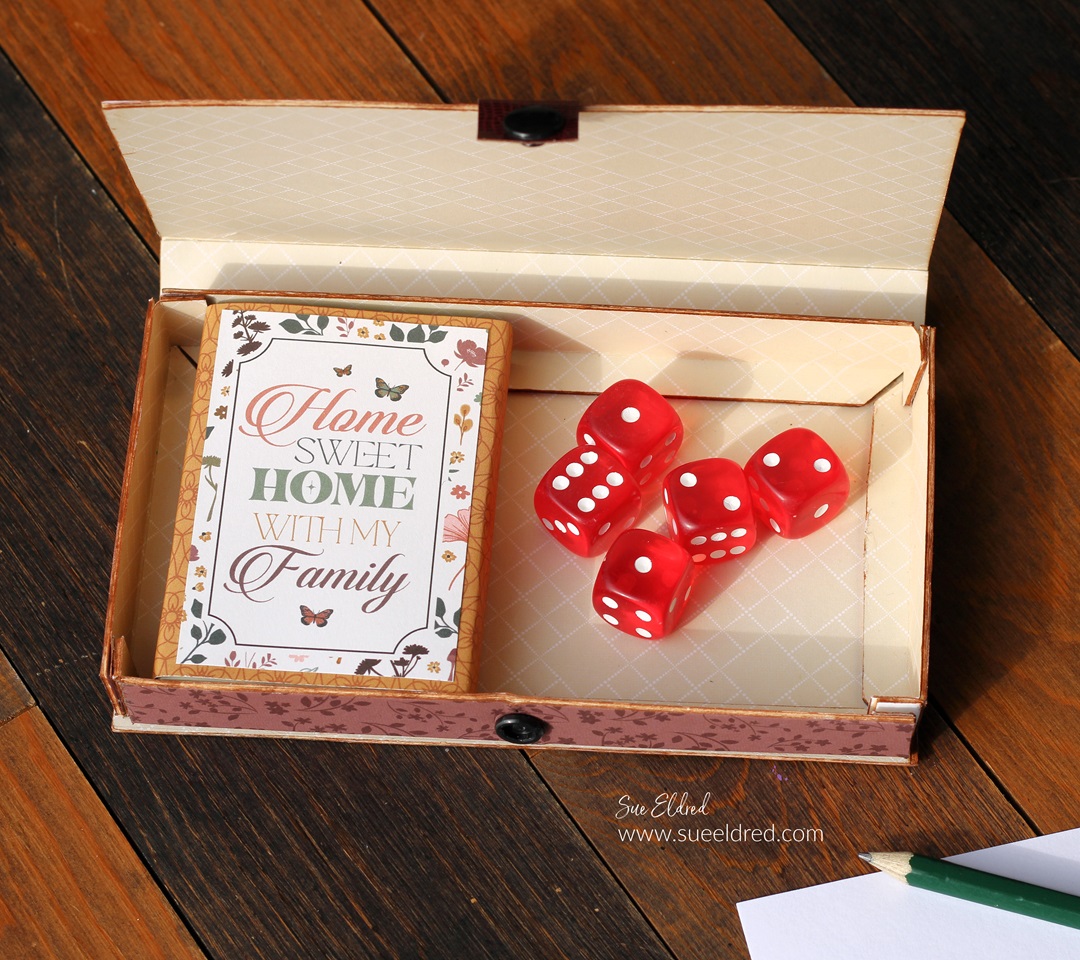
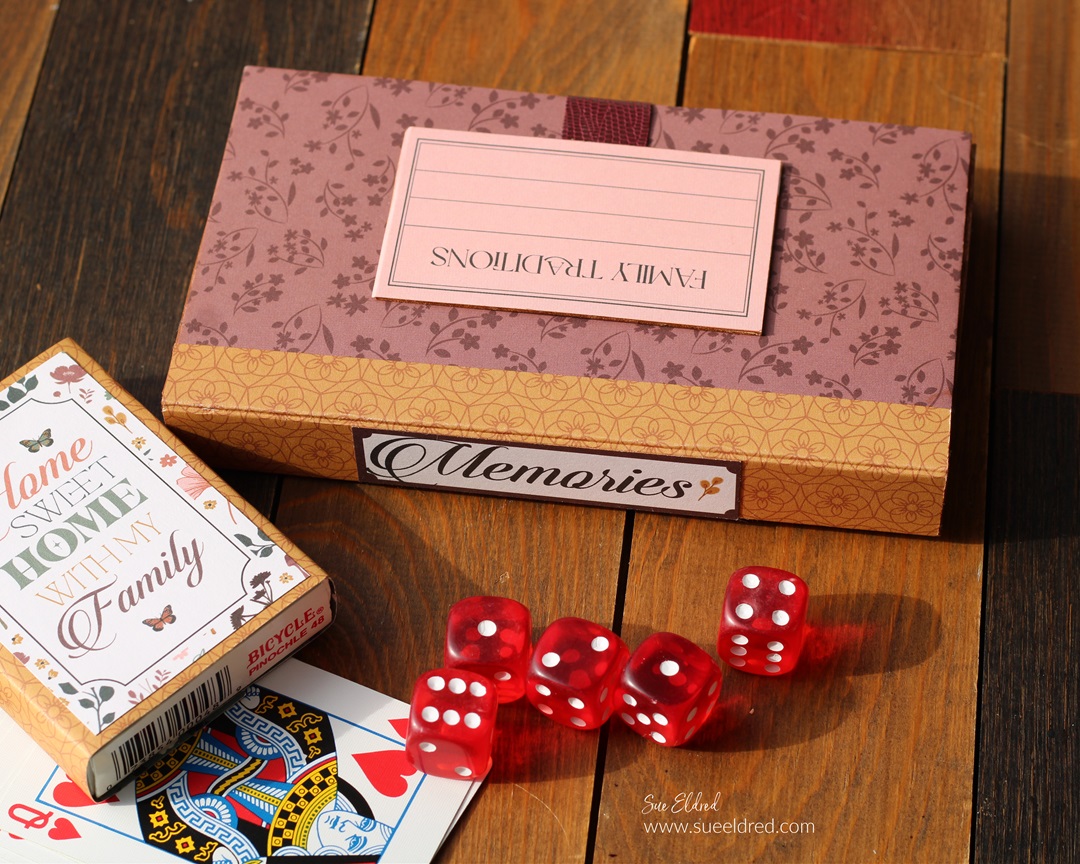
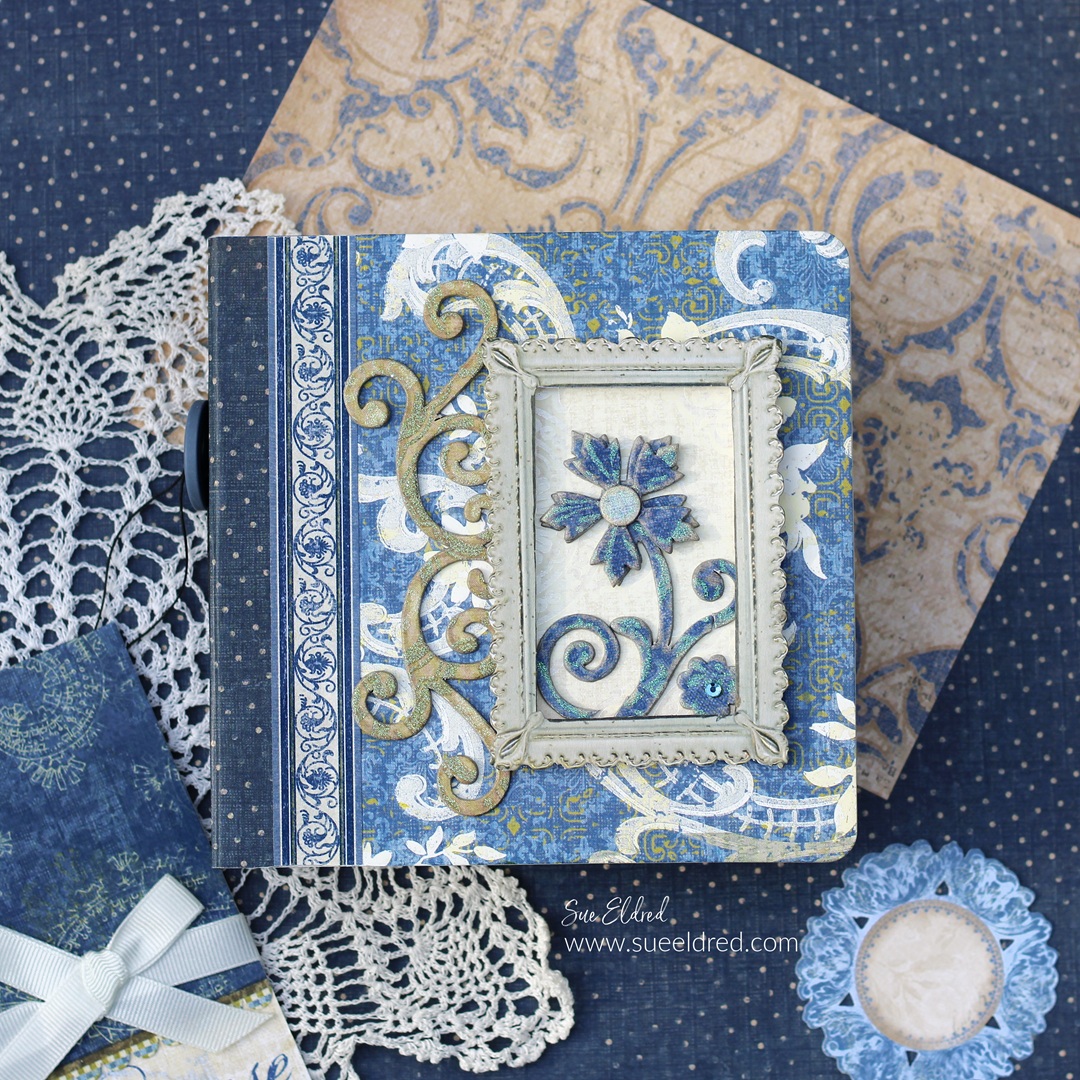
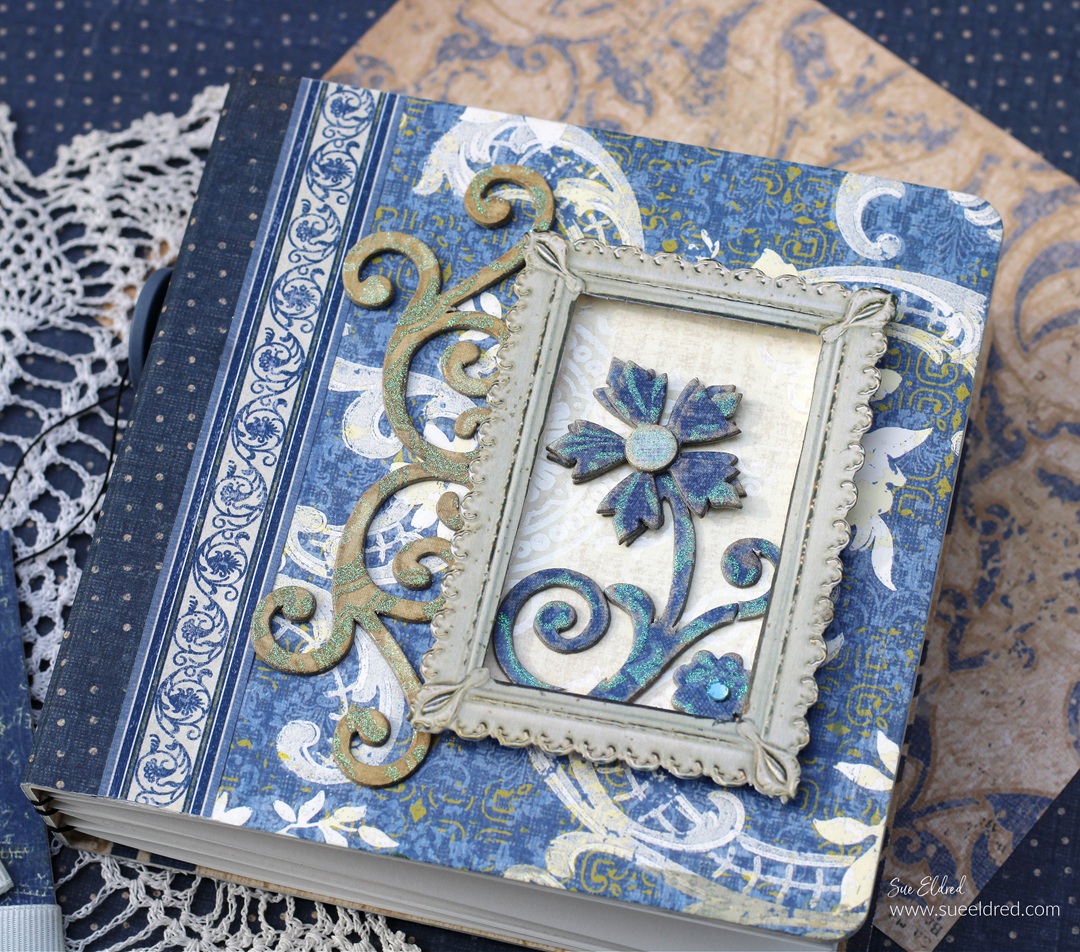
The Blue Album uses the Sizzix Mini Album by Eileen Hull*
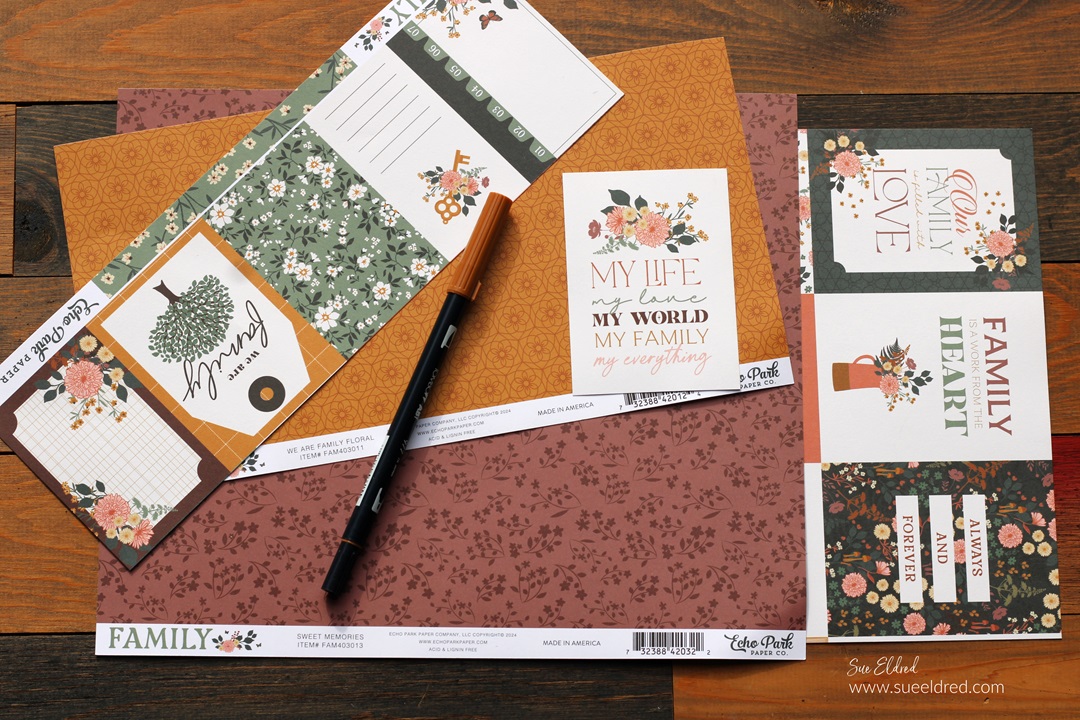
and a very old scrapbook collection from K & Company.

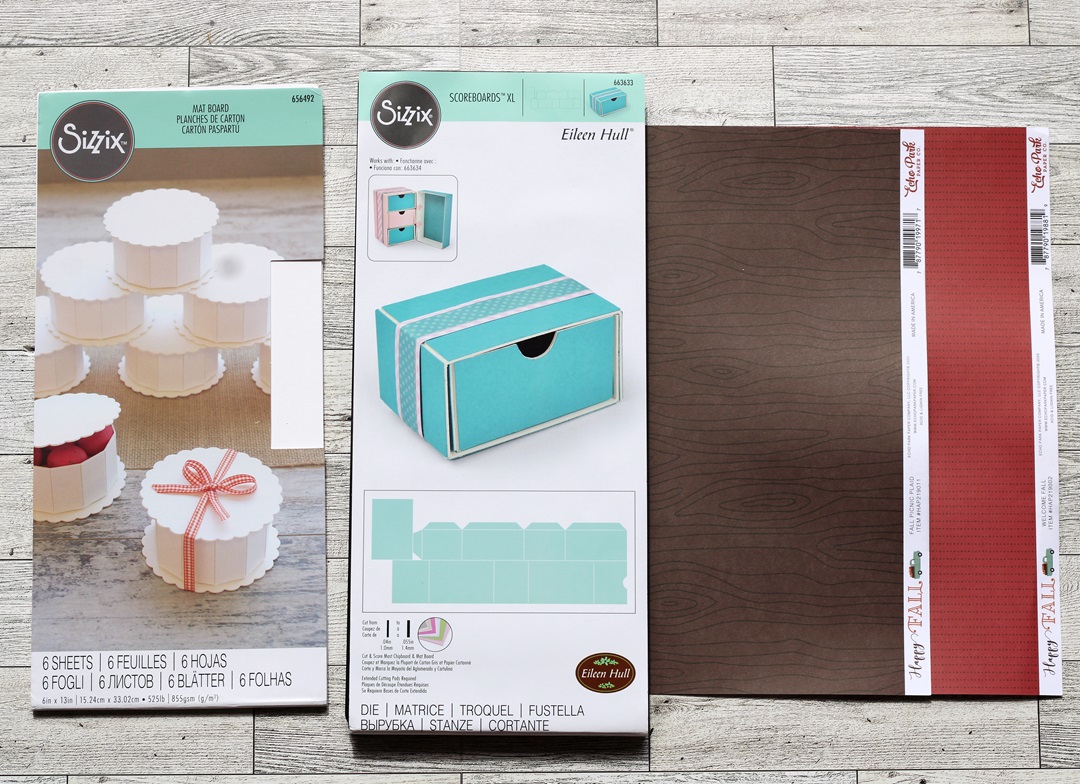
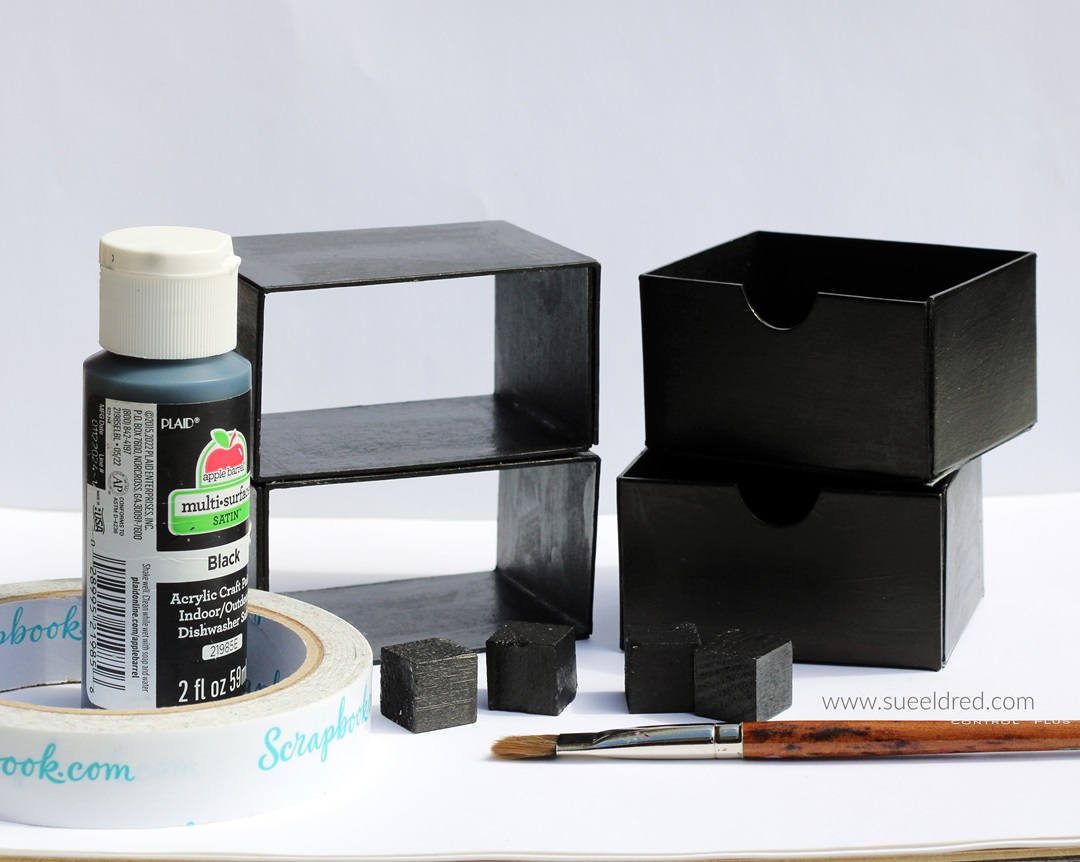
Materials Used: (*affiliate links)
- Sizzix Mini Album Die by Eileen Hull*.
- Sizzix Matboard*
- Sizzix Big Shot Die-Cutting Machine*
- Xyron Creative Station*
- Scrapbook Paper and Stickers

*Disclosure: This blog uses ads and affiliate links. If you choose to make a purchase using one of the links, I receive a small commission (at no additional cost to you) that helps offset the costs of maintaining this blog. Thanks for your support!
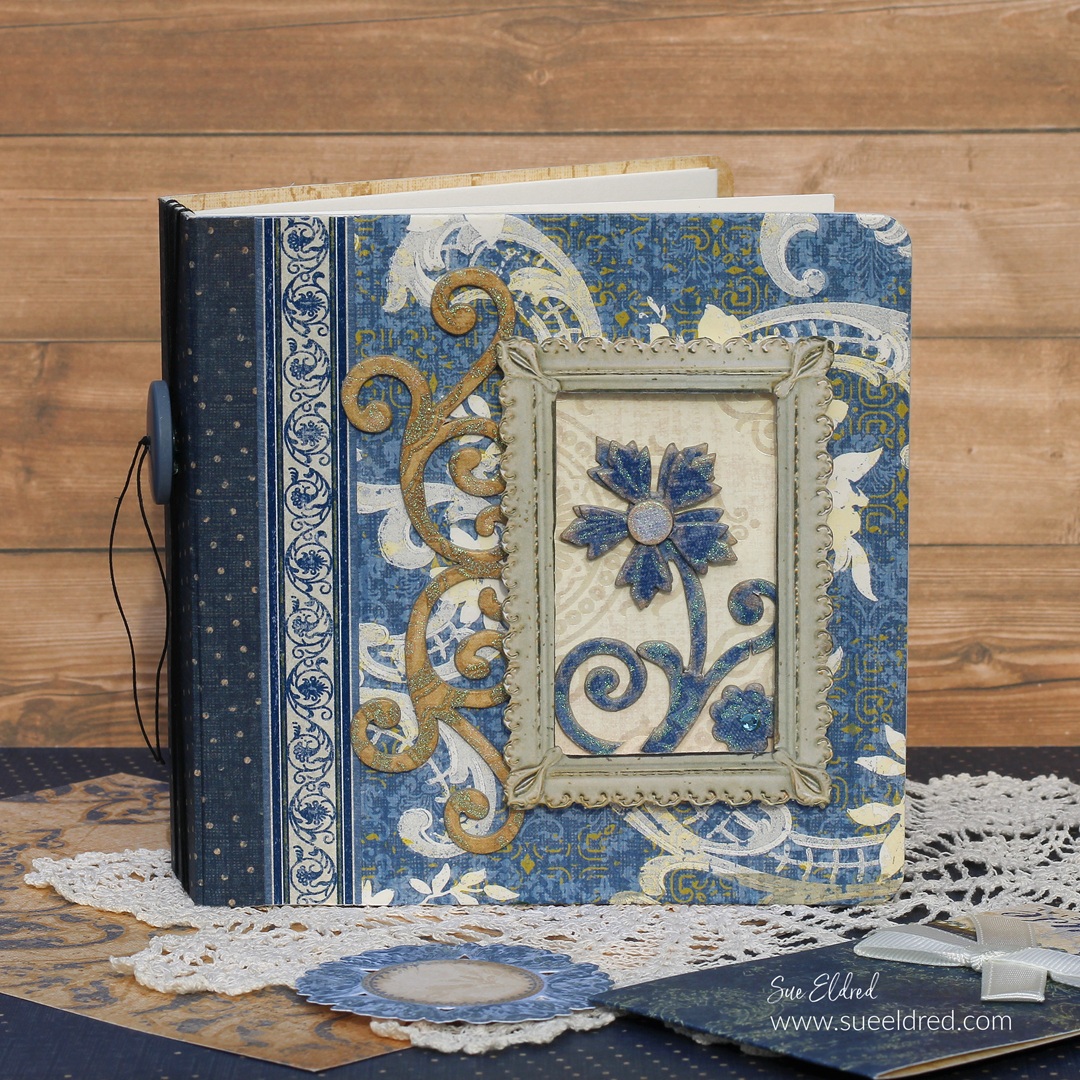
Does anyone remember K & Company?
I created project samples for them for 4 years.
That was 16 years ago.
So, this paper collection is at least 16 years old.
They were one of my favorite companies.
(And this collection was almost too pretty to use.)
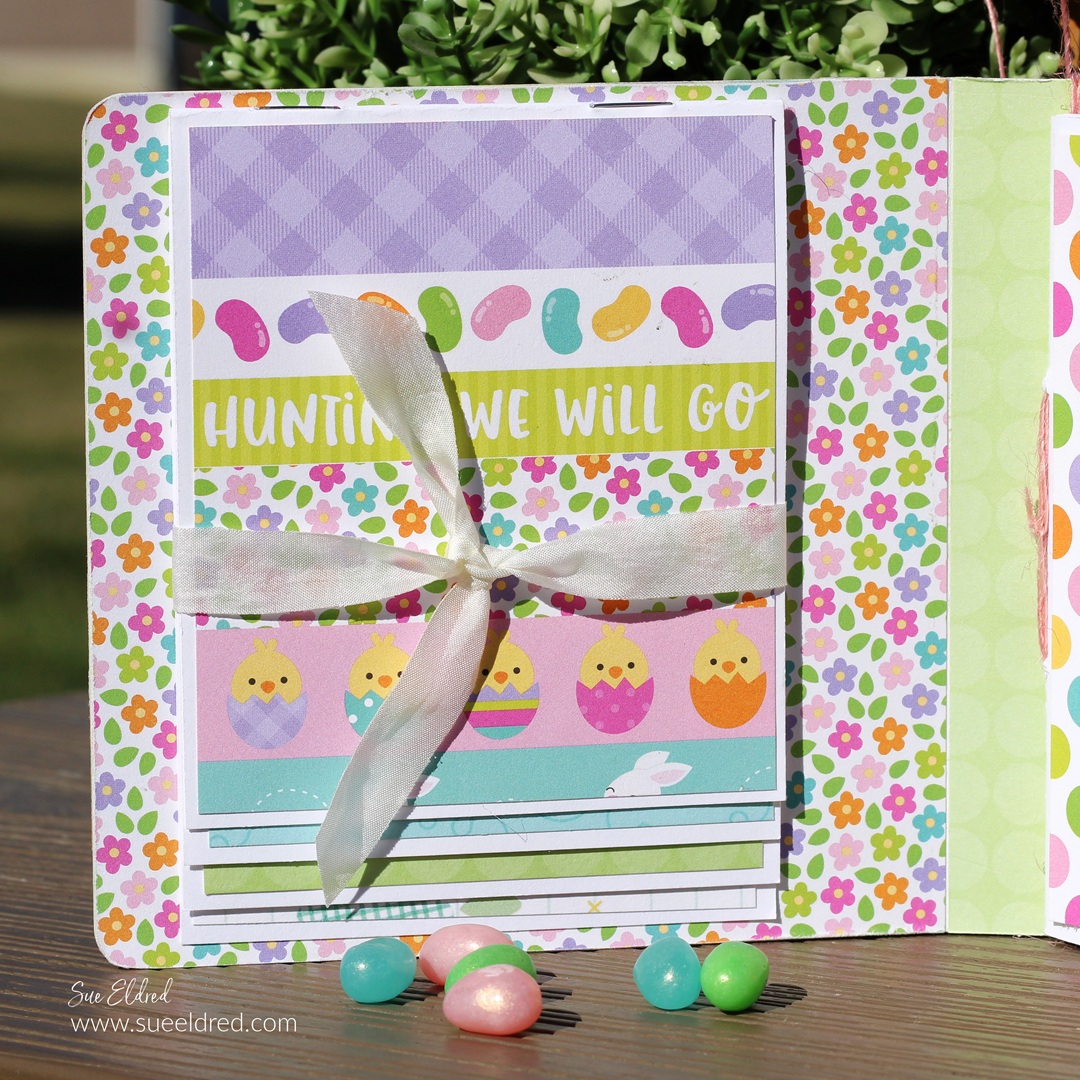
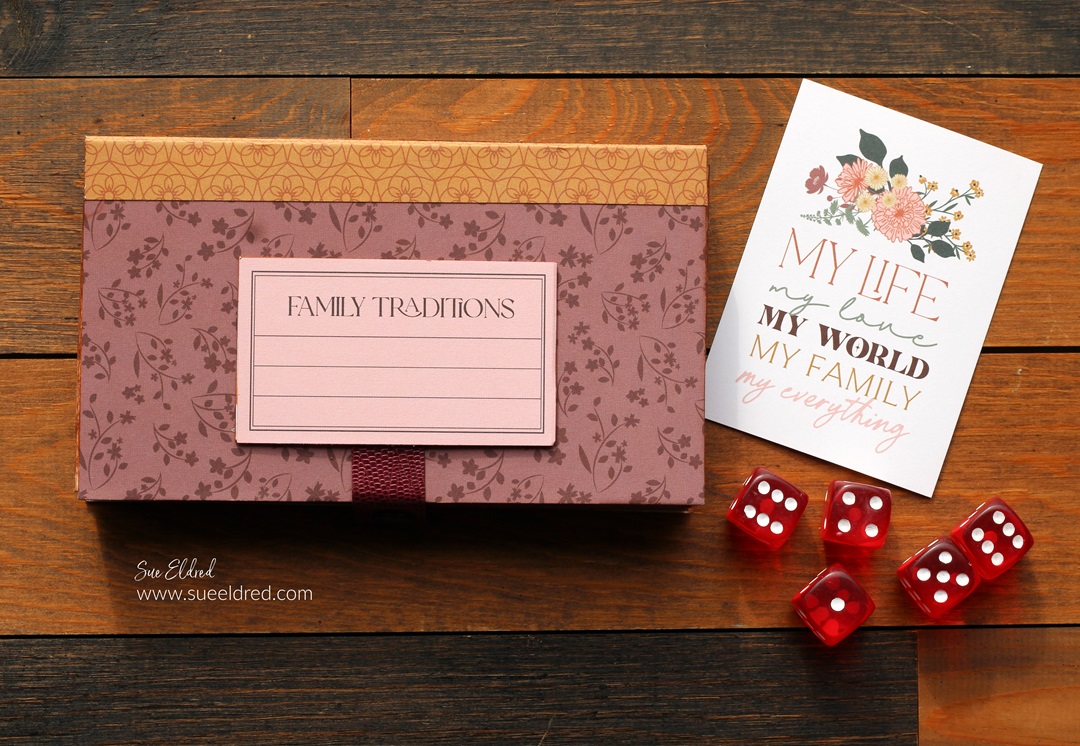
To create the mini album…
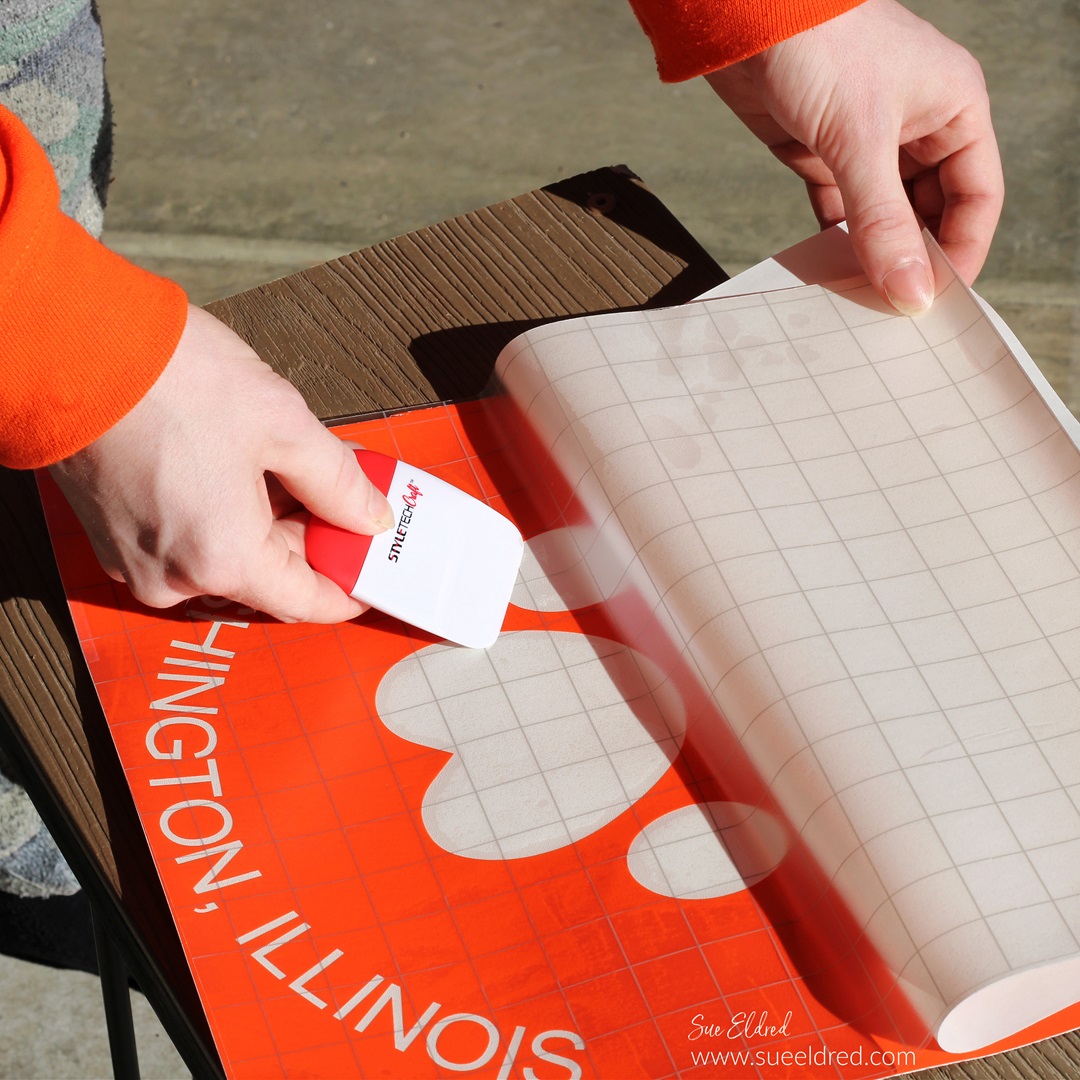
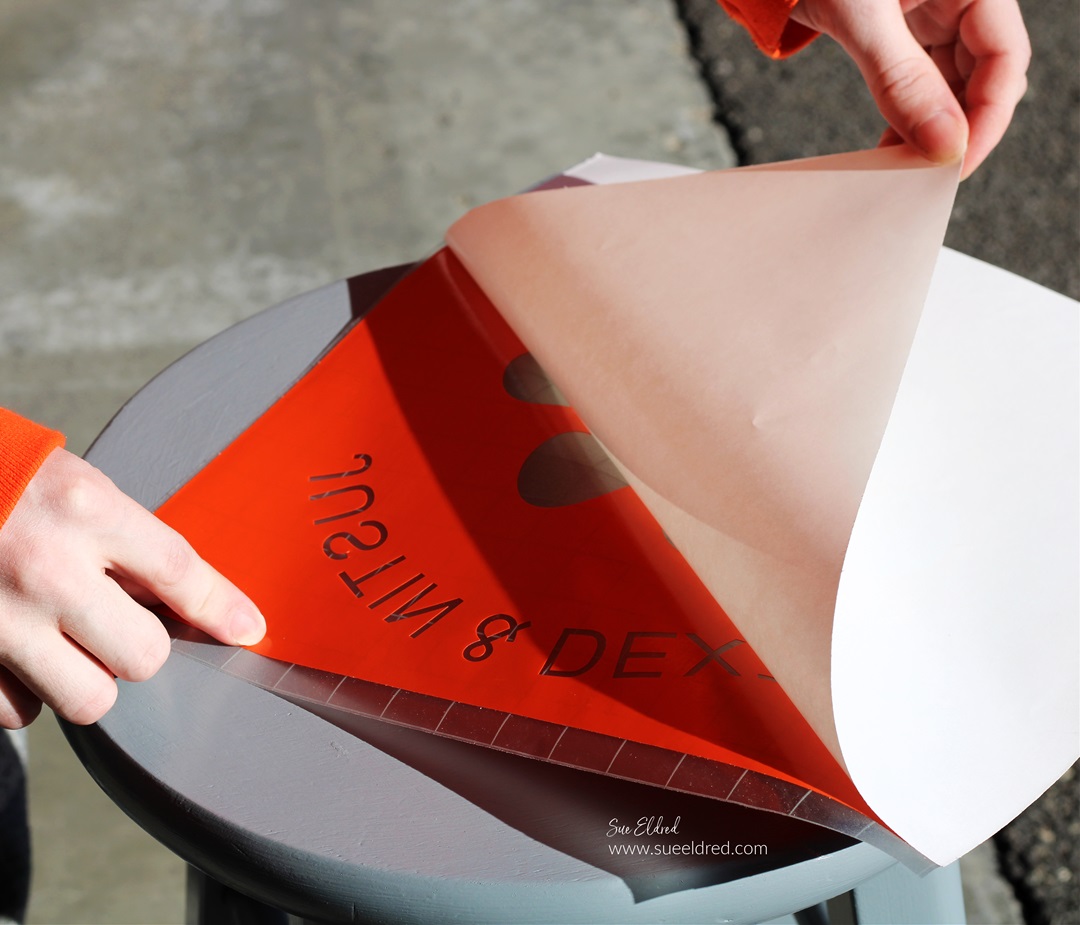
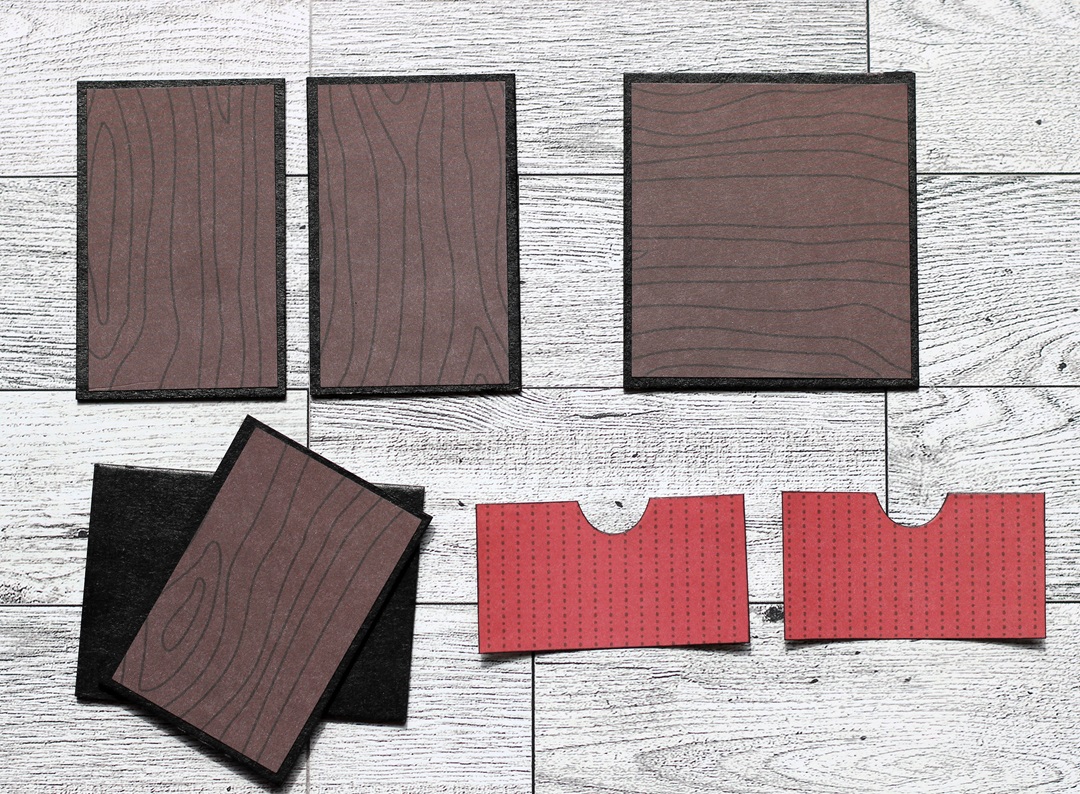
- Add adhesive to the back of the scrapbook paper. I like to use my Xyron Creative Station* to do that. It adds a complete layer of adhesive with no bubbles or puckers.
- Adhere paper to both sides of a piece of matboard*.
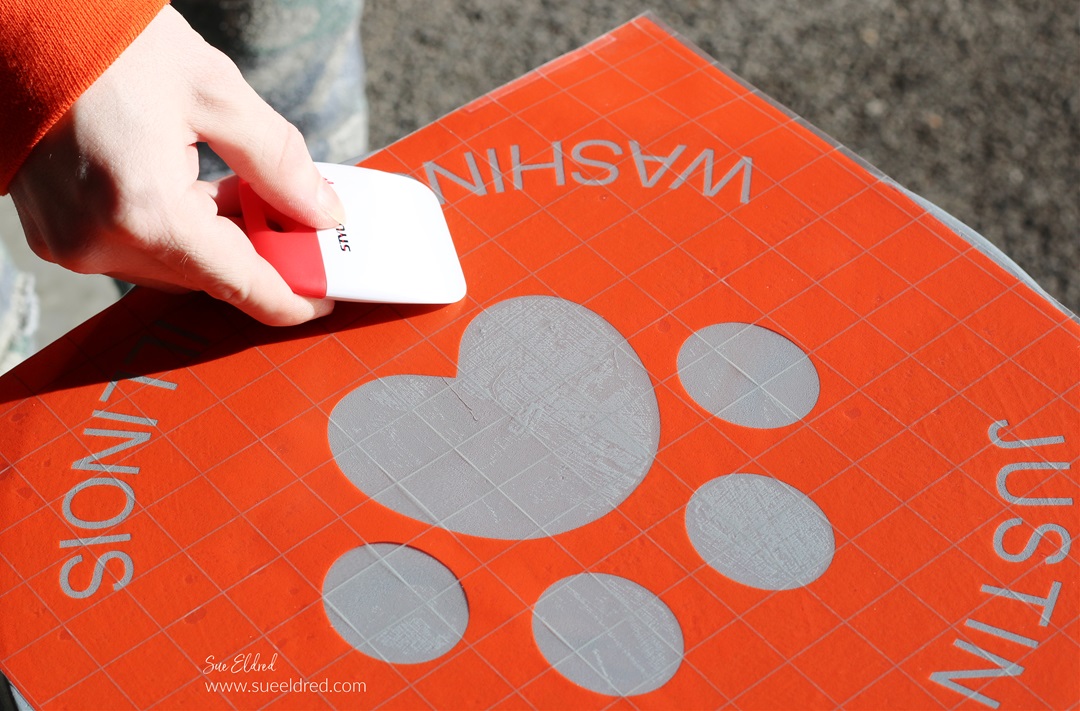
- Use the Mini Album Die* and the Big Shot Die-Cutting Machine* to cut the album from the matboard*.
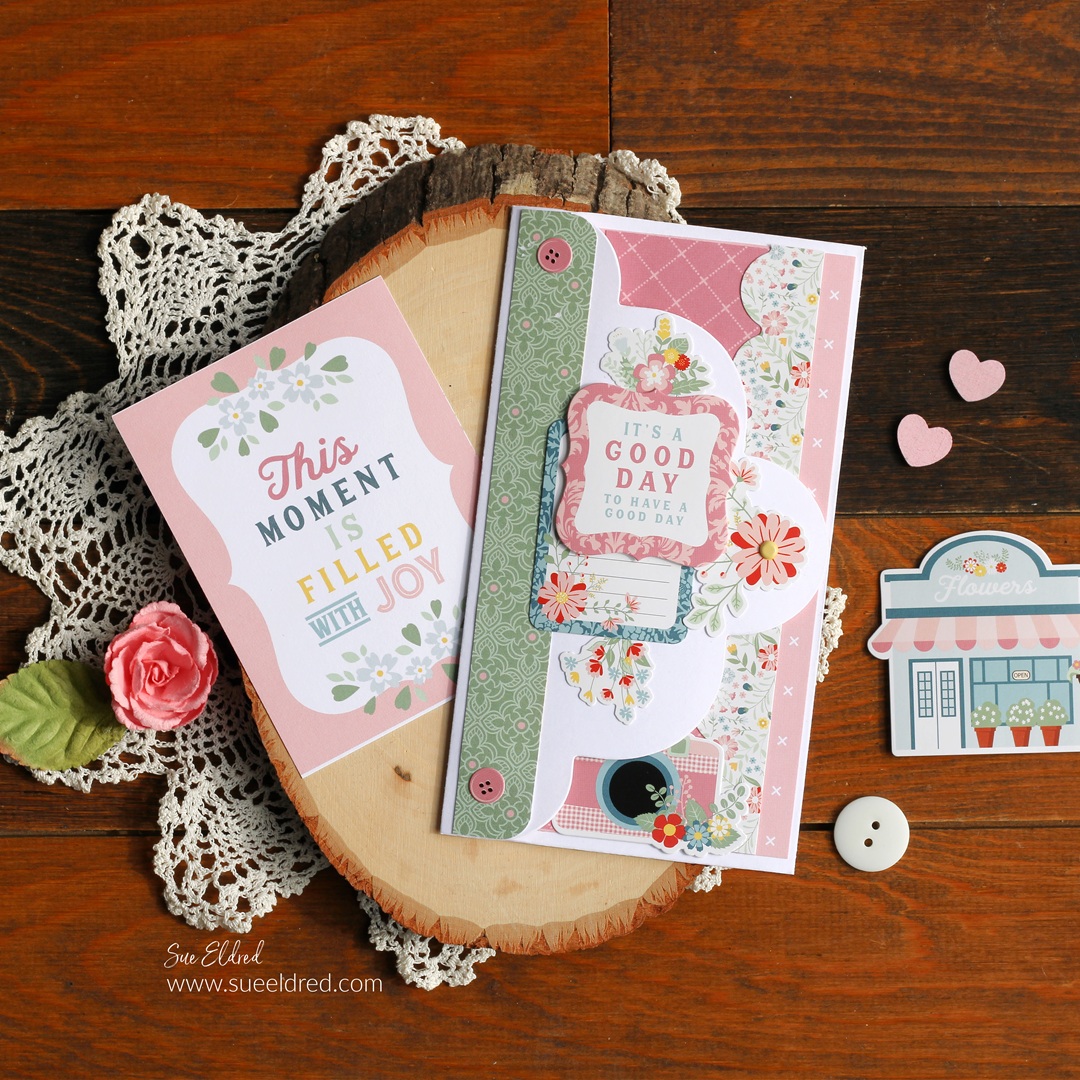
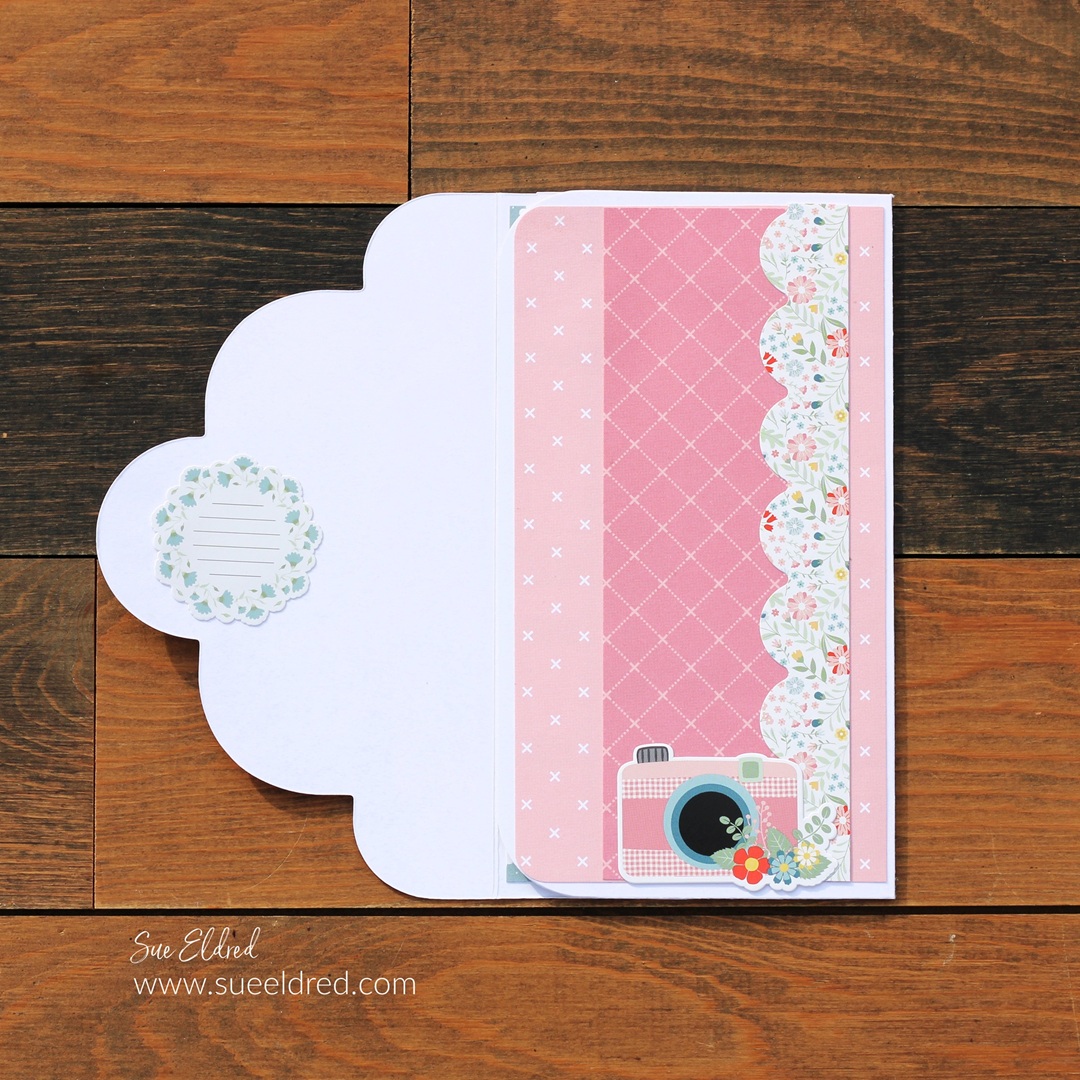
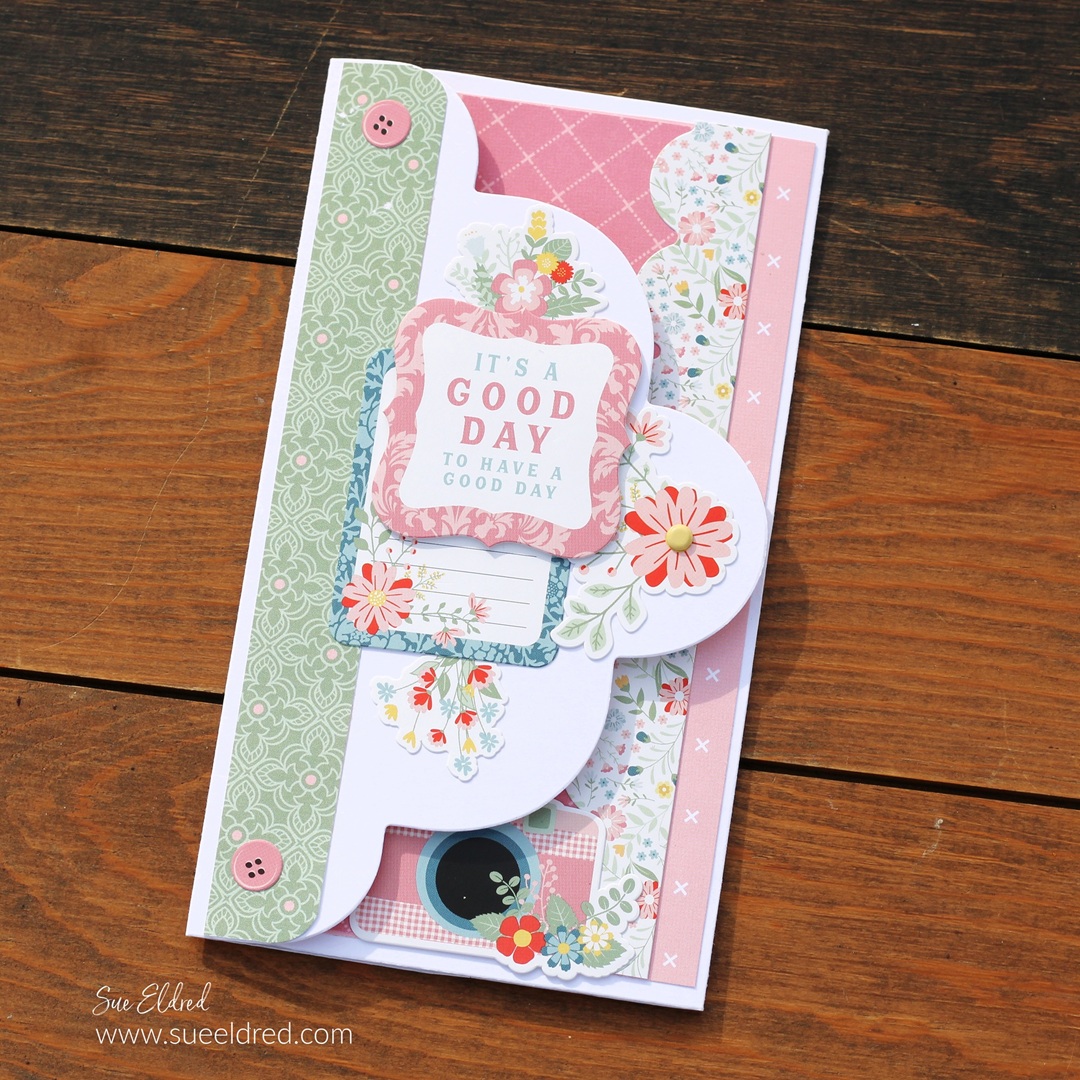
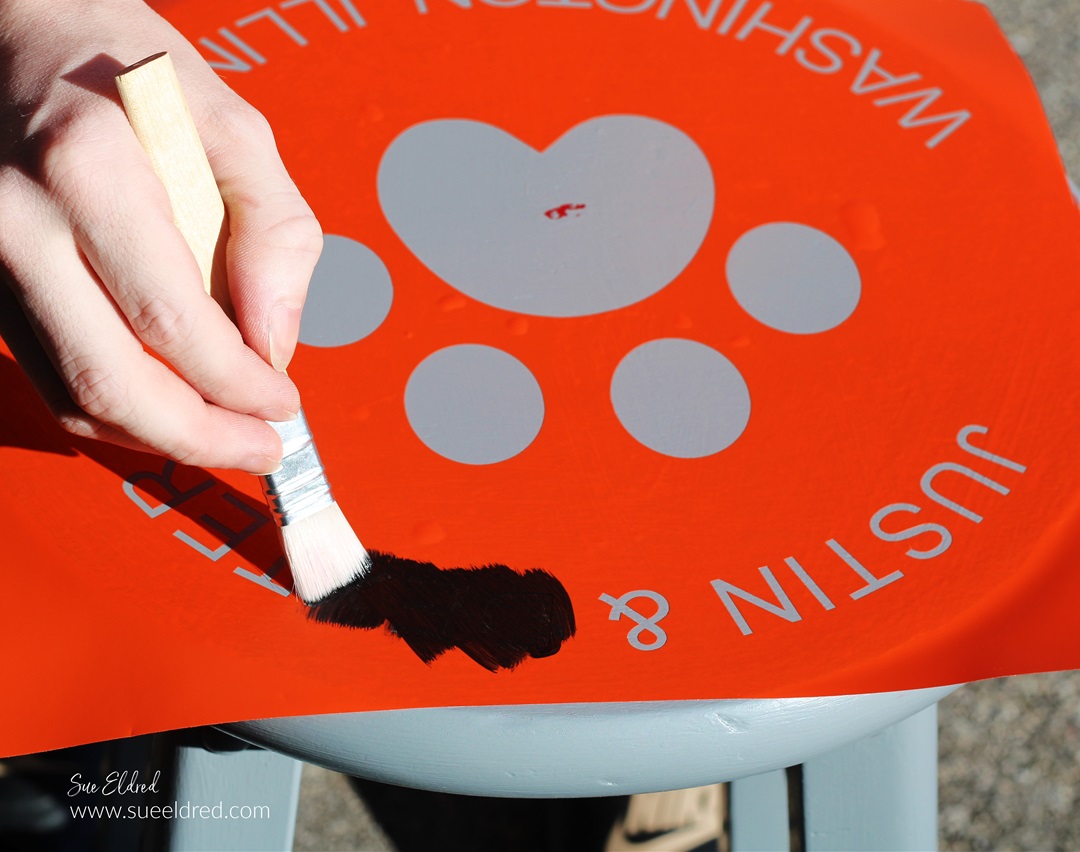
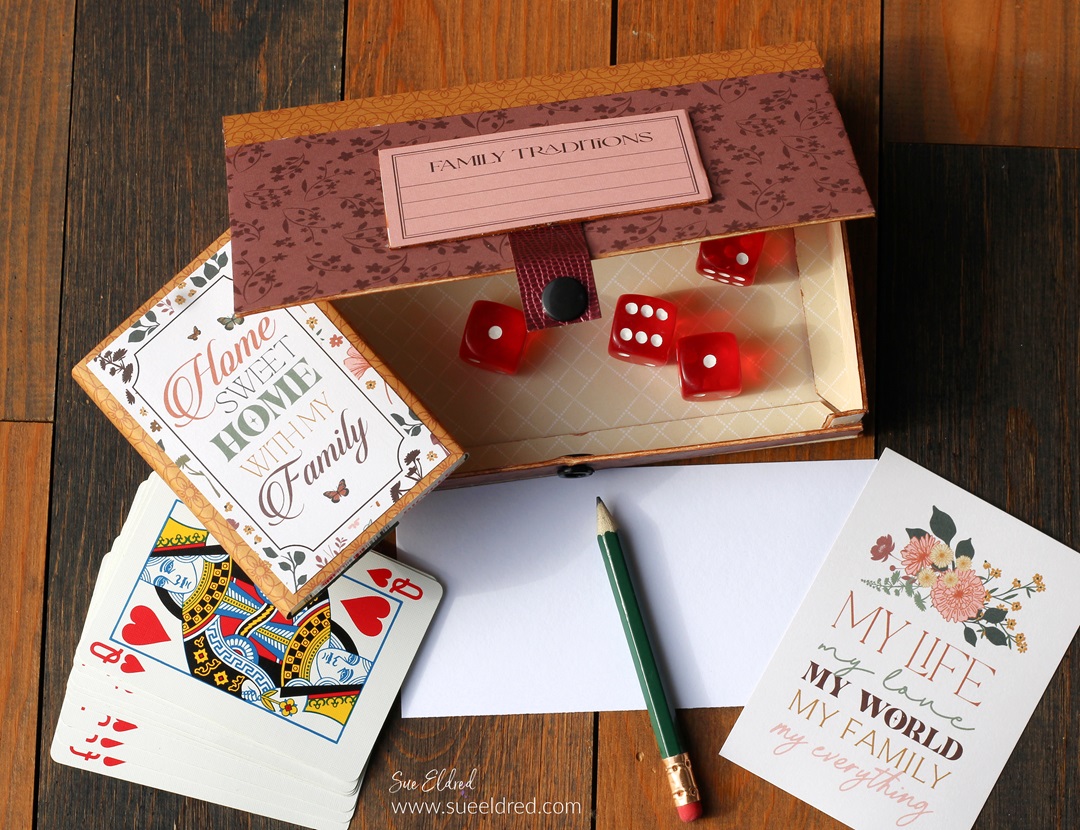
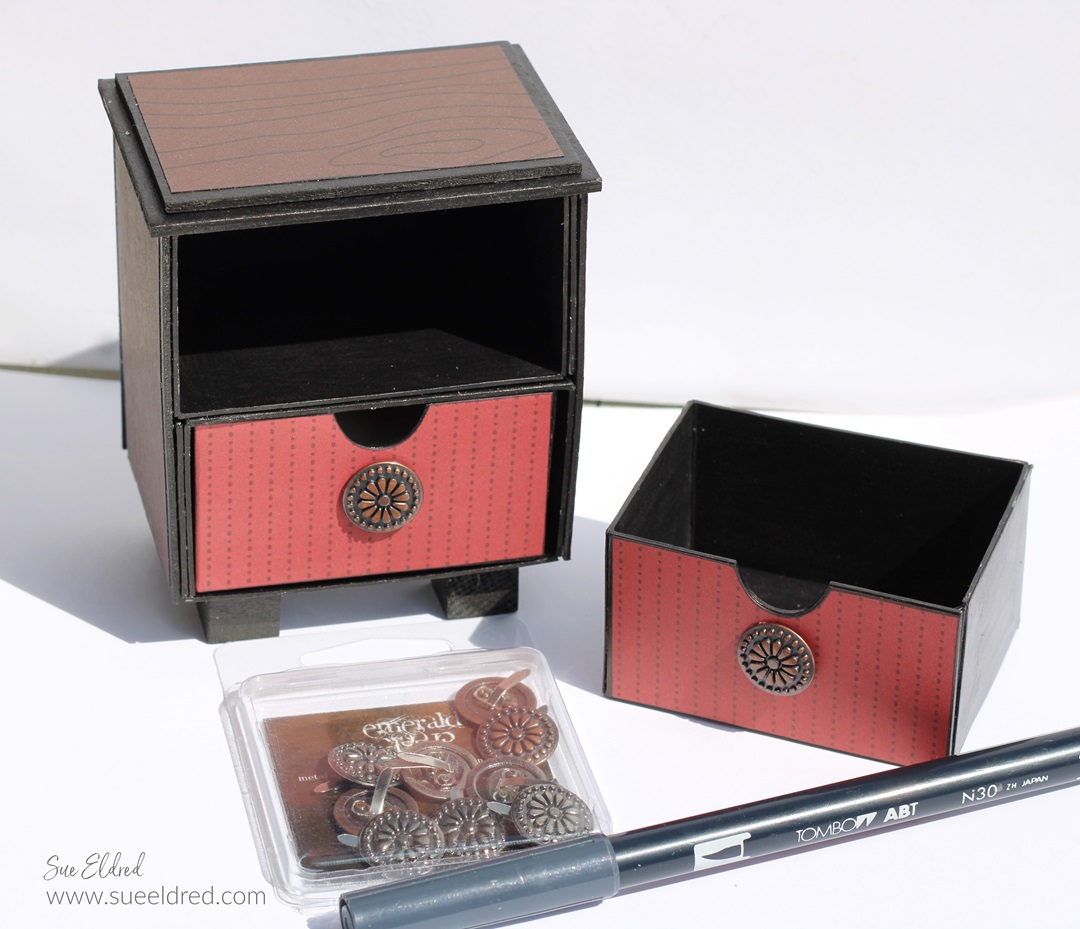
- Decorate the front of the album with stickers and frames.
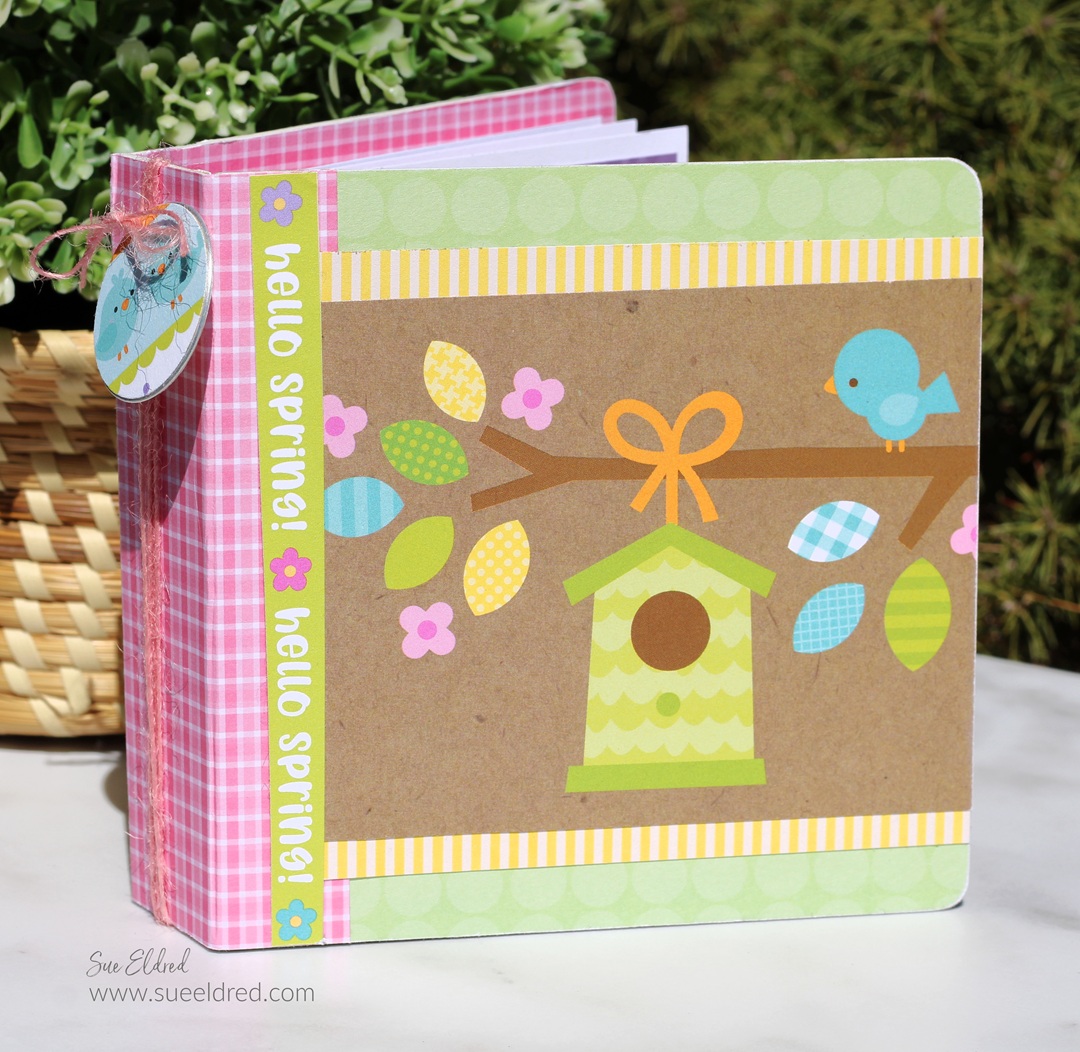
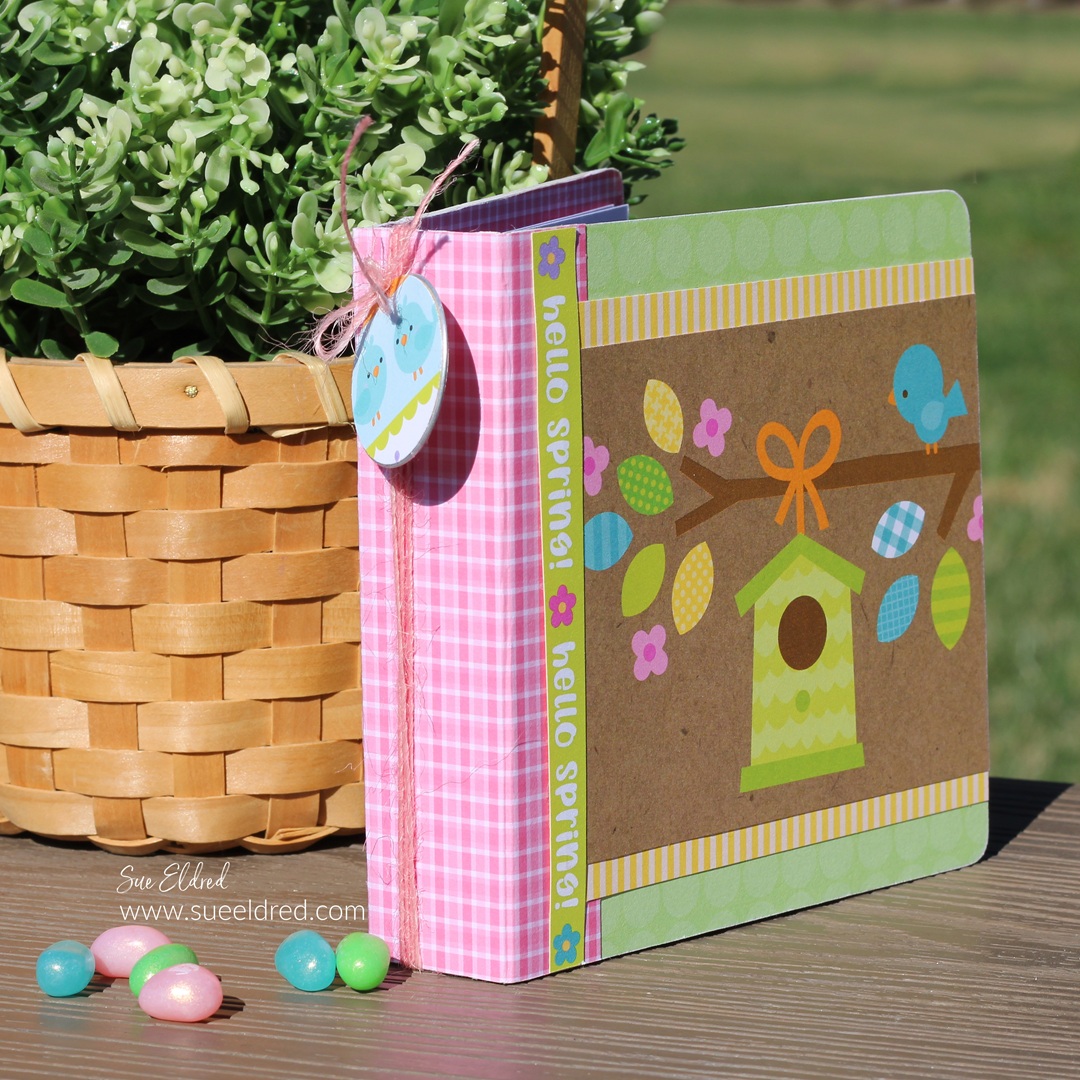
- I also like to add a coordinating paper to the spine to give it visual interest.
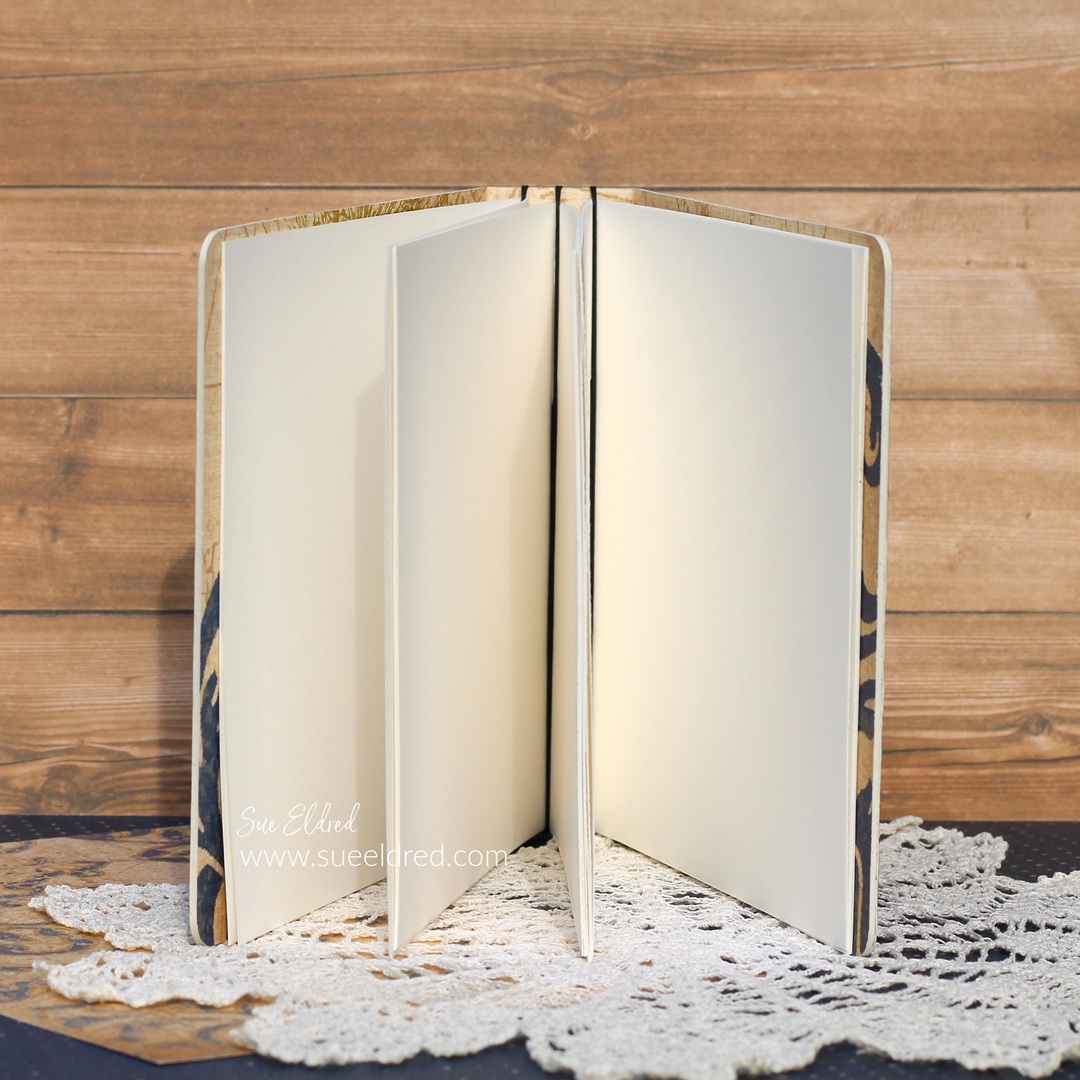
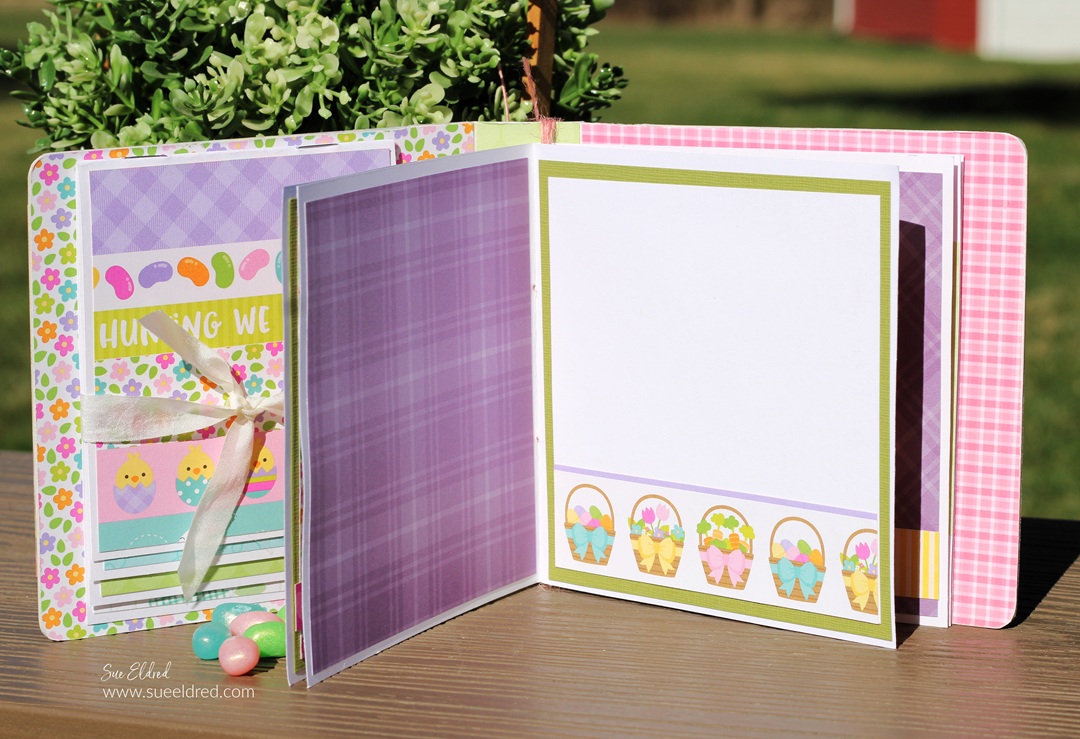
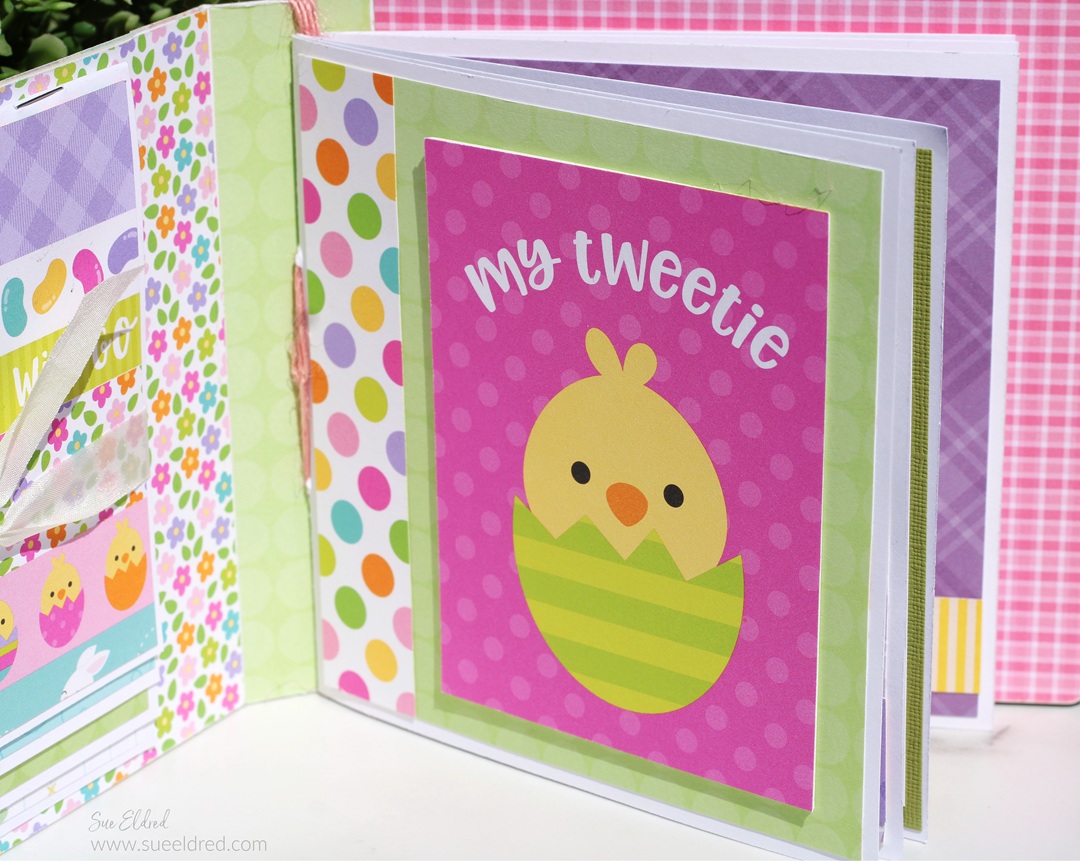
- I created three small “signature books” using cardstock for the inside of the album.
- I cut them approx. 1/4″ smaller than the book.
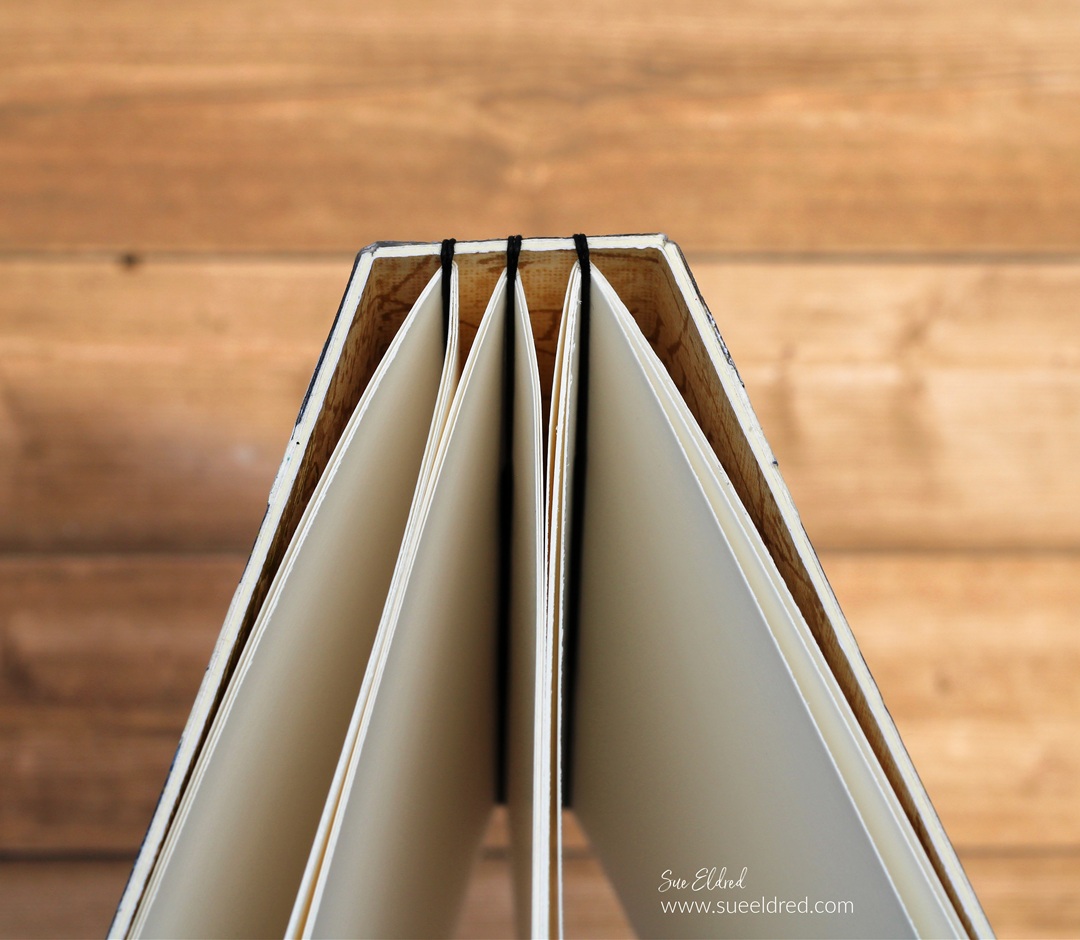
- I added them to the album by wrapping a heavy-duty upholstery thread several times around the spine.
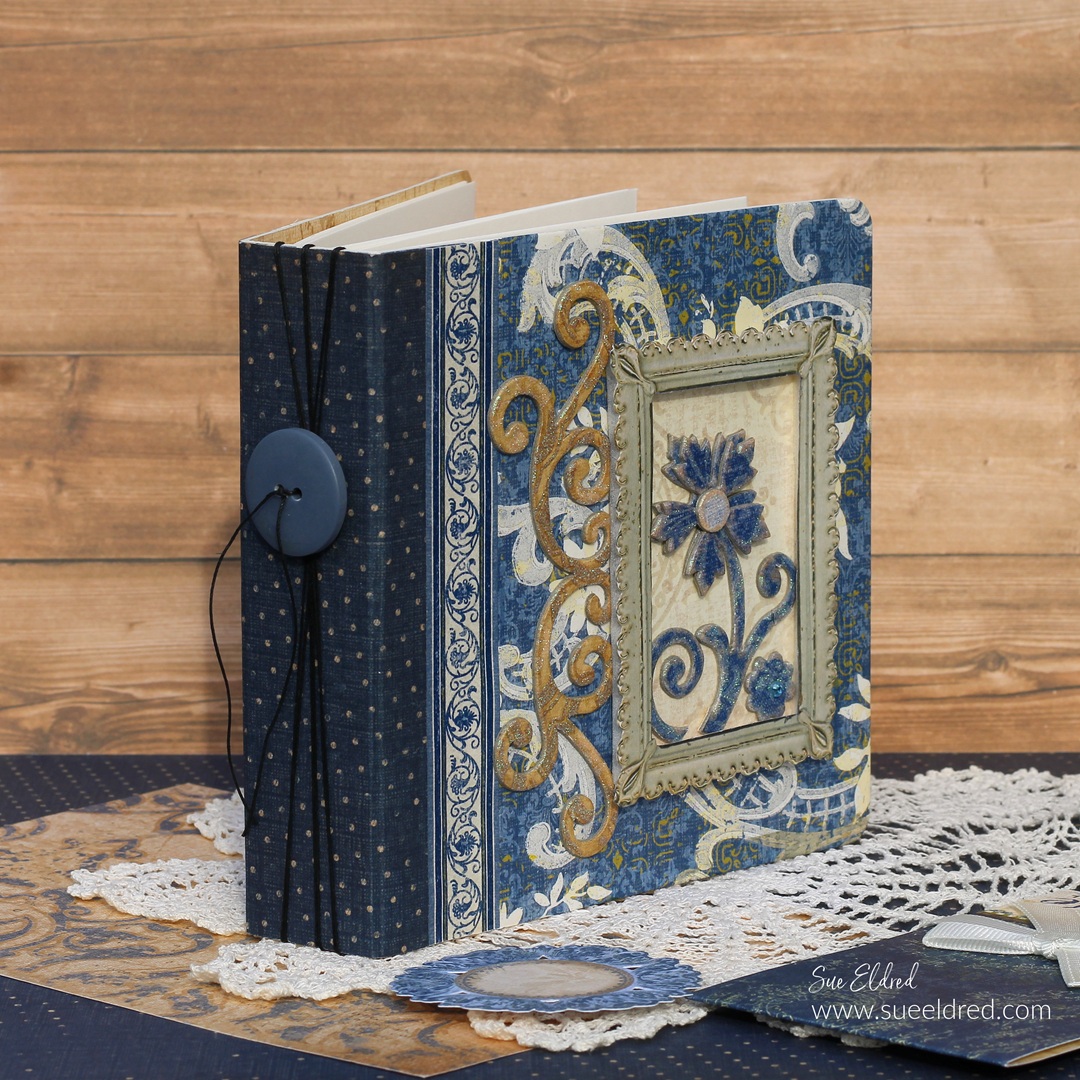
- On the ends of the thread, I added a large blue button.
- The album measures 5″ x 5″ and is a great size for a small photo album or journal.
![]()
Disclosure: This is a sponsored post. As a member of the Eileen Hull Inspiration Team, I have been provided product in exchange for my creative ideas. The view and opinions are my own.