My granddaughter Mae was here visiting over the weekend,
and I decided to make her a shirt for the 4th of July.
My original plan was to make it a Stars and Stripes Forever
shirt, but my daughter suggested something simpler.
Something she can wear for a little longer than a day.
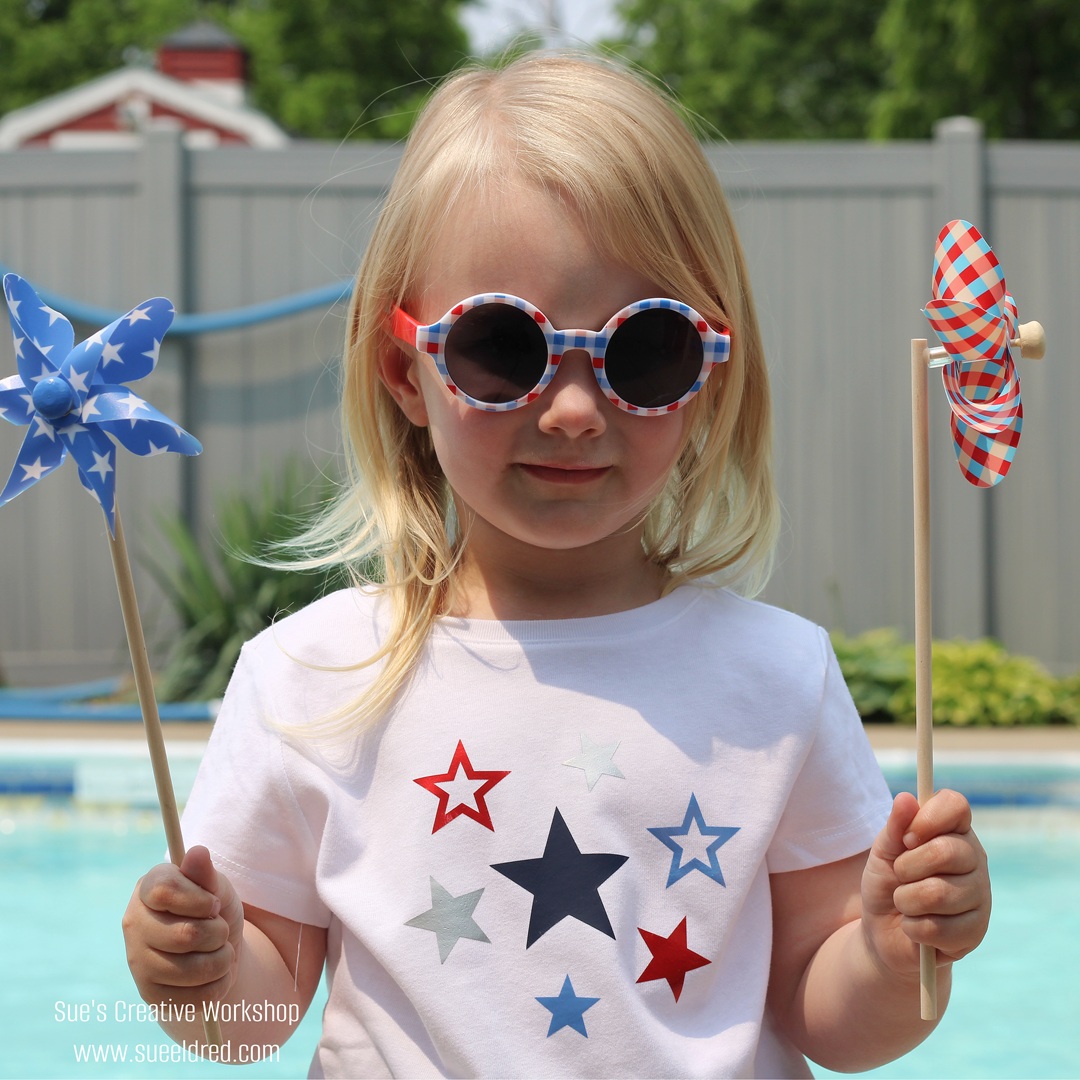
Mae’s Star Shirt for the 4th of July…
- I purchased a plain white shirt from Walmart for under $4.
- I measured the area of the shirt that I wanted the design.
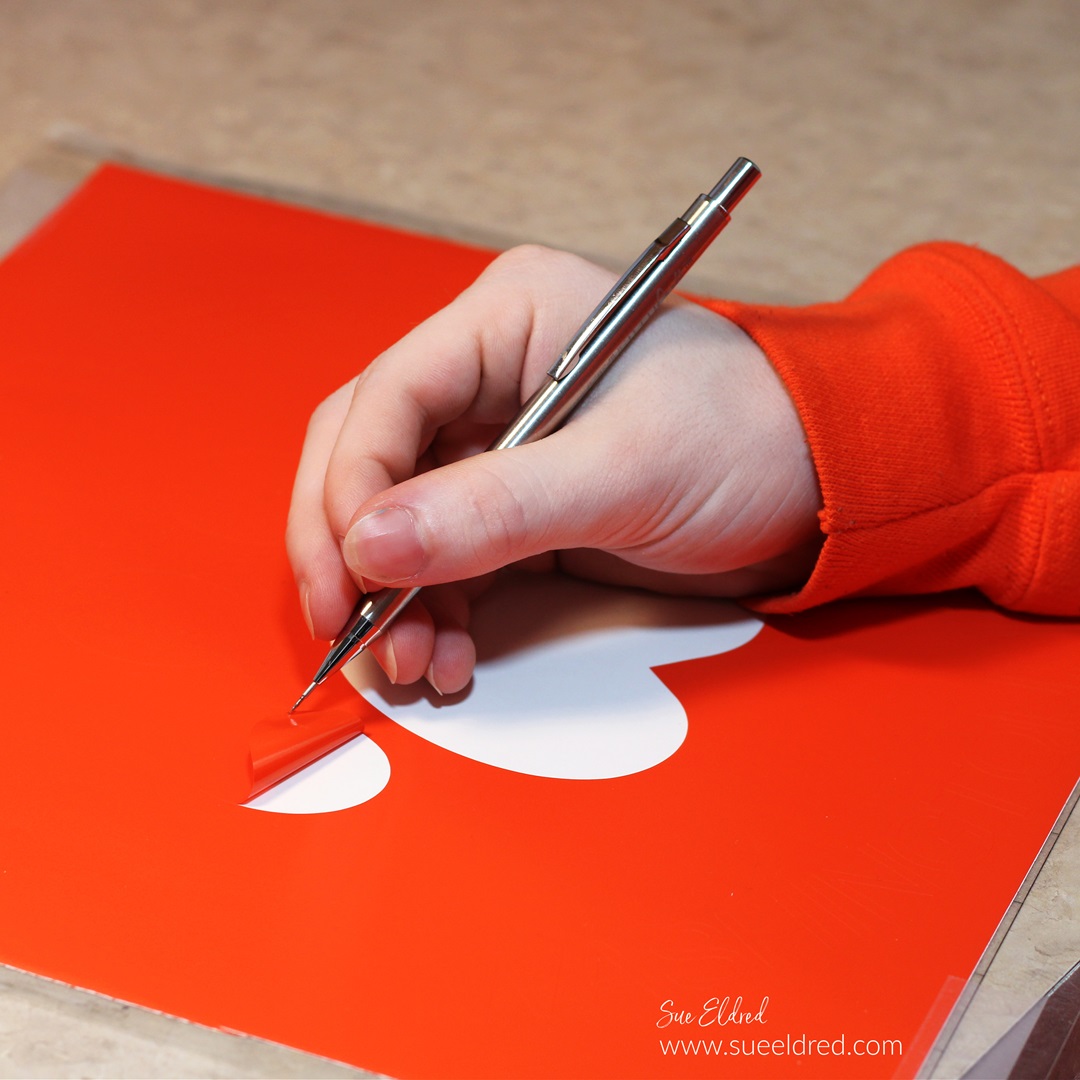
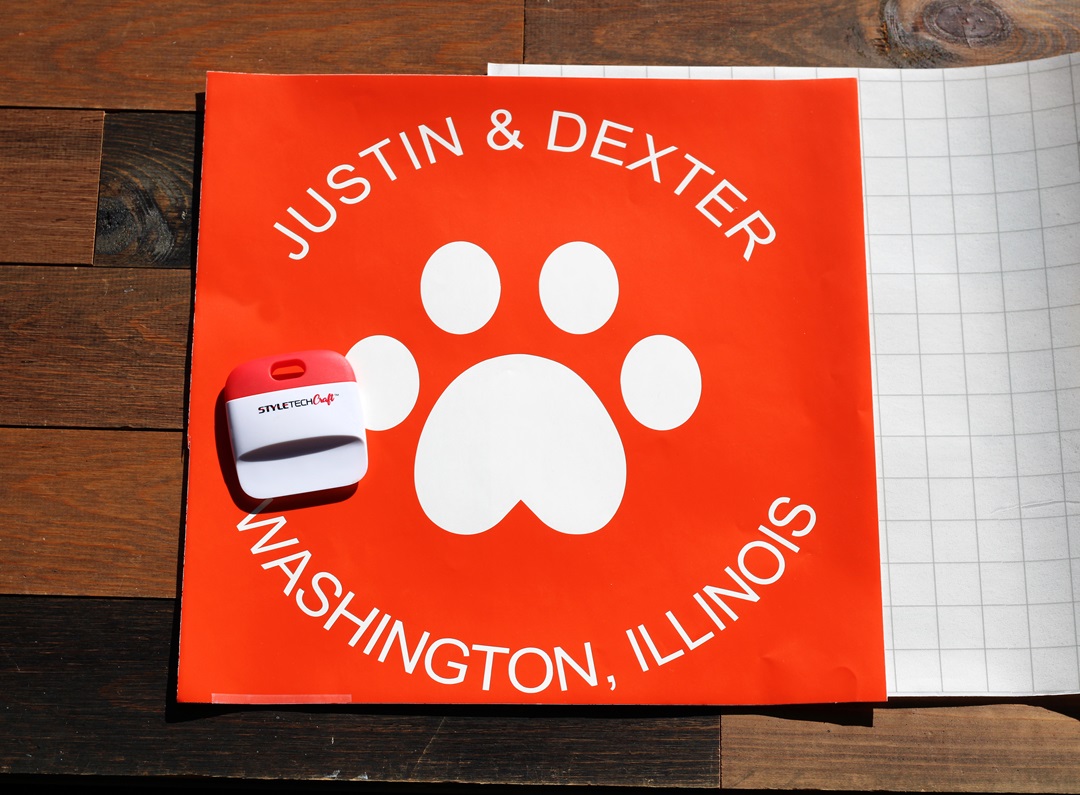
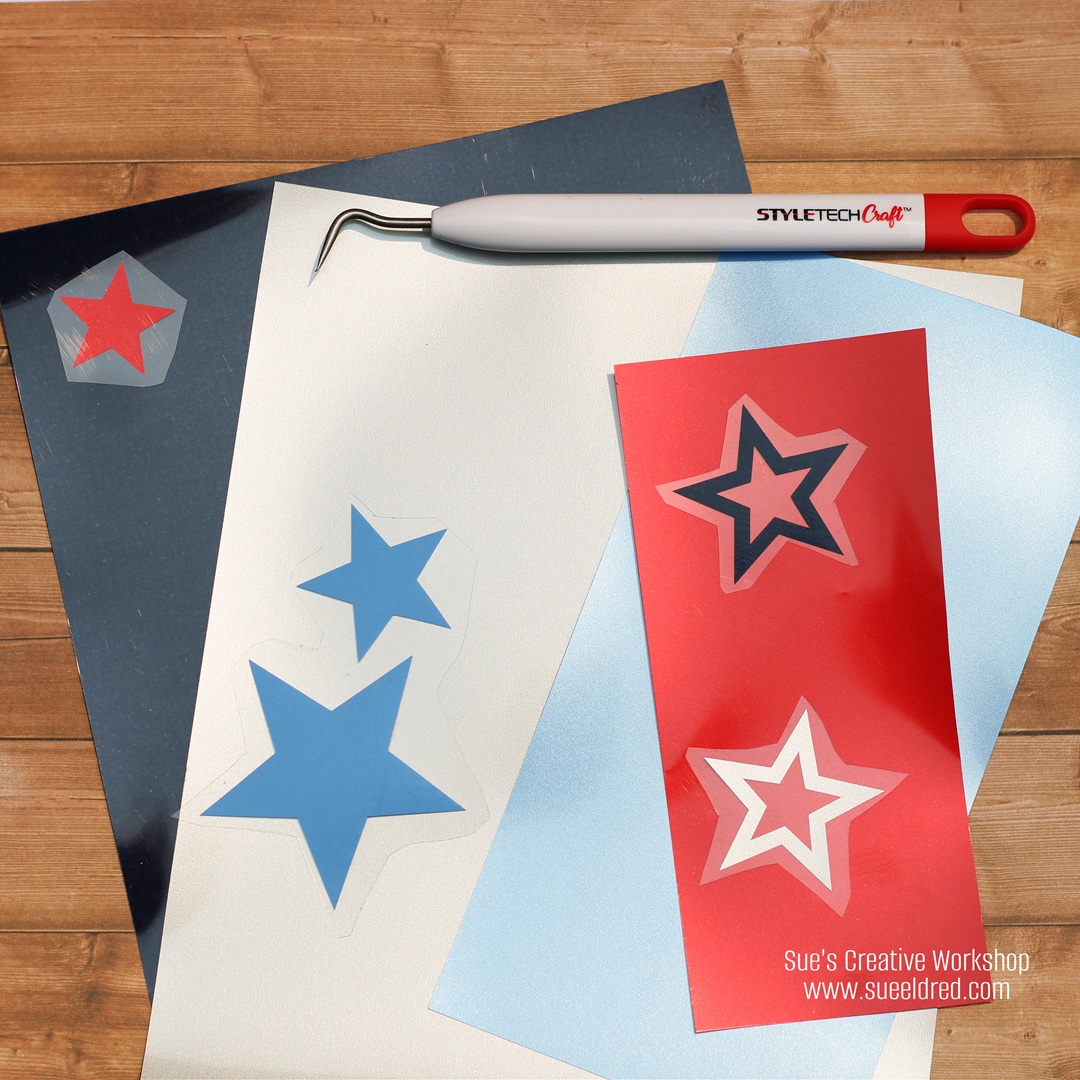
- I used StyleTechCraft’s Heat Transfer Vinyl*, it is really easy to weed and use.
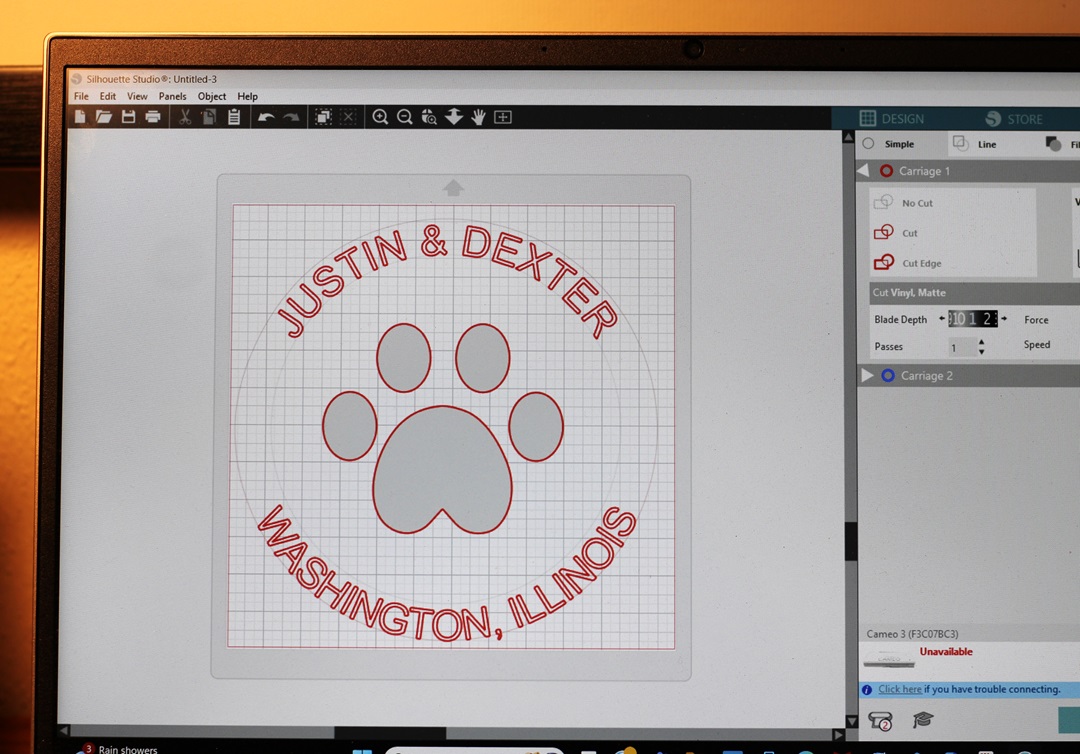
- I cut the vinyl stars using a Silhouette Cameo Electronic Die Cutting Machine*, but you could also use metal dies to cut the vinyl.
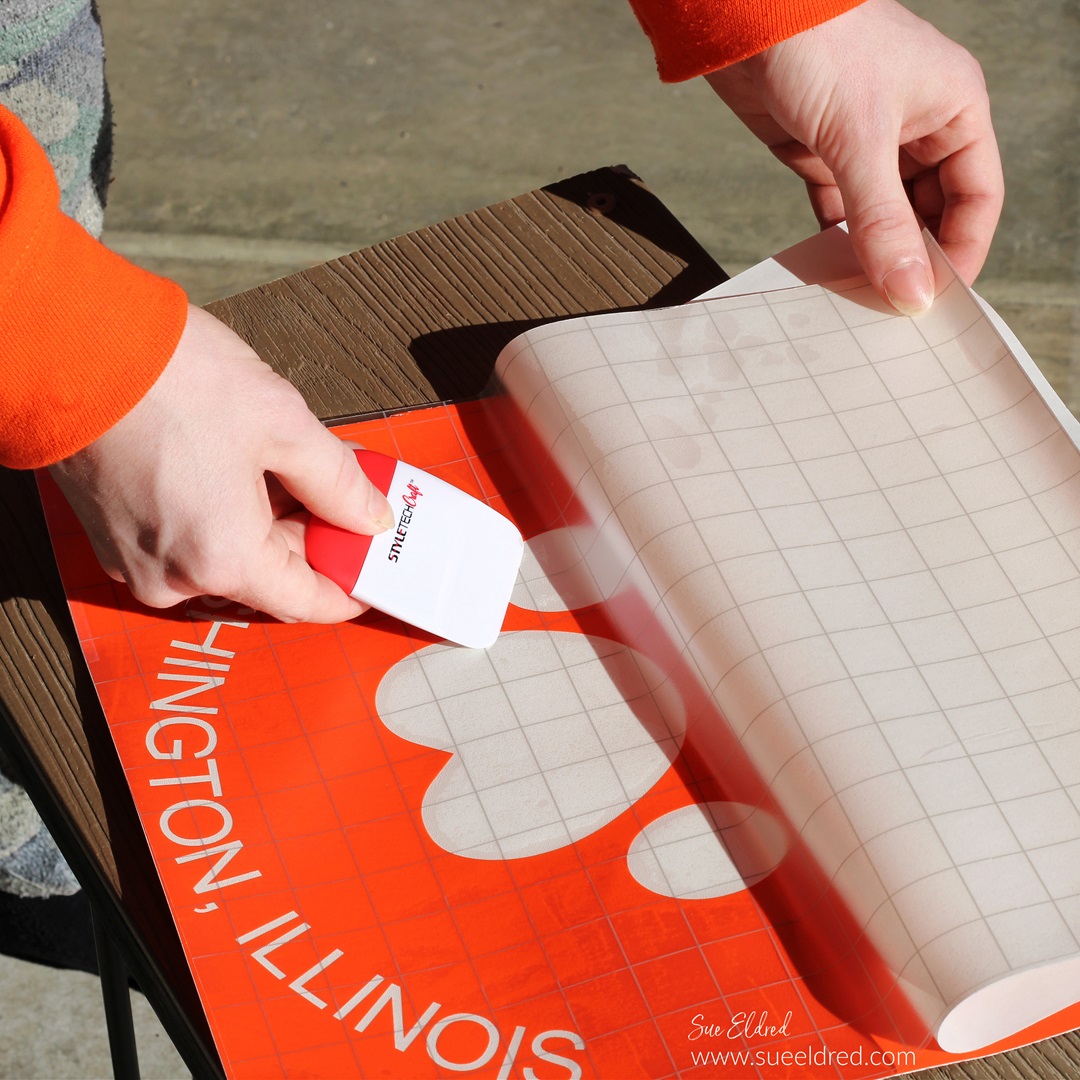
- Place the cut vinyl onto the shirt shiny side up.
- Position the design on your shirt. Cover the shirt with a pressing cloth before pressing.
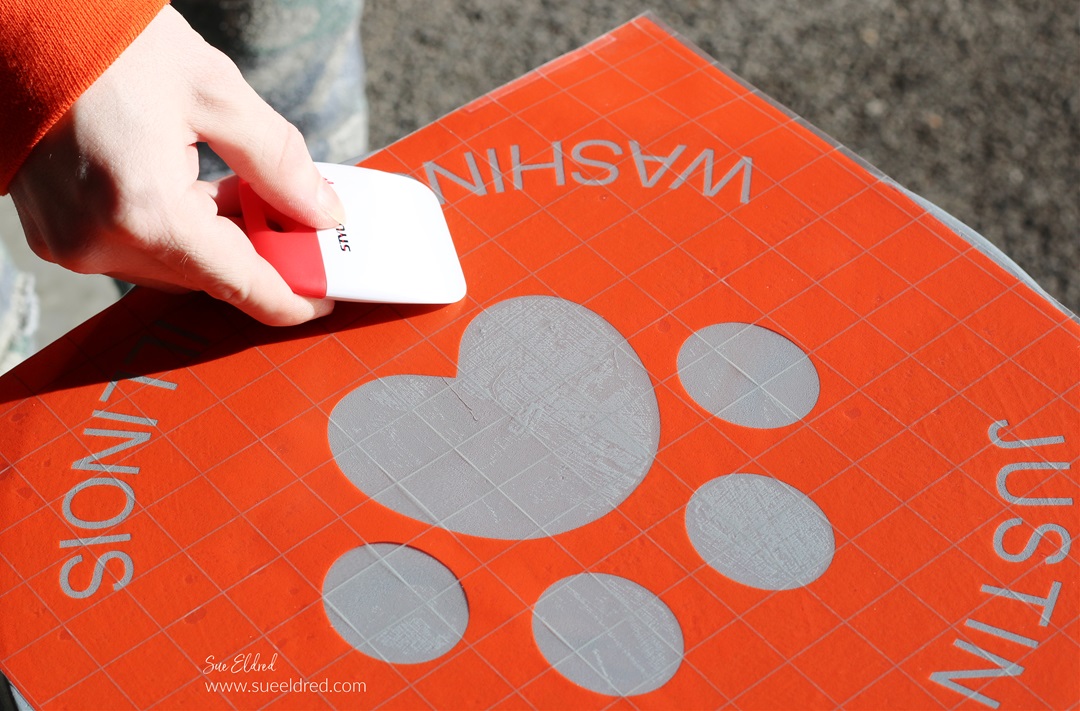
- Use an iron or a heat press* to apply heat and pressure to the design, following the manufacturer’s instructions.
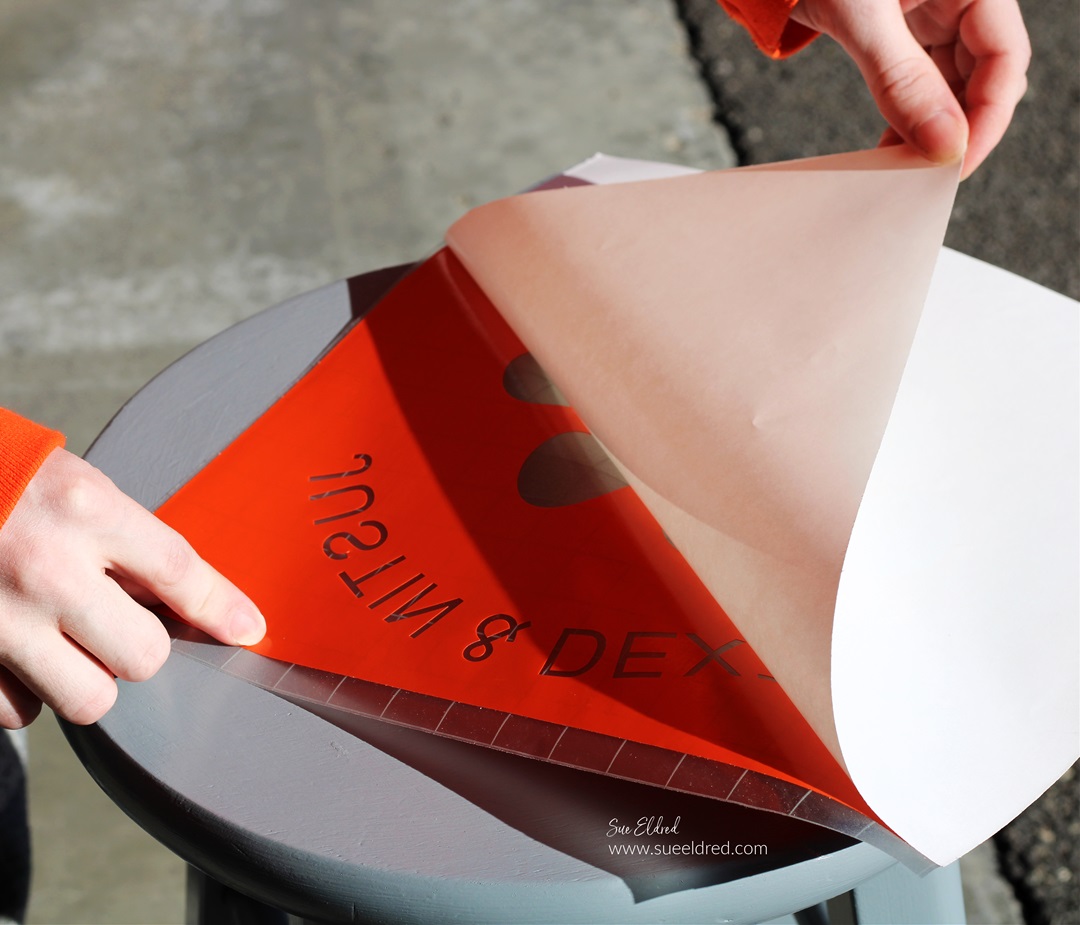
- Peel off the clear transfer tape.
- Turn the shirt inside out and iron the inside of the shirt.

StyletechCraft products brought to you by ATSM Craft*
*Disclosure: This blog uses ads and affiliate links. If you choose to make a purchase using one of the links, I receive a small commission (at no additional cost to you) that helps offset the costs of maintaining this blog. Thanks for your support!

I was happy with how the shirt turned out, and so was Mae.
She decided she didn’t want to take it off.
(FYI…Plaid Sunglasses and Pinwheels from Target.)
![]()
“This is a sponsored post. As a member of the StyleTechCraft Design Team I have been provided product and compensation in exchange for my creative ideas. The views and opinions are my own.