How to Make a Buffalo Plaid Door Hanger for Valentine’s Day.
An inexpensive Valentine’s Day project using items found at Dollar Tree*
and my favorite StyleTechCraft adhesive vinyl.

StyletechCraft products brought to you by ATSM Craft*
*Disclosure: This blog uses ads and affiliate links. If you choose to make a purchase using one of the links, I receive a small commission (at no additional cost to you) that helps offset the costs of maintaining this blog. Thanks for your support!

Materials Used: (*affiliate links)
- Large Wood Heart*
- Faux Flowers from Dollar Tree*
- Valentine’s Day Glittery Heart Foam Pick*
- Plaid Acrylic Paint*
- Paintbrush*
- Silhouette Cameo Electronic Die Cutting Machine*
- Heart and Valentine SVG Files from The Silhouette Store
- StyleTechCraft Adhesive Red Luster Vinyl*
- StyleTechCraft Vinyl Tool Kit*
- StyleTechCraft Vinyl Transfer Tape*
- StyleTechCraft Matte Removable Vinyl* (any color)

Buy Your Crafting Supplies Now at Dollar Tree starting at $1.25!
*Disclosure: This blog uses ads and affiliate links. If you choose to make a purchase using one of the links, I receive a small commission (at no additional cost to you) that helps offset the costs of maintaining this blog. Thanks for your support!
Directions:
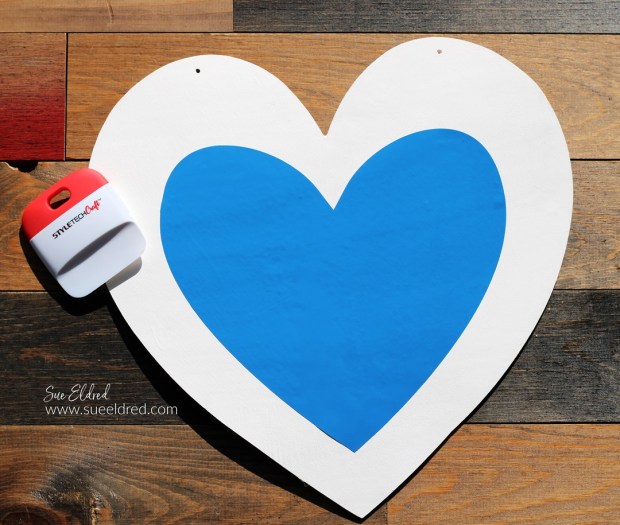
- Remove the twine hanger from the wood heart.
- Paint the heart with acrylic paint. I used white.
- I created a large heart mask for the center of the wood heart using StyleTechCraft Matte Removable Vinyl*.
- Press down the edges of the mask so that paint can’t get under the mask.

- Cut 1″ strips of Removable Vinyl*. Lay the strips across the wood heart.
- Rub your finger over the vinyl strips to make sure that they are secure and have no gaps.
- Paint inside the stripes with a thin coat of acrylic paint. Be careful not to apply the paint too thick. Only one thin coat of paint is needed.
- Remove the vinyl strips.
- Allow the paint to fully dry before continuing to the next step.

- Next, add strips of removable vinyl vertically over the heart.
- Make sure the tape is flat with no gaps.
- Paint over the heart with a thin coat a darker pink paint.
- Carefully remove the tape. Allow the paint to dry.

- Remove the strips and the heart mask. Allow the paint to dry.
- Lightly sand the wood heart. Sanding smooths the paint and helps to hide any little imperfections.
- Wipe with a clean cloth.

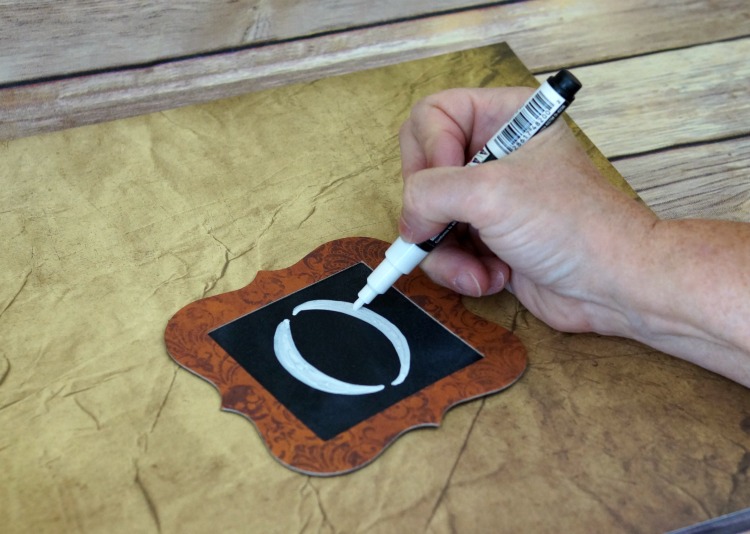
- For the center of the heart, I created a Valentine’s greeting using StyleTechCraft Adhesive Red Luster Vinyl*.
- I cut the words “Happy Valentine’s Day” using a SVG cut file from the Silhouette Store and a Silhouette Cameo Electronic Die Cutting Machine*.
- I removed the extra vinyl in and around the image words using a Vinyl Weeding Tool.
- Lay the StyleTechCraft Vinyl Transfer Tape* over the vinyl words and gently rub with a vinyl scraper tool. (Included with the StyleTechCraft Vinyl Tool Kit*).
StyletechCraft products brought to you by ATSM Craft*

- Place the Vinyl Transfer Tape* and vinyl onto the wood heart.
- Rub over Vinyl Transfer Tape* and gently remove transfer tape from the vinyl.

- Hot glue faux flowers, glitter heart pick, and ribbon bow to the top of the heart.
- Add ribbon to the top two holes for hanging.
- Hang the Wood Heart on a Door or add it to the center of a Wreath.
![]()
“This is a sponsored post. As a member of the StyleTechCraft Design Team I have been provided product and compensation in exchange for my creative ideas. The views and opinions are my own.