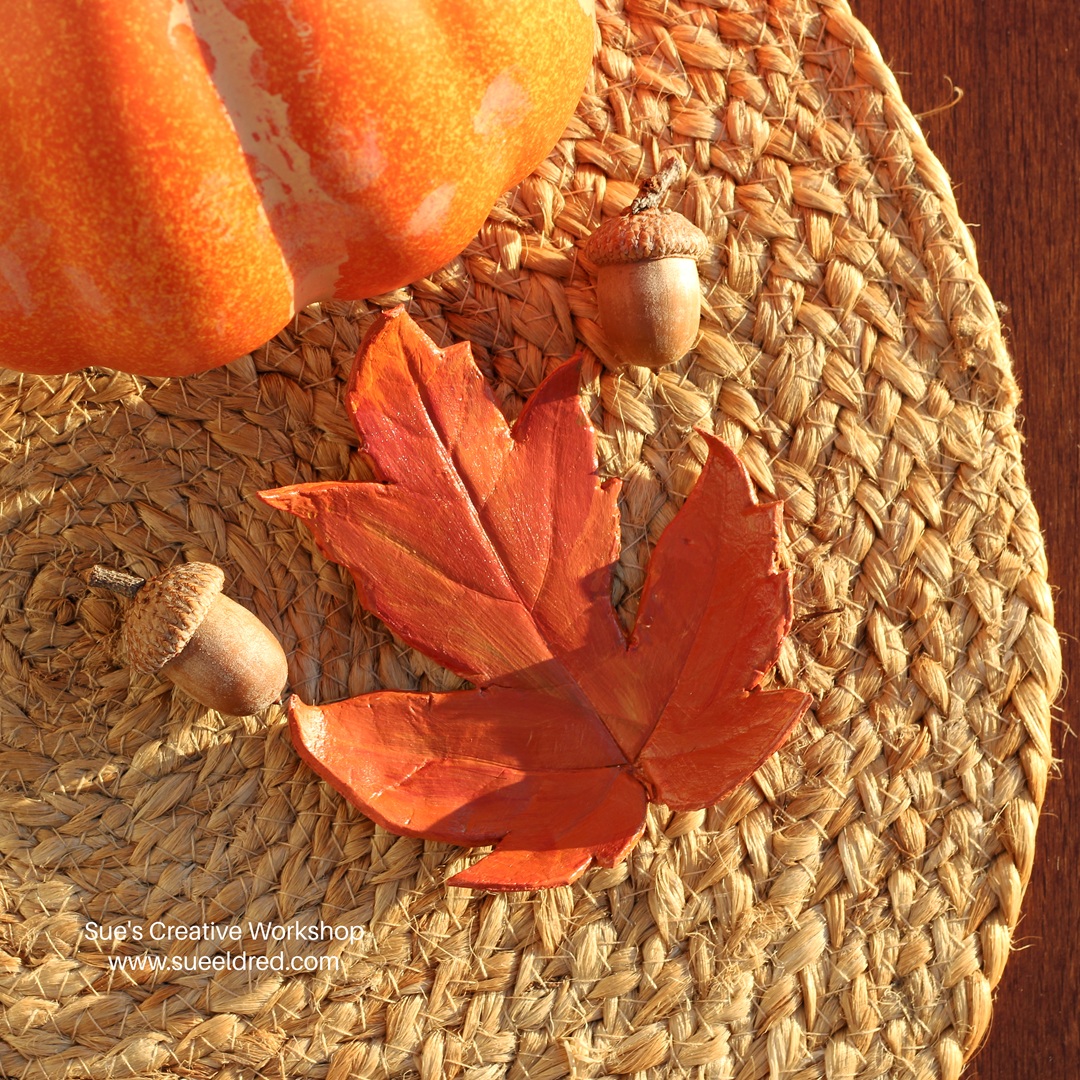
Fall always gets me in the mood to try something creative.
With the leaves changing, I wanted to make a fun little fall project.
It all started when I researched the best clay to use for stamped ornaments.
Once I started researching, Facebook showed me hundreds of clay videos.
In one of the videos, I watched them press a Fall leaf into the clay.
Since I had just bought the clay, I had to give it a try.
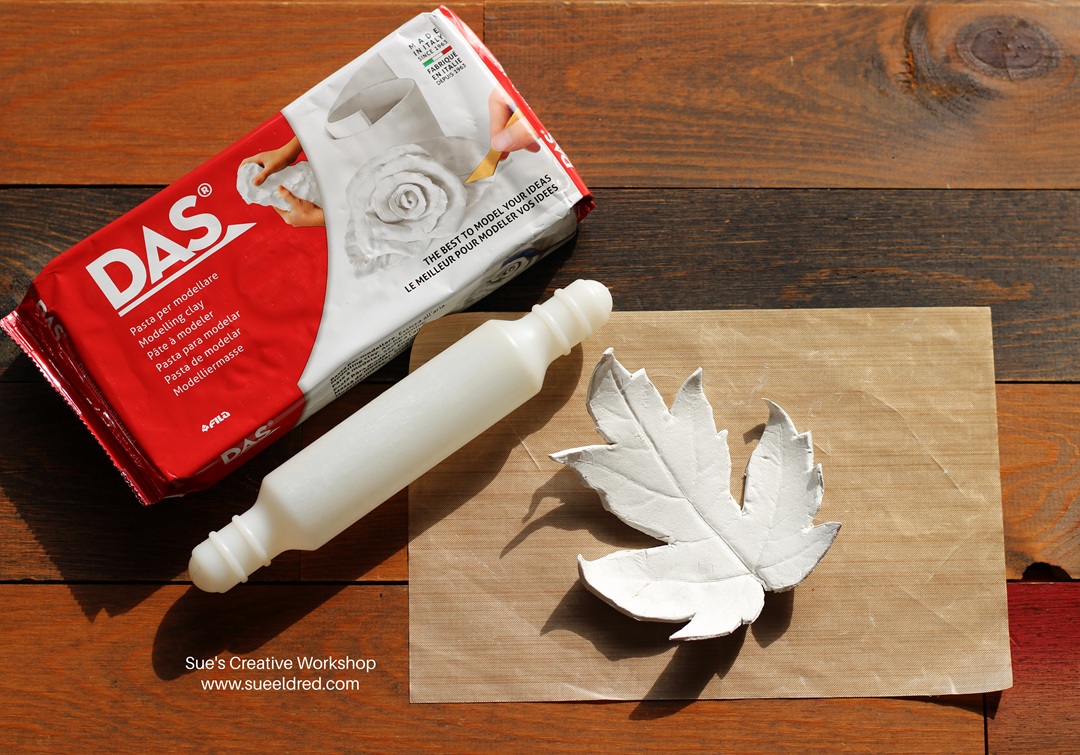
As I was looking into different clays, I kept seeing people recommend DAS air-dry clay*, so I decided to give it a try.
To make a Fall Clay Leaf:
- I pressed the leaf onto my rolled clay and gently rolled over it again with a rolling pin.
- I cut around the edges with a knife.
- Once I removed the leaf from the clay, I smoothed out the edges with my finger, which was dipped in water. I molded the clay leaf slightly using the inside of a rounded bowl.
- Then came the hardest part: waiting for the clay to dry. It is recommended to allow at least 24 hours for the clay to dry and possible a little longer depending on the thickness of the clay.
- You will need to turn the clay over at some point during the drying process to make sure that it dries on both sides.

*Disclosure: This blog uses ads and affiliate links. If you choose to make a purchase using one of the links, I receive a small commission (at no additional cost to you) that helps offset the costs of maintaining this blog. Thanks for your support!
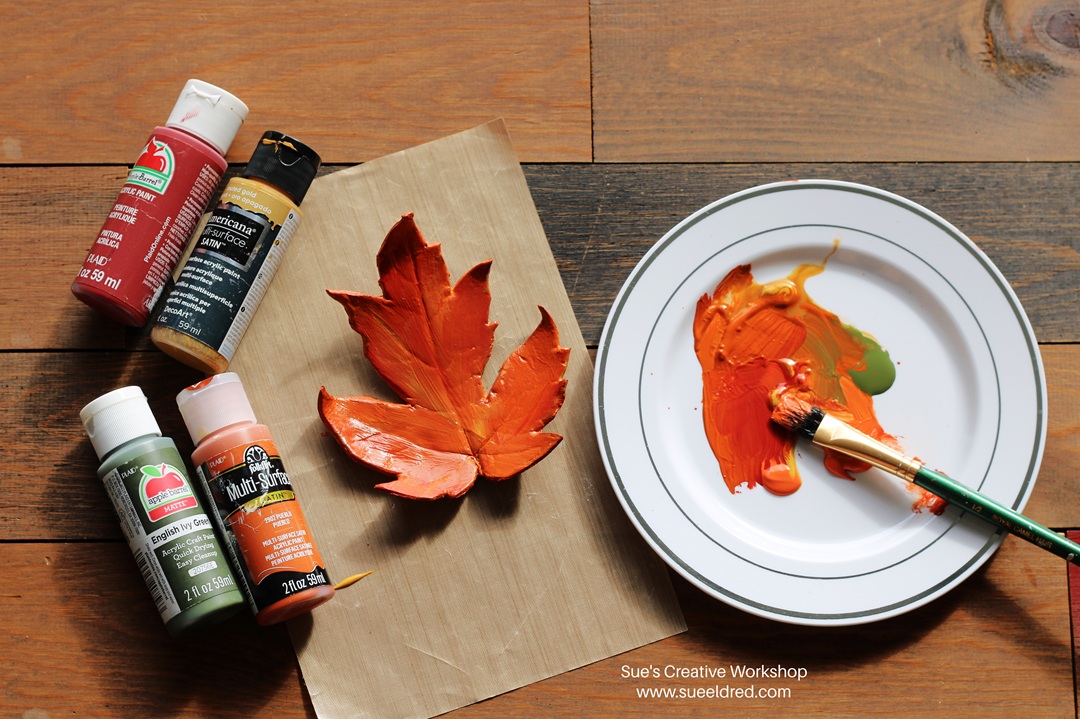
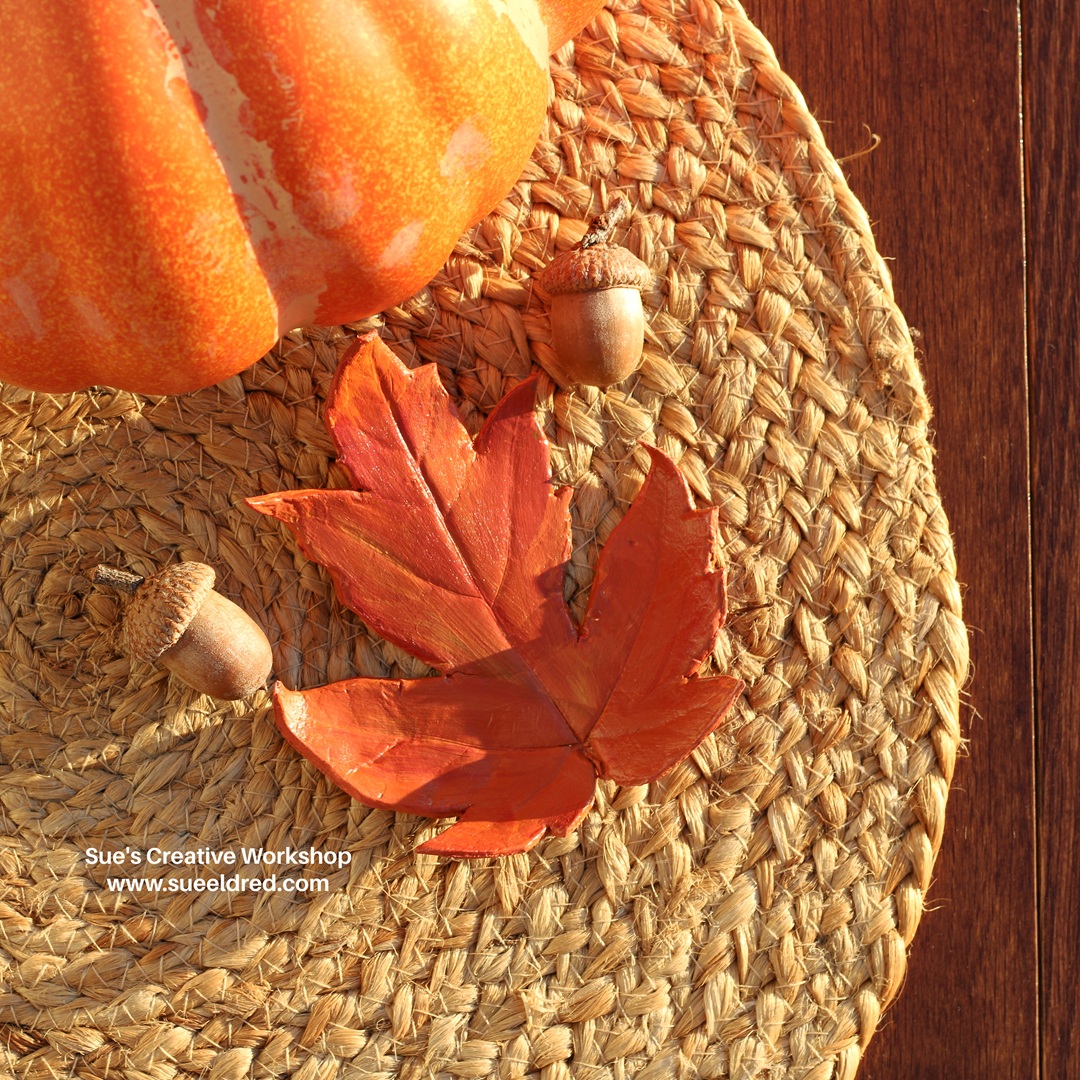
- Once it was dry, I painted both sides of the leaves with a variety of fall acrylic paint colors.
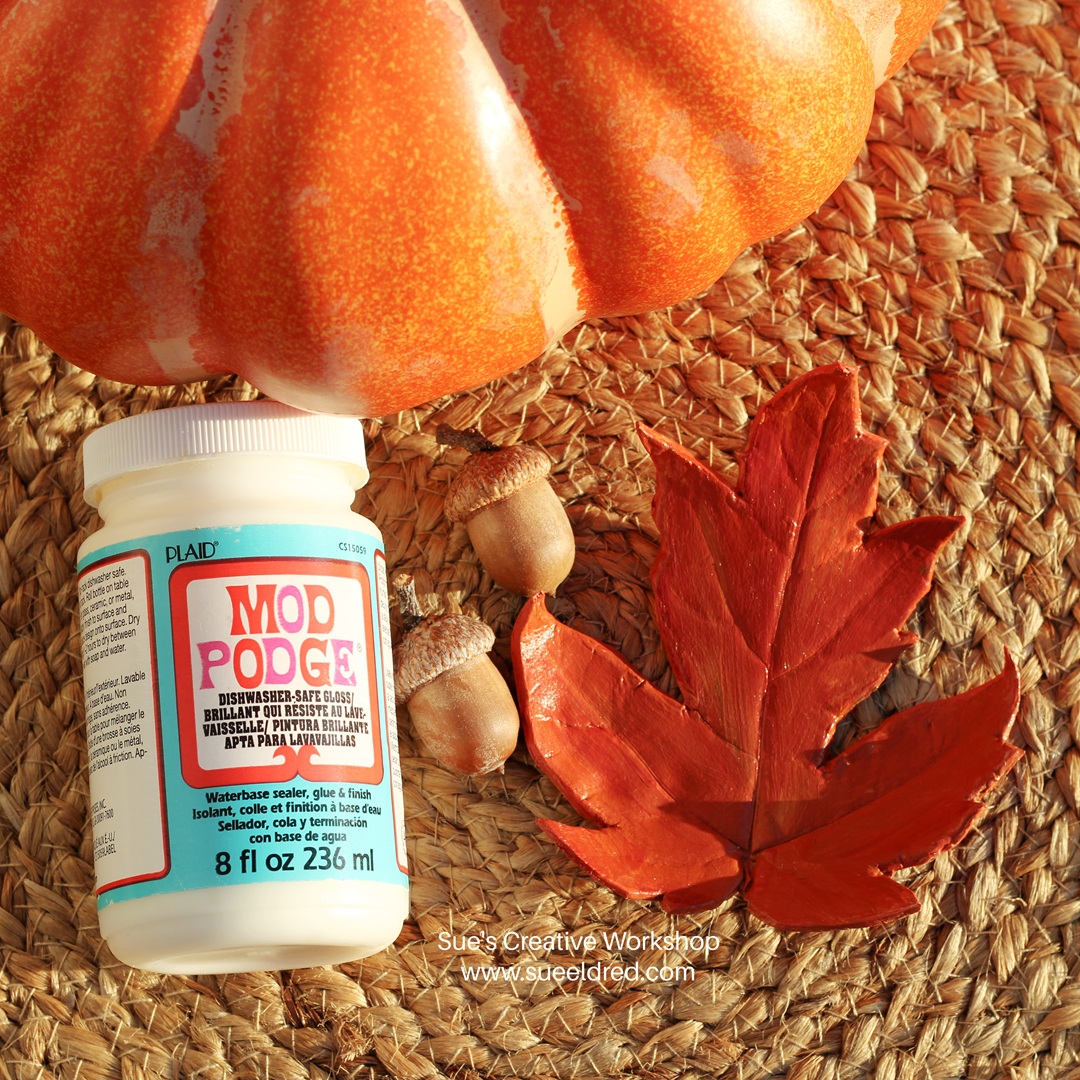
- To finish off the clay, I used Mod Podge* to coat and seal the leaf.
If you’re looking for simple and fun fall craft, I definitely recommend
giving this a try—you might be surprised by what you can create!

