Life is Beautiful Tri-Fold Tag Card

How to Make a Simple Tri-Fold Card Using a Large Tag.  

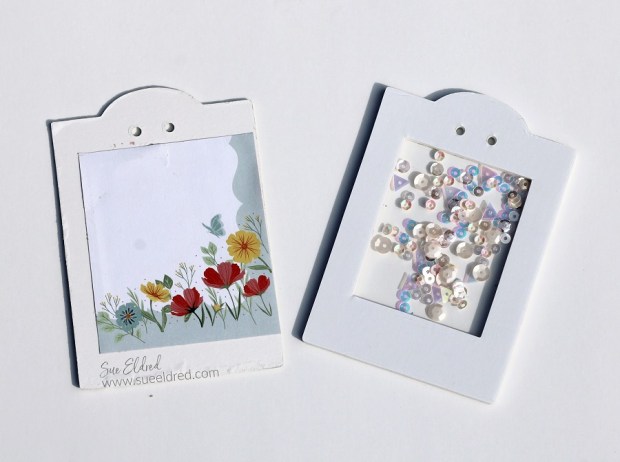
I was playing around in my studio when I encountered my oversized tag die.

I hadn’t used it in a while, so I decided to make a tri-fold card.

(I love it when something old becomes new again.)

(The Die Cut Tag measures approximately 6 1/4″ x 10 1/2″.)

To create the tri-fold card…

I die-cut the large tag using a piece of white cardstock.

You can find the Extremely Large Tags* in my Etsy Shop*.

Amazon prime

*Disclosure:  This blog uses ads and affiliate links.  If you choose to make a purchase using one of the links, I receive a small commission (at no additional cost to you) that helps offset the costs of maintaining this blog.  Thanks for your support!

I used a scoreboard and scoring tool* to score the tag lengthways

at 3 1/2″ and 7″ and folded it in three sections.

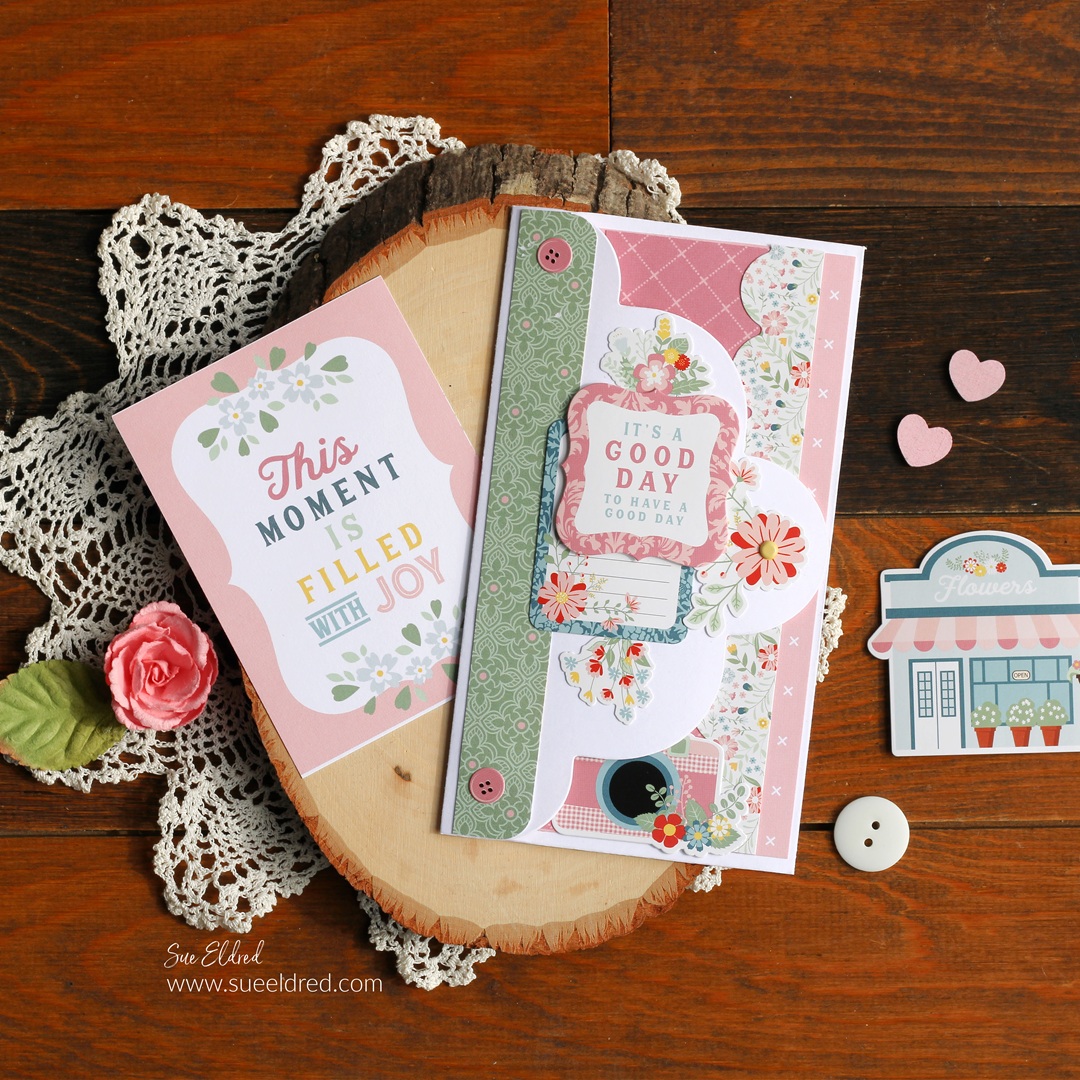
I grabbed my Echo Park’s Life is Beautiful Scrapbook Collection*

and got to work decorating the first fold of the tag.

I used a corner rounder punch* on one end of the layers.

I made sure to cover up the hole of the tag with a sticker.

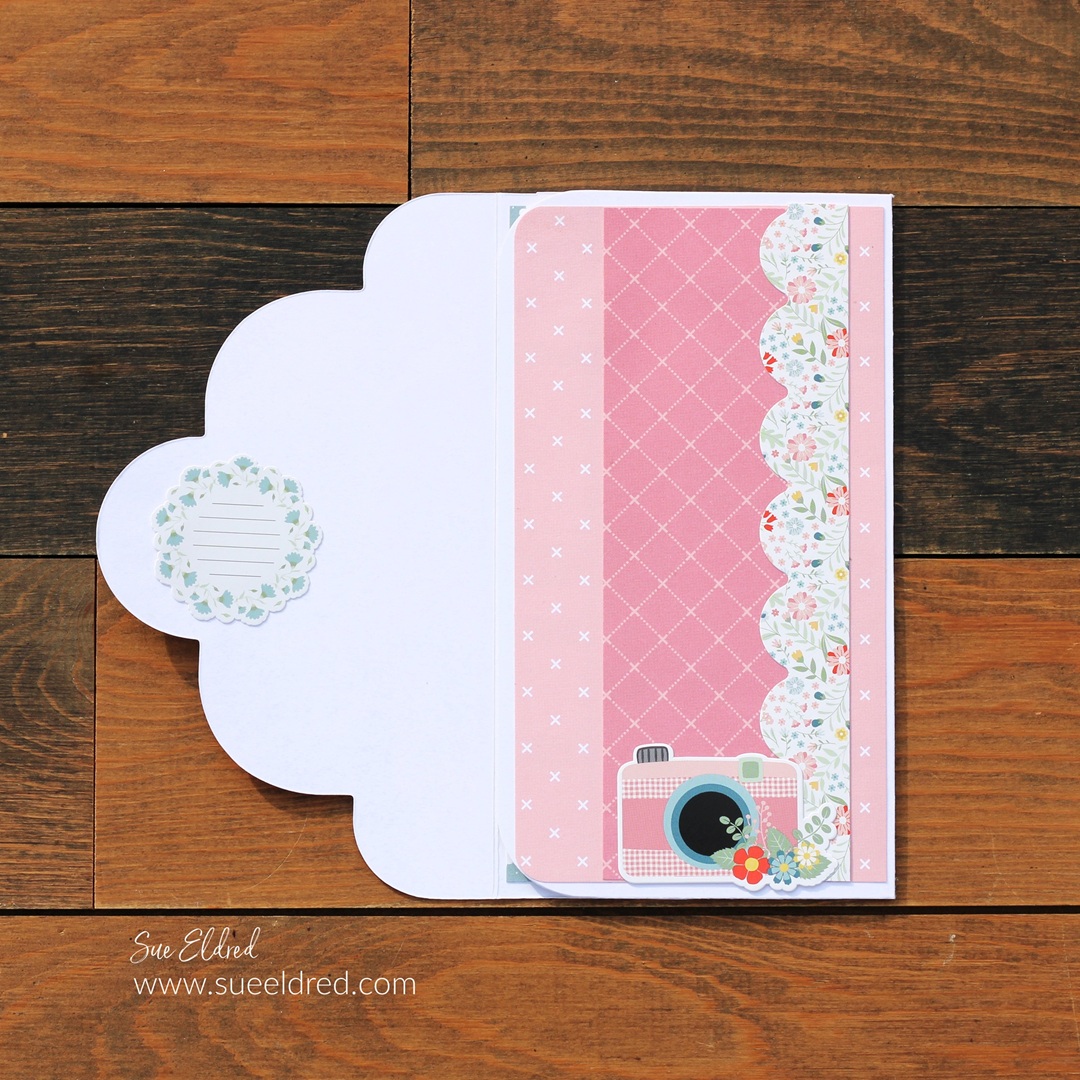
I kept the inside of the folded tag simple with simple layers,

a couple of stickers and a journaling card from the collection.

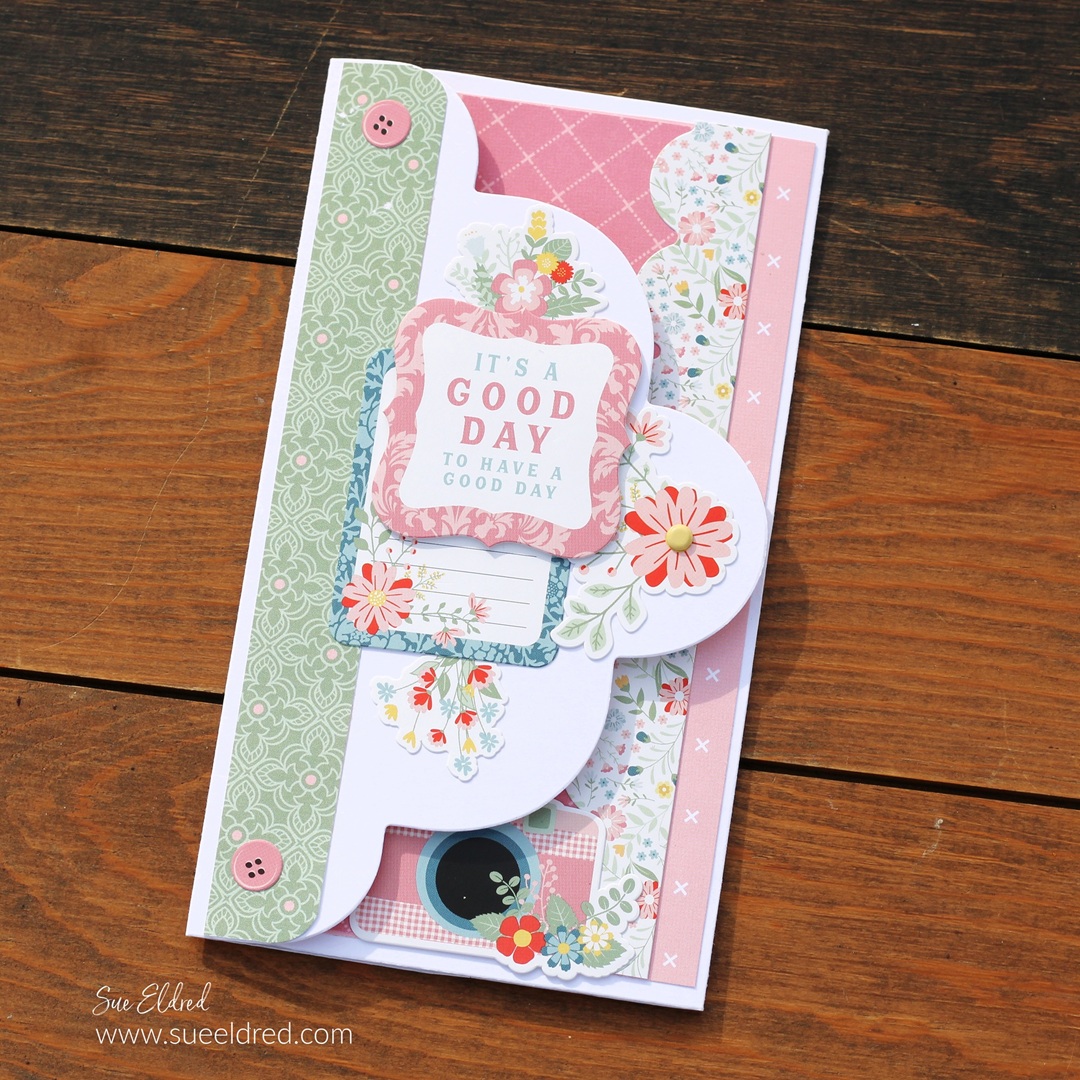
On the front of the tag, I used stickers mounted with

foam mounting squares* to create dimension.

And…you can mail the trifold card in a letter sized envelope.

How to make a Shaker Tag

How to make a Shaker Tag

Make a Shaker Tag using the Specimen Card

from the Eileen Hull New Field Notes Die from Sizzix.

Last month, we shared projects using Eileen’s New Chapter 3 release dies.

Today I thought I’d share a simple tutorial on how to make a Shaker Tag

using the Field Notes & Specimen Card Die*.

Eileen Hull Educator Logo

Disclosure:  This is a sponsored post.  As a member of the Eileen Hull Educator Team, I have been provided product in exchange for my creative ideas.  The view and opinions are my own. 

How to make a Shaker Tag

Materials Used to make the Shaker Tag:  (*affiliate links)

*Disclosure:  This blog uses ads and affiliate links.  If you choose to make a purchase using one of the links, I receive a small commission (at no additional cost to you) that helps offset the costs of maintaining this blog.  Thanks for your support!

How to make a Shaker Tag

Directions:

  • I used the Life is Beautiful Collection Kit*.  It comes with beautiful papers, greetings, and stickers perfect for my tag.
  • Cut a 4″ x 5″ piece of scrapbook paper for the front of the tag.
  • For ease of assembly, I used the Xyron Creative Station* to add adhesive onto the back of the paper.  Place the paper in the machine, crank the handle to run the paper through.  As it goes through the machine it adds a complete layer of adhesive to the back of the paper.

How to make a Shaker Tag

  • Place the paper onto the Specimen Card* section of the die.  Sandwich the die between the cutting plates.  Crank the handle of the Big Shot Plus* to run it through to cut out the shape.

How to make a Shaker Tag

How to make a Shaker Tag

  • Place the paper for the inside of the tag onto the chipboard tag. Add adhesive to the small rectangle and place into the opening on the back.
  • Remove the protective coating from both sides of the small piece of acetate.
  • Remove the adhesive coating from the tag front. Place the acetate over the inside opening of the tag.
  • Remove the first protective coating from foam tag. Line up and place onto the tag front.
  • Place sequins in the small well the foam has created. Remove the second protective coating from the foam and place the back of the tag onto the foam.

How to make a Shaker Tag

  • Decorate the front of the tag using stickers from the collection kit.  Add 3D adhesive foam squares* to the back of the butterfly and watering can.
  • Tie a simple ribbon on the top of the tag.
  • Add the tag to a gift or bag for the perfect addition.