How to make an Easy Fall Dollar Store DIY.
I can’t resist an Easy Fall Dollar Store Project,
while I’m sitting here hanging onto Summer for as long as I can.

Materials Used: (*affiliate links)
- StyleTechCraft Luster Vinyl: Bronze, Green, Orange, Red*
- StyleTechCraft Vinyl Tool Kit*
- StyleTechCraft Vinyl Transfer Tape*
- Silhouette Cameo Electronic Die Cutting Machine*
- Wood Shadow Box from Dollar Tree*
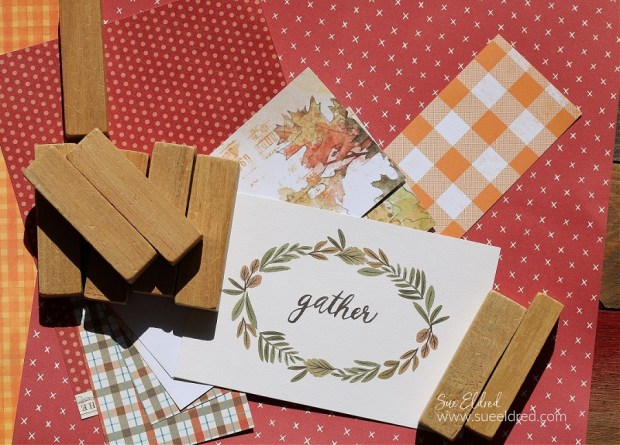
- Echo Park’s Fall Fever 6 x 6 Paper Pad*
- Deco Art Royal Ruby Dazzling Metallics Acrylic Paint*
- Deco Art Americana Walnut Gel Stain*
- Paint Brush*
- Extra Fine Sanding Block*

StyletechCraft products brought to you by ATSM Craft*
*Disclosure: This blog uses ads and affiliate links. If you choose to make a purchase using one of the links, I receive a small commission (at no additional cost to you) that helps offset the costs of maintaining this blog. Thanks for your support!

Directions:
- Remove the picture hanger hardware and the twine hanger from the wood shadow box.
- Paint the shadow box with Royal Ruby Metallic Paint*.
- Lightly sand over the paint using an extra fine sanding block*.
- I felt the Metallic Paint was a little too metallic for me, so I went over the paint with a light coat of walnut gel stain. Wipe off the stain with a soft rag.


- I created my graphic using StyleTechCraft Luster Vinyl and a Silhouette Cameo Electronic Die Cutting Machine*.
- Remove the extra vinyl in and around the letters.
- Cut a piece of decorative scrapbook paper to fit inside the shadowbox frame.

- Apply vinyl onto the paper using StyleTechCraft Vinyl Transfer Tape*.
- Adhere the finished paper into the shadowbox frame.
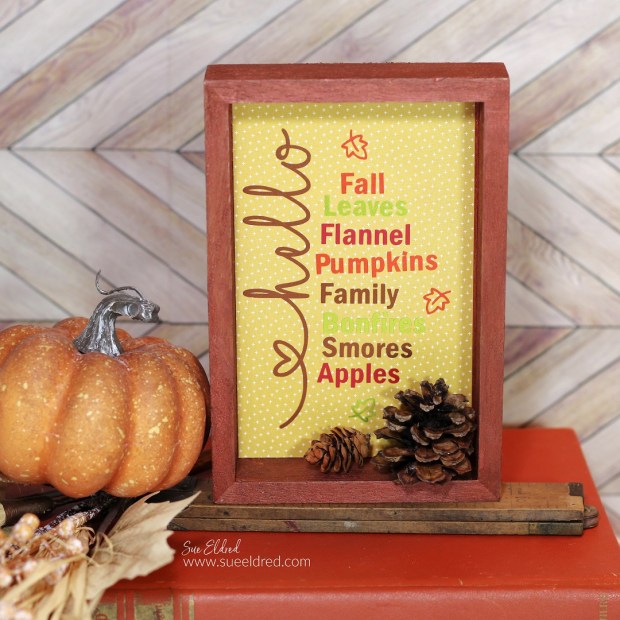
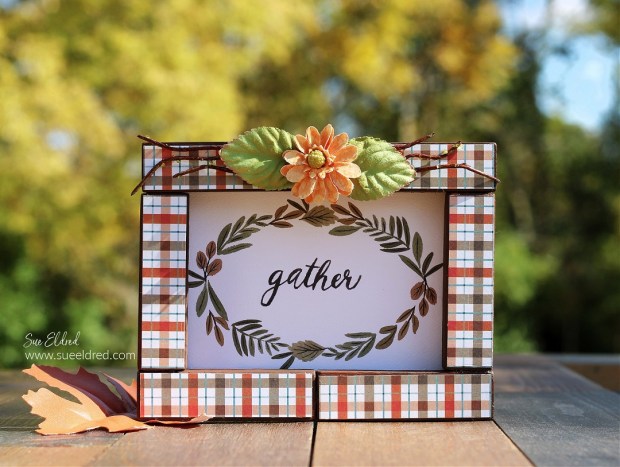
Add Fall Embellishments to the bottom of the shadowbox frame.
The shadow box frame makes a cute little shelf sitter to add to
your Fall Decorations.
![]()
“This is a sponsored post. As a member of the StyleTechCraft Design Team I have been provided product and compensation in exchange for my creative ideas. The views and opinions are my own.