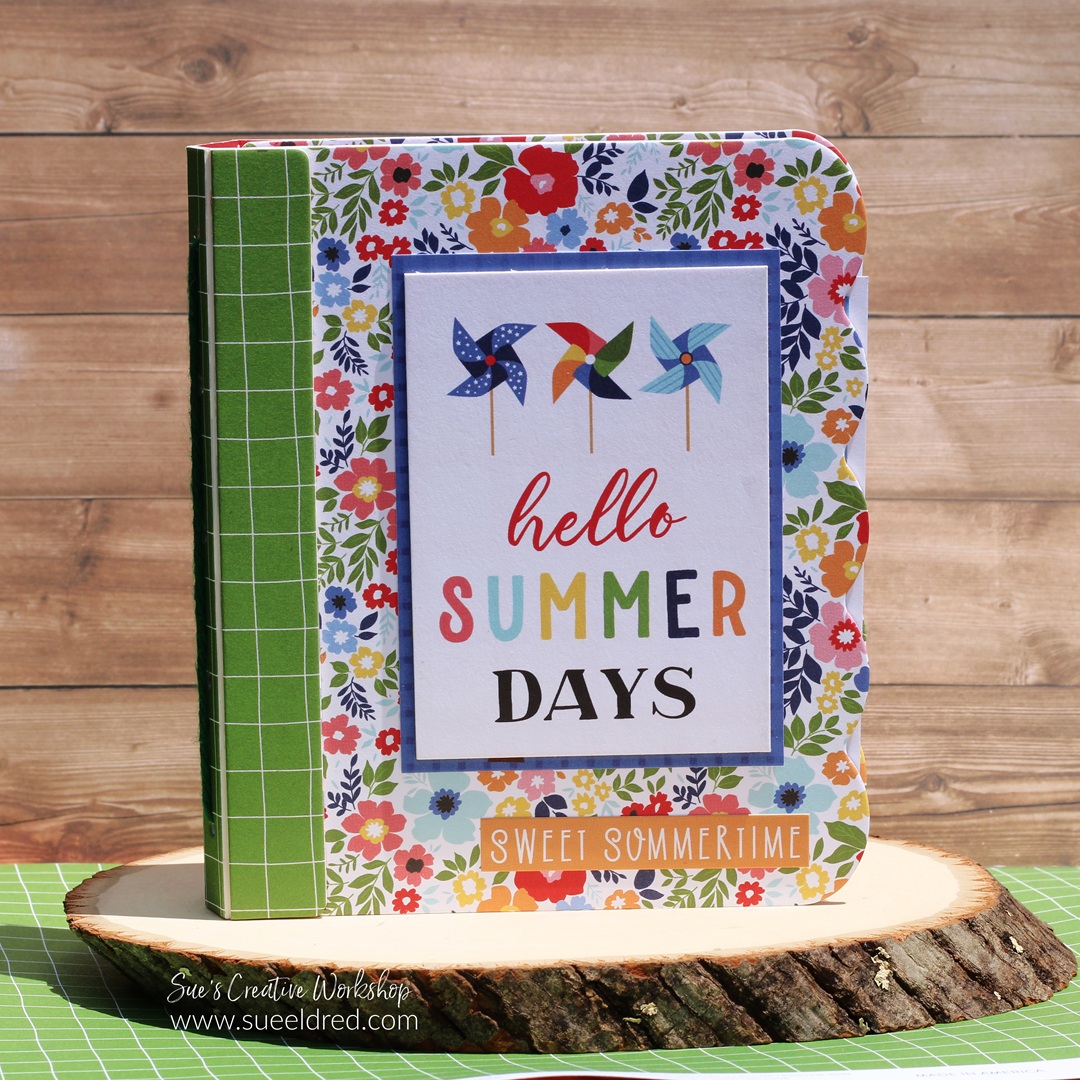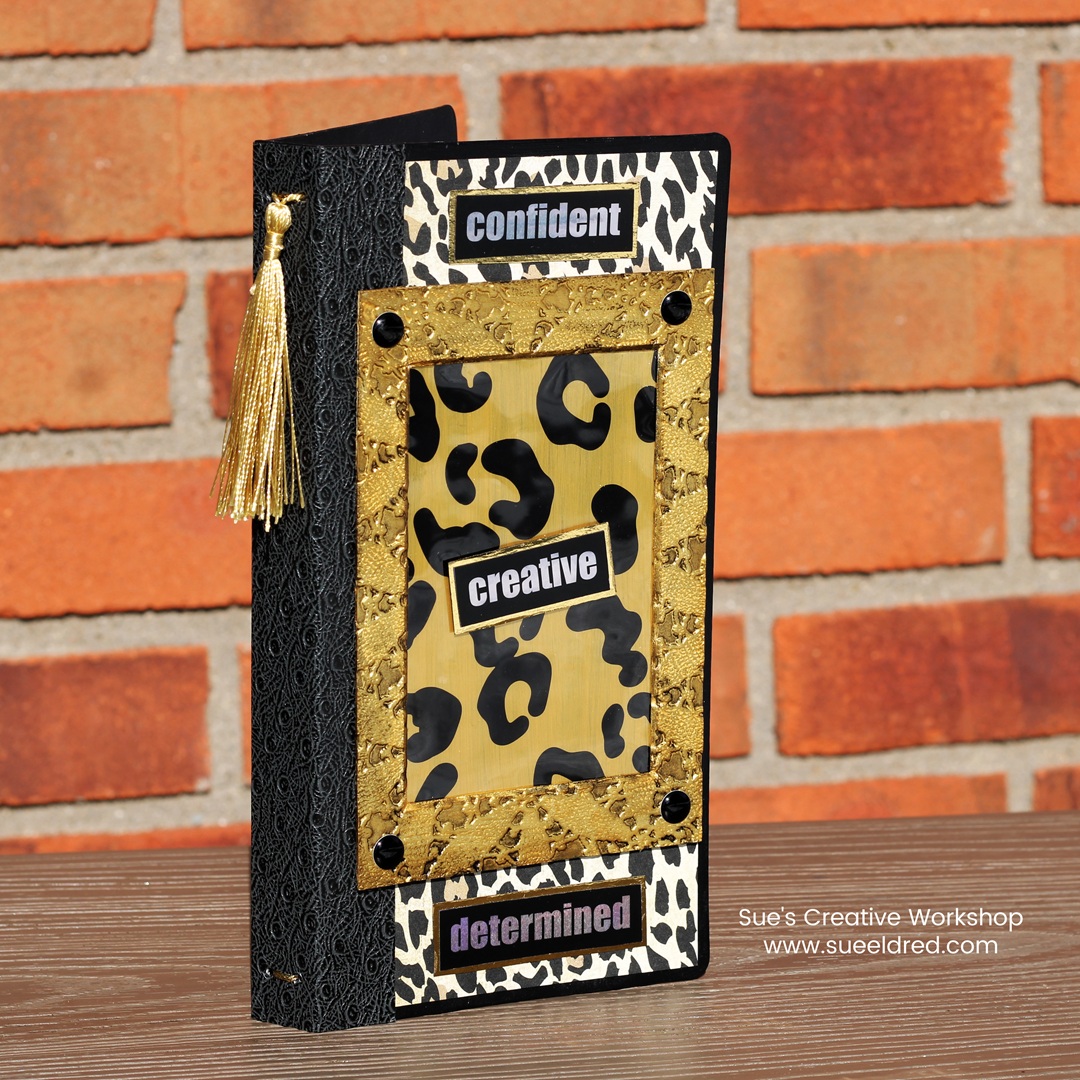
Cheetah Girl Mini Album!
Today, I’m sharing something a little different from my usual projects!
The Eileen Hull Creative Team is collaborating with Graphix®,
giving me the chance to try some exciting new materials and techniques.
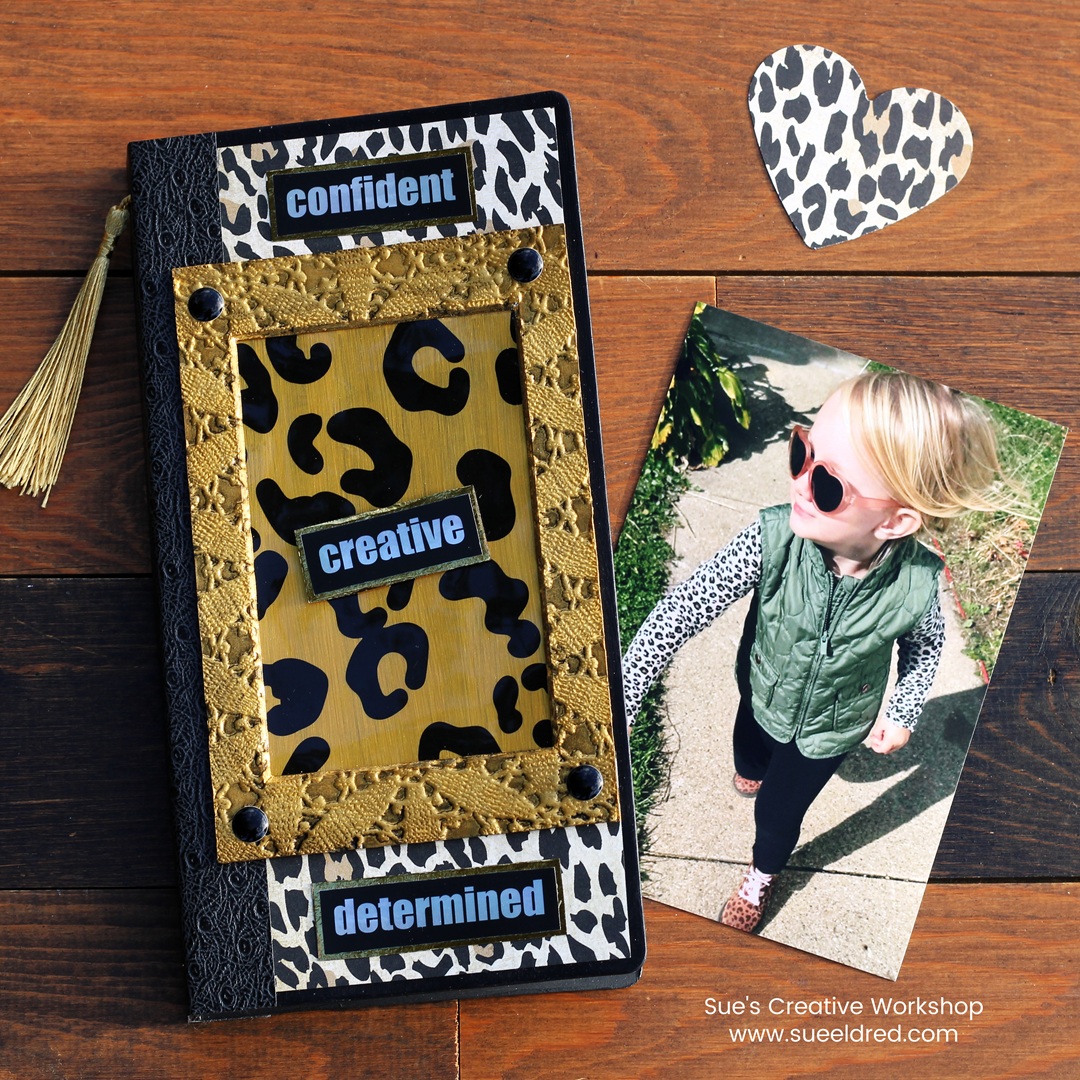
This Cheetah Girl Album was inspired by my cheetah-loving granddaughter.
Even at age three, that little girl has serious style.
On Christmas, when she opened her present of new boots,
she excitedly exclaimed, “Cheetah boots!”
I wasn’t expecting such an enthusiastic reaction,
but it sure made me feel good.
While she may look like her daddy, she definitely gets her
confidence and sense of style from her momma.
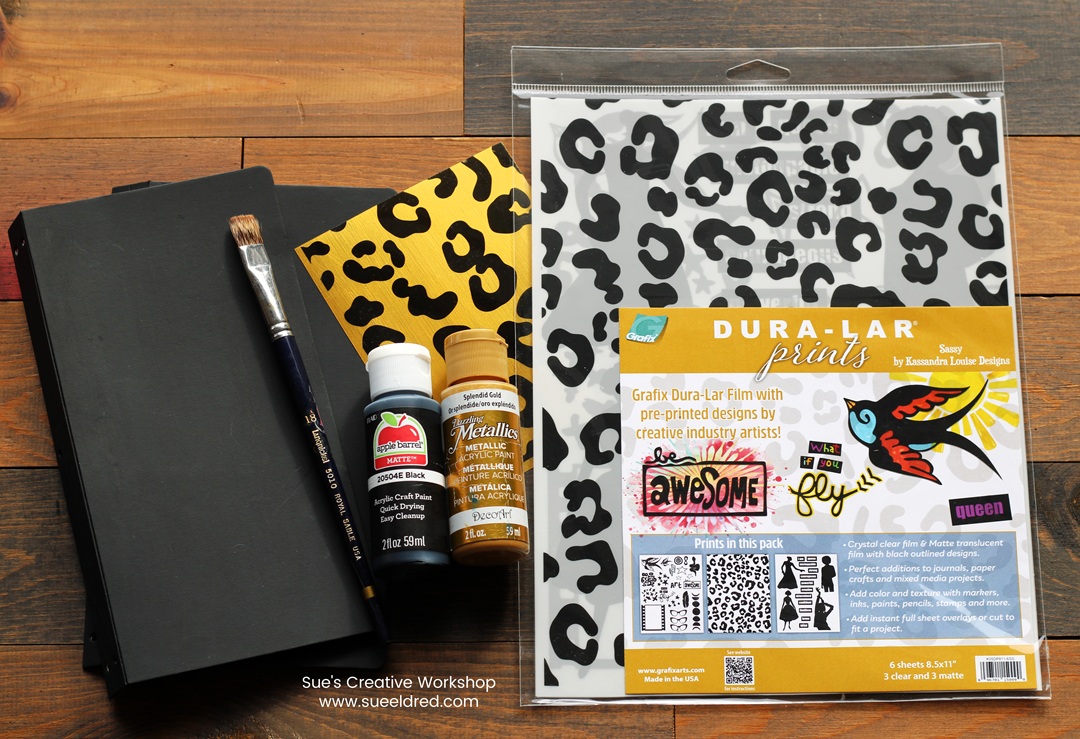
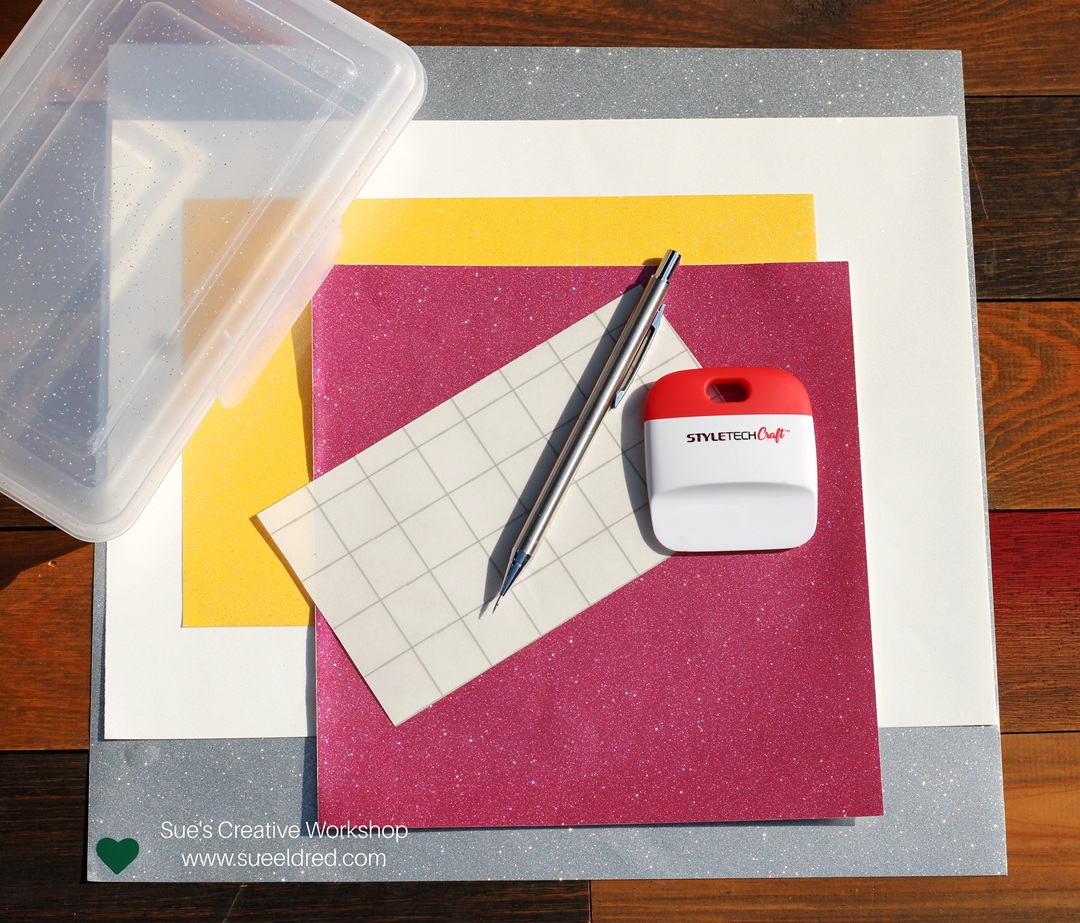
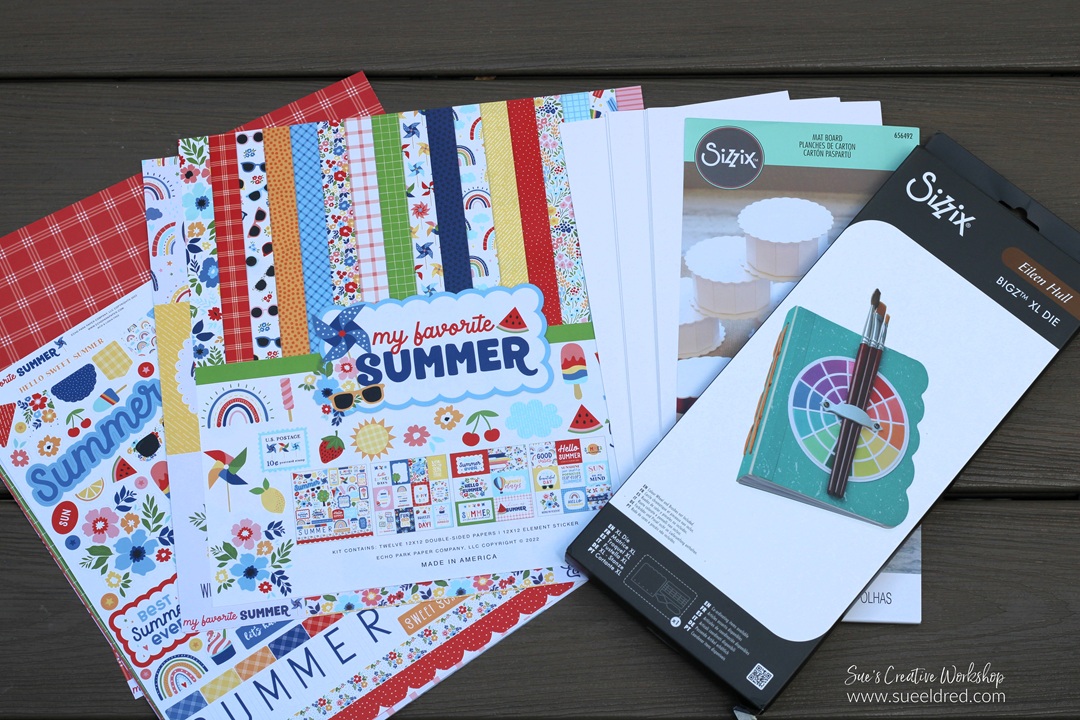
Materials Used: (*affiliate links)
- Graphix “Sassy” Dura-Lar® Prints
- Graphix Rainbow Adhesive Backed Film for Inkjet Printers
- Sizzix #661906 XL Journal Die by Eileen Hull*
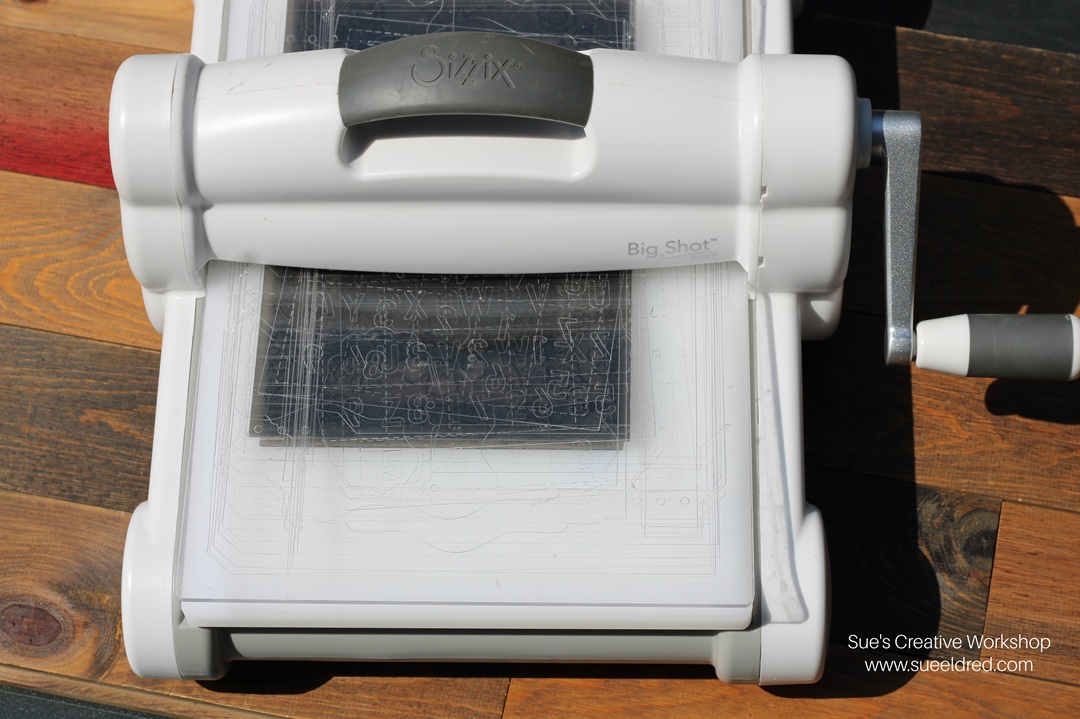
- Sizzix #666254 “Tablecloth” Embossing Folder*
- 6″ x 13″ Matboard Sheets* (2)
- Sizzix Big Shot Die-Cutting Machine*
- DecoArt Splendid Gold Dazzling Metallic Acrylic Paint*
- Black Acrylic Paint*
- Versafine Black Ink Pad*
- 4″ x 6″ Photo Mat*

*Disclosure: This blog uses ads and affiliate links. If you choose to make a purchase using one of the links, I receive a small commission (at no additional cost to you) that helps offset the costs of maintaining this blog. Thanks for your support!
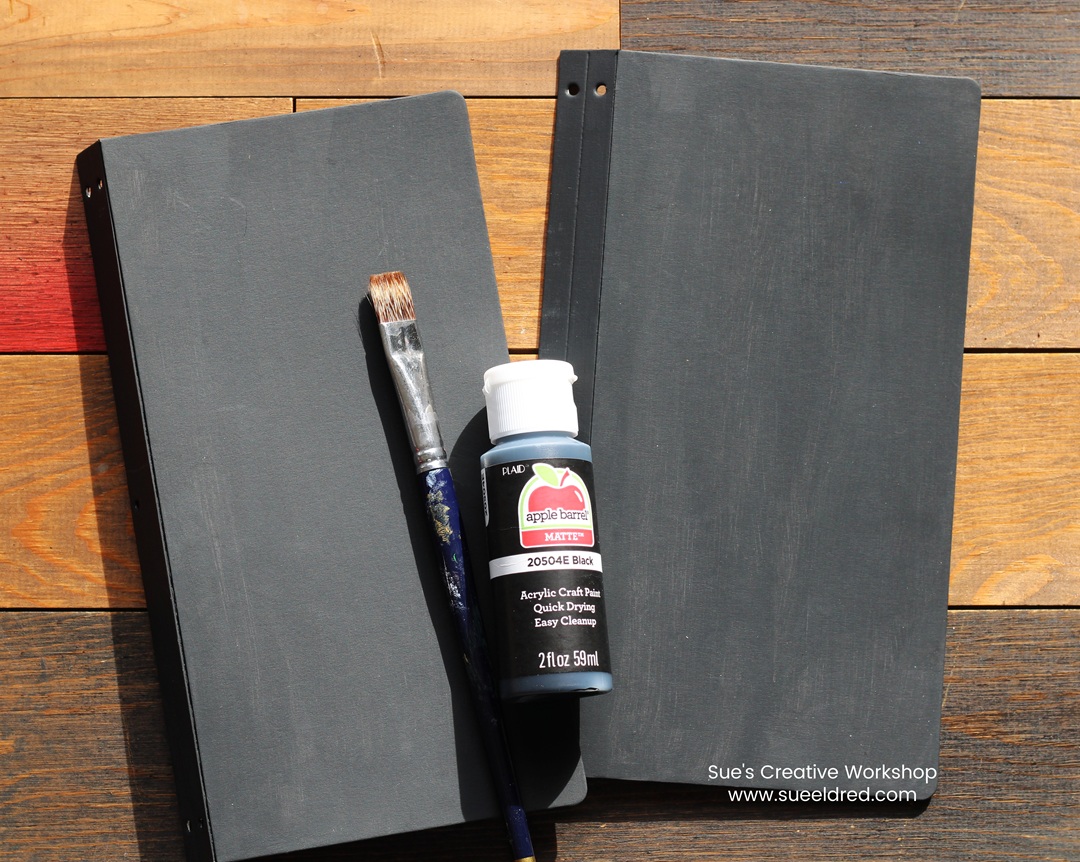
- Using 6″ x 13″ matboard, I die-cut the front and back cover for the album.
- I wanted a black base for the album, so I painted mine black after I die-cut them.
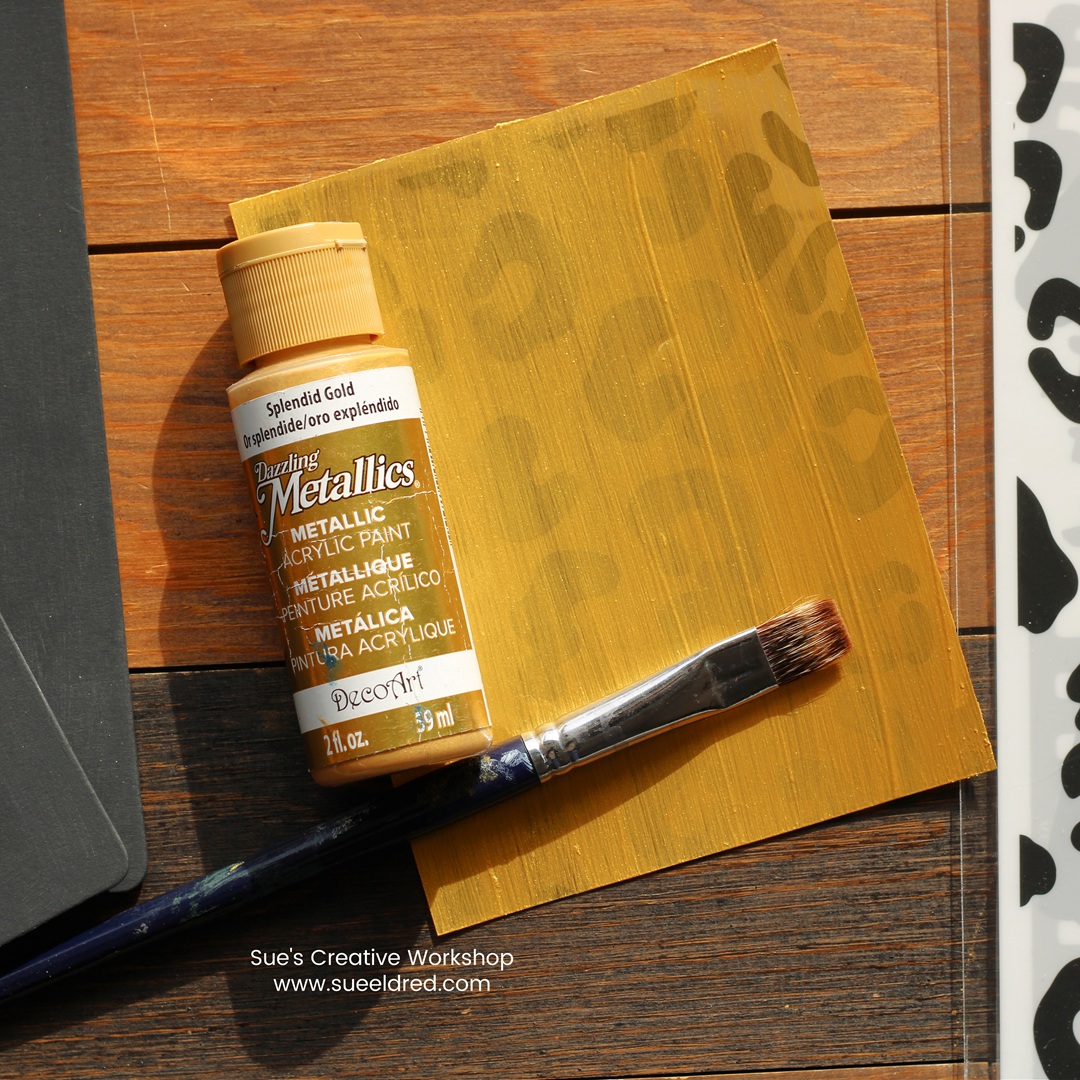
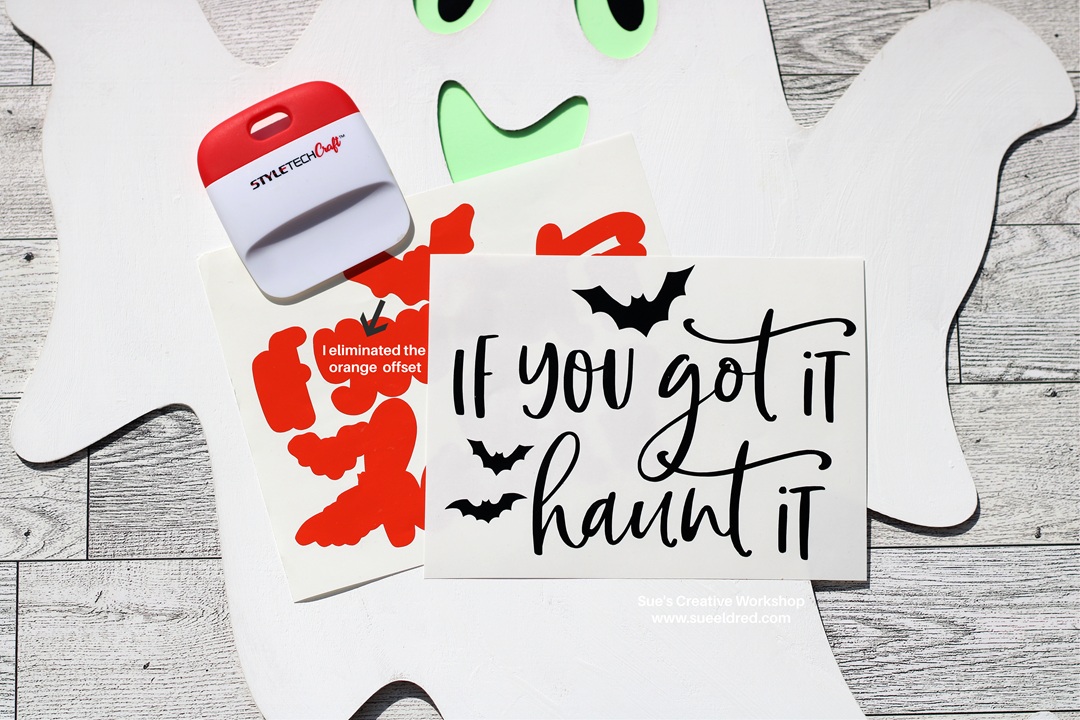
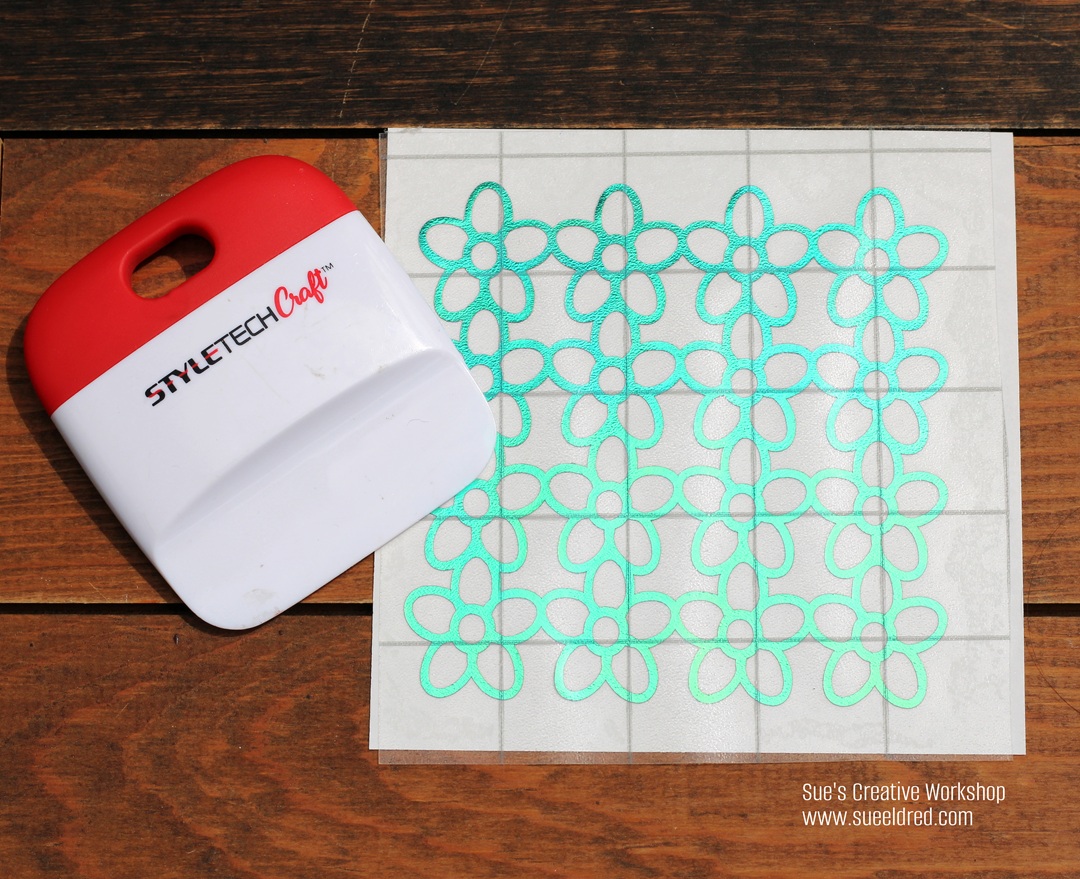
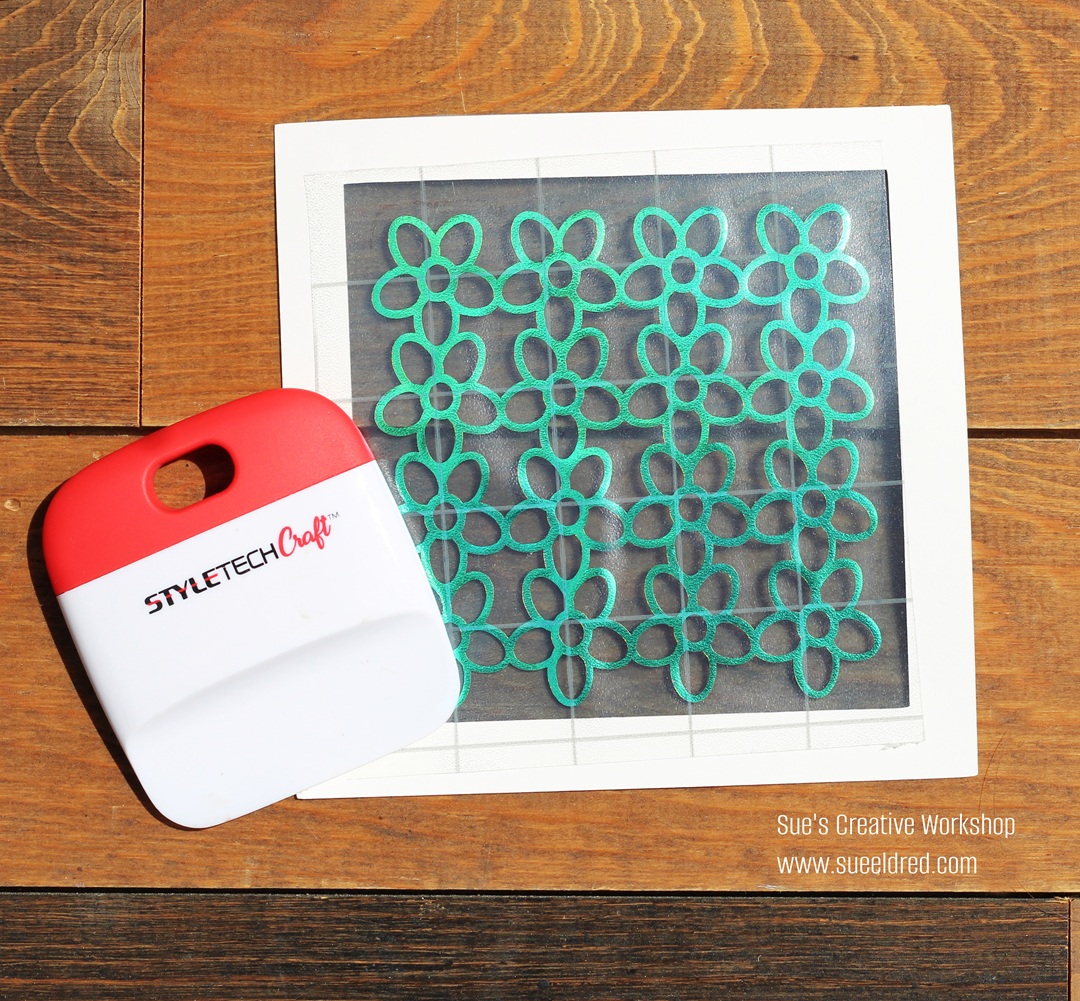
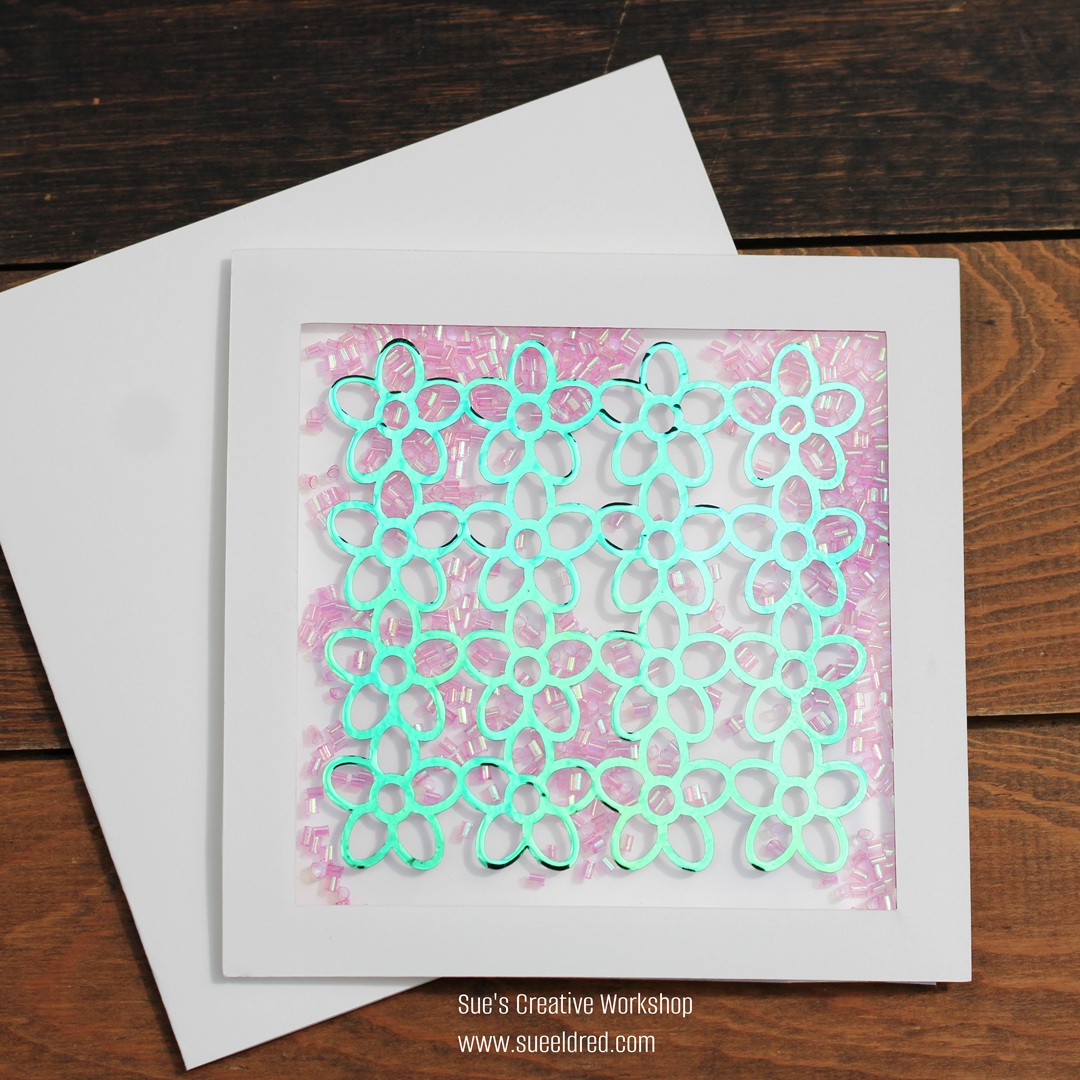
- I cut a piece of 4″ x 6″ clear Cheetah print translucent film.
- I painted the back of the film with Gold Metallic paint.
- Because the paint is semi-opaque, I used several coats to cover the back.
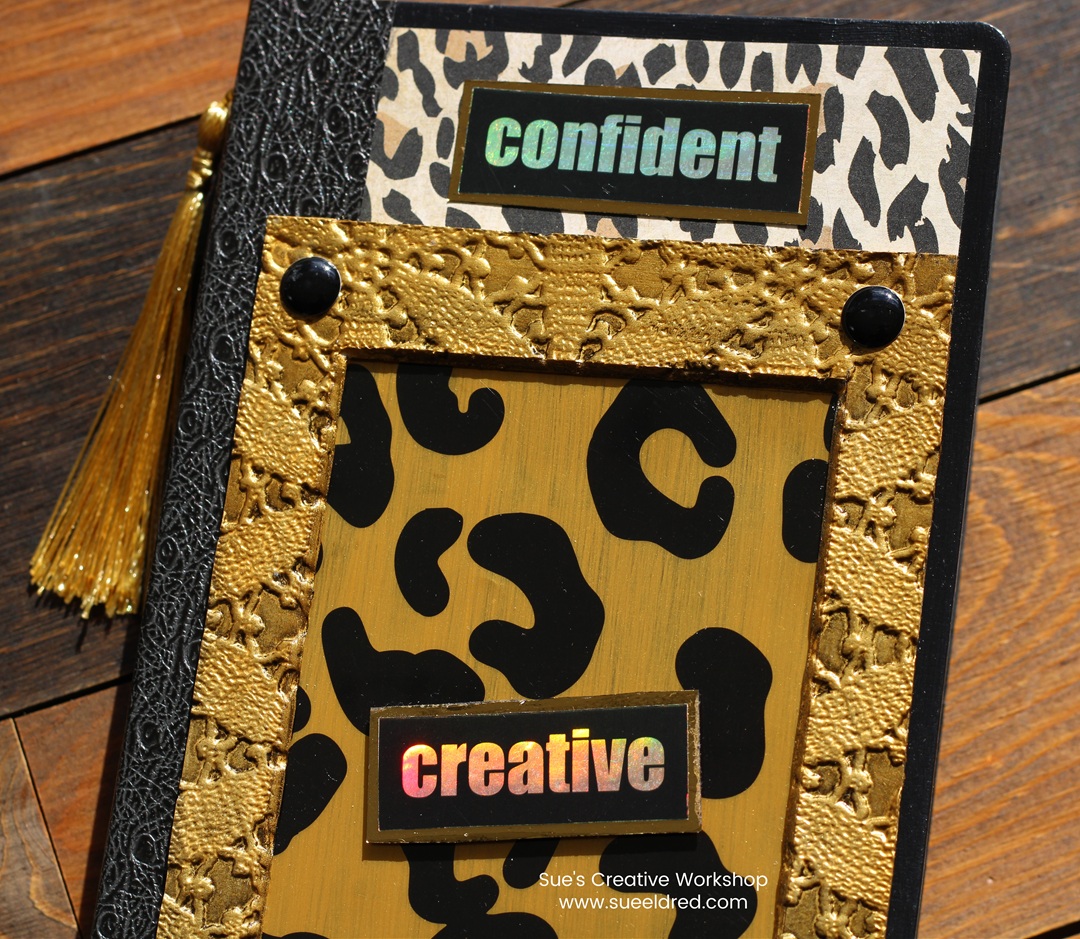
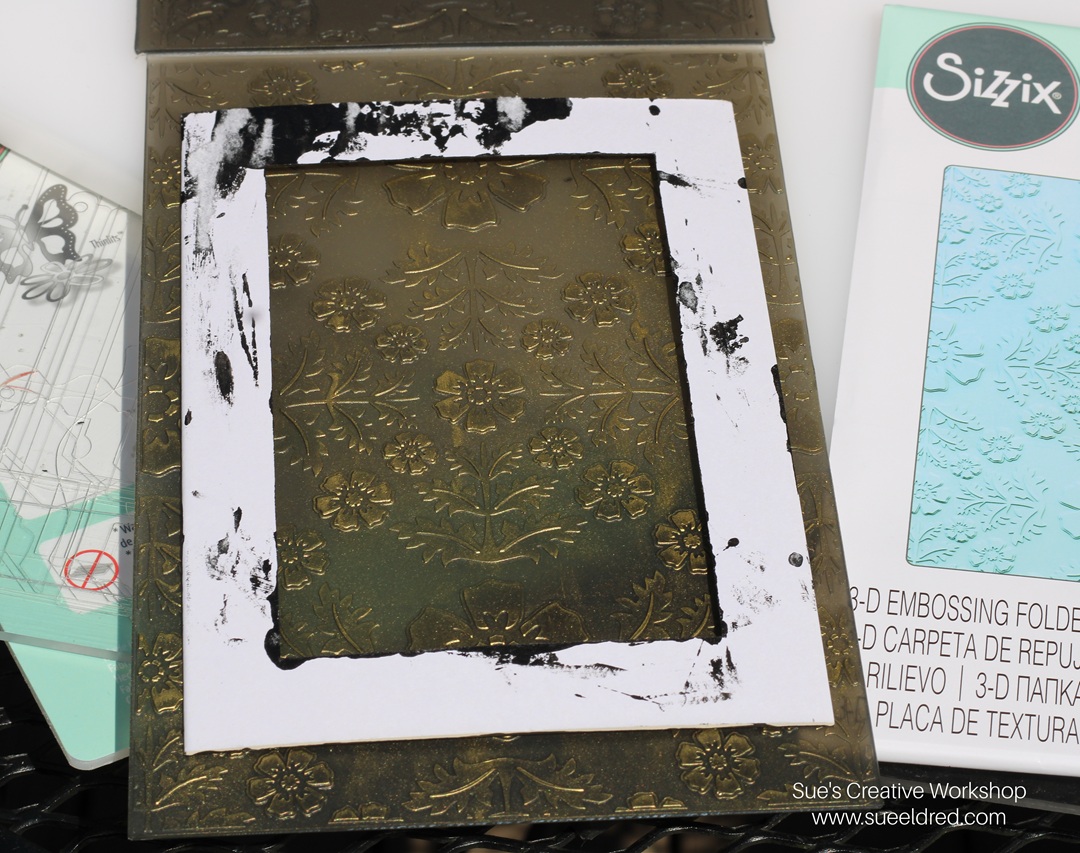
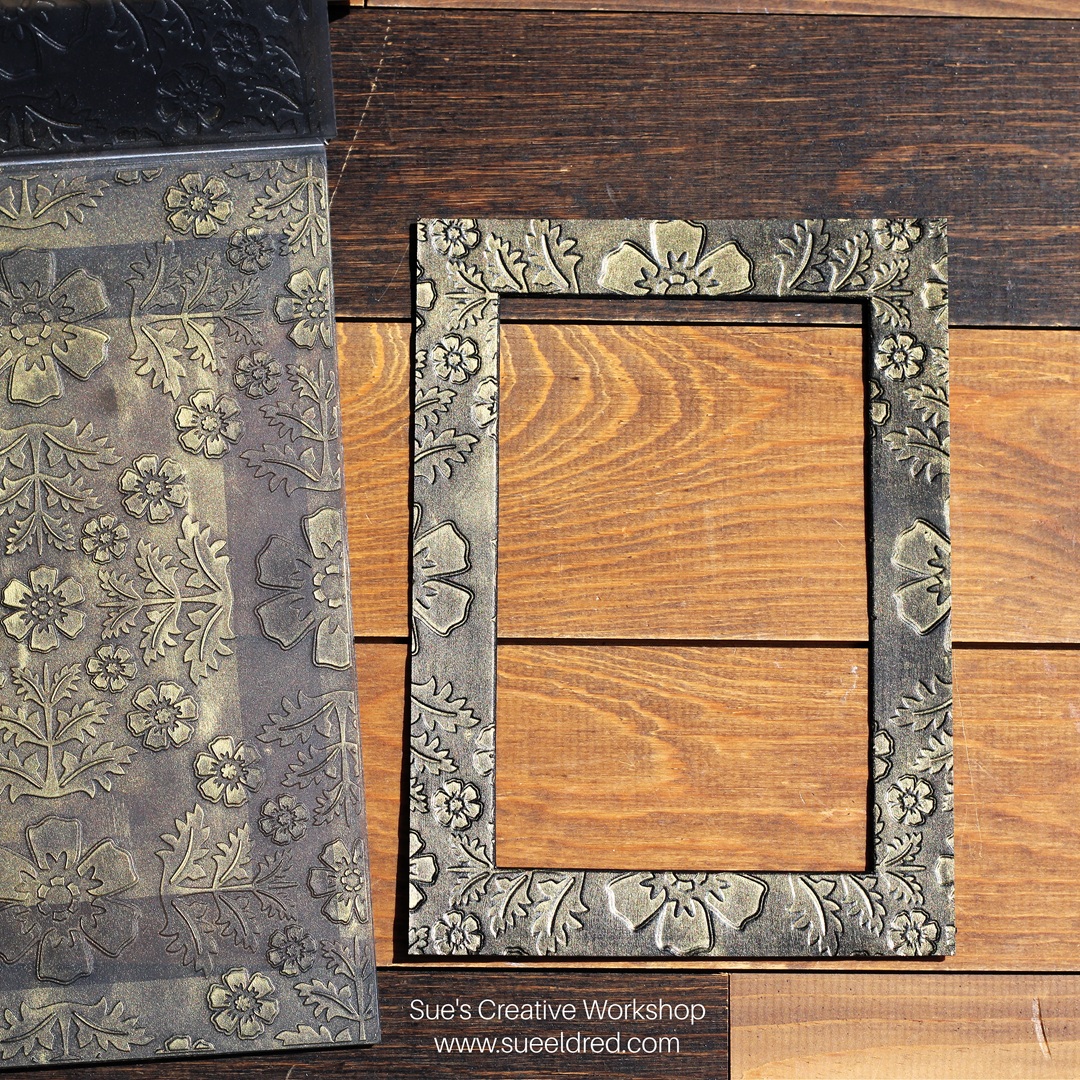
Embossed Frame
- Paint several coats of gold paint onto a white 4″ x 6″ photo mat.
- I embossed it with the “tablecloth” embossing folder and black ink.
- You can read more about how I embossed the photo mat here.
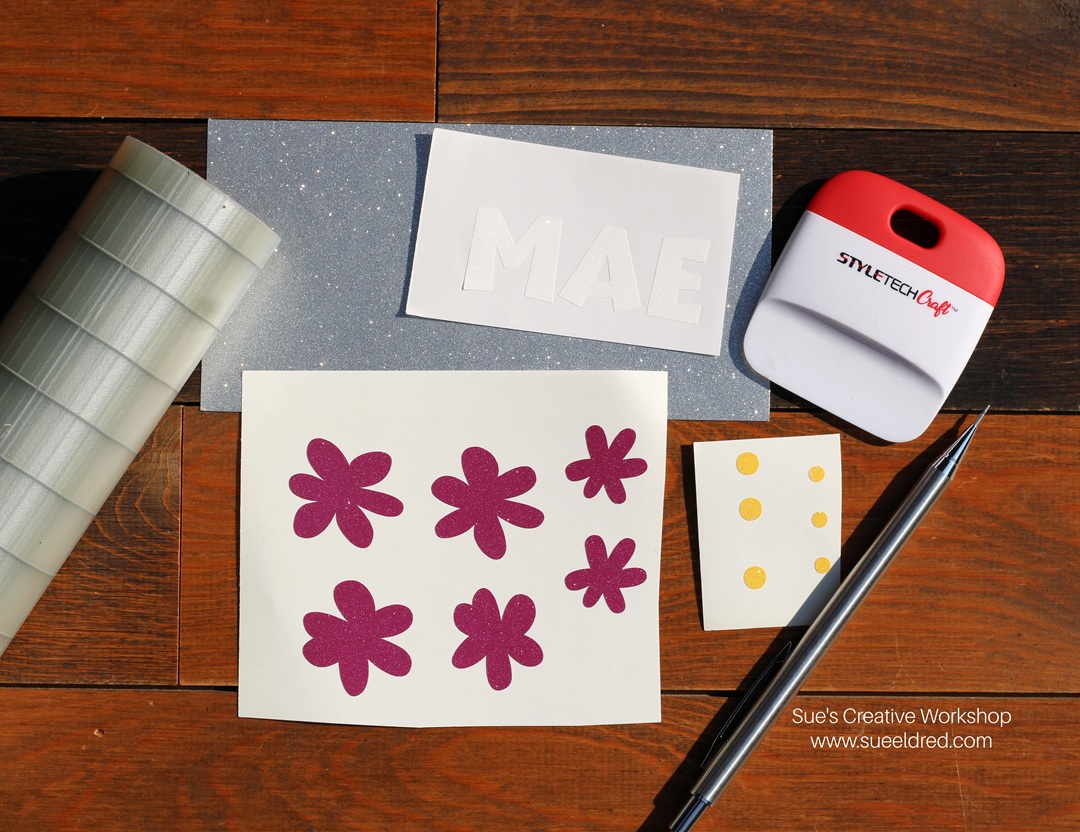
- In the “Sassy” Dura-Lar® prints collection was a sheet with translucent and black words.
- I cut several words out and placed them onto the sticky back of the “rainbow” adhesive back film.
- I cut around the words and layered them onto gold cardstock.
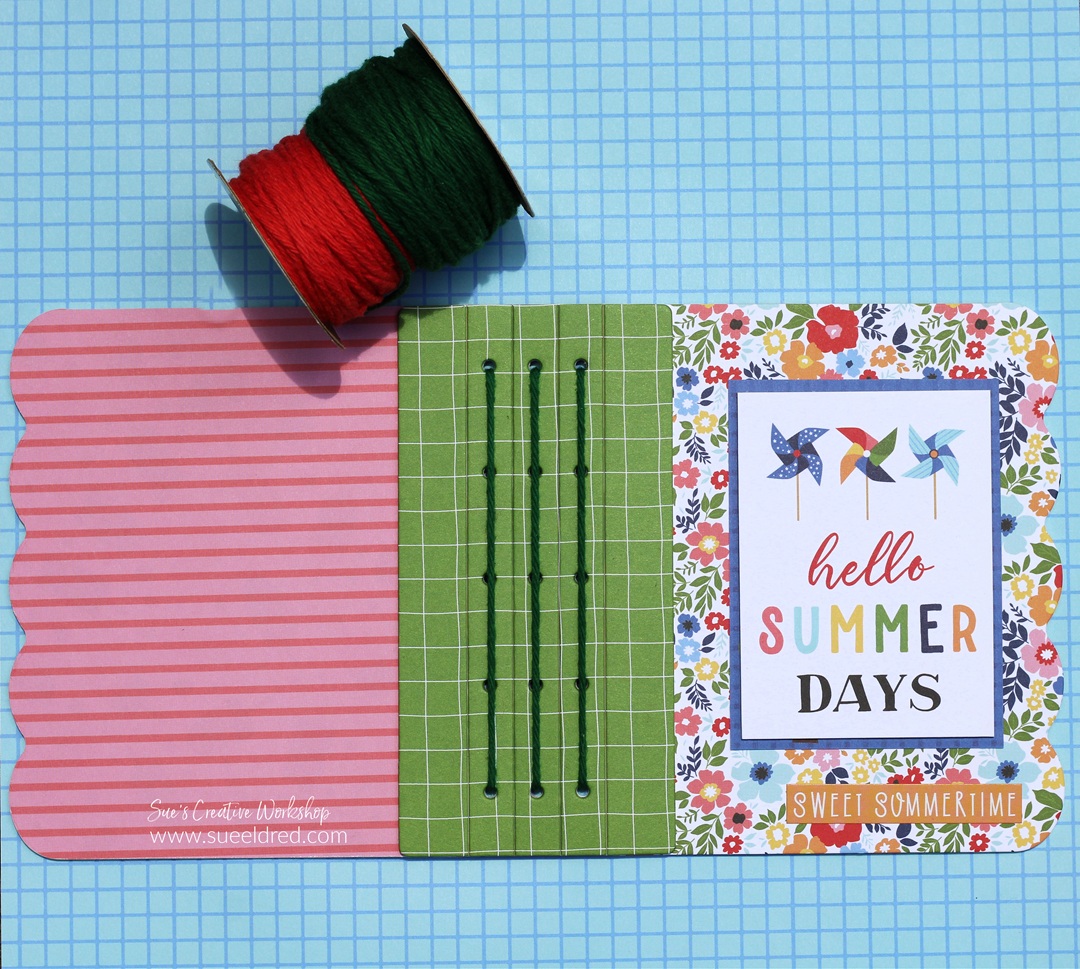
- Assemble your album and create two signature books to put inside the album.
- On the spine of the album are holes. Two on the top and two on the bottom. They are for threading a string to hold the signature books in place.

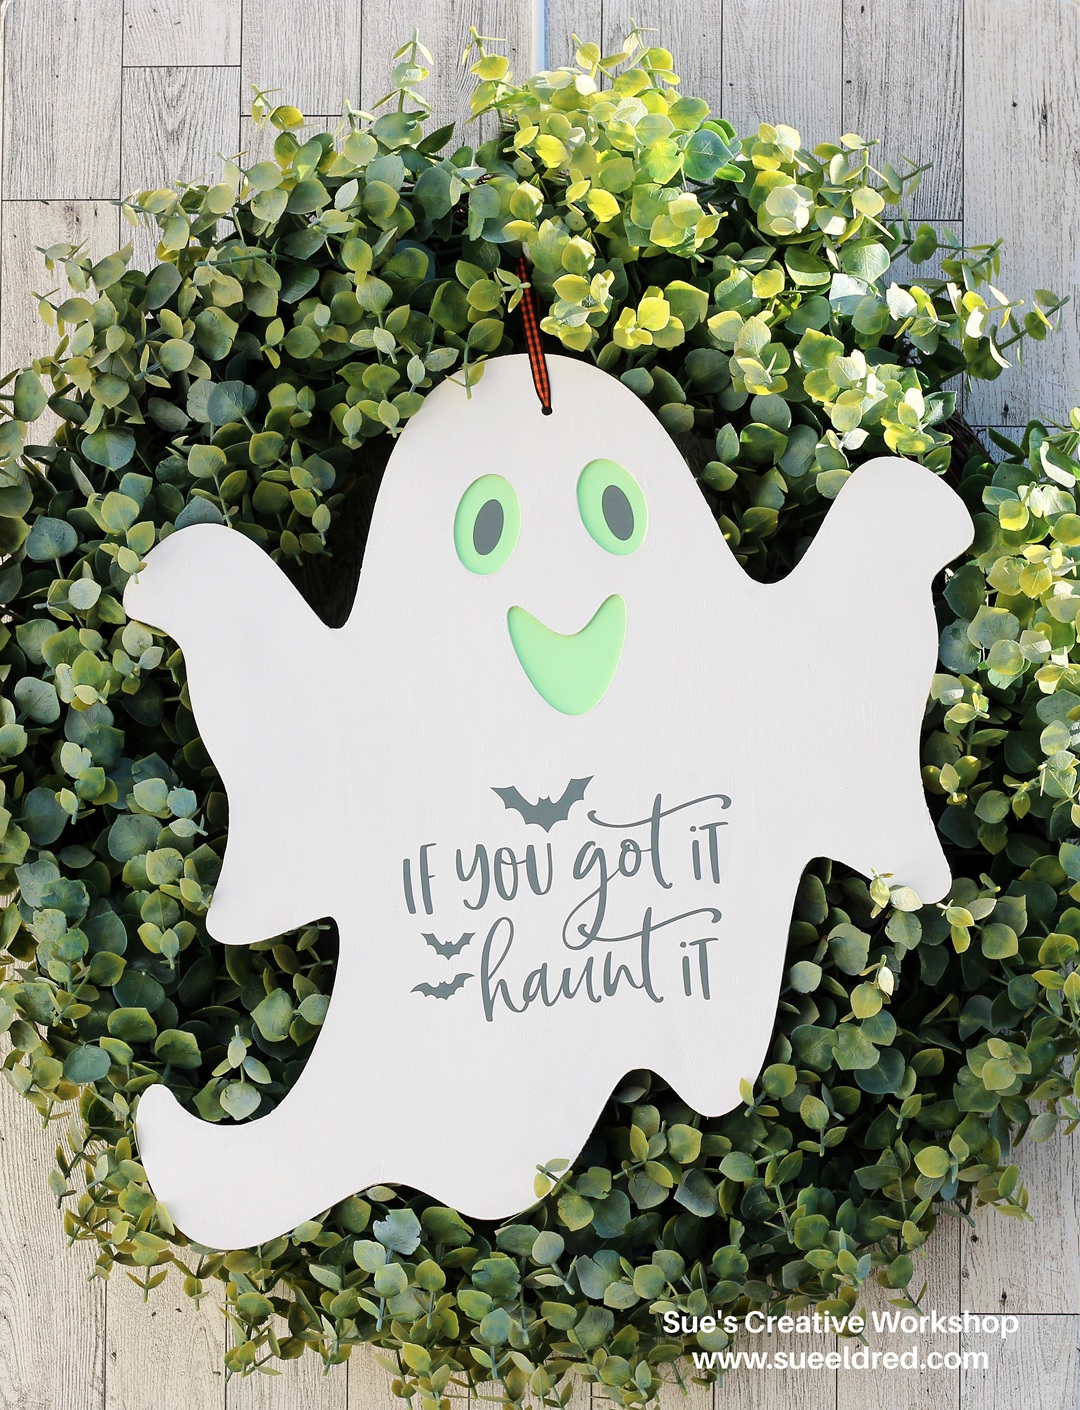
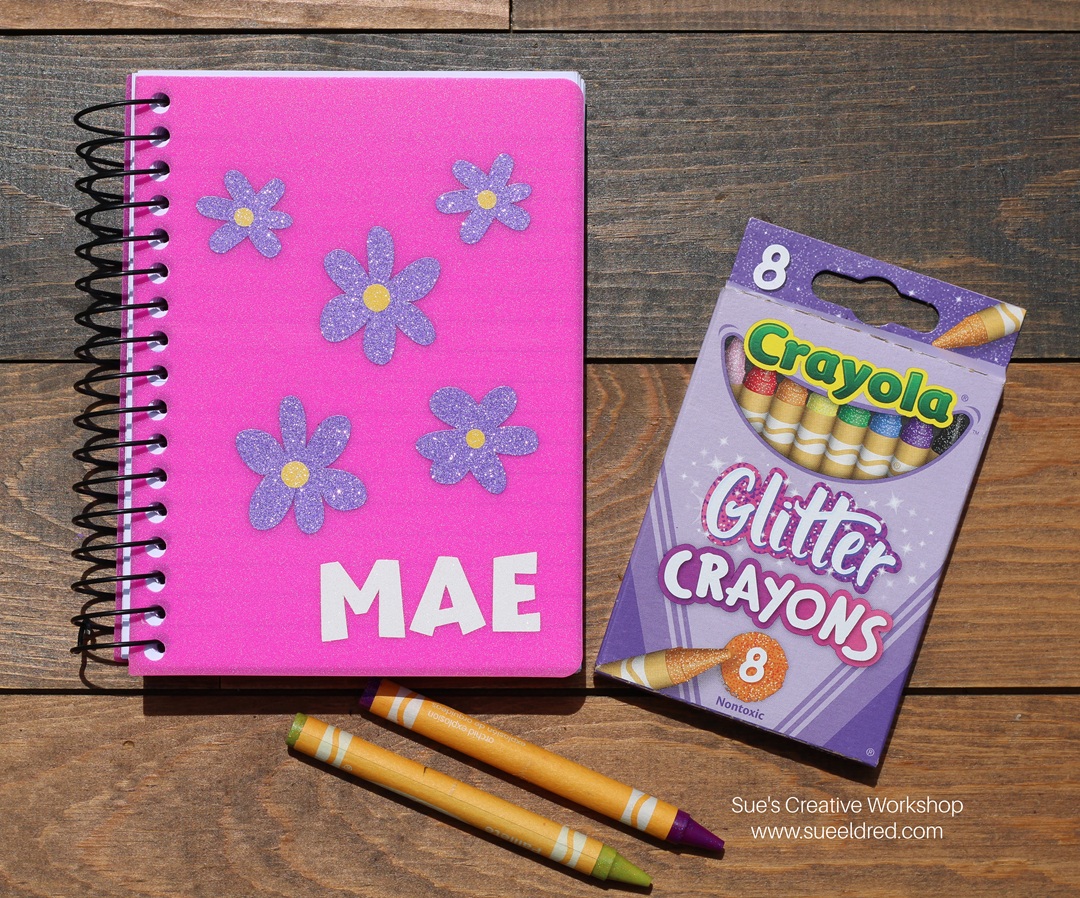
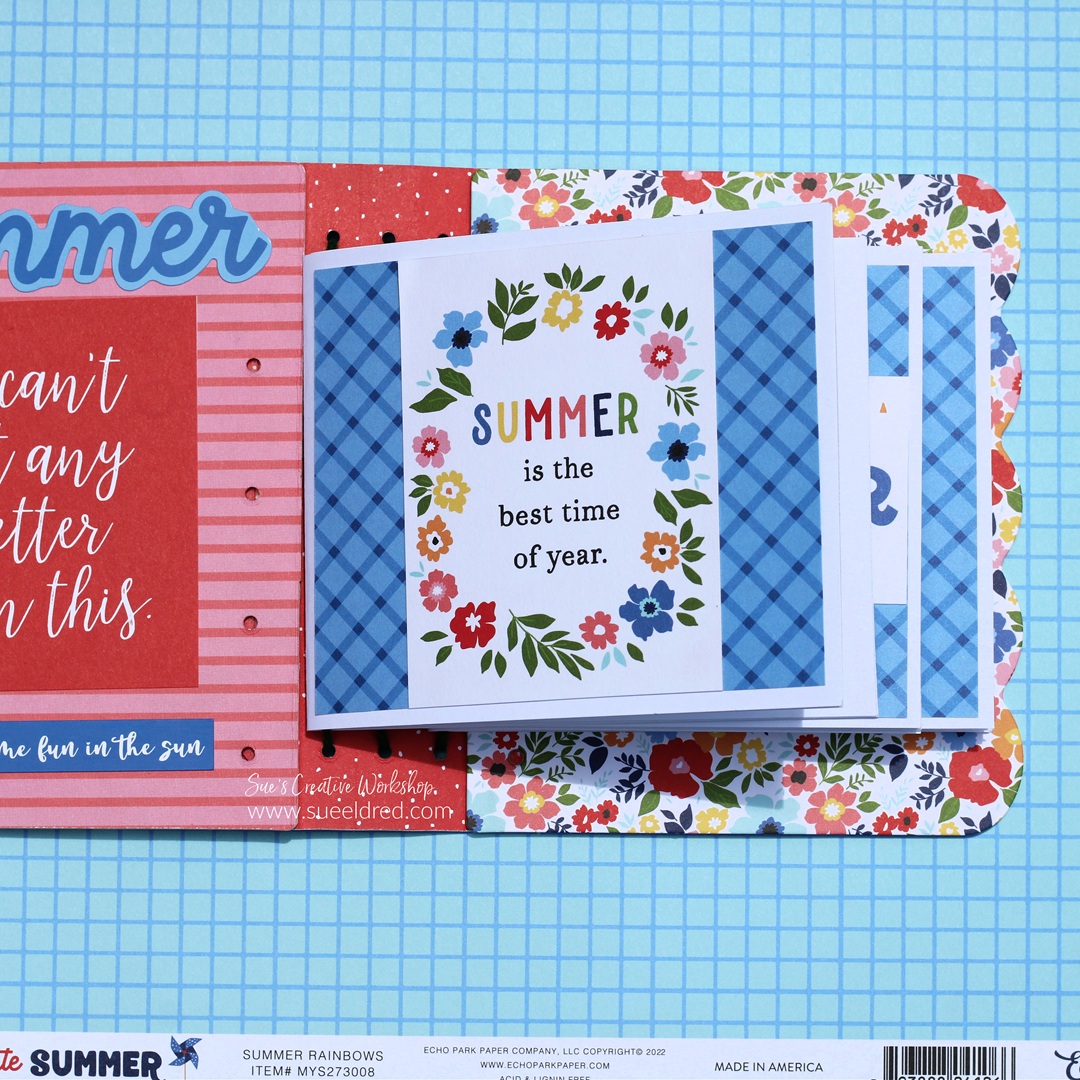
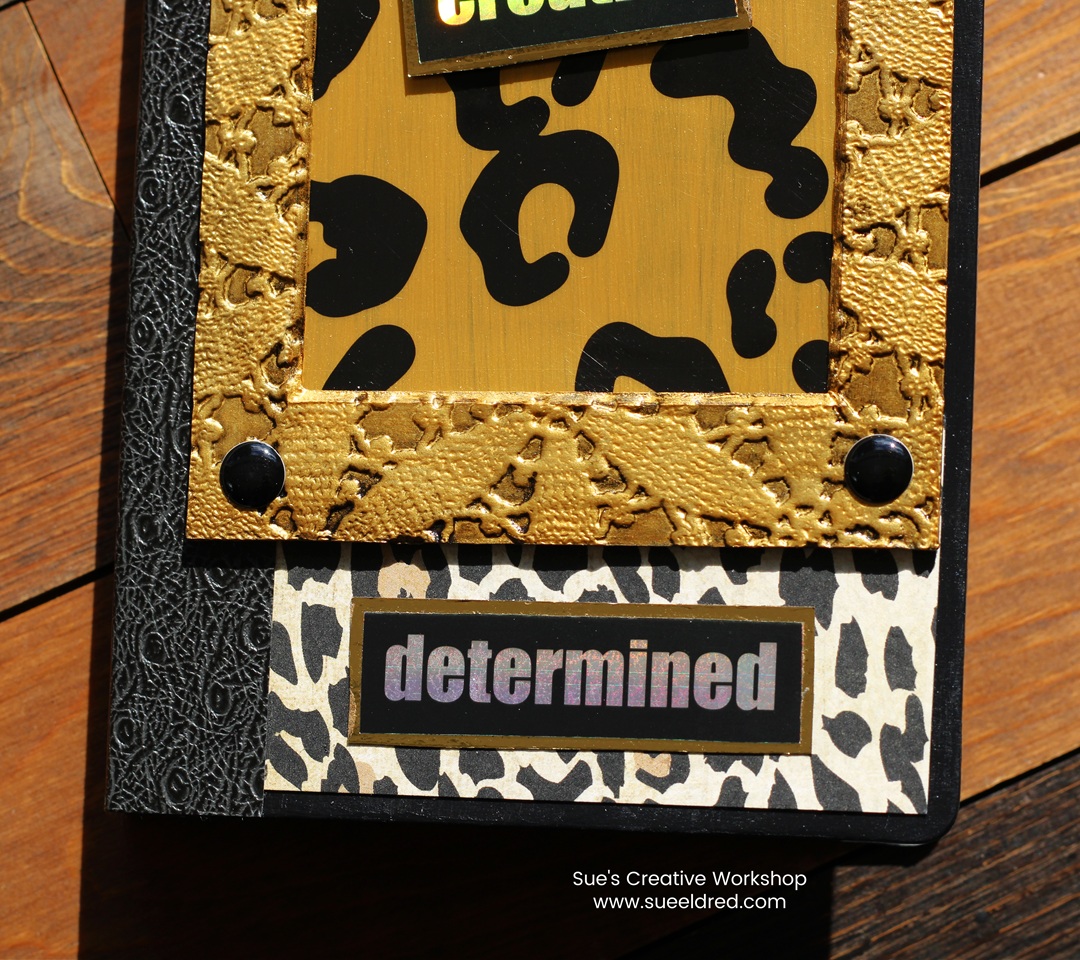
There you have it-a sassy cheetah album perfect for your own little style icon!
Fill it with photos, memories, and all those moments that capture their fierce personality.
![]()
Disclosure: This is a sponsored post. As a member of the Eileen Hull Inspiration Team, I have been provided product in exchange for my creative ideas. The view and opinions are my own.