
How to make an Accordion Album using Kaisercraft’s Flower Shoppe Collection.
A quick way to make a mini album to showcase a few memorable pictures.
The album would make a great gift for someone special.

Materials Used: (*affiliate link)


- Kaisercraft-Flower Shoppe Collection-Arrangement*
- Kaisercraft-Flower Shoppe Collection-Sunroom*
- Kaisercraft-Flower Shoppe Collection-Teatime*
- Metal Corners by Tim Holtz Idea-ology*
- Sizzix Making Essentials Mat Board*
- Deco Art-Multi Media Acrylic Paint-White Birch*
- Sanding Block*
- 1″ Green Ribbon
- Xyron Creative Station*
- Xyron Tape Runner*

*Disclosure: This blog uses affiliate links. If you choose to make a purchase using one of the links, I receive a small commission (at no additional cost to you) that helps offset the costs of maintaining this blog. Thanks for your support!
Directions:
- Cut two 4″ x 6″ matboard panels.
- Cut two 5″ x 7″ green polka dot paper pieces. You will need to generously apply adhesive to the back of the paper. I like to use my Xyron Creative Station to add adhesive. Run the paper design side up through the machine to add a “complete layer” of adhesive on the paper. (no wrinkles, no electricity)
- Lay matboard on center back of polka dot paper. Miter paper edges by cutting diagonal triangle off each edge of four corners, leaving 1/8″ space between cut and matboard. (TIP…save triangles to cover edges if corners don’t meet) Fold edges over the matboard and adhere. Repeat with the second set of panels.
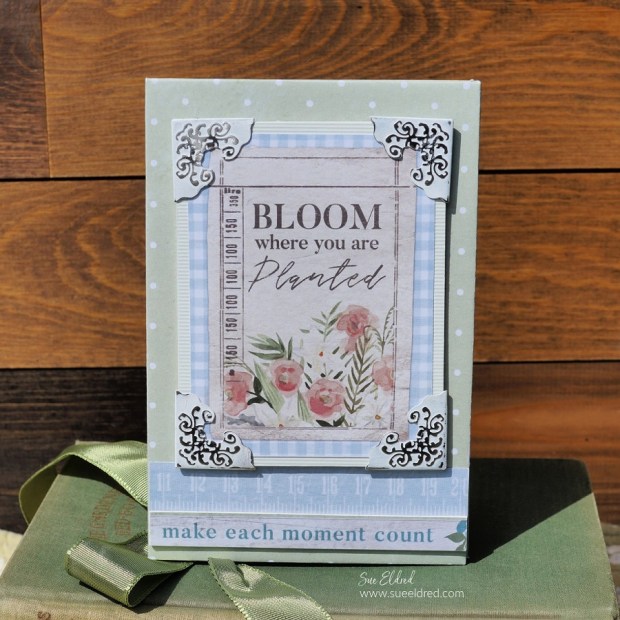
- Decorate the front of the album using designs from the “Arrangement” paper. I layered the “bloom where you are planted” 3″ x 4″ section onto a 3 1/4″ x 4 1/4″ piece of cardstock. For added dimension, I adhered the layers onto a 3 1/4″ x 4 1/4″ piece of matboard.
- Paint four metal corners with white multi-media paint. After the paint has fully dried, lightly sand over the corners to reveal the embossed design. Fold around edges of the matboard layer. Adhere layered matboard to the front of the album cover.
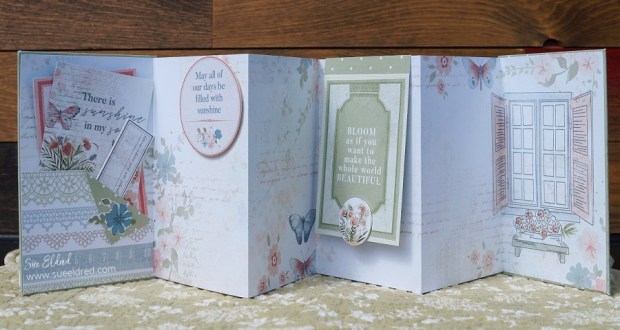
- Cut two 5-7/8″ x 12″ strips of “sunroom” scrapbook paper. Score lengthwise every 3-7/8″. You will end up with 3 panels and a small narrow section at the end of each strip approximately a 1/2″ inch. On one panel, cut the extra 1/2″ strip off. Adhere the 1/2″ tab onto the back of the other panel to create one long 6-panel accordion strip. Refold the panel if necessary.
- Adhere each end of the accordion strip to the 4″ x 6″ covered chipboard panels.
- Create pockets and flaps using extra scrapbook paper pieces.

And for the Card Makers…
I also made a card using the left over paper from the Flower Shoppe Collection.

