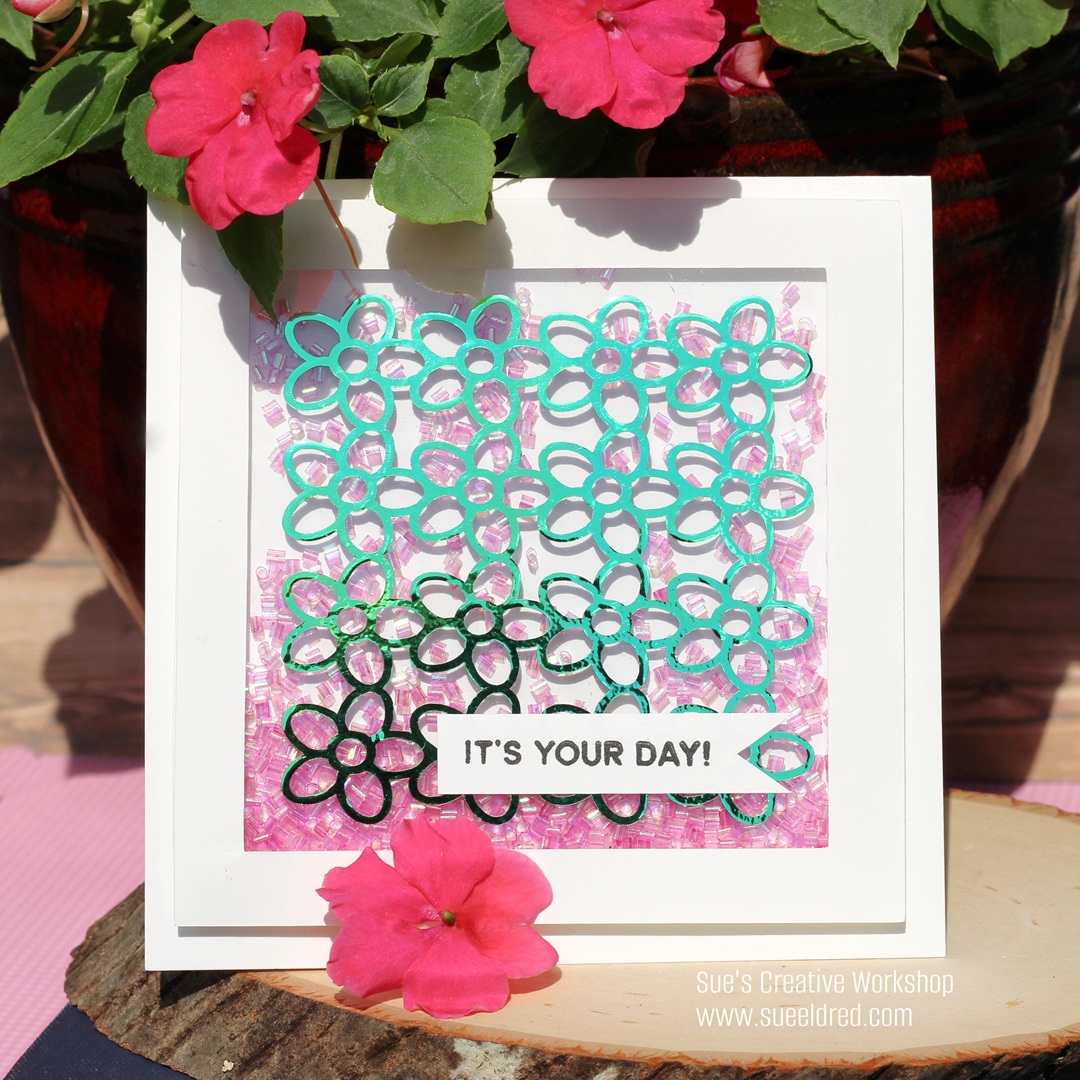
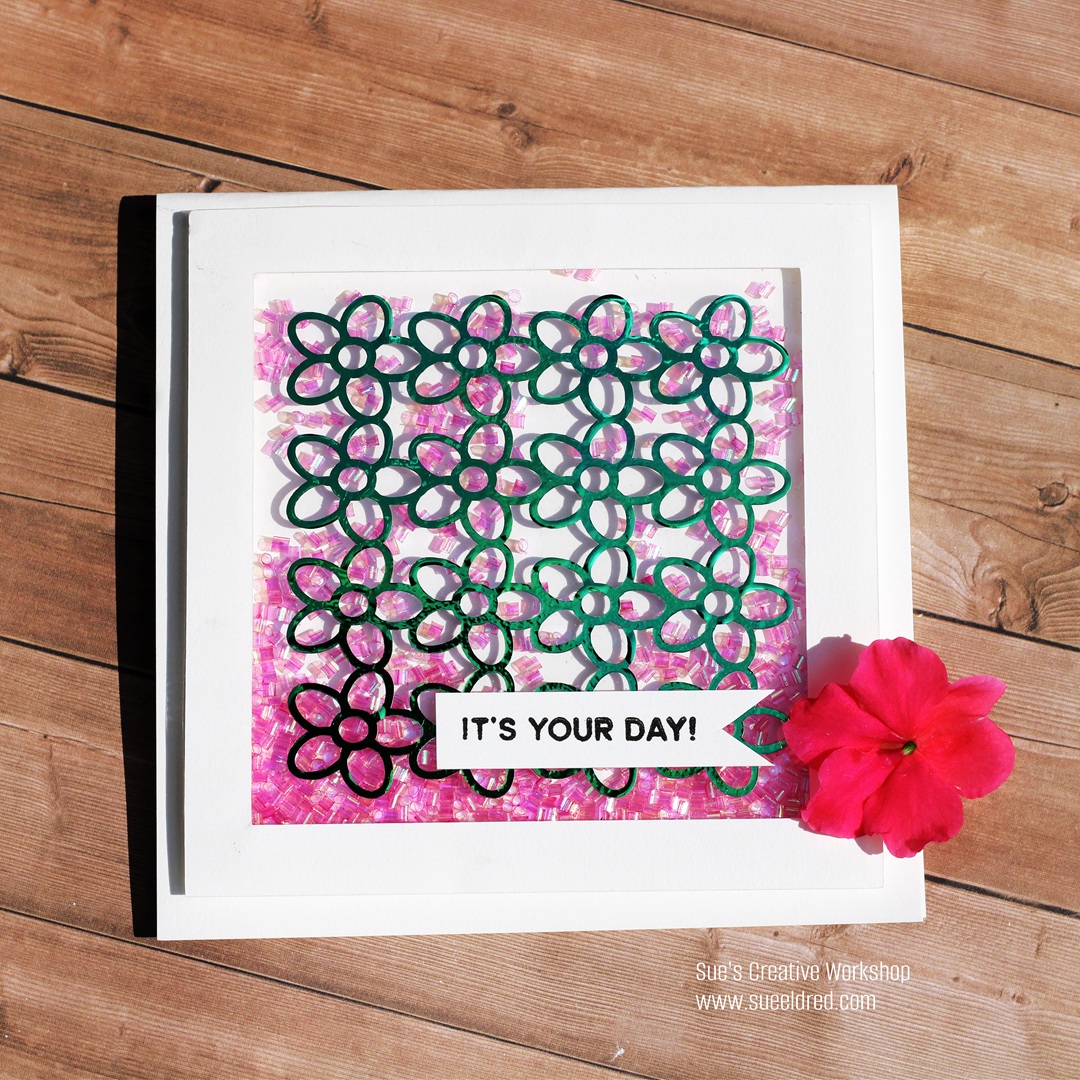
How to make a Black and Gold Vintage-Inspired Embossed Photo Mat.
Elevate a special family photo with a Black and Gold, Vintage-Inspired,
Floral Embossed Photo Mat.

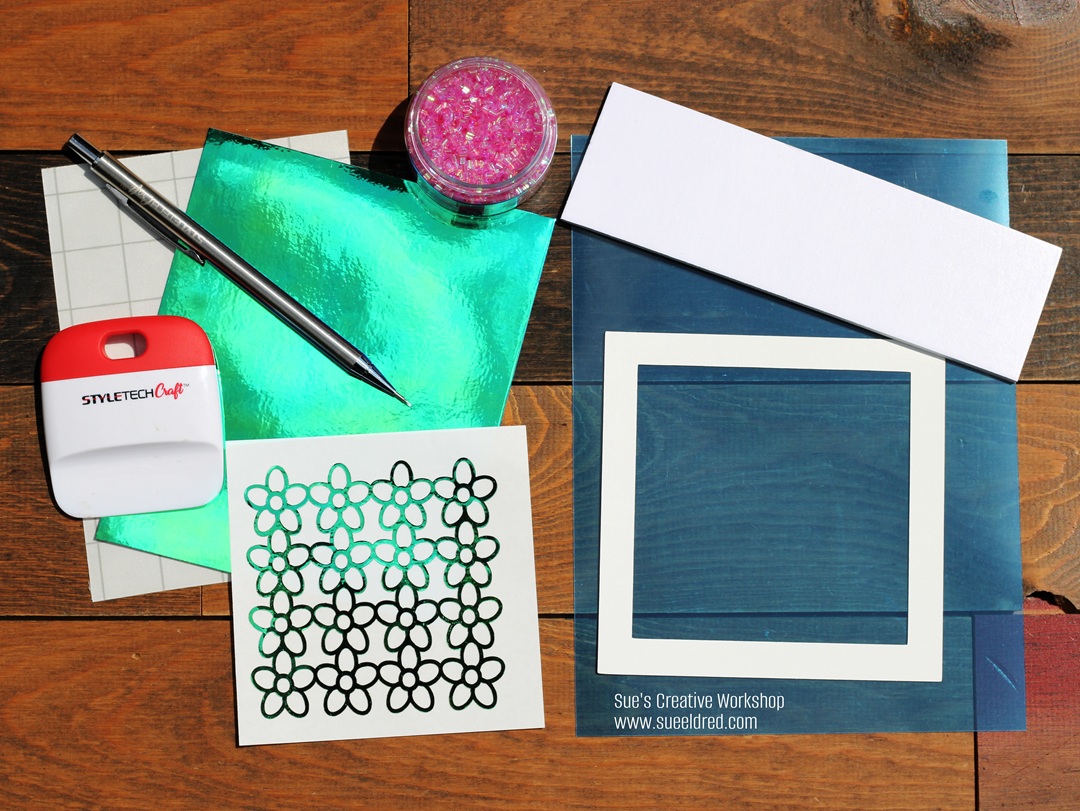
To make the Black and Gold Embossed Photo Mat:
- Start with a 5″ x 7″ black photo mat* made from mat board.
- If you don’t have a black photo mat, you can create one by painting a plain one with black acrylic paint*.

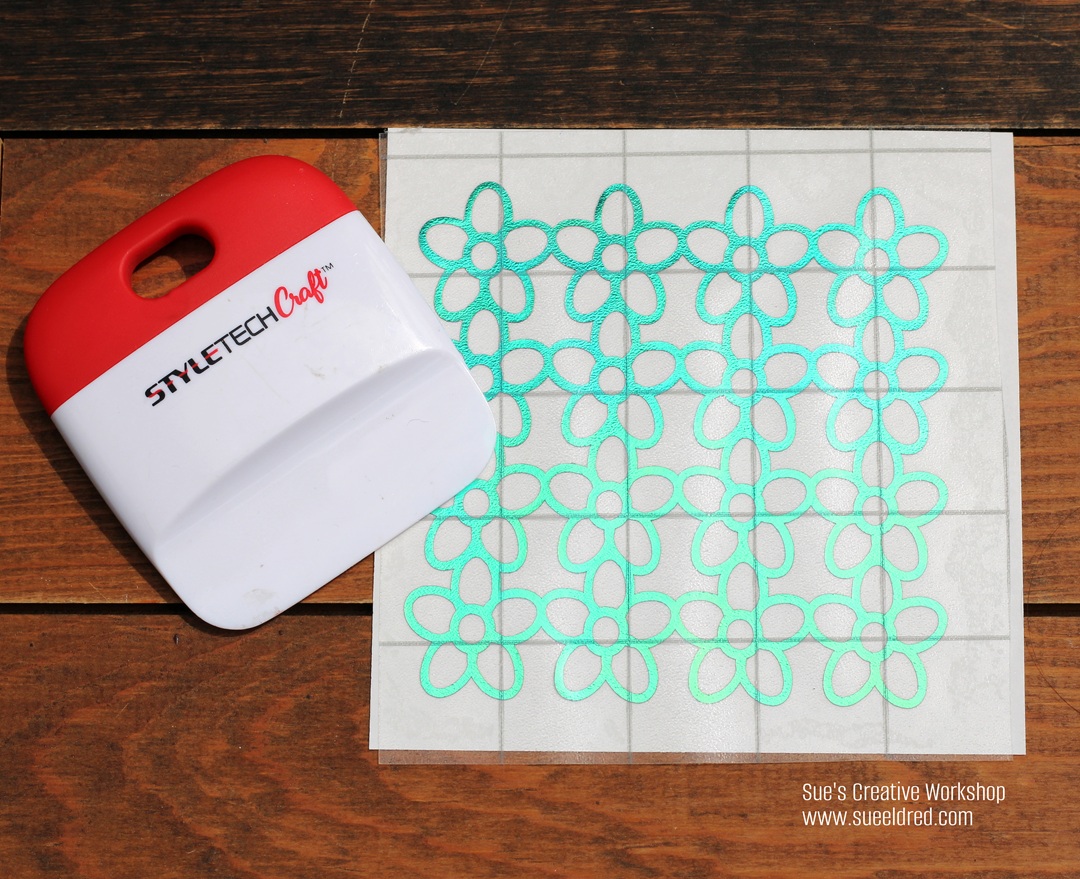
- I used the Sizzix Floral Damask Embossing Folder by Eileen Hull*
- Use a gold pigment inkpad* and rub the ink directly onto the raised side of the embossing folder.

*Disclosure: This blog uses ads and affiliate links. If you choose to make a purchase using one of the links, I receive a small commission (at no additional cost to you) that helps offset the costs of maintaining this blog. Thanks for your support!
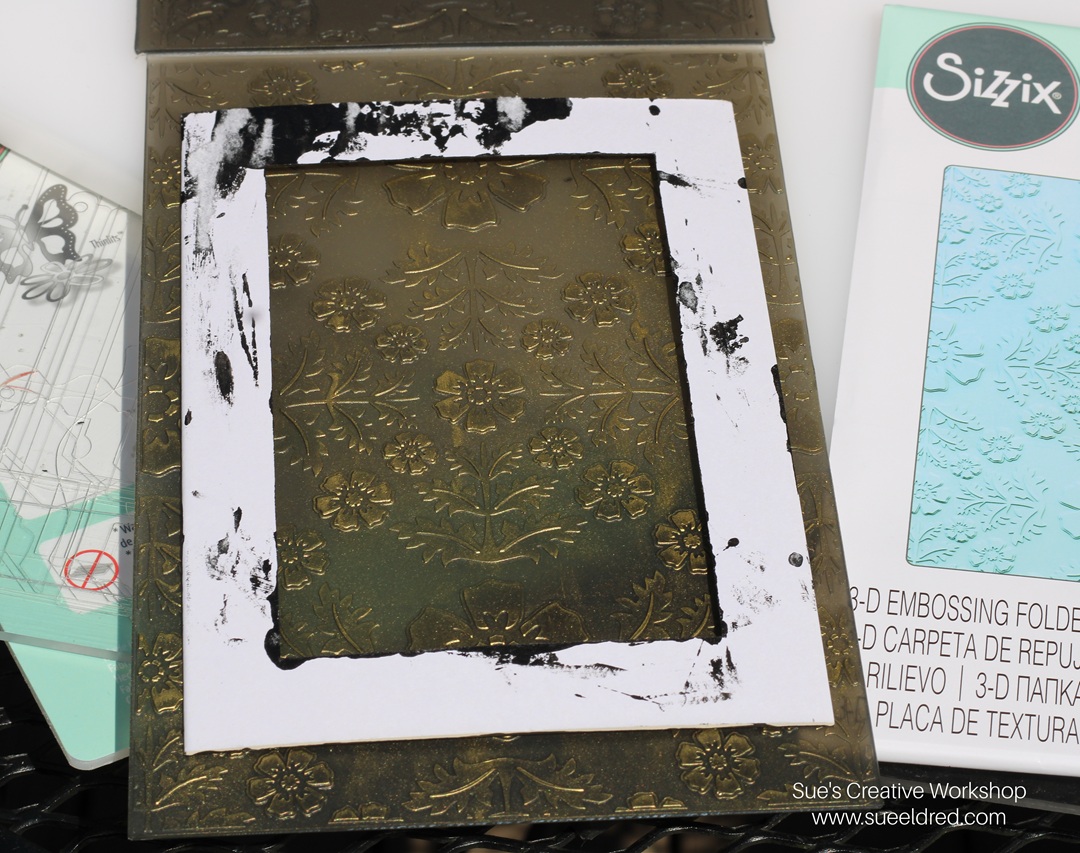
- Place the painted matboard into the embossing plate over the gold ink and close the embossing folder.
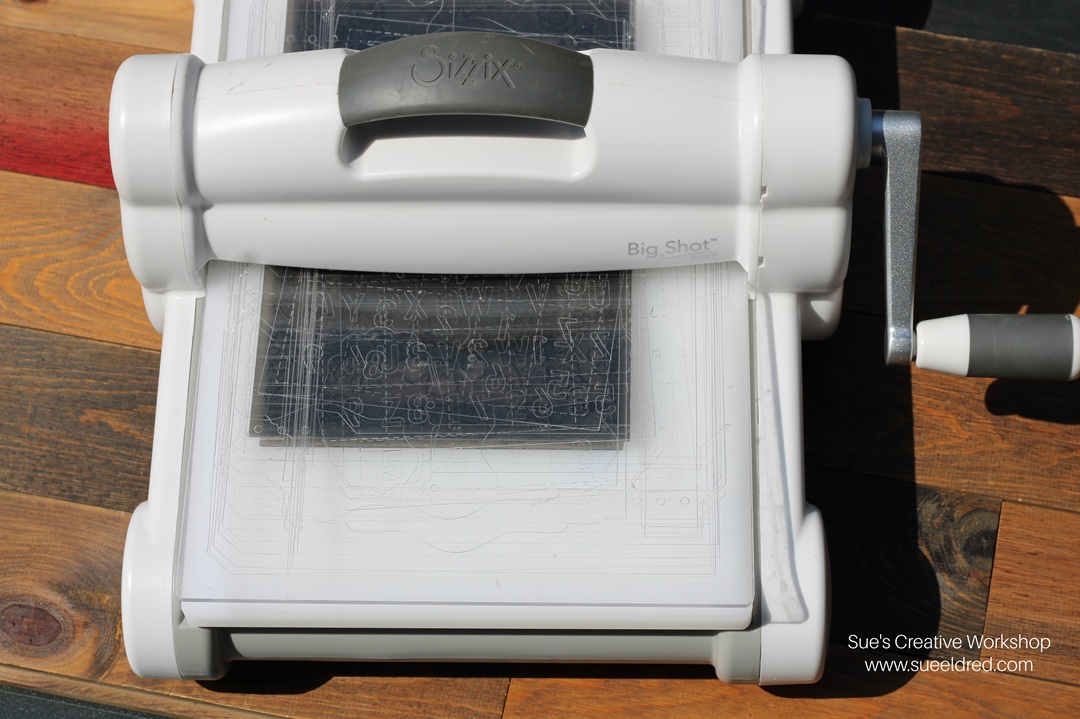
- Place the embossing folder and matboard in the Sizzix Big Shot Die-Cutting Machine*. (I only used one of the clear embossing plates with the folder since it was so thick.)
- Crank the handle to run the folder through.
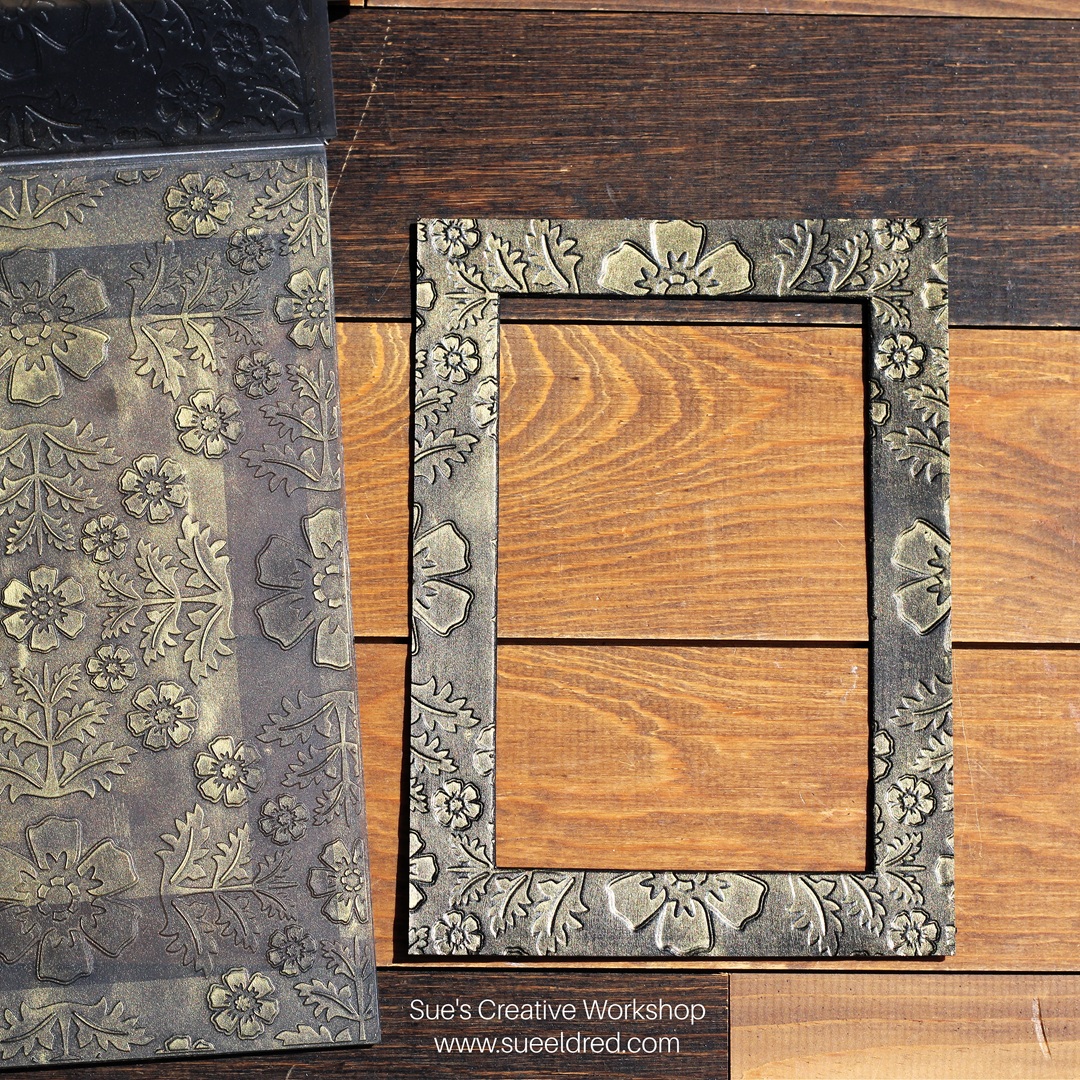
Did you know that you could emboss thick material like mat board?
The gold embossing on the black mat makes the boring photo mat look expensive.
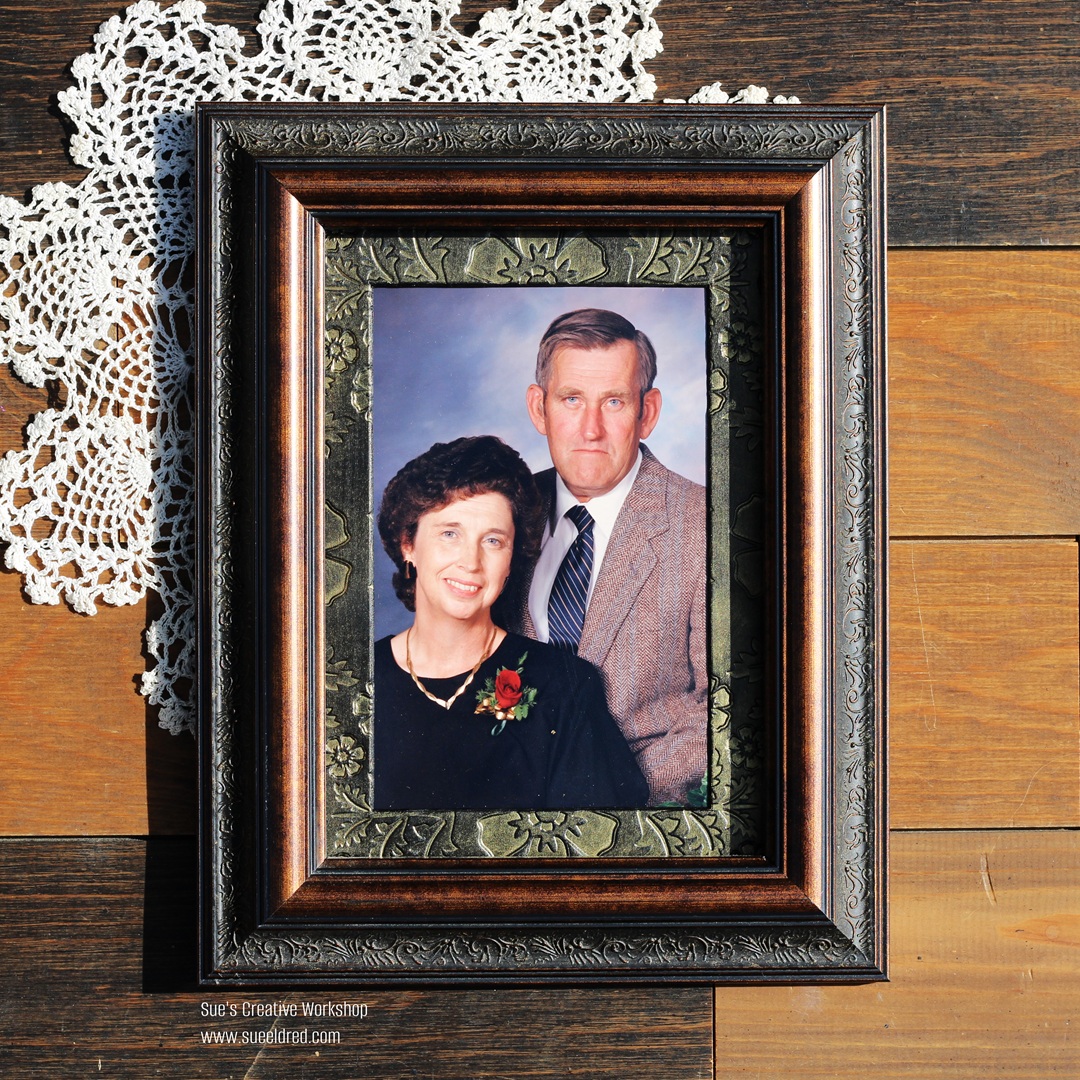
The photo inside the frame is a picture of my mom and dad,
taken in 1990 for their 35th Anniversary. (young and beautiful)
![]()
Disclosure: This is a sponsored post. As a member of the Eileen Hull Inspiration Team, I have been provided product in exchange for my creative ideas. The view and opinions are my own.