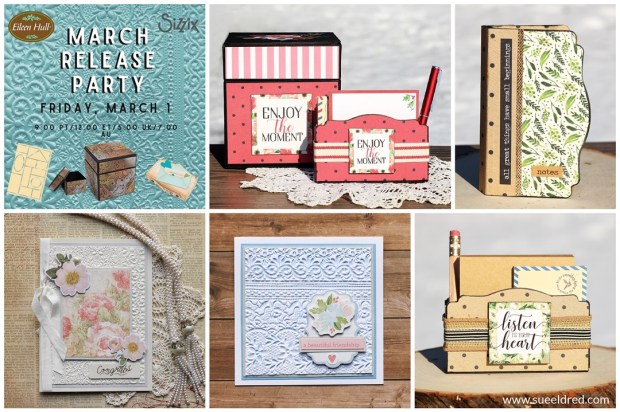
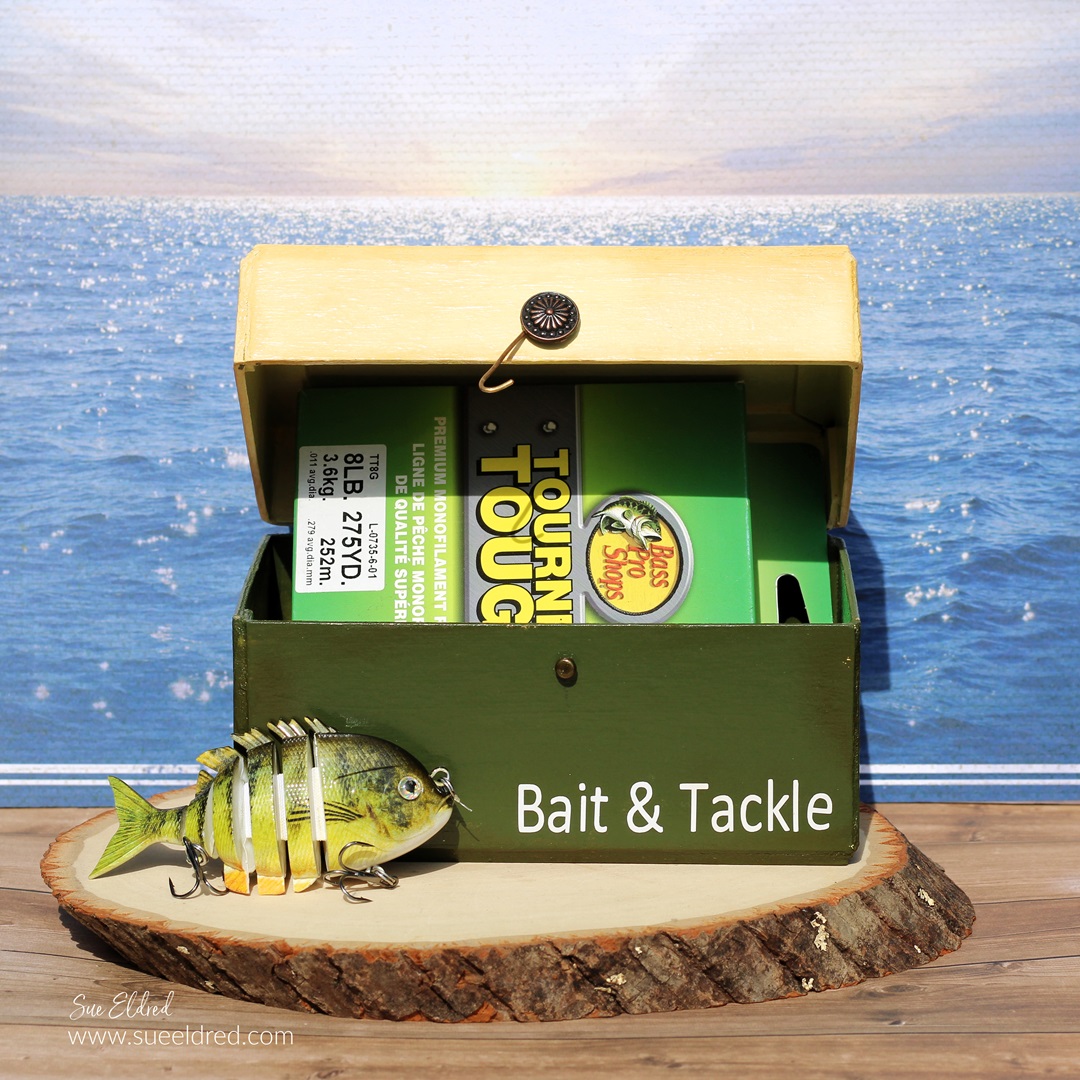
DIY Bait & Tackle Gift Box.
Create a miniature tackle box gift box for the Fisherman in your life.
The Bait and Tackle Gift Box is a clever little box made using the
Sizzix Treasure Box Die by Eileen Hull*.
Directions:
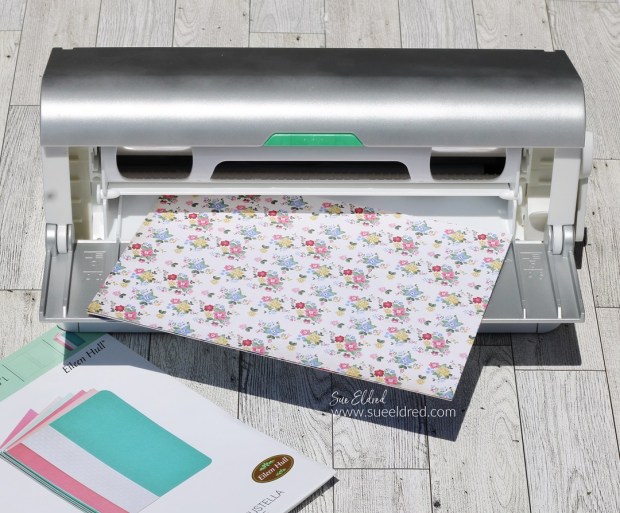
- Die-cut the pieces to make the treasure box using the Sizzix Treasure Box Die* and Sizzix Mat Board*. You will need to cut two of everything.
- I wanted this box to be shorter so that the dimensions looked more like a tackle box. I adapted the box by cutting 1″ off the top of the die-cut sides before adhering it together. (If I were to make this box again, I would probably cut an extra 1/2″ off.)
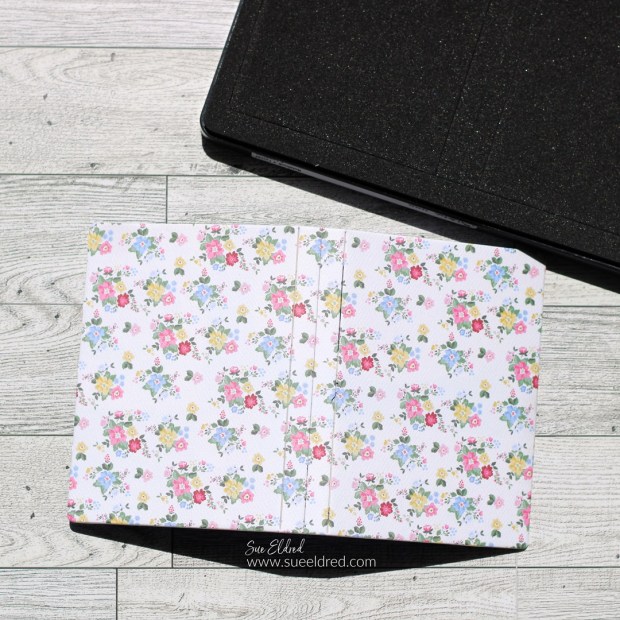
- Use Scor-Tape* on the scored tabs and assemble the box lid and bottom.
- I wanted my box to have fewer seams, so I applied Embossing Paste* with a Palette Knife* over the edges of the box and smoothed it. Allow the embossing paste to dry before painting.

*Disclosure: This blog uses ads and affiliate links. If you choose to make a purchase using one of the links, I receive a small commission (at no additional cost to you) that helps offset the costs of maintaining this blog. Thanks for your support!

Materials Used: (*affiliate links)
- #663634 Sizzix Treasure Box Die by Eileen Hull*
- #666497 Sizzix Mini Book Die* (used to make handle)
- Sizzix Mat Board*
- Sizzix Big Shot Die-Cutting Machine*
- Sizzix Extender Plates for the Big Shot*
- Scor-Tape*
- White Embossing Paste*
- Palette Knife*
- Mod Podge Satin Sealer*
- Plaid Apple Barrel Acrylic Paint: English Ivy Green* and Ivory*
- Brass Hinges*
- 1/16″ Hole Punch*
- Wire and Mini Brads*
- Tim Holtz Vintage Photo Distress Ink*
- Ink Blending Tool*


- Paint the bottom of the box with English Ivy Green Acrylic Paint*.
- Paint the lid of the box with Ivory Acrylic Paint*.
- Use Mod Podge Satin Sealer*to give the box a smooth finish.

- I attached the lid to the box with two small brass hinges* that I distressed with black paint.
- I used small black mini brads to attach the hinges instead of screws.
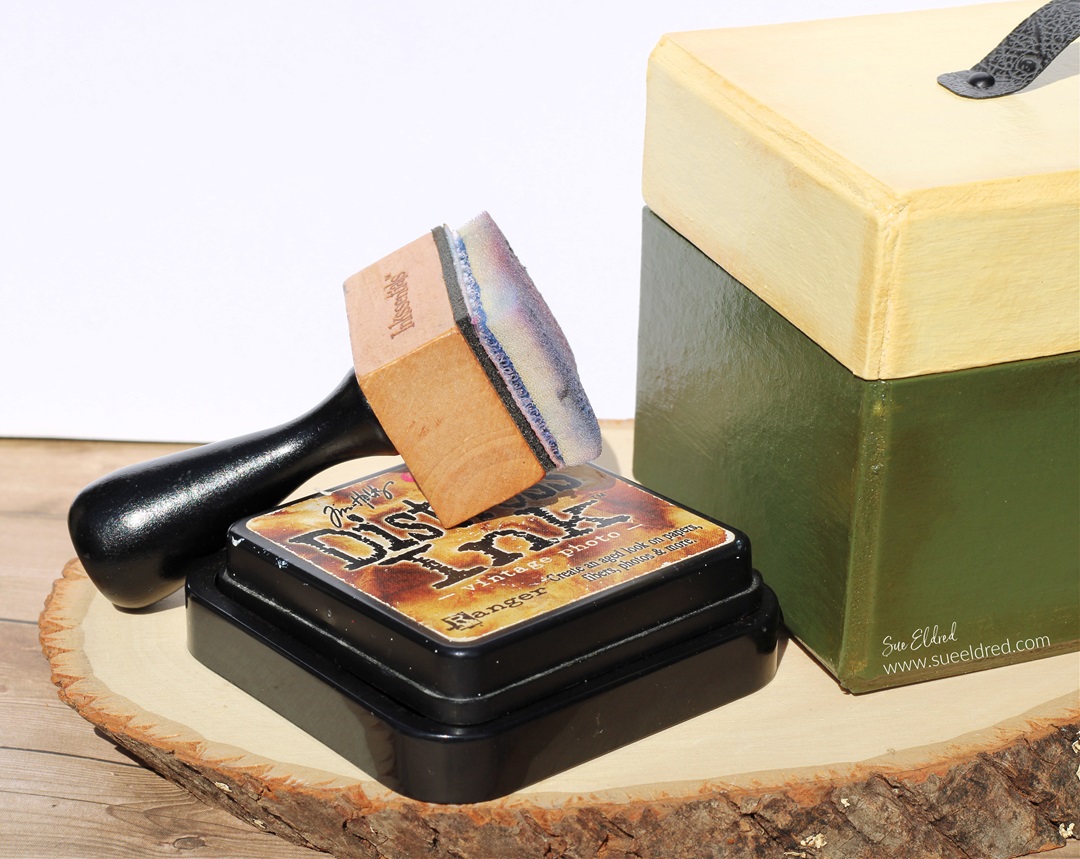
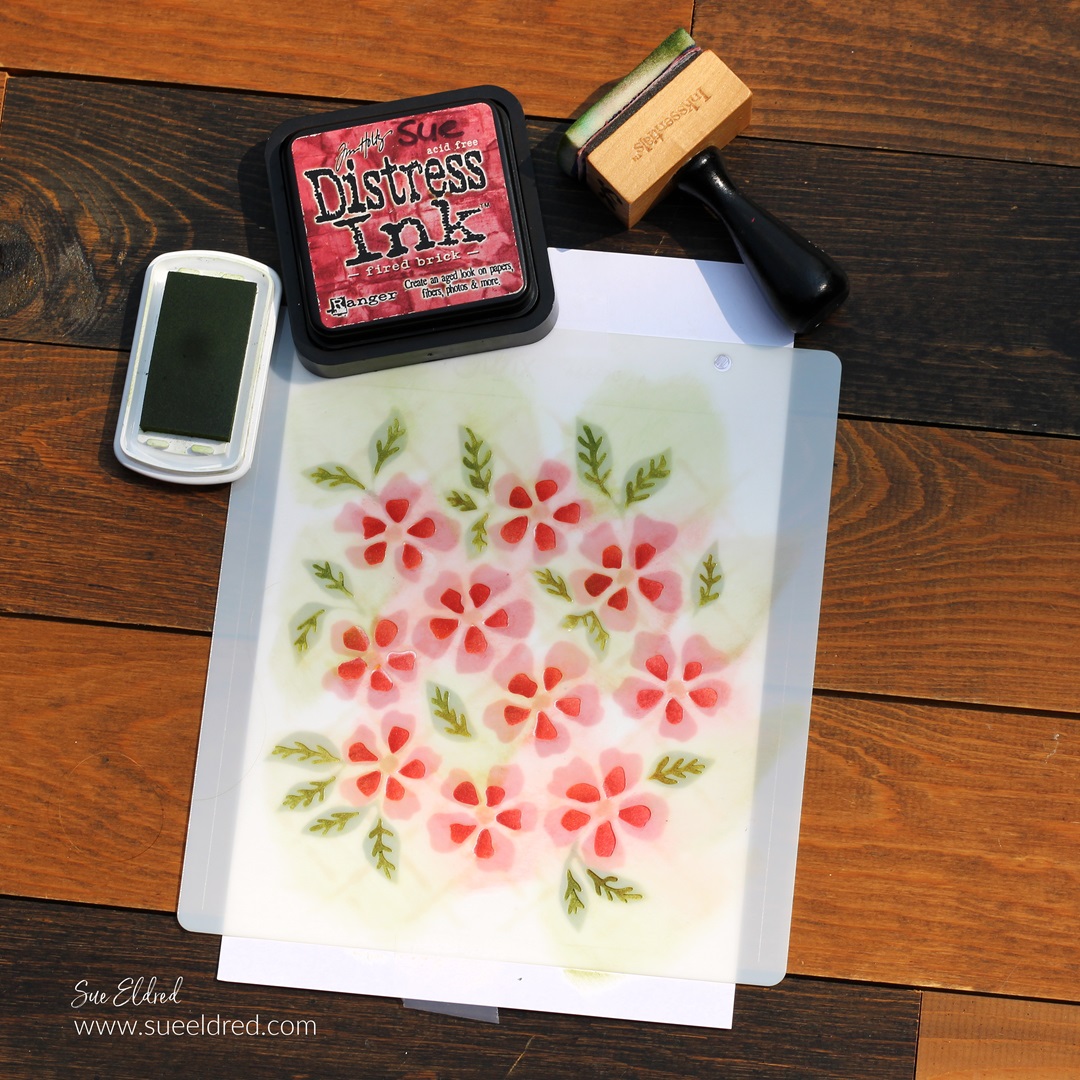
- To give the box an aged look, I rubbed Tim Holtz Vintage Photo Distress Ink* along the edges of the box and lid.

- I die-cut the “label” using the Sizzix Mini Book Die* to create the handle for the box.
- The handle is made from faux leather paper. (leather would be good also)
- Attach the handle to the box using black mini brads.

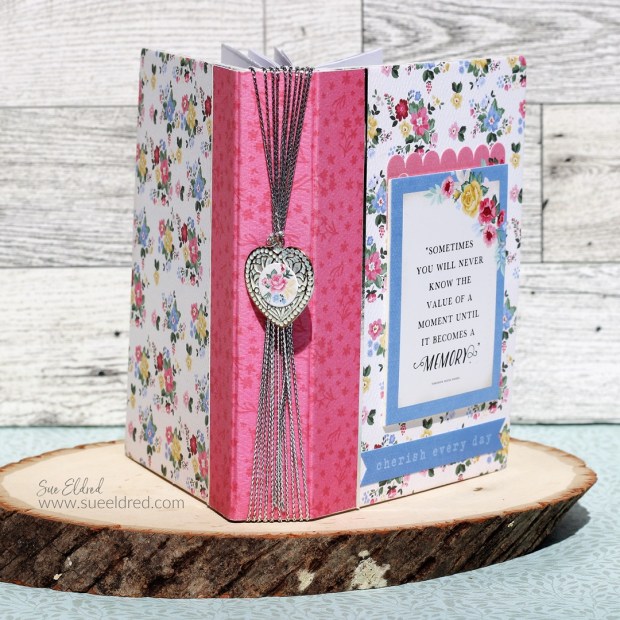
Fill the Bait & Tackle Box with Fishing Lures, Gift Cards, and Gummy Worms
and give to your favorite fisherman.
![]()
Disclosure: This is a sponsored post. As a member of the Eileen Hull Educator Team, I have been provided product in exchange for my creative ideas. The view and opinions are my own.