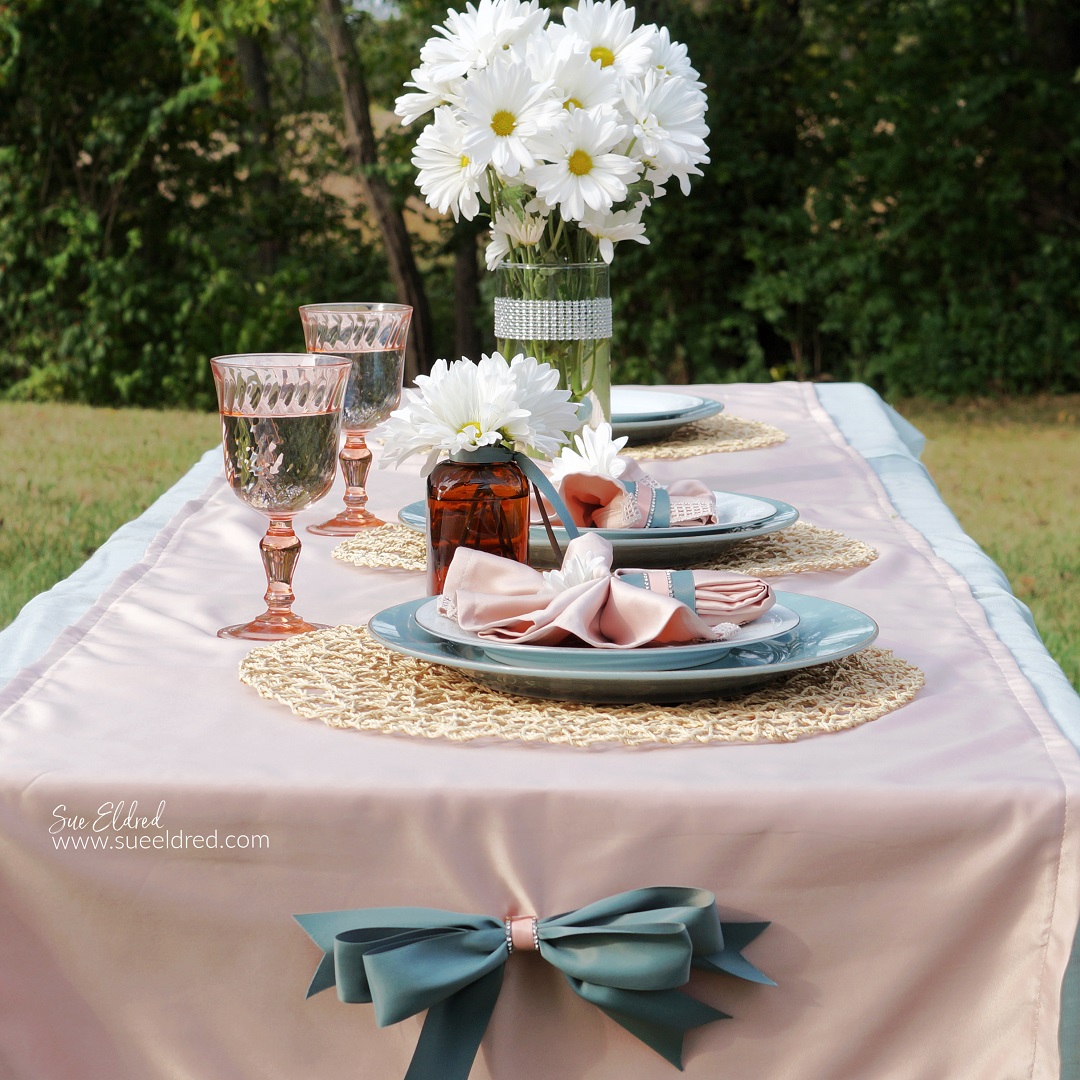
Setting a Pretty Table for a Special Occasion with Simple DIYs
Whether for a casual dinner party, wedding, or intimate dinner for two,
a beautiful table can set the mood.
For this dinner, I’m setting it up outside. I love eating Al Fresco whenever possible.
It lends an air of casualness that promotes better conversations.
![]()
Disclosure: This is a sponsored post for Gwen Studios. I have been provided product in exchange for my creative ideas. The views and opinions are my own.
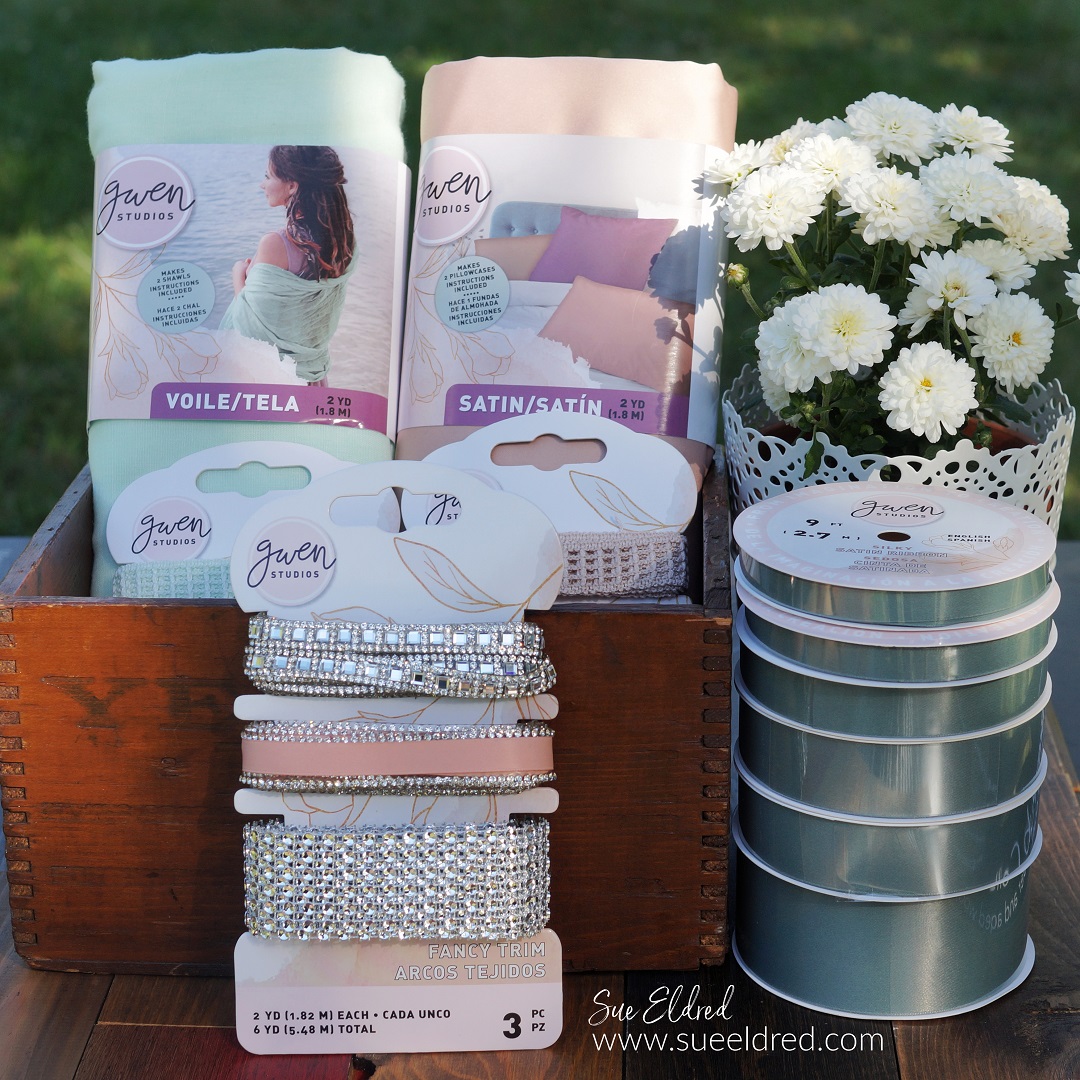
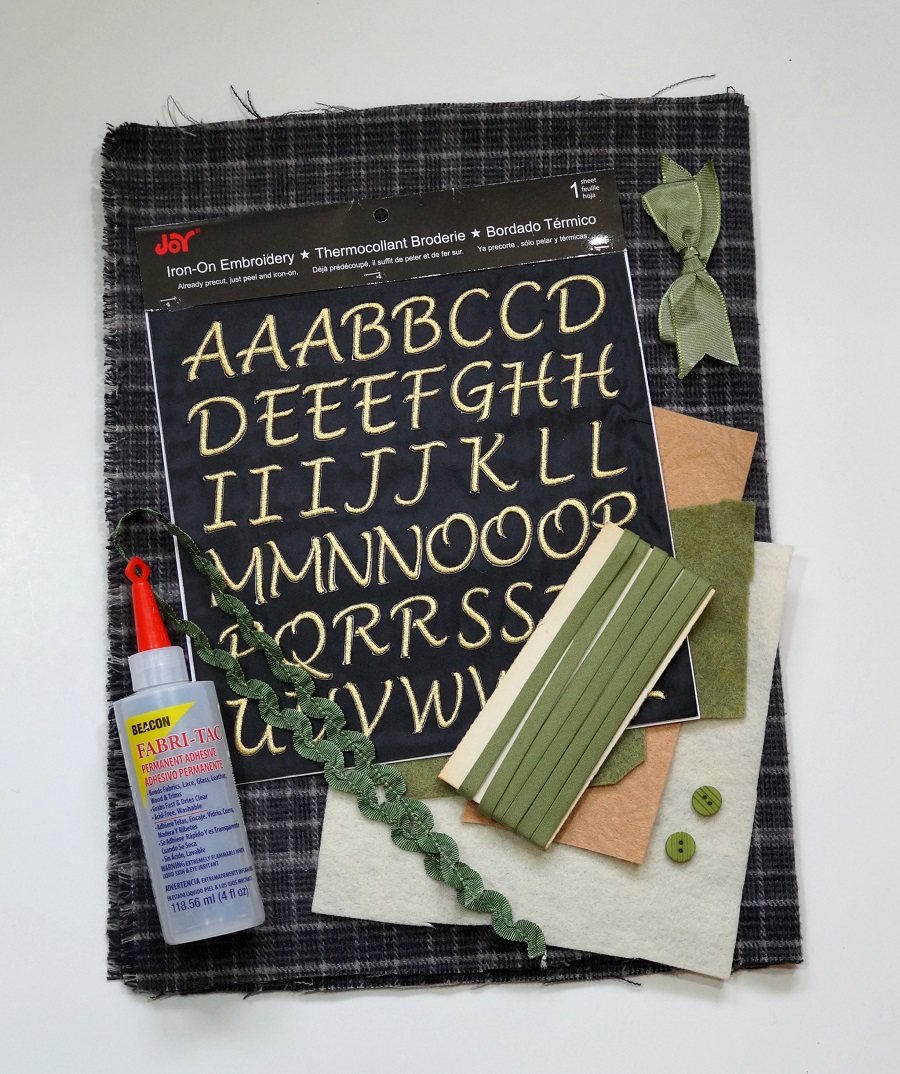
Materials Used: (*affiliate links)
- 2 Yards Gwen Studios Deep Tan Satin Fabric
- 2 Yards Gwen Studios Mint Green Voile Fabric
- Gwen Studios Coral Satin and Rhinestone Trim
- Gwen Studios Crochet Style Lace Trims
- Gwen Studios Sagebrush Green Satin Ribbon Tower
- Sewing Machine*
- Glue Dots Adhesives*
- Scissors*
- Vintage Dishes and Jars
- Natural Woven Circle Placemat*
- Clear Glass Cylinder Vase*
- Fresh Bouquet of Daisies
*Disclosure: This blog uses ads and affiliate links. If you choose to make a purchase using one of the links, I receive a small commission (at no additional cost to you) that helps offset the costs of maintaining this blog. Thanks for your support!
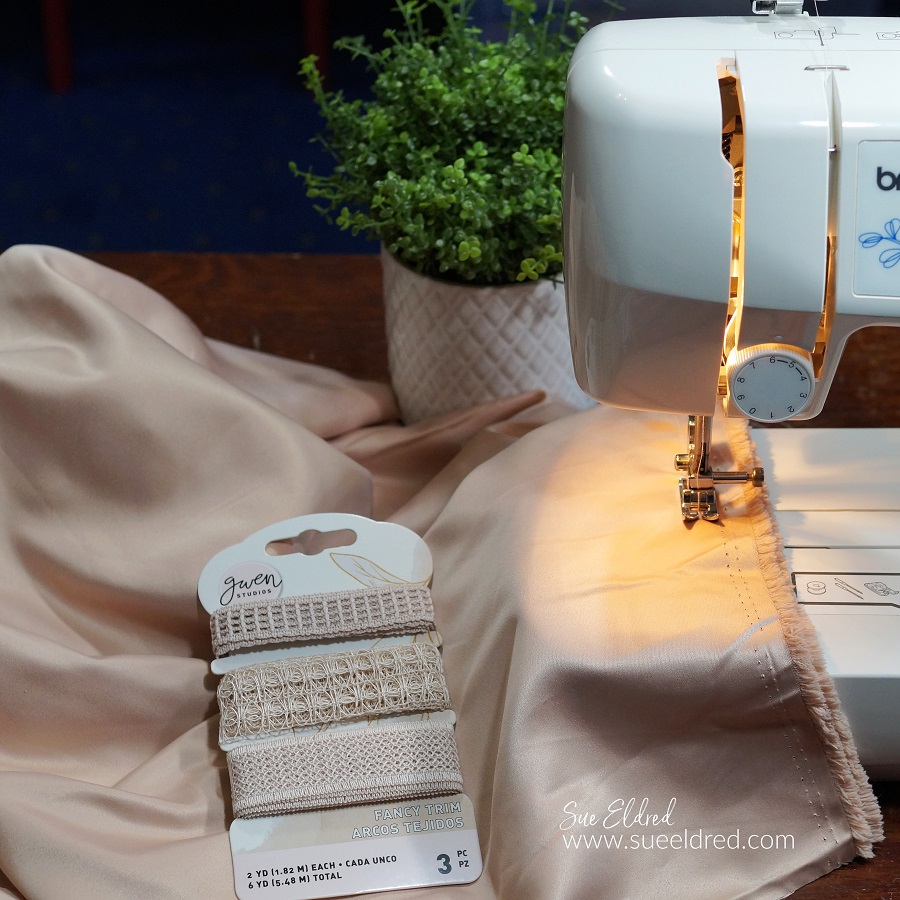
Let me start by saying, first and foremost, I am not a seamstress.
Which makes all of the following projects “sew simple”!
To create the Table Runner:
- Start with a 2-yard piece of Rugby Tan Satin. Cut the satin into two 22″ x 46″ pieces. Sew the two ends together to create one long piece of satin.
- For simplicity, I folded, pinned, and ironed 1″ around the whole piece of fabric.
- Tuck and refold the 1″ seam in half, pin in place. Sew each side, leaving a 1/2″ seam.
- Iron the seams.
- Sew a strip of lace trim on each end of the table runner. My table runner is 20″ x 90″.

- I created 14″ napkins using the same technique as the table runner. The lace is only on two sides of the napkin.
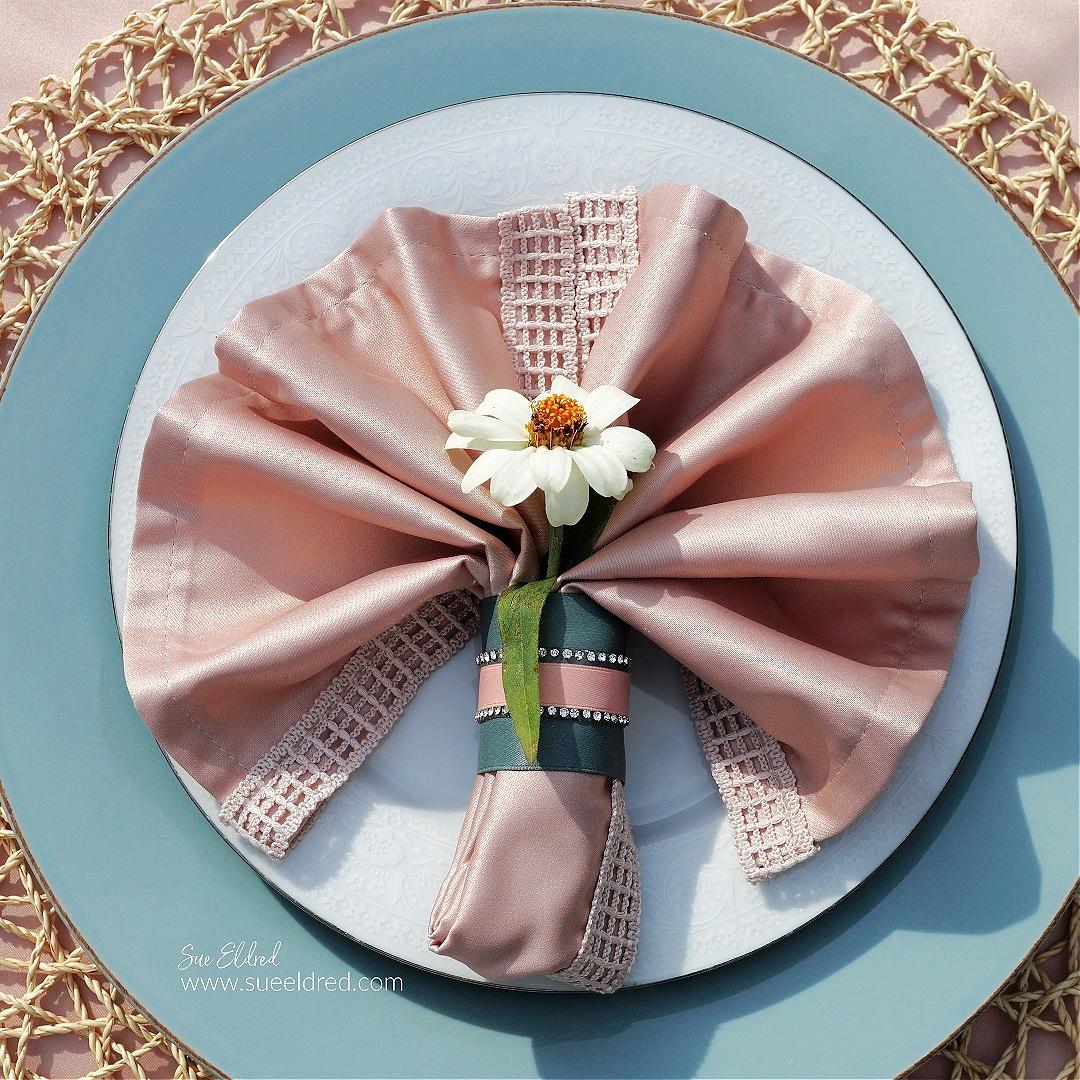
There are several different ways to fold a napkin. One of the easiest ways is the accordion napkin fold.
- Begin with a pressed napkin.
- Lay the napkin flat. Accordion-fold the napkin by folding the bottom edge 1″ to 1 1/2″. Continue folding the entire length of the napkin. Make sure to leave the lace showing on each end.
- Fold the pleated napkin in half.
- Wrap a small strip of 1½” satin ribbon around the middle of the folded napkin, overlapping and securing the ends with a glue dot.
- Wrap a small strip of satin rhinestone around the 1½ satin ribbon and securing the ends with a glue dot.
- Set onto the center of the plate and flare out the folds.
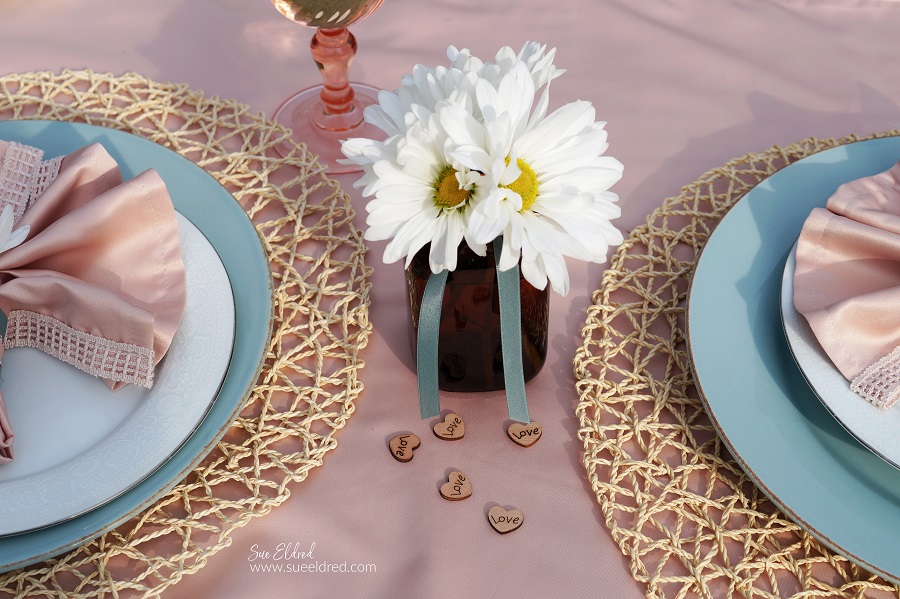
- For a special touch, place a small flower in the center of the napkin ring.

To make the Bow:
- Cut two 24″ pieces of 1½” satin ribbon.
- Cut one 6″ piece of 3/8″ ribbon.
- Fold the ribbon pieces into two loops crisscrossed with the tails on each end.
- Lay ribbon bows together with the second one askew.
- Tie the bows together with the shorter piece of ribbon.
- Trim the ends of the ribbon tails with a notch cut.

- Cut a 2″ strip of satin rhinestone trim.
- Wrap around the center of the bow and attach in the back using a glue dot.

- You will need two ribbon bows, one for each end of the table.
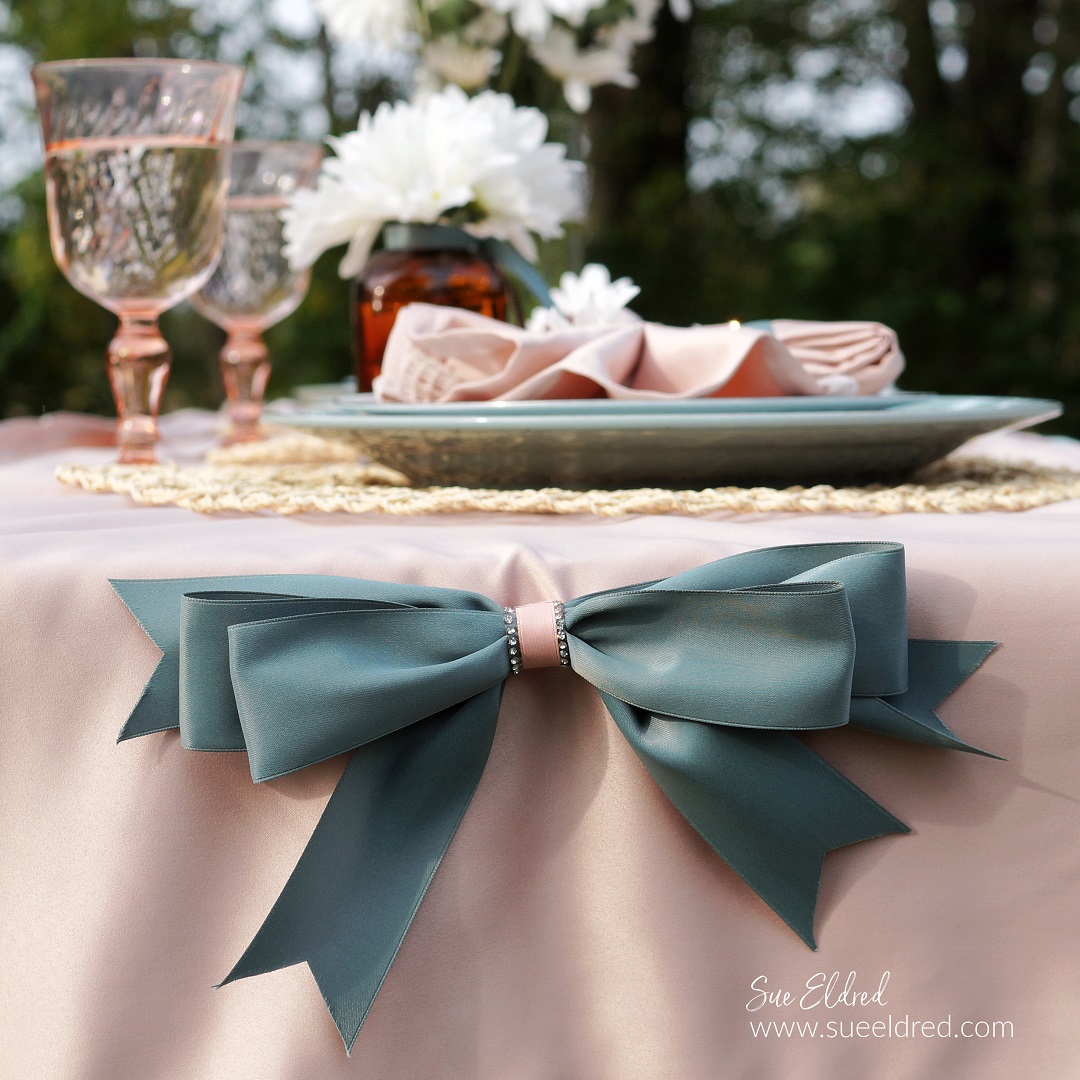
- Pin the bows onto each end of the table.

No “pretty table” would be complete without flowers.
For a casual simple look, use a variety of large vases and vintage jars
to add flowers to your table.
A simple ribbon tied around the neck is all you need.
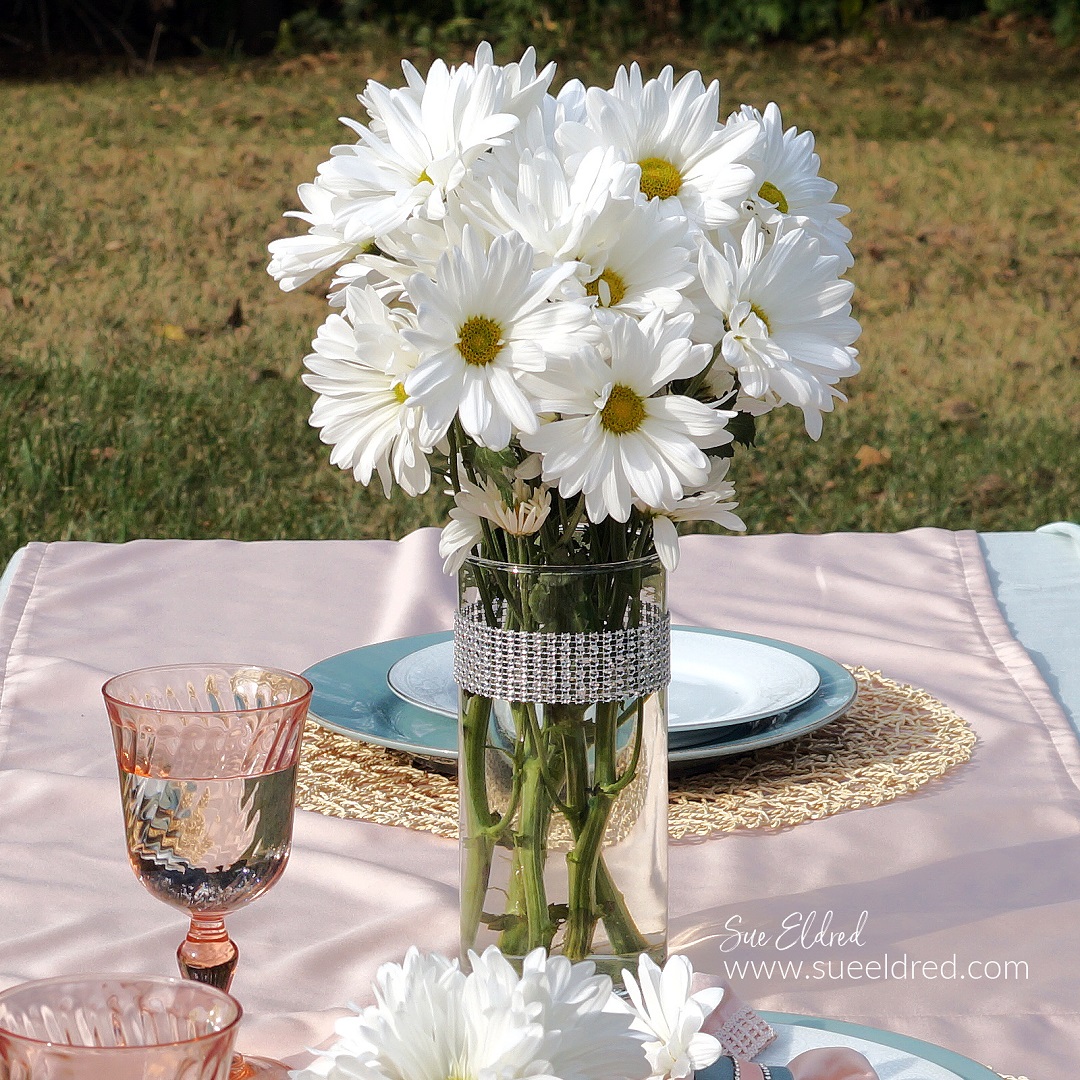
A Simple Vase of Daisies.
As Meg Ryan said in the movie, You’ve Got Mail…
“Don’t you think daisies are the friendliest flowers?”
To dress up a clear glass cylinder vase, wrap a strip of rhinestone trim around
the top of the vase and secure it with a glue dot. (such a simple trick)

To Dress the Table:
- I used the Aqua Voile to create a simple tablecloth. I sewed two ends together to make a 36″ X 90″ tablecloth. Because the fabric is light and airy, I carefully cut the fabric and did not sew any seams around the cloth. It is subtle enough to add a bit of detail without overwhelming the table.
- Place the table runner centered on the table.
- Place a natural woven placemat under the plates for a more casual look.
- I used vintage pink wine glasses for the drinks and two different vintage plates. I like to mix old with new to create a fun and inviting vibe.
- Add napkins to the plates and flowers on the table to finish the look.
Thoughtful touches and simple DIYs make this table perfect for any special occasion.