How to Make an Elegant and Easy Monochromatic Holiday Card.
When it comes to making cards for the Holidays, two words come to mind, elegant and easy. This Merry little card is both. With a few simple tricks and tips, this card is a snap to make.

Disclosure: This is a sponsored post for the Maker’s Movement. I have been provided product
and compensation in exchange for my creative ideas. The view and opinions are my own.
Materials Used: (*affiliate links)
- MOD300 Be Merry Die Set
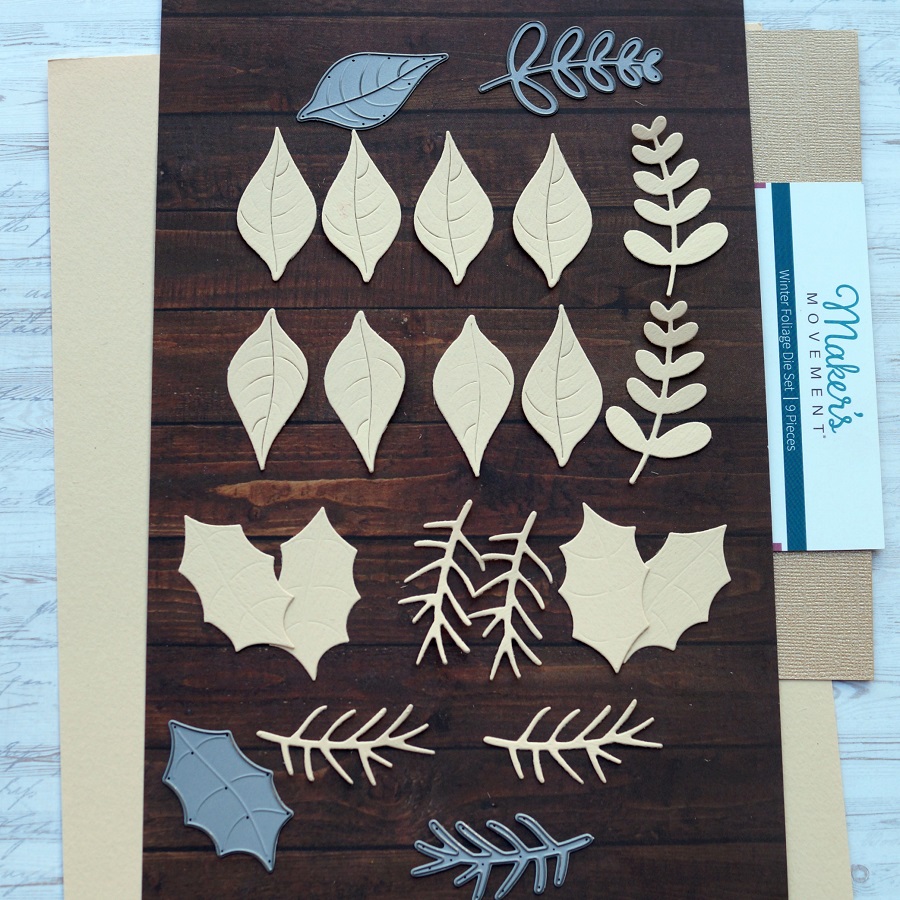
- MOD301 Winter Foliage Die Set
- MSD231 Snow Globe Stamp and Die Set (small snowflakes)
- Crossover II Die-Cutting System*
- Cardstock: White and a Variety of Shades of Red
- Xyron Creative Station*
- Xyron Mega Runner*
- StyleTechCraft Gold Chrome Adhesive Vinyl*
- Red Metal Nailhead Sticker Embellishments*

*Disclosure: This blog uses affiliate links. If you choose to make a purchase using one of the links, I receive a small commission (at no additional cost to you) that helps offset the costs of maintaining this blog. Thanks for your support!
Directions:
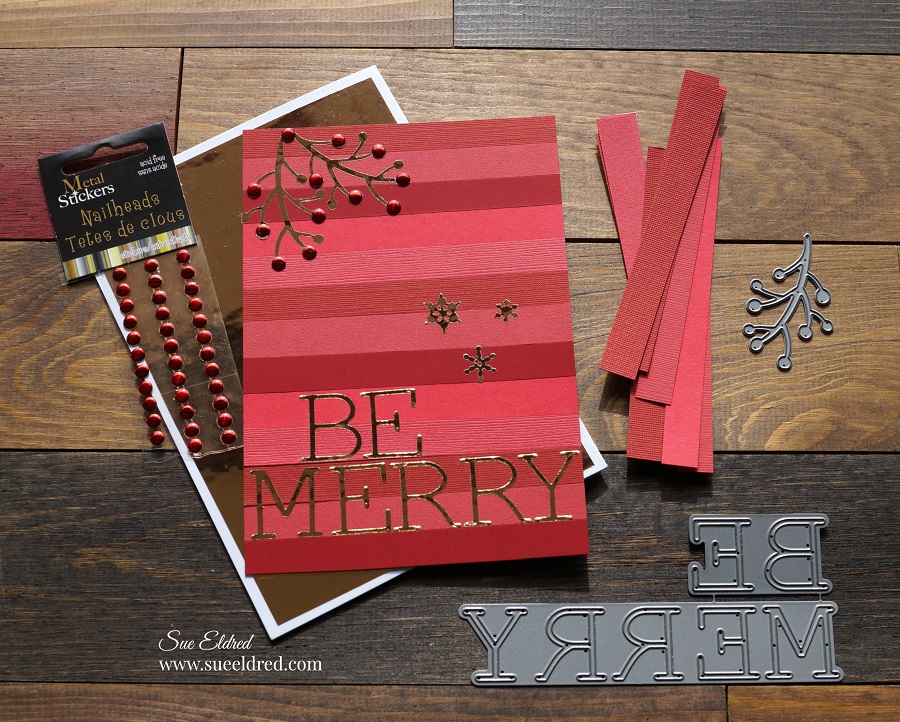
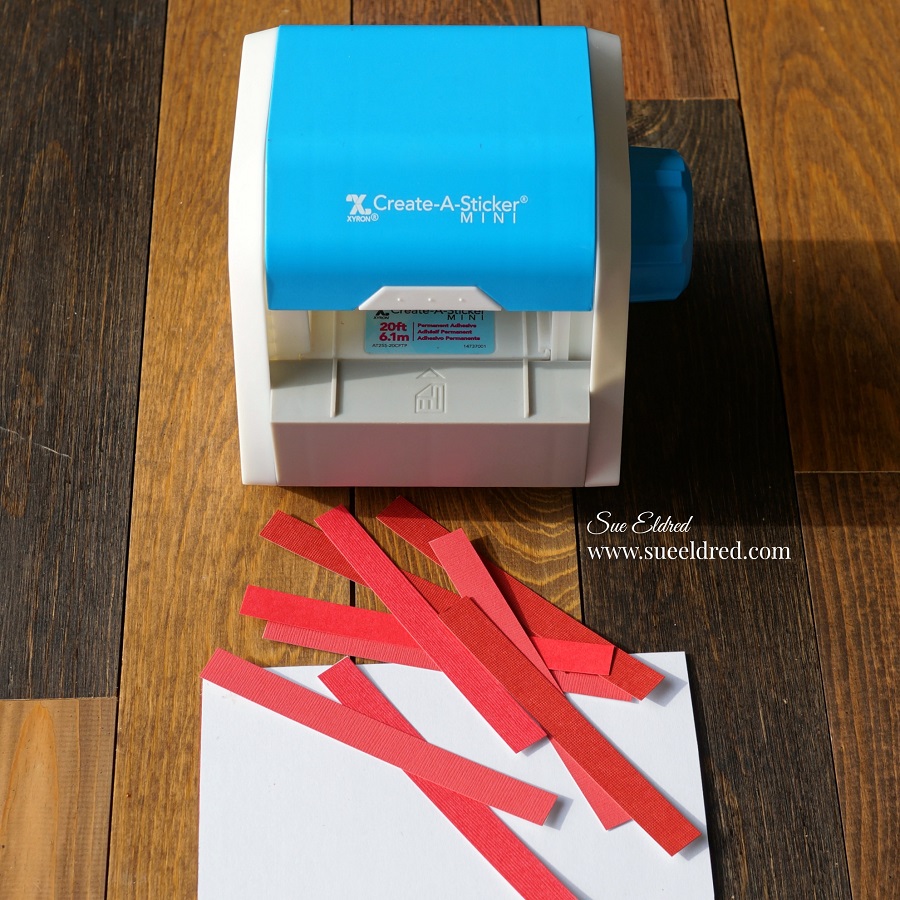
- Choose several different shades of red cardstock. (I used four.) Cut into 2 1/2″ x 4 1/2″ strips.
- To make assembly easy. I used the Xyron Create a Sticker to add adhesive to the back of the strips of cardstock.
- Trim the larger strips into 1/2″ x 4 1/2″ smaller strips.
- Cut a 4 1/2″ x 6 1/2″ piece of red cardstock to use as the base. Starting at the top, add the strips of red cardstock to the base.
- Die-cut two branches using the Winter Foliage Die Set and Gold Chrome Vinyl.
- Die-cut small snowflakes using the gold chrome vinyl and the snowflakes found in the Snow Globe Die Set.
- Die-cut the words “Be Merry” using gold chrome Vinyl and the Be Merry Die Set.
- Remove the white protective backing from the vinyl and use as stickers to decorate the front of the card. I used the edge of the cardstock strip to help me line up the words.
- Add red metal nailhead sticker embellishments onto the branch.
- Cut a 4 3/4″ x 6 3/4″ piece of Chrome Adhesive Vinyl and adhere to a white 5″ x 7″ card.
- Adhere the striped card front to the card base.