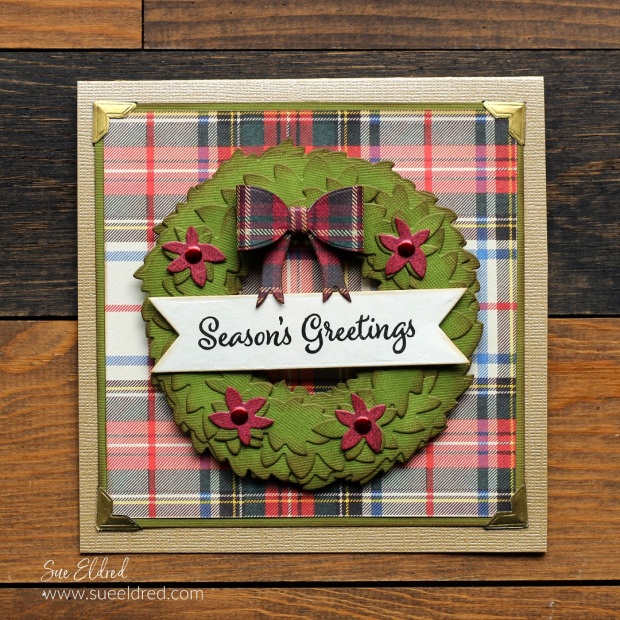
How to make an Inky Layered Christmas Wreath Card.
Sometimes when I’m making cards, I get the urge to get inky.
Some cards just call for it. This card was one of those.
I summoned my inner “Tim Holtz” and inked my little heart out. (It was fun!)

Disclosure: This is a sponsored post for The Maker’s Movement. I have been provided product and compensation in exchange for my creative ideas. The view and opinions are my own.
Materials Used: (*affiliate links)
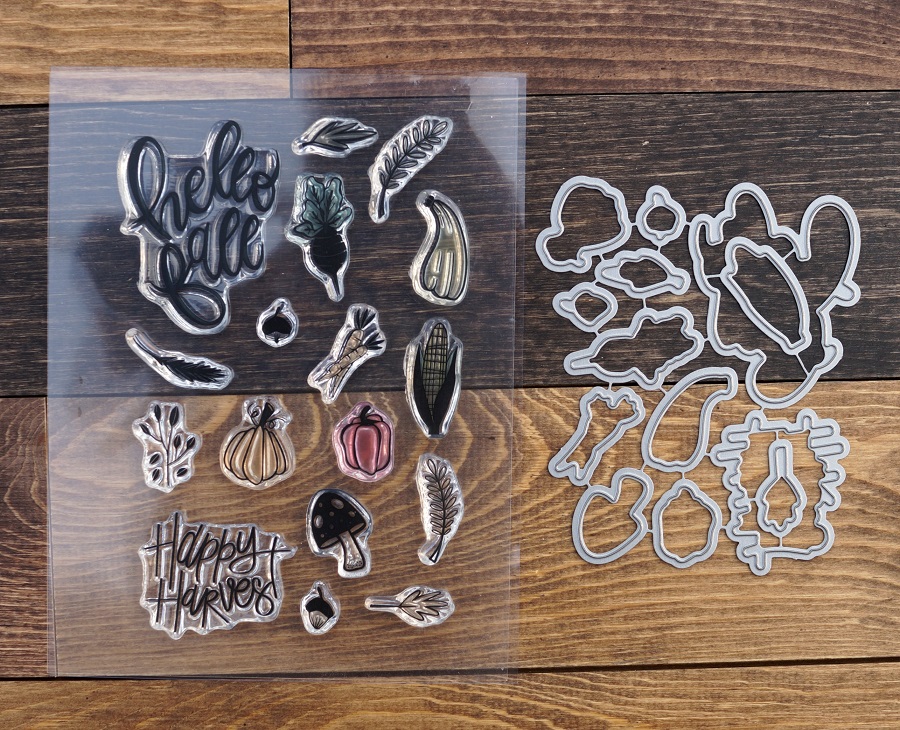
- M13552 Wreath Die Set
- M12753 Snowflake Kisses (banner die)
- M13620 Home Sweet Home Stamp Set (Season’s Greeting)
- Crossover II Fabric & Paper Cutting System*
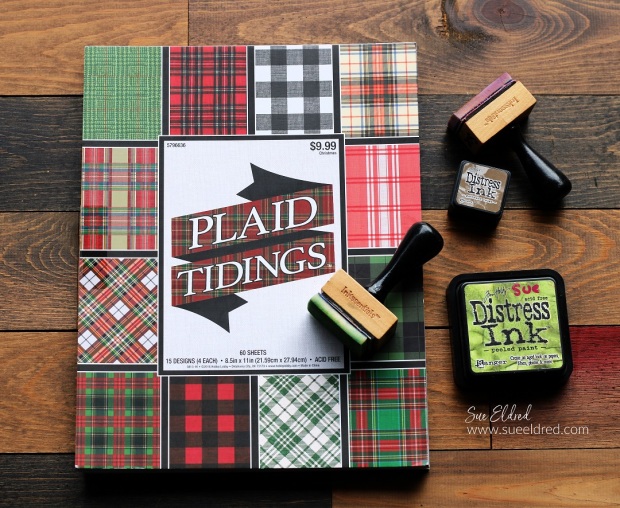
- Plaid Scrapbook Paper Pad*
- Green Cardstock*
- Gold Cardstock*
- Mark Richards Red Nail Head Stickers*
- Dimensional Foam Dots*
- Tim Holtz Distress Inks: Peeled Paint, Gathered Twigs*
- Ink Blending Tool*
- Xyron Tape Runner*
- Xyron Creative Station*
- Versafine Black Onyx Inkpad*
- Gold Foiled Photo Corners*

*Disclosure: This blog uses ads and affiliate links. If you choose to make a purchase using one of the links, I receive a small commission (at no additional cost to you) that helps offset the costs of maintaining this blog. Thanks for your support!

Directions:
- Optional: For easier assembly, I used the Xyron Creative Station* to add adhesive to the back of the cardstock before die-cutting. (As the paper goes through the Xyron Creative Station*, it adds a complete layer of adhesive to the back.)
- Die-cut the pieces for the wreath, as shown above, using the Wreath Die Set and green cardstock.
- Die-cut the pieces for the bow using plaid scrapbook paper.
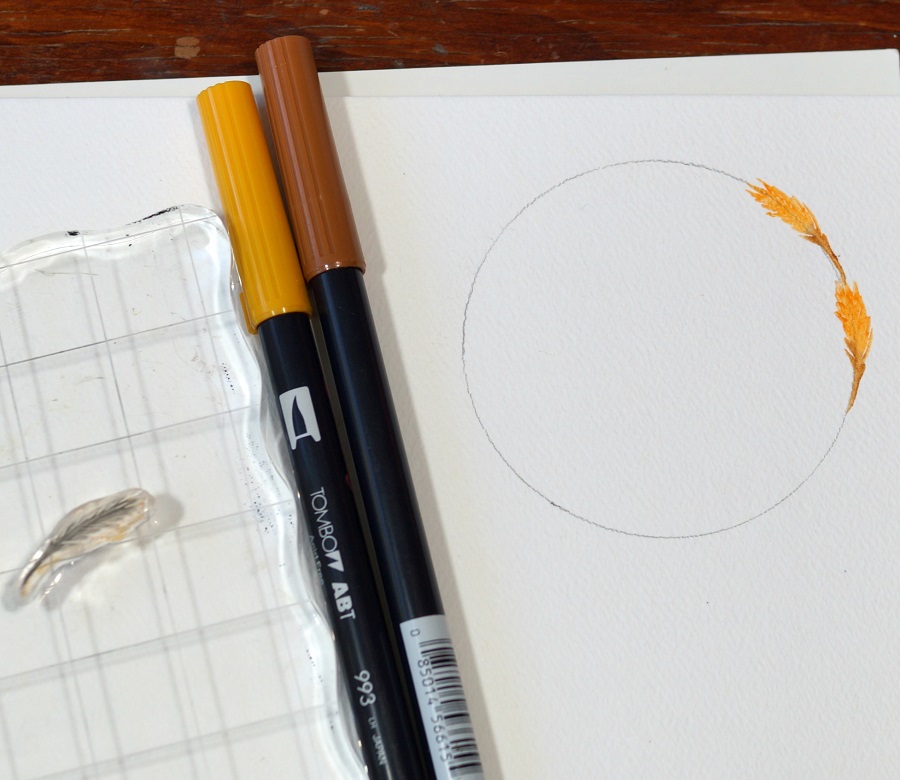
- Using the Ink Blending Tool and Peeled Paint Distress Inkpad, generously ink all over the front of each die-cut piece.
- Use the blending tool and Gathered Twigs and ink the edges only of the die-cut pieces.

- Starting with larger die-cut wreath pieces, apply them to the wreath base. Continue with the smaller wreath pieces.
- Die-cut a cream banner using the banner die from the Snowflake Kisses stamp and die set. Stamp “Season’s Greeting” onto the banner using the Black Onyx Versafine Inkpad*. Put small foam dots on each side of the banner and place it centered on the wreath.
- Create the bow by gluing the two outside edge pieces to the center of the back of the bow. Wrap and glue the small rectangle piece around the center of the bow. Glue bow to ribbon end piece.
- Die-cut four small red wreath pieces to use as flowers for the wreath. Add a small Red Nail Head Sticker to the inside of each flower.

- Cut layers to add onto a gold square card. My card measures 5 1/2″ x 5 1/2″.
- To give the layers a worn look, ink the edges of each layer using Tim Holtz Gathered Twigs Distress Inkpad.
- Place Gold Foiled Photo Corners* onto the edge of the layers and adhere them to the gold card.
- Put foam dots onto the back of the wreath and adhere the wreath to the center of the card.