
A Blanket for Peyton…
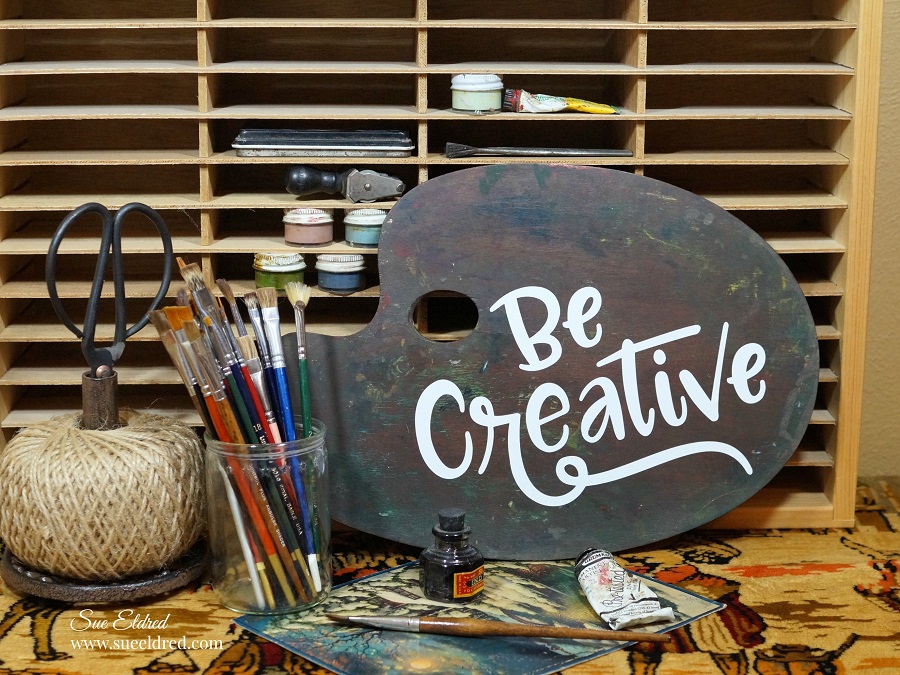
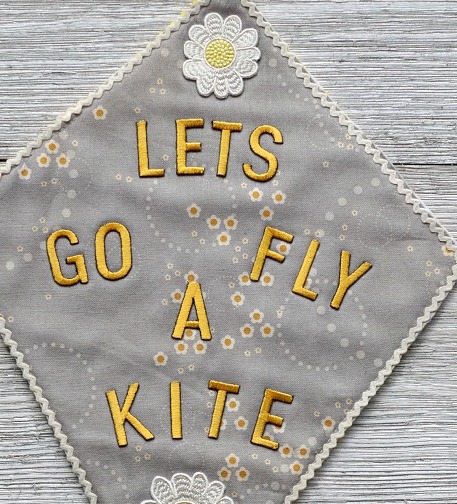
Make a simple gift personal by adding a little “Joy” to your gift with iron-on embroidered letters.
![]()
You will need:
- Joy Baby Monogram Iron-On Letters in White*
- Thermal Baby Blanket
![]()

Directions:
- Set iron to cotton setting, approx. 350° or follow blanket care label.
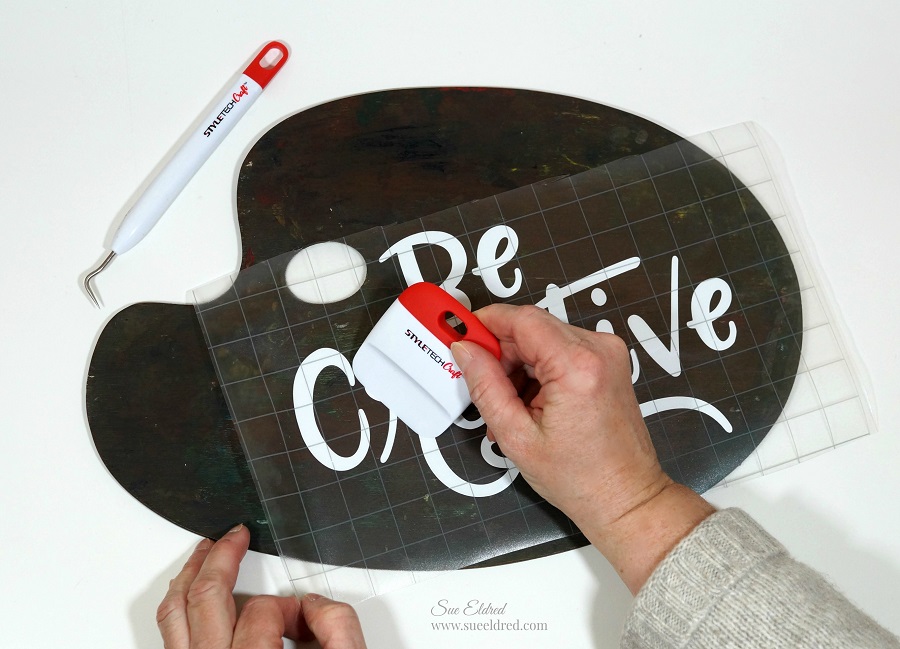
- Remove letters from sheet. Position letters with shiny side down on blanket.
- Cover letters with a fine cloth. With firm pressure iron cloth over the letters for 25 seconds.
- Turn blanket over and iron the back of the letters for 25 seconds. Allow to cool for 1 minute before handling.
Look for Joy® iron-on embroidered letters and floral appliqués at your local craft store.

“This is a sponsored post. As a member of the Joy® Design Team I have been provided product and compensation in exchange for my creative ideas. The views and opinions are my own.

*Disclosure: This blog uses ads and affiliate links. If you choose to make a purchase using one of the links, I receive a small commission (at no additional cost to you) that helps offset the costs of maintaining this blog. Thanks for your support!


