How to make a Halloween Ghost with Glow-in-the-Dark Eyes.
I picked up this cute wooden ghost cutout at my local Dollar Tree.
I knew it would make a fun Halloween Decoration when added
with StyleTechCraft Glow in the Dark Vinyl.

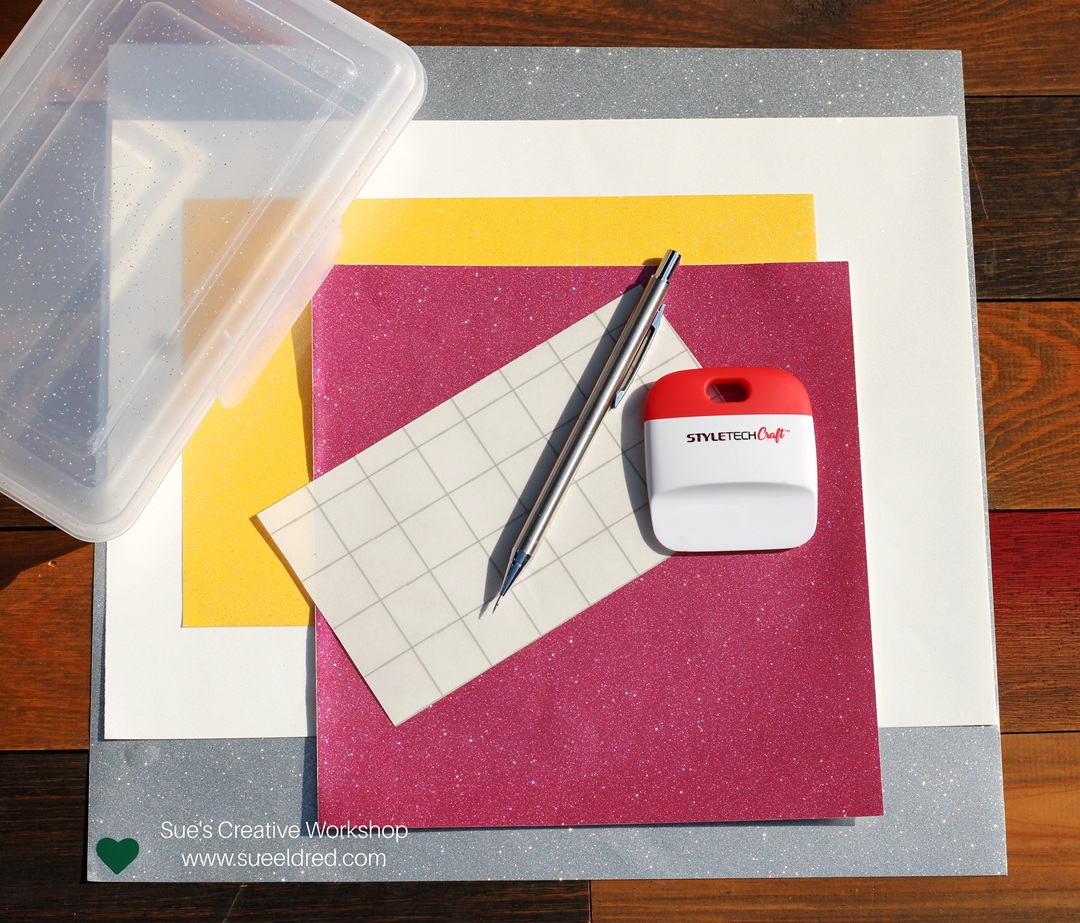
Materials Used: (*affiliate links)
- Wood Ghost Cut Out from Dollar Tree*
- White Acrylic Paint*
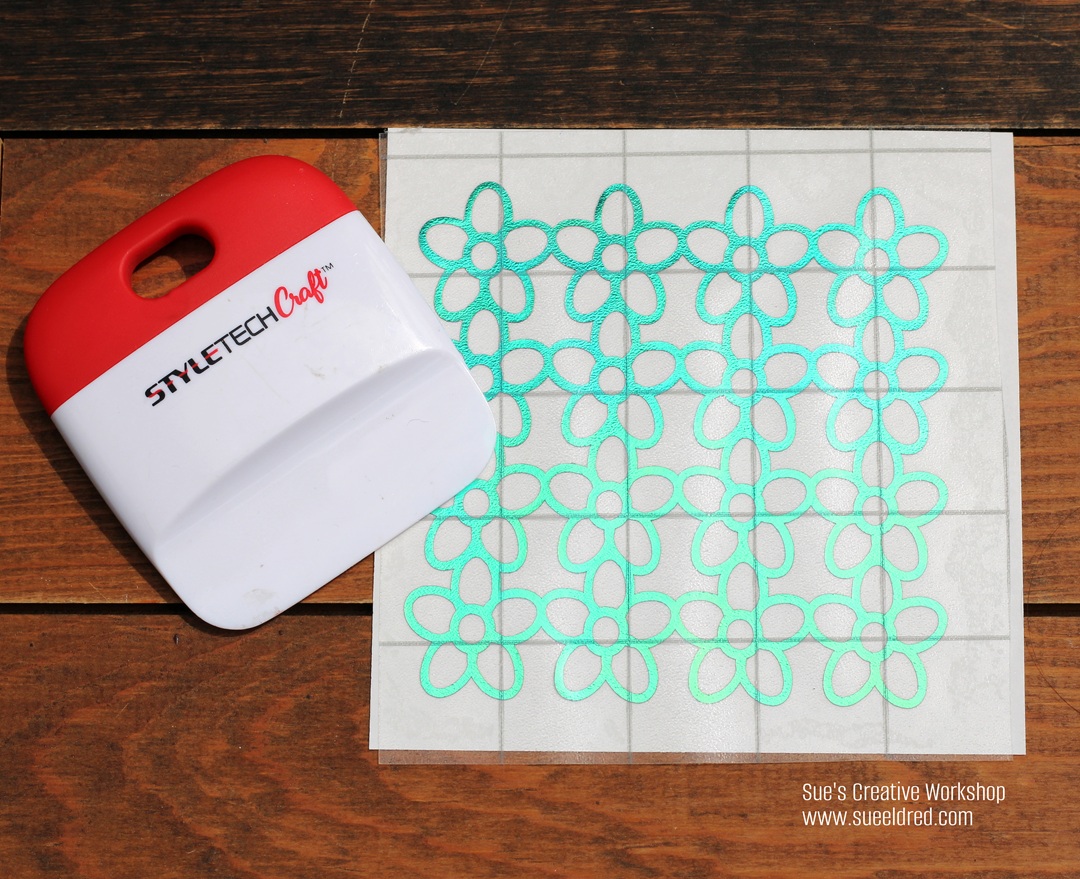
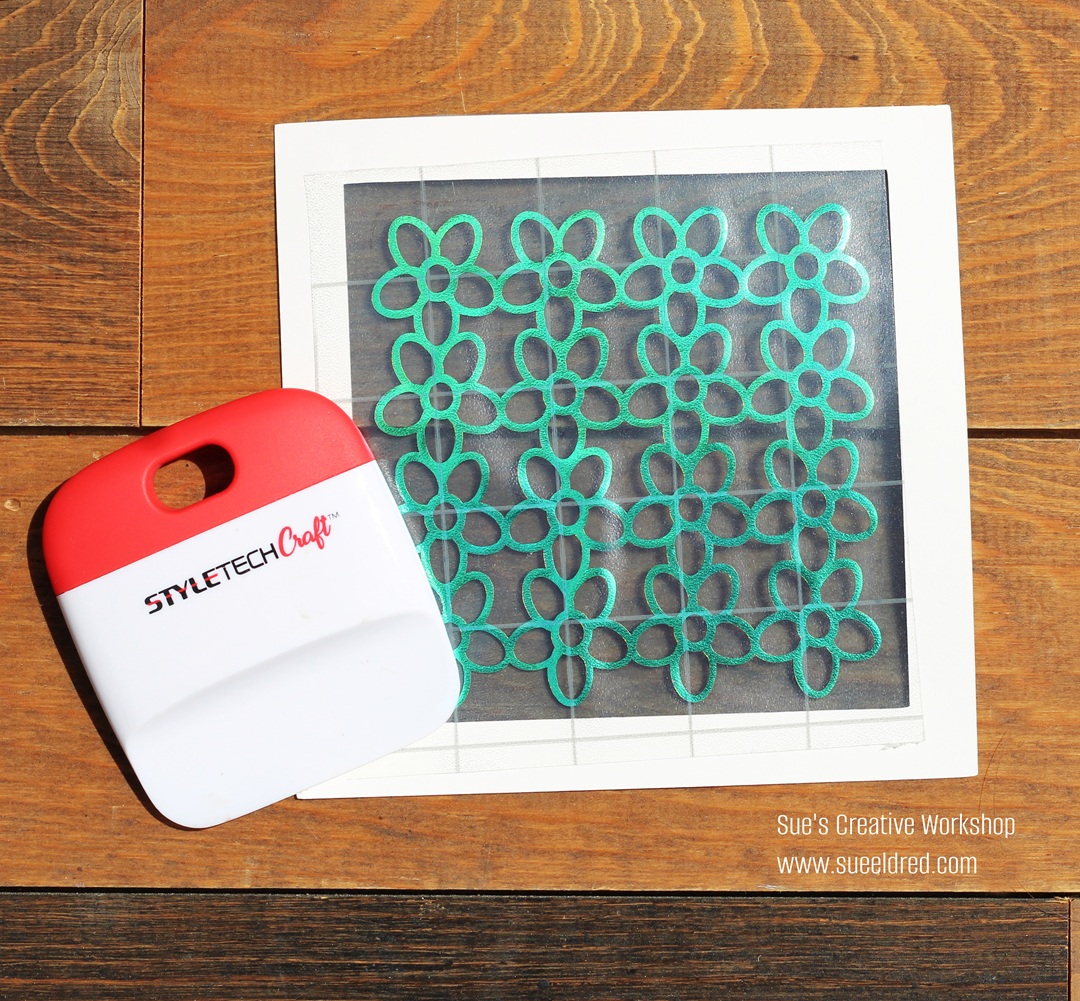
- StyleTechCraft Glow in the Dark Vinyl
- StyleTechCraft Medium Gray Glossy Craft Vinyl
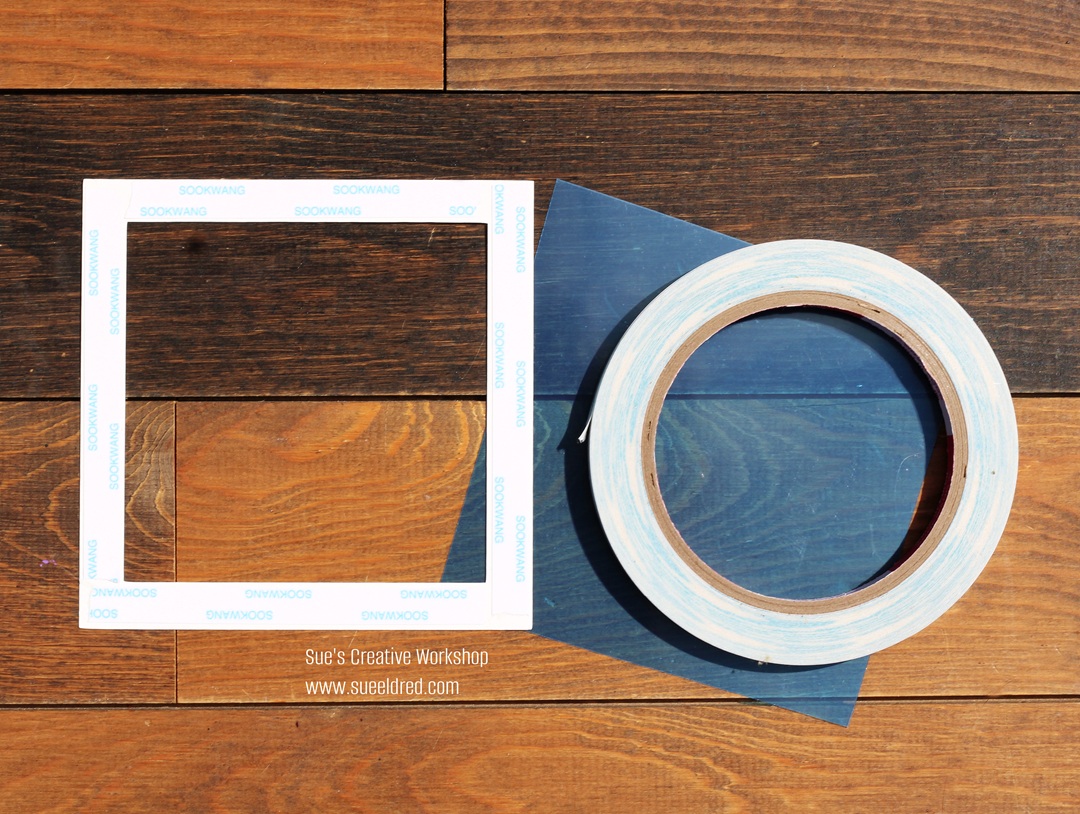
- StyleTechCraft Transfer Tape*
- StyleTechCraft Scraper Tool and Weeding Pen
- Silhouette Cameo Electronic Die-Cutting Machine*
- “If You Got It Haunt It” SVG Cut File from The Silhouette Store

*Disclosure: This blog uses ads and affiliate links. If you choose to make a purchase using one of the links, I receive a small commission (at no additional cost to you) that helps offset the costs of maintaining this blog. Thanks for your support!
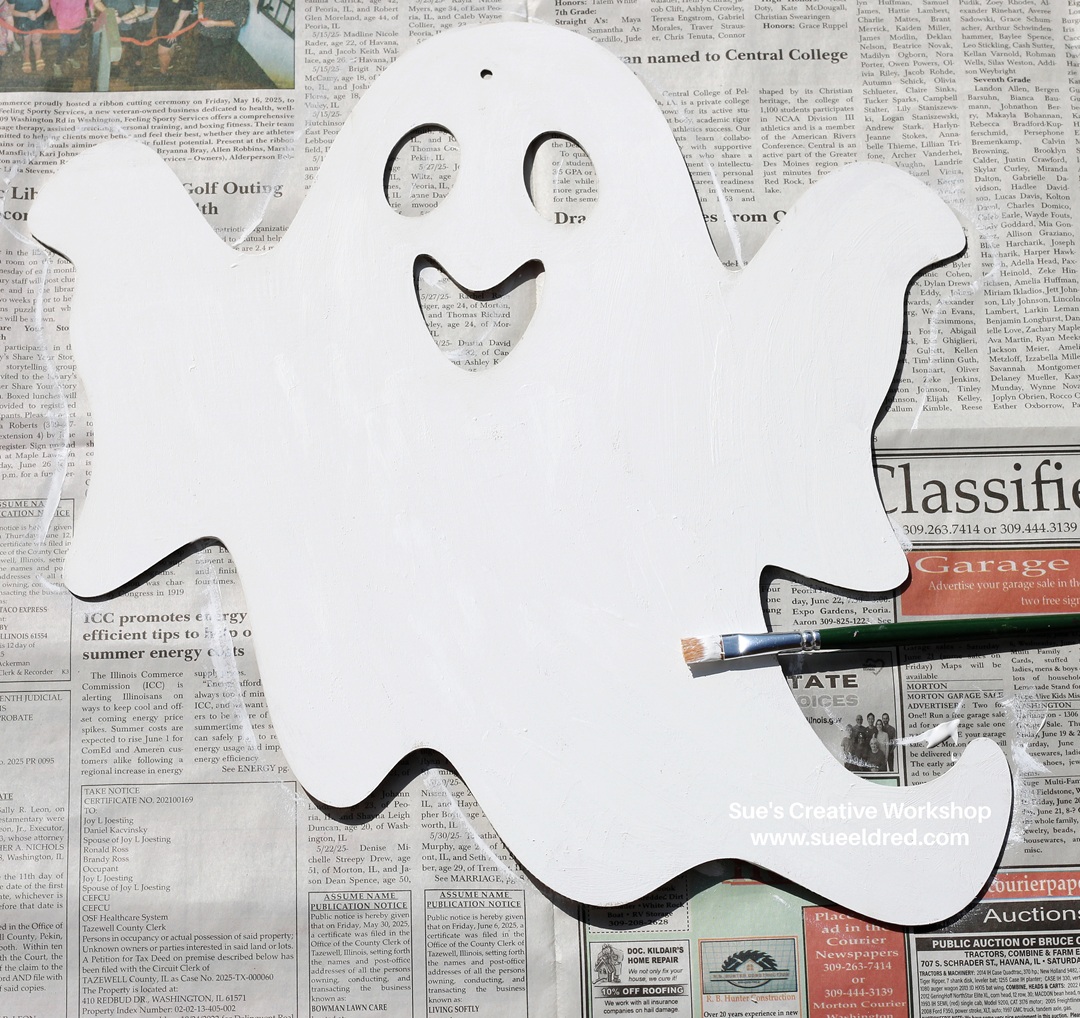
- Paint the Wood Ghost Cut-out* with White Acrylic Paint*.
- I like to sand over the painted wood with an extra-fine grit sanding block* to smooth the grain.
My wood ghost was from Dollar Tree.

- I cut a piece of StyleTechCraft Glow in the Dark Vinyl and taped it onto the back of the ghost with packing tape. (covering the holes)
- I added small ovals in the eyes.
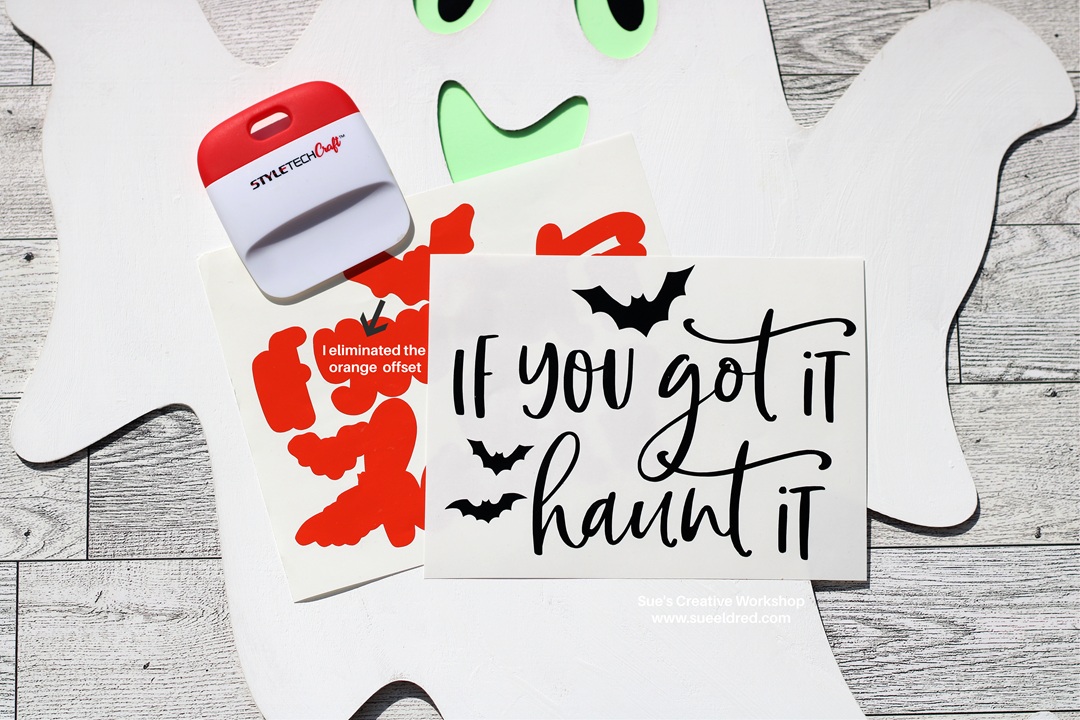
Here’s where things got a little tricky.
- I planned to use black vinyl with an orange vinyl to offset the words.

- Once I put the black vinyl letters onto the orange vinyl, I quickly realized that I didn’t like the way it looked on the white ghost. It actually stood out too much.
- I recut the words “If you got it Haunt it” using dark gray vinyl instead and ditched the idea of the orange offset. (much better)
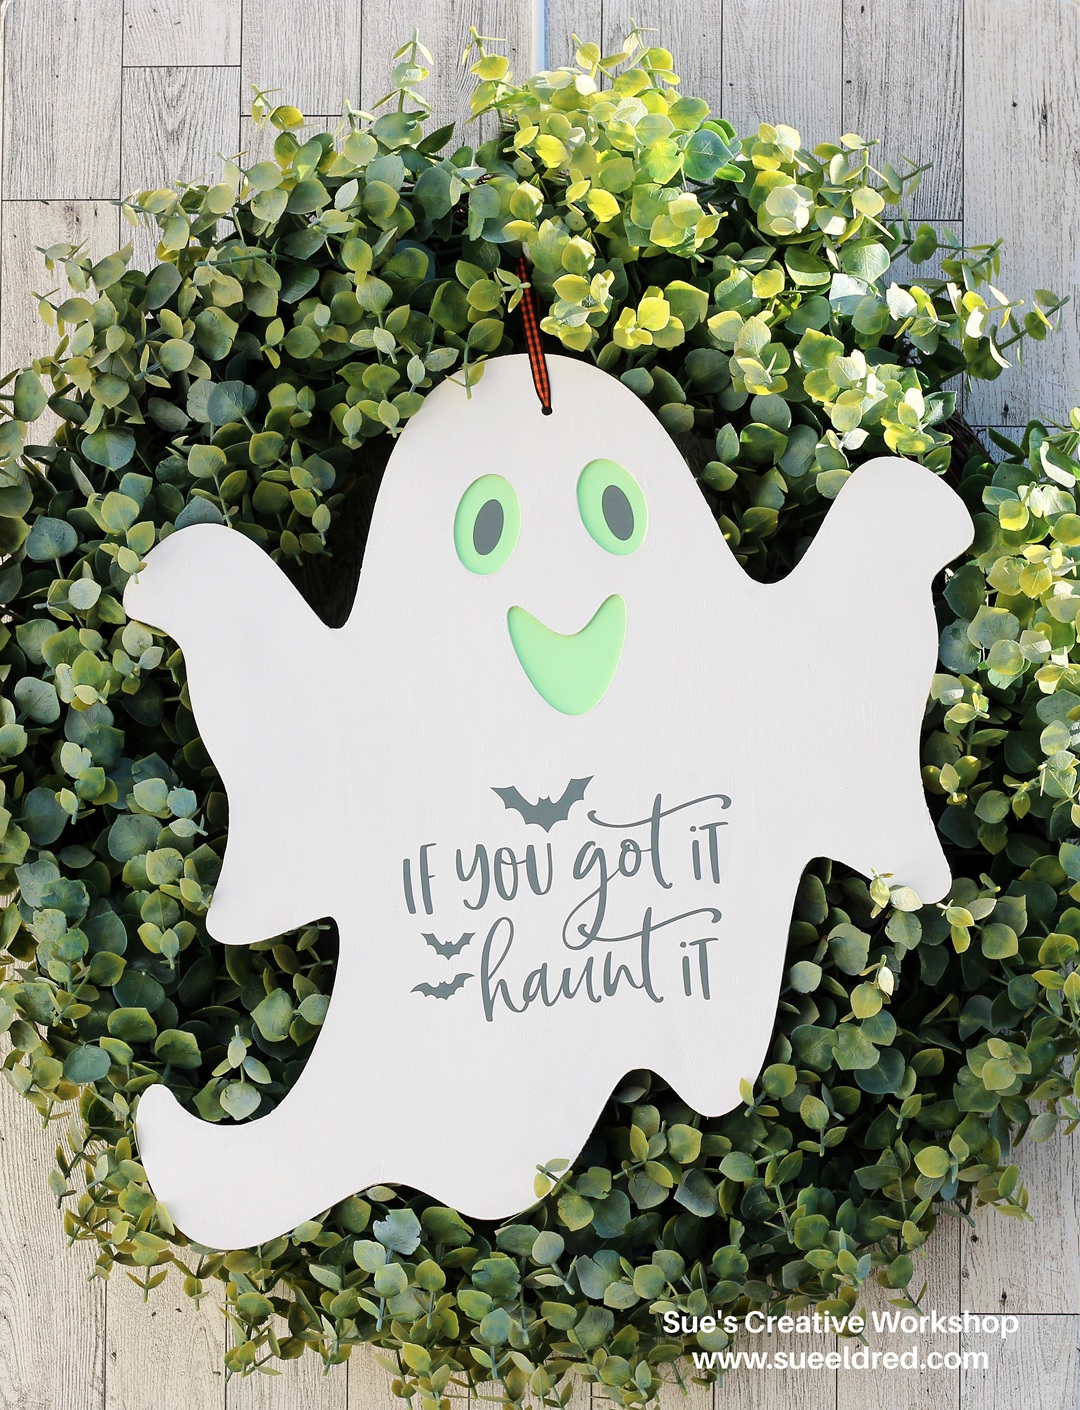
The fun little ghost would look cute in the middle of a wreath hanging from a door.
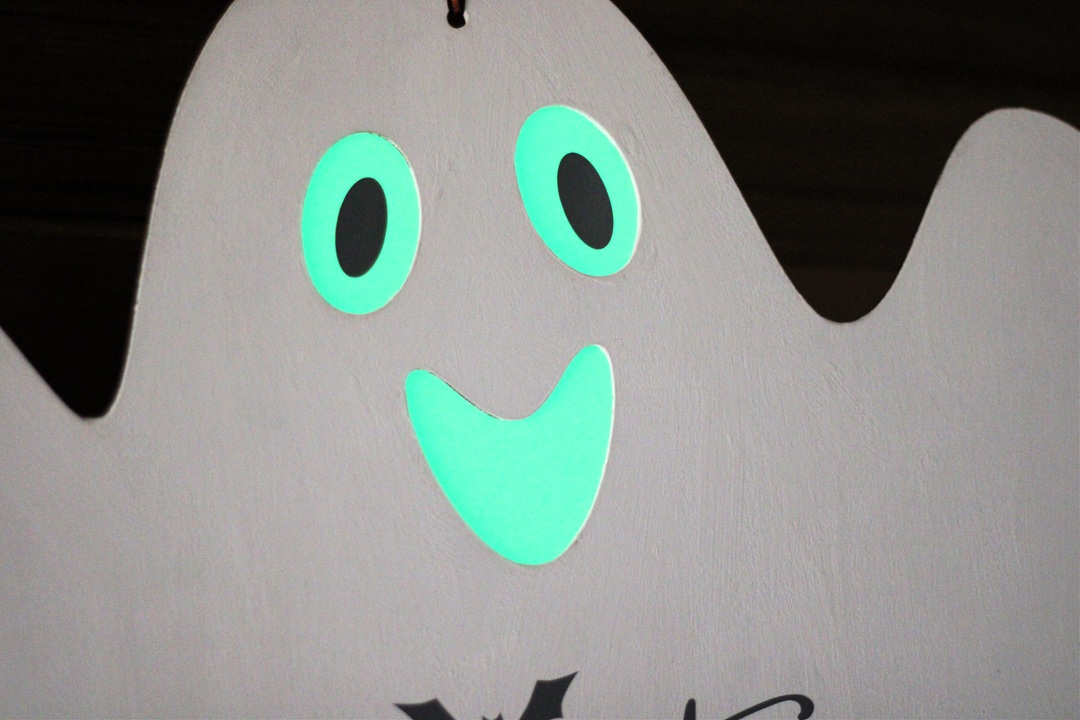
StyleTechCraft’s Glow in the Dark Vinyl, once it’s charged,
has an awesome green glow that lasts for about 6 hours.
![]()
“This is a sponsored post. As a member of the StyleTechCraft Design Team I have been provided product and compensation in exchange for my creative ideas. The views and opinions are my own.