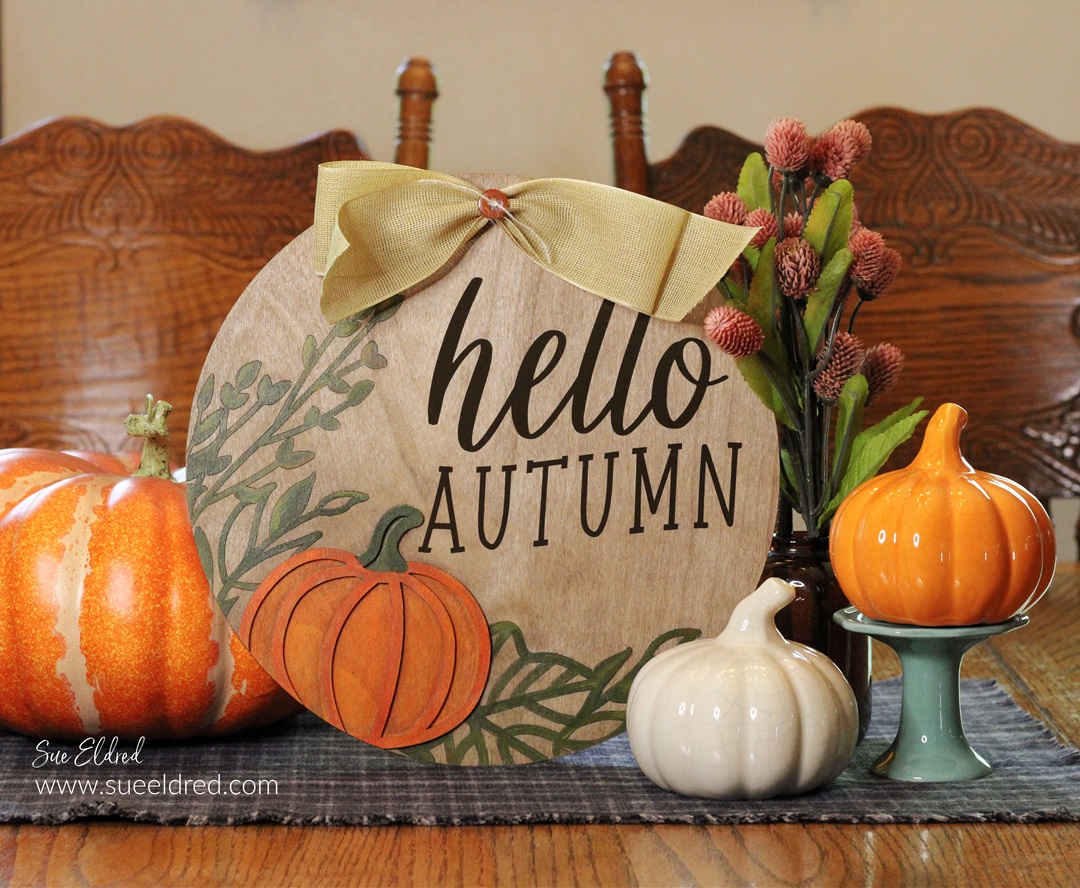
Hello Autumn Home Decor Sign
is an easy Fall Dollar Tree DIY.
With all the beautiful new Fall items on display everywhere you go,
I decided it was time to start working on my fall decorating.
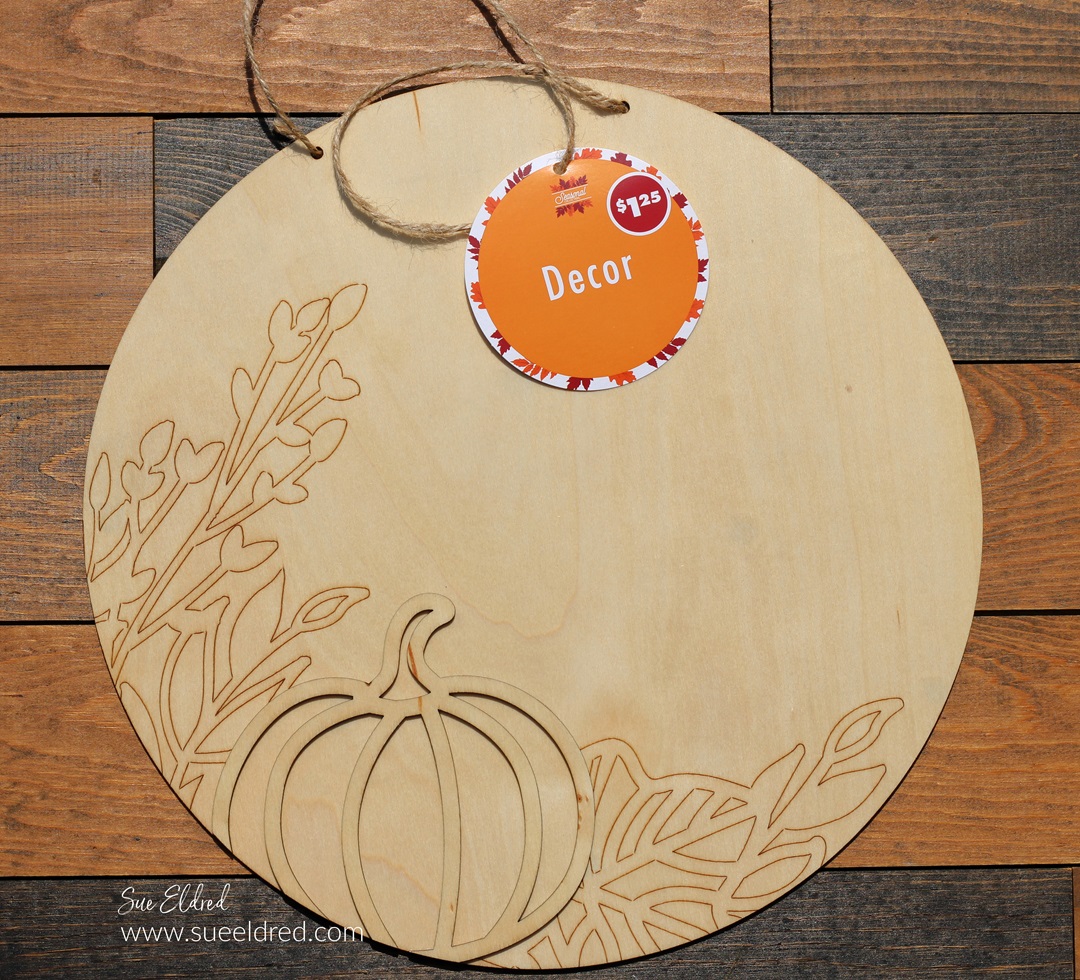
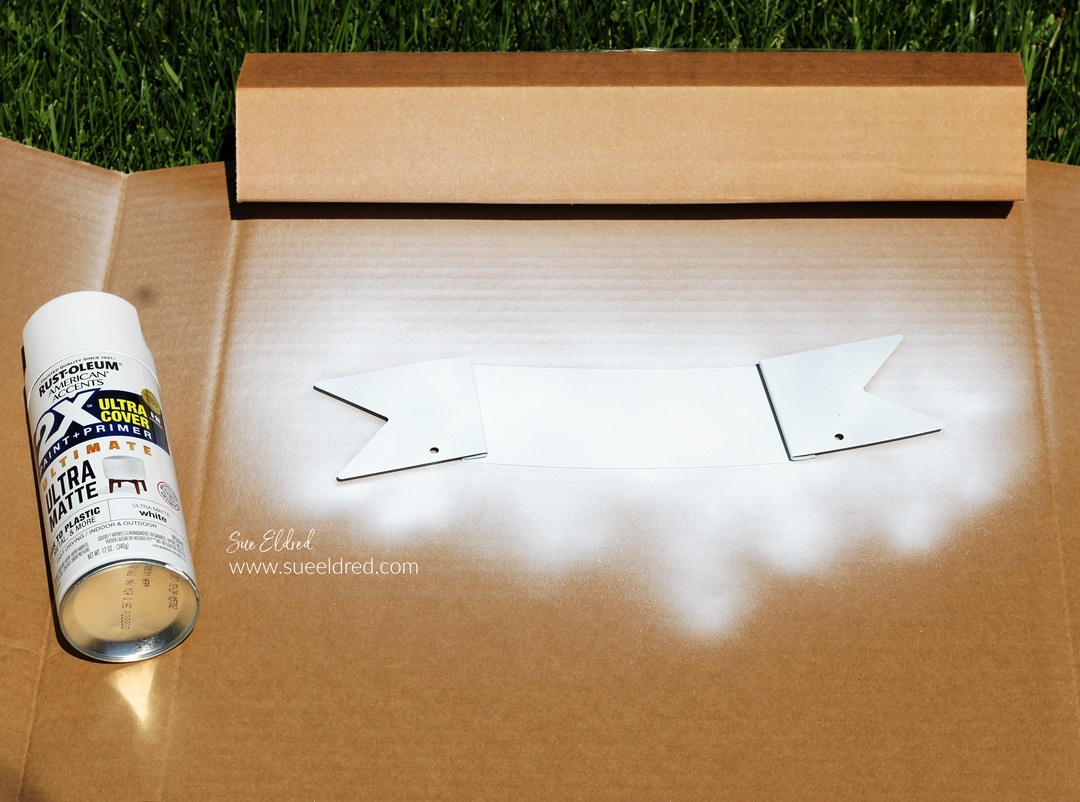
I found this Harvest Pumpkin Hanging Wooden Circle Sign* at Dollar Tree*.
It measures approximately 11″.
I knew it would be a great piece to hang on a wreath
or to use in my Fall decorating.

*Disclosure: This blog uses ads and affiliate links. If you choose to make a purchase using one of the links, I receive a small commission (at no additional cost to you) that helps offset the costs of maintaining this blog. Thanks for your support!
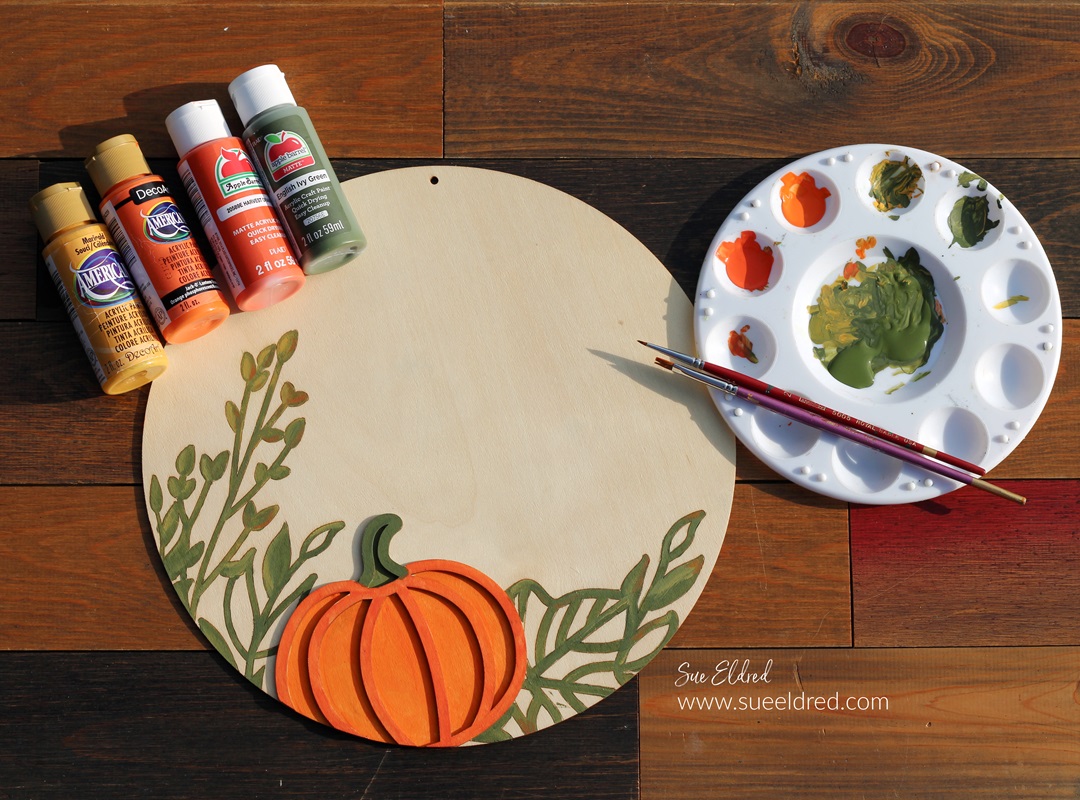
I used acrylic paint to paint the pumpkin and leaves.
Just follow the etched lines of the leaves.
I blended my paint for a more realistic look.

Rub over the wood sign with walnut stain* or ink.
Use Mod Podge Satin Sealer* to give the sign a satin finish.
Lightly rub over the sign with an extra fine sanding block* to smooth the grains.
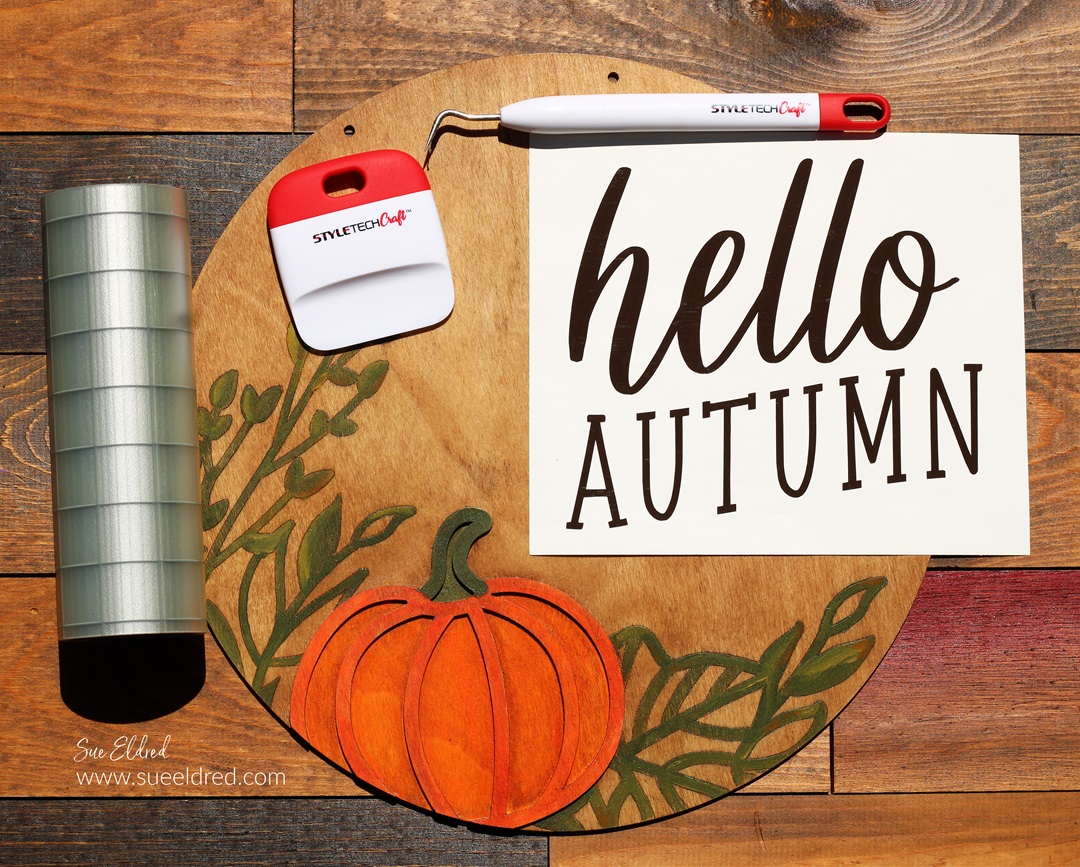
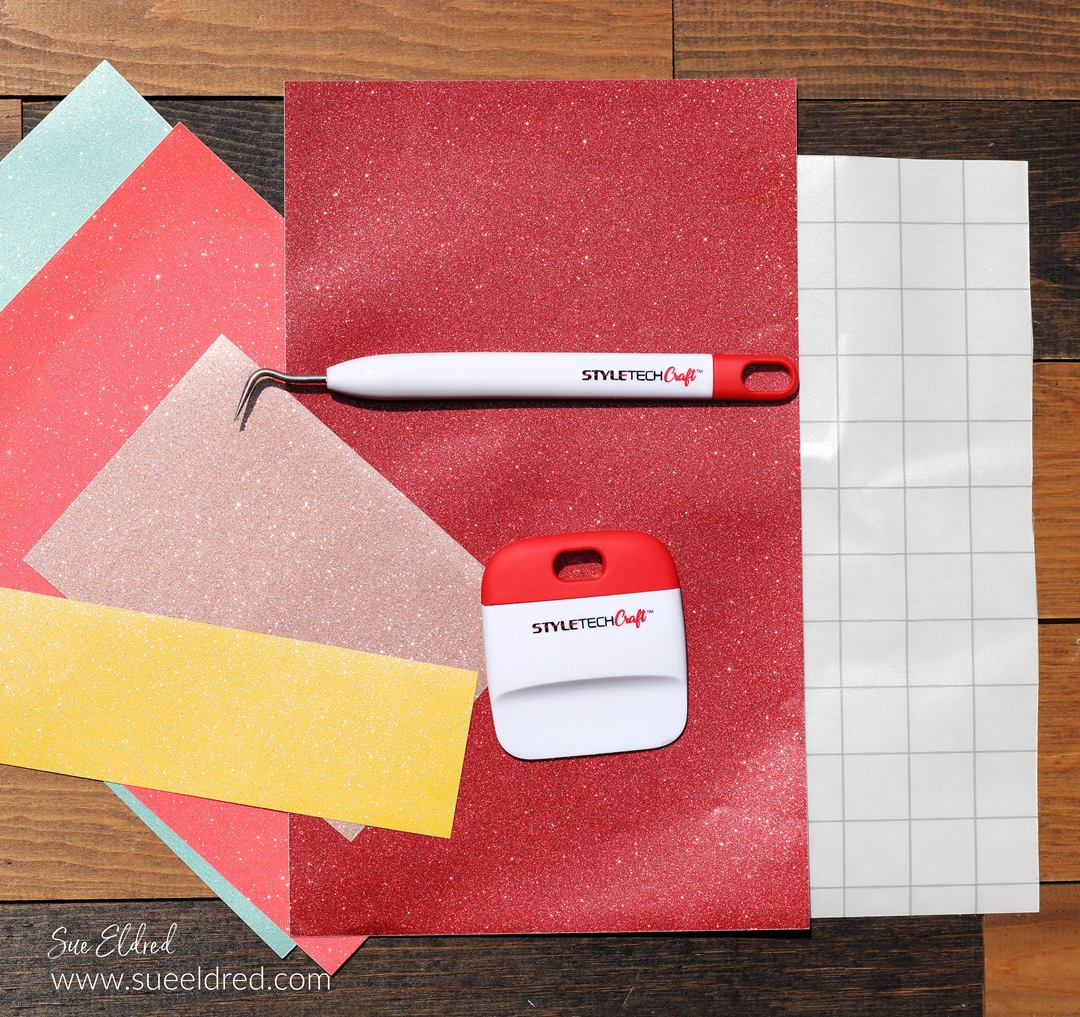
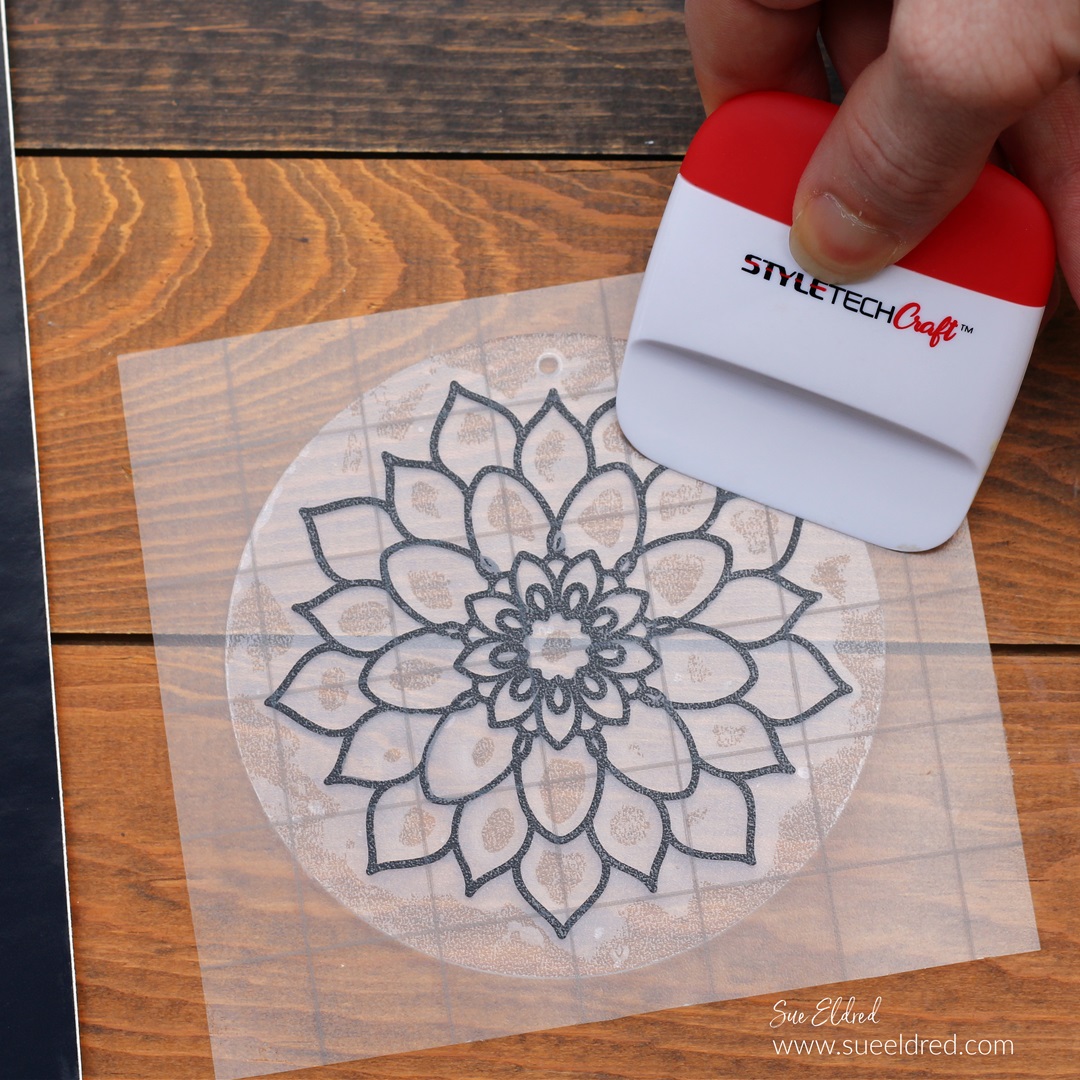
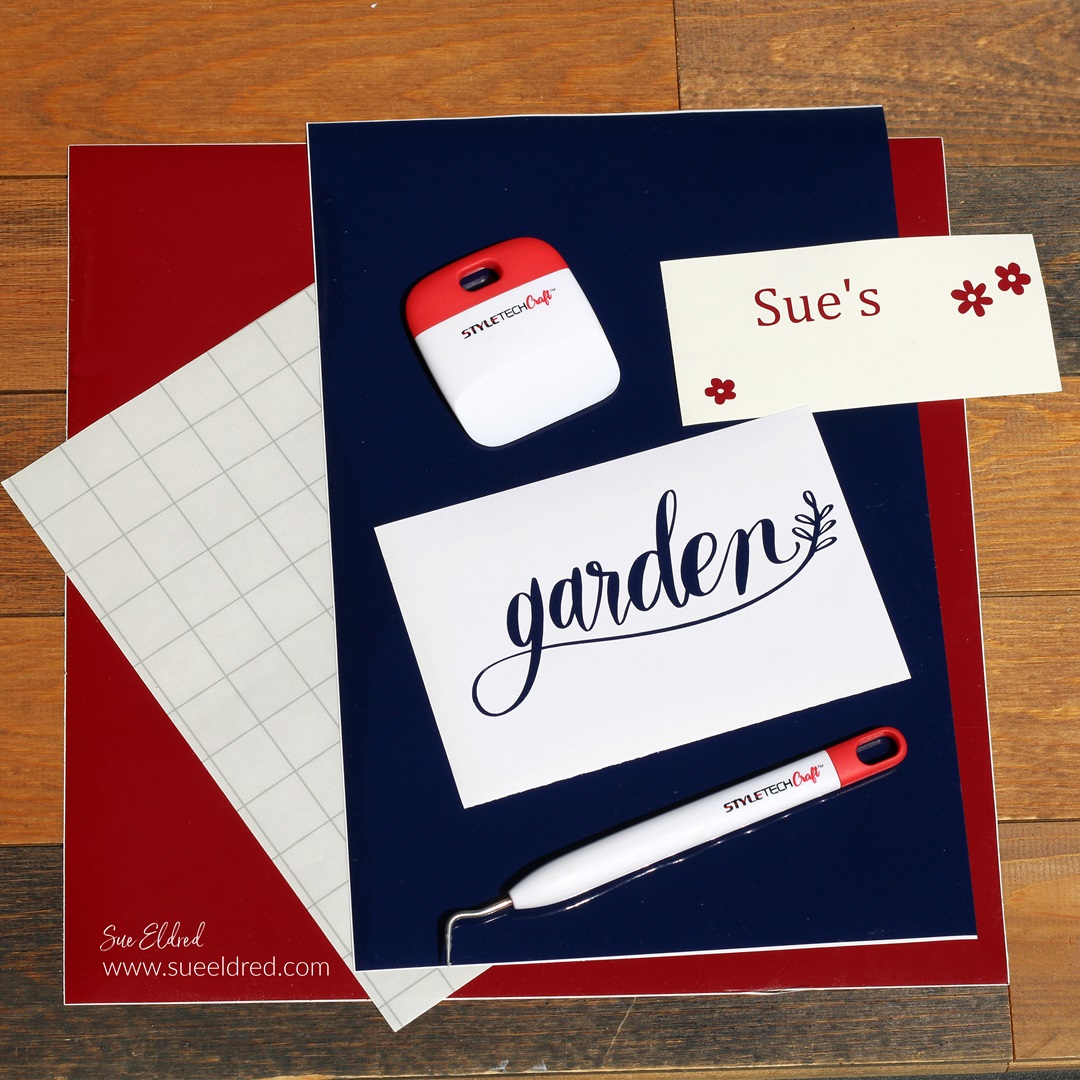
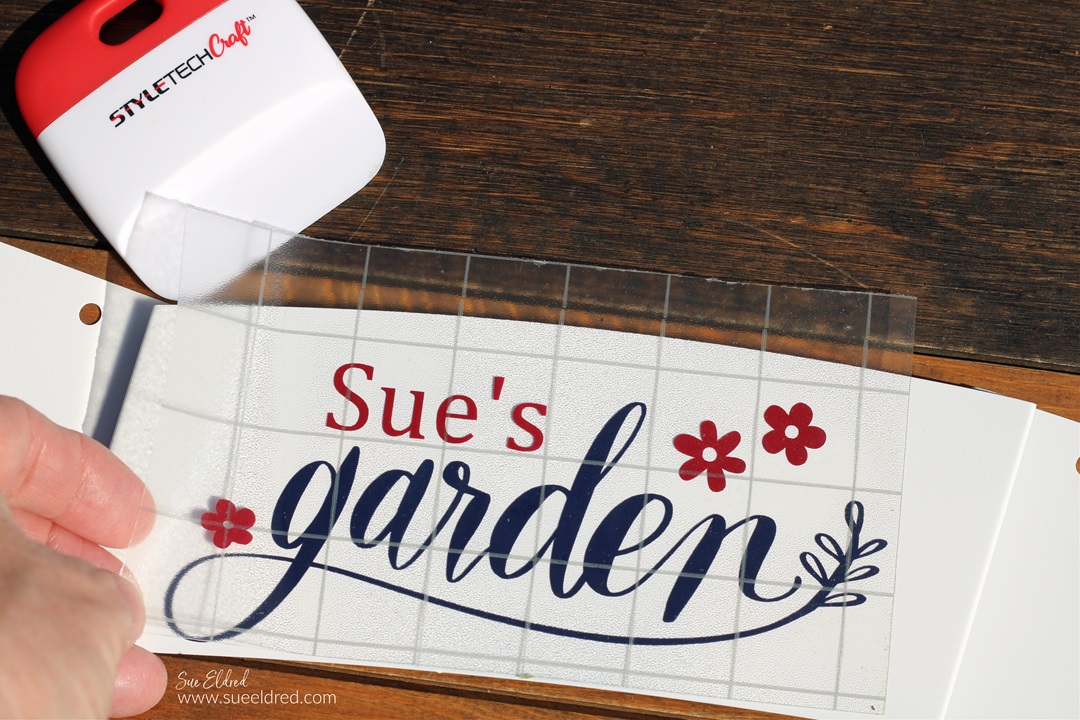
Cut the words “Hello Autumn” using StyleTechCraft Brown Glossy Craft Vinyl*
and a Silhouette Cameo Electronic Die Cutting Machine*.

StyletechCraft products brought to you by ATSM Craft*
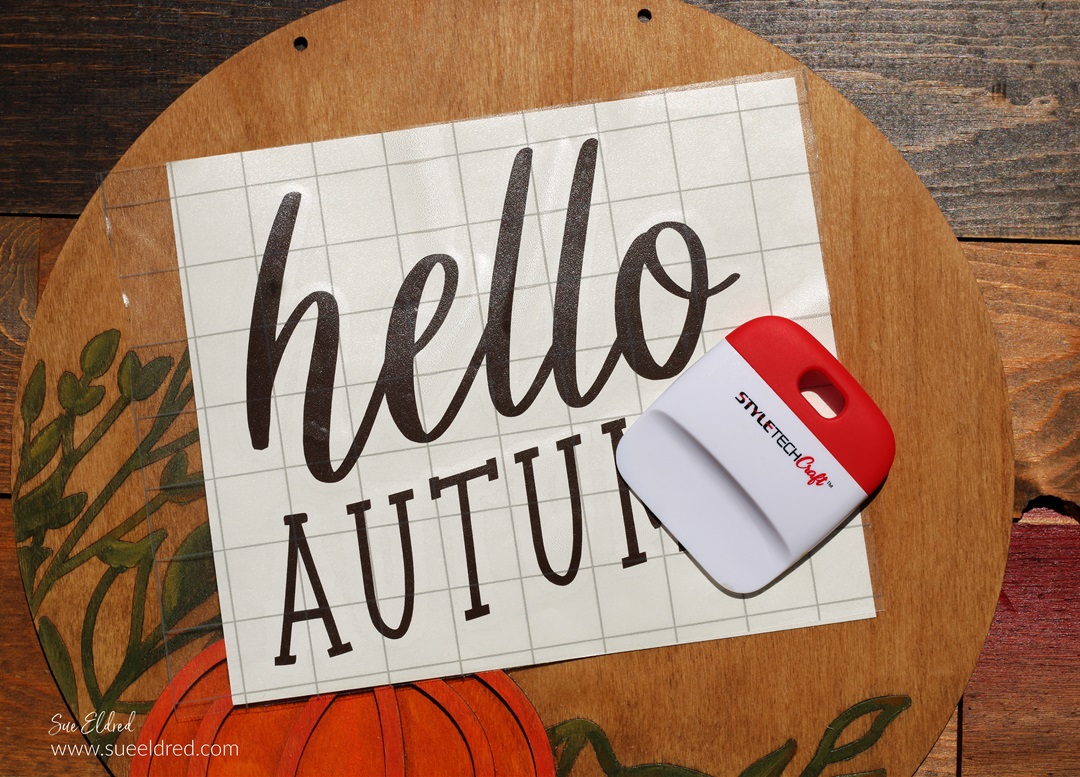
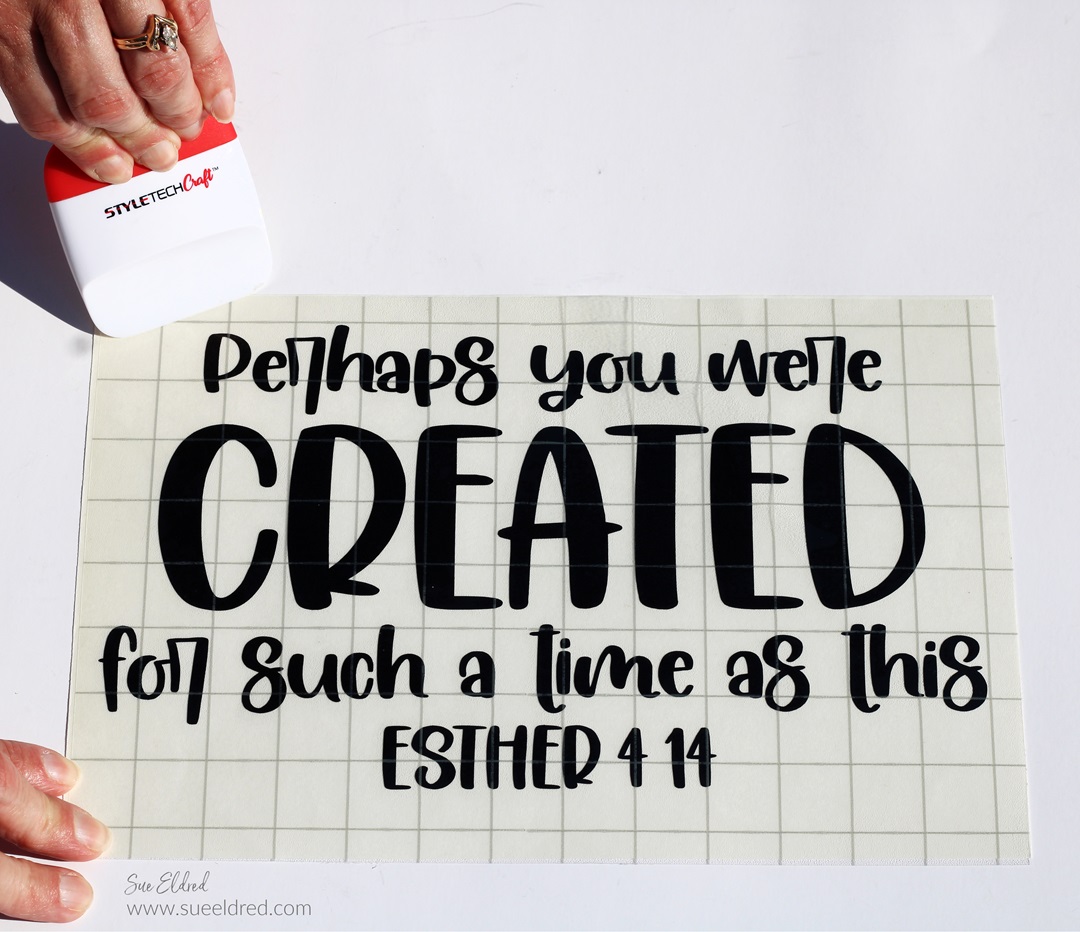
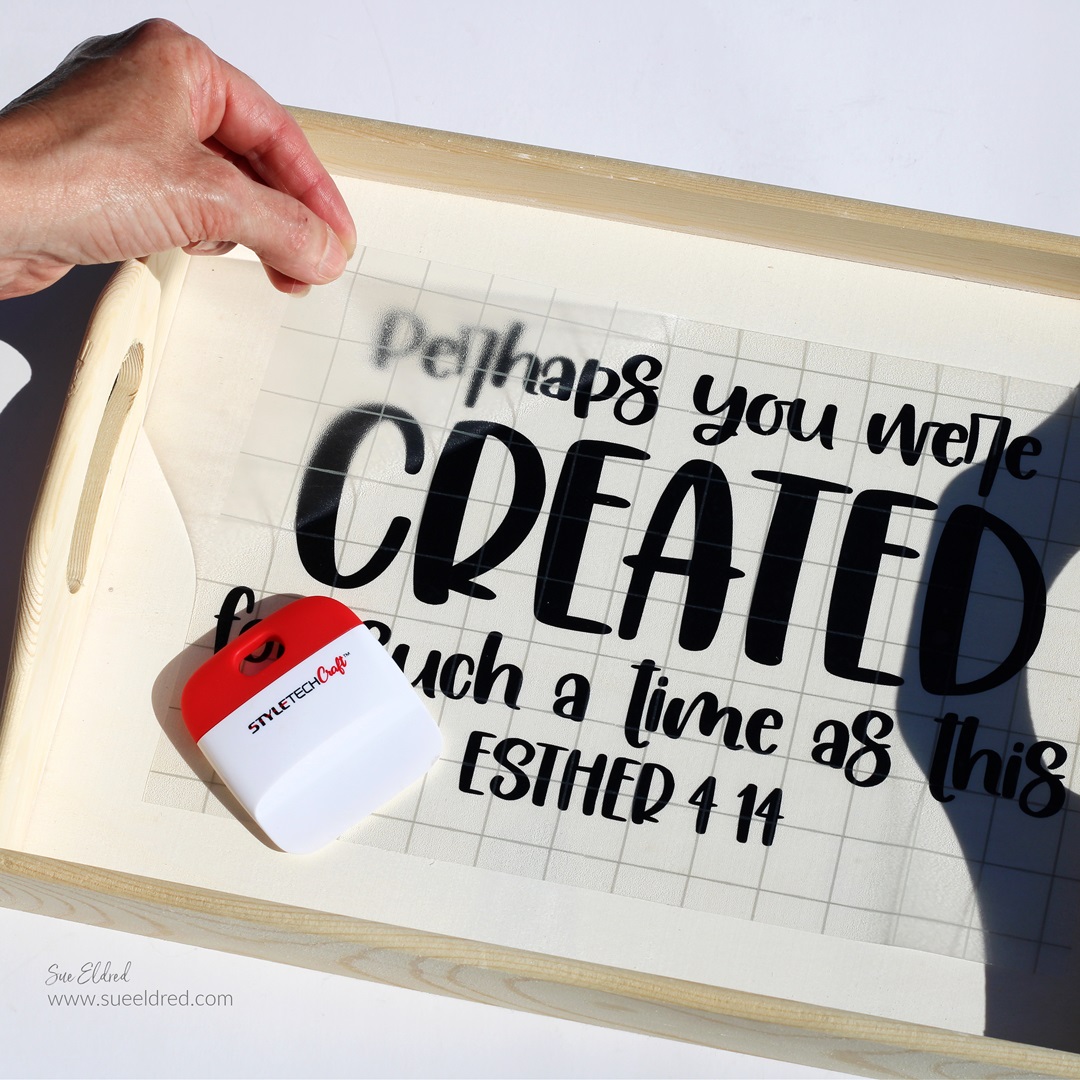
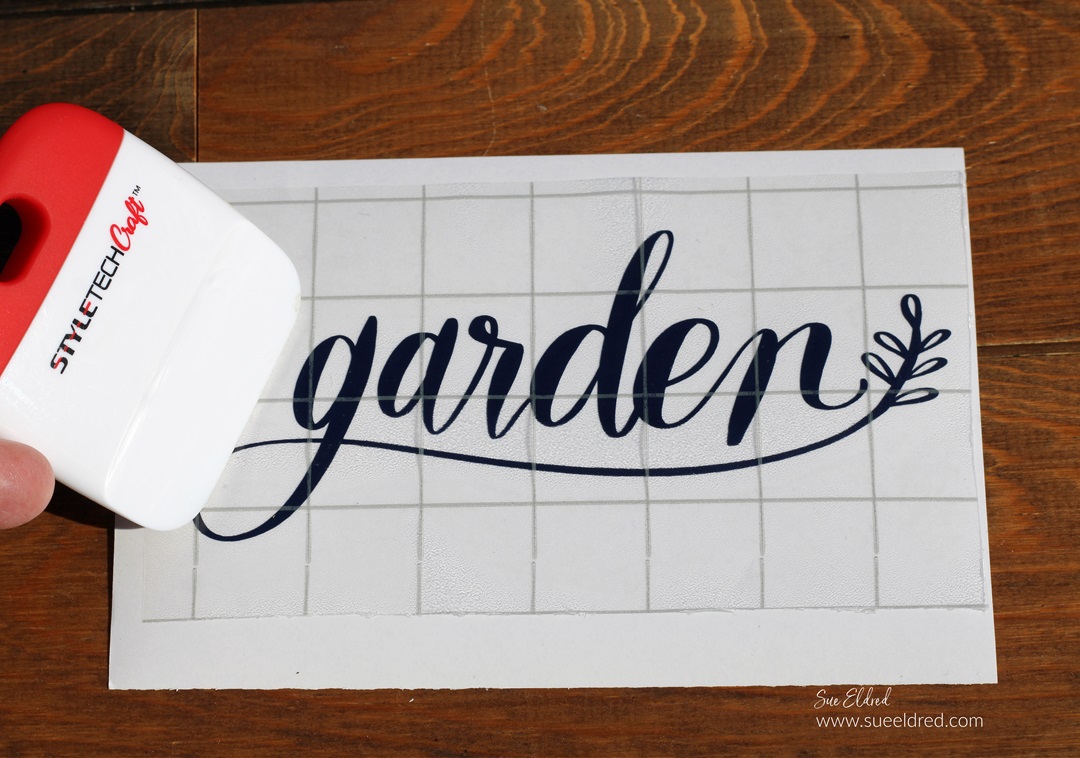
Place vinyl transfer paper over the words.
Rub over the words using a vinyl scraper tool to help
the vinyl cling to the Vinyl Transfer Tape*.
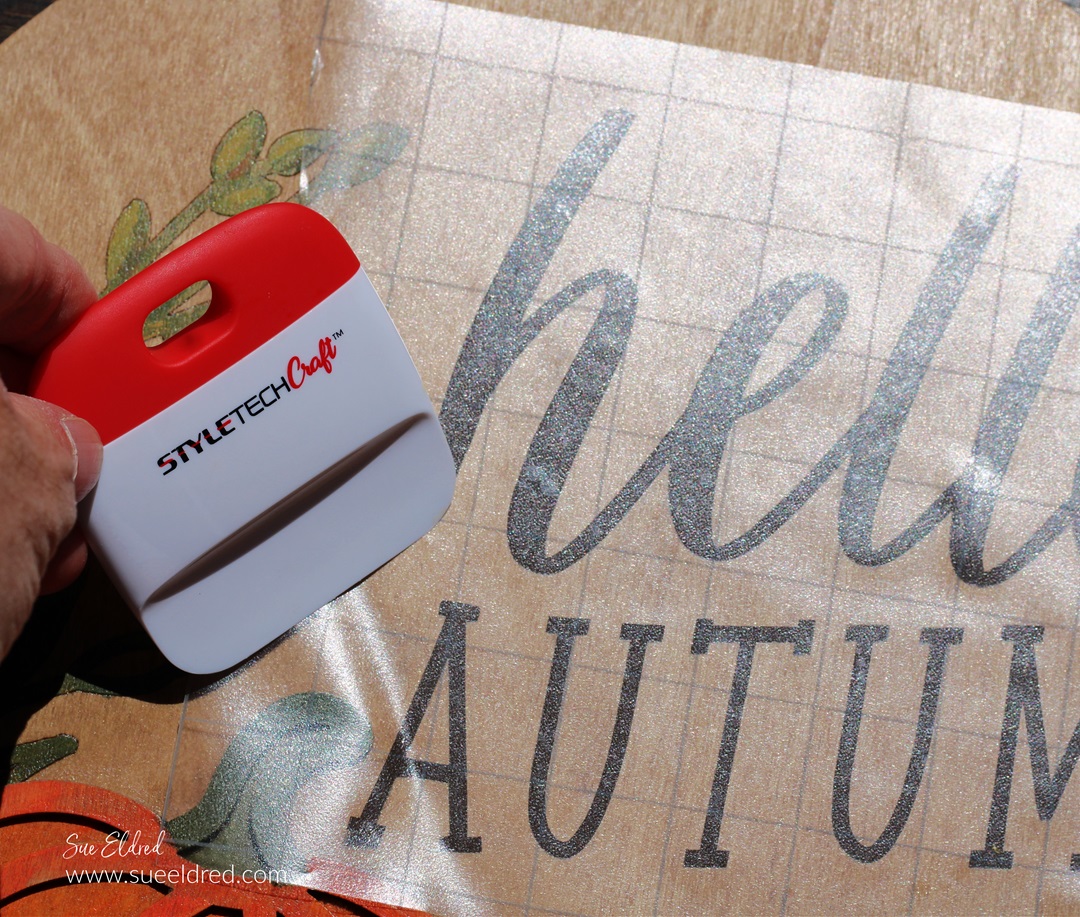
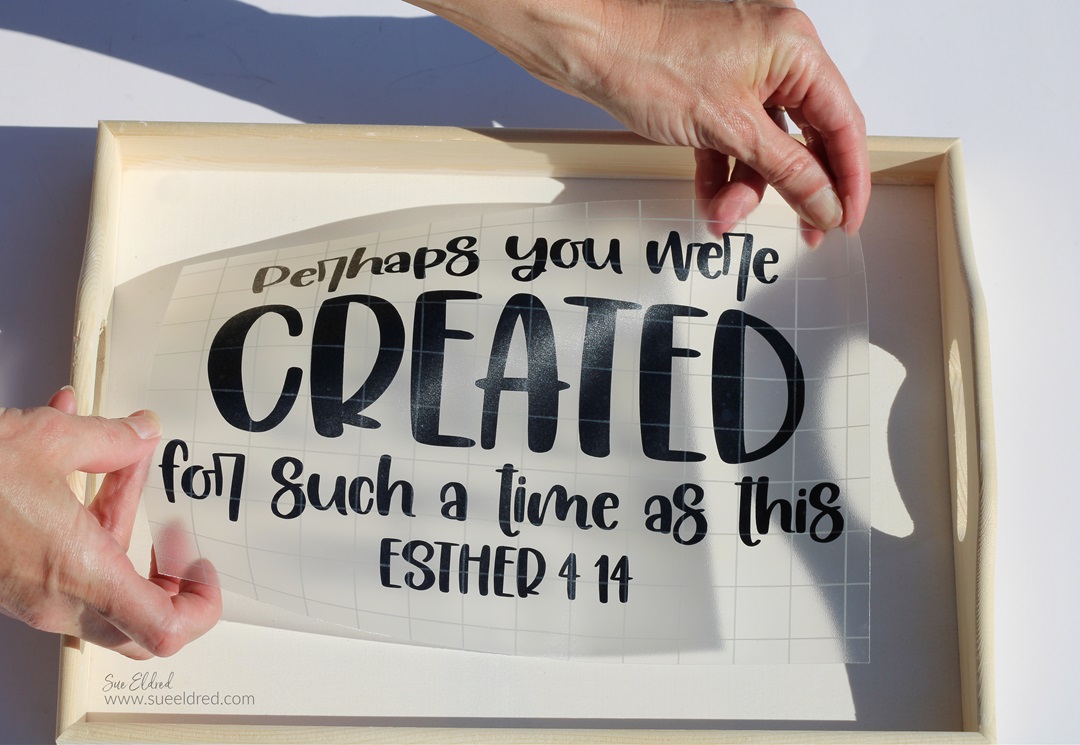
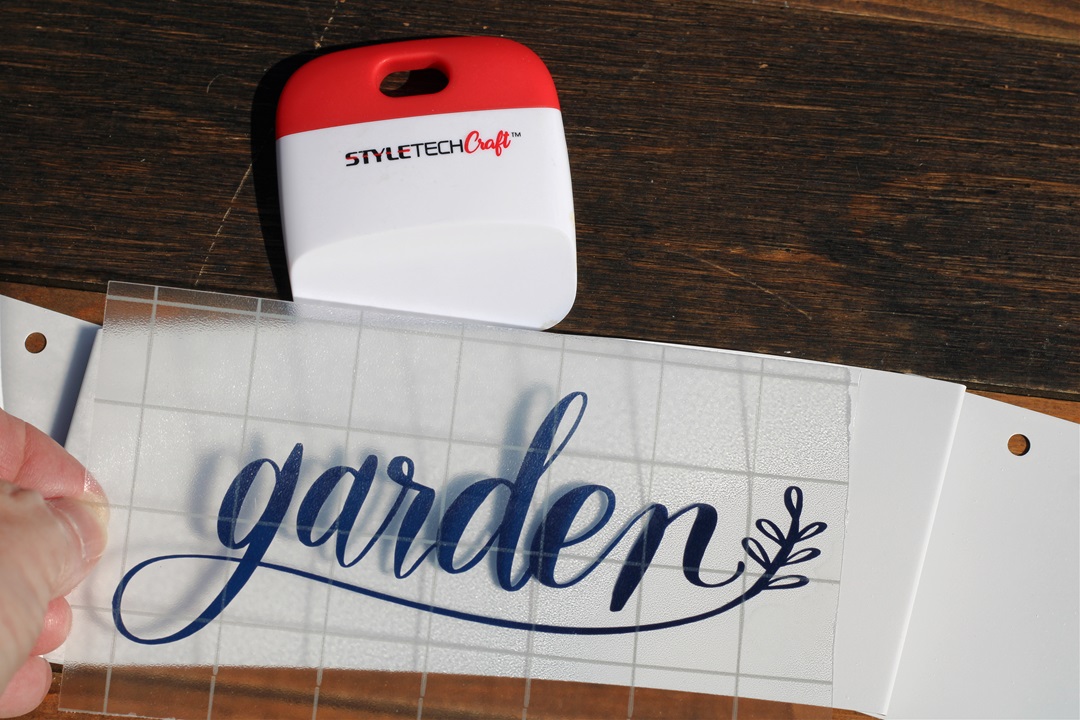
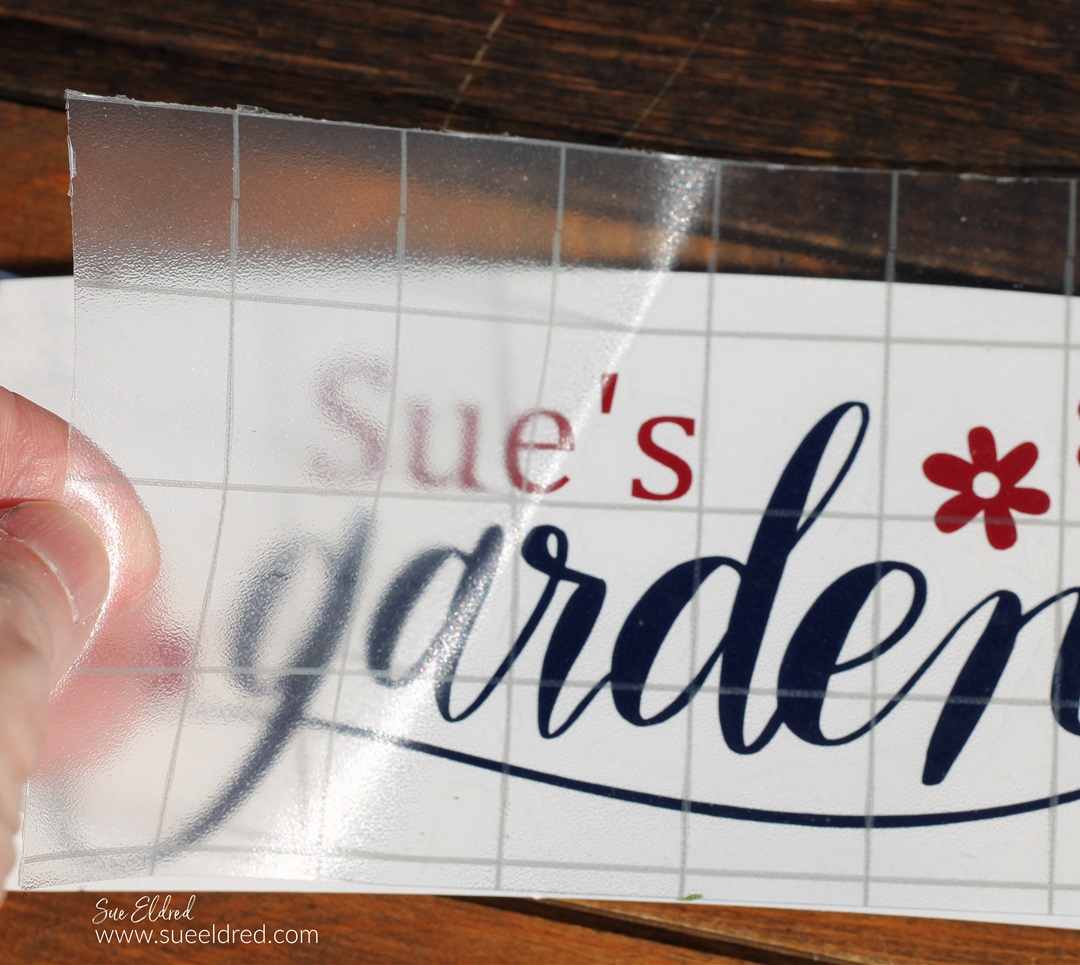
Place the Vinyl Transfer Tape* onto the wood circle.
Gently rub over the design and remove the Vinyl Transfer Tape*.

The sign has two holes on the top for hanging.
I added a simple bow to the top between the two holes.
It would look great in the center of a Large Fall Wreath.
I can’t decide whether to leave it on the table or add it to the mantle.
(Maybe I’ll just hang it from the wreath.)
![]()
“This is a sponsored post. As a member of the StyleTechCraft Design Team I have been provided product and compensation in exchange for my creative ideas. The views and opinions are my own.