
When it comes to Halloween Decorating, I’m not one to go all out.
Usually a couple of jack-o-lanterns and that’s it. (I’m pretty low-key)
How do you Welcome Trick or Treaters?
I remember the year my oldest decided that he was too old for trick or treating…
He dressed up in costume… sat in the chair on the porch with a big bowl of candy to pass out.
He sat very, very still.
All the kids thought he was a decoration.
When they’d start to reach and grab the candy he’d scare them.
As I was walking down our street from taking my daughter Trick or Treating that night,
we were warned about the house on the end of the street.
I think that might of been his favorite Halloween.

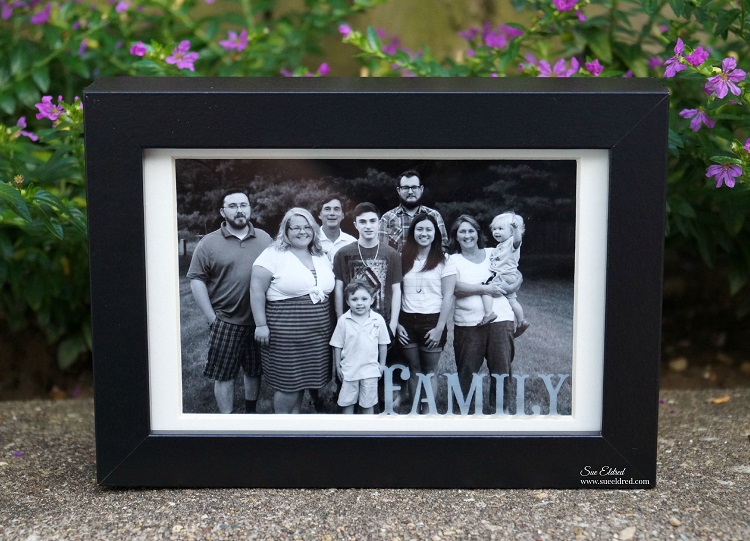
Deflecto Craft Frame, Black Border, 8.5 x 11 Inches (69775CR)
My “Welcome Trick or Treaters” sign was made using a large frame from Deflecto Craft Solutions
and computer graphics.
The bat and pumpkin chipboard was old K & Company embellishments.
![]()
"This is a sponsored post. As a member of the Deflecto Design Team I have been
provided product in exchange for my creative ideas, views and opinions."


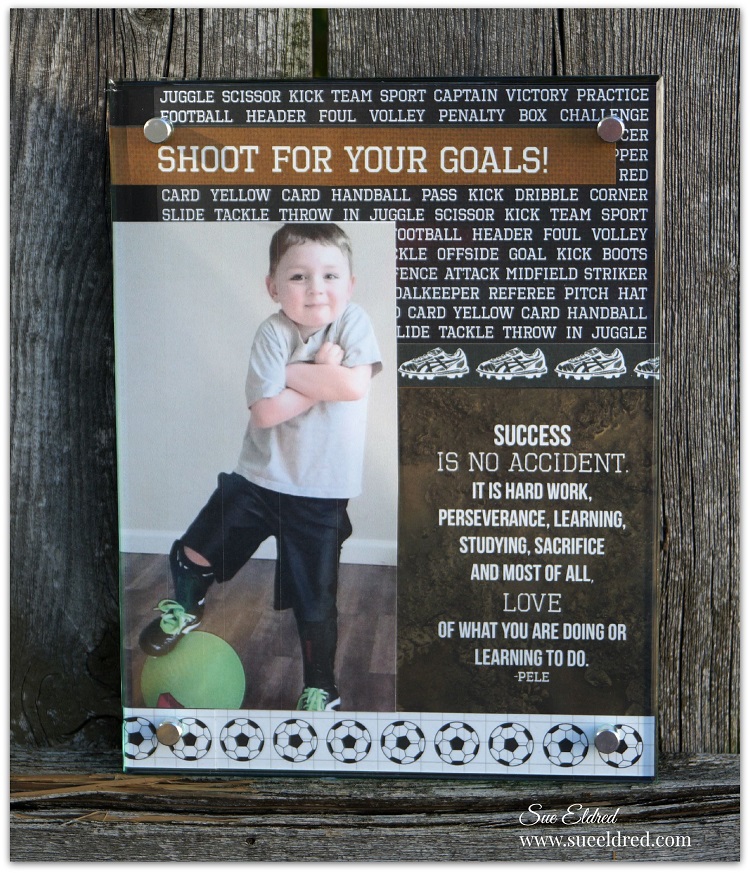
 My grandson Nicholas is celebrating his 5th birthday in just a few days. (but who’s counting?)


