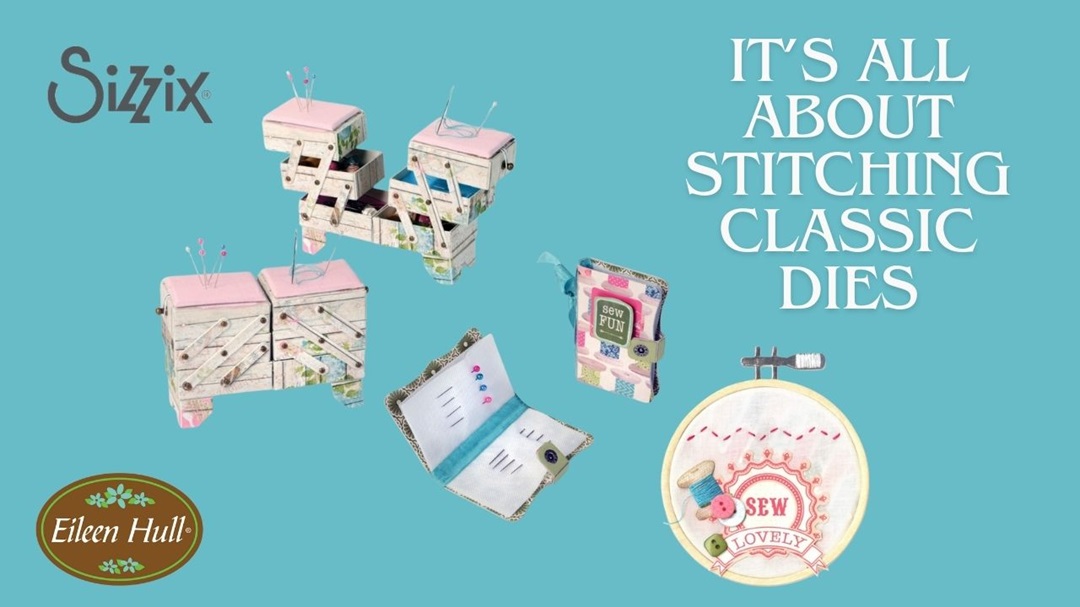
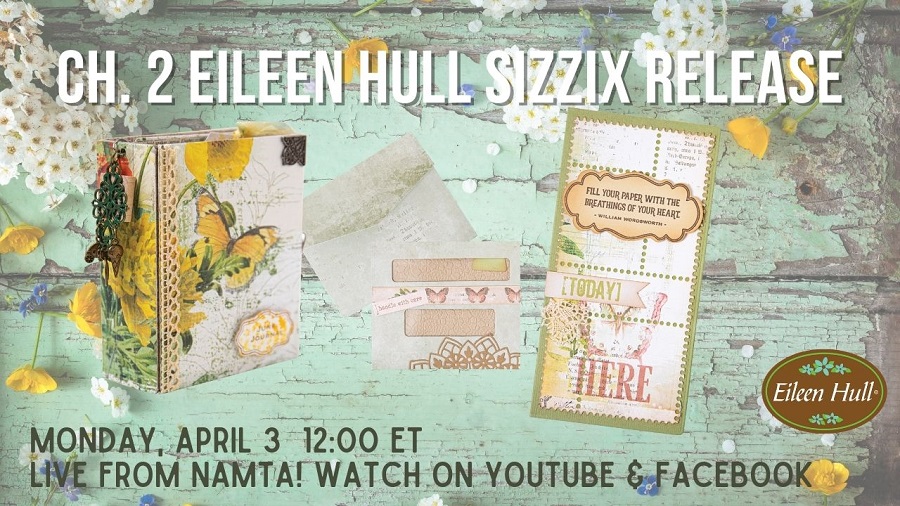
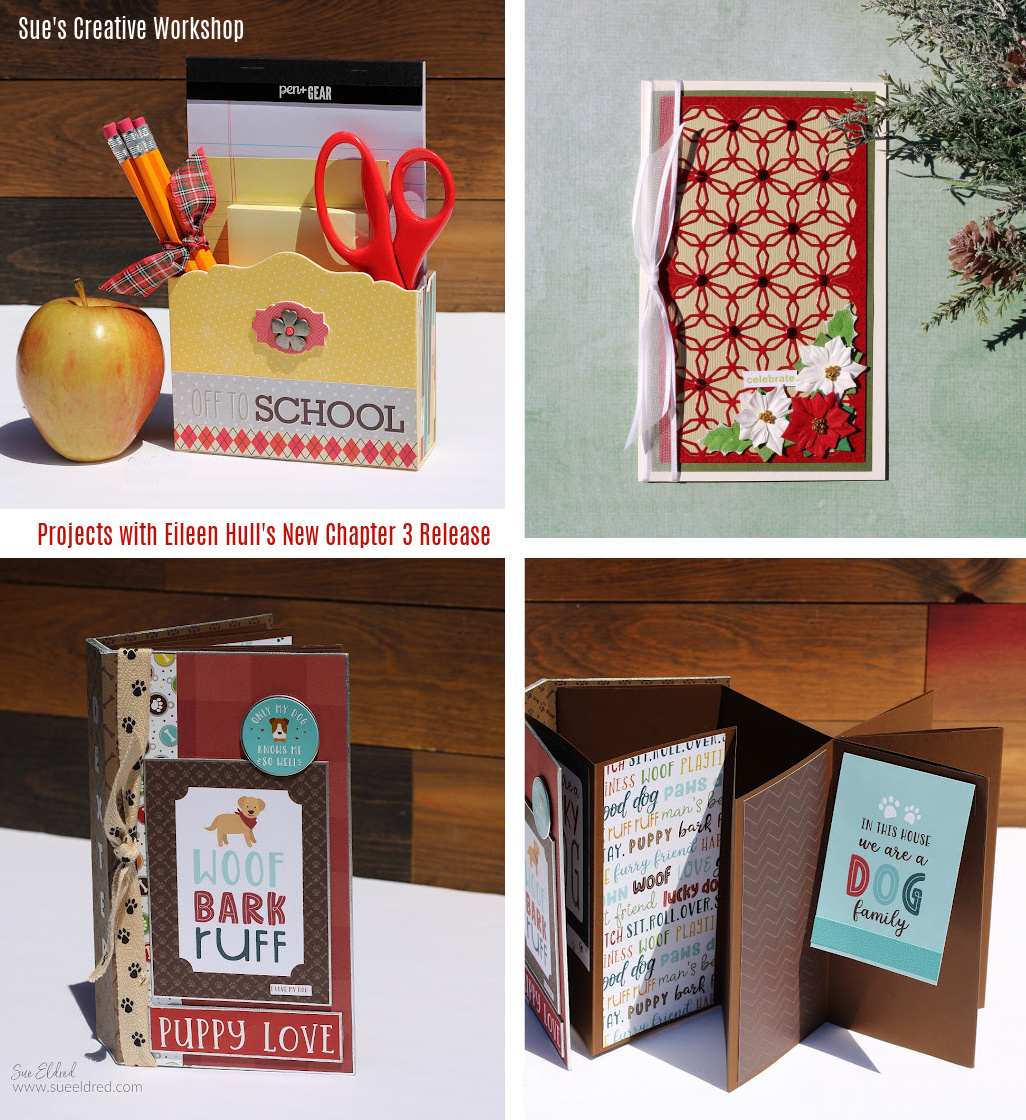
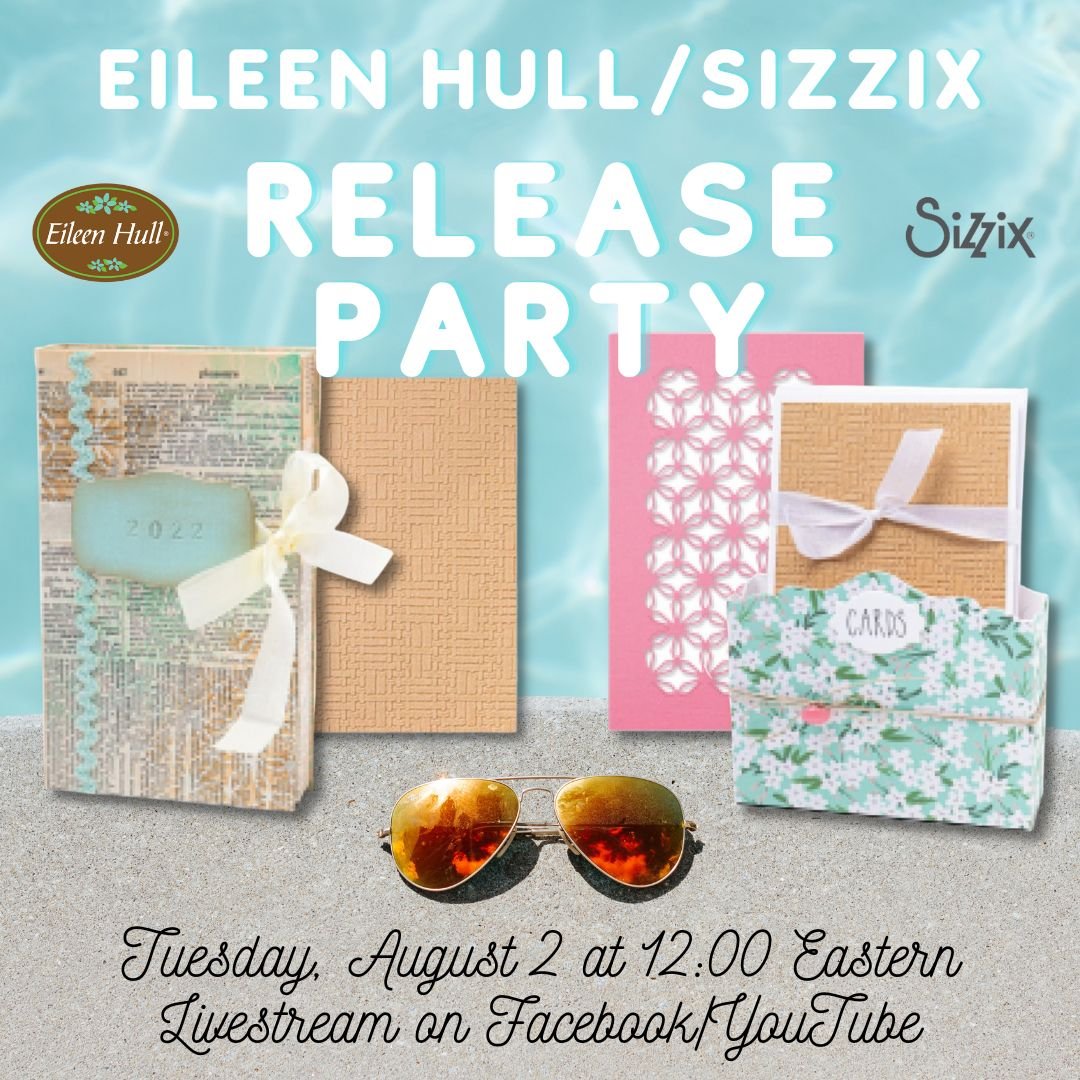
The May Eileen Hull and Sizzix Release is here!
And it is packed with new stamp and die kits that will excite
the inner artist in you!
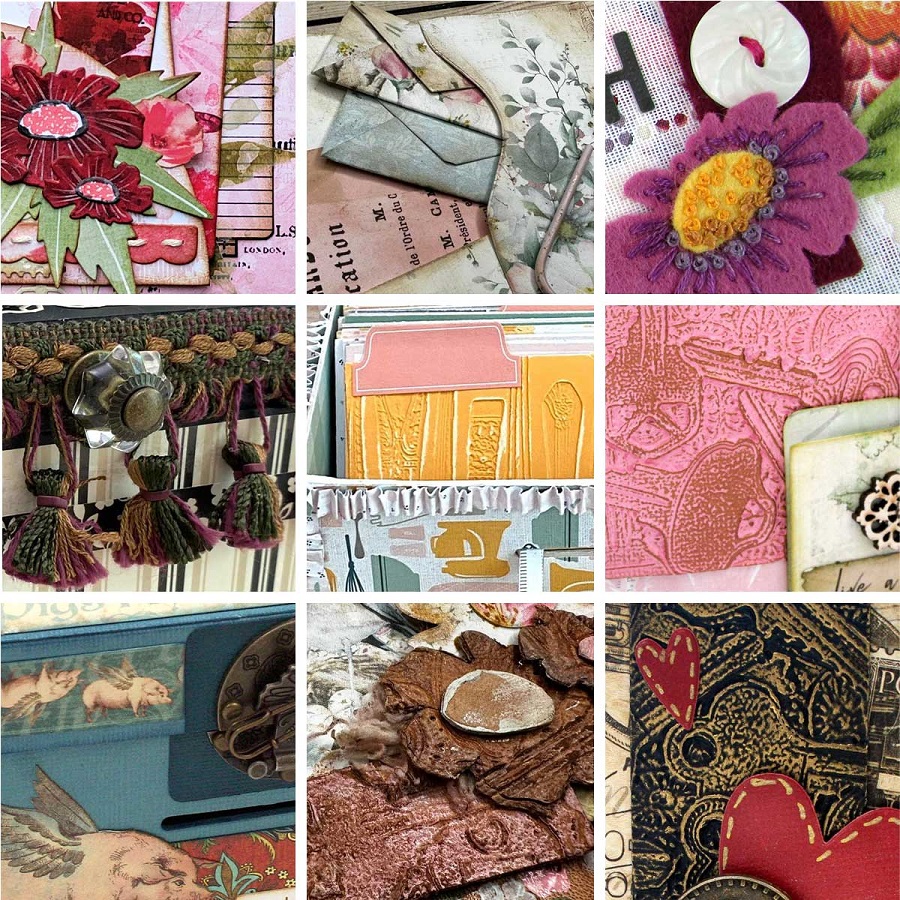
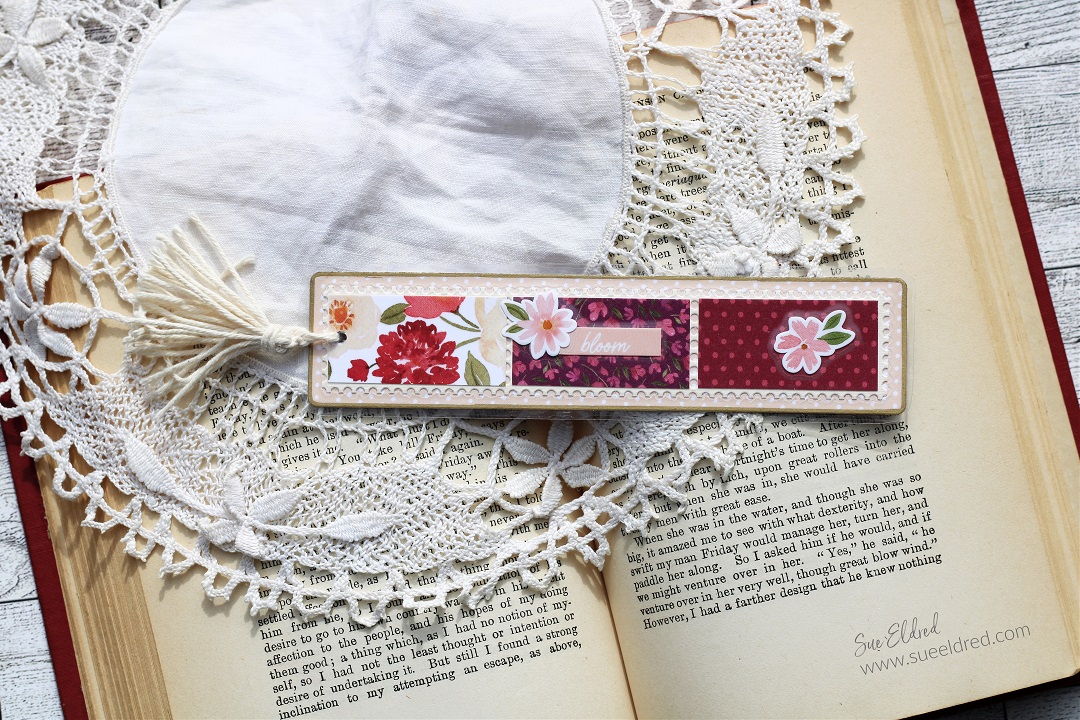
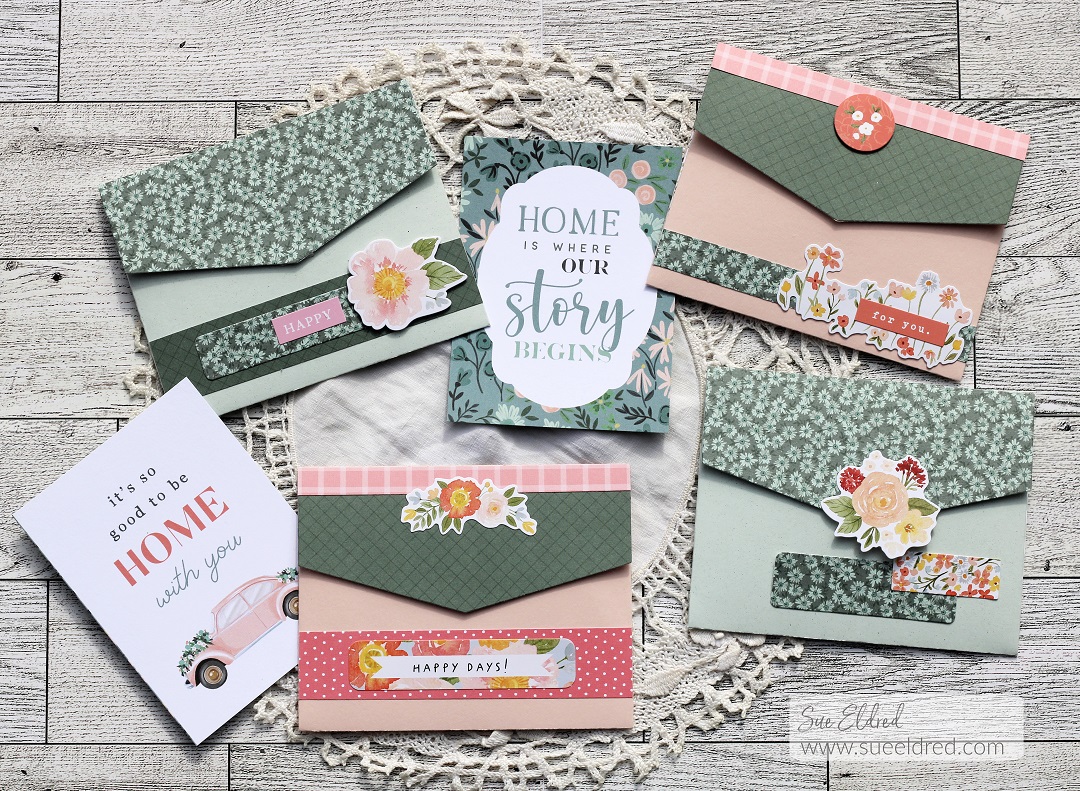
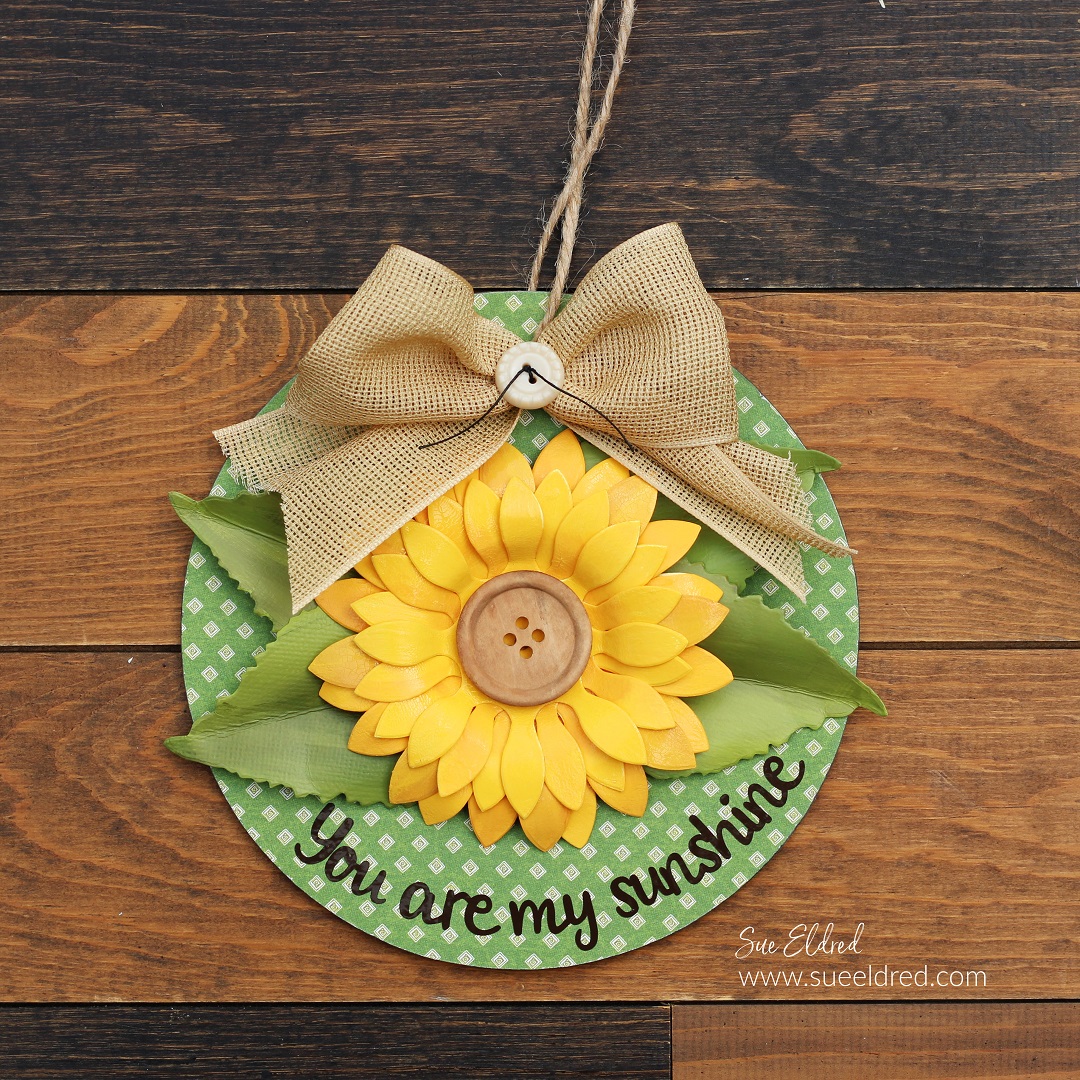
Below are a few samples that I made with the new collection.
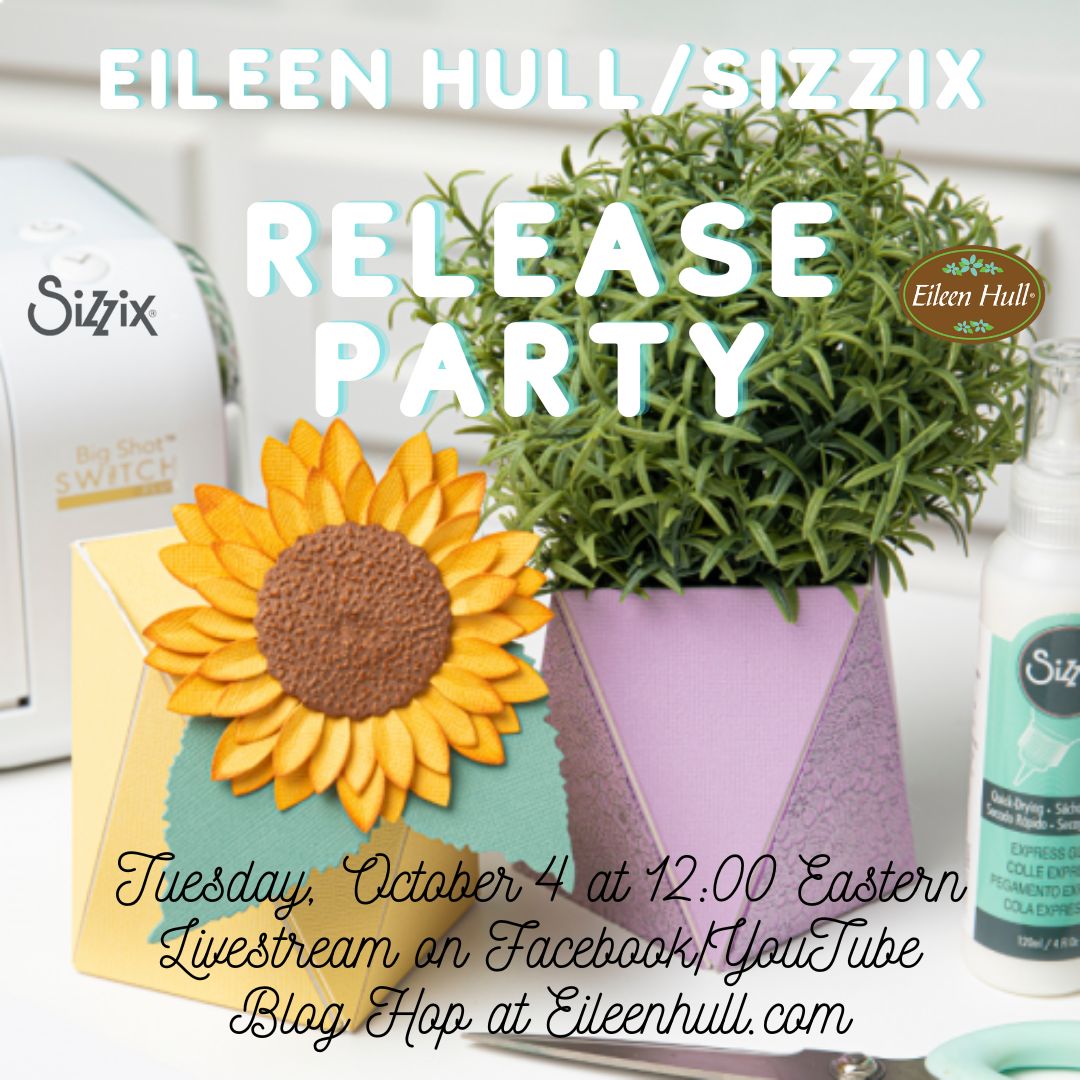
Make sure to join Eileen’s Launch Party Online HERE for more inspiration.
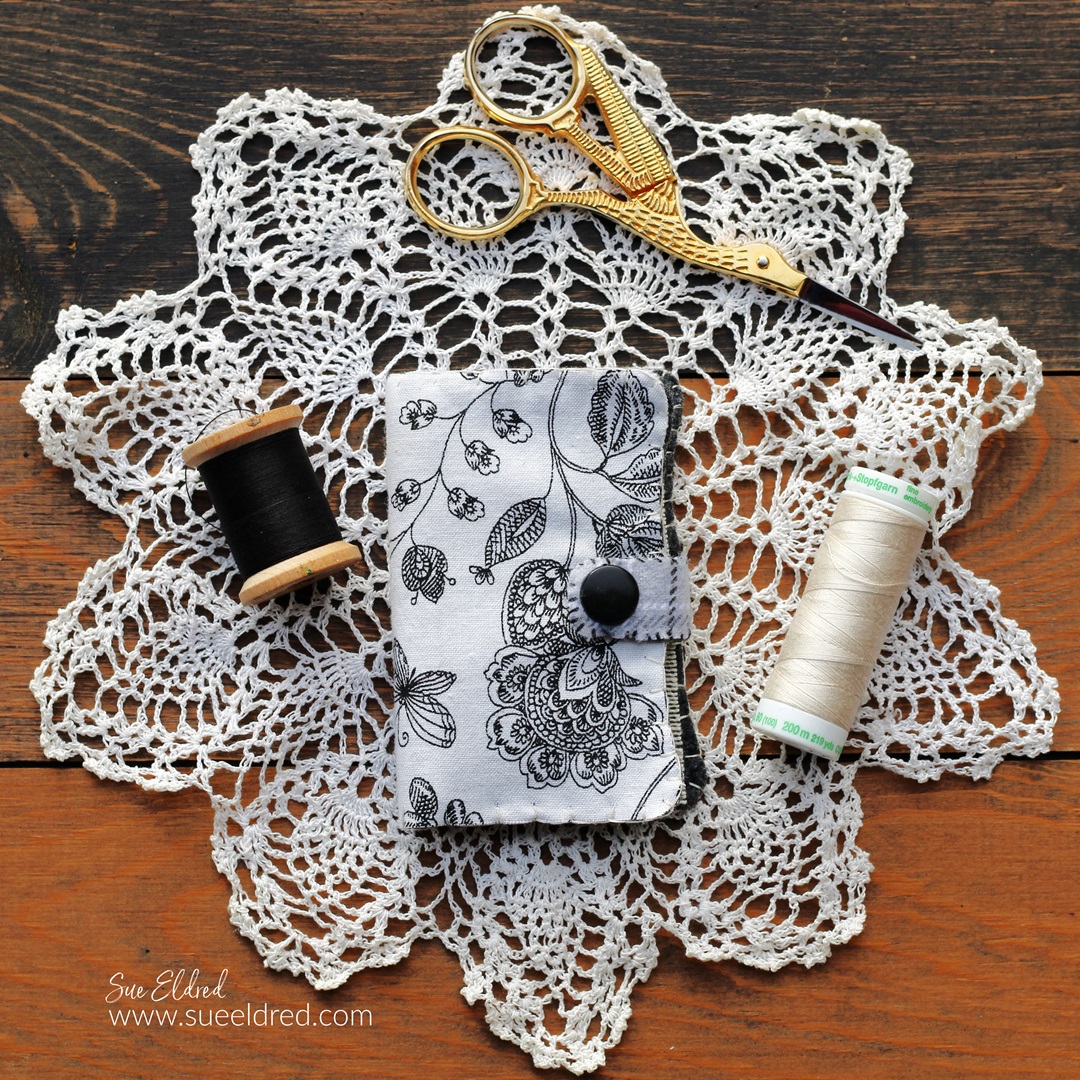
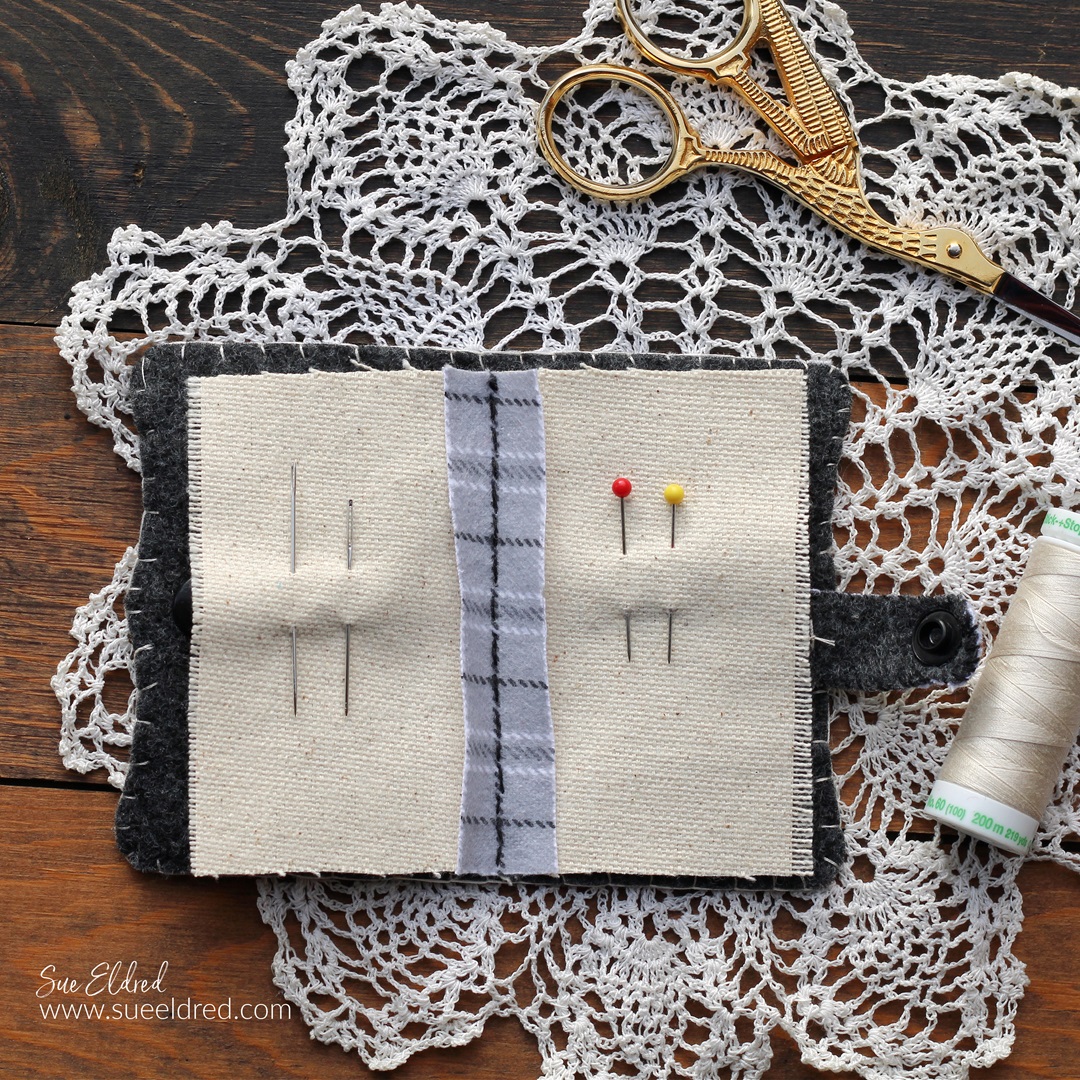
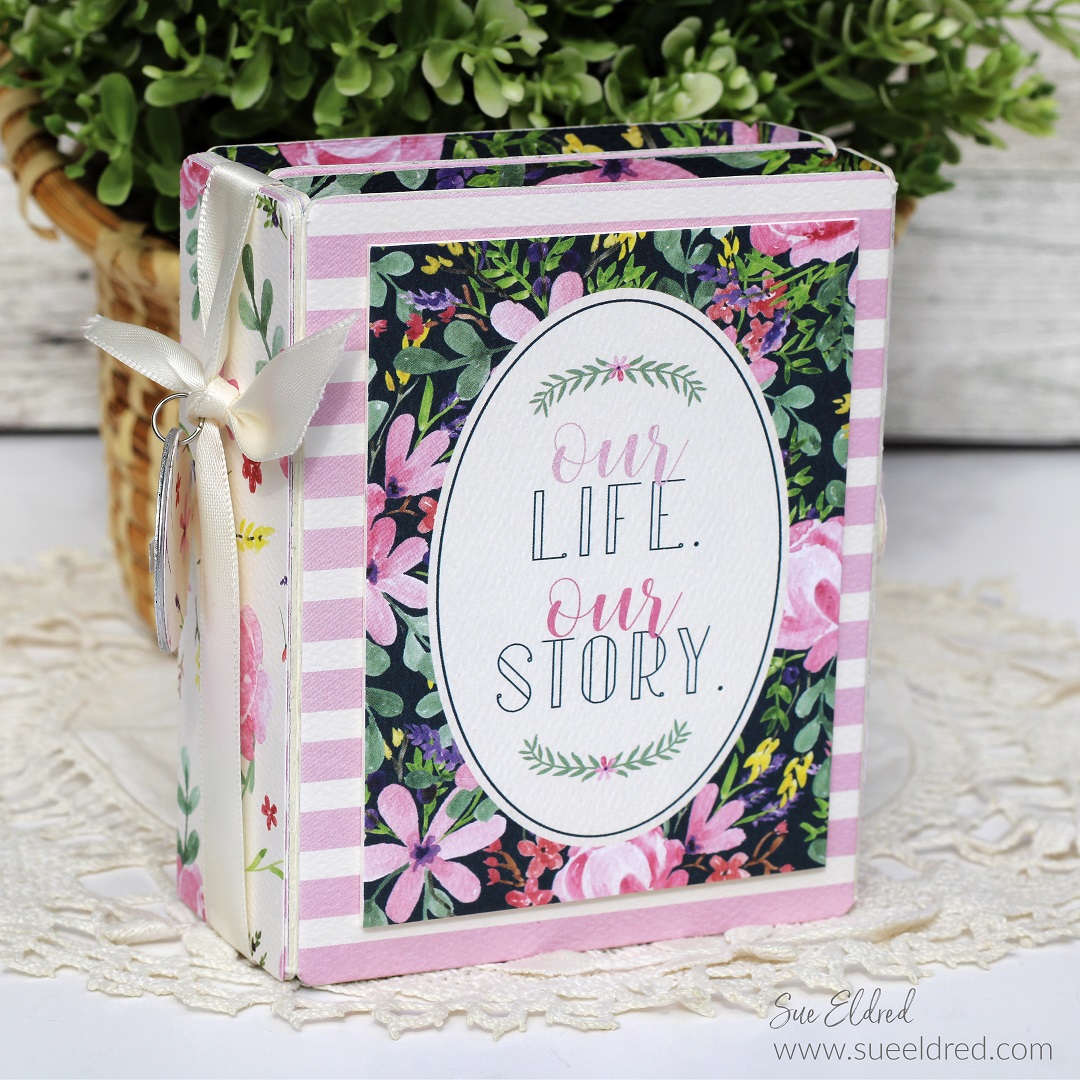
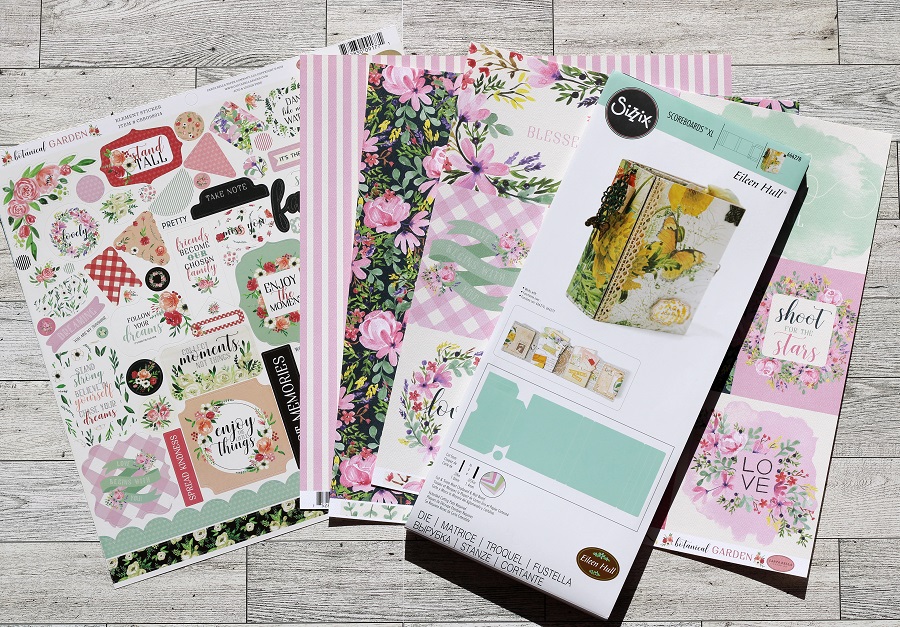
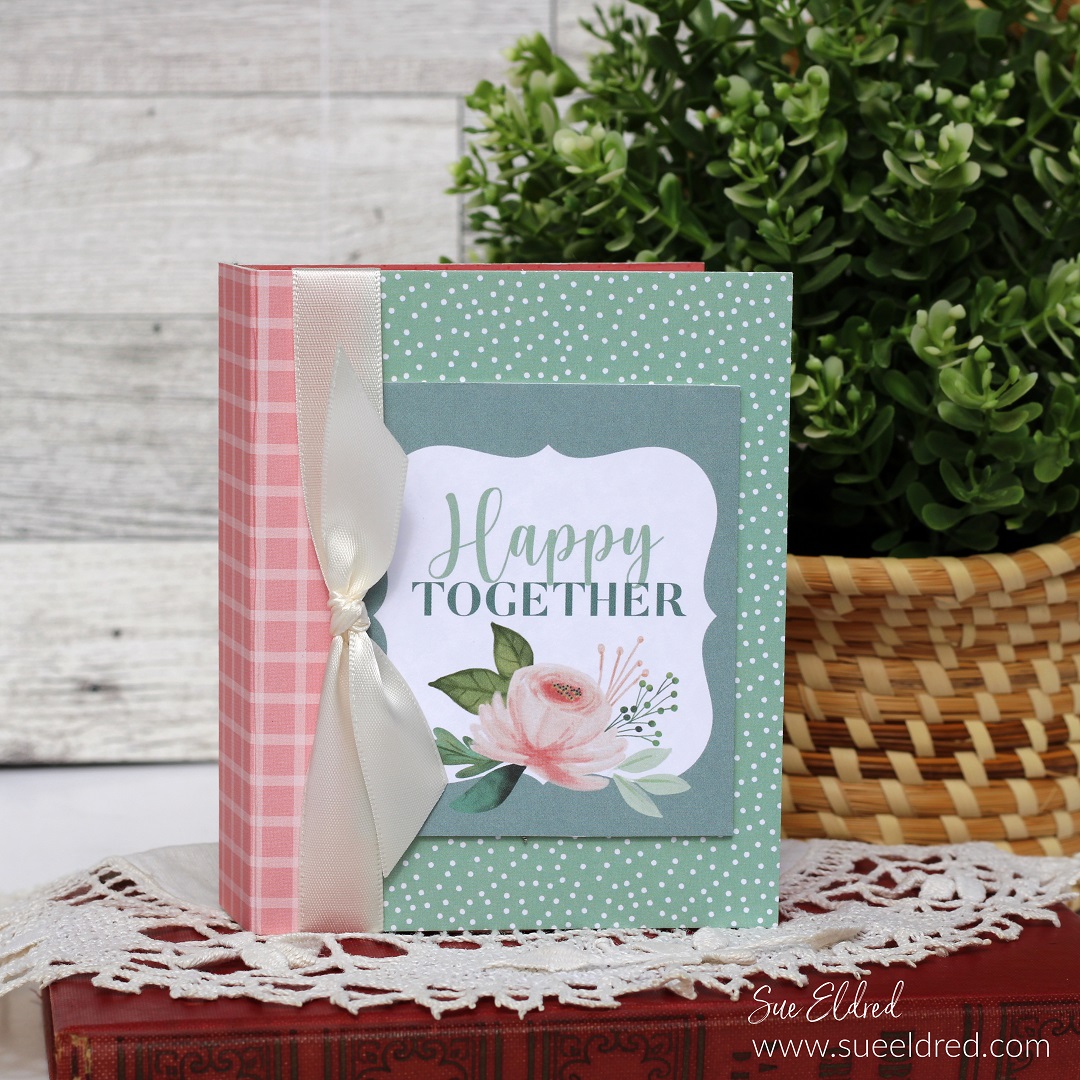
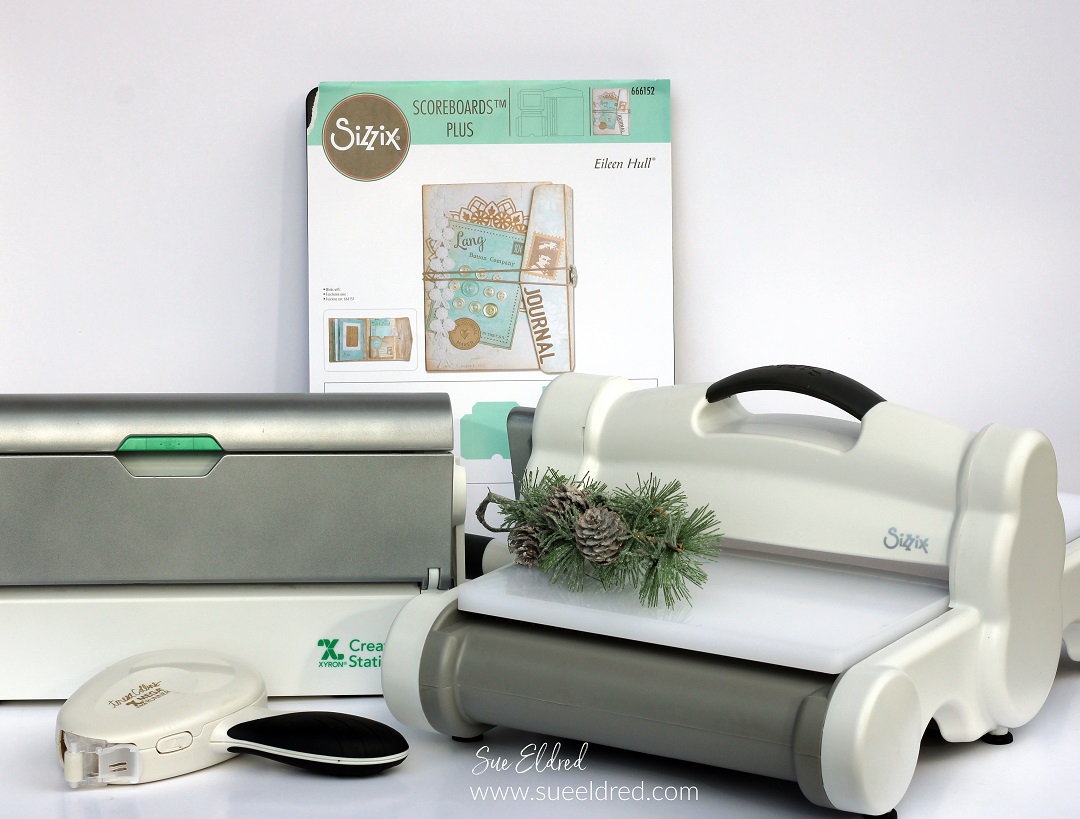
Sizzix ScoreBoards XL Die – Hardbound Journal by Eileen Hull*
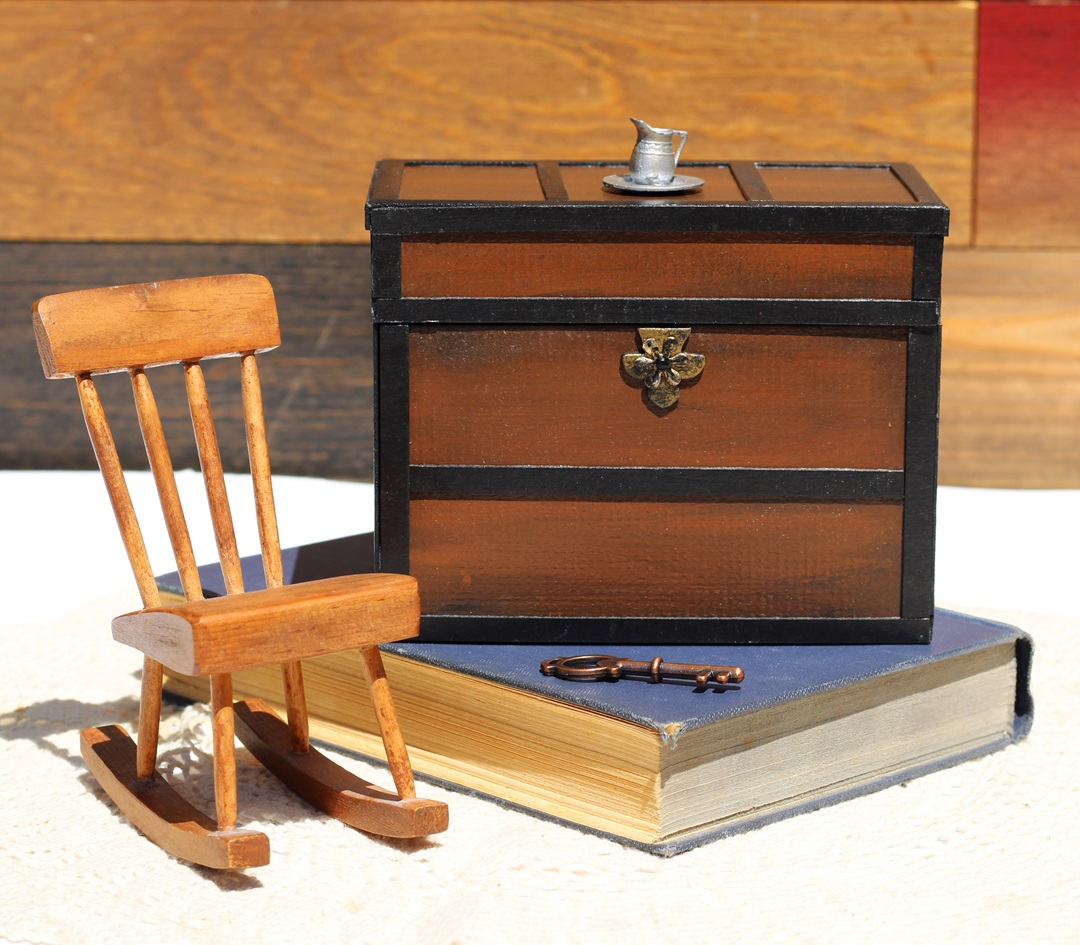
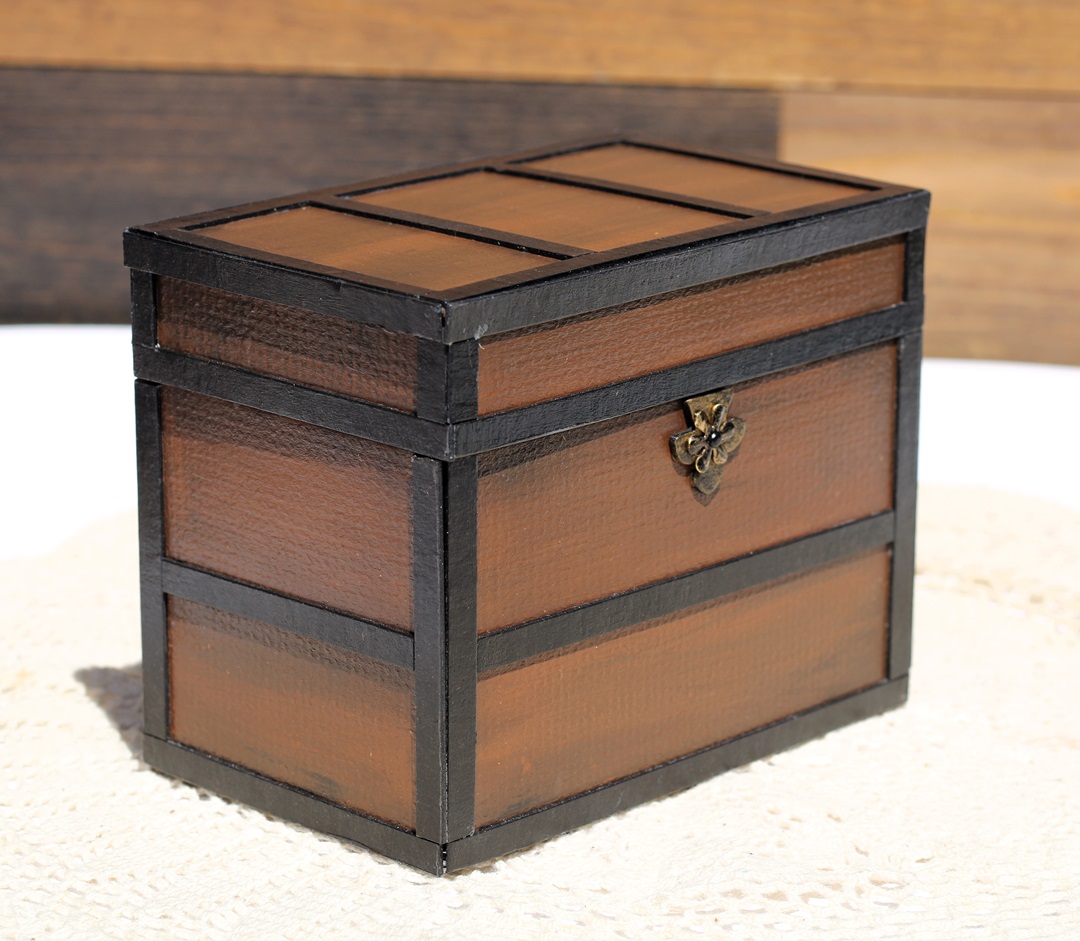
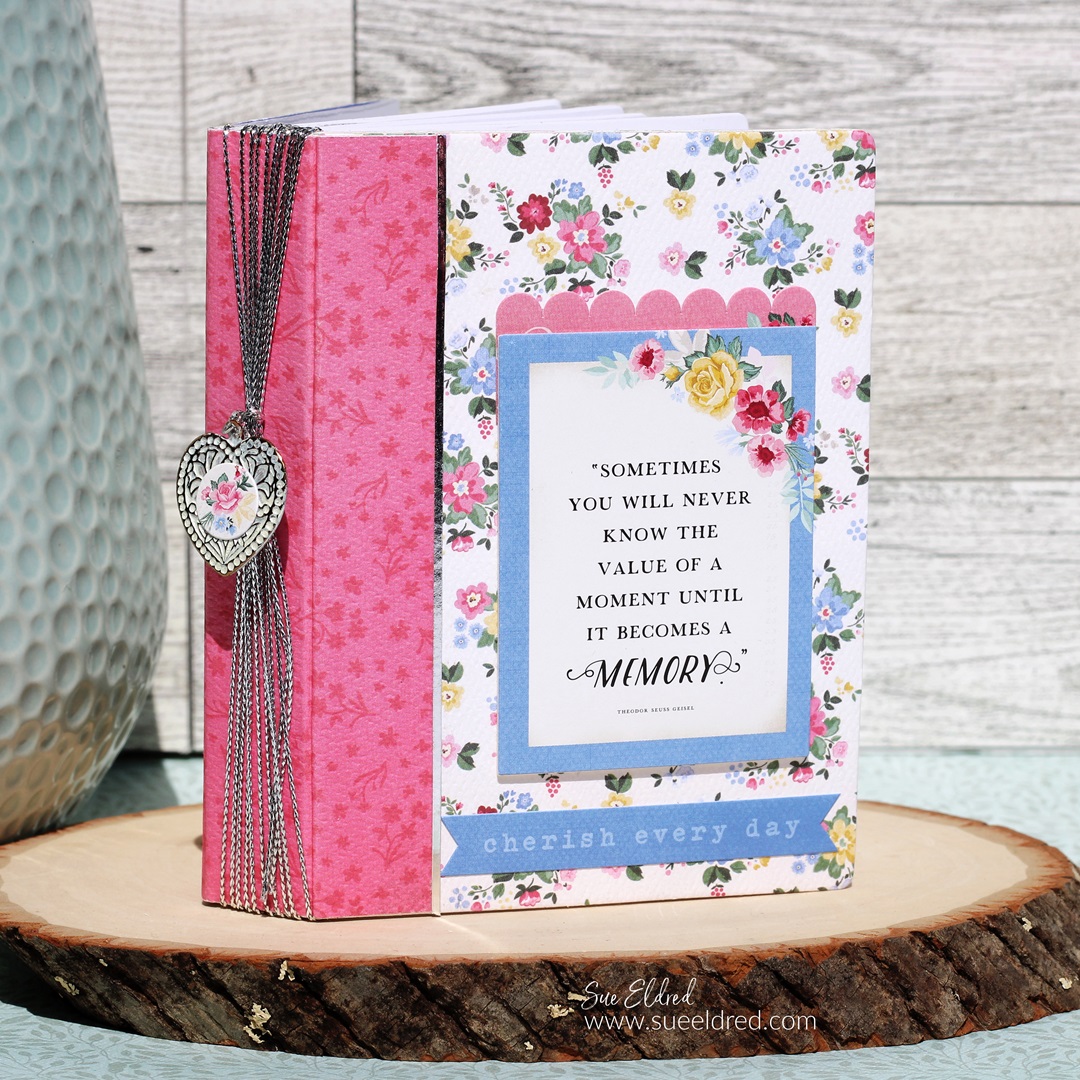
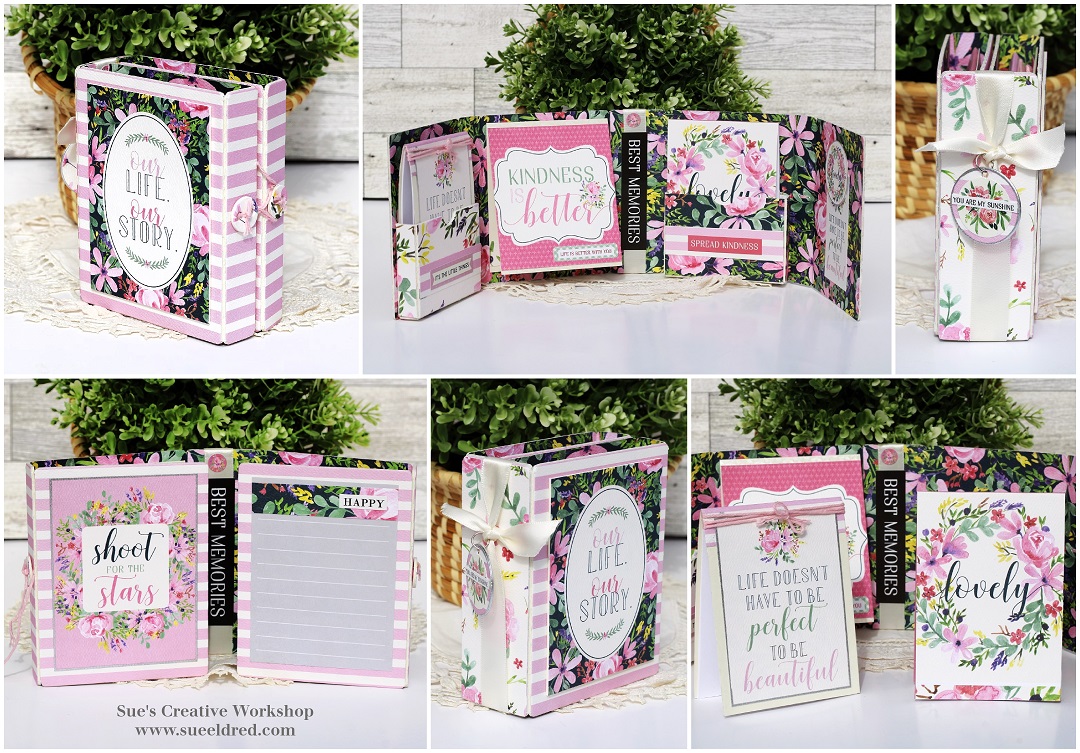
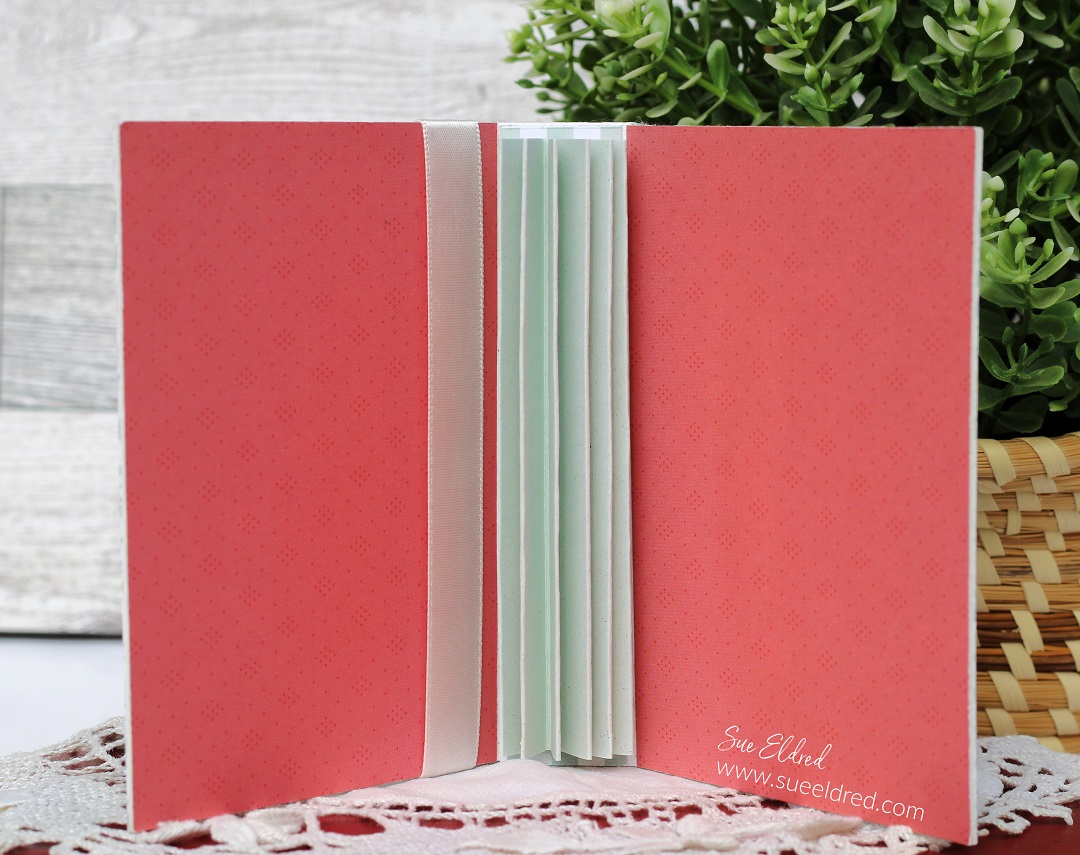
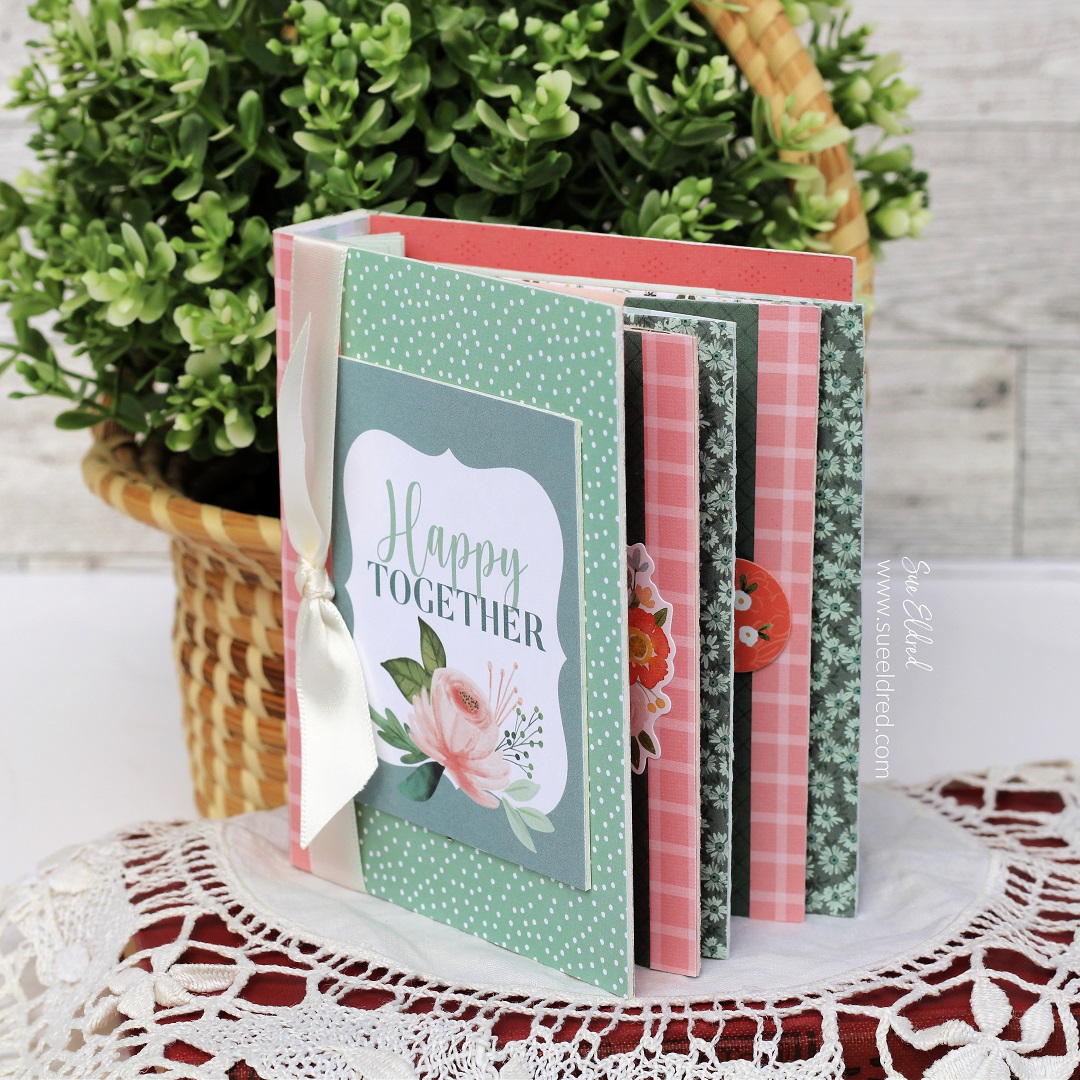
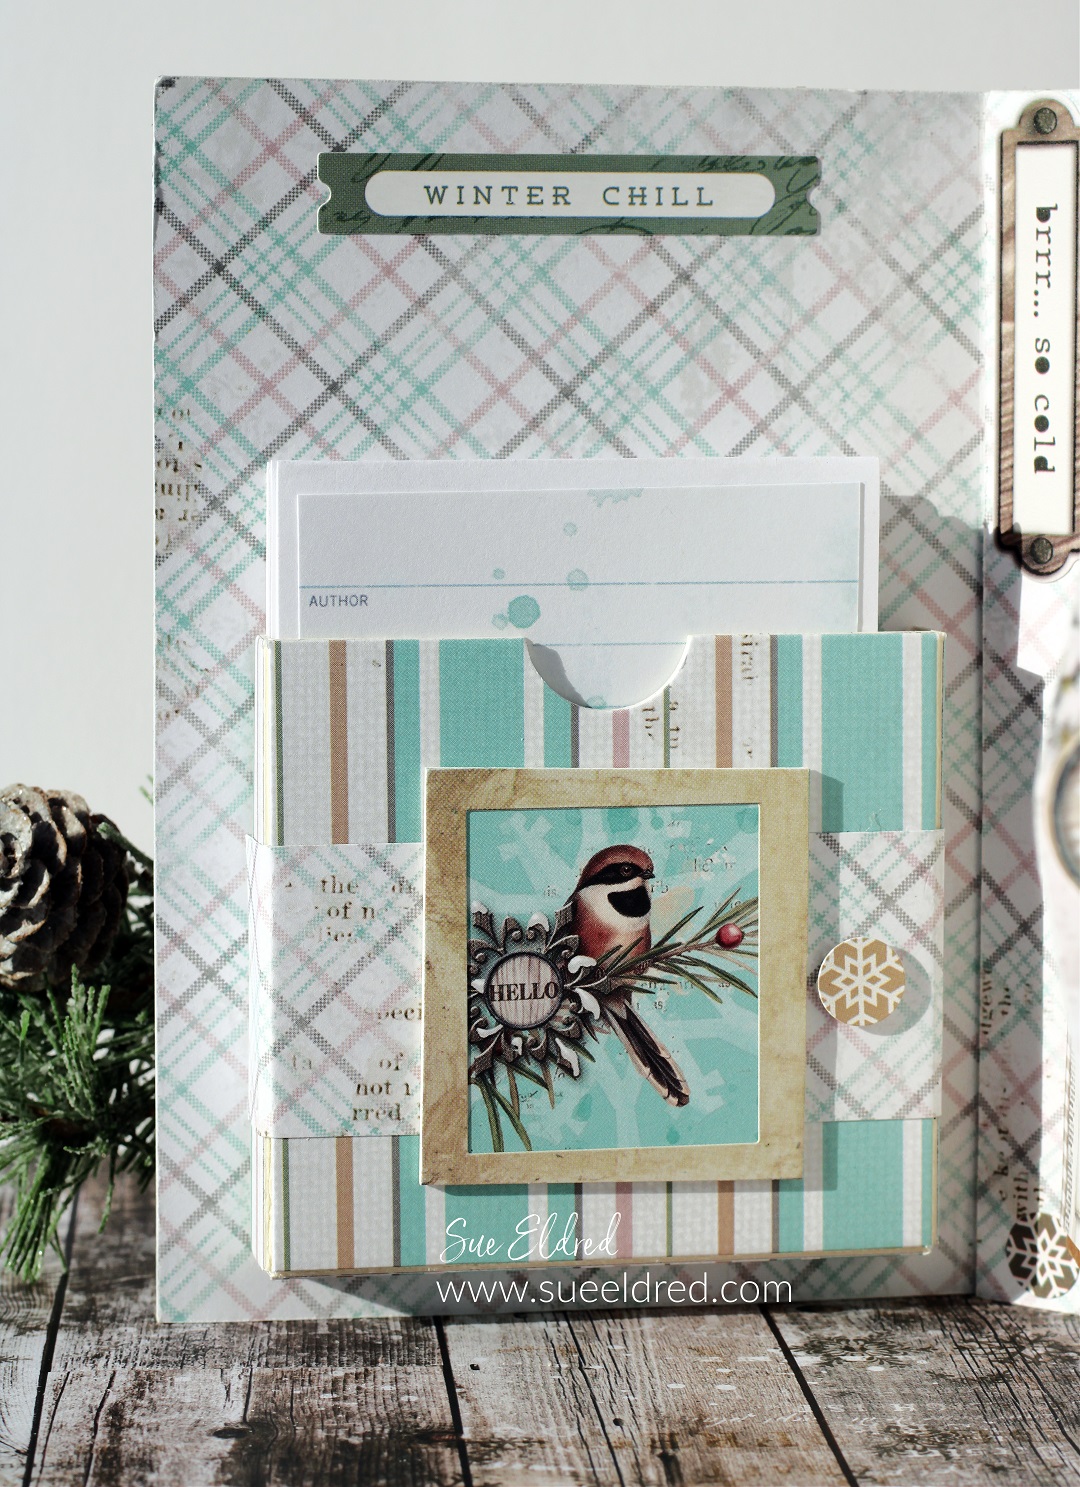
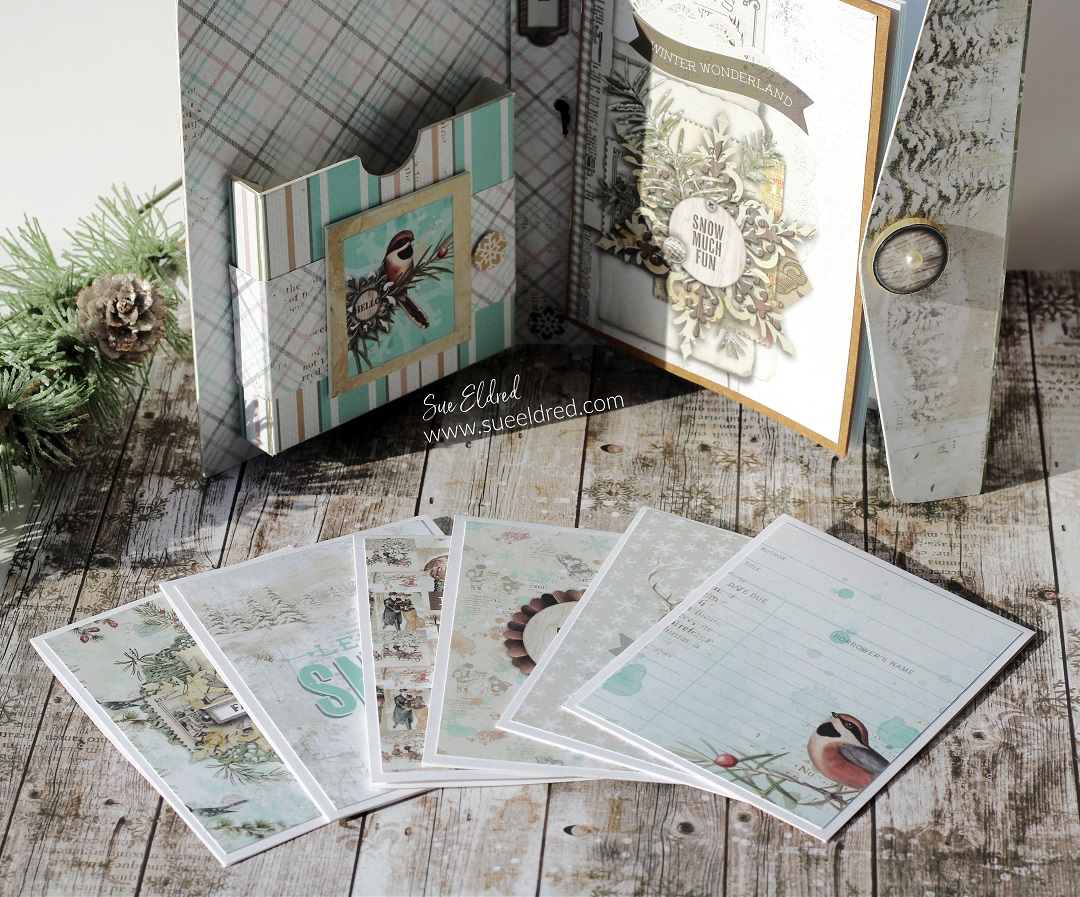
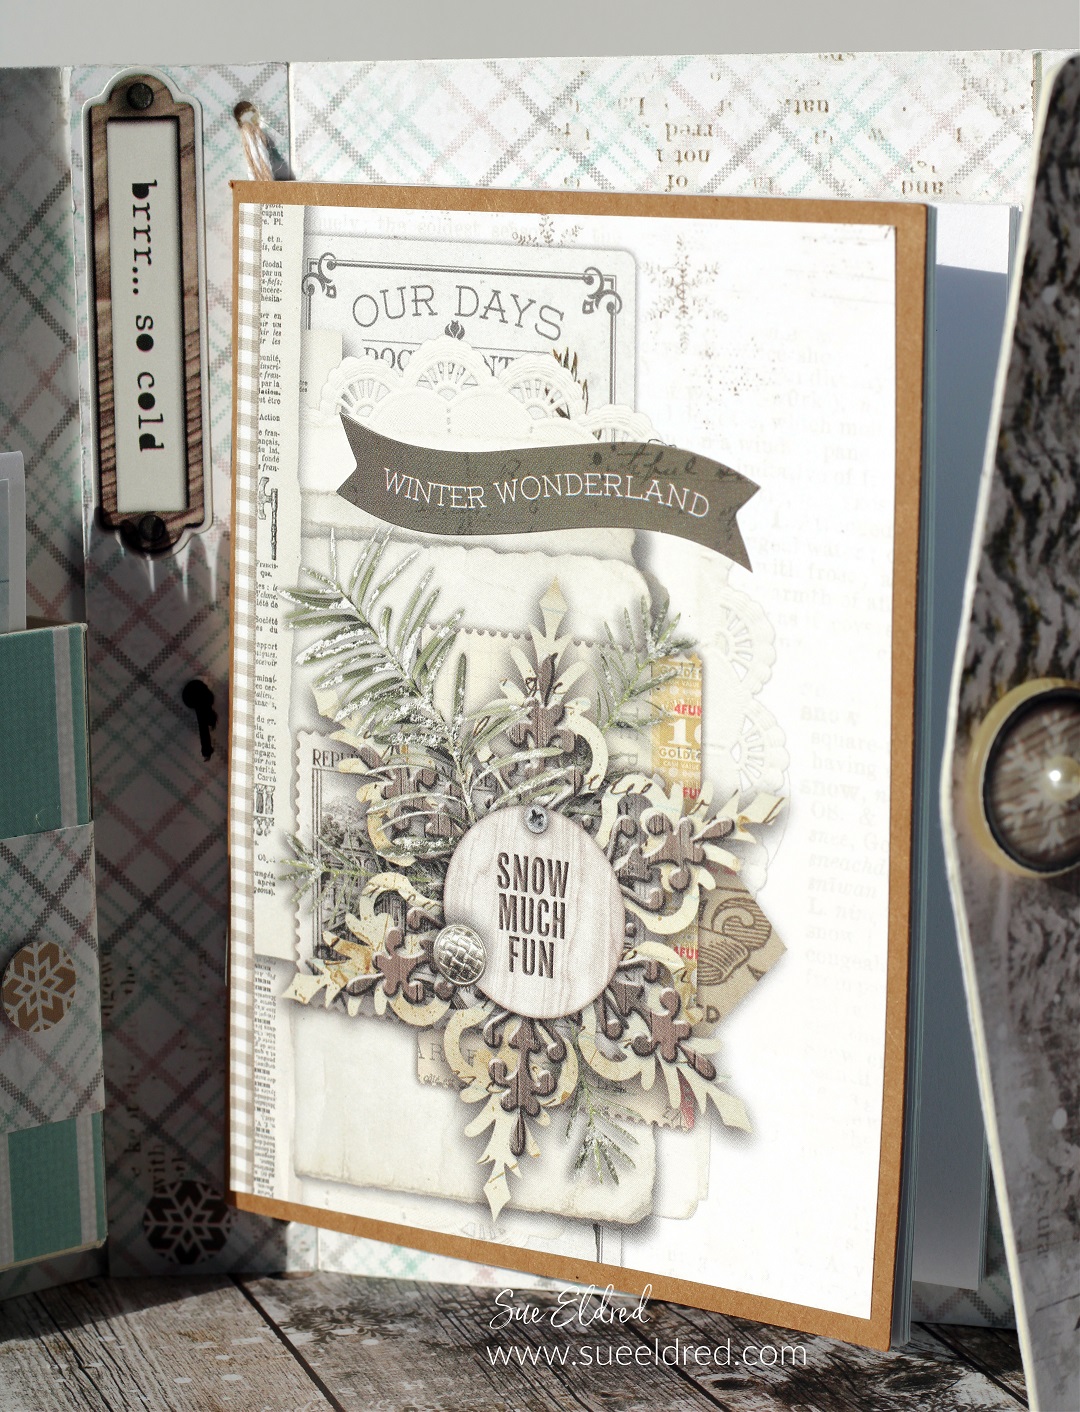
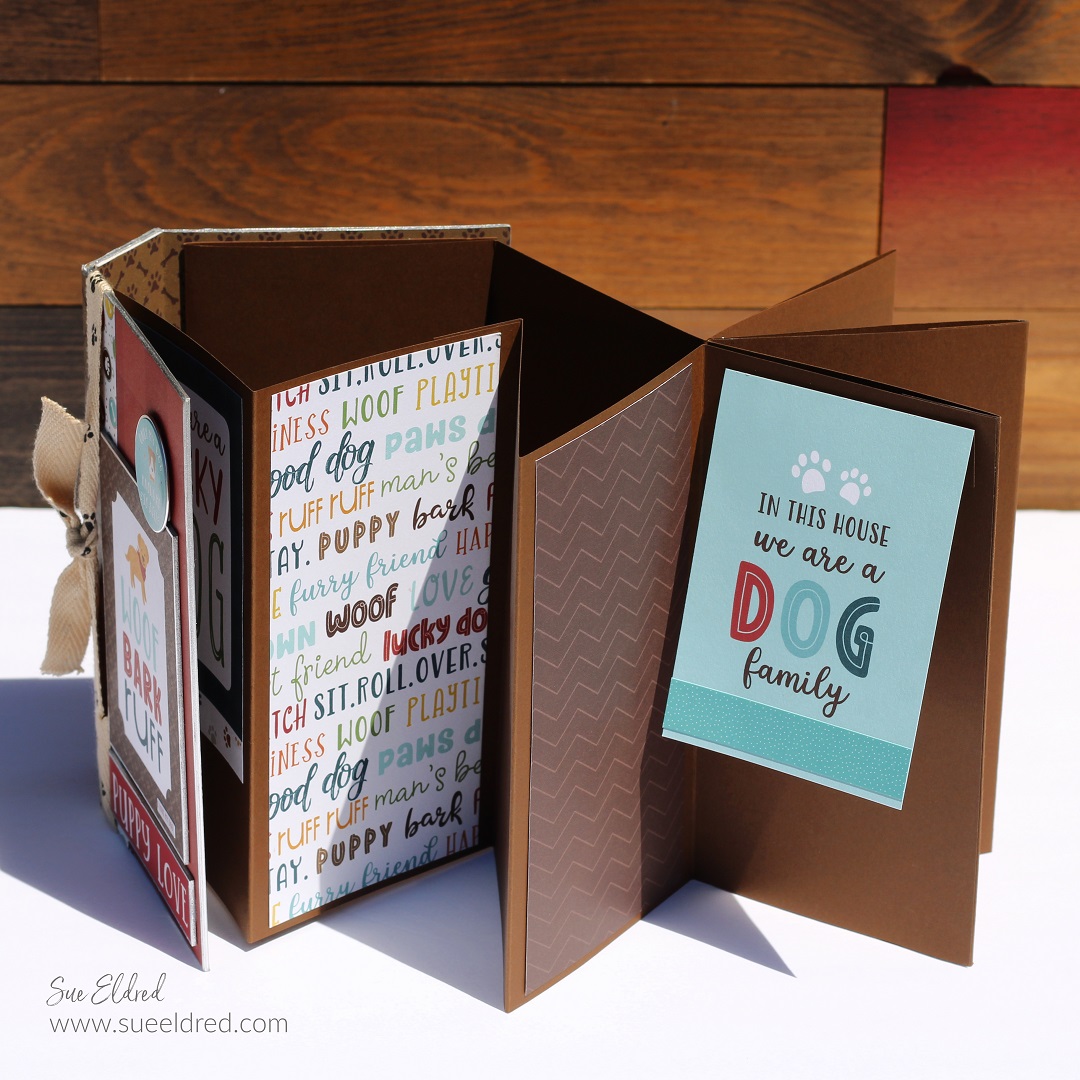
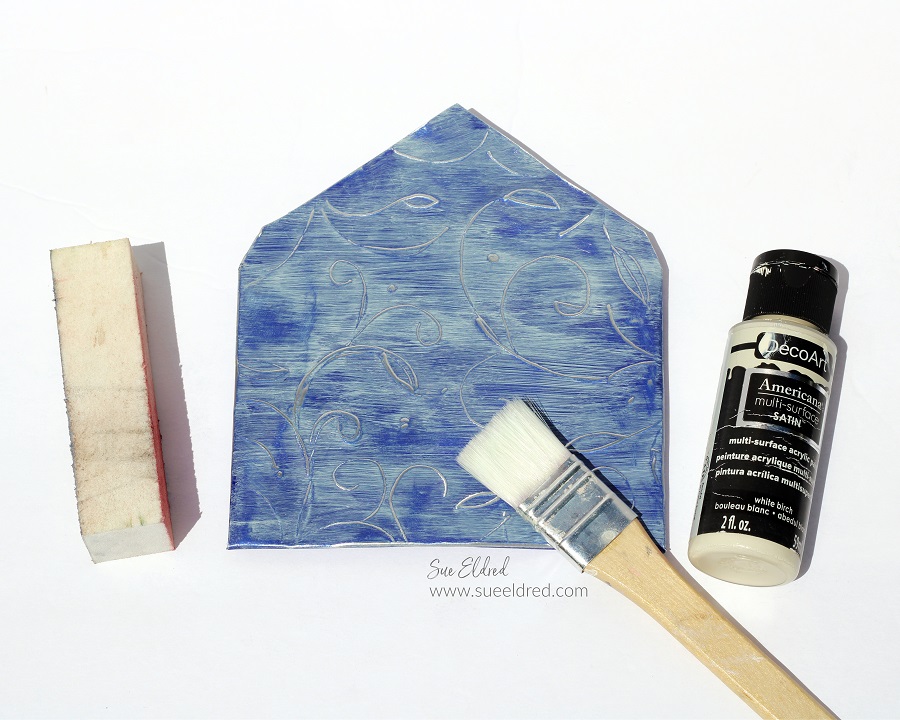
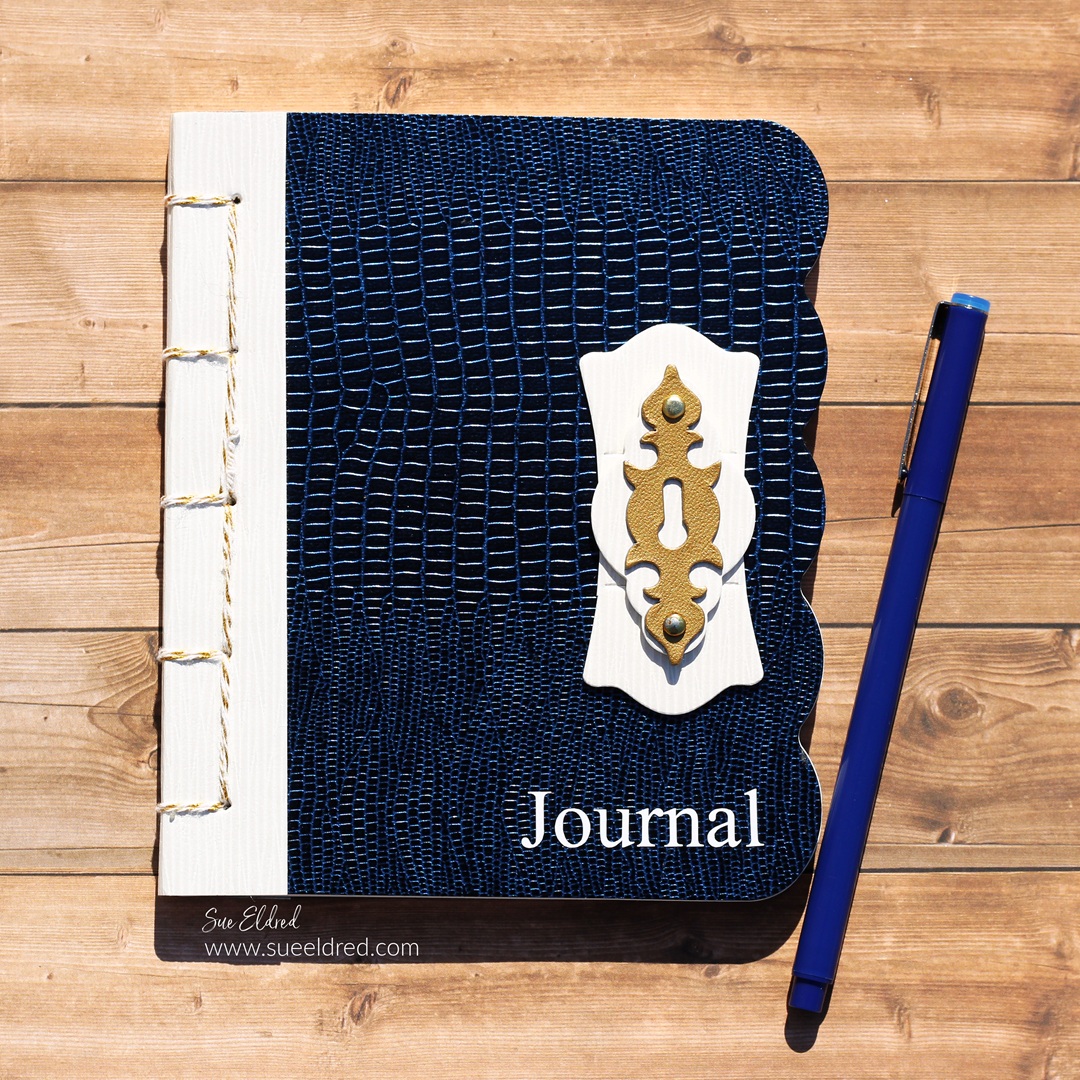
This is my Hardbound Journal made using faux leather paper and a simple Japanese binding technique.
The Hardbound Journal* is a ScoreBoards XL die designed to cut and score thick materials like matboard, leather, and felt. It includes built-in score lines, holes, a spine piece, and large labels—no measuring needed! At 6″ x 5″, you can customize the book’s thickness and choose hand or quick binding, all with a pretty scalloped edge. One of the most versatile designs yet.

*Disclosure: This blog uses ads and affiliate links. If you choose to make a purchase using one of the links, I receive a small commission (at no additional cost to you) that helps offset the costs of maintaining this blog. Thanks for your support!

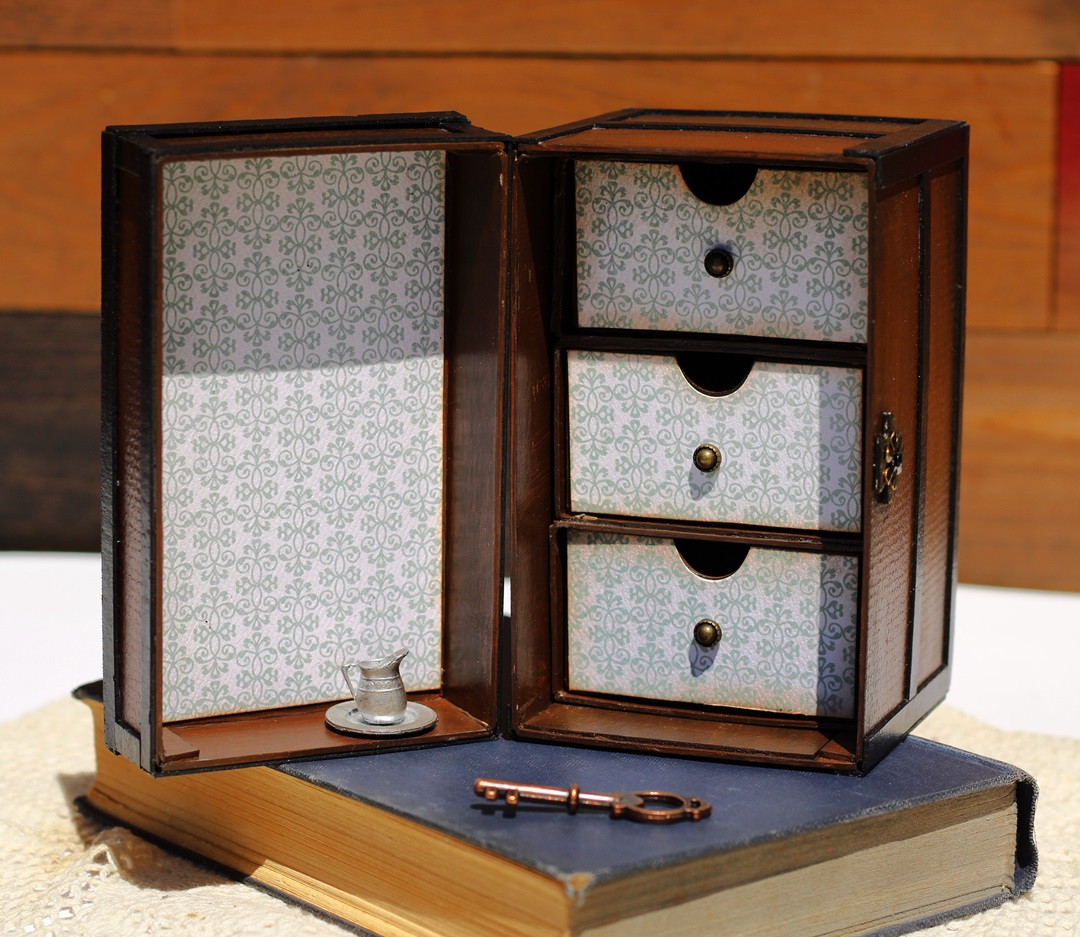
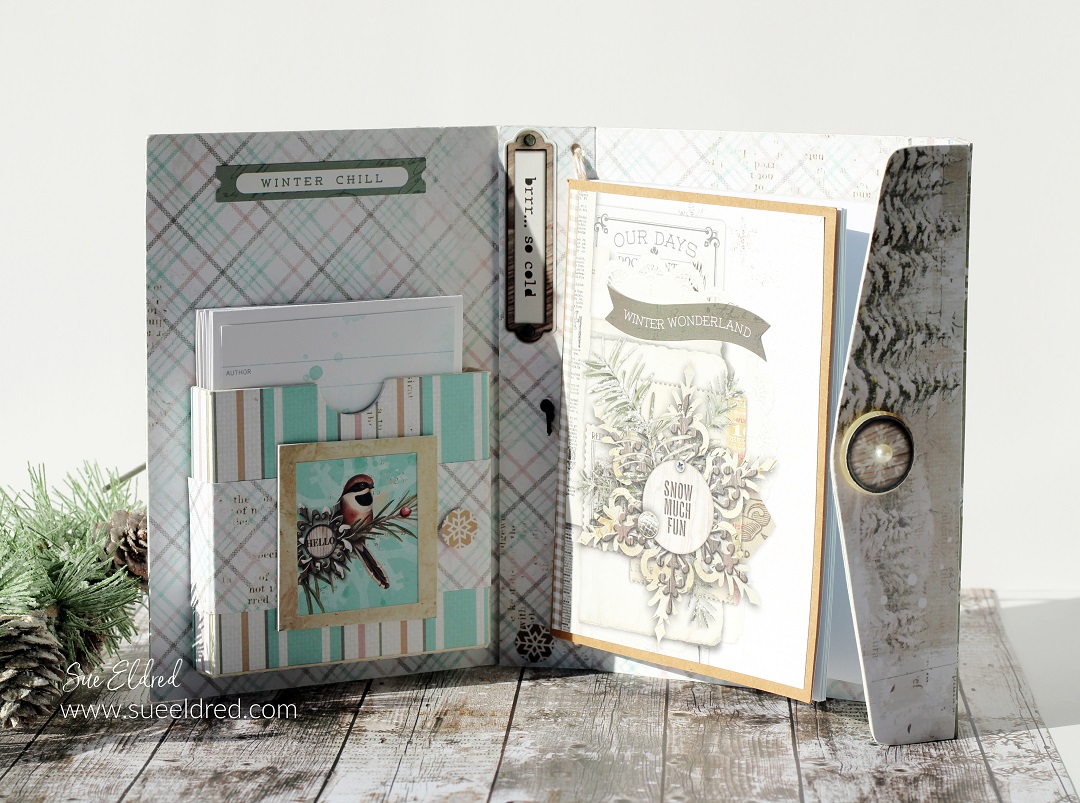
On the front of my journal, I used the Sizzix Bigz Journal Hardware Die*.
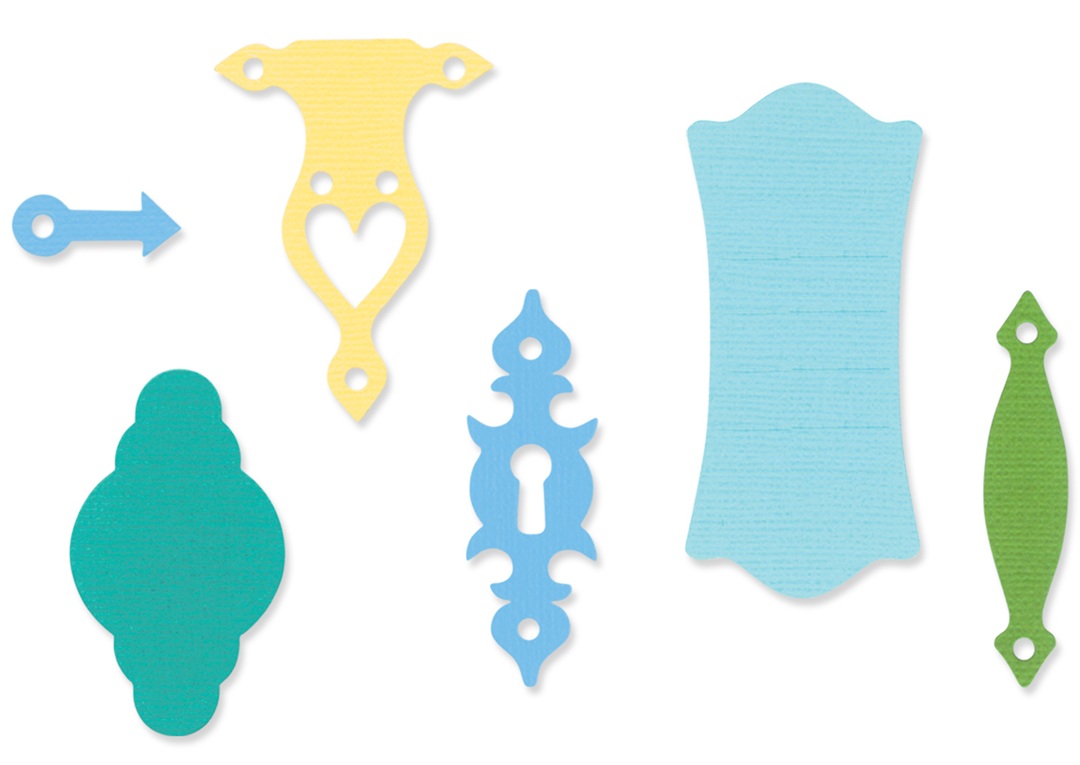
The Bigz Journal Hardware Die* offers latches, hinges, and pen loops.
It is perfectly sized to coordinate with the journal and cuts a variety
of materials.
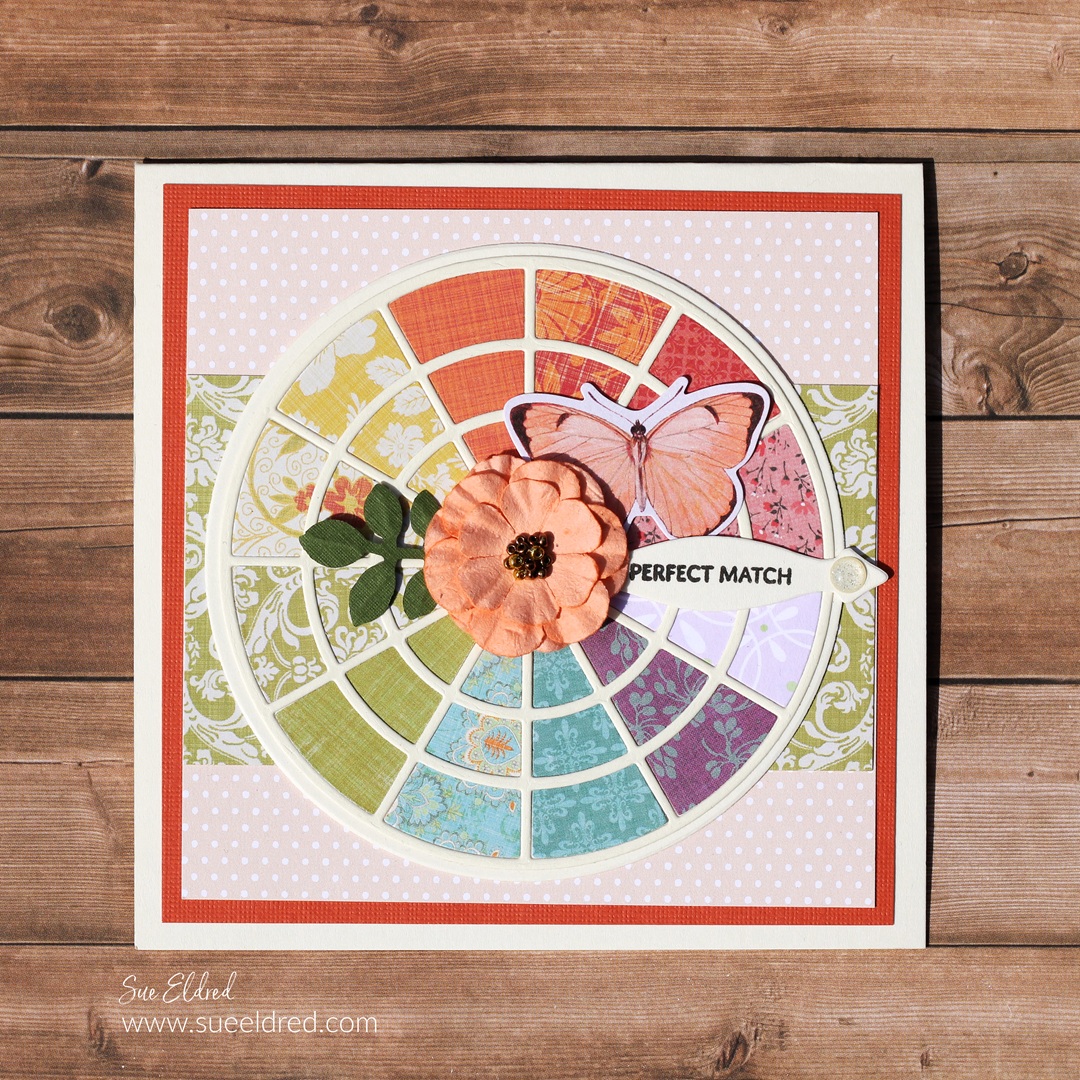
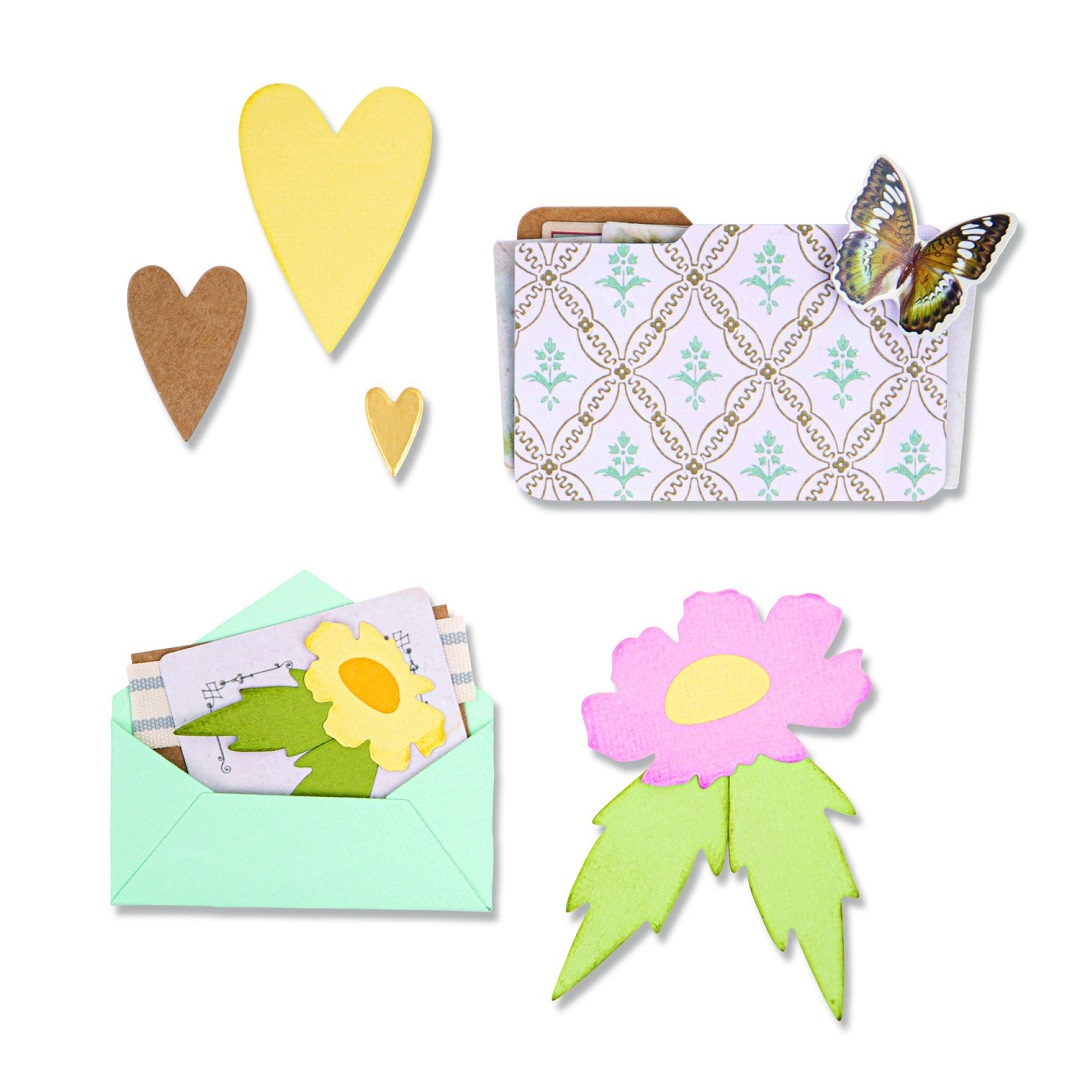
The Perfect Match…
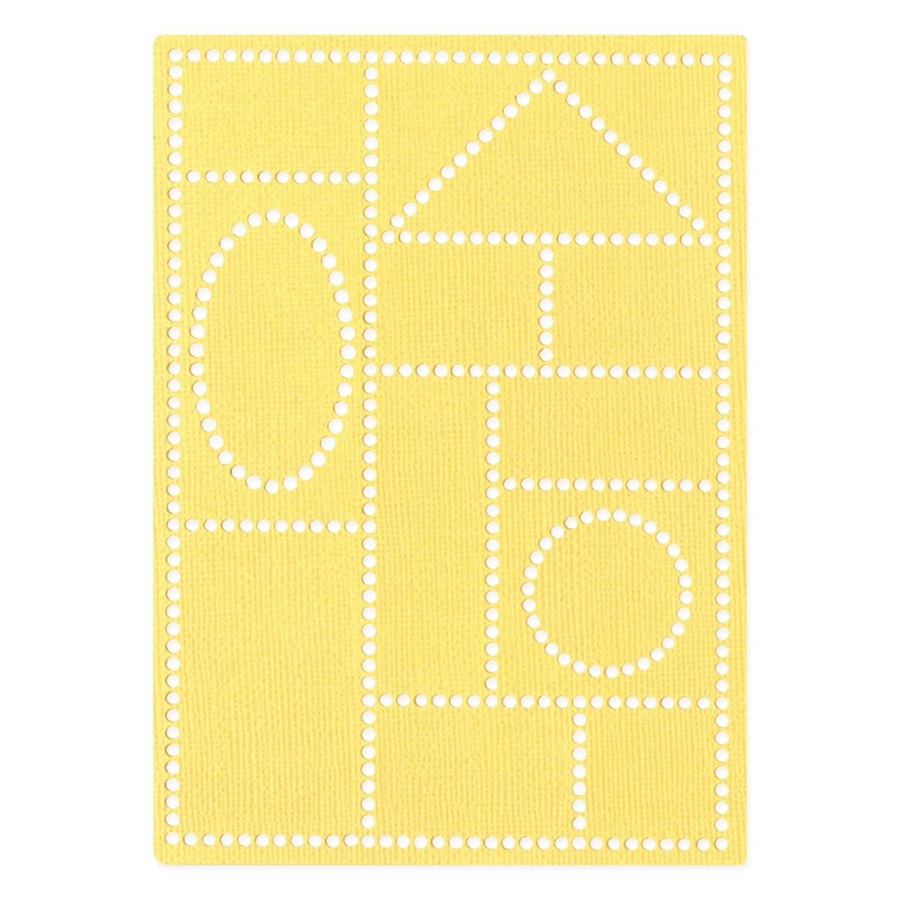
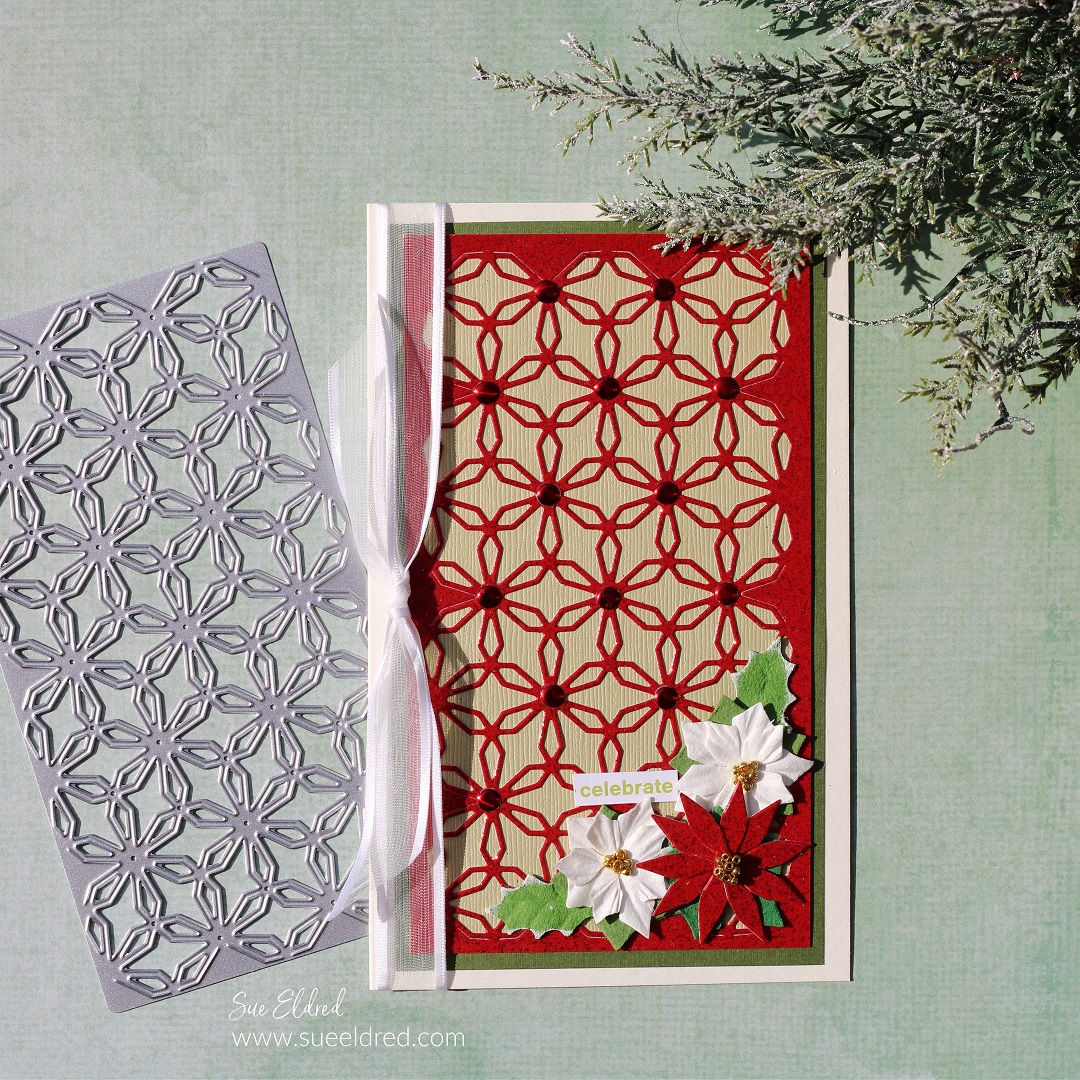
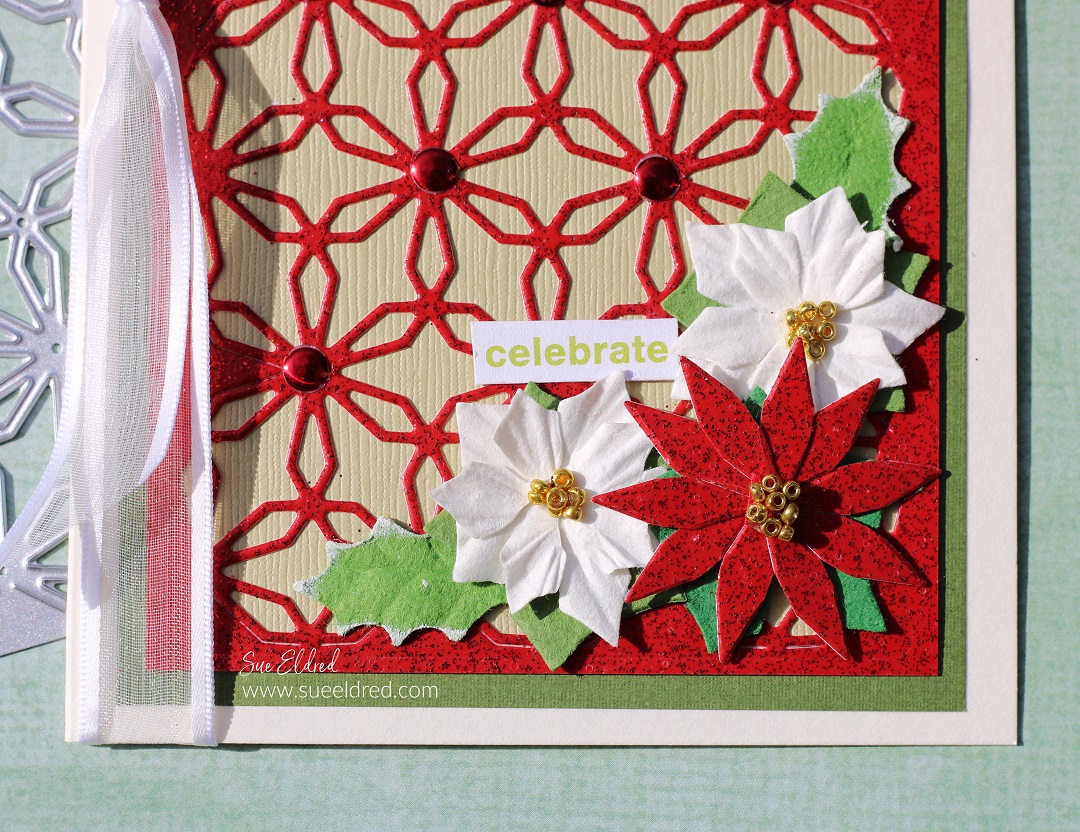
I used the Rainbow Wheels Die Set* to make this floral color wheel card.
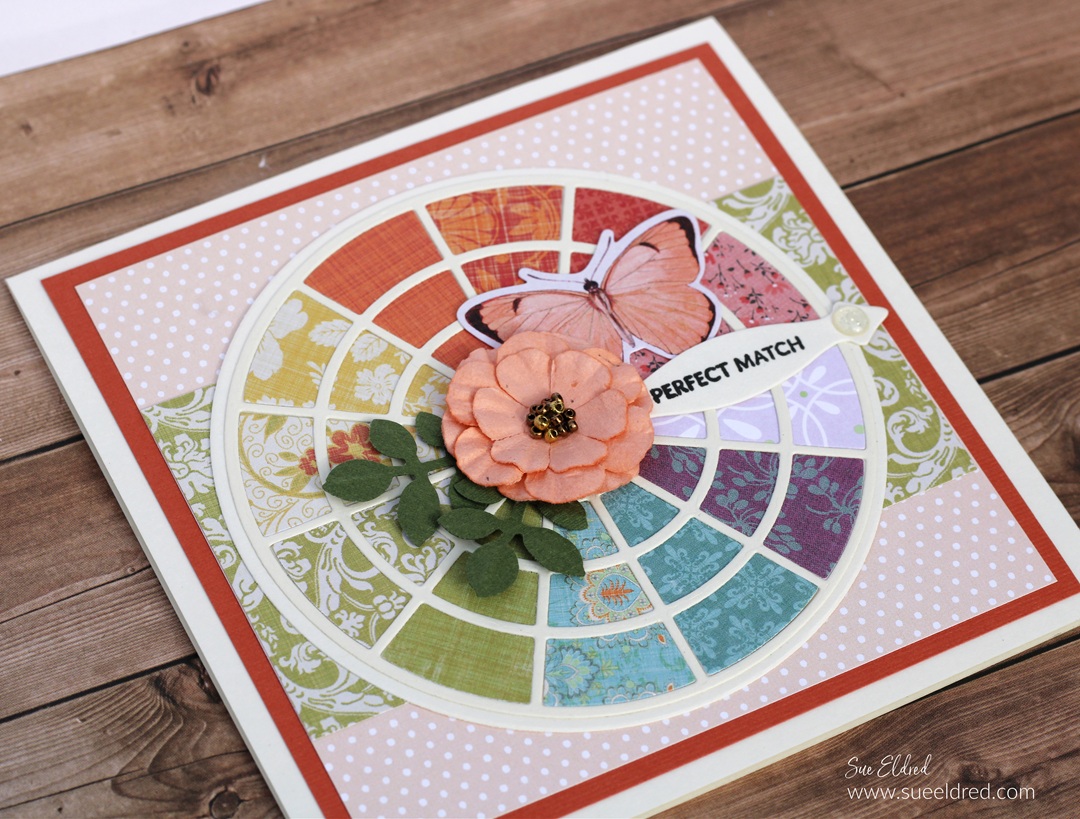
The Rainbow Wheels Die Set* cuts the framework, segmented circle,
and arrows for a functional color wheel.
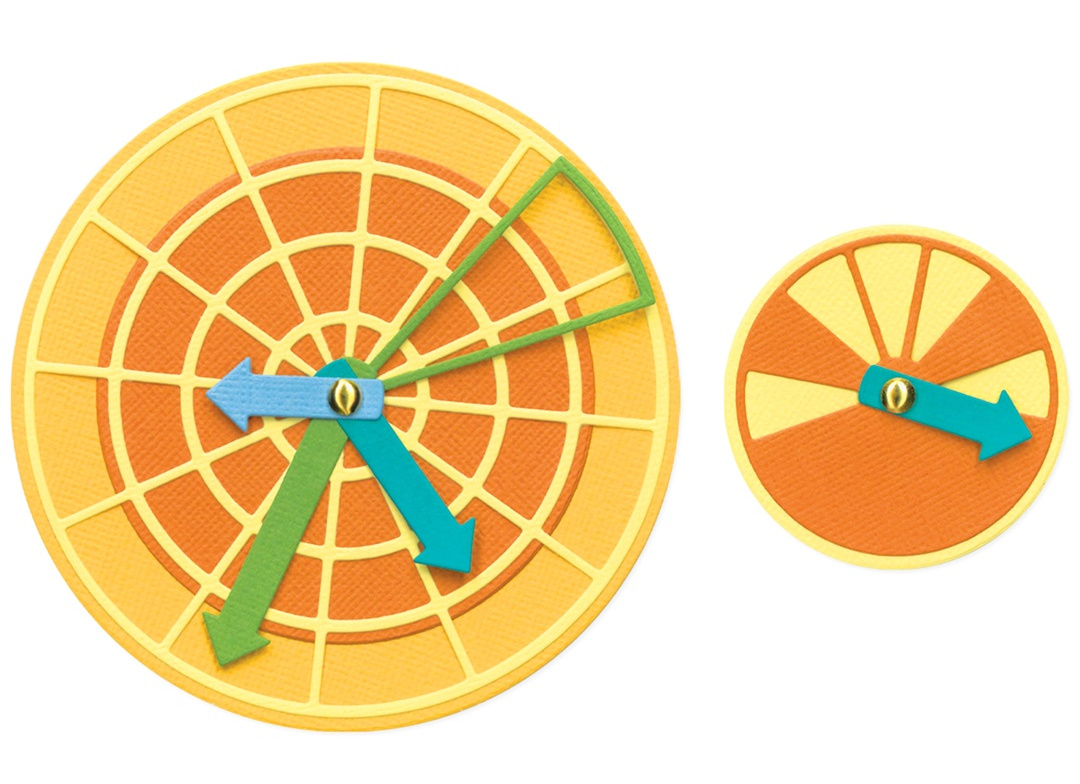
Sizzix Thinlits 9PK Die Set – Rainbow Wheels by Eileen Hull*
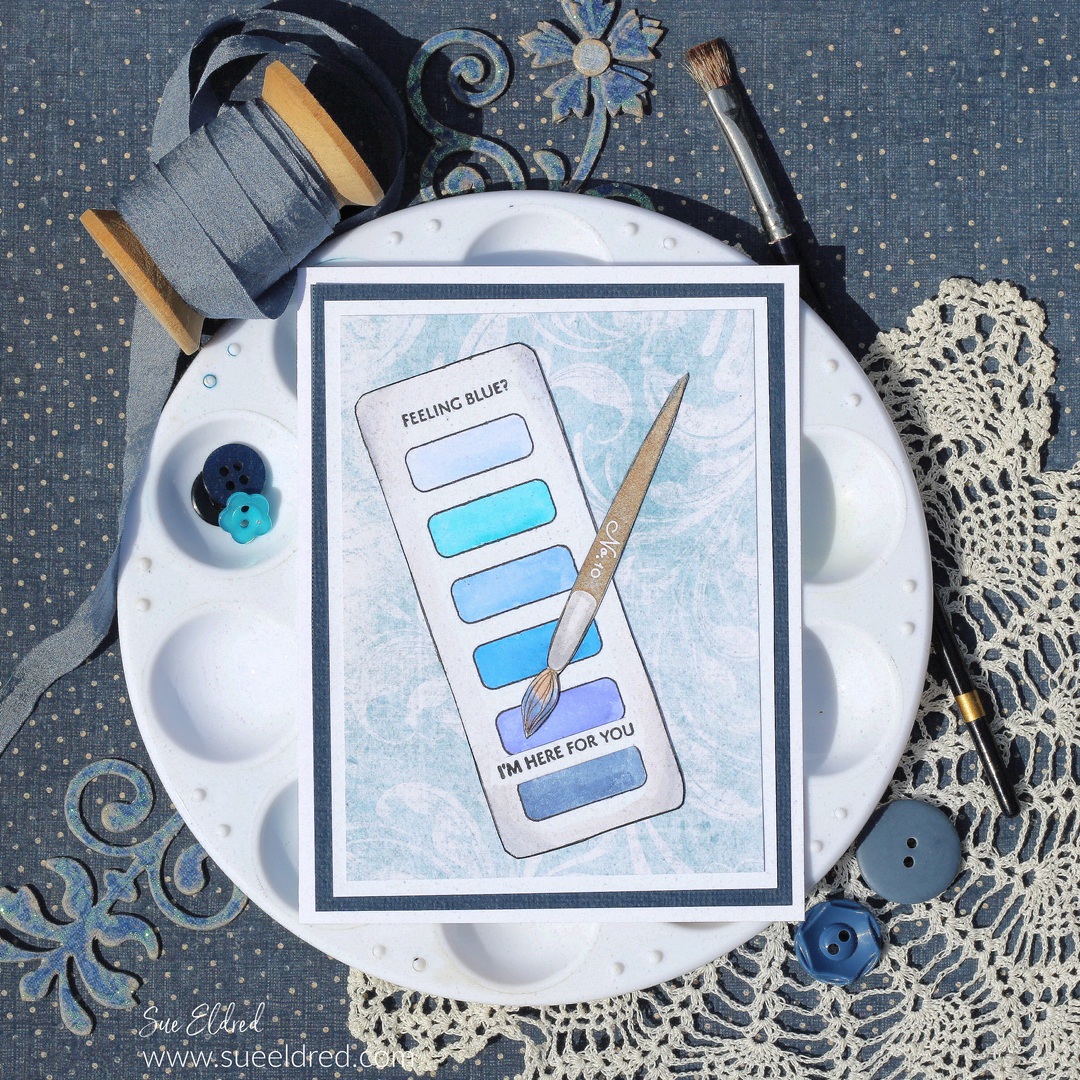
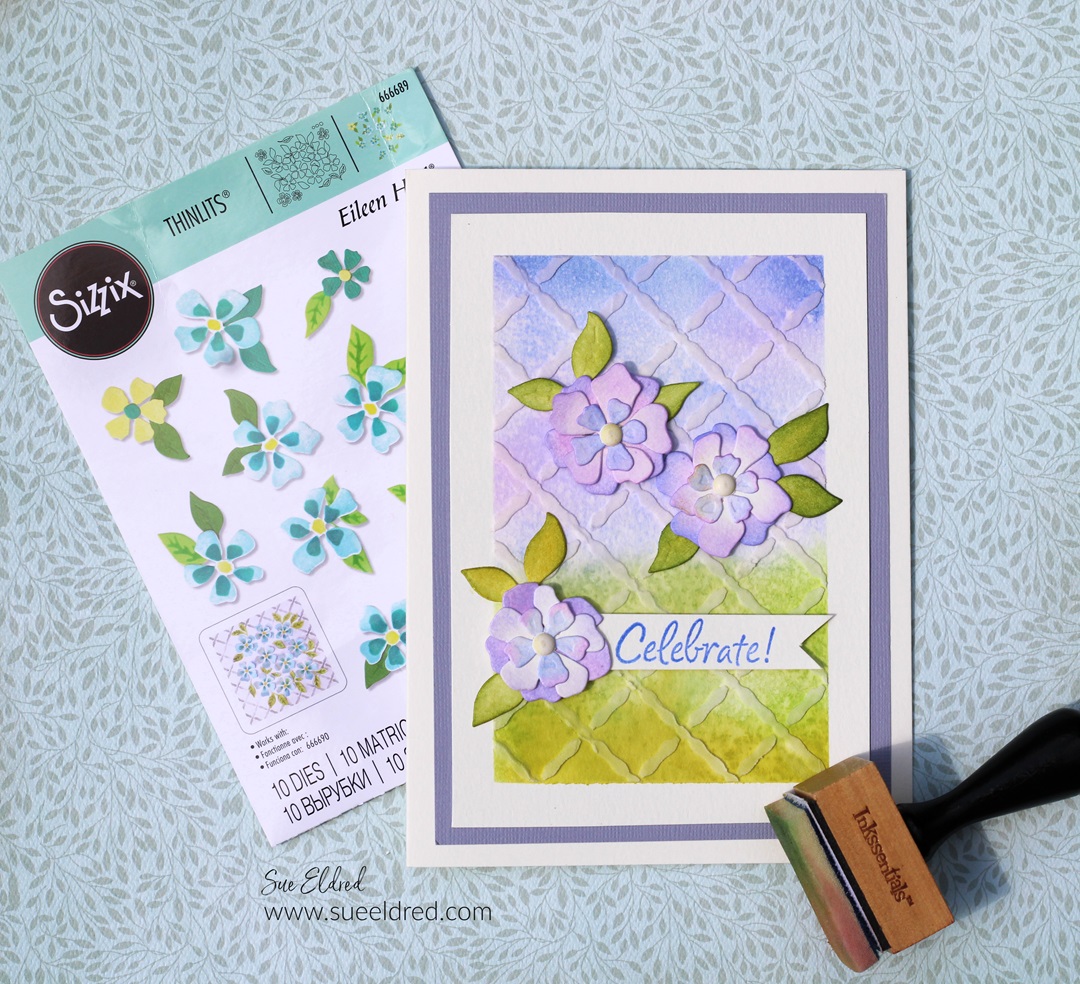
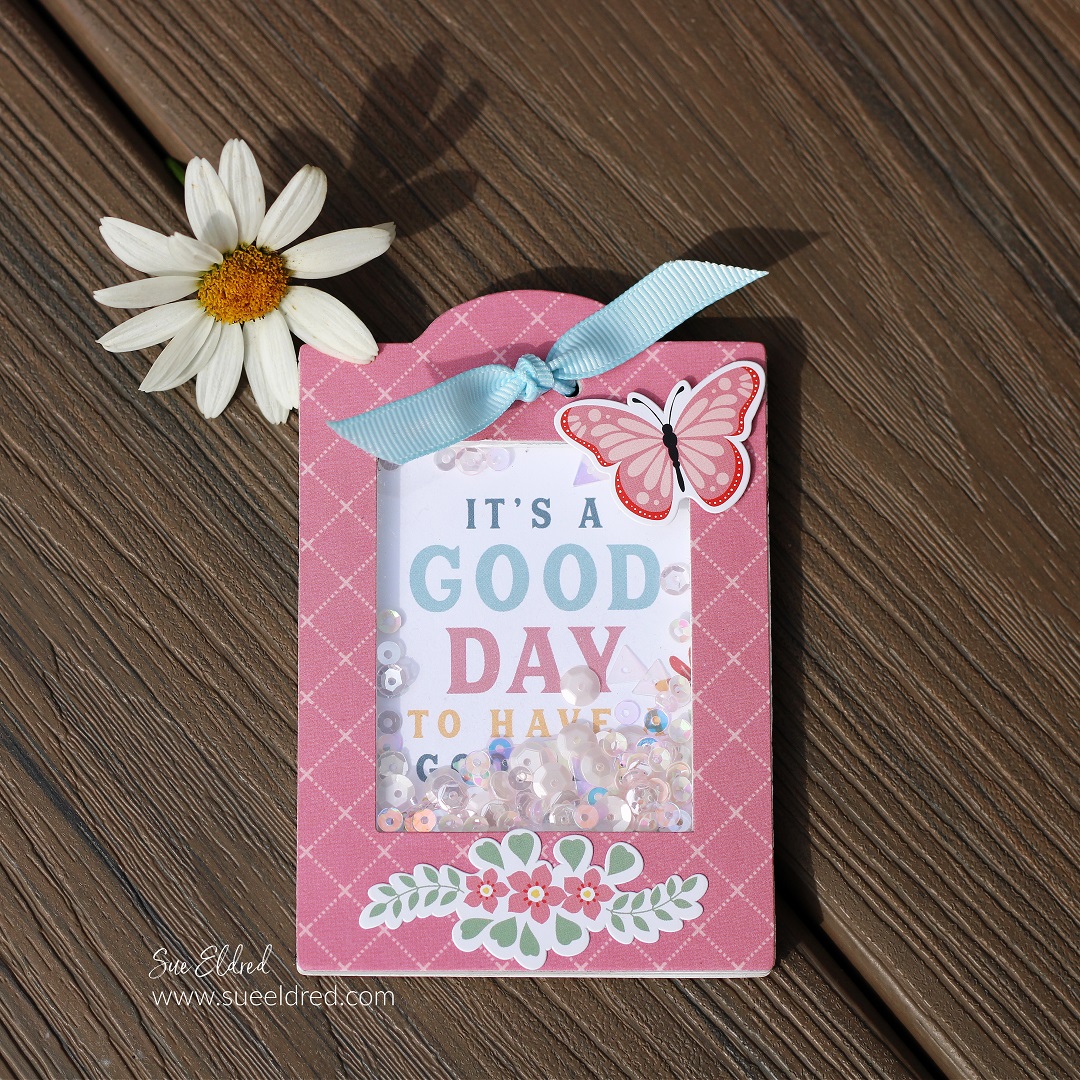
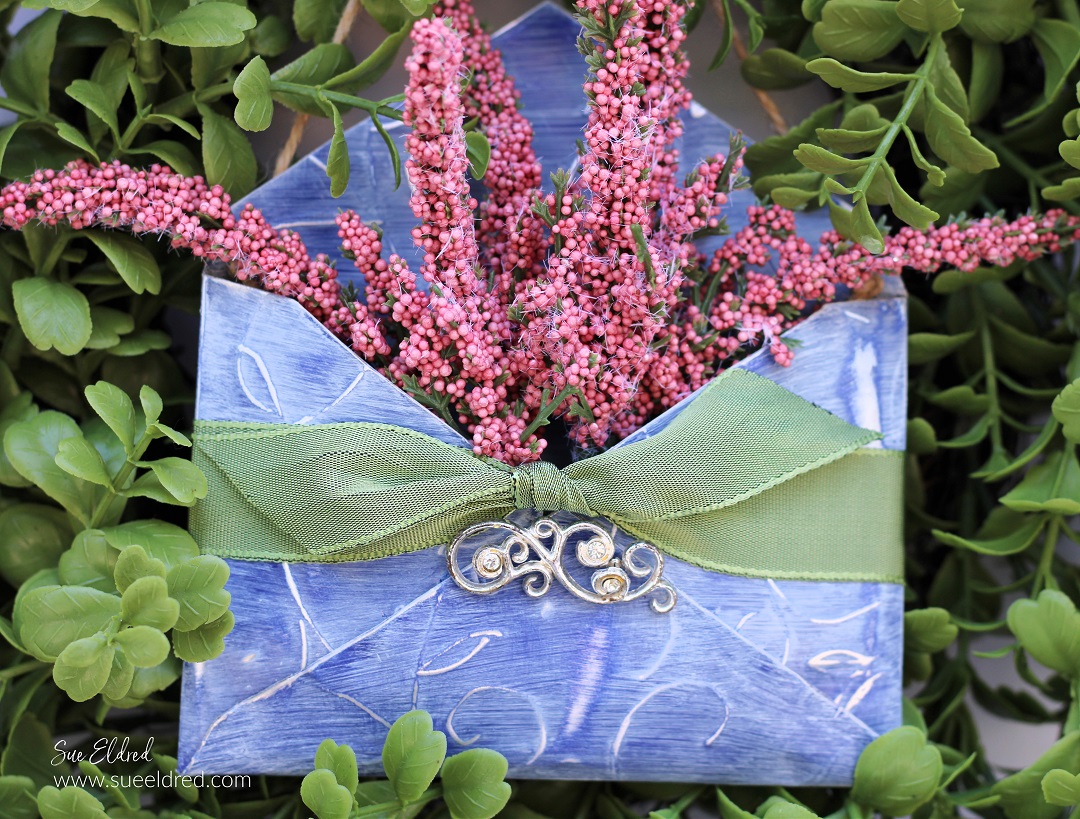
Feeling Blue?
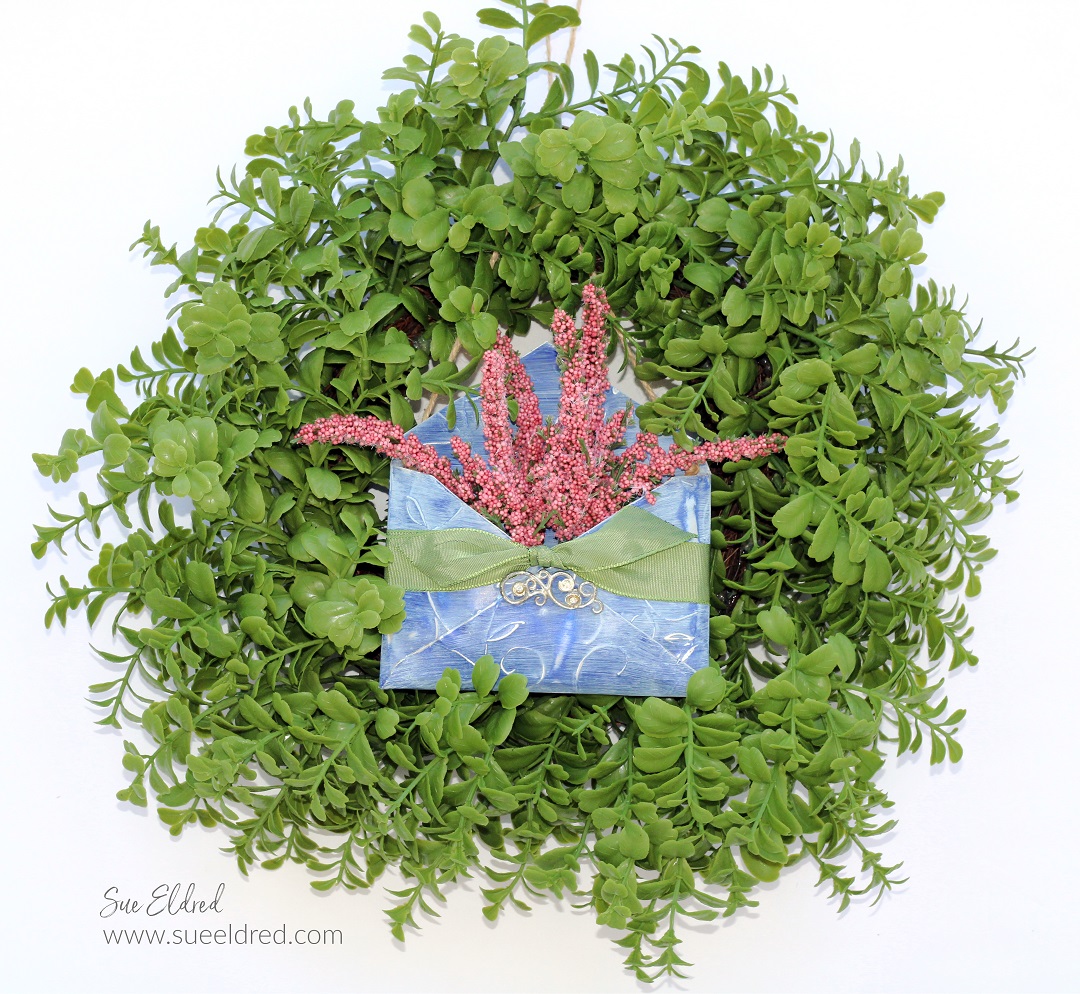
The Feeling Blue Card was made using the
Sizzix A5 Clear Stamps Set 24PK – Swatch Cards by Eileen Hull*.
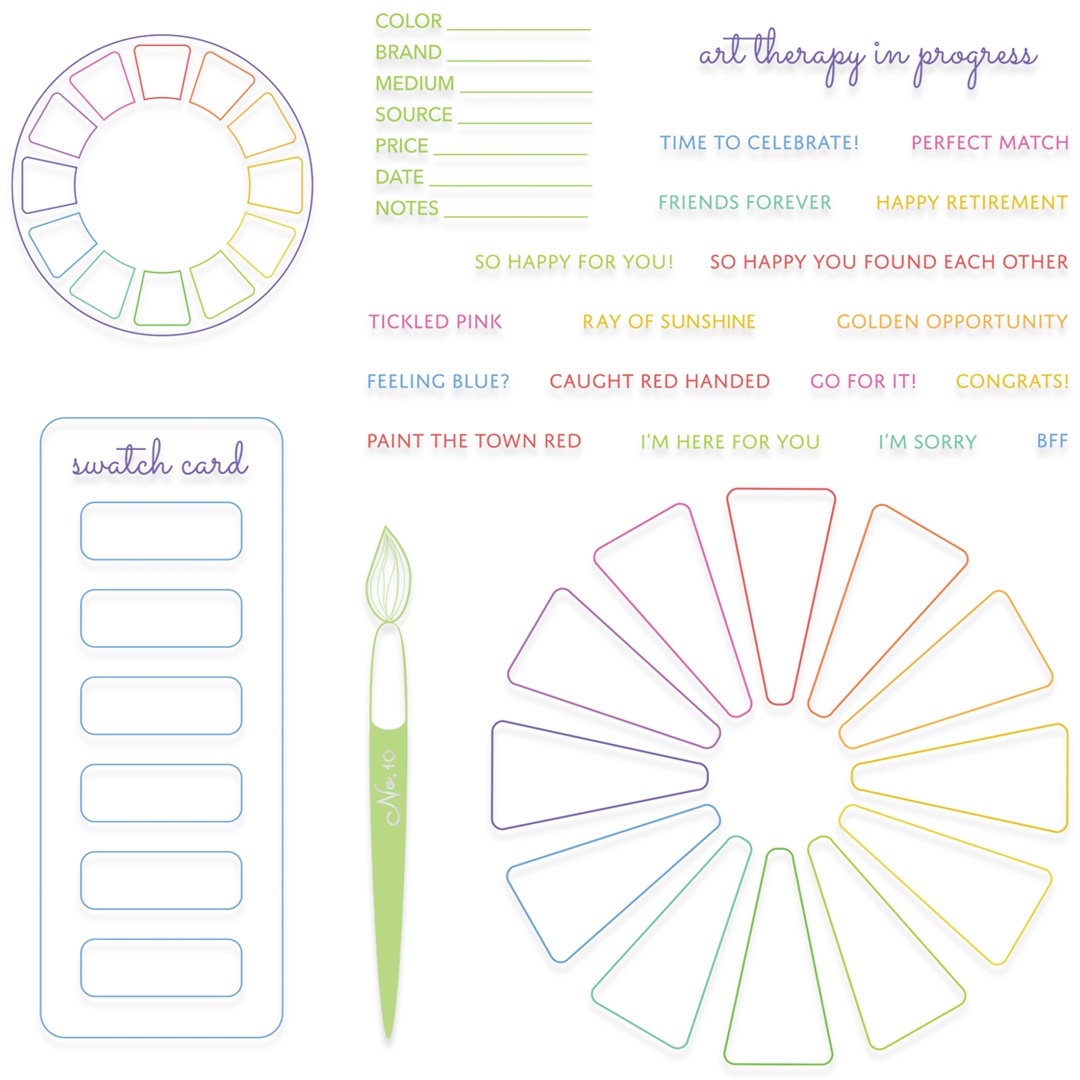
The Swatch Card Stamp Set includes a round palette, rectangular and pie-shaped swatch cards, plus color-themed phrases perfect for cards or journals.
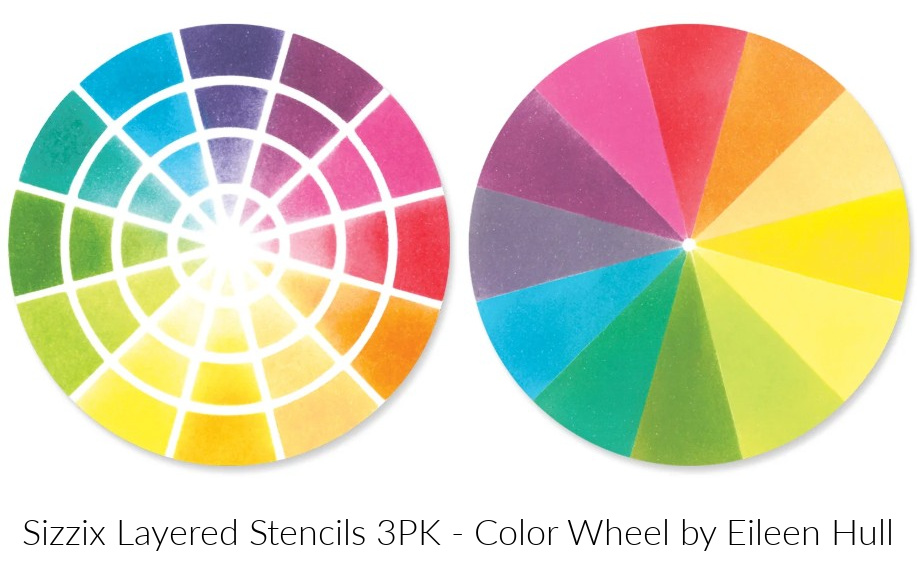
I didn’t get a chance to play with the Sizzix Layered Stencils 3PK – Color Wheel by Eileen Hull* but I wanted to make sure you saw all the wonderful possibilities this collection has to offer.
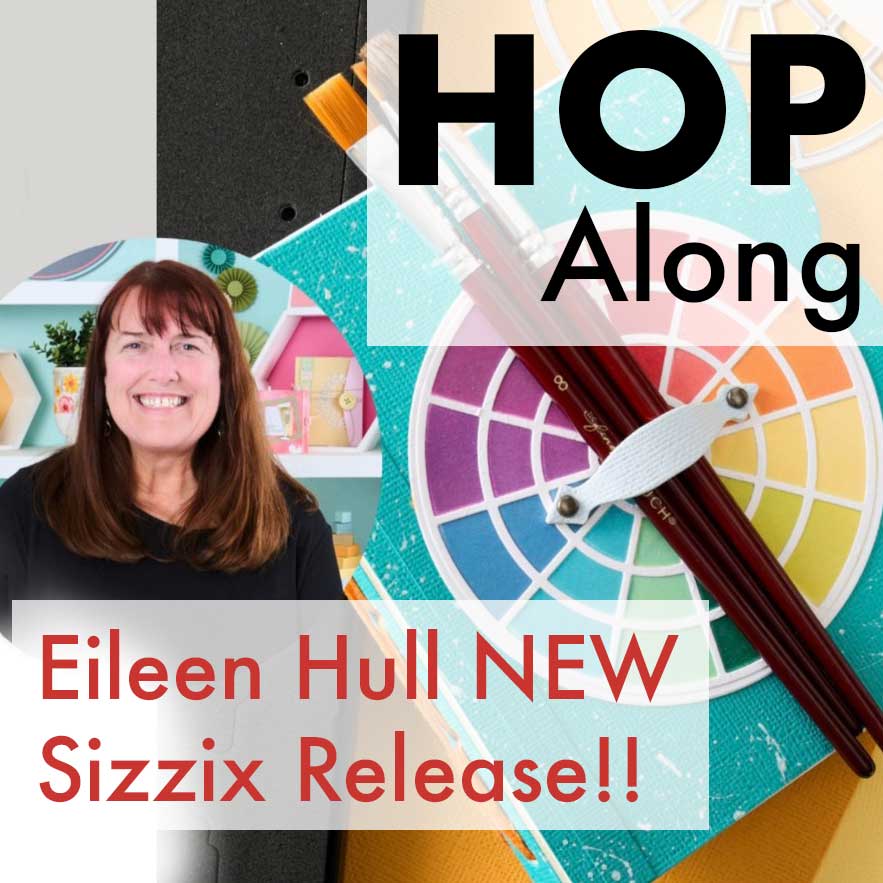
Join our Instagram Hop today 5/1/25 at 3:00 pm ET
for a chance to win prizes and see some great inspiration
from the Eileen Hull Creative Team.
![]()
Disclosure: This is a sponsored post. As a member of the Eileen Hull Inspiration Team, I have been provided product in exchange for my creative ideas. The view and opinions are my own.