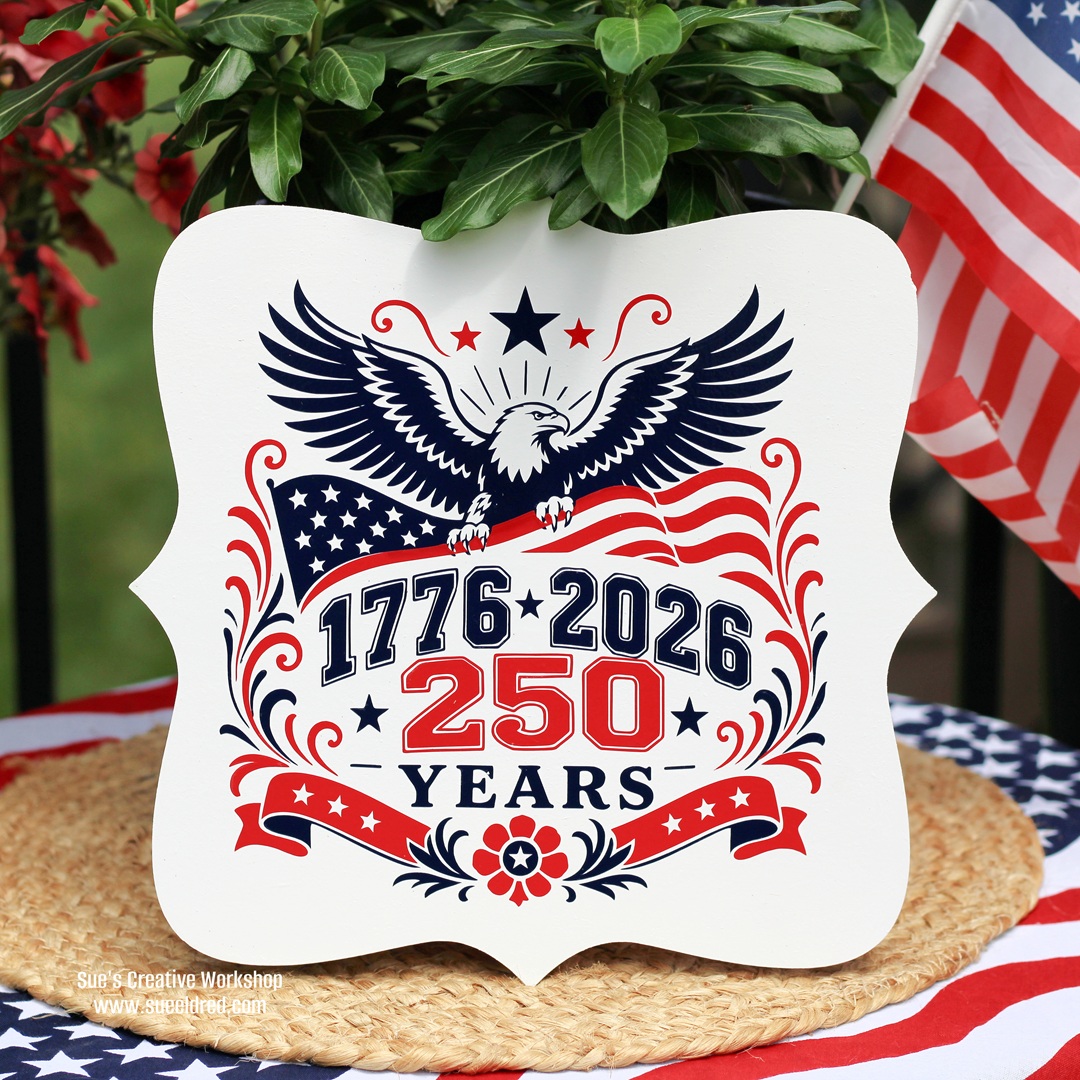
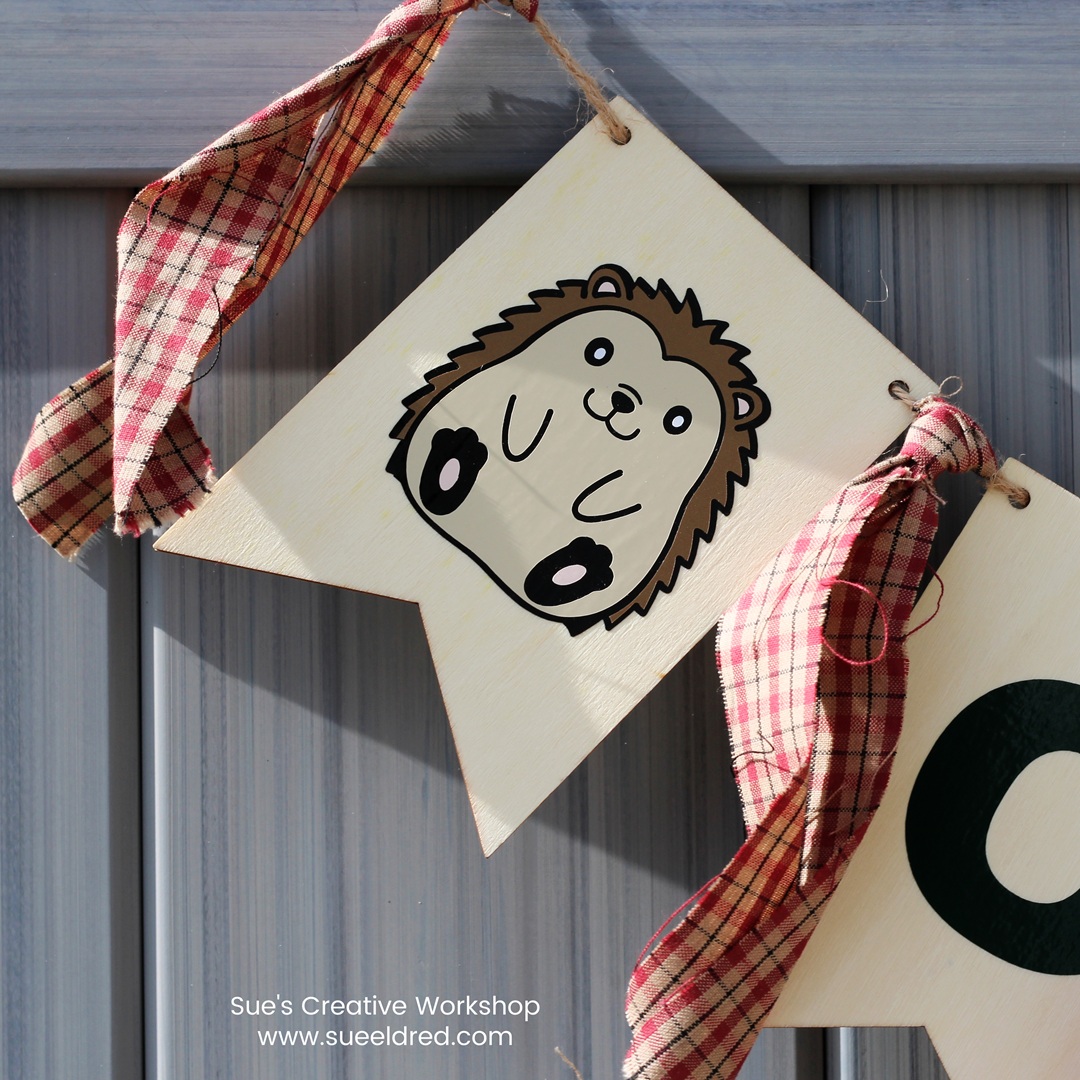
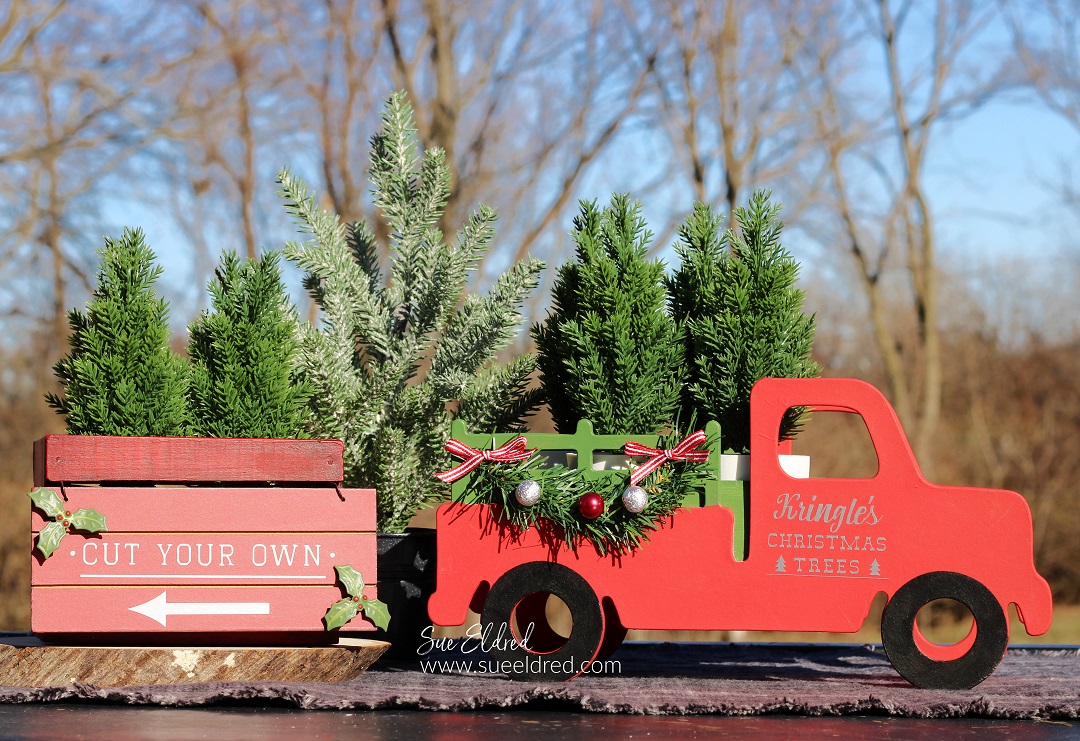
DIY Butterfly Vase
Transform an ordinary vase into a dazzling centerpiece
with StyleTechCraft Transparent Glitter Vinyl,
perfect for adding a whimsical butterfly touch to your home décor!
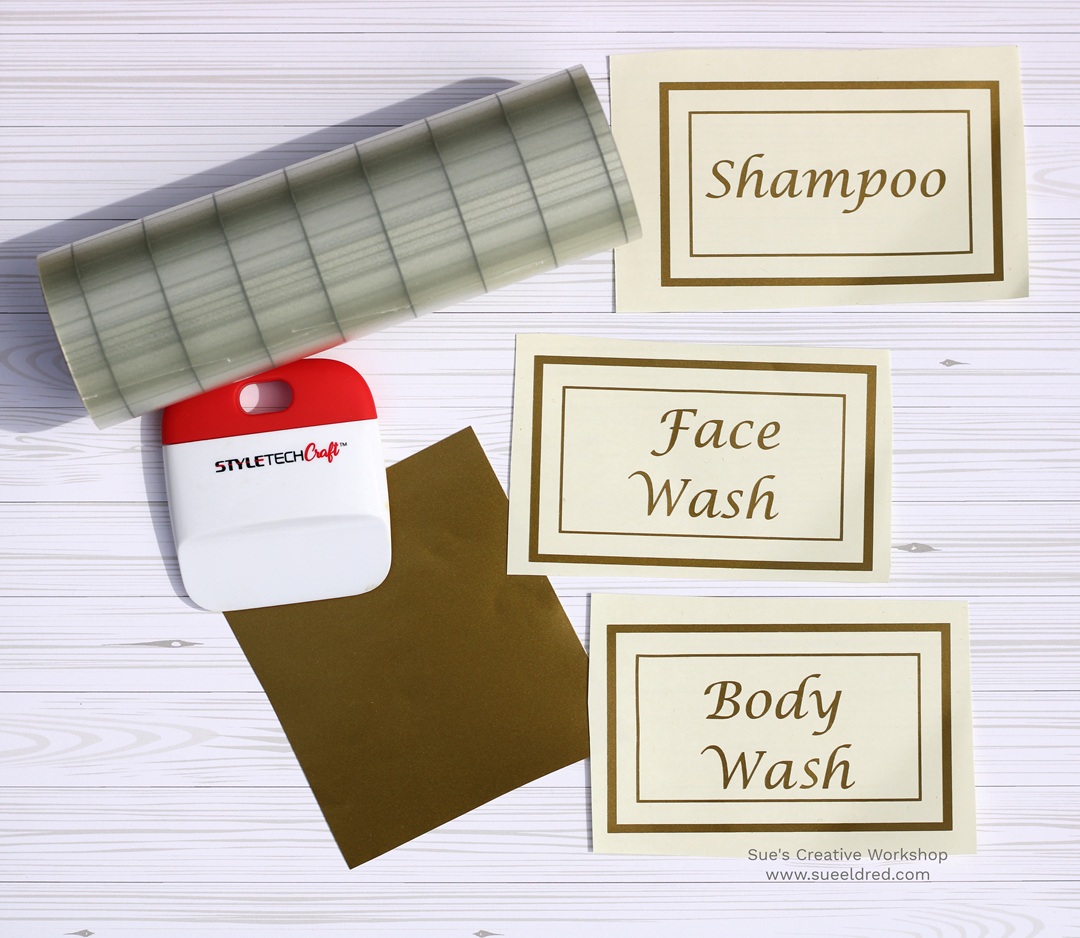
Materials Used: (*affiliate links)
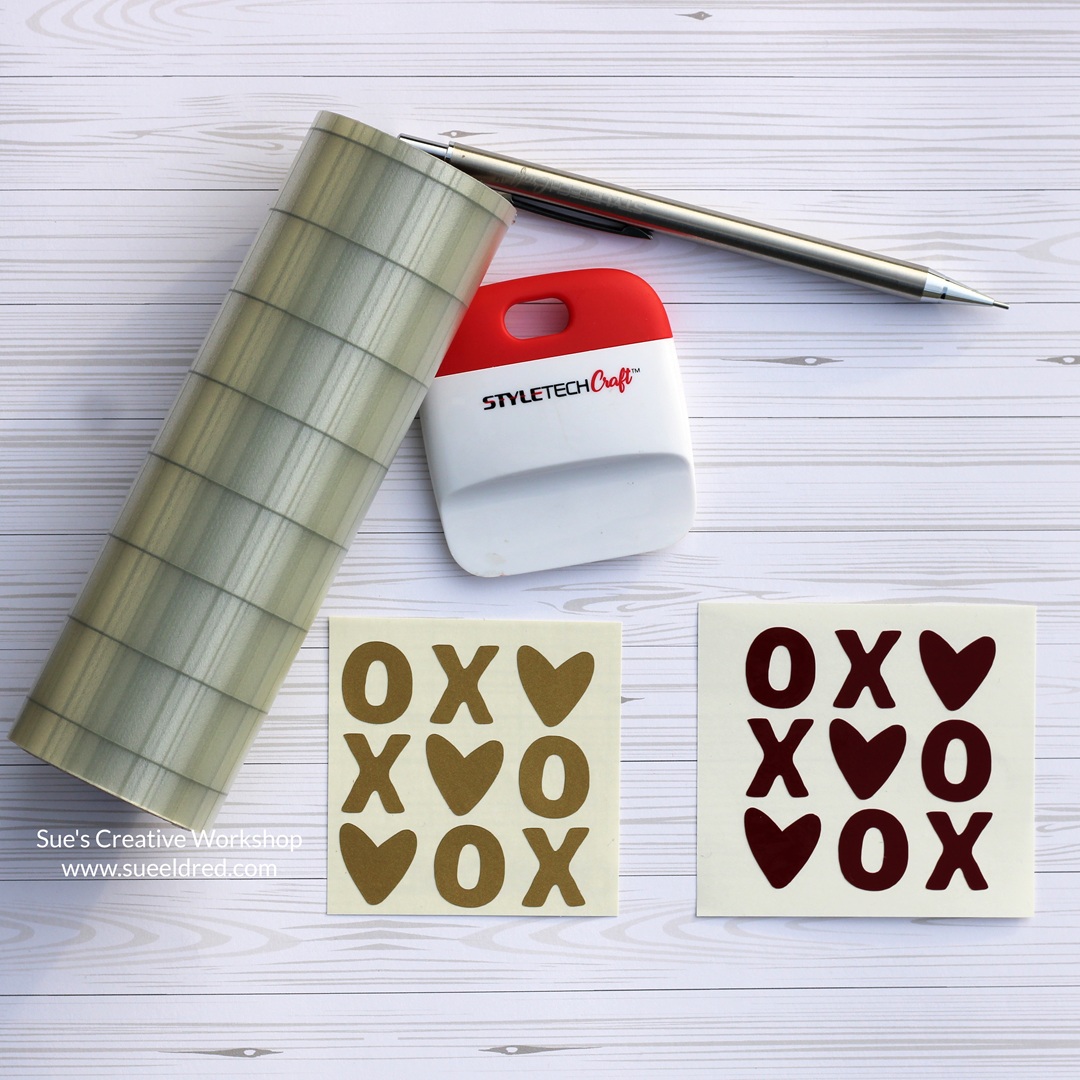
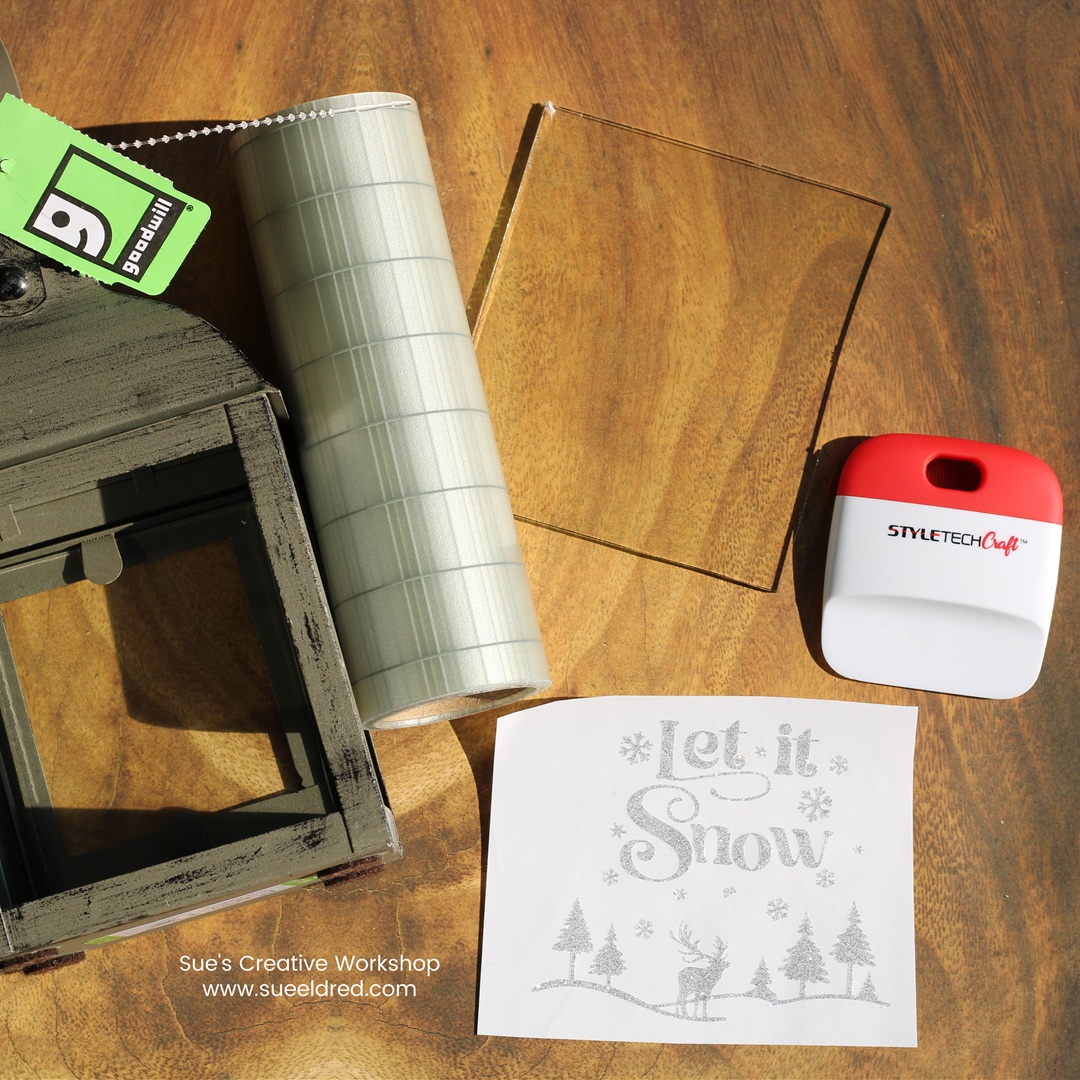
- StyleTechCraft Transparent Glitter Vinyl: Royal Blue, Sky Blue, Teal, and Orange
- Silhouette Electronic Die-Cutting Machine*
- Fancy Floral Butterfly SVG cut file from The Silhouette Design Store.
- Vinyl Craft Tools*
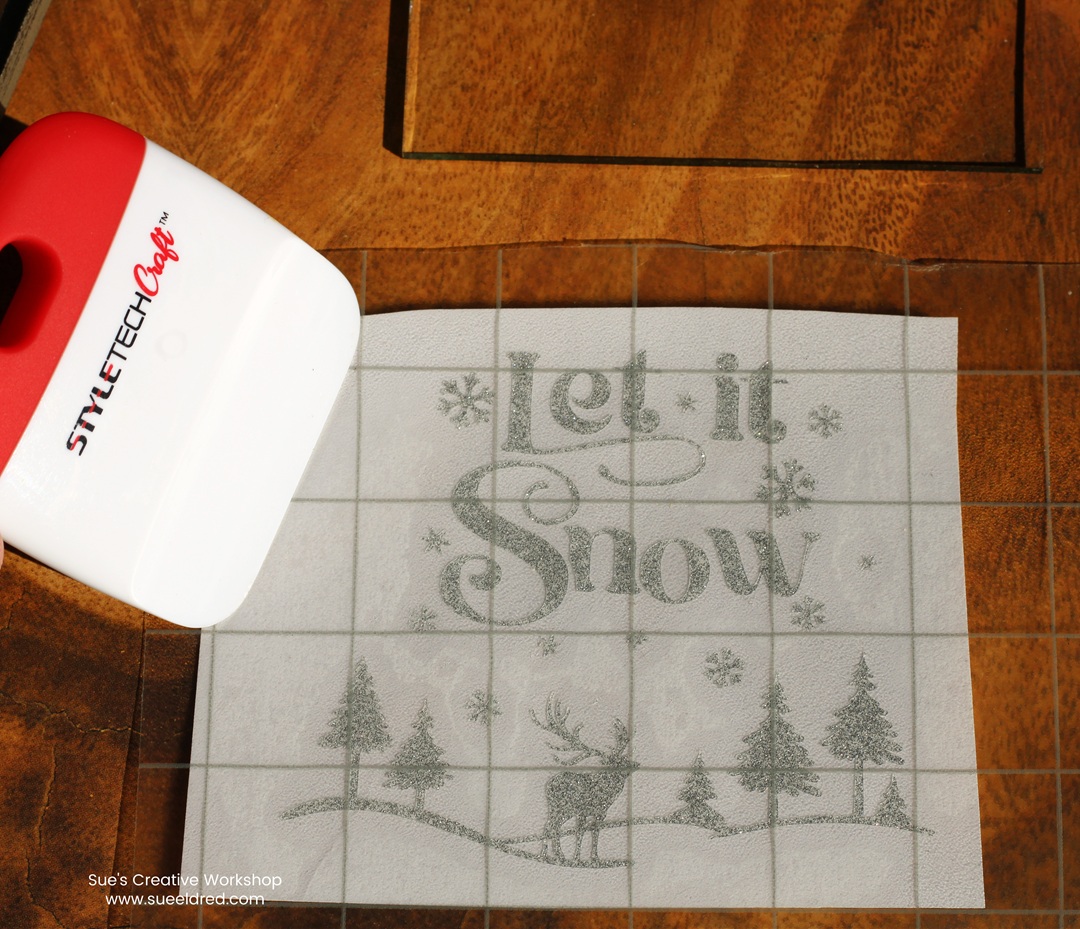
- StyleTechCraft Clear Transfer Tape*
- Inexpensive Clear Vase from Dollar Tree*
- Alcohol Wipes*

*Disclosure: This blog uses ads and affiliate links. If you choose to make a purchase using one of the links, I receive a small commission (at no additional cost to you) that helps offset the costs of maintaining this blog. Thanks for your support!
To Make the Butterfly Vase:
- I used my Silhouette Electronic Die-Cutting Machine* to cut the butterfly image. I cut it four times, one each in the different colors of StyleTechCraft Transparent Vinyl Royal Blue, Sky Blue, Teal, and Orange.
- I inlaid the inner butterfly pieces onto the design instead of layering the vinyl. I used a pick tool to carefully place the image inside the design.
- I used an inexpensive clear glass vase from Dollar Tree*.
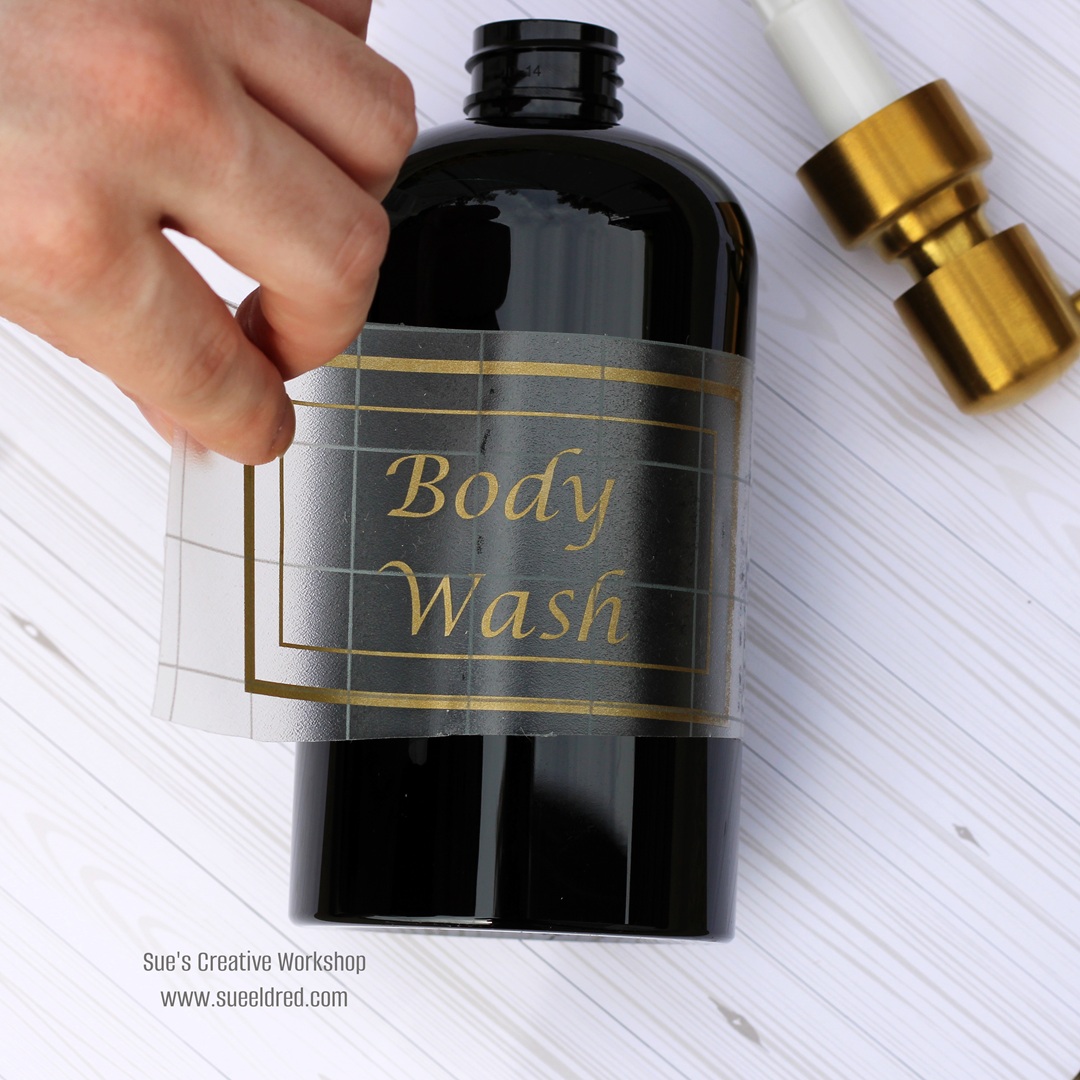
- To help the vinyl stick to the glass, clean the glass vase with rubbing alcohol* or an alcohol wipe. This will remove any oils or residue left on the surface.
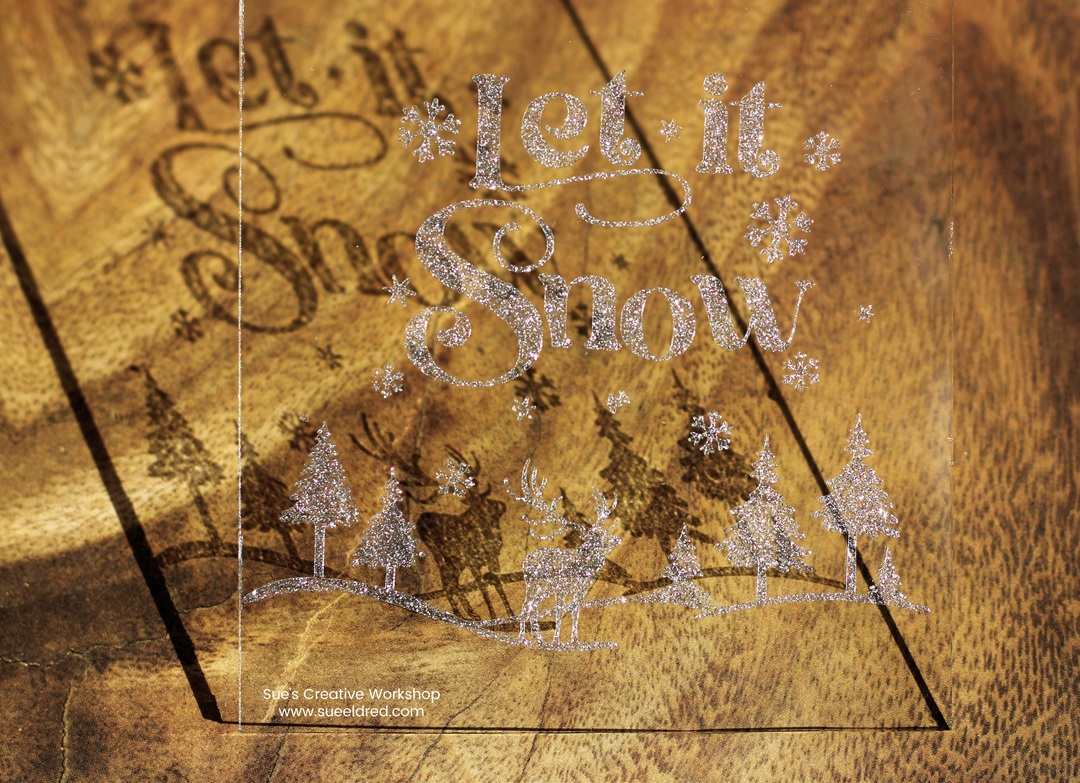
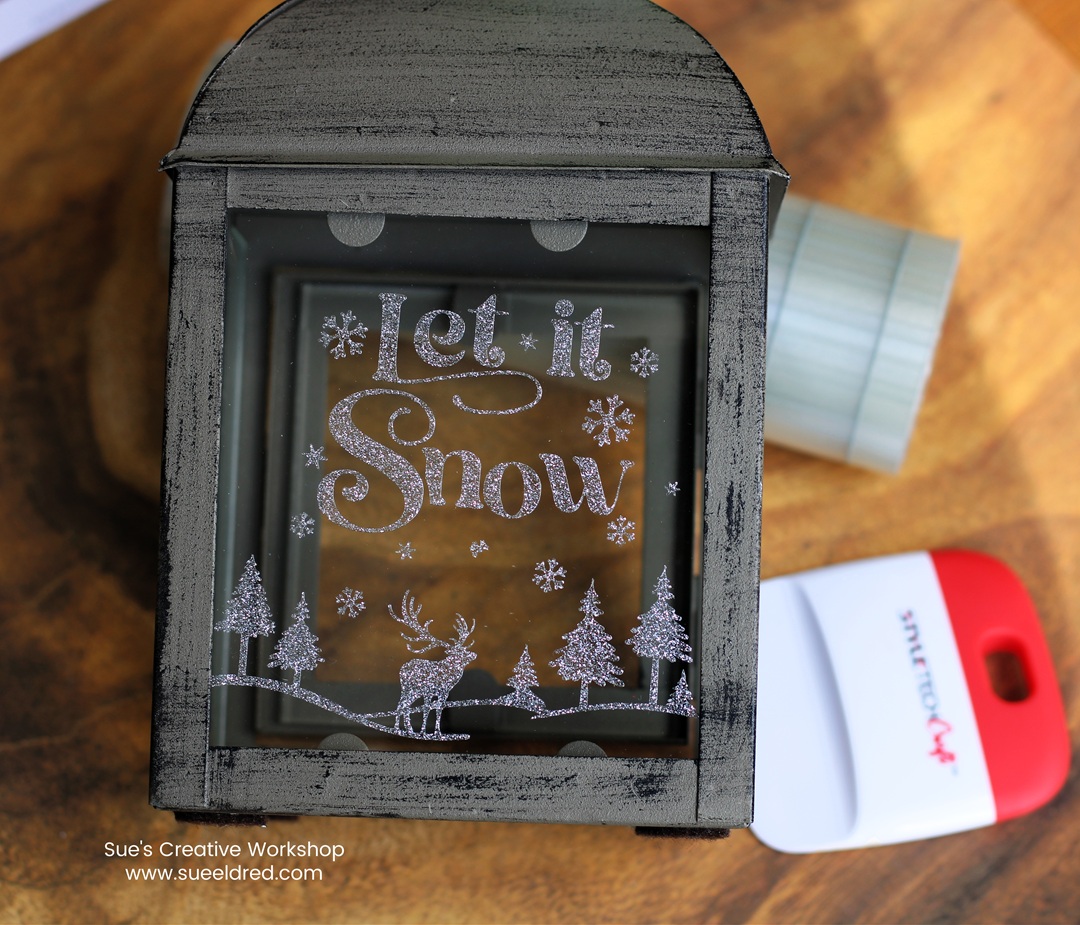
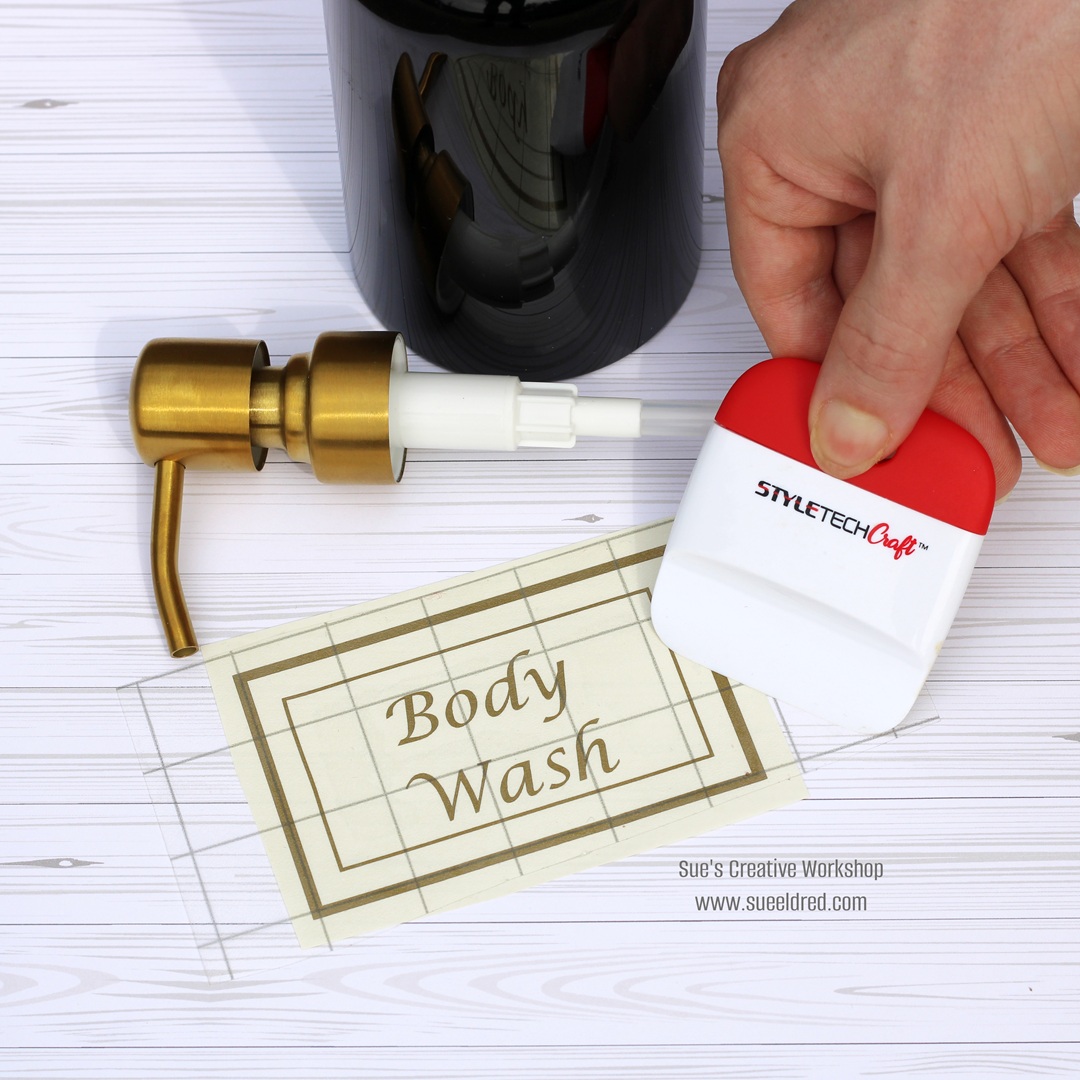
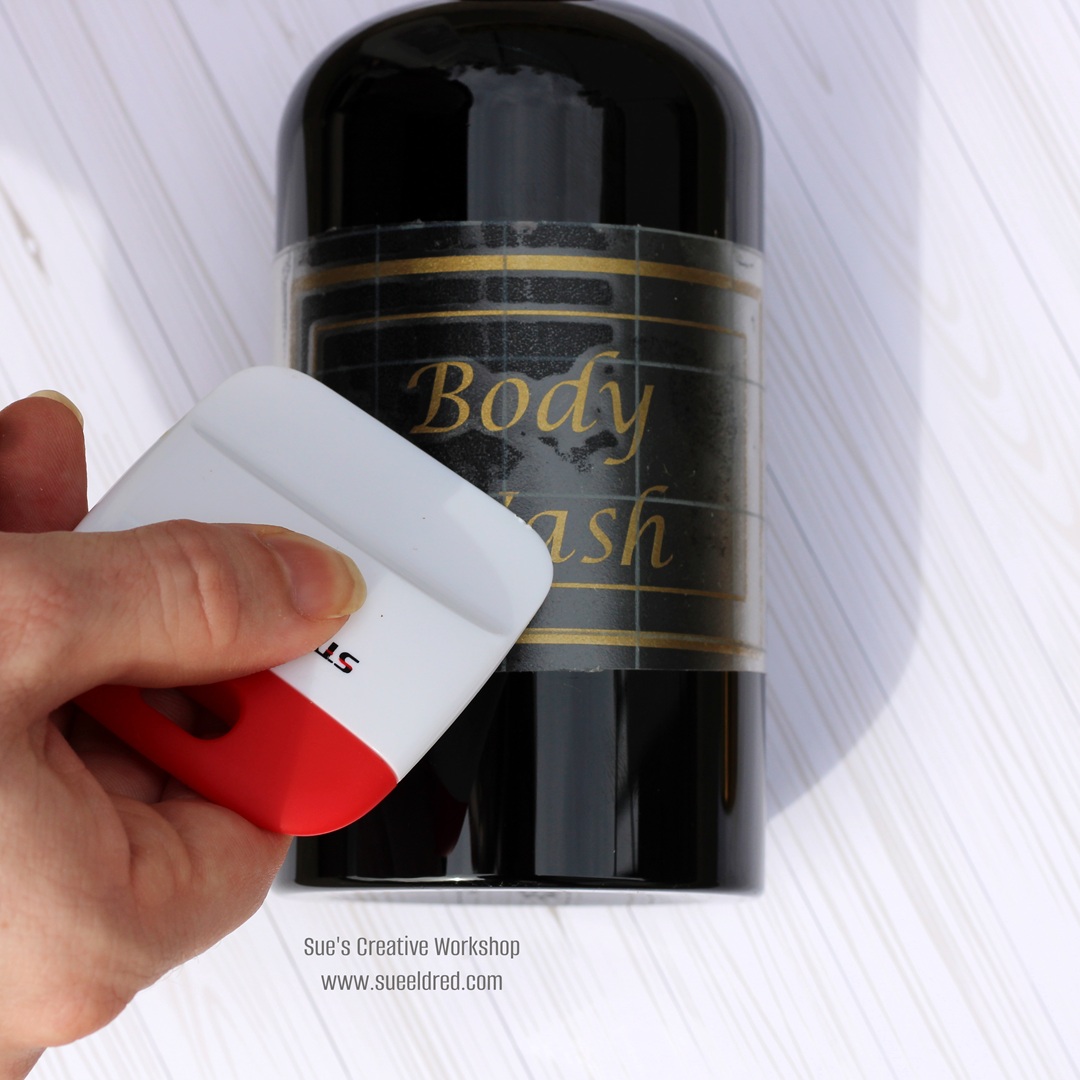
- Place the transfer paper over the image and gently rub with a vinyl scraper tool to transfer the image.
- Place the image on the glass and gently rub to transfer the image onto the glass. Remove transfer paper.
- I would recommend handwashing the vase.
Extreme Values Everyday on DollarTree.com – Shop Now!
The great thing about StyleTechCraft Transparent Glitter Vinyl is that it has glitter
on both sides of the vinyl. And it comes in some pretty amazing colors too!
Now you have a sparkling butterfly vase that adds a touch of whimsy and brightness
to any room—simple to make, fun to display, and uniquely yours!
“This is a sponsored post. As a member of the StyleTechCraft Design Team I have been provided product and compensation in exchange for my creative ideas. The views and opinions are my own.