Gnome Themed Christmas Party Ideas

Gnome Themed Christmas Party Ideas-Sue's Creative Workshop www.sueeldred.com

Gnome Themed Christmas Party Ideas.

Are you hosting a Christmas Party this year and looking for a fun theme?

How about a cute Gnome Themed Party?

Gnome Themed Party Ideas

From Gnome Party Goods on Amazon* to decorations from Dollar Tree*,

Gnomes are so popular you can find them everywhere.

Seriously, who can resist these Whimsical Woodland Creatures?

*Disclosure:  This blog uses ads and affiliate links.  If you choose to make a purchase using one of the links, I receive a small commission (at no additional cost to you) that helps offset the costs of maintaining this blog.  Thanks for your support!

This slideshow requires JavaScript.

I’ll be Gnome for Christmas Holiday Workshop…  

For the last several years, I’ve hosted a Holiday Crafting Workshop.

Because I was feeling a little Gnomish this year, I went with a Gnome theme.

We made Gnome themed cards and Holiday Decorations.

It was so much fun planning the projects and decorations.

(If you would like to learn more about the Holiday Workshop click here.)

Gnome Themed Party Ideas

Personalized Gnome Themed Gift Bags

When hosting a party or event, you need a few gift/loot bags to match the theme.

I created these Gnome themed gift bags using a

Silhouette Cameo Electronic Die Cutting Machine*

and StyleTechCraft Adhesive Vinyl*.

The bags held everything they would need to make the projects.

The Gnome SVG Cut files came from The Silhouette Store.

“This is a sponsored post.  As a member of the StyleTechCraft Design Team I have been provided product and compensation in exchange for my creative ideas.  The views and opinions are my own.

I'll be Gnome for Christmas-Sue's Creative Workshop www.sueeldred.com 3163

Gnome Themed Aprons

Keeping with the theme and making a statement!

How cute are these?

We made matching Aprons using Heat Transfer Vinyl from StyleTechCraft*.

StyletechCraft products brought to you by ATSM Craft*

Gnome Themed Party Ideas

Using Heat Transfer Vinyl…

It was my first time using HTV vinyl*, and I was pleasantly pleased

with how easy it was. I used a regular iron to press the vinyl

onto the Black Aprons* found on Amazon*.

Tip:  Remember to mirror the image if it has words.

Gnome Themed Party Ideas

Gnome Christmas Cookies

No Holiday Gathering would be complete without a few Christmas Cookies.

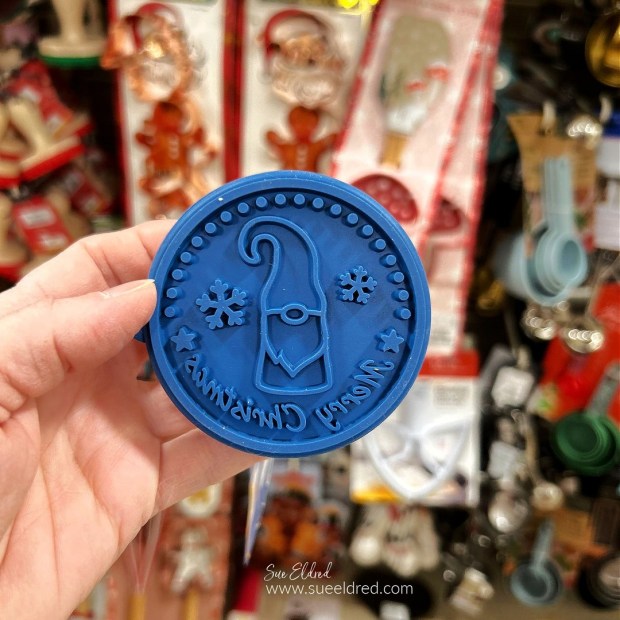
I found this cute Gnome Cookie Stamp at Homegoods and couldn’t resist.

The Gnome Cookies turned out adorable and tasted so good.

Gnome Themed Party Ideas

Are you looking for a yummy Christmas Cookie Recipe? 

Here’s the recipe my mom gave me as a new bride many years ago.

I have made them every year since. (A Family Favorite!)

Enjoy!

SUE’S FAVORITE SUGAR COOKIE RECIPE

  • 1- 1/2 c. powdered sugar
  • 1 c. butter or margarine
  • 1 egg
  • 1 tsp. vanilla
  • 2- 1/2 c. all purpose flour
  • 1 tsp. cream of tartar
  • 1 tsp. baking soda
  1. Cream sugar & butter, add egg & flavoring, mix thoroughly.
  2. Sift dry ingredients together and stir in.  (I dump)
  3. Refrigerate 2 to 3 hours.
  4. Heat oven to 375°.
  5. Divide dough in half & roll out on lightly floured pastry sheet.
  6. Roll thin, but thick enough to pick up the design with the cookie cutters.
  7. Dip cookie cutter into flour before each cutting.  Cut as many cookies from each rolling as possible.  The least amount of working with the dough gives the best cookie.
  8. Place on lightly greased baking sheet.  Bake 7 to 8 min. or until delicately golden.
  • For the Glaze I dump around a cup of powdered sugar into a bowl.  Add a dash of vanilla.    Add milk one tablespoon at a time until you get the consistency you want.  (hint:  not too runny)

Gnome Themed Party Ideas

Supplies Used to make the Gift Bag and Apron:  (*affiliate links)

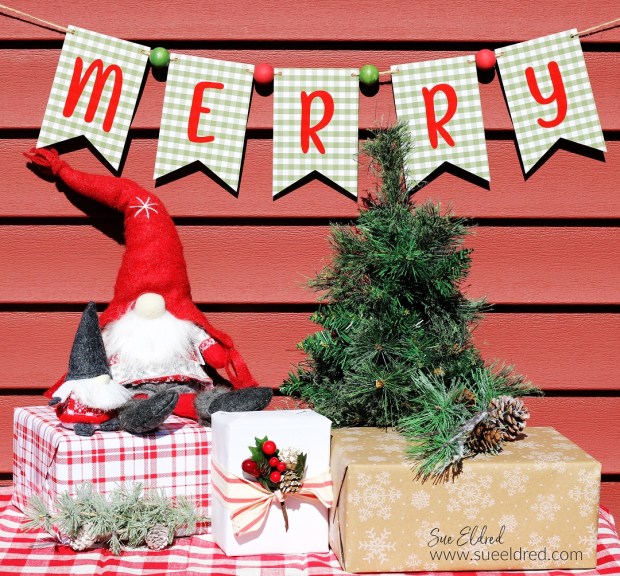
How to Create a “Merry” Holiday Banner

How to Create a Merry Holiday Banner

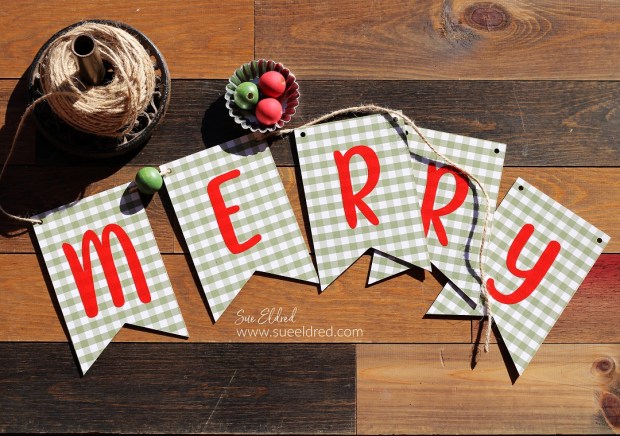
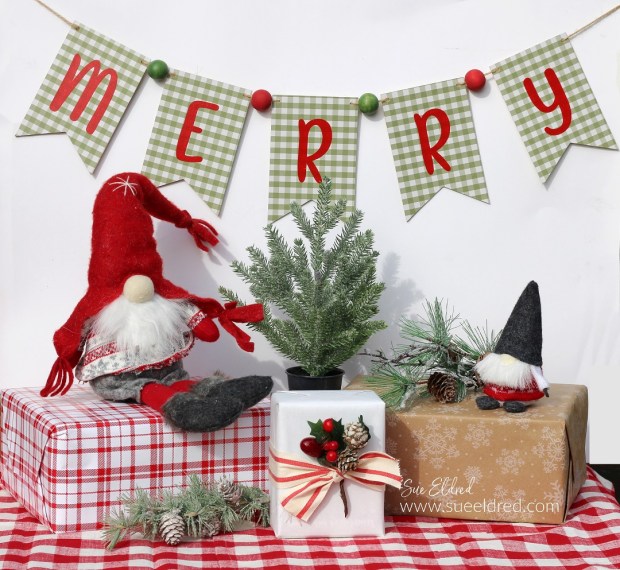
How to make a “Merry” Banner to add to your Holiday Decorations.

Now that the weather has turned cooler, I’m starting to plan my Holiday decorating.

If you love banners and quick and easy projects, this one’s for you.

How to Create a Merry Holiday Banner

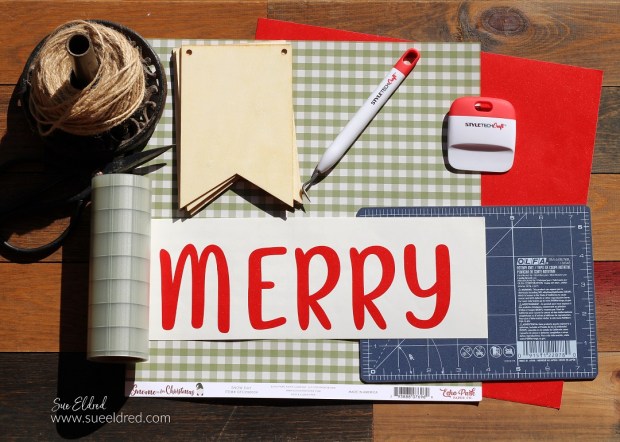
Materials Used:  (*affiliate links)

*Disclosure:  This blog uses ads and affiliate links.  If you choose to make a purchase using one of the links, I receive a small commission (at no additional cost to you) that helps offset the costs of maintaining this blog.  Thanks for your support!

StyletechCraft products brought to you by ATSM Craft*

How to Create a Merry Holiday Banner

Directions:

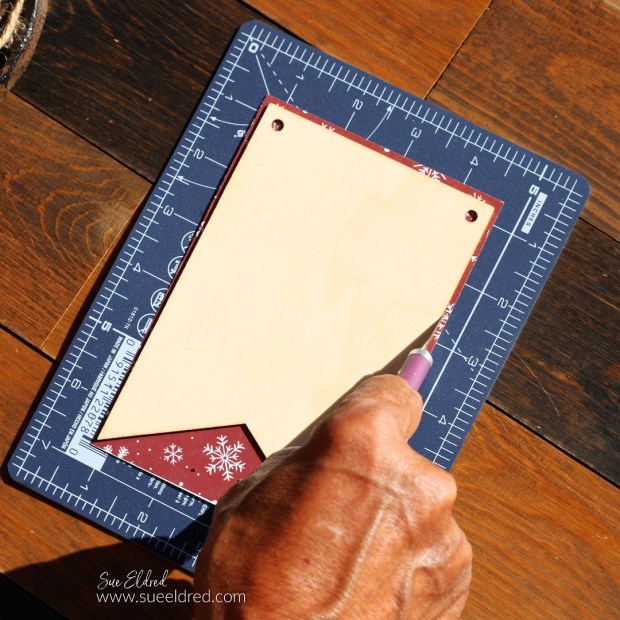
  • Cut the scrapbook paper slightly larger than the wood banner pieces.
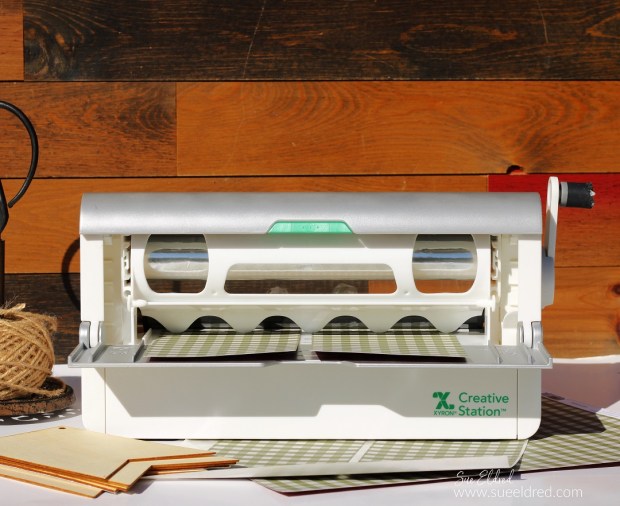
  • Place the scrapbook paper design side up in the Xyron Creative Station®*

How to Create a Merry Holiday Banner

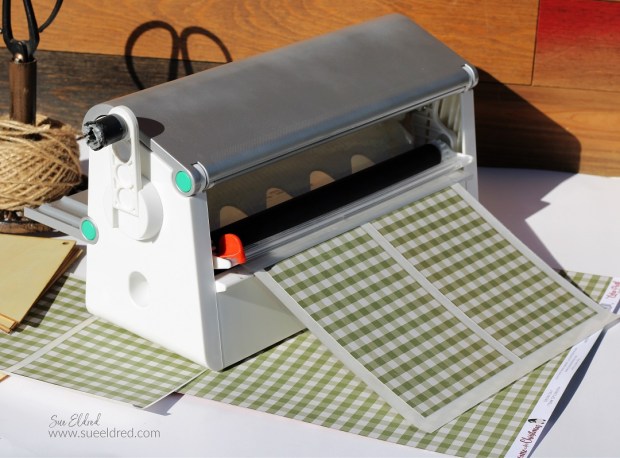
  • Turn the handle of the Creative Station to run the paper through.  As it runs through, it adds complete adhesive covering on the underneath side of the paper.

How to Create a Merry Holiday Banner

How to Create a Merry Holiday Banner

How to Create a Merry Holiday Banner

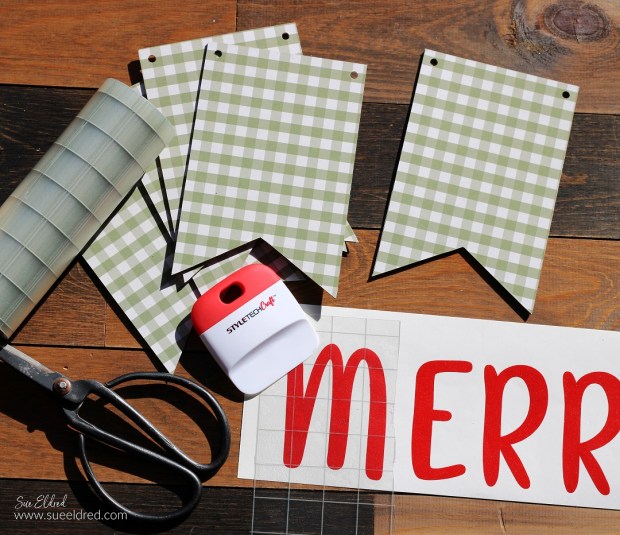
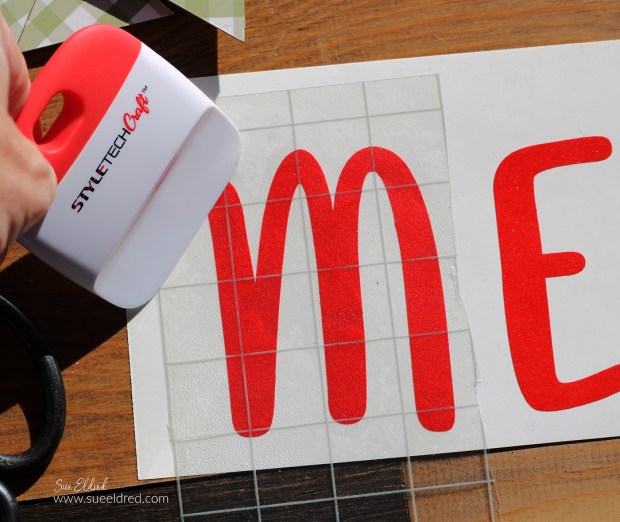
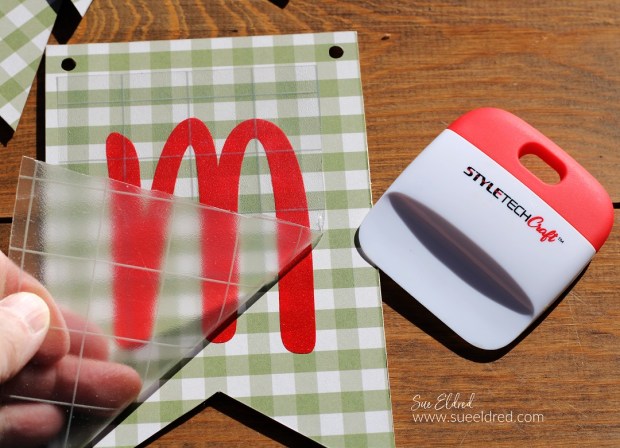
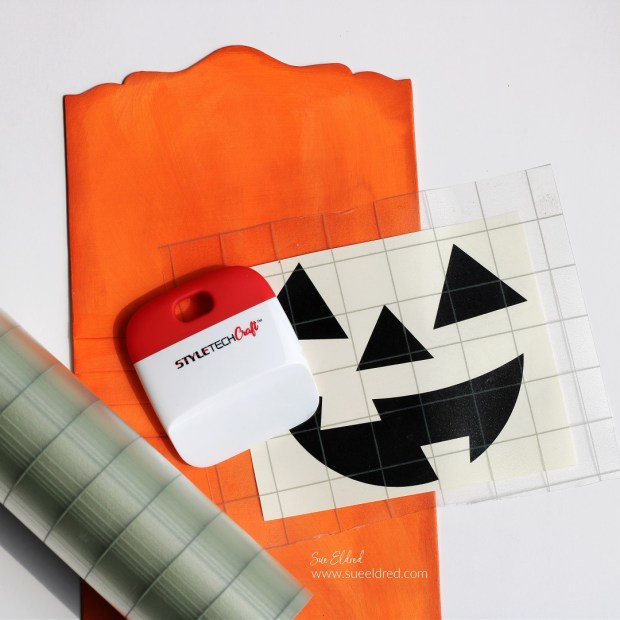
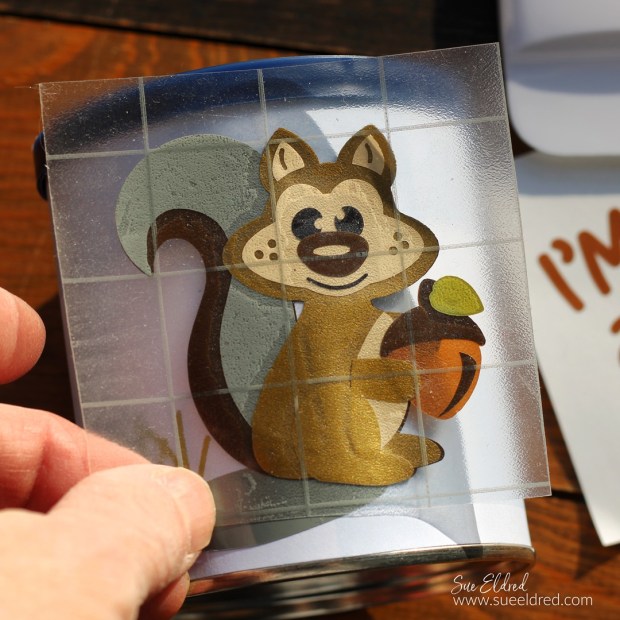
  • Lay the Transfer paper over the vinyl and gently rub with a vinyl scraper tool.
How to Create a Merry Holiday Banner

How to Create a Merry Holiday Banner

  • Paint the wood beads with red and green acrylic paint.
  • String the banner and wood beads onto ribbon or twine.

I wanted to keep the banner pieces simple. 

But you could add Holiday Flowers and embellishments to make it special.

“This is a sponsored post.  As a member of the StyleTechCraft Design Team I have been provided product and compensation in exchange for my creative ideas.  The views and opinions are my own.

“Autumn Leaves & Pumpkin Please” Album

Autumn Leaves & Pumpkins Please Album

Autumn Leaves & Pumpkins Please

I love all the beautiful colors of Fall.

As the saying goes, Fall is my favorite color.

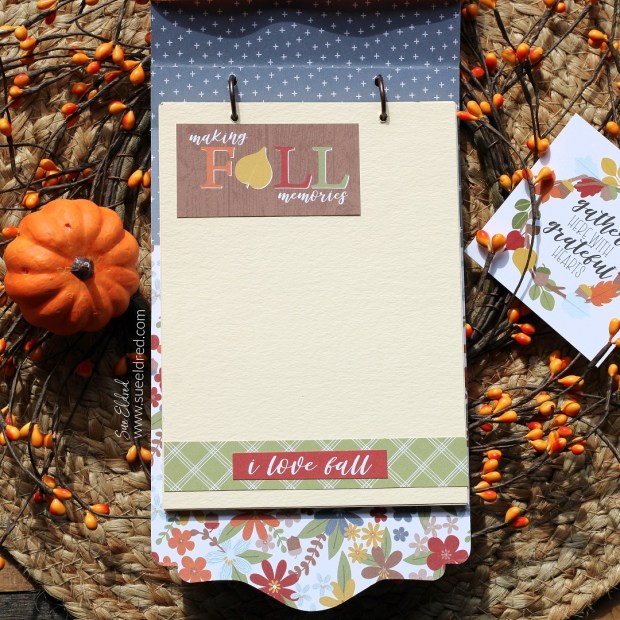
They make such a bright and cheery Fall album.

This simple album is the perfect place to add all your apple picking,

leaf peeping, trick-or-treating pictures this Fall.

The “Autumn Leaves & Pumpkins Please” album was made using

Eileen Hull’s Field Notes Journal Die by Sizzix*.

I used paper from Echo Parks “Fall Fever” Collection*.

Eileen Hull Educator Logo

Disclosure:  This is a sponsored post.  As a member of the Eileen Hull Educator Team, I have been provided product in exchange for my creative ideas.  The view and opinions are my own. 

Autumn Leaves & Pumpkins Please Album

Materials Used:  (*affiliate links)

*Disclosure:  This blog uses ads and affiliate links.  If you choose to make a purchase using one of the links, I receive a small commission (at no additional cost to you) that helps offset the costs of maintaining this blog.  Thanks for your support!

Autumn Leaves & Pumpkins Please Album

A few tidbits of information:

  • Before I die-cut the mat board, I like to use the Xyron Creative Station* to add adhesive to the back of the paper.  It gives the paper a complete layer of adhesive with no bubbles.  It really is easy to use.
  • The spine of the album comes with three sections.  I cut the first section off to make the album thinner.  It leaves two holes to add binding.
  • I wanted to try something different with how I added the pages to my album.  I inserted two mini book rings through the holes to hold my pages.
  • The mini book rings are approx. ¾” and with a little maneuvering they fit in the two side holes.
  • I used the cut off section to mark where I would need to punch the holes on my pages.

Autumn Leaves & Pumpkins Please Album

I wanted to make my album vertical instead of horizontal.

I love how versatile the Field Notes Die* is.

Autumn Leaves & Pumpkins Please Album

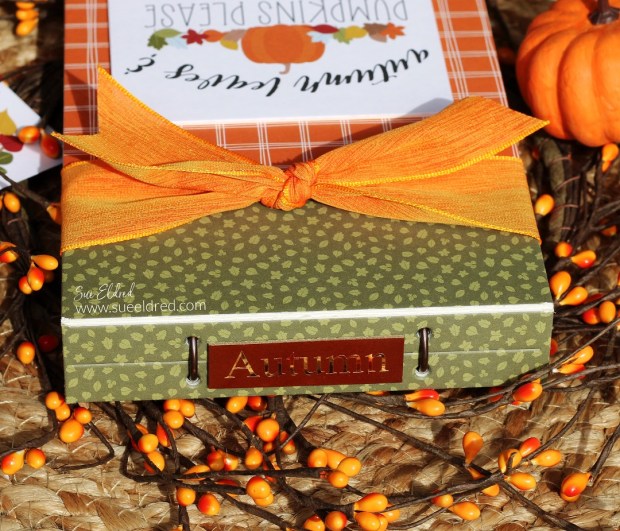
I created the word “autumn” using a Silhouette Cameo Electronic Die Cutting Machine*.

I cut it the letters out using StyleTechCraft Gold Chrome Vinyl*.

StyletechCraft products brought to you by ATSM Craft*


Mini Fall Charcuterie Board

How to make a Mini Fall Charcuterie Board

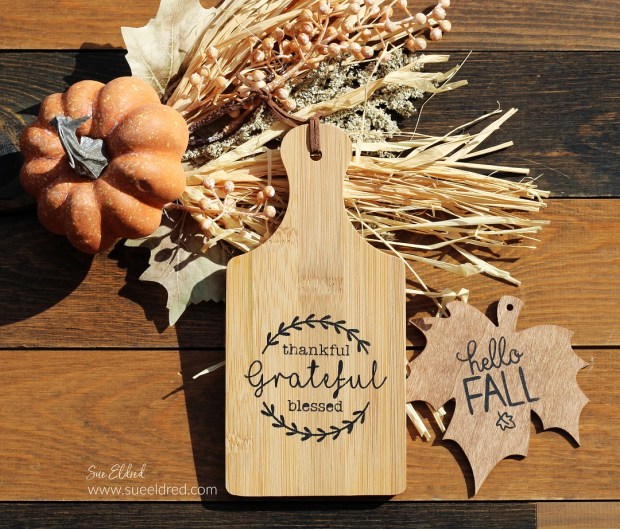
How to make a Stenciled Mini Fall Charcuterie Board

using StyleTechCraft removable vinyl.  This is my first attempt at

a Charcuterie Board, so, in true “Sue” fashion, I went miniature.

How to make a Mini Fall Charcuterie Board

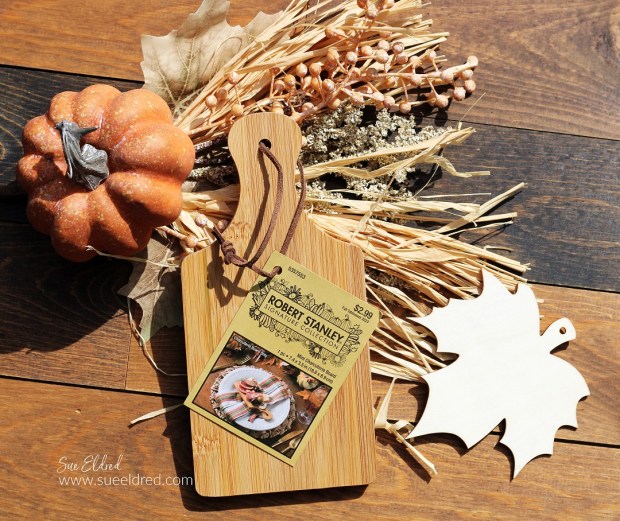
I picked up this miniature cutting board at Hobby Lobby earlier this Season.

(With their fall sale it cost under $2.)

Materials Used:  (*Affiliate Links)

*Disclosure:  This blog uses ads and affiliate links.  If you choose to make a purchase using one of the links, I receive a small commission (at no additional cost to you) that helps offset the costs of maintaining this blog.  Thanks for your support!

StyletechCraft products brought to you by ATSM Craft*

How to make a Mini Fall Charcuterie Board

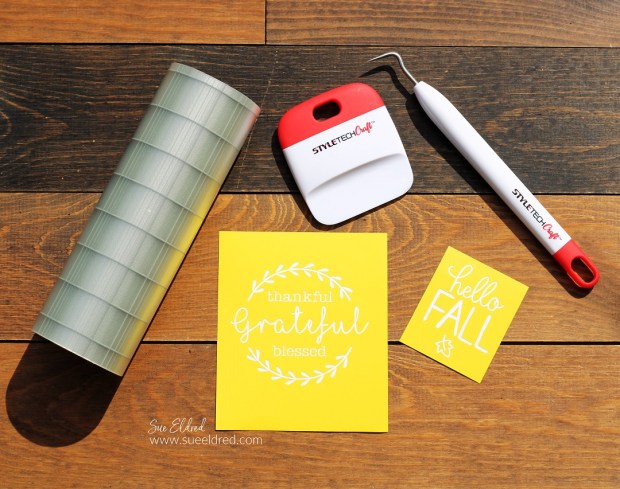
  • I like to use StyleTechCraft adhesive vinyl to customize everything I can.  It’s so fun and satisfying.  But there are a few instances where vinyl isn’t the only option.  Did you know you can use your cut files with vinyl to create custom stencils?
  • I used an SVG cut file, my Silhouette Cameo Electronic Die Cutting Machine*, and StyleTechCraft Matte Removable Vinyl* to create the perfect fall stencil for my mini cutting board project.

How to make a Mini Fall Charcuterie Board

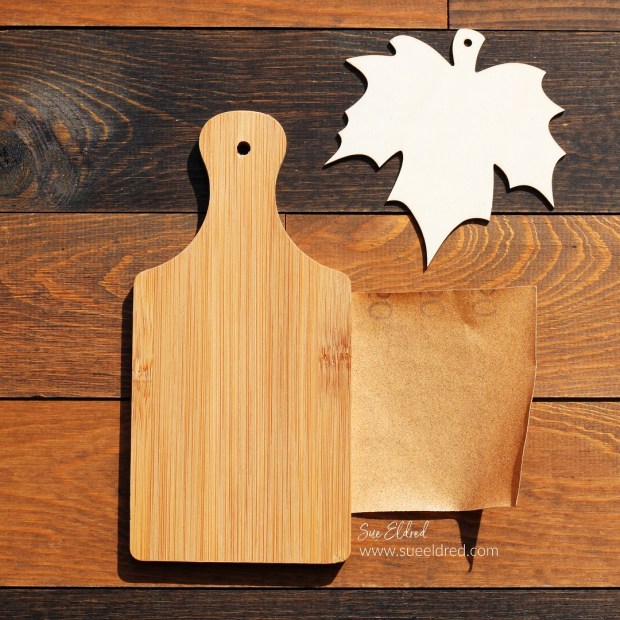
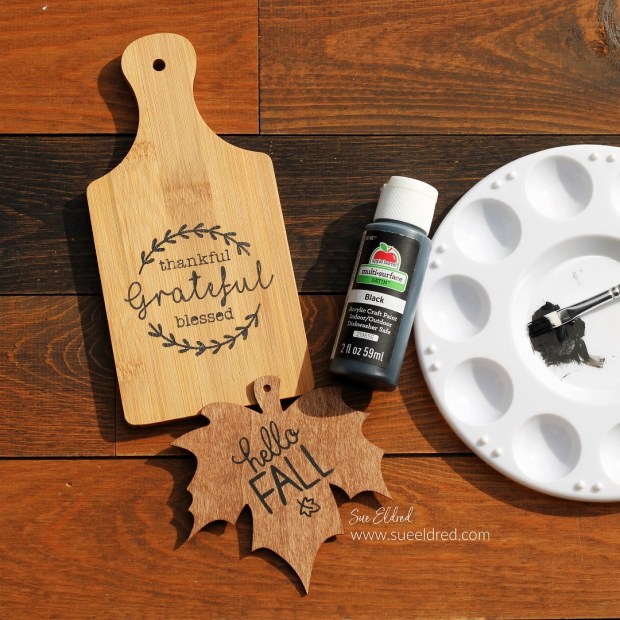
  • I gave the cutting board and leaf a light sanding with fine-grit sandpaper.

How to make a Mini Fall Charcuterie Board

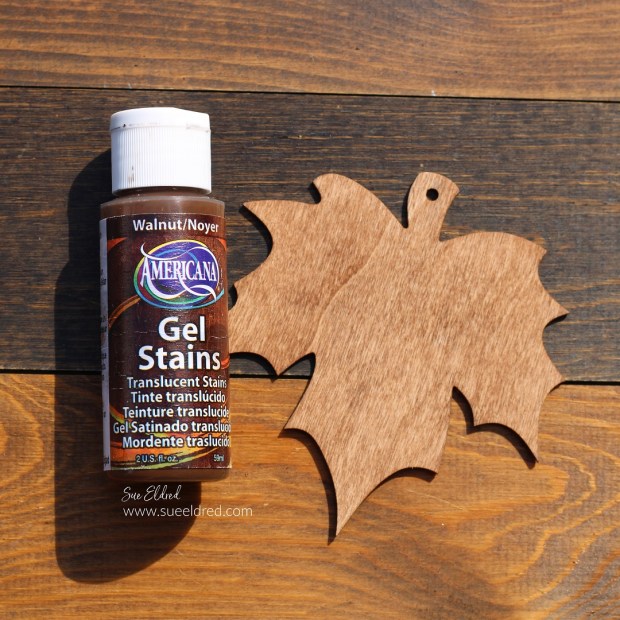
  • I rubbed Walnut Gel Stain* on both sides of the leaf.  It will make a great package tag.

How to make a Mini Fall Charcuterie Board

  • Lay the Transfer paper over the vinyl and gently rub with a vinyl scraper tool.  Make sure all the little inside letter pieces transfer.
  • Place the Vinyl Transfer Tape* and vinyl onto the wood pieces.  Rub over Vinyl Transfer Tape* and gently remove from the vinyl.

How to make a Mini Fall Charcuterie Board

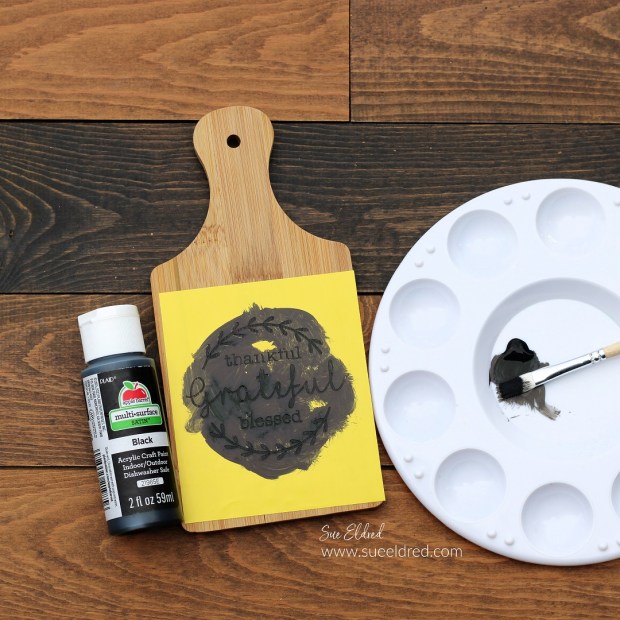
  • Paint the inside area of the vinyl with Black Multi-Purpose Acrylic Paint*.  (You may need two coats.)
  • Carefully remove the vinyl from the wood.  Use a sharp point to remove the vinyl from the inside of the lettering.
  • Once the lettering is fully dry, lightly sand to smooth the design.

How to make a Mini Fall Charcuterie Board

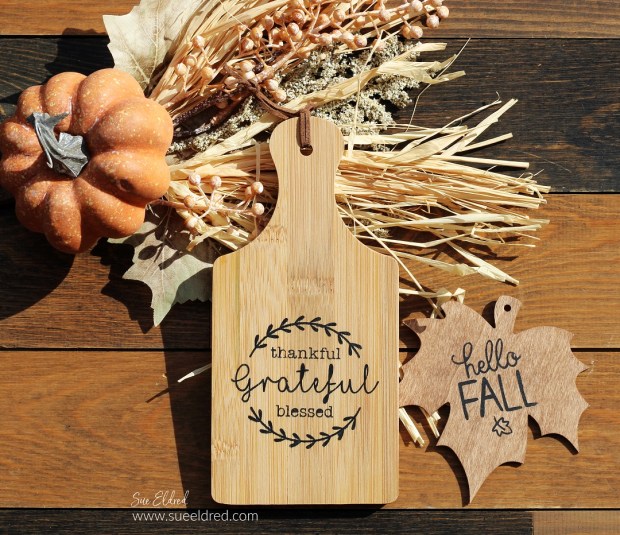
The black paint makes it look like it has been wood burned.  (but it’s not!)

I debated back and forth whether to seal the wood or not.

I didn’t know if it mattered for use.

I used a Multi-Purpose Sealer* on both the board and the leaf.

I reasoned that the board is more decorative than it is utilitarian.

So, it was just a matter of preference.

Mini Fall Charcuterie Board

Wouldn’t it look cute with a mini loaf of pumpkin bread?  

Just wrap it up with a ribbon and add the Hello Fall Tag for an

adorable Fall Hostess Gift.

Or use it for a mini party for two.

Welcome Autumn Pillow

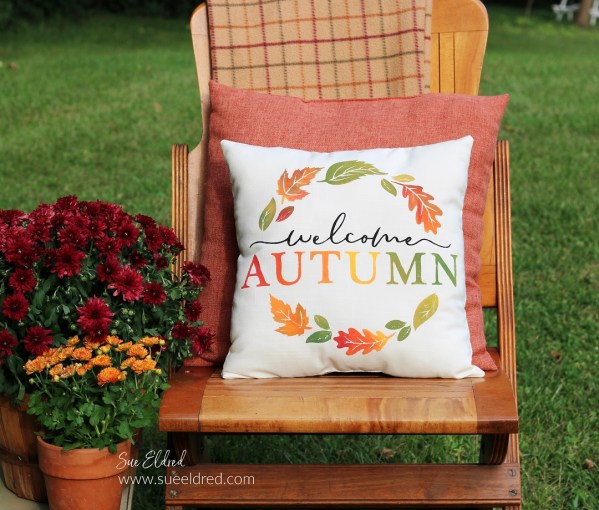
for another fun Fall Stenciled project click here.

“This is a sponsored post.  As a member of the StyleTechCraft Design Team I have been provided product and compensation in exchange for my creative ideas.  The views and opinions are my own.
Make a Pumpkin Treat Box for your Favorite Trick or Treaters

How to make a Pumpkin Treat Box

How to make a Pumpkin Gift Box

using the XL Card Caddy Die* from Sizzix and Eileen Hull.

It’s a fun little Halloween Treat Box for your favorite Trick or Treaters.

Eileen Hull Educator Logo

Disclosure:  This is a sponsored post.  As a member of the Eileen Hull Educator Team, I have been provided product in exchange for my creative ideas.  The view and opinions are my own. 

How to make a Pumpkin Gift Box

Materials Used:       (*affiliate links)

*Disclosure:  This blog uses ads and affiliate links.  If you choose to make a purchase using one of the links, I receive a small commission (at no additional cost to you) that helps offset the costs of maintaining this blog.  Thanks for your support!

How to make a Pumpkin Gift Box using the XL Card Caddy Die from Sizzix and Eileen Hull.

Directions:

How to make a Pumpkin Gift Box using the XL Card Caddy Die from Sizzix and Eileen Hull.

StyletechCraft products brought to you by ATSM Craft*

How to make a Pumpkin Gift Box using the XL Card Caddy Die from Sizzix and Eileen Hull.

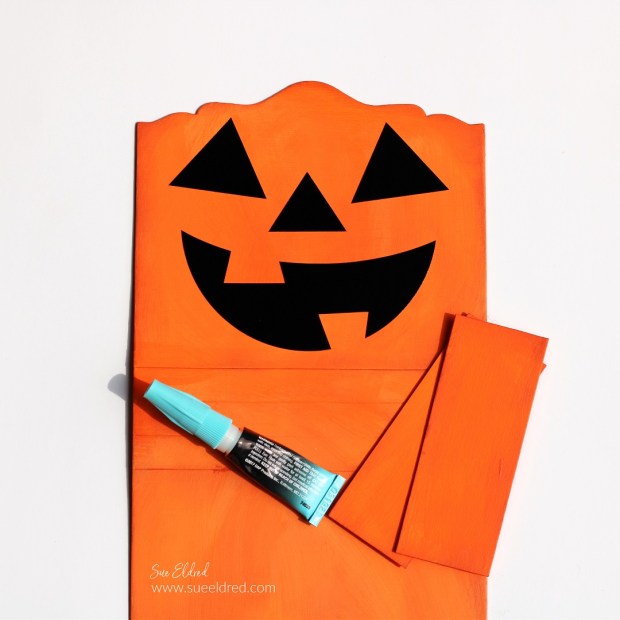
  • Adhere the sides to the card caddy base using Rapid Fuse Adhesive*.  The Die comes with scored side pieces that are perfect for putting the box together.  I wasn’t thinking and cut two pieces of matboard for my sides.  Both will work.  (the one that comes with the die would have been a lot easier)

How to make a Pumpkin Treat Box-Sue's Creative Workshop www.sueeldred.com 2459

  • Create a handle for the pumpkin treat box using wire and small wood beads.
  • Punch a hole on both sides of the box and attach the handle.

Hello Fall Shadow Box Frame

Hello Fall Shadow Box Frame

How to make an Easy Fall Dollar Store DIY.

I can’t resist an Easy Fall Dollar Store Project,

while I’m sitting here hanging onto Summer for as long as I can.

Hello Fall Shadow Box Frame

Materials Used:  (*affiliate links)

StyletechCraft products brought to you by ATSM Craft*

*Disclosure:  This blog uses ads and affiliate links.  If you choose to make a purchase using one of the links, I receive a small commission (at no additional cost to you) that helps offset the costs of maintaining this blog.  Thanks for your support!

Hello Fall Shadow Box Frame

Directions:

  • Remove the picture hanger hardware and the twine hanger from the wood shadow box.
  • Paint the shadow box with Royal Ruby Metallic Paint*.
  • Lightly sand over the paint using an extra fine sanding block*.
  • I felt the Metallic Paint was a little too metallic for me, so I went over the paint with a light coat of walnut gel stain.  Wipe off the stain with a soft rag.

Hello Fall Shadow Box Frame

Hello Fall Shadow Box Frame

Hello Fall Shadow Box Frame

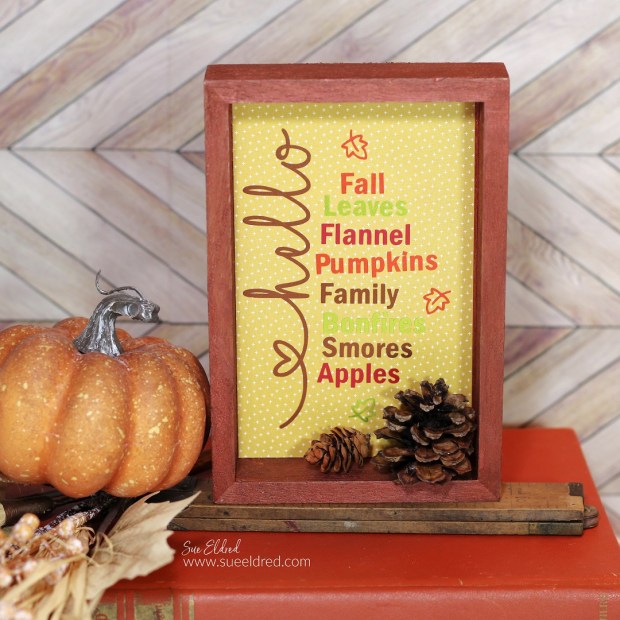
Add Fall Embellishments to the bottom of the shadowbox frame.

The shadow box frame makes a cute little shelf sitter to add to

your Fall Decorations.

“This is a sponsored post.  As a member of the StyleTechCraft Design Team I have been provided product and compensation in exchange for my creative ideas.  The views and opinions are my own.

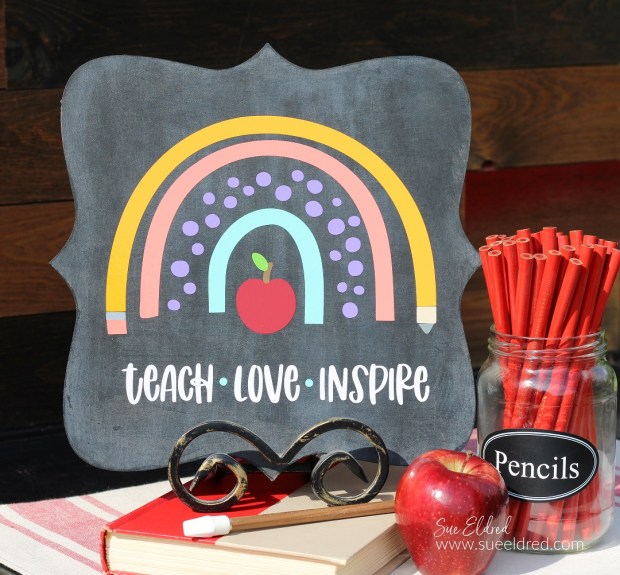
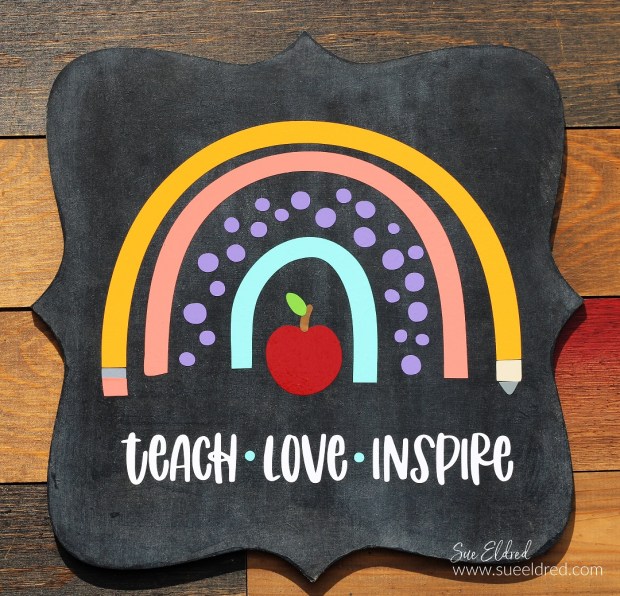
Teach Love Inspire-BTS Teacher Sign

How to make a BTS Teacher Sign using StyleTechCraft Vinyl

How to make a BTS Teacher Sign using StyleTechCraft Vinyl.

It’s August.

Summer Vacation is wrapping up. 

There are School Supplies on the Store Shelves.

And teachers are working overtime to make sure their

classrooms are ready for the first day of school.

How to make a BTS Teacher Sign using StyleTechCraft Vinyl

Why do teachers work so hard?

Because they love to Teach, Love, and Inspire.  

How to make a BTS Teacher Sign using StyleTechCraft Vinyl

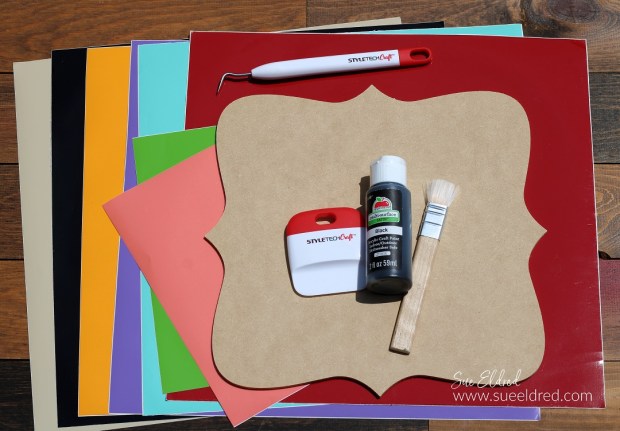
Materials Used to make the BTS Teacher Sign:  (*Affiliate Links)

StyletechCraft products brought to you by ATSM Craft*

*Disclosure:  This blog uses ads and affiliate links.  If you choose to make a purchase using one of the links, I receive a small commission (at no additional cost to you) that helps offset the costs of maintaining this blog.  Thanks for your support!

How to make a BTS Teacher Sign using StyleTechCraft Vinyl

How to make a BTS Teacher Sign using StyleTechCraft Vinyl…

  • Paint the wood sign with Black Multi-Surface Acrylic Paint*.
  • To make the sign look like a chalkboard, water down a small amount of white acrylic paint.  Paint over the black sign with the watered-down white paint.  Quickly wipe over the painted sign to remove some of the white paint.
  • Lightly sand over sign with sanding black to smooth out the grain of the wood.

How to make a BTS Teacher Sign using StyleTechCraft Vinyl

How to make a BTS Teacher Sign using StyleTechCraft Vinyl

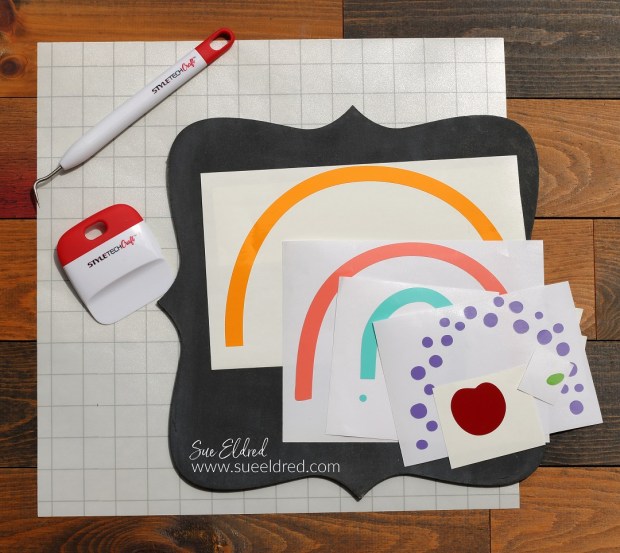
  • After cutting, remove the excess vinyl from the design using a Vinyl Weeding Tool*.
  • To apply the vinyl to the sign, lay the transfer paper over the vinyl.
  • Rub over the transfer paper with a vinyl scraper tool and lift the design from the white paper backing.
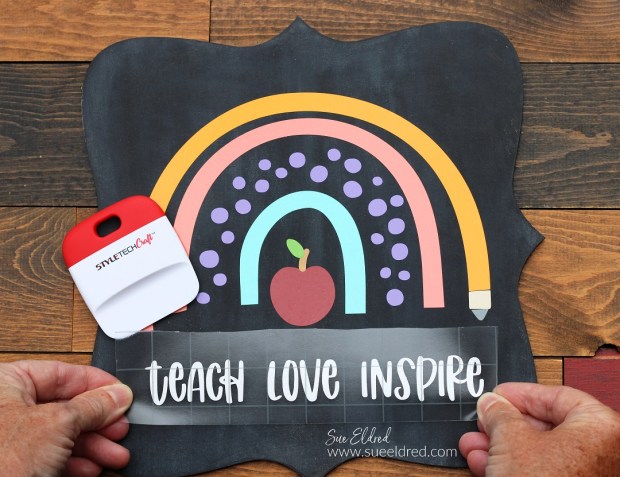
  • Lay the transfer paper onto the sign and rub over the design.

How to make a BTS Teacher Sign using StyleTechCraft Vinyl

  • Gently remove the transfer paper.

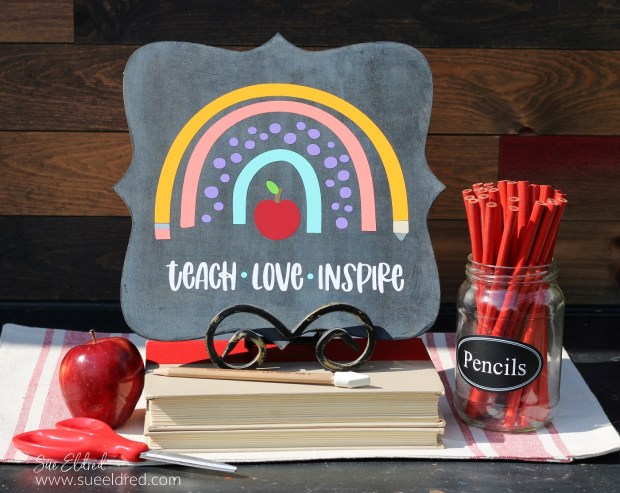
How to make a BTS Teacher Sign using StyleTechCraft VinylThe back to school sign is a great gift for the favorite teacher in your life.

Back to School Inspiration

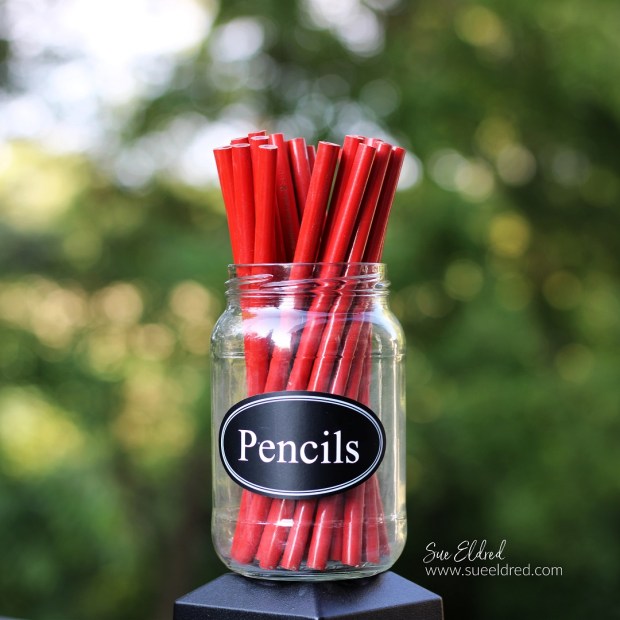
StyleTechCraft Vinyl is great for labeling all sorts of items in the classroom.  

“This is a sponsored post.  As a member of the StyleTechCraft Design Team I have been provided product and compensation in exchange for my creative ideas.  The views and opinions are my own.

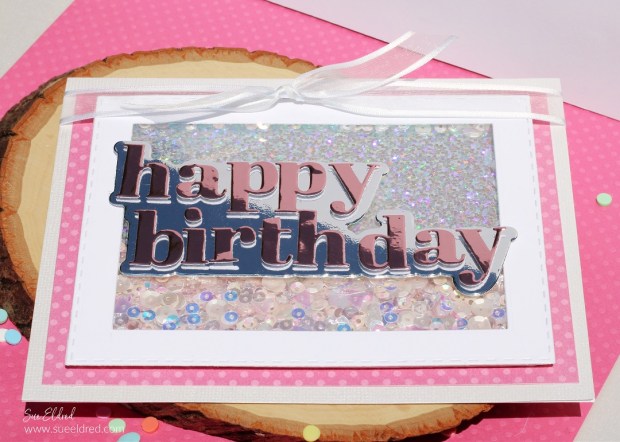
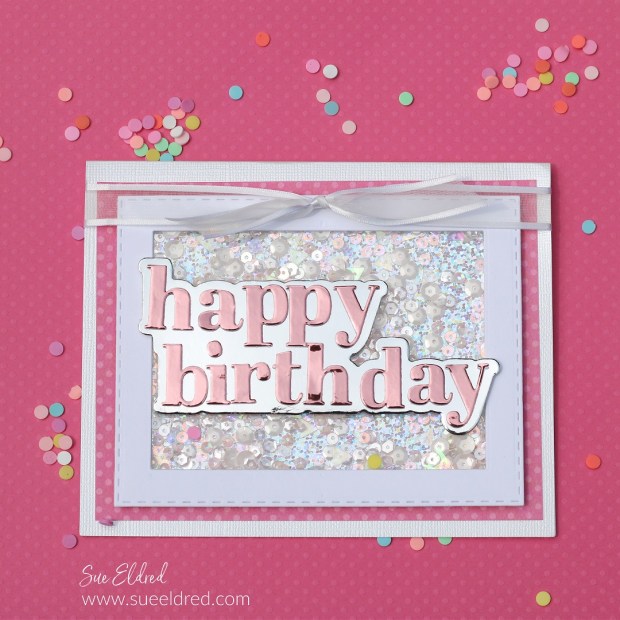
Shimmer & Shake Birthday Card

Shimmer & Shake Birthday Card

How to make a Sparkly, Shimmery Shaker Birthday Card.

Shimmer & Shake Birthday Card

One of the great things about being a cardmaker is making fun cards

for special people. I made a quick and easy card for my cousin’s birthday

over the weekend and forgot to take any process shots.

So, I decided to make another one, slightly different.

Making Sparkly Shimmery Cards are fun to make.

Taking photographs of those kind of cards are not.

To give the cards the extra sparkle and shine, I used StyletechCraft’s Chrome Vinyls.

Shimmer & Shake Birthday Card

Materials Used:  (*affiliate links)

StyletechCraft products brought to you by ATSM Craft*

*Disclosure:  This blog uses ads and affiliate links.  If you choose to make a purchase using one of the links, I receive a small commission (at no additional cost to you) that helps offset the costs of maintaining this blog.  Thanks for your support!

Shimmer & Shake Birthday Card

Directions:

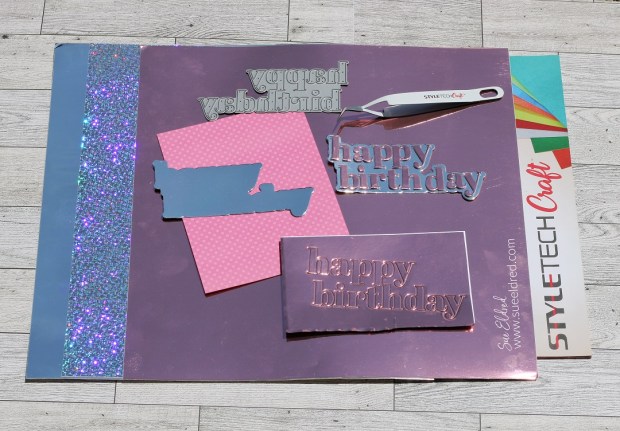
  • Usually, when I’m working with vinyl, I use it as a sticker. This time I wanted to use the vinyl to make a dimensional piece. Before die-cutting, I placed the vinyl onto the cardstock.  
  • Die-cut the words Happy Birthday using Pink Chrome Adhesive Vinyl*.
  • Die-cut the birthday background using Silver Chrome Adhesive Vinyl*.  
  • Cut the Small 3D Foam Squares* in half and place them onto the back of the letters. Use tweezers to add each of the letters to the background.

Shimmer & Shake Birthday Card

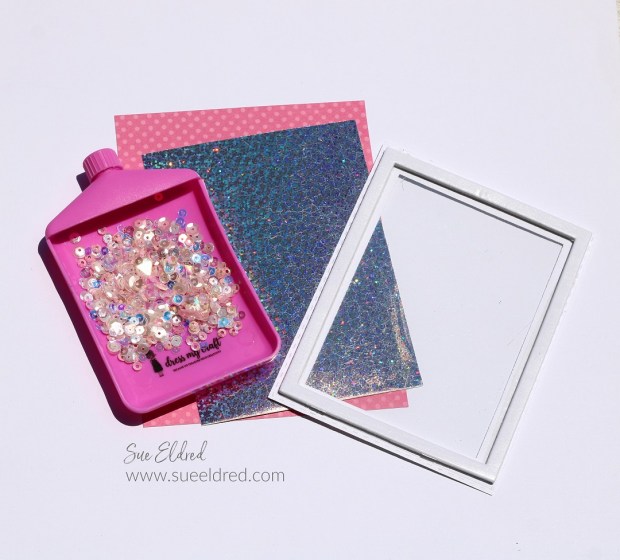
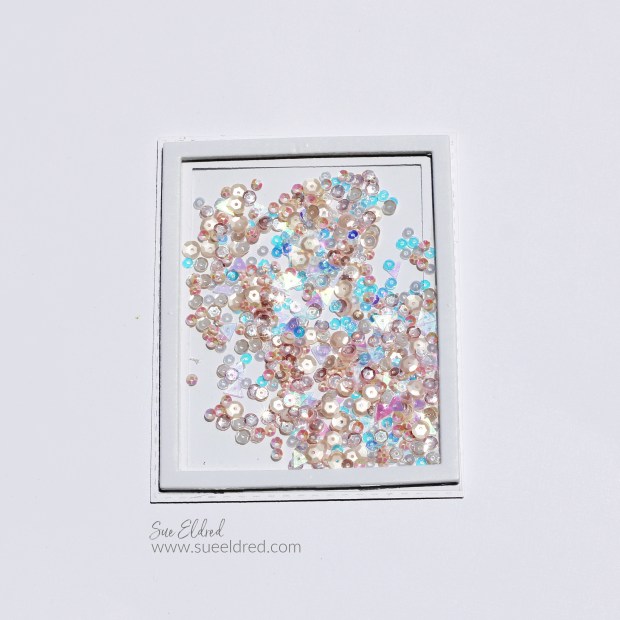
  • Die-cut a frame using white cardstock.
  • Cut a piece of clear acetate slightly smaller than the frame.
  • Use a double tape roller to add adhesive around the frame.
  • Remove the protective film from the acetate and place it inside the frame.
  • Place double-sided adhesive strips over the acetate.
  • Cut a piece of Holographic Mist Chrome Adhesive Vinyl* slightly smaller than the frame.

Shimmer & Shake Birthday Card

Shimmer & Shake Birthday Card

  • Add 3D foam squares to the back of the die-cut background.
  • Place “Happy Birthday” onto the front of the frame.
  • Adhere the frame layers on a white card.
  • Add a simple white sheer bow to finish the card.

Shimmer & Shake Birthday Card

I love how the Holographic Vinyl sparkles and changes color in the sun.

Shimmer & Shake Birthday Card-Sue's Creative Workshop www.sueeldred.com 1457

The perfect card for anyone who loves a little sparkle and shine.

Summer Fun with Sun Changing Vinyl

Summer Fun with StyleTechCraft Sun Changing Vinyl

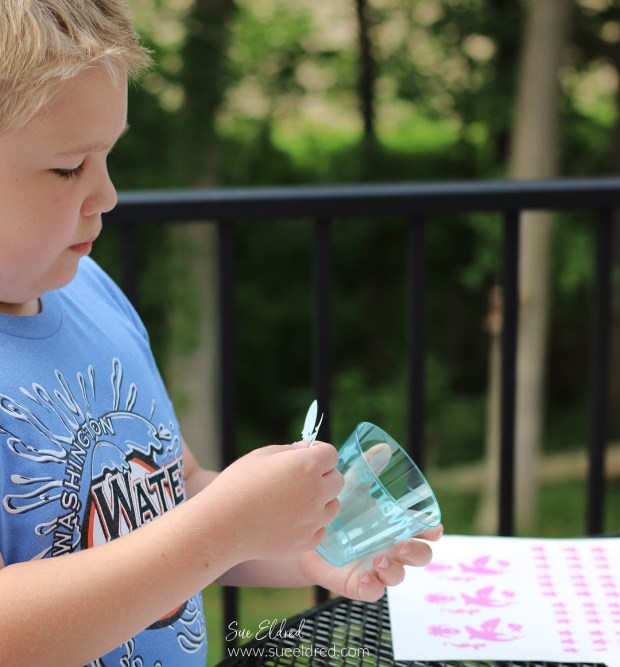
Looking for a fun activity to create with the kids?

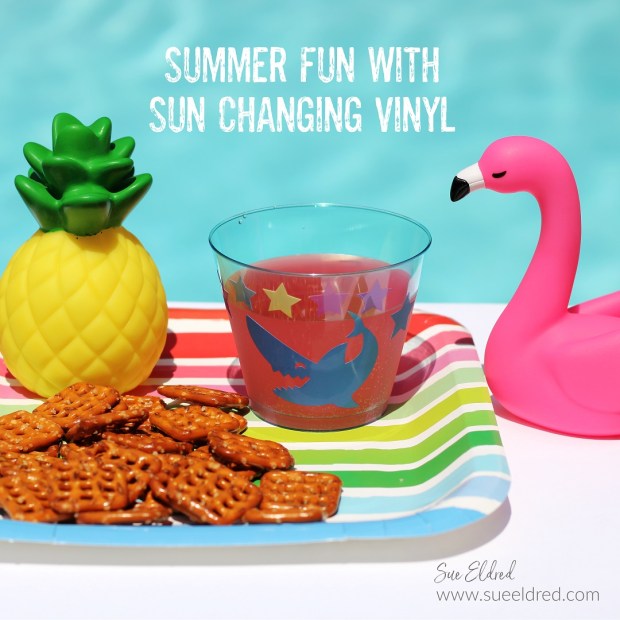
Create Cups that change with the sun.

Summer Fun with StyleTechCraft Sun Changing Vinyl

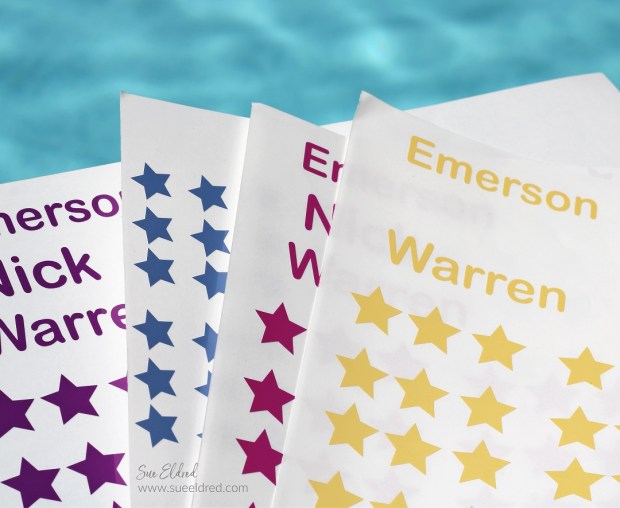
I used Sun Changing Vinyl from StyleTechCraft* and my

Silhouette Cameo Electronic Die Cutting Machine*

to create fun shape stickers for the kids to decorate the cups.

The Sun-Changing Vinyl* is available in four fun colors.

StyletechCraft products brought to you by ATSM Craft*

*Disclosure:  This blog uses ads and affiliate links.  If you choose to make a purchase using one of the links, I receive a small commission (at no additional cost to you) that helps offset the costs of maintaining this blog.  Thanks for your support!

Summer Fun with StyleTechCraft Sun Changing Vinyl

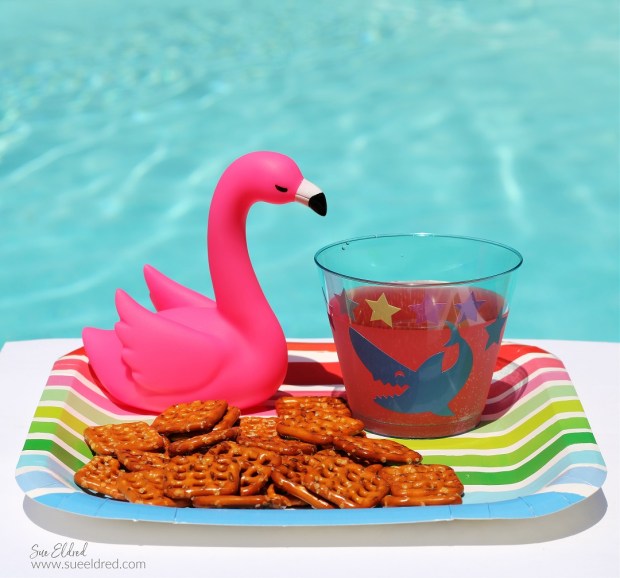
Fun kiddie cocktails are great when all the grown-ups are sitting

around the pool drinking adult beverages.

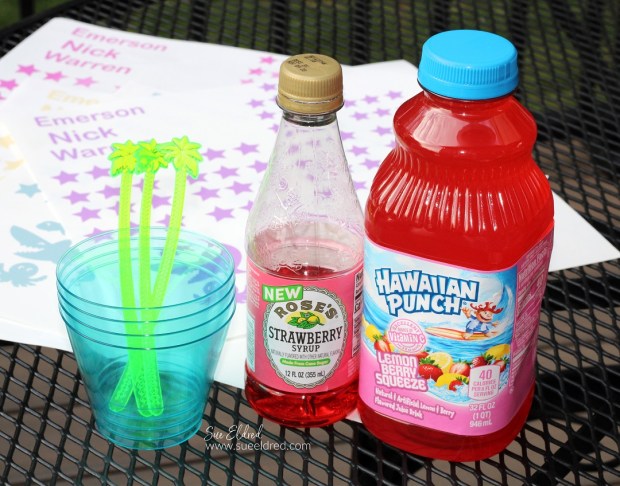
For the kids, I bought drink cups, stir sticks, plates, pretzels, and

cute little light-up flamingoes*, and pineapples* at Dollar Tree*.

It makes a day at the pool feel like a party.

Shop Summer Essentials starting at $1.25 at Dollar Tree!

Summer Fun with StyleTechCraft Sun Changing Vinyl

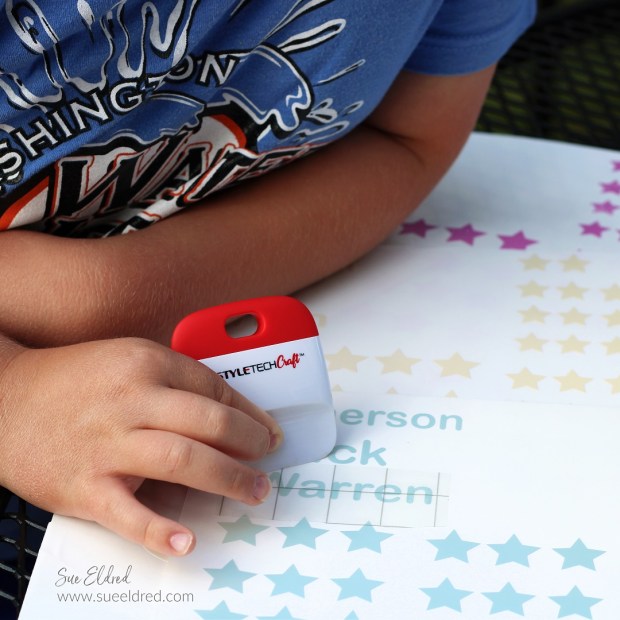
For smaller letters, we used StyleTechCraft Vinyl Transfer Tape* to add the vinyl to the cup.

Summer Fun with StyleTechCraft Sun Changing Vinyl

The bigger stickers they can just peel and stick.

Summer Fun with StyleTechCraft Sun Changing Vinyl

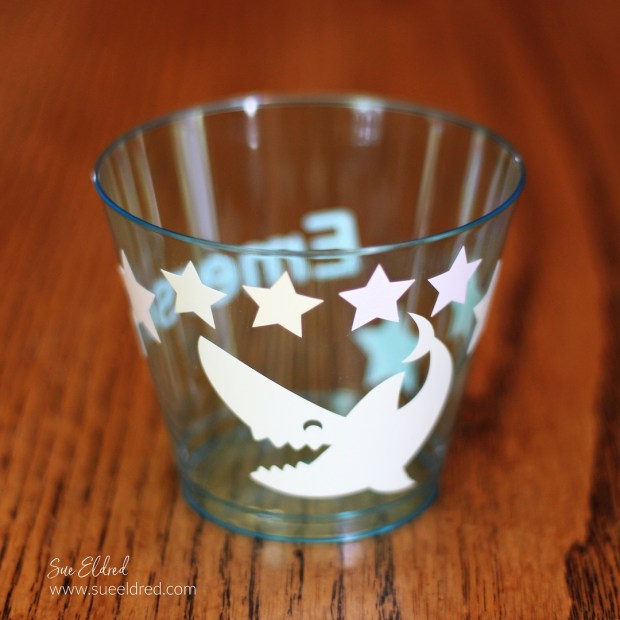
Here’s a bad photo of the cup before we took it outside.

I wanted to show you how it looked before it changed with the sun’s UV rays.

The vinyl all looks pretty much the same.

Summer Fun with StyleTechCraft Sun Changing Vinyl

The Kids LOVE the Color Changing Cups!

Great for drinks around the pool.

The Sun Changing Vinyl is perfect for water bottles too.

Summer Fun with StyleTechCraft Sun Changing Vinyl

It’s the perfect way to celebrate Summer Fun.  

And it eliminates the endless summer cups because they can’t remember if it’s their cup or not.

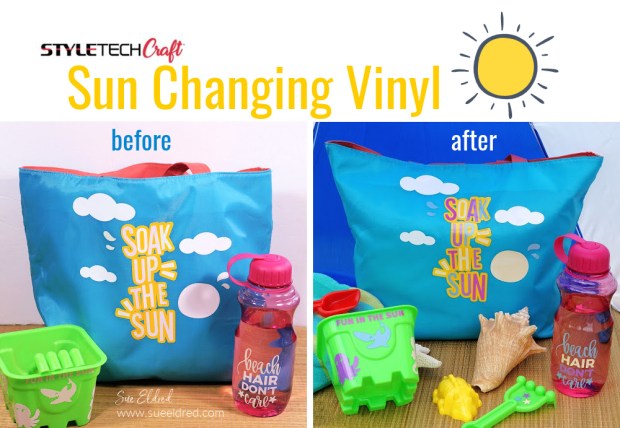
Ready for the Beach with Sun Changing Vinyl

Here’s another fun Color-Changing project I made a couple of years ago.

Click on the link here to view the project and tutorial.

“This is a sponsored post.  As a member of the StyleTechCraft Design Team I have been provided product and compensation in exchange for my creative ideas.  The views and opinions are my own.

DIY Floral Notepad Holder

DIY Floral Notepad Holder

Create a Handy Floral Notepad Holder using Sizzix Dies by Eileen Hull.

I am a list maker!

I usually have several lists going at one time.

And, if the list gets too messy, I’ll create a new one.

Lists are my way of keeping me organized.

Post-it notes* are another favorite of mine.

This Floral Notepad Holder is a great place to put my Post-it notes.

DIY Floral Notepad Holder

The theme for this month’s Eileen Hull Teams is Die Cut Mania.

The best part about Eileen’s dies is you can mix them with other Eileen dies to create one great project.

Eileen Hull Educator Logo

Disclosure:  This is a sponsored post.  As a member of the Eileen Hull Educator Team, I have been provided product in exchange for my creative ideas.  The view and opinions are my own. 

DIY Floral Notepad Holder using Eileen Hull & Sizzix Dies.

Materials Used:  (*affiliate links)

Directions: 

  • I used a piece of white mat board* as the base to create the pieces for the Notepad Holder. To adhere the paper to the mat board, I like to run the decorative paper through the Xyron Creative Station* to add a complete adhesive to the back. It makes everything lay wonderfully smooth with no peeling up corners.
  • Die Cut the pieces for the stand using the Phone Stand Die* for the base, Frame Pocket Journal Die* for the pocket, and the Journal Die* for the decorative plaque. (as shown in the picture above)

*Disclosure:  This blog uses ads and affiliate links.  If you choose to make a purchase using one of the links, I receive a small commission (at no additional cost to you) that helps offset the costs of maintaining this blog.  Thanks for your support!

DIY Floral Notepad Holder using Eileen Hull & Sizzix Dies.

  • Gently fold the die-cut pieces on their scorelines.
  • Adhere the pieces together using a strong adhesive. My favorite for adhering mat board is Dap Liquid Adhesive*.  All you need to do is hold the glued piece in place for 30 seconds, and it stays secure.

DIY Floral Notepad Holder using Eileen Hull & Sizzix Dies.

  • To add a decorative element to the edge of the center plaque, use the flat end of a gold calligraphy pen* to add a gold edging.  (It may take a little practice to make your lines smooth.)

DIY Floral Notepad Holder using Eileen Hull & Sizzix Dies.

  • Cut the letters “NOTES” for the front of the pocket using the Alpha Numeric Die* and StyleTechCraft Gold Craft Vinyl*.
  • Want a matching gold pen for the notepad holder? Measure the length of the barrel. Cut the vinyl 1 1/4″ wide. Carefully adhere the gold vinyl to the barrel. It adds personality to a simple everyday pen.
DIY Floral Notepad Holder

  •  Place the letters on the back of a small piece of gridded transfer tape* to line them up straight.
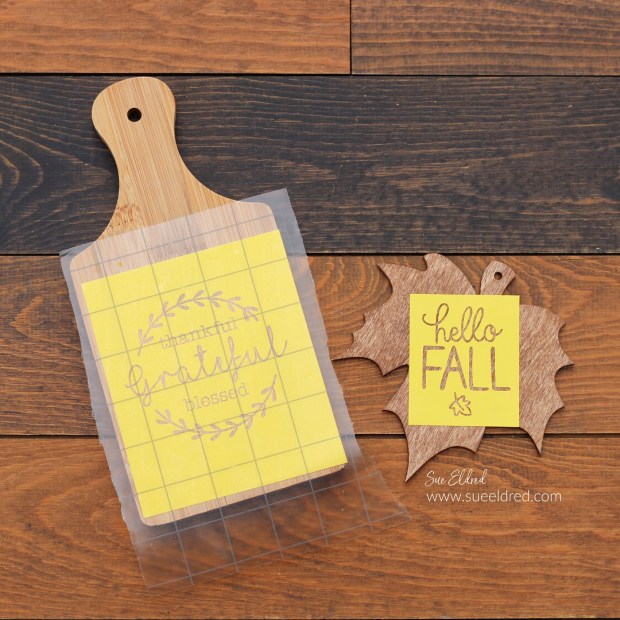
  • Place the transfer paper onto the small plaque and rub over the transfer paper to transfer the letters.

StyletechCraft products brought to you by ATSM Craft*

DIY Floral Notepad Holder

  • Add a decorative strip of coordinating paper onto the front of the pocket and adhere the floral plaque using Rapid Fuse Adhesive*.

DIY Floral Notepad Holder

The Floral Notepad Holder looks great on my desk and now I’m even more organized.

Amazon prime