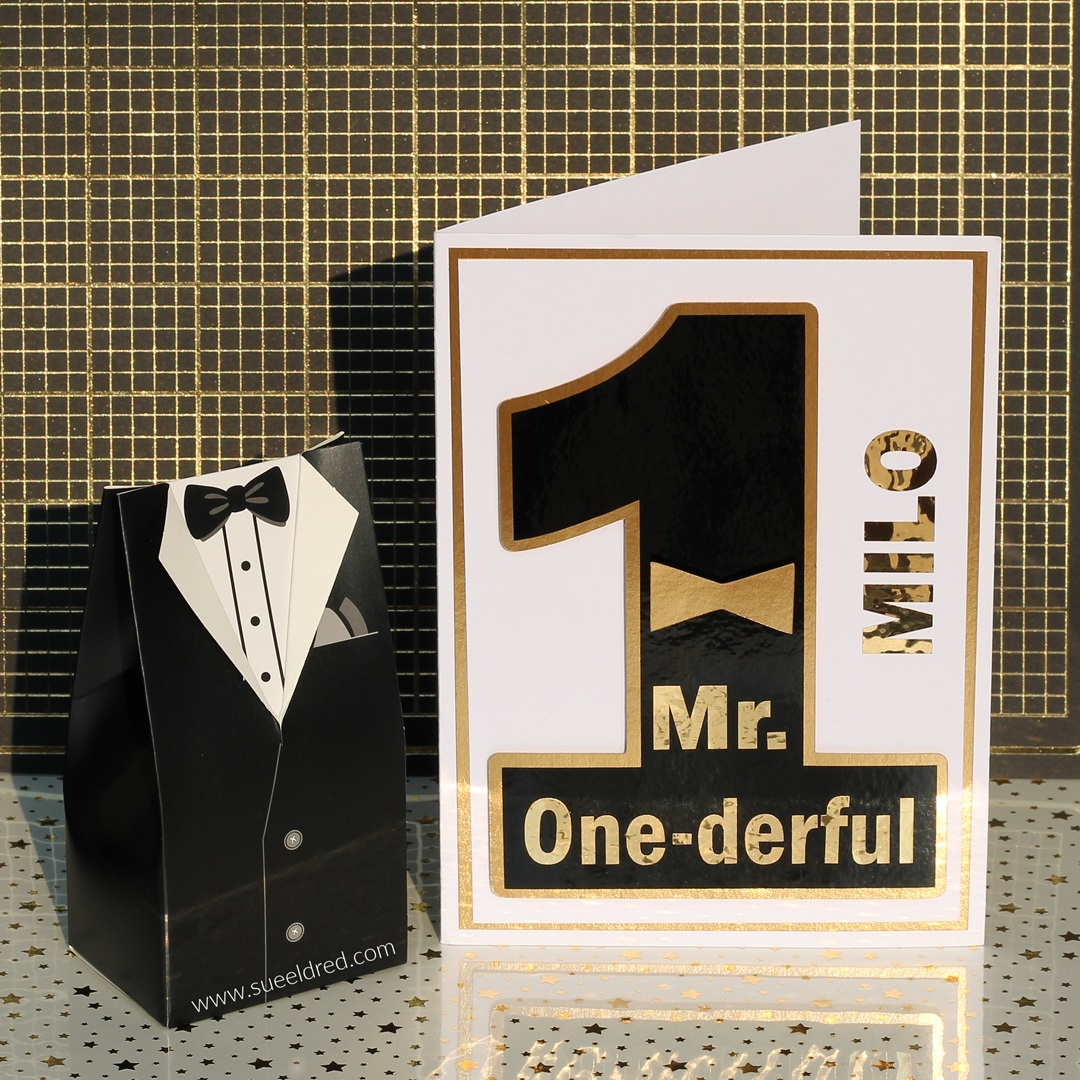
Milo’s First Birthday Card
My husband and I recently got invited to my nephew Milo’s First Birthday Soiree.
It’s not every day that you get invited to a Fancy Party for a one-year-old.
So, when that happens, you need to make a “fancy card”.

- I used a Silhouette Cameo Electronic Die Cutting Machine and simple fonts to design the card.
- I cut out the words for the outside of the card using StyleTechCraft Gold Metallic vinyl. I cut the large number one using StyleTechCraft Black Glossy Craft Vinyl.
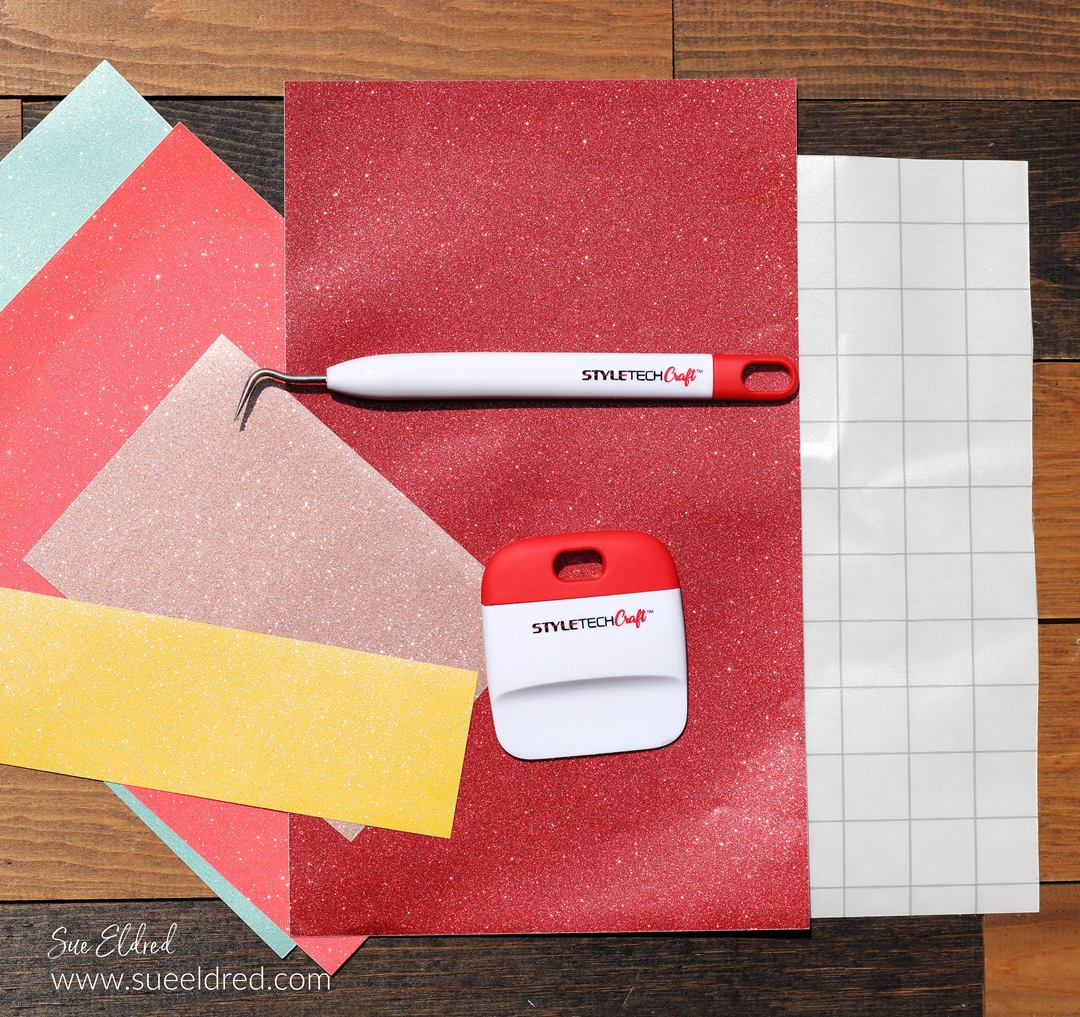
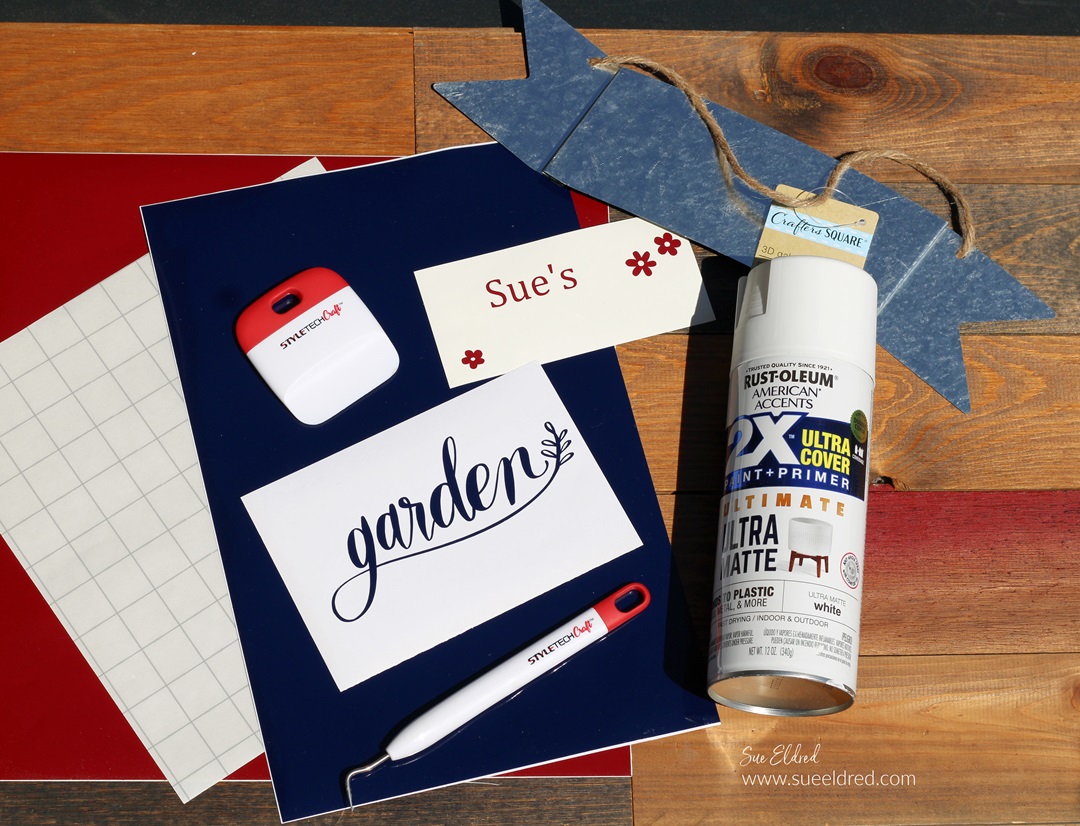
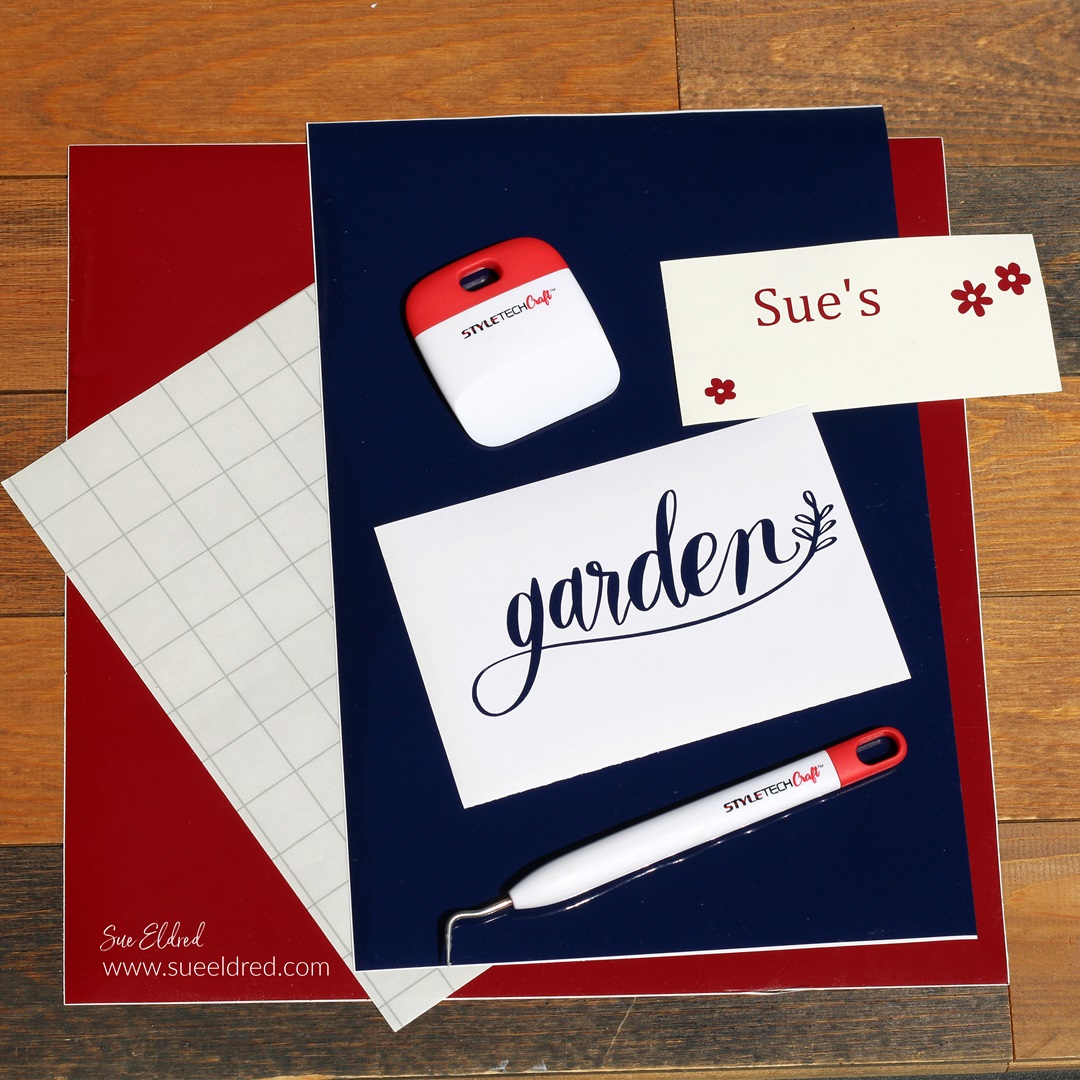
Materials:
- StyleTechCraft Gold Chrome Vinyl*
- StyleTechCraft Black Glossy Craft Vinyl*
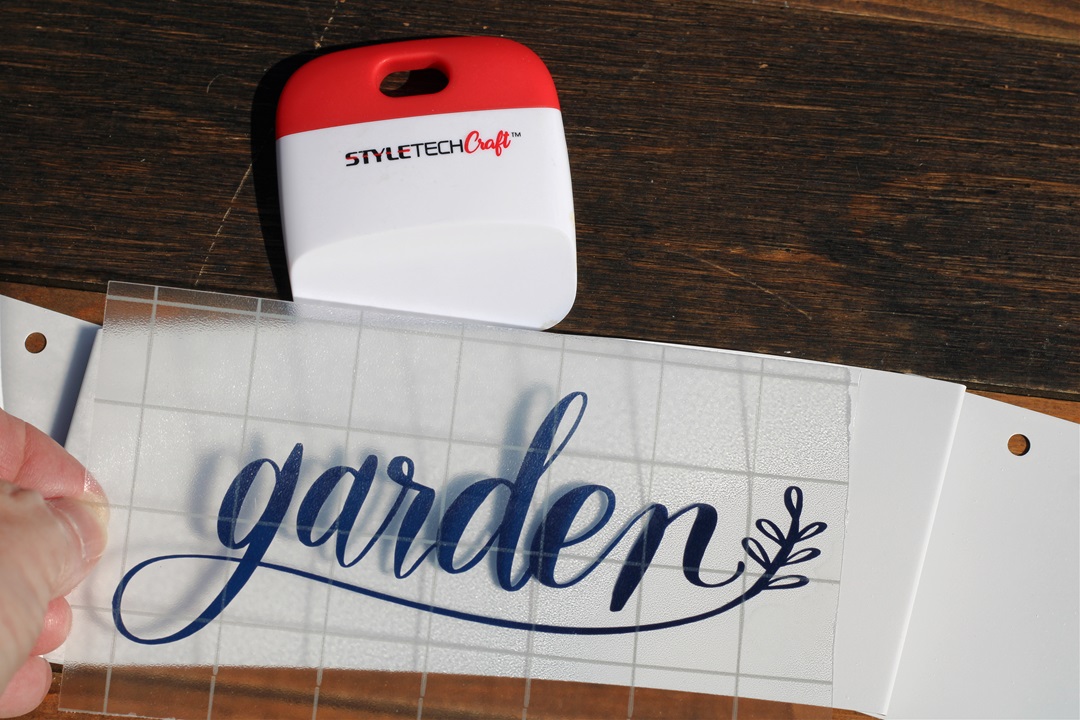
- StyleTechCraft Vinyl Tools*
- StyleTechCraft Vinyl Transfer Tape*
- Silhouette Cameo Electronic Die Cutting Machine*
- Gold Cardstock*
- Thin 3D Foam Squares*

StyletechCraft products brought to you by ATSM Craft*
*Disclosure: This blog uses ads and affiliate links. If you choose to make a purchase using one of the links, I receive a small commission (at no additional cost to you) that helps offset the costs of maintaining this blog. Thanks for your support!

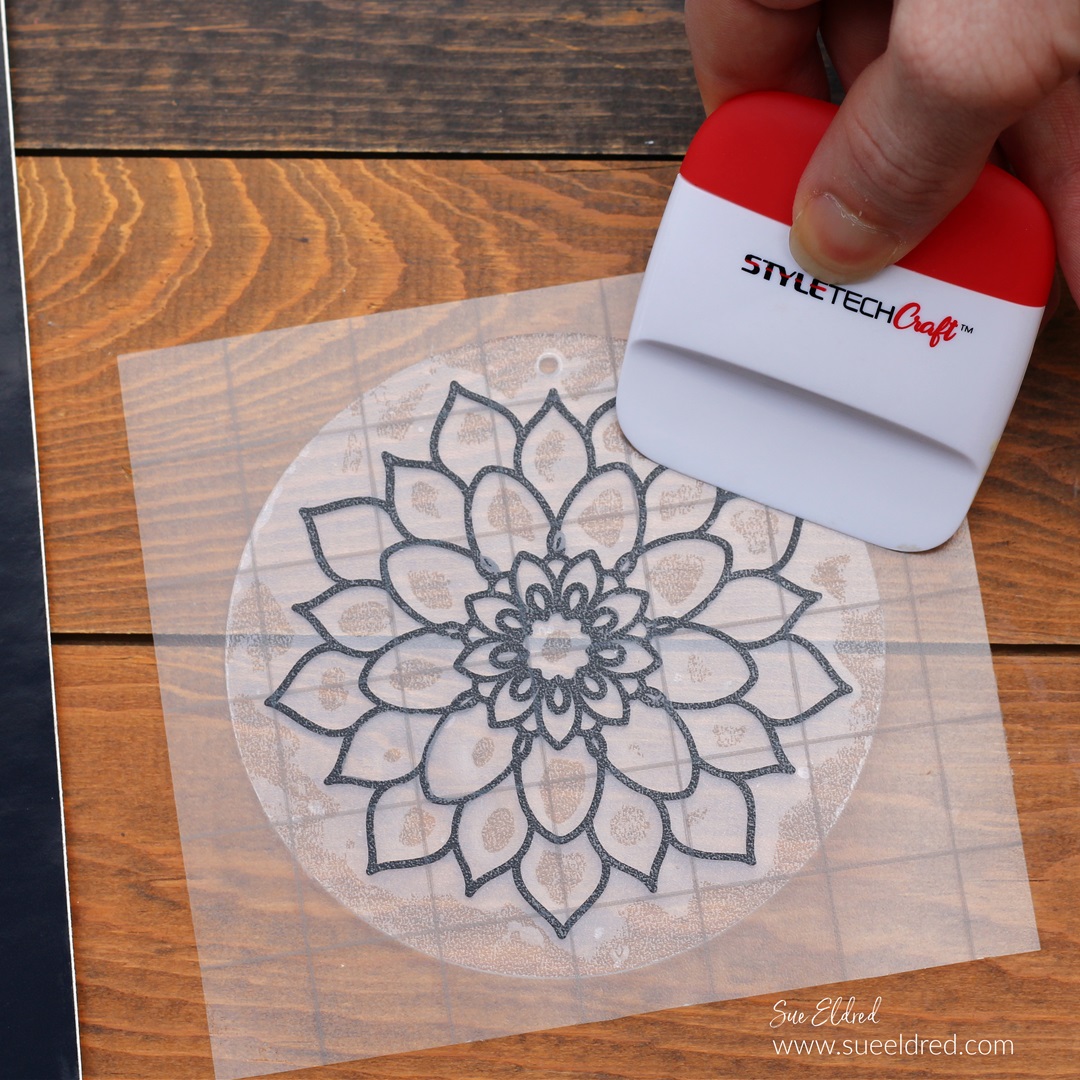
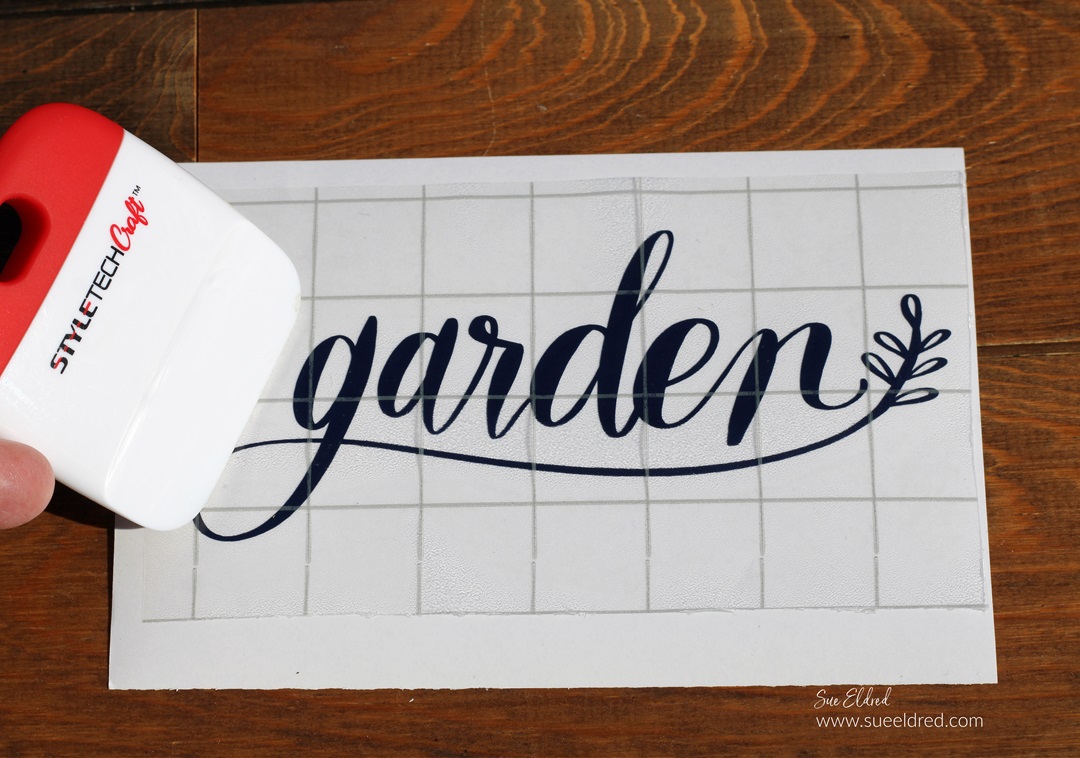
- To transfer the large number one onto the gold number one, (which is slightly larger) I used StyleTechCraft transfer tape.
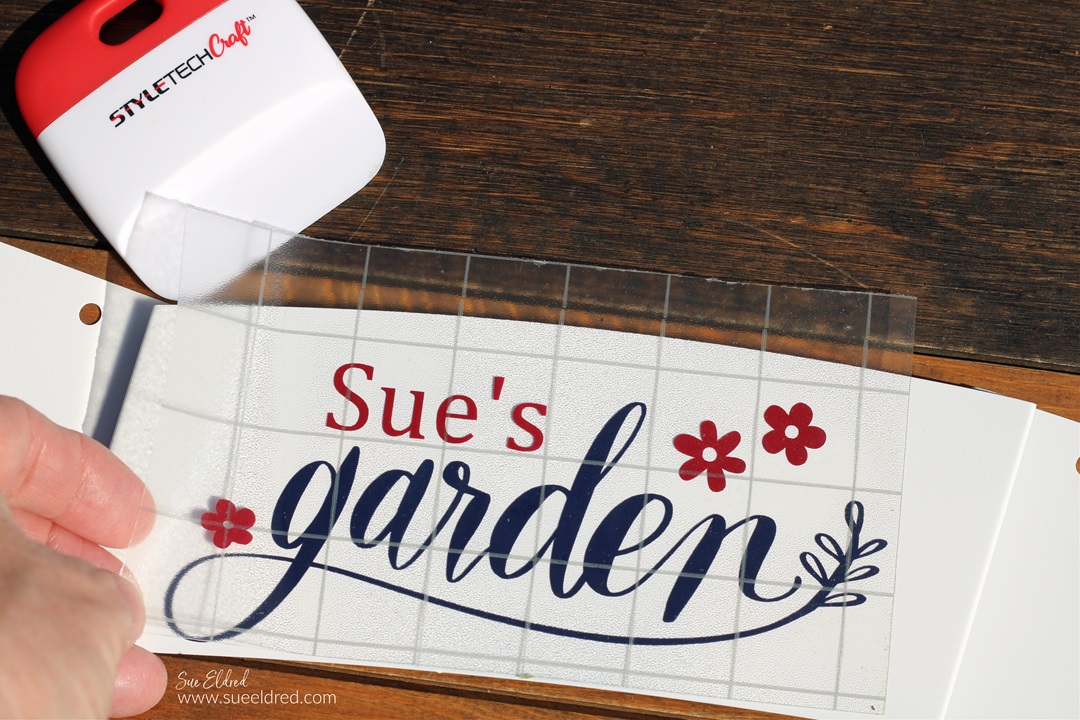
- Place transfer paper over the vinyl and rub with a vinyl scraper tool to help the vinyl cling to the Vinyl Transfer Tape*.
- Center the vinyl onto the cardstock and again rub over the vinyl to transfer.
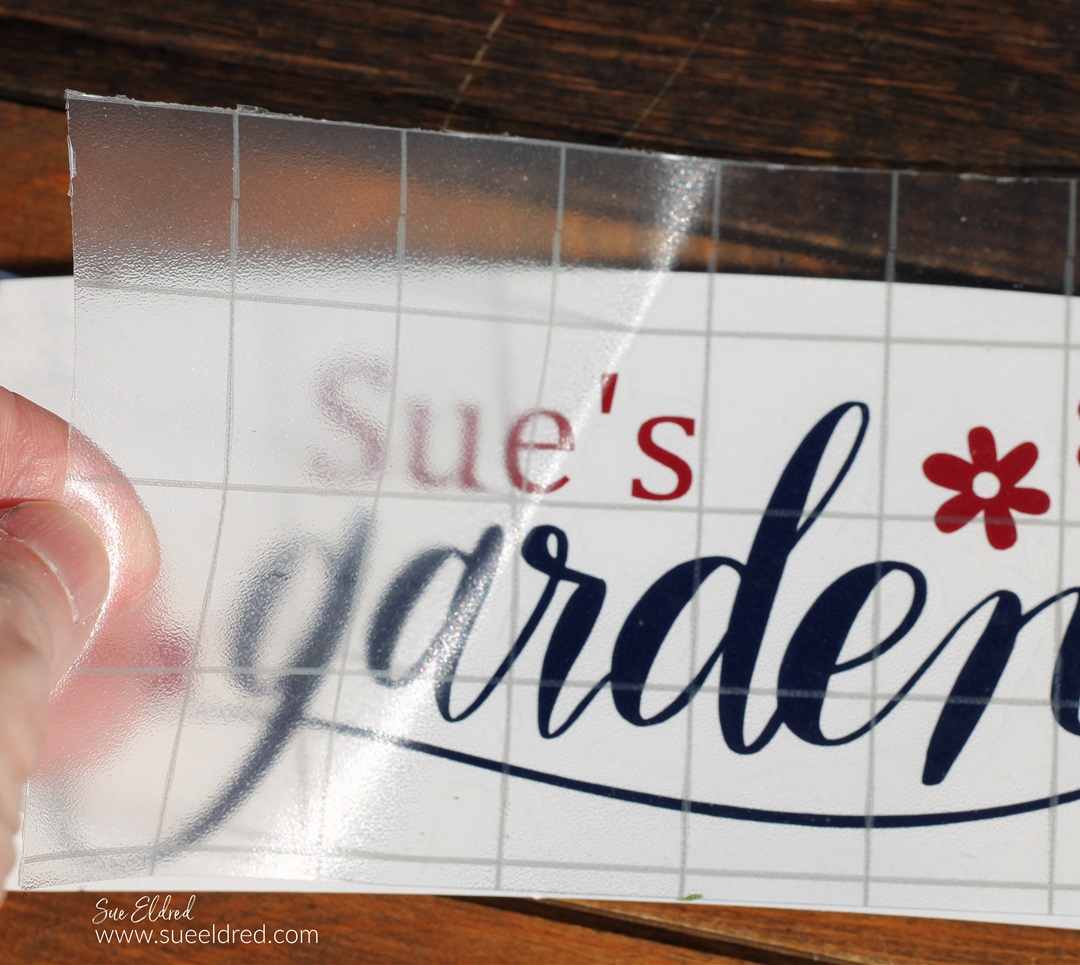
- Remove the transfer tape.
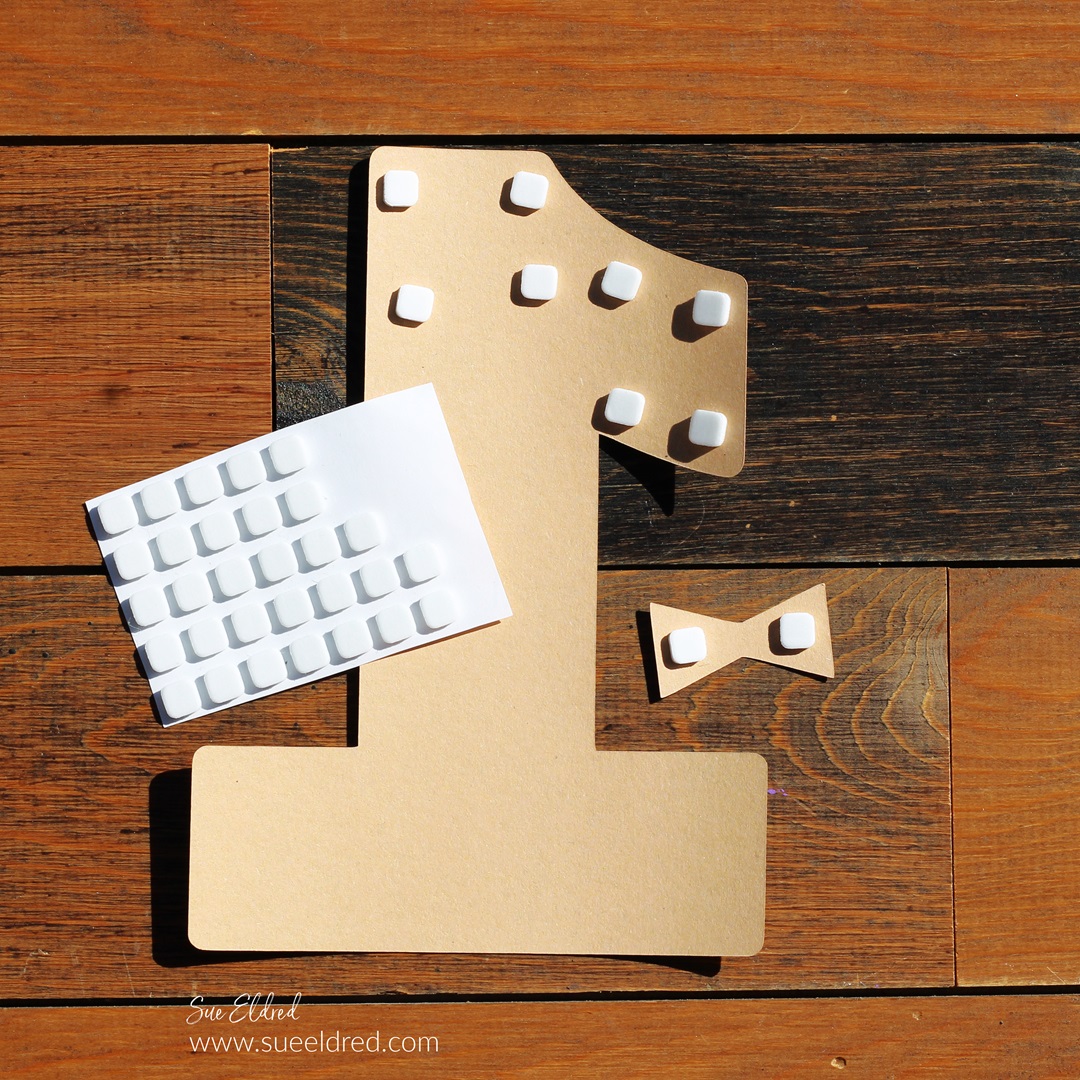
- To make the layered number one stand out, I added thin foam mounting squares to the back.

- Add the gold chrome words “Mr. One’derful” to the front of the number one with transfer tape.
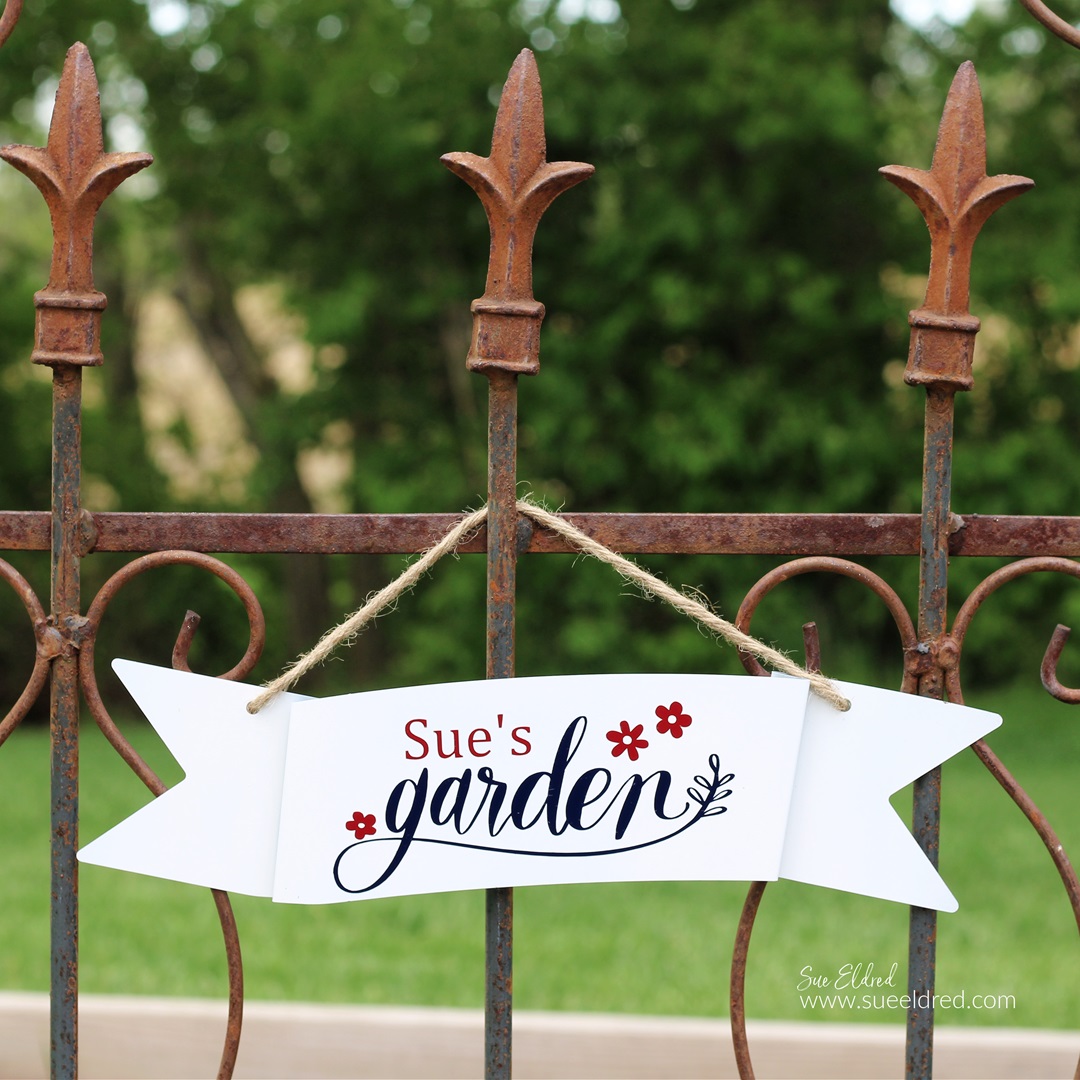
- Place the number one onto the front of a simple white card with a gold layer. I added Milo’s name for fun.

The Party was an auspicious event that included
displays of the guest of honor’s fabulous art pieces,
a caricature artist, hors d’oeuvres, and live music.
Formal attire was strongly encouraged, so,
my husband wore a jacket, and I wore a black dress with pearls.
![]()
“This is a sponsored post. As a member of the StyleTechCraft Design Team I have been provided product and compensation in exchange for my creative ideas. The views and opinions are my own.