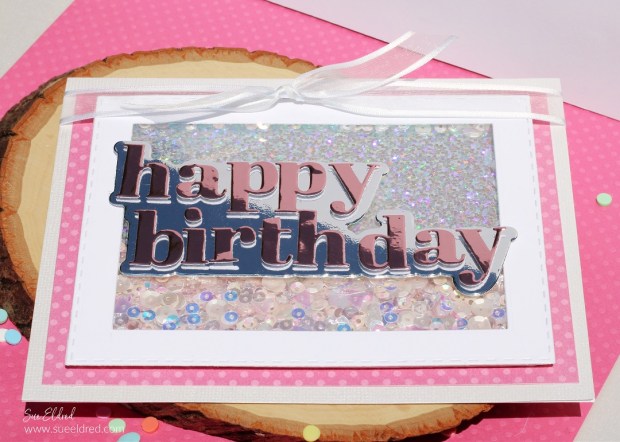
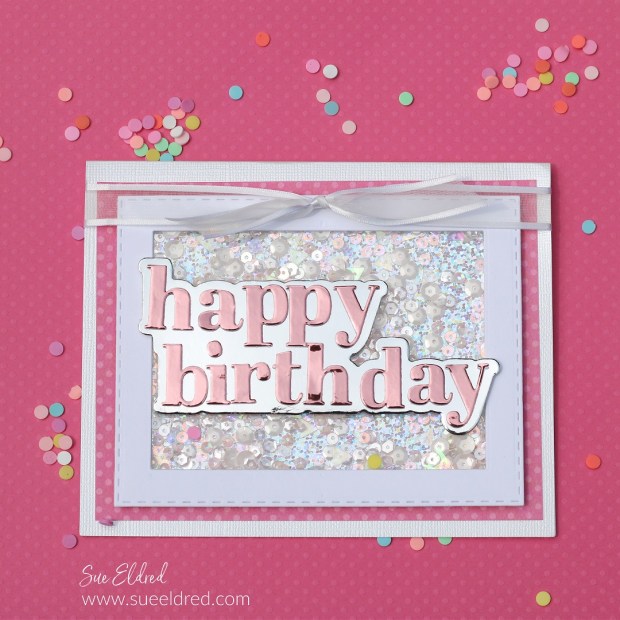
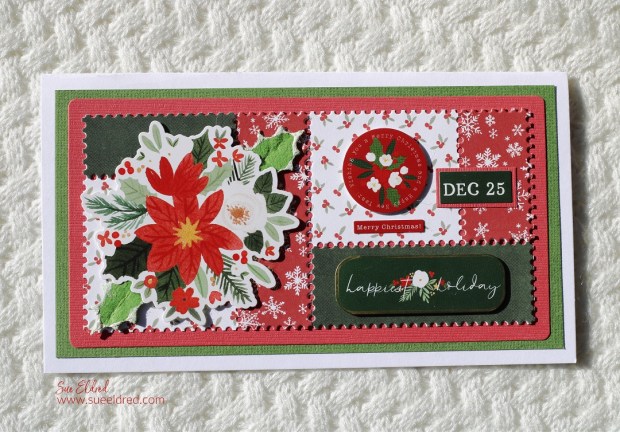
Christmas Quilt Card
Have you finished sending out your Christmas Cards yet?
I’m close to being done, but if you’re not, here’s a last-minute
card using Eileen Hull’s Mini Slimline & Tickets Die Set by Sizzix*

Materials Used: (*affiliate links)
- 666277 Sizzix Mini Slimline & Tickets Die Set by Eileen Hull*
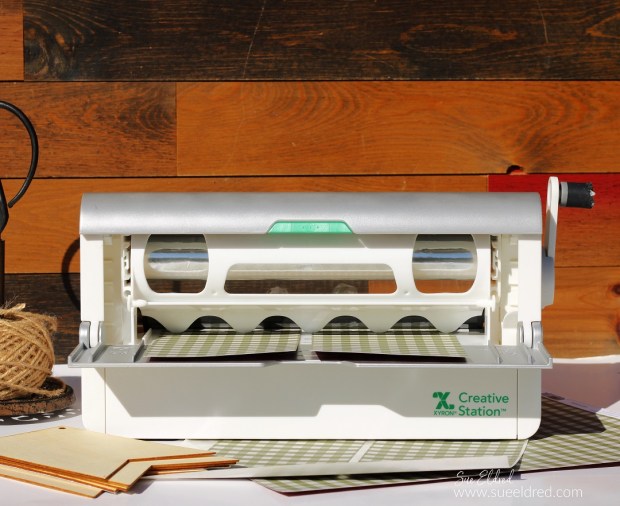
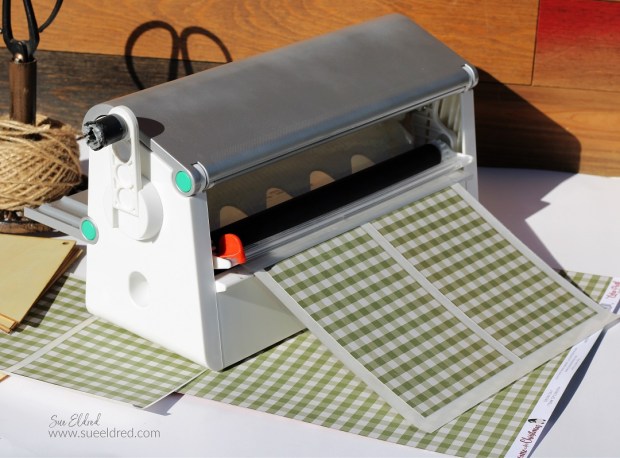
- Big Shot Die-Cutting Machine*
- Happy Christmas Sticker Book from Carta Bella*
- Happy Christmas 6″ x 6″ Paper Pad from Carta Bella*
- Thin 3D Foam Squares*
- Double Sided Tape Roller*
- Cardstock: White, Rose, Green

*Disclosure: This blog uses ads and affiliate links. If you choose to make a purchase using one of the links, I receive a small commission (at no additional cost to you) that helps offset the costs of maintaining this blog. Thanks for your support!

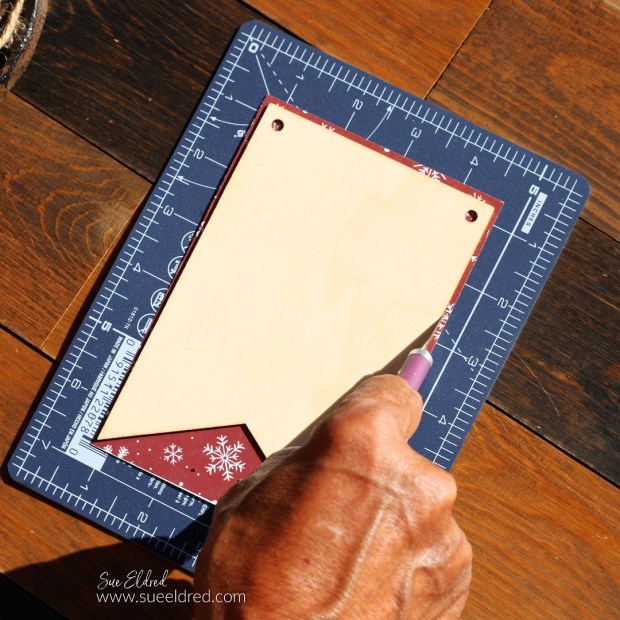
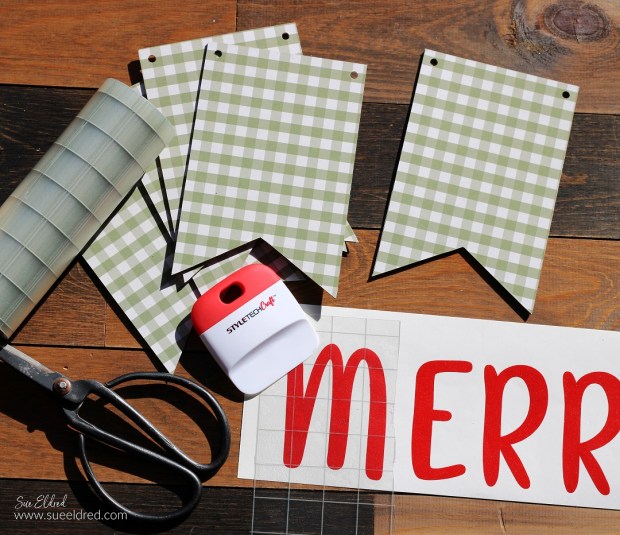
- I know the pieces of the die are technically tickets. I think when it’s all assembled, it looks like a quilt. (so there you have it!)
- I used paper from the “Happy Christmas” Paper Pad* to cut three bases.


- I adhered one base to the die-cut layer. The others, I cut apart. I used those to create a patchwork base.

- I used stickers from the Happy Christmas Sticker Book* to embellish the front of the card.
- Here’s a simple tip I learned from a class I took from Mrs Grossman (of Mrs. Grossman Sticker Company) many years ago. To make stickers die-cuts, brush baby powder on the back to remove the stickiness.
The Slimline Ticket die would make a great card for any occasion.
![]()
Disclosure: This is a sponsored post. As a member of the Eileen Hull Educator Team, I have been provided product in exchange for my creative ideas. The view and opinions are my own.


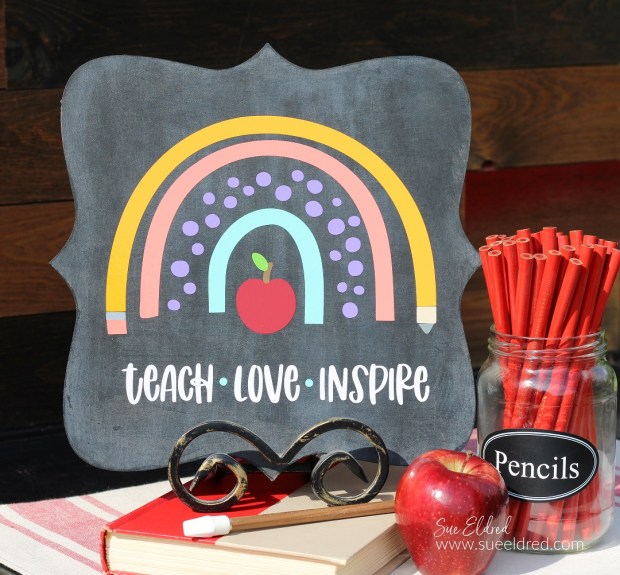
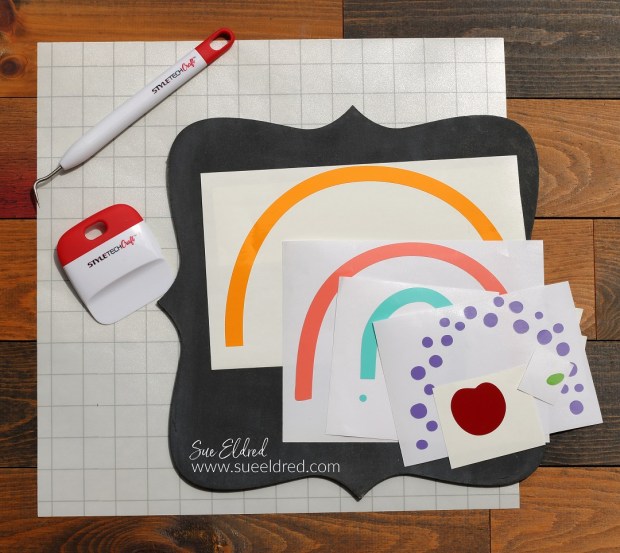
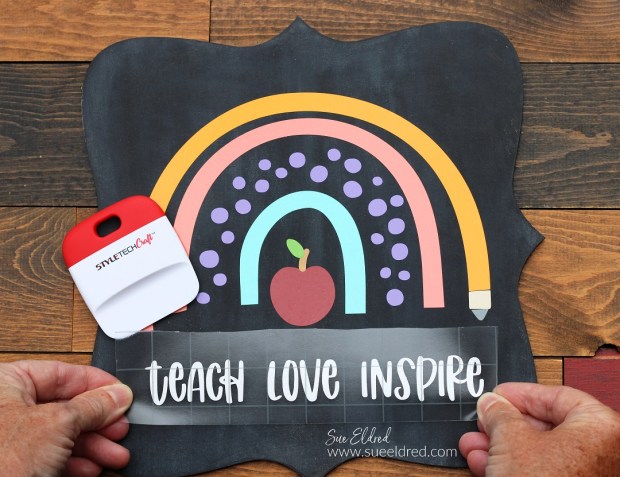


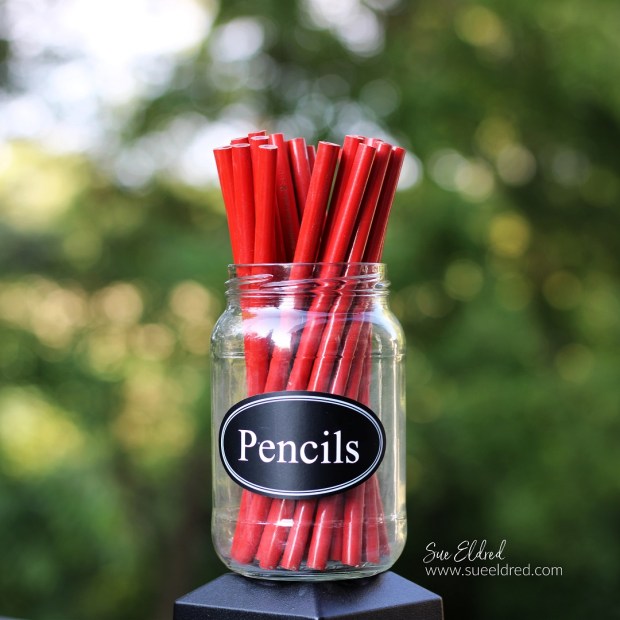
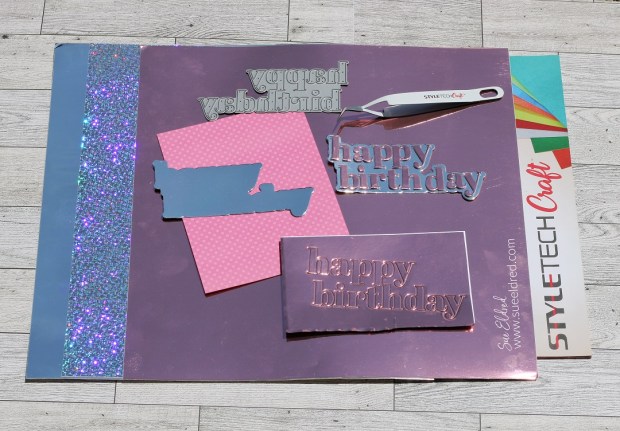
 The back to school sign is a great gift for the favorite teacher in your life.