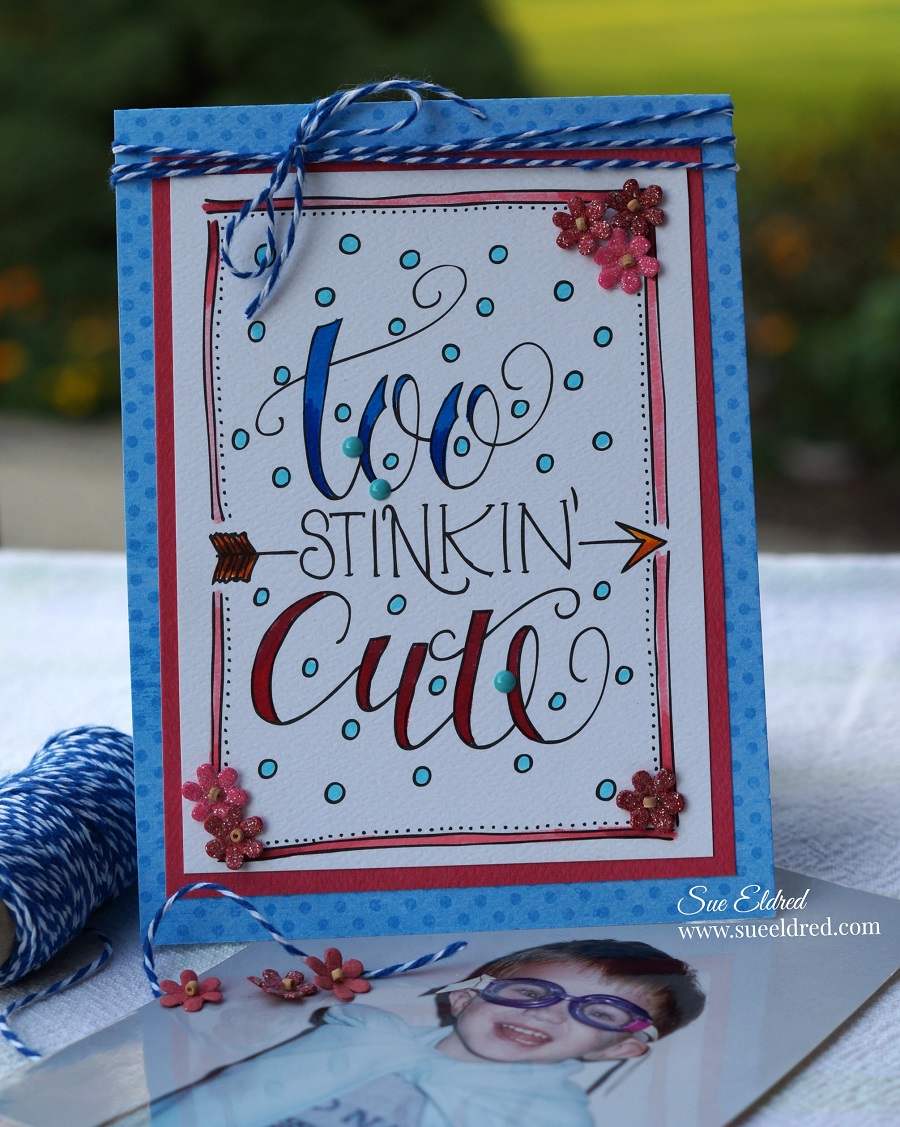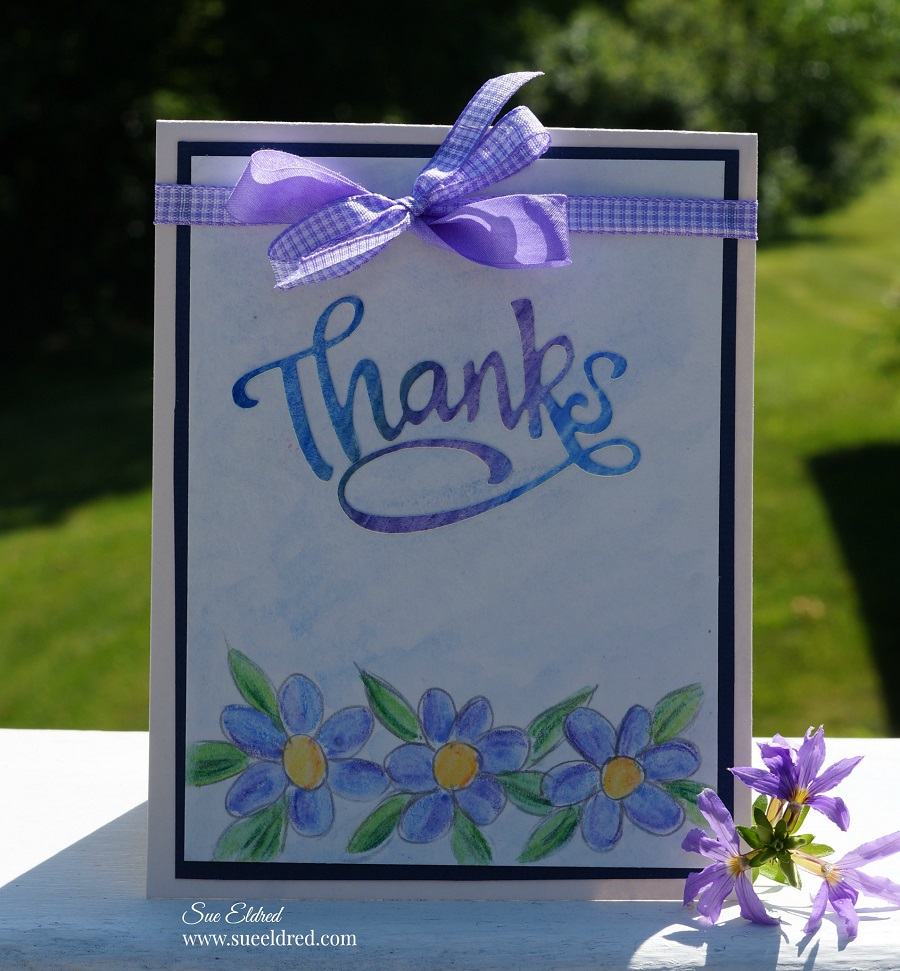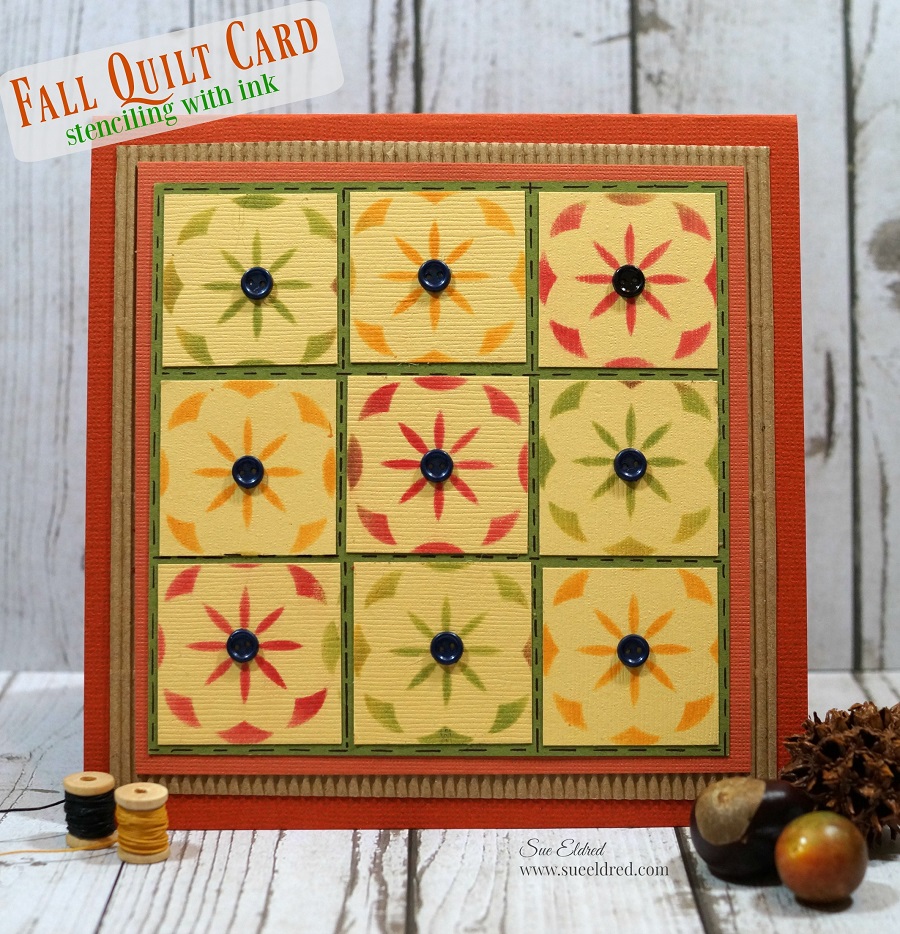
Fall Quilt Card…stenciling with ink
a quick and easy fall card.
This week the Xyron® Design Team partnered up with Clearsnap® the maker of Colorbox® inkpads and more for some fun projects.
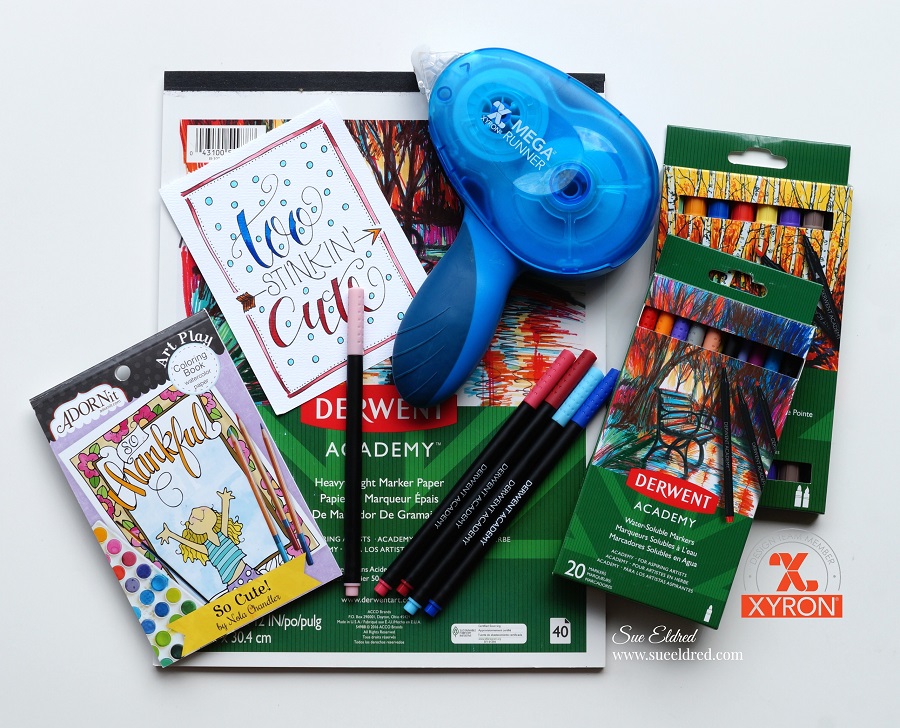
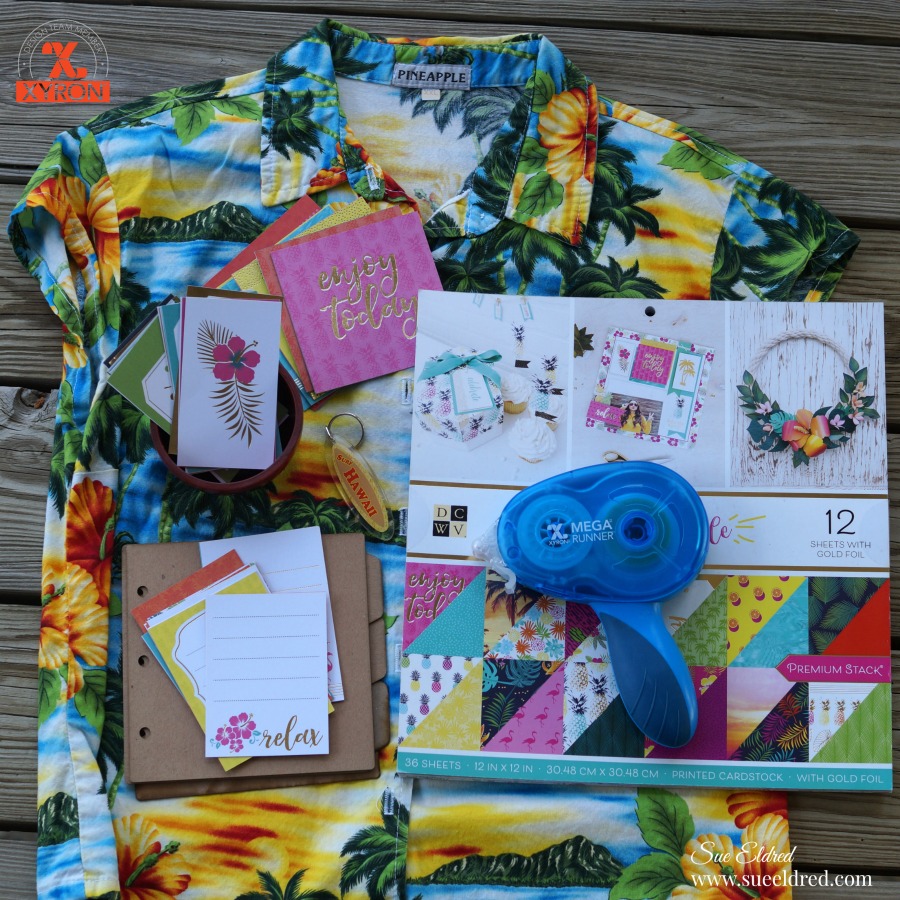
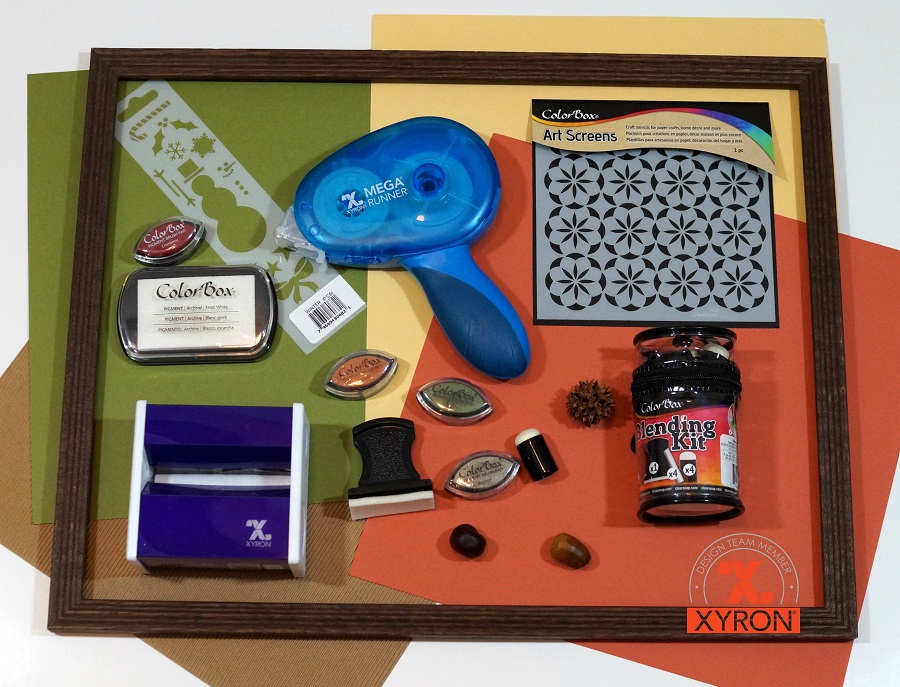
Here’s what I used: (*affiliate link)
- Xyron Mega Runner*
- Xyron 3″ Sticker Maker*
- Colorbox® Art Screens: Mystic
- Colorbox® Blending Kit
- Colorbox® Inks: Amber, Turtle and Cranberry
- Blue Painters Tape*
- Cardstock: Yellow, Terra Cotta, Olive and Kraft Corrugated
- Brown Fine Point Marker
- Teeny Tiny Buttons
- Craft Glue
Directions:
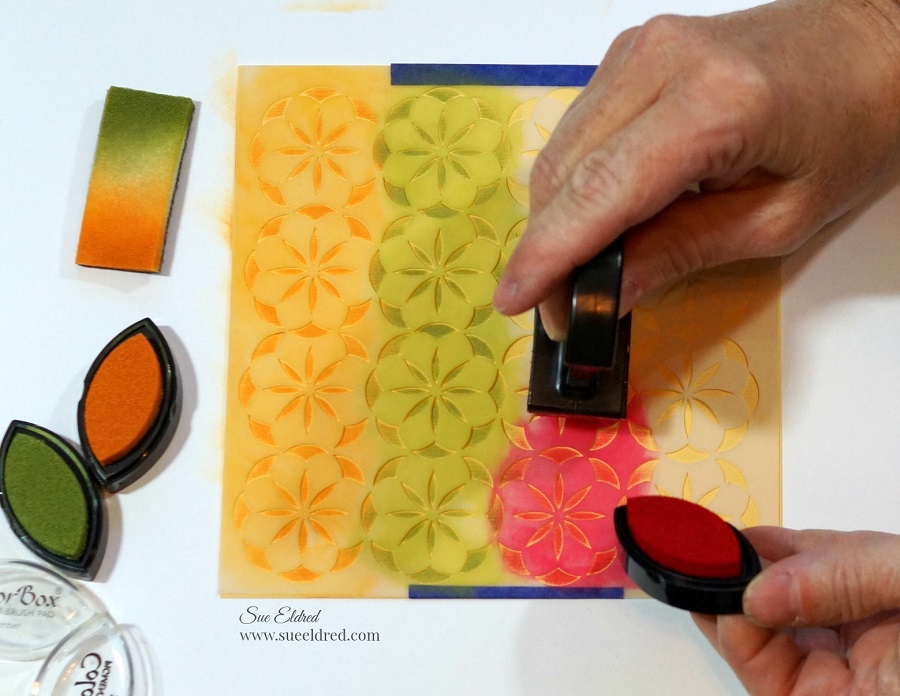
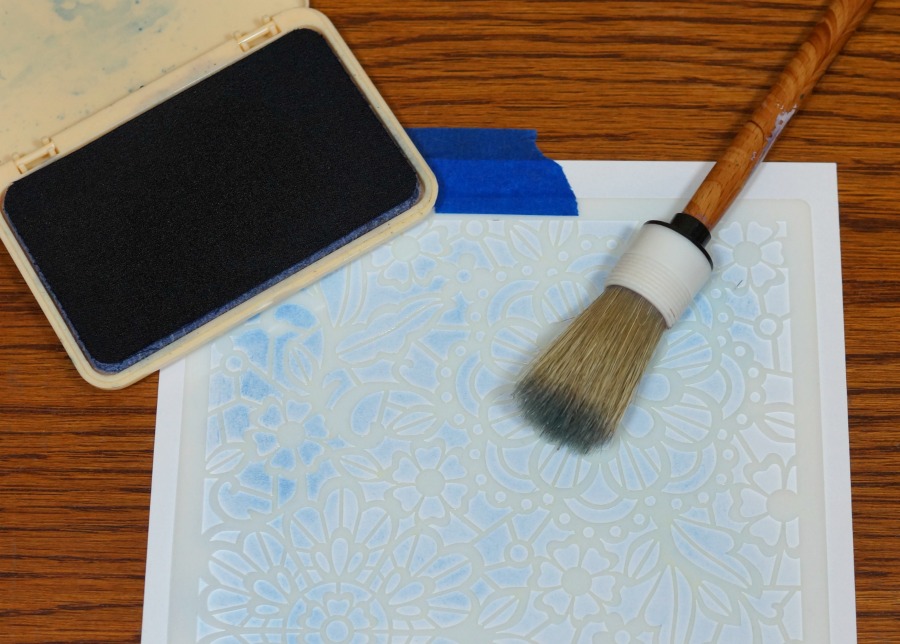
Place the stencil onto yellow cardstock and secured it with removable painters tape.
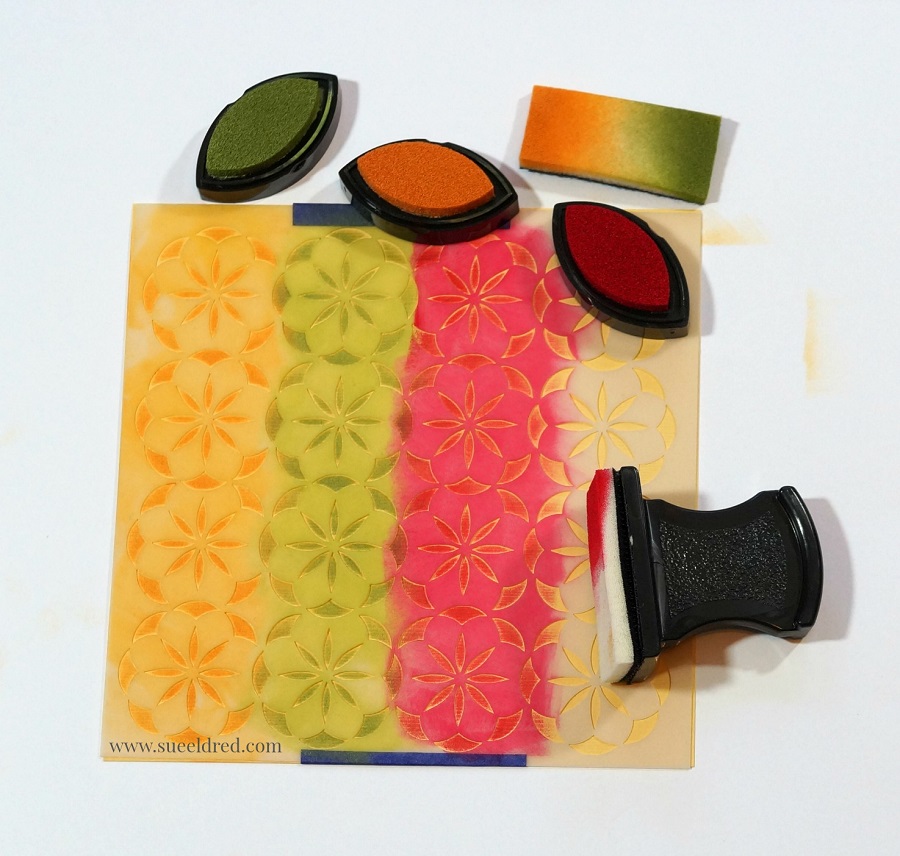
Ink the cardstock using the blending tool and Amber, Turtle and Cranberry Colorbox Inks.
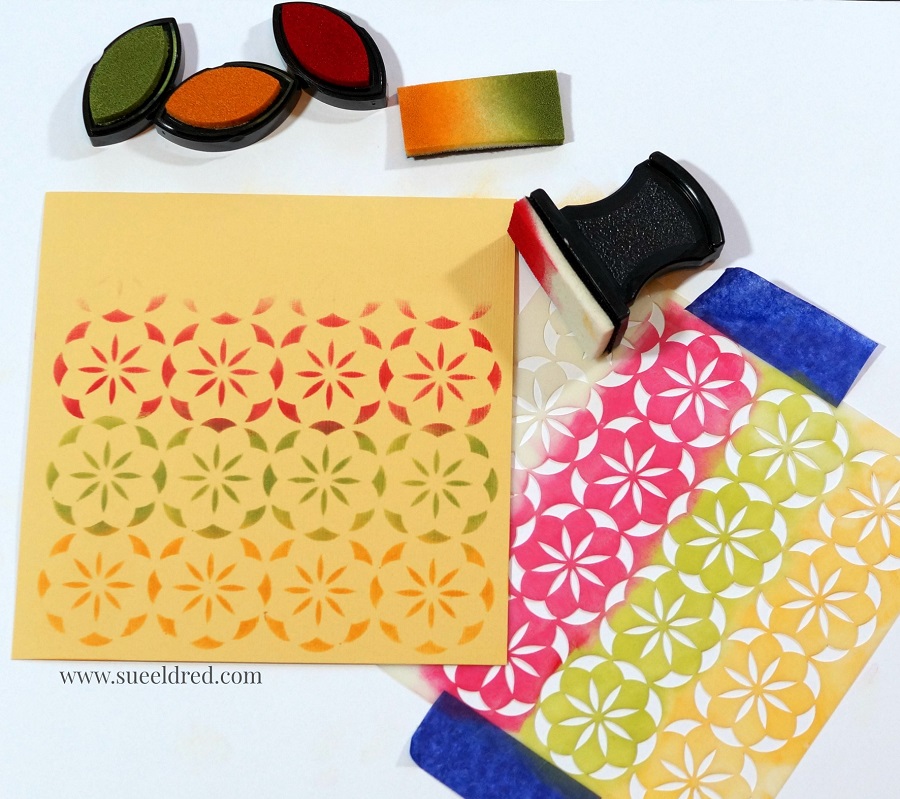
The Art Screen stencil cleans up easily with water.
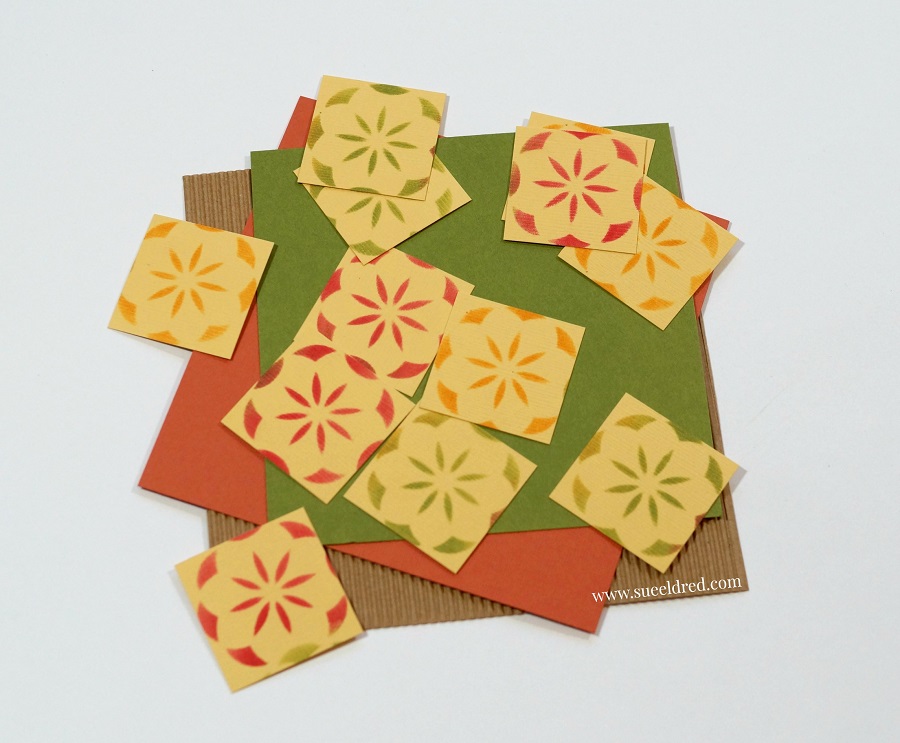
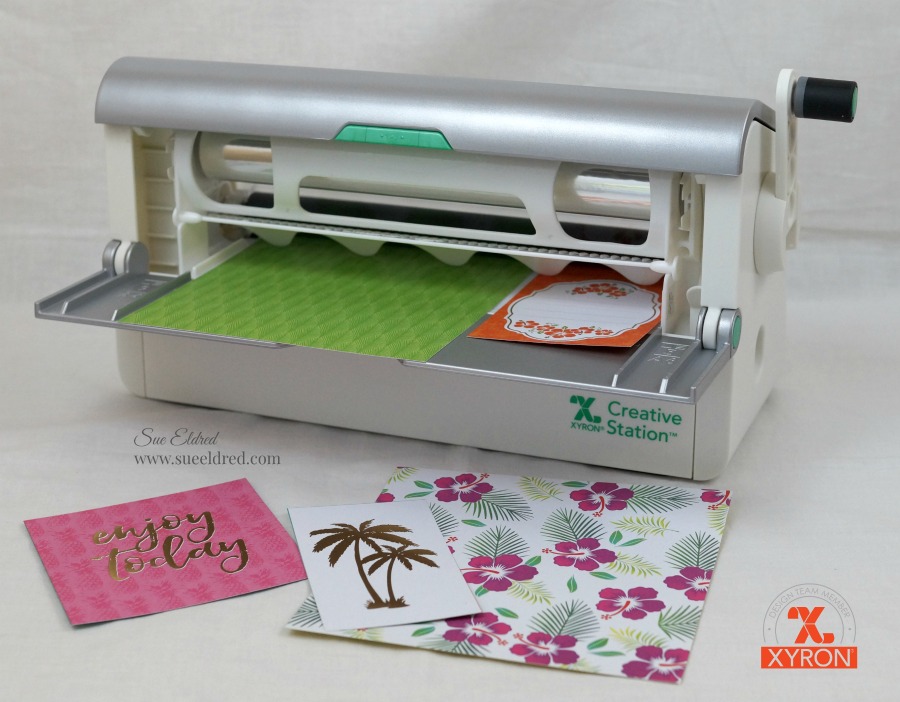
Cut the stenciled cardstock into small squares. (Mine were slightly smaller than 1 inch.)
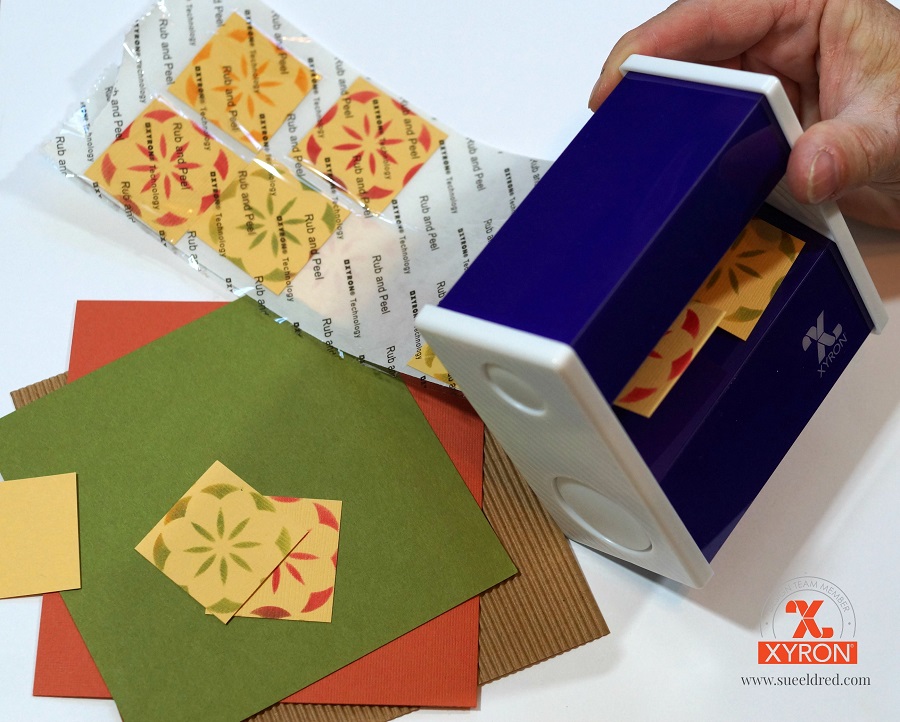
Place the squares through the Xyron 3″ Sticker Maker* for the perfect little sticker.
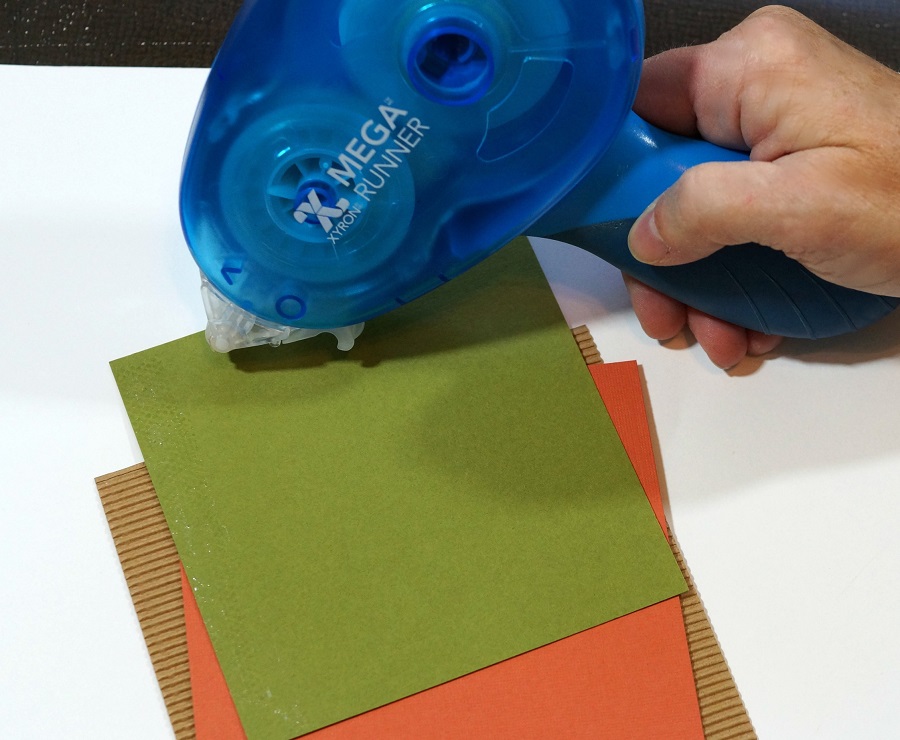
Adhere all the card layers using the Xyron Mega Runner*.
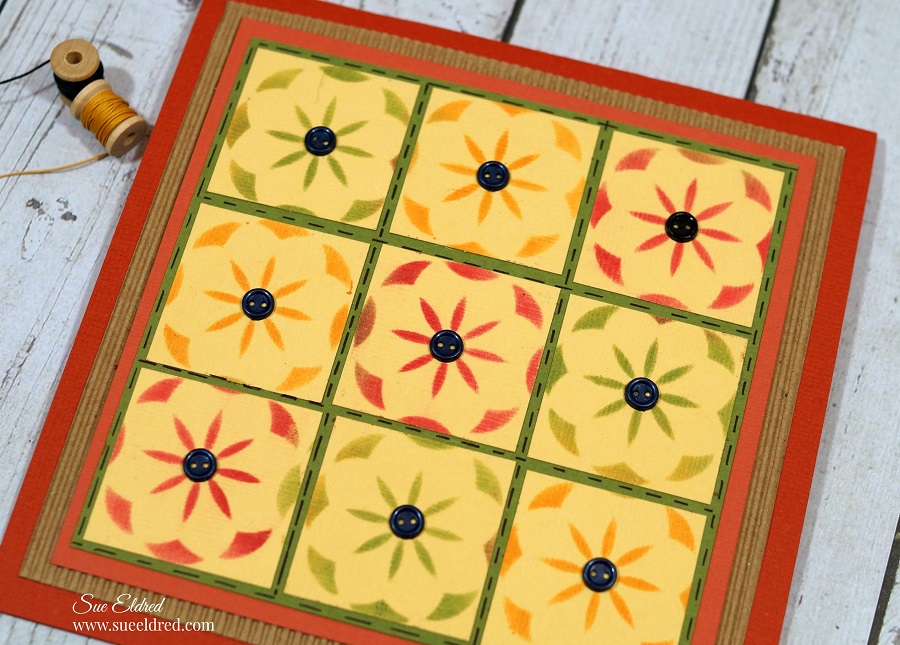
For added detail…draw in small stitch lines using a fine point marker and glue teeny tiny buttons into the center of each square..

“This is a sponsored post. As a member of the Xyron Design Team I have been provided product and compensation in exchange for my creative ideas. The views and opinions are my own.
*Disclosure: This blog uses affiliate links. If you choose to make a purchase using one of the links, I receive a small commission (at no additional cost to you) that helps offset the costs of maintaining this blog. Thanks for your support!