Welcome Home: 3D Arched Window & Flower Box

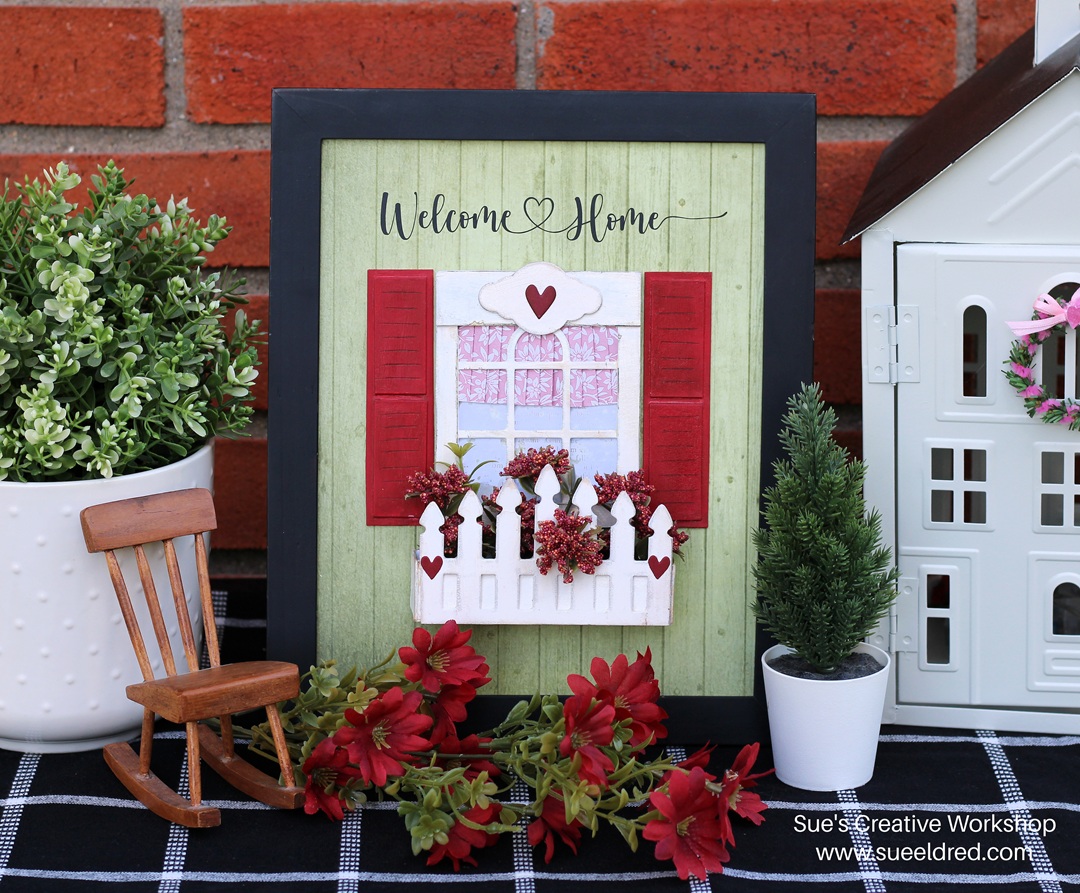
Bring a touch of whimsy to your crafts with this 3D Arched Window & Flower Box project.

Build a charming arched window and fill the flower box with colorful flowers. Easy to assemble and fun to customize, this project makes any space feel a little more welcoming.
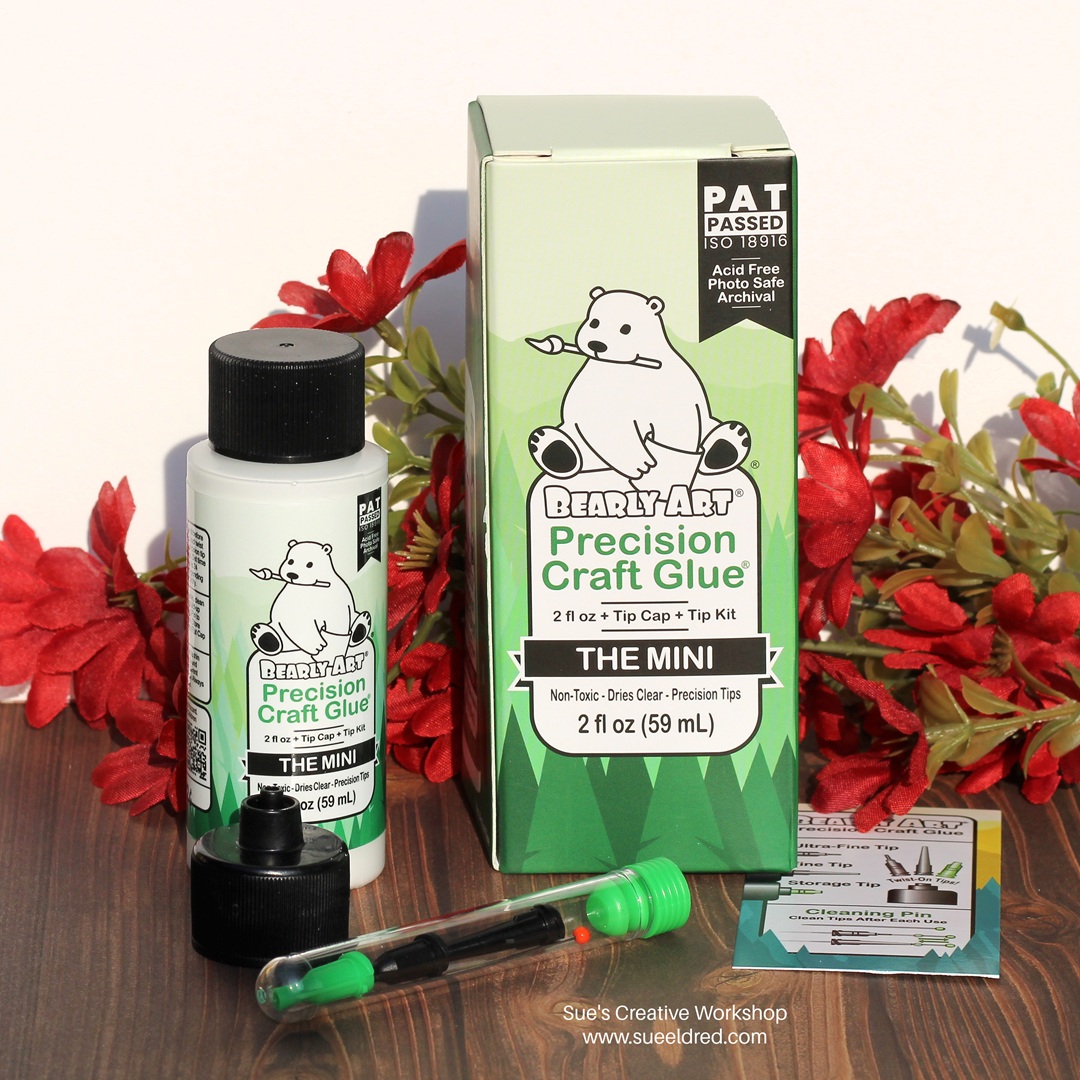
Bearly Art Precision Glue®

The generous folks from Bearly Art gave the Eileen Hull Design Team a bottle of Precision Craft Glue® to try.  I love that it comes with a fine tip, ultra fine tip, and a storage tip.  The tips were very easy to use, and it holds really well.  It was perfect to use for my window project.
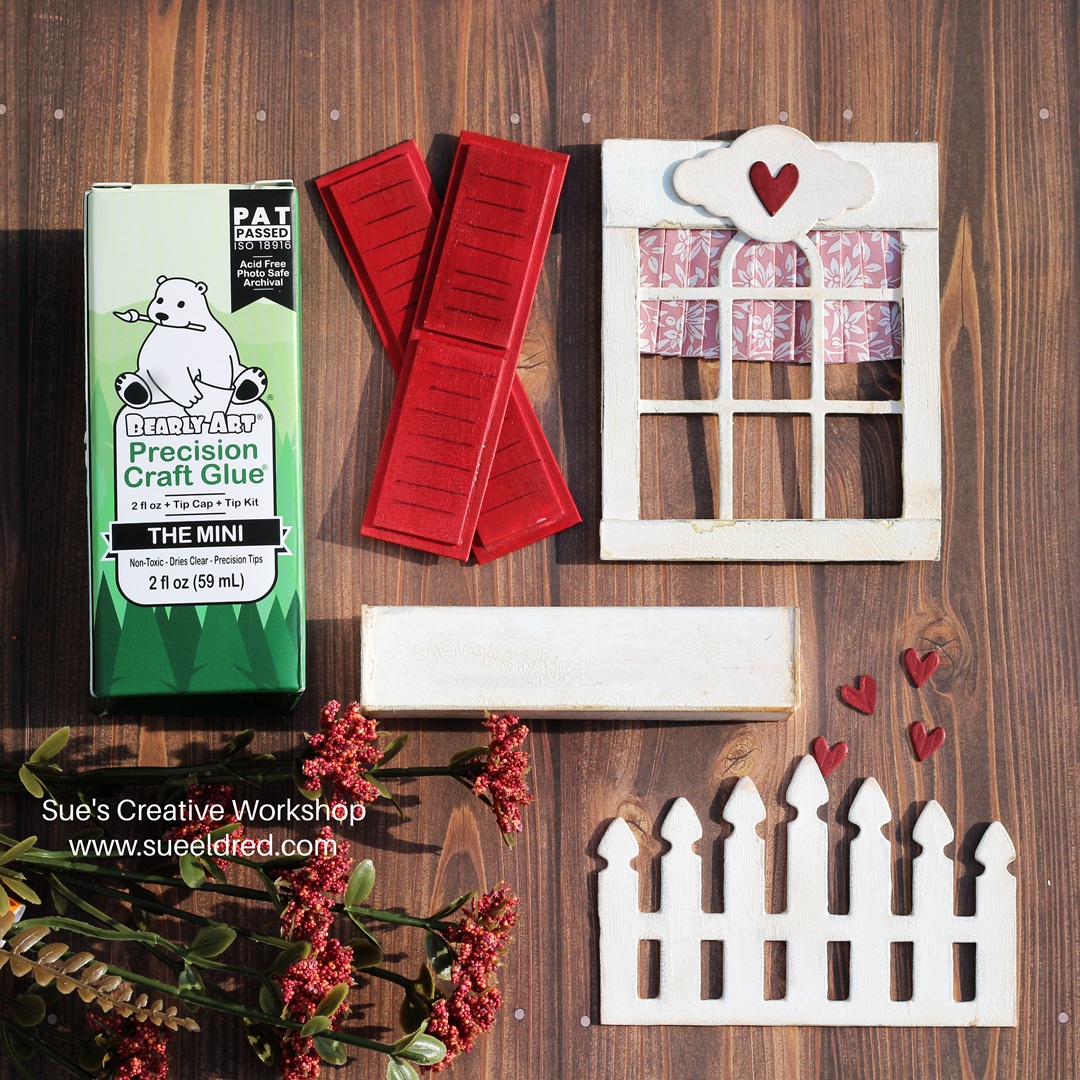
Window and Window Box Details:

  • I used several of Eileen Hull’s Sizzix dies for the pieces that create my window and window box frame.
  • I die-cut and glued several pieces of the arched window die to create the window.  I glued strips of matboard on the top and bottom of the window for added stability.
  • The shutters and window box was made using matboard glued together with Bearly Arts Precision Glue.
  • I painted all the pieces with acrylic paint and aged them using Deco Art One Step Crackle Finish.
  • For the curtain, I pleated a strip of thin one-sided scrapbook paper and glued it into place.
  • I placed a small piece of painted Styrofoam into the window box and glued the tiny flowers into place.
  • Used 3D foam strips under the window and window box to put inside my 8″ x 10 frame.
  • I created the words “Welcome Home” using Black Matte Vinyl from StyleTechCraft.

Materials Used: (*affiliate links)

*Disclosure:  This blog uses ads and affiliate links.  If you choose to make a purchase using one of the links, I receive a small commission (at no additional cost to you) that helps offset the costs of maintaining this blog.  Thanks for your support!
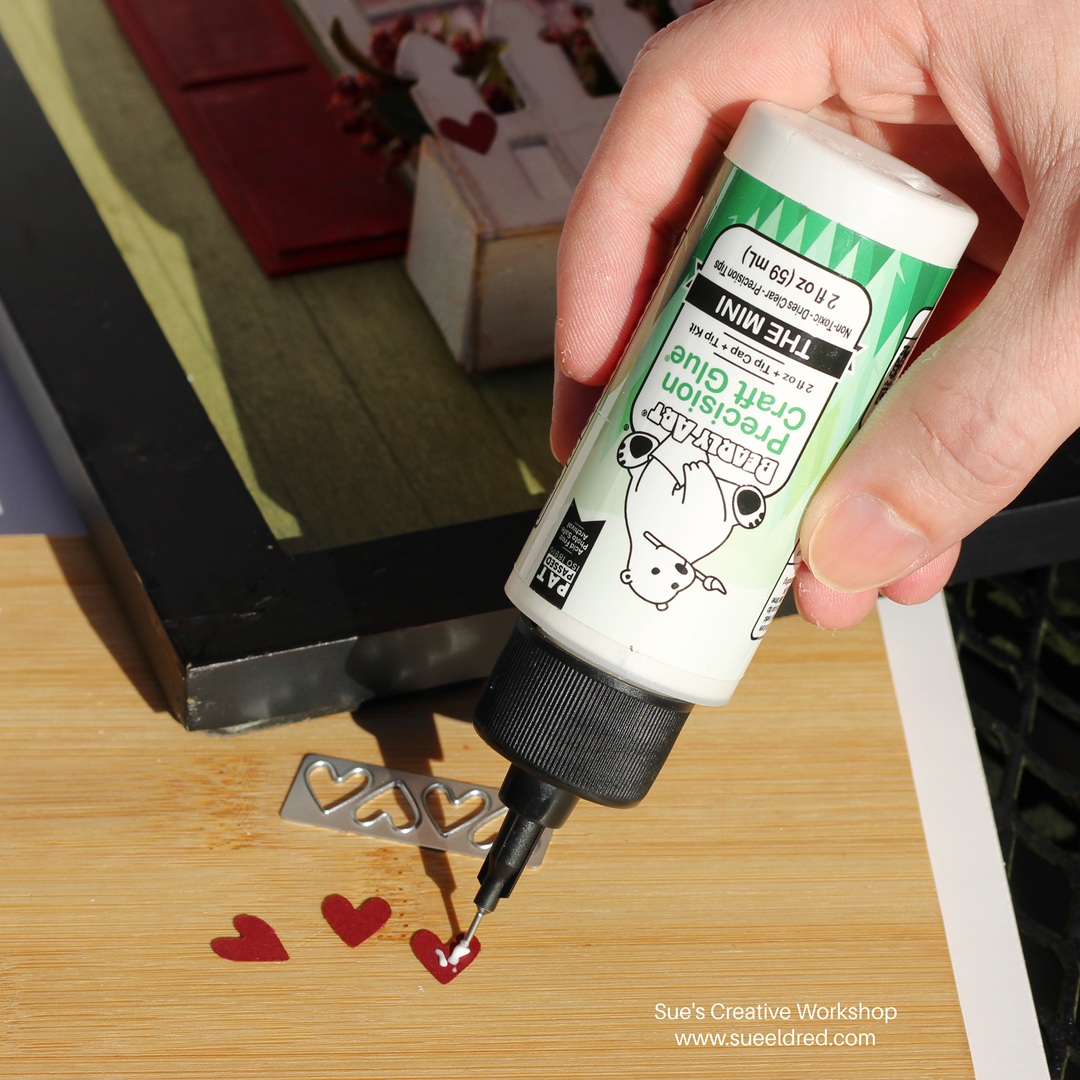
A little extra details.

I die-cut tiny hearts to decorate the window and window box using the Sizzix Stitched Heart Die.
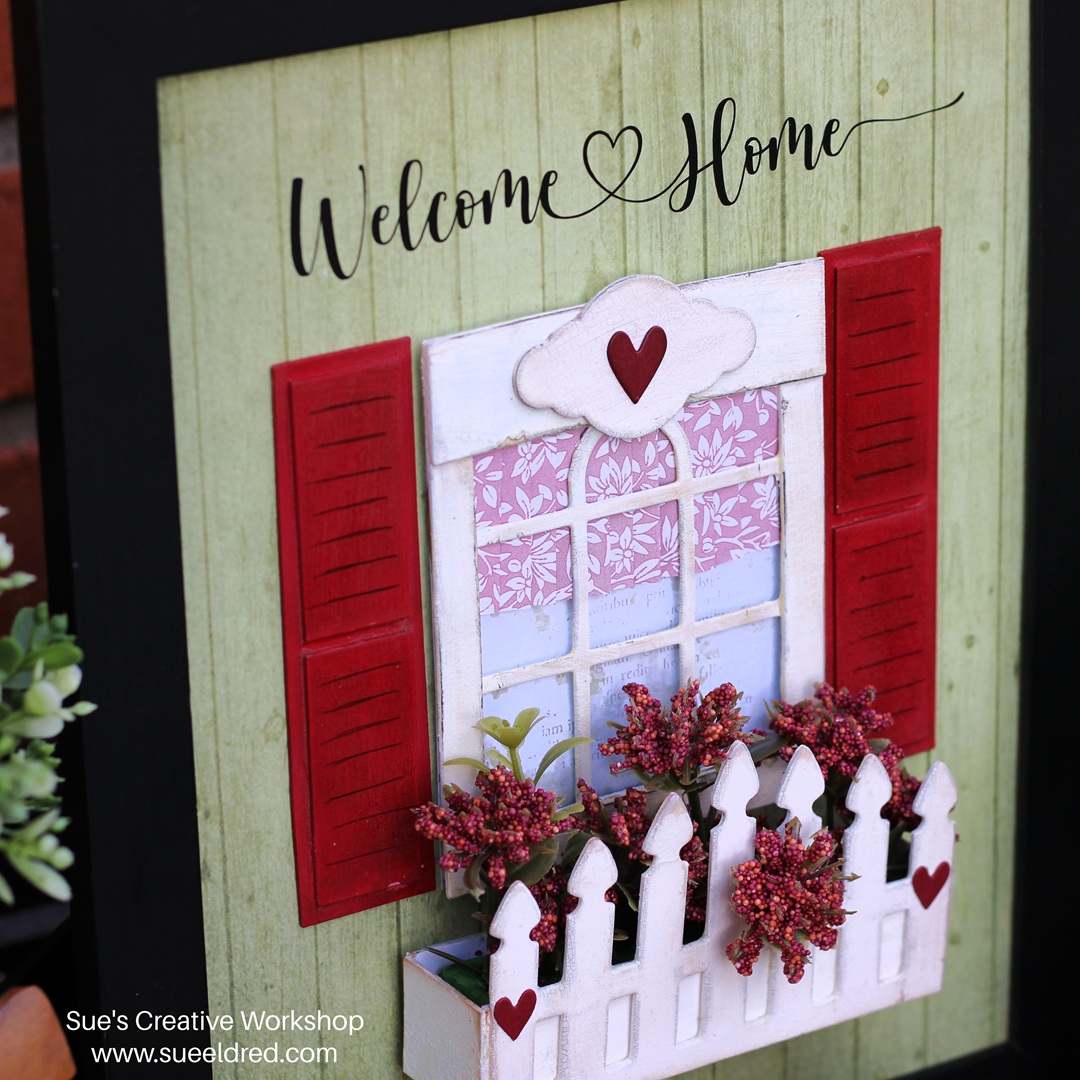
Create a layered arched window and fill the flower box with bright, cheerful blooms.

This project is easy to assemble, simple to customize, and brings a warm, welcoming feel wherever you display it.

Happy crafting!

Eileen Hull Educator Logo

Disclosure:  This is a sponsored post.  As a member of the Eileen Hull Inspiration Team, I have been provided product in exchange for my creative ideas.  The view and opinions are my own.

Simple Reverse Painting Technique on Acrylic

Reverse Painting Technique on Acrylic-How to make a Mandala Suncatcher

How to make a Mandala Suncatcher using a Simple Reverse Paint Technique on Acrylic

Are you looking for a fun and easy project to make this summer

that both kids and adults will enjoy.

The Mandala Suncatcher is an easy project that uses a reverse paint technique,

paint markers, and StyleTechCraft vinyl.

“This is a sponsored post.  As a member of the StyleTechCraft Design Team I have been provided product and compensation in exchange for my creative ideas.  The views and opinions are my own.

Reverse Painting Technique on Acrylic-How to make a Mandala Suncatcher

Materials Used:  (*affiliate links)

StyletechCraft products brought to you by ATSM Craft*

*Disclosure:  This blog uses ads and affiliate links.  If you choose to make a purchase using one of the links, I receive a small commission (at no additional cost to you) that helps offset the costs of maintaining this blog.  Thanks for your support!

Reverse Painting Technique on Acrylic-How to make a Mandala Suncatcher

Directions:

  • The mandala design was cut out of black glossy adhesive vinyl using a Silhouette Cameo Electronic Die Cutting Machine*.
  • After the design has been cut, remove the excess vinyl in and around the design using a vinyl weeding tool*.
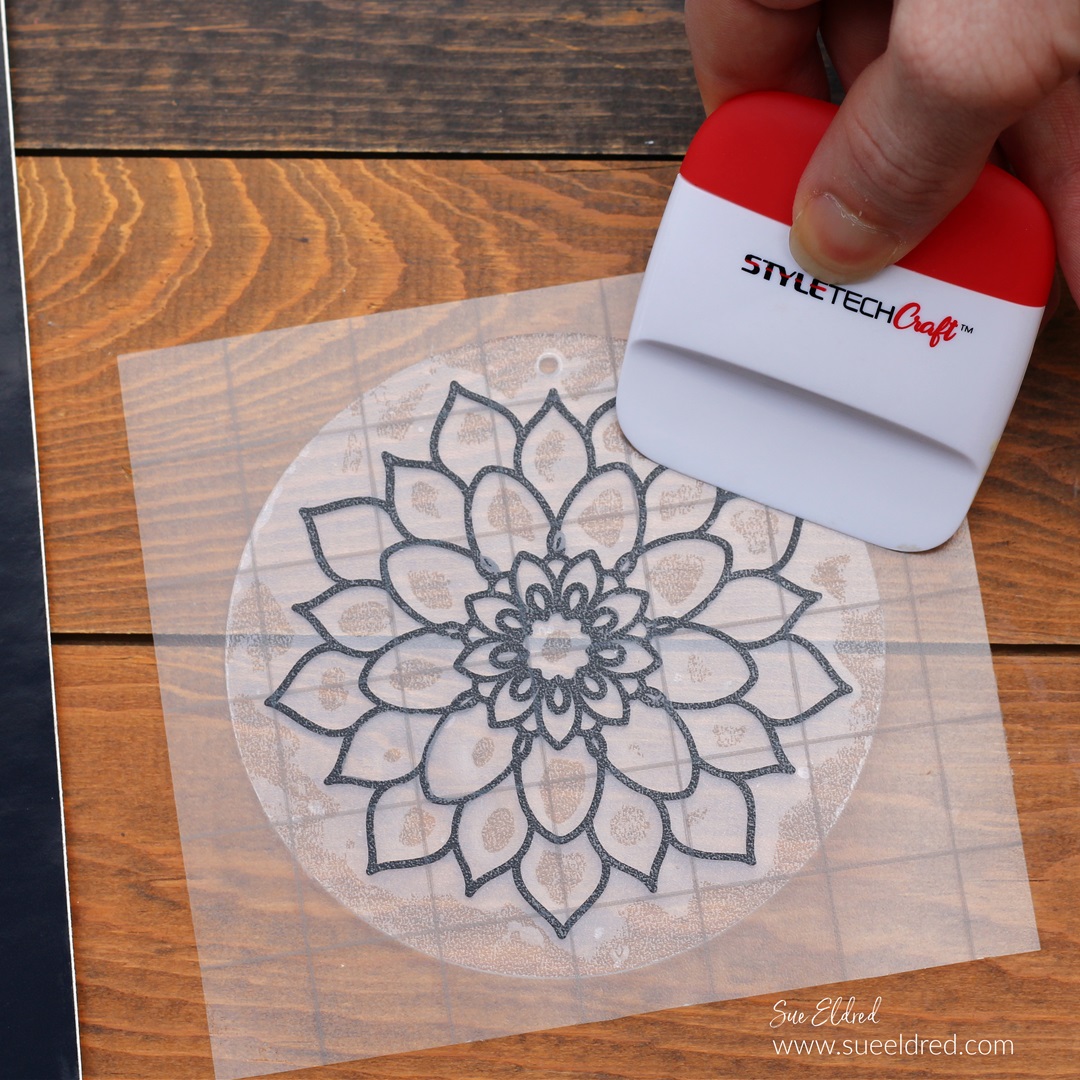
  • My acrylic circle* had a protective coating on both sides. Remove the protective layer from one side of the circle.  Place vinyl transfer paper over the mandala design. Rub over the design using a vinyl scraper tool to help the vinyl cling to the transfer paper.
  • Place the transfer paper with the mandala design centered on the acrylic circle.
  • Gently rub over the design and remove the Vinyl Transfer Tape*.

Reverse Painting Technique on Acrylic-How to make a Mandala Suncatcher

  • Turn the acrylic circle over.
  • Remove the protective layer on the back of the circle.
  • You will do a reverse painting technique on the back of the circle.
  • Starting in the center of the design, color using the paint markers.

Reverse Painting Technique on Acrylic-How to make a Mandala Suncatcher

  • Make sure to color to the edge of the lines and get the colors as close as possible.
  • Here is the back of the circle with the mandala design colored in.

Reverse Painting Technique on Acrylic-How to make a Mandala Suncatcher-Sue's Creative Workshop www.sueeldred.com 5502

  • I added a gold edge to the suncatcher using a DecoColor Gold Calligraphy Pen*. (I think it helps the design stand out.)
  • The best part of the reverse paint technique is that when you flip the circle back over, you’ll have crisp black lines.
  • Add gold and white twine to the top of the acrylic circle to hang.

A reverse painting option… for those who don’t have an electronic die-cutter would be to trace a pattern onto the acrylic before painting.  (see below↓)

REVERSE GLASS PAINTING TECHNIQUE WITH DECOCOLOR MARKERS

You can see the original Reverse Glass Painting Technique with DecorColor Markers post here.

Christmas Quilt Card

Christmas Quilt Card

Christmas Quilt Card

Have you finished sending out your Christmas Cards yet?

I’m close to being done, but if you’re not, here’s a last-minute

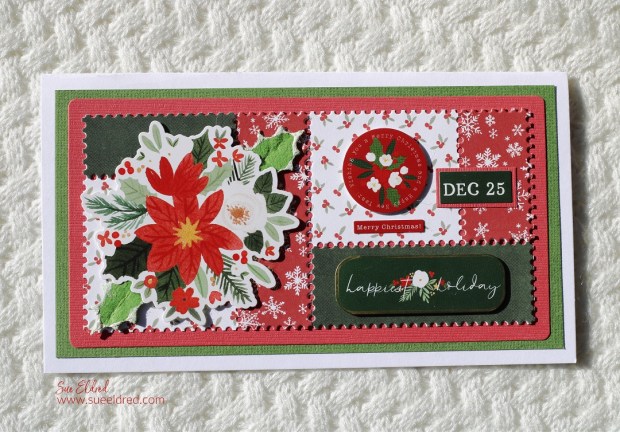
card using Eileen Hull’s Mini Slimline & Tickets Die Set by Sizzix*

Christmas Quilt Card

Materials Used:  (*affiliate links)

*Disclosure:  This blog uses ads and affiliate links.  If you choose to make a purchase using one of the links, I receive a small commission (at no additional cost to you) that helps offset the costs of maintaining this blog.  Thanks for your support!

Christmas Quilt Card

  • I know the pieces of the die are technically tickets.  I think when it’s all assembled, it looks like a quilt.  (so there you have it!)
  • I used paper from the “Happy Christmas” Paper Pad* to cut three bases. 

Christmas Quilt Card

  • I adhered one base to the die-cut layer.  The others, I cut apart. I used those to create a patchwork base.

Christmas Quilt Card

  • I used stickers from the Happy Christmas Sticker Book* to embellish the front of the card.  
  • Here’s a simple tip I learned from a class I took from Mrs Grossman (of Mrs. Grossman Sticker Company) many years ago. To make stickers die-cuts, brush baby powder on the back to remove the stickiness.

Christmas Quilt Card

The Slimline Ticket die would make a great card for any occasion.

Eileen Hull Educator Logo

Disclosure:  This is a sponsored post.  As a member of the Eileen Hull Educator Team, I have been provided product in exchange for my creative ideas.  The view and opinions are my own. 

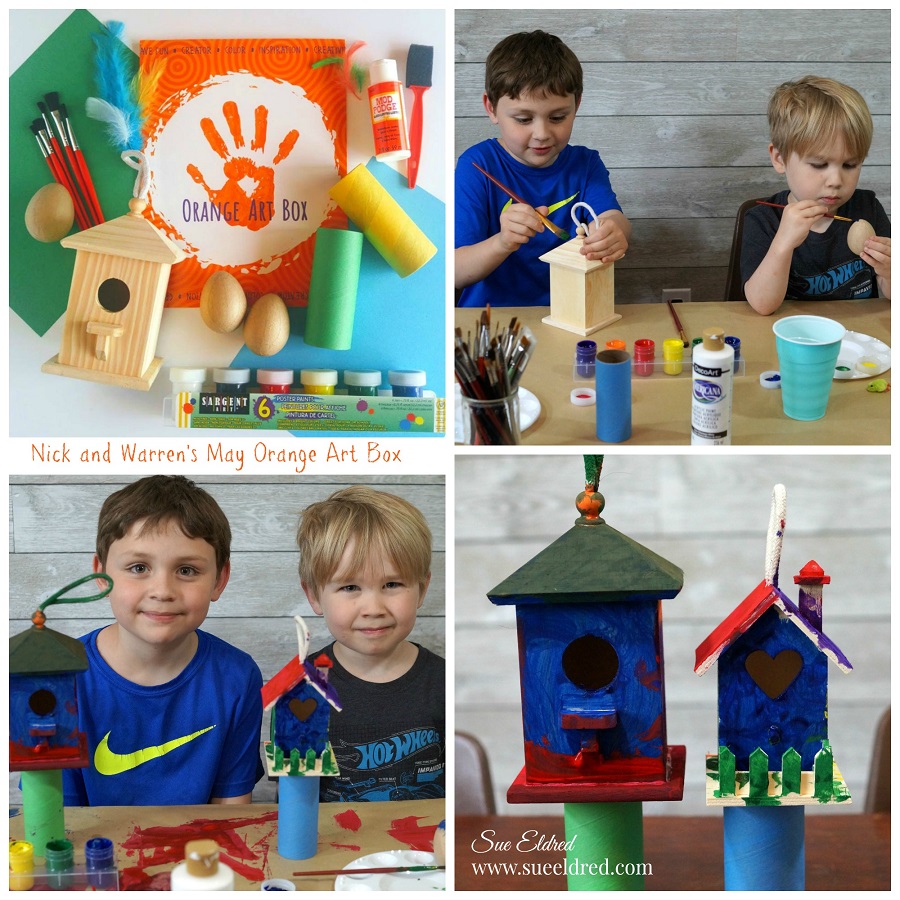
Nick and Warren’s May Orange Art Box

The adventure continues with Nick and Warren and the Orange Art Box for May.

May’s Orange Art Box is all about birds, birdhouses and feathers.

As you can tell by the silly video below that the boys enjoyed themselves.

The Orange Art Box is a subscription art box for kids.

Enjoy the boy’s silly video.

*Disclosure:  “This is a sponsored post.  I have been provided product in exchange for my creative ideas.  The views and opinions are my own.”