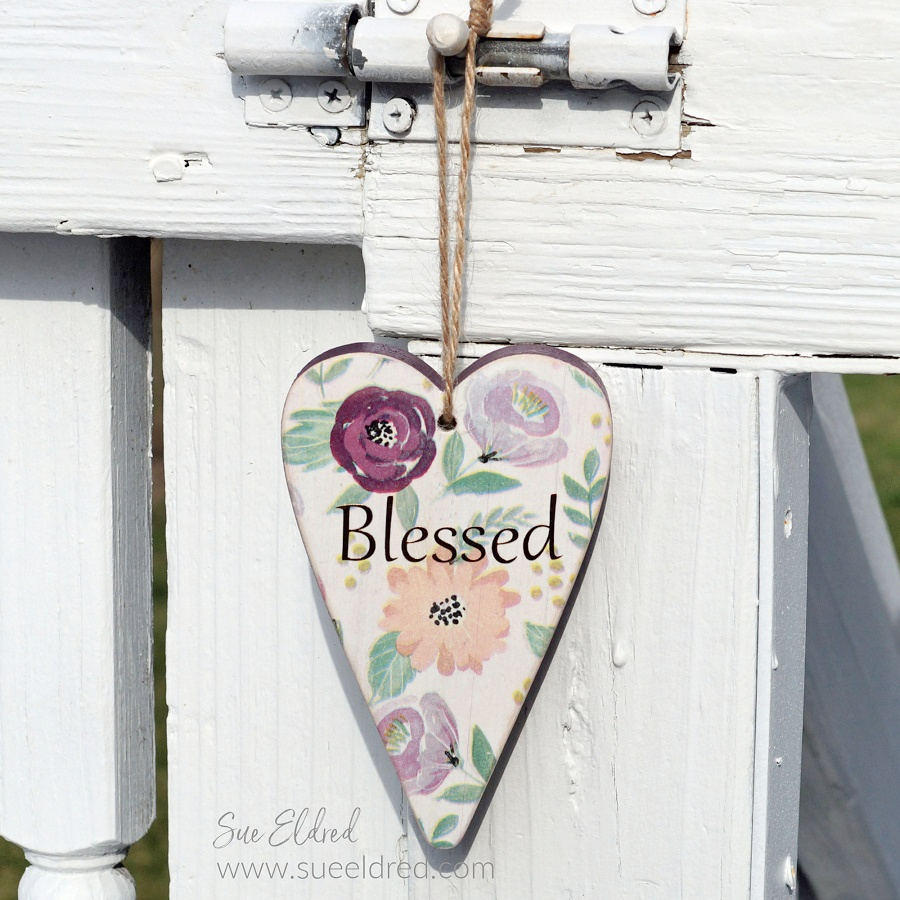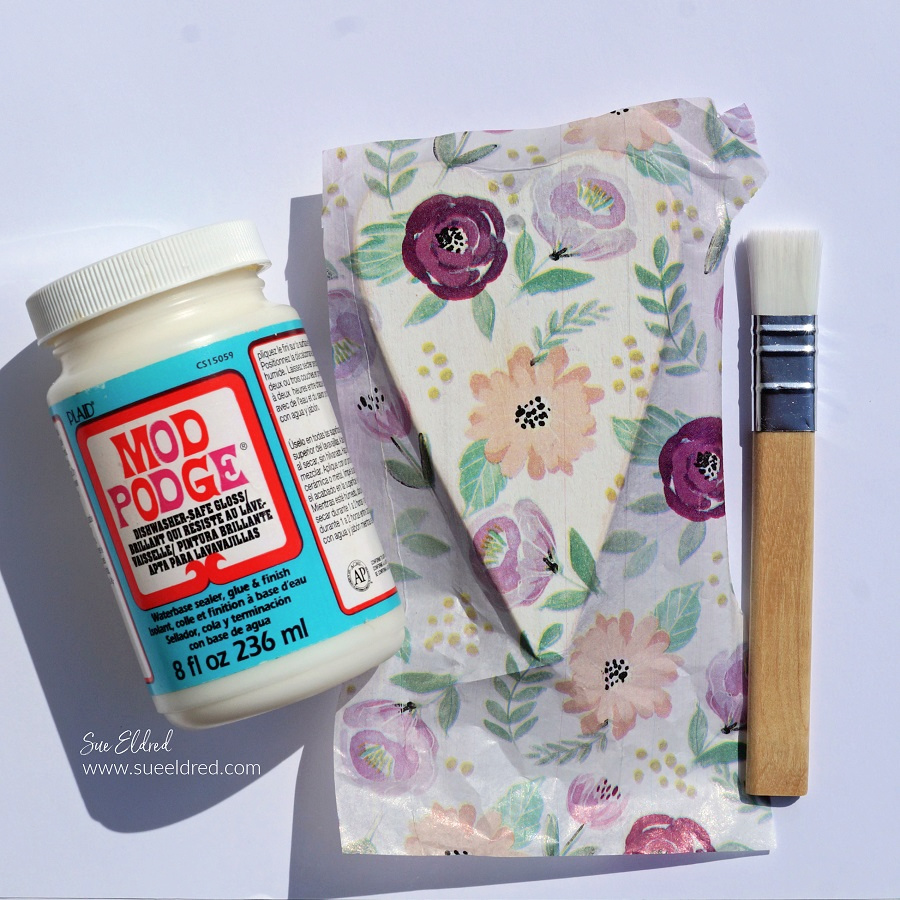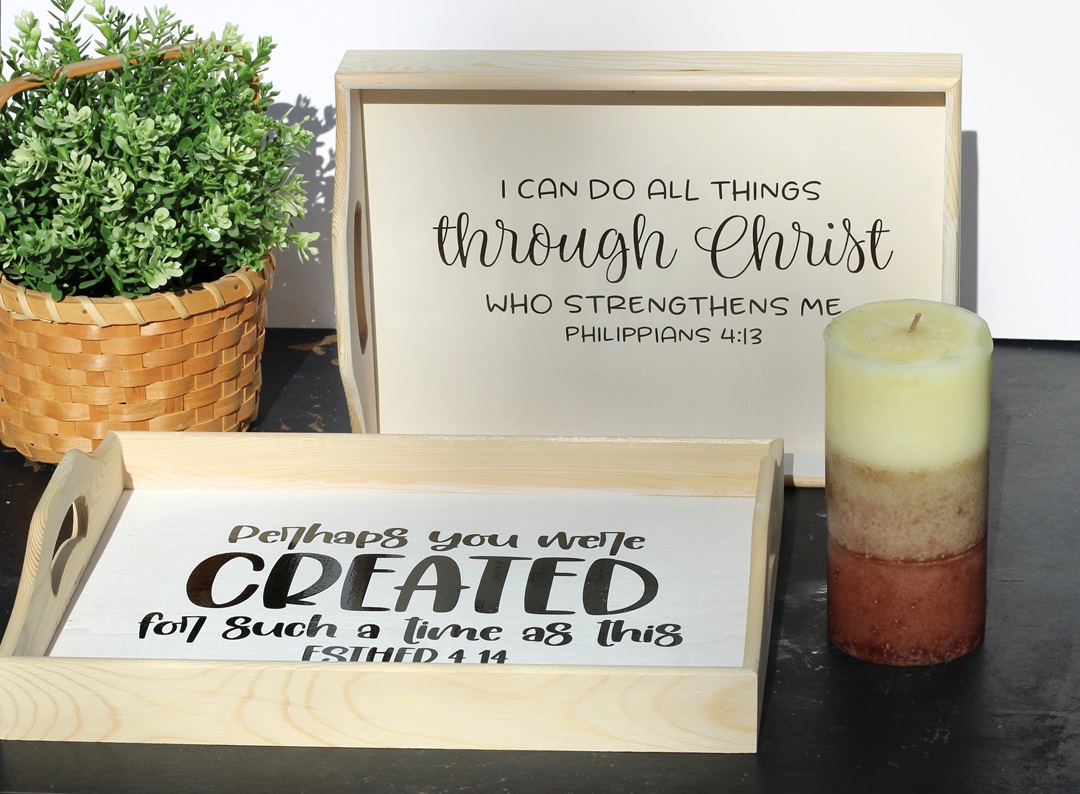
Looking for a Quick and Easy DIY Gift Idea?
These Inspiration Trays are Special End of the Year Teacher Gifts.
My sister works at a private Christian school and asked me to
help her personalize gifts for a couple of special co-workers.
She’s a great gift giver and likes to give thoughtful gifts.
(Each teacher was asked to fill out a survey of things they
liked including their favorite scripture verse.)
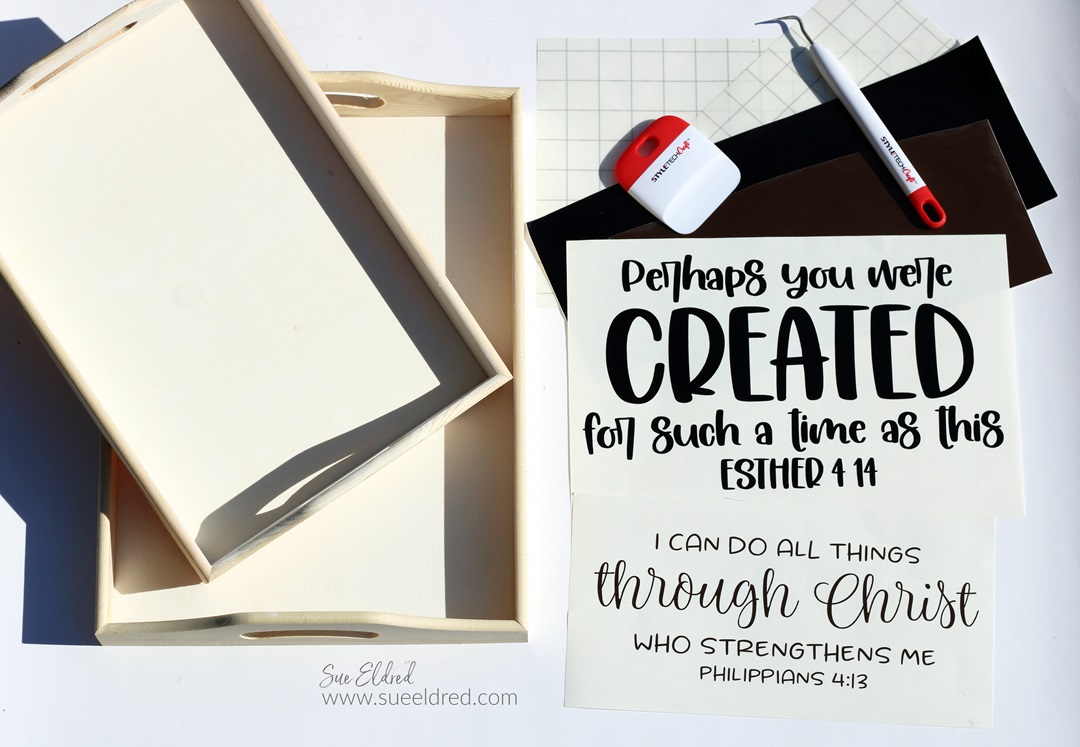
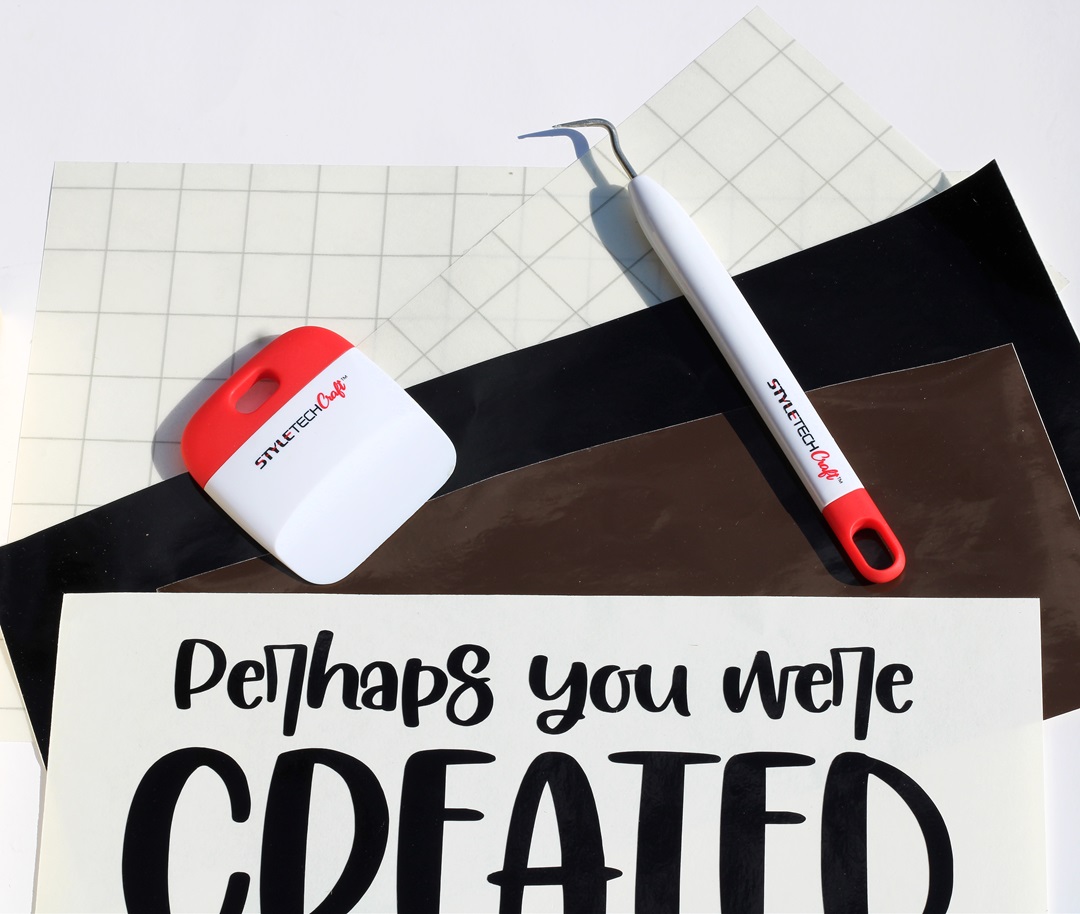
Materials Used: (*affiliate links)
- Unfinished Wood Trays*
- White Multi-Surface Acrylic Paint*
- StyleTechCraft Glossy Craft Vinyl*
- Vinyl Tools*
- StyleTechCraft Vinyl Transfer Tape*
- Silhouette Die-Cutting Machine*
- SVG Cut Files from the Silhouette Store

StyletechCraft products brought to you by ATSM Craft*
*Disclosure: This blog uses ads and affiliate links. If you choose to make a purchase using one of the links, I receive a small commission (at no additional cost to you) that helps offset the costs of maintaining this blog. Thanks for your support!
- To start the project, she picked out a couple of Unfinished Wood Trays*.
- The bottom of the tray was painted white and lightly sanded before adding the vinyl scripture.
- We measured the inside of the tray to determine the size of the scripture we wanted to use.
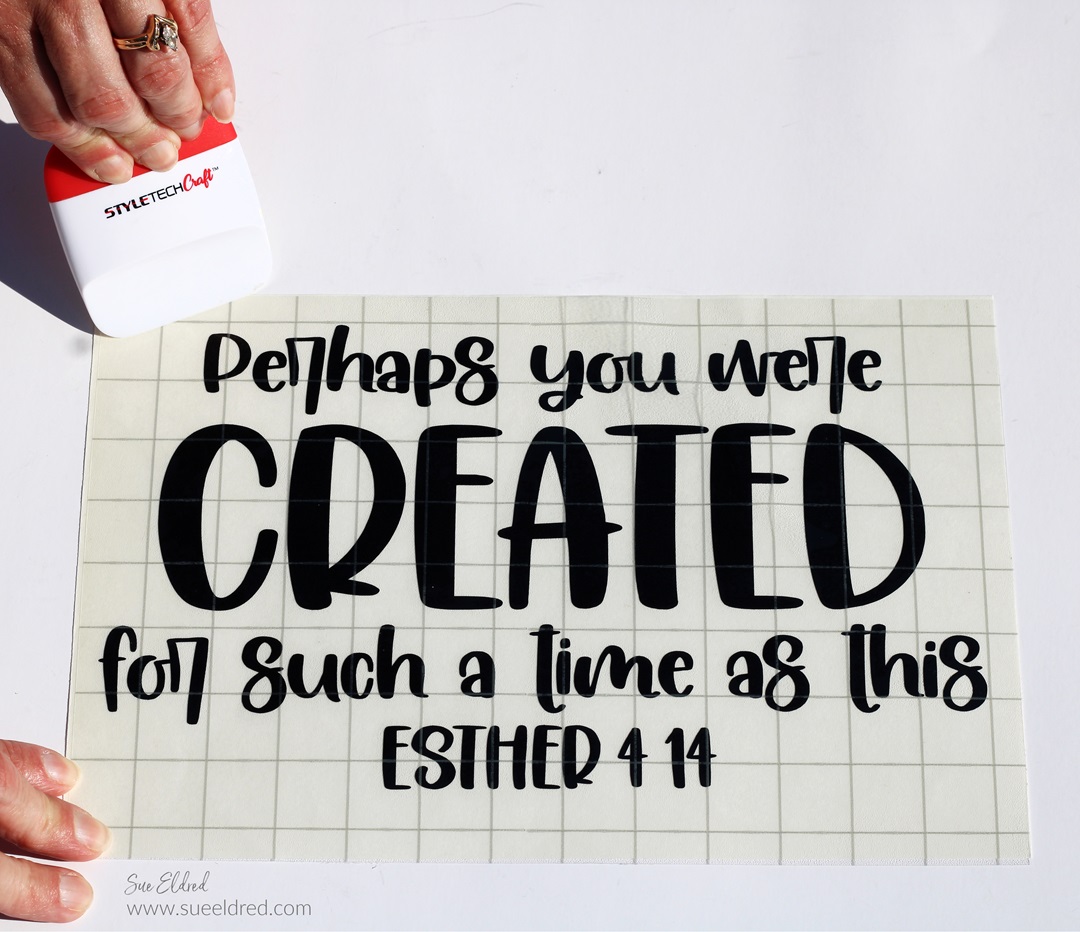
- We found the scriptures she wanted to use at The Silhouette Store. We cut the scriptures out using StyleTechCraft Glossy Vinyl and a Silhouette Cameo Electronic Die-Cutting Machine*.
- Remove the extra vinyl in and around the image words using a Vinyl Weeding Pen*.
- Lay the StyleTechCraft Vinyl Transfer Tape* over the vinyl words and gently rub with a vinyl scraper tool.
There are so many great colors of StyleTechCraft Glossy Craft Vinyl to choose from.
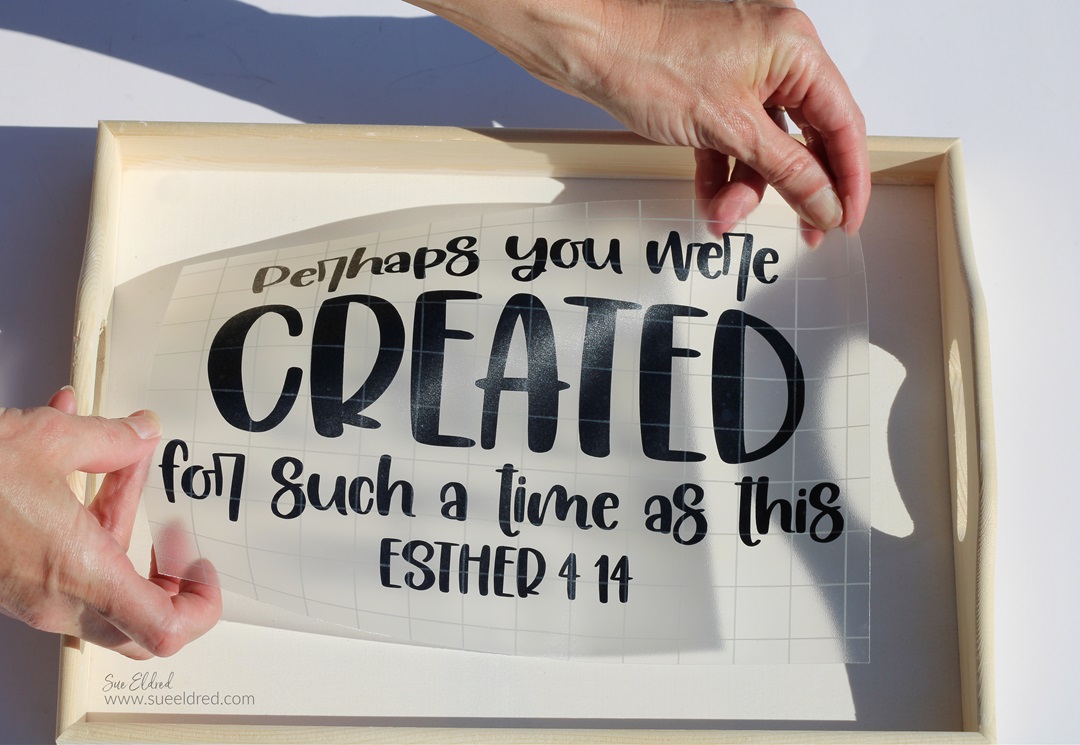
- Remove the vinyl from its white protective layer and place onto the center of the tray.
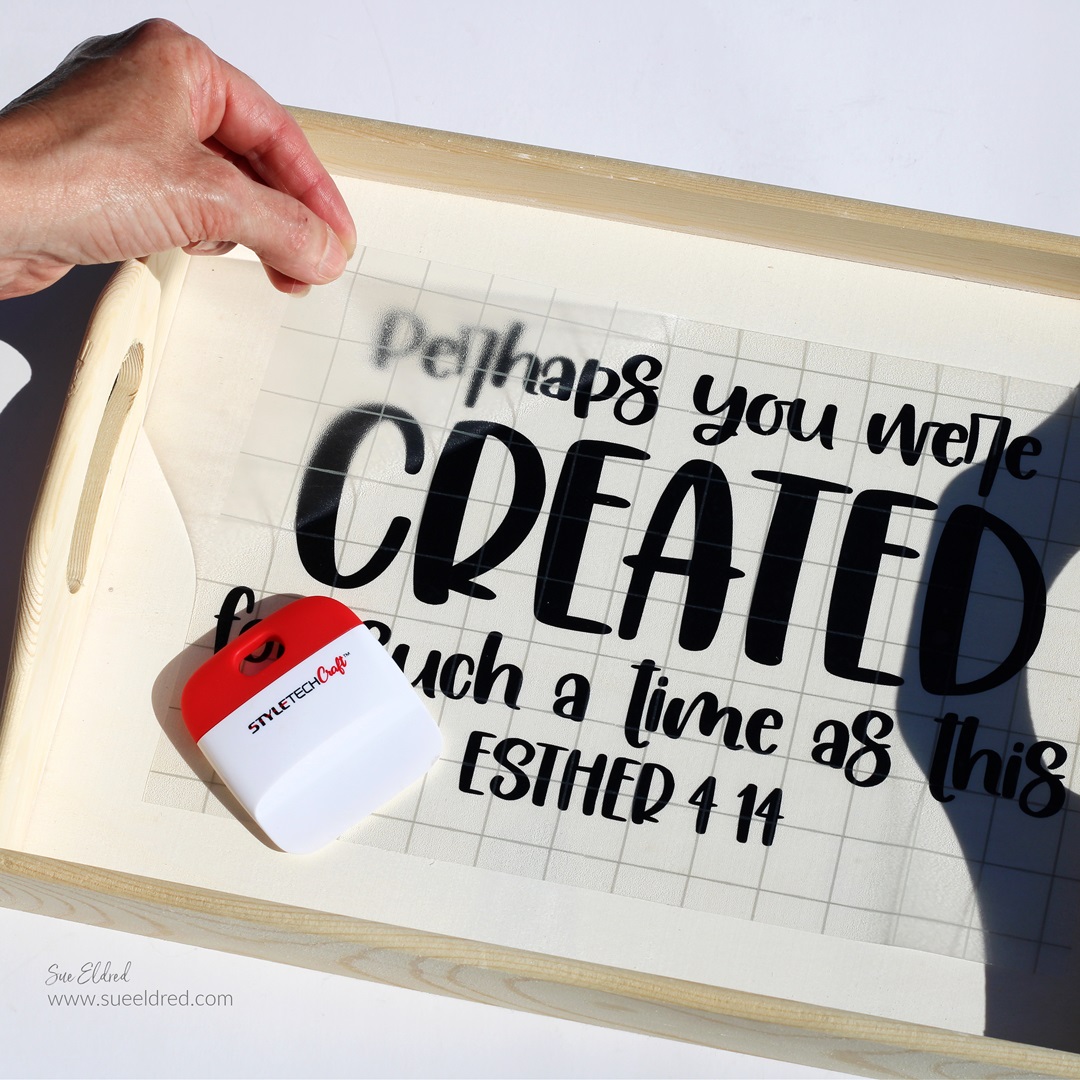
- Rub over the vinyl with the scraper tool to transfer the vinyl onto the tray.
- Gently lift the transfer paper from the vinyl.
FYI…the transfer paper is reusable.
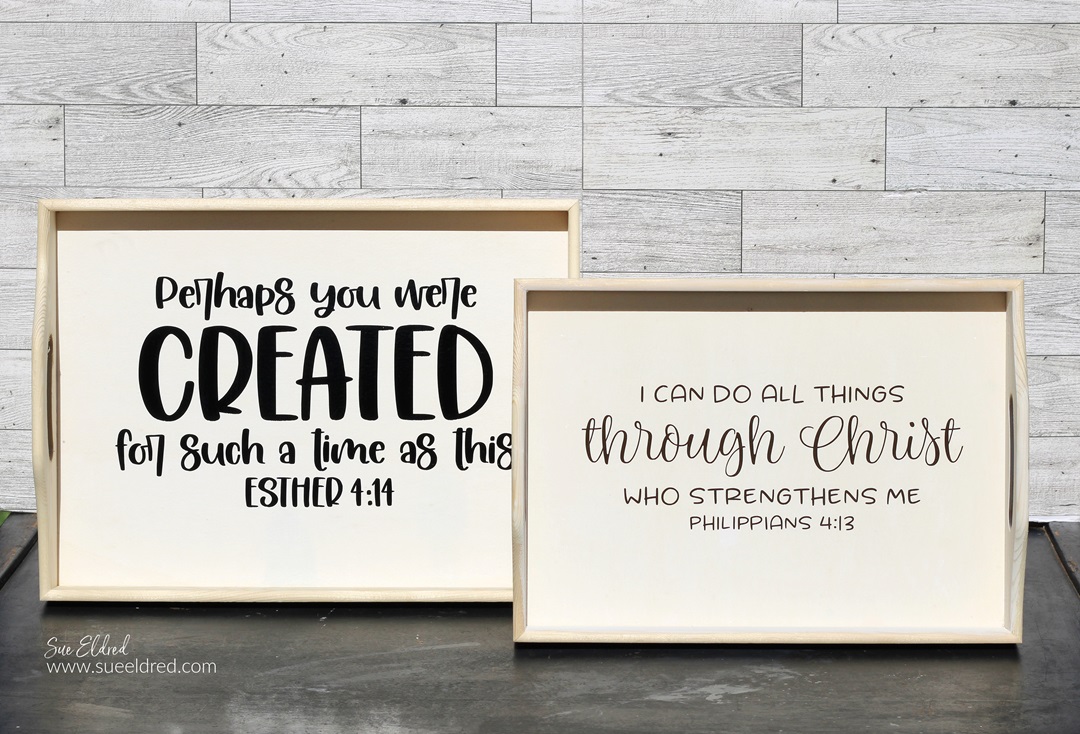
We noticed after the trays were finished that we had somehow
missed the two dots on the Esther verse.
We were able to easily recreate the dots and add them to
the finished tray. I think they turned out great!
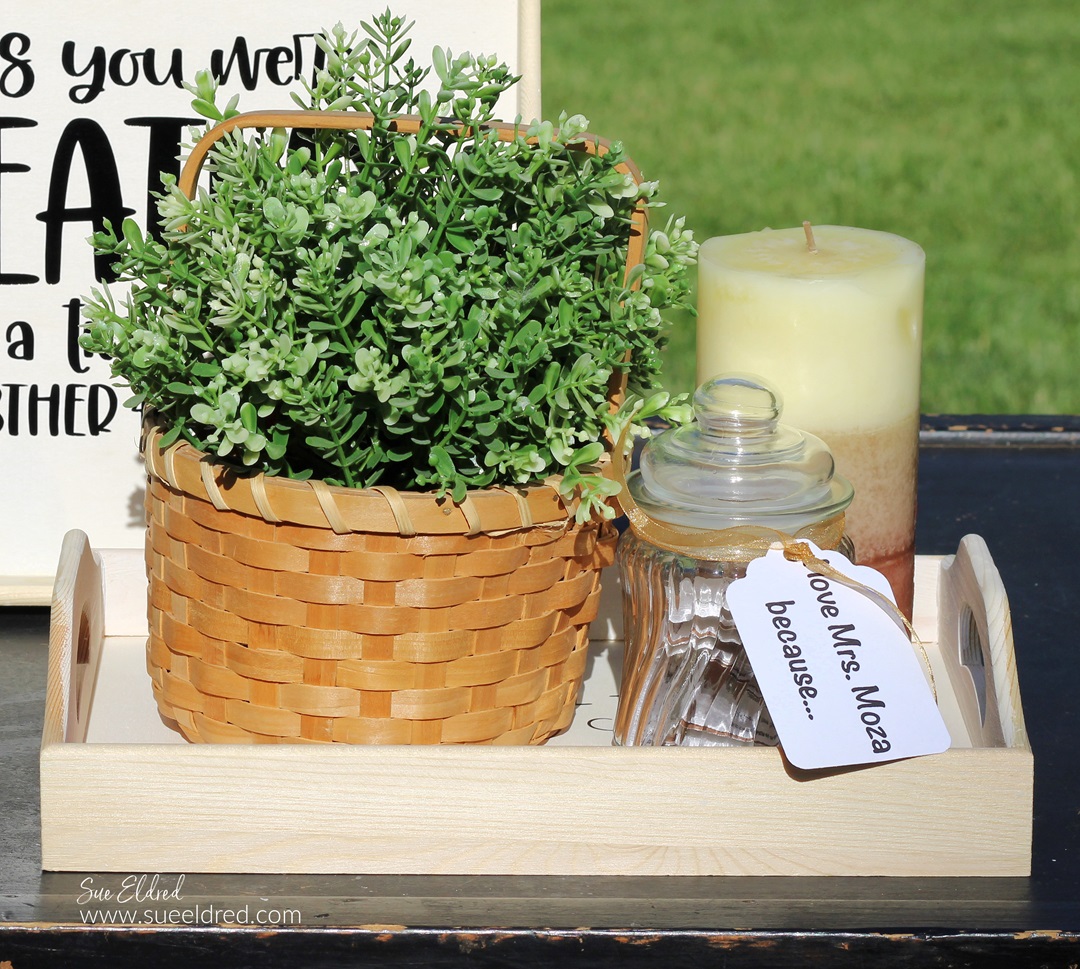
In addition to the finished tray, the gift included greenery, a candle, and a jar of “love notes” from the students.

The kindergarten students were asked what they loved about their teacher.
I didn’t get a chance to read them, but I’m sure they were interesting.
![]()
“This is a sponsored post. As a member of the StyleTechCraft Design Team I have been provided product and compensation in exchange for my creative ideas. The views and opinions are my own.