Simple Wedding Card Box

Wedding Card Box

How to make a Quick and Easy Wedding Card Box.

I recently got the honor of helping my sister personalize

the card box for my niece’s wedding reception.

They wanted to keep it simple and requested the

letters to spell the word “CARDS”.

Simple enough.

Wedding Card Box

She found a Clear Glass Terrarium* on Amazon, which perfectly matched the tabletop decorations.

*Disclosure:  This blog uses ads and affiliate links.  If you choose to make a purchase using one of the links, I receive a small commission (at no additional cost to you) that helps offset the costs of maintaining this blog.  Thanks for your support!

Wedding Card Box

I used StyleTechCraft Black Matte Removable Vinyl*

and a Silhouette Cameo Electronic Die Cutting Machine*

to design and cut the letters for the Card Box.

Since I used removable vinyl, they can easily remove the letters

and use the Terrarium* for plants after the wedding.

StyletechCraft products brought to you by ATSM Craft*

Wedding Card Box

They added Shredded Paper* and Fairy Lights* to the bottom of the card box.

Wedding Card Box

The Fairy Lights* made the card box glow.  (until it was full of cards)

Materials Used:  (*affiliate links)

“This is a sponsored post.  As a member of the StyleTechCraft Design Team I have been provided product and compensation in exchange for my creative ideas.  The views and opinions are my own.

DIY Inspirational Trays

DIY Inspirational Tray using StyleTechCraft Vinyl

Looking for a Quick and Easy DIY Gift Idea?

These Inspiration Trays are Special End of the Year Teacher Gifts.

My sister works at a private Christian school and asked me to

help her personalize gifts for a couple of special co-workers.  

She’s a great gift giver and likes to give thoughtful gifts.

(Each teacher was asked to fill out a survey of things they

liked including their favorite scripture verse.)

DIY Inspirational Tray using StyleTechCraft Vinyl

Materials Used:  (*affiliate links)

StyletechCraft products brought to you by ATSM Craft*

*Disclosure:  This blog uses ads and affiliate links.  If you choose to make a purchase using one of the links, I receive a small commission (at no additional cost to you) that helps offset the costs of maintaining this blog.  Thanks for your support!

DIY Inspirational Tray using StyleTechCraft Vinyl

  • To start the project, she picked out a couple of Unfinished Wood Trays*
  • The bottom of the tray was painted white and lightly sanded before adding the vinyl scripture.  
  • We measured the inside of the tray to determine the size of the scripture we wanted to use.  

DIY Inspirational Tray using StyleTechCraft Vinyl

There are so many great colors of StyleTechCraft Glossy Craft Vinyl to choose from.

DIY Inspirational Tray using StyleTechCraft Vinyl

  • Remove the vinyl from its white protective layer and place onto the center of the tray.

DIY Inspirational Tray using StyleTechCraft Vinyl

  • Rub over the vinyl with the scraper tool to transfer the vinyl onto the tray.
  • Gently lift the transfer paper from the vinyl.

FYI…the transfer paper is reusable.

DIY Inspirational Tray using StyleTechCraft Vinyl

We noticed after the trays were finished that we had somehow

missed the two dots on the Esther verse. 

We were able to easily recreate the dots and add them to

the finished tray.  I think they turned out great!

DIY Inspirational Tray using StyleTechCraft Vinyl

In addition to the finished tray, the gift included greenery, a candle, and a jar of “love notes” from the students.

DIY Inspirational Tray using StyleTechCraft Vinyl

The kindergarten students were asked what they loved about their teacher. 

I didn’t get a chance to read them, but I’m sure they were interesting.  

“This is a sponsored post.  As a member of the StyleTechCraft Design Team I have been provided product and compensation in exchange for my creative ideas.  The views and opinions are my own.

How to make a Farmhouse Garden Sign

How to make a Farmhouse Garden Sign

How to make a Personalized Farmhouse Garden Sign.

The “Garden sign” is a quick and easy Dollar Tree project.

Now that garden season is upon us, my mind is distracted with all things gardening.

I will start planting next week, and I can’t wait.

In anticipation of this year’s garden, I created a garden sign

using an inexpensive galvanized banner purchased at Dollar Tree*.

I made it with a traditional red, white, and blue color scheme.

How to make a Farmhouse Garden Sign

Materials Used:  (*affiliate links)

StyletechCraft products brought to you by ATSM Craft*

*Disclosure:  This blog uses ads and affiliate links.  If you choose to make a purchase using one of the links, I receive a small commission (at no additional cost to you) that helps offset the costs of maintaining this blog.  Thanks for your support!

How to make a Farmhouse Garden Sign

Directions:

Buy Your Crafting Supplies Now at Dollar Tree starting at $1.25!

How to make a Farmhouse Garden Sign

There are so many great colors of StyleTechCraft Glossy Craft Vinyl to choose from.

How to make a Farmhouse Garden Sign

How to make a Farmhouse Garden Sign

  • Remove the vinyl from its white protective layer and place onto the banner.
  • Rub over the vinyl with the scraper tool to transfer the vinyl onto the banner.
  • Gently lift the transfer paper from the vinyl.

FYI…the transfer paper is reusable.

How to make a Farmhouse Garden Sign

  • Line up the second layer over the first.

How to make a Farmhouse Garden Sign

  • Gently remove transfer paper from the banner.
  • Allow the vinyl to cure for 72 hours before using.

How to make a Farmhouse Garden Sign

The vinyl on the sign will hold up to the weather and looks great in my garden.

“This is a sponsored post.  As a member of the StyleTechCraft Design Team I have been provided product and compensation in exchange for my creative ideas.  The views and opinions are my own.

Buffalo Plaid Valentine Heart

How to make a Buffalo Plaid Valentines Heart Door Hanger-Sue's Creative Workshop www.sueeldred.com 4085

How to Make a Buffalo Plaid Door Hanger for Valentine’s Day.

An inexpensive Valentine’s Day project using items found at Dollar Tree*

and my favorite StyleTechCraft adhesive vinyl.

StyletechCraft products brought to you by ATSM Craft*

*Disclosure:  This blog uses ads and affiliate links.  If you choose to make a purchase using one of the links, I receive a small commission (at no additional cost to you) that helps offset the costs of maintaining this blog.  Thanks for your support!

How to make a Buffalo Plaid Valentines Heart Door Hanger

Materials Used:  (*affiliate links)

Buy Your Crafting Supplies Now at Dollar Tree starting at $1.25!

*Disclosure:  This blog uses ads and affiliate links.  If you choose to make a purchase using one of the links, I receive a small commission (at no additional cost to you) that helps offset the costs of maintaining this blog.  Thanks for your support!

How to make a Buffalo Plaid Valentines Heart Door Hanger

Directions:

  • Remove the twine hanger from the wood heart.
  • Paint the heart with acrylic paint.  I used white.
  • I created a large heart mask for the center of the wood heart using StyleTechCraft Matte Removable Vinyl*.  
  • Press down the edges of the mask so that paint can’t get under the mask.

How to make a Buffalo Plaid Valentines Heart Door Hanger

  • Cut 1″ strips of Removable Vinyl*.  Lay the strips across the wood heart.
  • Rub your finger over the vinyl strips to make sure that they are secure and have no gaps.
  • Paint inside the stripes with a thin coat of acrylic paint.  Be careful not to apply the paint too thick.   Only one thin coat of paint is needed.
  • Remove the vinyl strips.
  • Allow the paint to fully dry before continuing to the next step.

How to make a Buffalo Plaid Valentines Heart Door Hanger

  • Next, add strips of removable vinyl vertically over the heart.
  • Make sure the tape is flat with no gaps.
  • Paint over the heart with a thin coat a darker pink paint.
  • Carefully remove the tape.  Allow the paint to dry.

How to make a Buffalo Plaid Valentines Heart Door Hanger

  • Remove the strips and the heart mask.  Allow the paint to dry.
  • Lightly sand the wood heart. Sanding smooths the paint and helps to hide any little imperfections.
  • Wipe with a clean cloth.

How to make a Buffalo Plaid Valentines Heart Door Hanger

StyletechCraft products brought to you by ATSM Craft*

How to make a Buffalo Plaid Valentines Heart Door Hanger

How to make a Buffalo Plaid Valentines Heart Door Hanger

  • Hot glue faux flowers, glitter heart pick, and ribbon bow to the top of the heart.
  • Add ribbon to the top two holes for hanging.
  • Hang the Wood Heart on a Door or add it to the center of a Wreath.

“This is a sponsored post.  As a member of the StyleTechCraft Design Team I have been provided product and compensation in exchange for my creative ideas.  The views and opinions are my own.

My Nutty Valentine

My Nutty Valentine

My Nutty Valentine is fun spin on the traditional Valentine’s Day gift. 

It’s for people like me that are not mushy Valentine’s Day gift-givers.

My Nutty Valentine

My inspiration came from a small can of peanuts* that I found at Dollar Tree*.

My husband is a peanut-loving guy who I’m nuts about.

So, I thought I would make something fun with a can of peanuts*.

*Disclosure:  This blog uses ads and affiliate links.  If you choose to make a purchase using one of the links, I receive a small commission (at no additional cost to you) that helps offset the costs of maintaining this blog.  Thanks for your support!

My Nutty Valentine

Materials Used:  (*affiliate links)

StyletechCraft products brought to you by ATSM Craft*

My Nutty Valentine

Directions:

My Nutty Valentine-Sue's Creative Workshop www.sueeldred.com 3764

  • Cut a strip of decorative scrapbook paper to fit around the peanut can.
  • Adhere the paper to the can using a double-stick tape roller*.

My Nutty Valentine-Sue's Creative Workshop www.sueeldred.com 3765

  • Lay the Transfer paper over the vinyl and gently rub with a vinyl scraper tool.

My Nutty Valentine-Sue's Creative Workshop www.sueeldred.com 3778

My Nutty Valentine-Sue's Creative Workshop www.sueeldred.com 3782

My Nutty Valentine

  • Don’t forget to decorate the top of the can.
  • I cut a 3″ circle from bronze vinyl and adhered it and a small red heart to the top of the can.

My Nutty Valentine

  • Wrap Blue and White Twine* around the top of the can and add a small white tag.
  • And just so my husband knows, I added “I’m Nut’s About You” on the side of the can.

My Nutty Valentine

A Cute Alternative to the Traditional Valentine’s Gift. 

“This is a sponsored post.  As a member of the StyleTechCraft Design Team I have been provided product and compensation in exchange for my creative ideas.  The views and opinions are my own.

Gnome Themed Christmas Party Ideas

Gnome Themed Christmas Party Ideas-Sue's Creative Workshop www.sueeldred.com

Gnome Themed Christmas Party Ideas.

Are you hosting a Christmas Party this year and looking for a fun theme?

How about a cute Gnome Themed Party?

Gnome Themed Party Ideas

From Gnome Party Goods on Amazon* to decorations from Dollar Tree*,

Gnomes are so popular you can find them everywhere.

Seriously, who can resist these Whimsical Woodland Creatures?

*Disclosure:  This blog uses ads and affiliate links.  If you choose to make a purchase using one of the links, I receive a small commission (at no additional cost to you) that helps offset the costs of maintaining this blog.  Thanks for your support!

This slideshow requires JavaScript.

I’ll be Gnome for Christmas Holiday Workshop…  

For the last several years, I’ve hosted a Holiday Crafting Workshop.

Because I was feeling a little Gnomish this year, I went with a Gnome theme.

We made Gnome themed cards and Holiday Decorations.

It was so much fun planning the projects and decorations.

(If you would like to learn more about the Holiday Workshop click here.)

Gnome Themed Party Ideas

Personalized Gnome Themed Gift Bags

When hosting a party or event, you need a few gift/loot bags to match the theme.

I created these Gnome themed gift bags using a

Silhouette Cameo Electronic Die Cutting Machine*

and StyleTechCraft Adhesive Vinyl*.

The bags held everything they would need to make the projects.

The Gnome SVG Cut files came from The Silhouette Store.

“This is a sponsored post.  As a member of the StyleTechCraft Design Team I have been provided product and compensation in exchange for my creative ideas.  The views and opinions are my own.

I'll be Gnome for Christmas-Sue's Creative Workshop www.sueeldred.com 3163

Gnome Themed Aprons

Keeping with the theme and making a statement!

How cute are these?

We made matching Aprons using Heat Transfer Vinyl from StyleTechCraft*.

StyletechCraft products brought to you by ATSM Craft*

Gnome Themed Party Ideas

Using Heat Transfer Vinyl…

It was my first time using HTV vinyl*, and I was pleasantly pleased

with how easy it was. I used a regular iron to press the vinyl

onto the Black Aprons* found on Amazon*.

Tip:  Remember to mirror the image if it has words.

Gnome Themed Party Ideas

Gnome Christmas Cookies

No Holiday Gathering would be complete without a few Christmas Cookies.

I found this cute Gnome Cookie Stamp at Homegoods and couldn’t resist.

The Gnome Cookies turned out adorable and tasted so good.

Gnome Themed Party Ideas

Are you looking for a yummy Christmas Cookie Recipe? 

Here’s the recipe my mom gave me as a new bride many years ago.

I have made them every year since. (A Family Favorite!)

Enjoy!

SUE’S FAVORITE SUGAR COOKIE RECIPE

  • 1- 1/2 c. powdered sugar
  • 1 c. butter or margarine
  • 1 egg
  • 1 tsp. vanilla
  • 2- 1/2 c. all purpose flour
  • 1 tsp. cream of tartar
  • 1 tsp. baking soda
  1. Cream sugar & butter, add egg & flavoring, mix thoroughly.
  2. Sift dry ingredients together and stir in.  (I dump)
  3. Refrigerate 2 to 3 hours.
  4. Heat oven to 375°.
  5. Divide dough in half & roll out on lightly floured pastry sheet.
  6. Roll thin, but thick enough to pick up the design with the cookie cutters.
  7. Dip cookie cutter into flour before each cutting.  Cut as many cookies from each rolling as possible.  The least amount of working with the dough gives the best cookie.
  8. Place on lightly greased baking sheet.  Bake 7 to 8 min. or until delicately golden.
  • For the Glaze I dump around a cup of powdered sugar into a bowl.  Add a dash of vanilla.    Add milk one tablespoon at a time until you get the consistency you want.  (hint:  not too runny)

Gnome Themed Party Ideas

Supplies Used to make the Gift Bag and Apron:  (*affiliate links)

Teach Love Inspire-BTS Teacher Sign

How to make a BTS Teacher Sign using StyleTechCraft Vinyl

How to make a BTS Teacher Sign using StyleTechCraft Vinyl.

It’s August.

Summer Vacation is wrapping up. 

There are School Supplies on the Store Shelves.

And teachers are working overtime to make sure their

classrooms are ready for the first day of school.

How to make a BTS Teacher Sign using StyleTechCraft Vinyl

Why do teachers work so hard?

Because they love to Teach, Love, and Inspire.  

How to make a BTS Teacher Sign using StyleTechCraft Vinyl

Materials Used to make the BTS Teacher Sign:  (*Affiliate Links)

StyletechCraft products brought to you by ATSM Craft*

*Disclosure:  This blog uses ads and affiliate links.  If you choose to make a purchase using one of the links, I receive a small commission (at no additional cost to you) that helps offset the costs of maintaining this blog.  Thanks for your support!

How to make a BTS Teacher Sign using StyleTechCraft Vinyl

How to make a BTS Teacher Sign using StyleTechCraft Vinyl…

  • Paint the wood sign with Black Multi-Surface Acrylic Paint*.
  • To make the sign look like a chalkboard, water down a small amount of white acrylic paint.  Paint over the black sign with the watered-down white paint.  Quickly wipe over the painted sign to remove some of the white paint.
  • Lightly sand over sign with sanding black to smooth out the grain of the wood.

How to make a BTS Teacher Sign using StyleTechCraft Vinyl

How to make a BTS Teacher Sign using StyleTechCraft Vinyl

  • After cutting, remove the excess vinyl from the design using a Vinyl Weeding Tool*.
  • To apply the vinyl to the sign, lay the transfer paper over the vinyl.
  • Rub over the transfer paper with a vinyl scraper tool and lift the design from the white paper backing.
  • Lay the transfer paper onto the sign and rub over the design.

How to make a BTS Teacher Sign using StyleTechCraft Vinyl

  • Gently remove the transfer paper.

How to make a BTS Teacher Sign using StyleTechCraft VinylThe back to school sign is a great gift for the favorite teacher in your life.

Back to School Inspiration

StyleTechCraft Vinyl is great for labeling all sorts of items in the classroom.  

“This is a sponsored post.  As a member of the StyleTechCraft Design Team I have been provided product and compensation in exchange for my creative ideas.  The views and opinions are my own.

How to make an Embossed Metal Envelope Pocket

How to make an Embossed Metal Envelope Pocket with K & S Precision Metals

How to make an Embossed Metal Envelope Pocket with K & S Precision Metals

If you like the look of old embossed tin, the Embossed Metal Envelope Pocket

is a simple project to create.  (easy to follow instructions below)

How to make an Embossed Metal Envelope Pocket

I’m always up for a new crafty challenge,

so, when asked if I wanted to try the colored aluminum foils

from K & S Precision Metals, of course, I said yes.

These thick colored aluminum foils are not like your mother’s aluminum foil.

They are thick enough to bend and manipulate but thin enough to be able to cut with scissors.

And you don’t have to worry about cuts like from thicker metals. (this is fun stuff)

How to make an Embossed Metal Envelope Pocket with K & S Precision Metals    lHow to make an Embossed Metal Envelope Pocket with K & S Precision Metals

Disclosure:  This is a sponsored post for K & S Precision Metals.  I have been provided product in exchange for my creative ideas.  The view and opinions are my own. 

How to make an Embossed Metal Envelope Pocket with K & S Precision Metals

Materials Used:     (*affiliate links)

*Disclosure:  This blog uses ads and affiliate links.  If you choose to make a purchase using one of the links, I receive a small commission (at no additional cost to you) that helps offset the costs of maintaining this blog.  Thanks for your support!

How to make an Embossed Metal Envelope Pocket with K & S Precision Metals

I could have used the metal as it comes, but I wanted it to be slightly thicker, so I double it up with cardstock in the middle.  It also helped it hold the embossed shape.

Directions:  

  • I used an unfolded small white envelope as my pattern.
  • Measure and cut a piece of colored foil slightly larger than the unfolded envelope.
  • To add adhesive on the back of the foil, place the foil colored-side up on the Xyron Creative Station®*Turn the handle of the Creative Station to run the foil through.  As it runs through, it adds complete adhesive covering on the underneath side of the foil.
  • Place the foil onto a piece of white cardstock the same size.

How to make an Embossed Metal Envelope Pocket with K & S Precision Metals

  • If you’re not artistically inclined, you can easily find a swirly scroll pattern to print and use as a pattern.
  • Place the foil with the cardstock side up onto a soft surface.  Tape the swirly scroll pattern onto the back of the cardstock.

How to make an Embossed Metal Envelope Pocket with K & S Precision Metals

  • Using medium to firm pressure, use a small ball stylus* to trace around the design to transfer it to the foil.

How to make an Embossed Metal Envelope Pocket with K & S Precision Metals

  • Remove the pattern from the back of the cardstock.
  • Trace around the opened envelope onto the back of the cardstock.
  • Cut the envelope shape using scissors.
  • Cut a second piece of foil the same size as the first and repeat the adhesive and embossing process, except do not add the foil to the cardstock. Place this piece of foil onto the back of the cardstock and retrim the envelope shape.

How to make an Embossed Metal Envelope Pocket with K & S Precision Metals

  • Use a ruler and bone folder to mark your envelope fold lines.

How to make an Embossed Metal Envelope Pocket with K & S Precision Metals

  • Paint over the foil with white multi-surface acrylic paint to give the pocket a brushed denim look.
  • Make sure to paint in one direction only.
  • Once the paint has dried, lightly sand over the embossed areas with a sanding block.
  • The sanding makes the embossed areas stand out.

How to make an Embossed Metal Envelope Pocket with K & S Precision Metals

  • Glue the edges of the pocket using rapid fuse all purpose adhesive*.
  • Tie a 1″ piece of ribbon around the envelope pocket.  I added a little bling using a broken silver barrette.
  • Cut a thin slice of floral foam* and place it inside the pocket.  Stick small flower stems into the floral foam.  (Both the floral foam and the flower stems were from Dollar Tree*.)
  • Punch two small holes in the envelope and add a piece of twine for hanging.
  • Add the embossed pocket to the middle of a boxwood wreath for a simple and elegant wreath decoration.

More great designer projects using K & S Precision Metal on the DCC Blog.

Designer Craft Connections Pic

My Namta 2022 Experience in Orlando

Namta 2022 Orlando

It’s been a couple of weeks since the start of the Namta Show in Orlando,

and I wanted to share my experience and the few pictures I took

while everything was still fresh in my mind.

Namta 2022 Orlando

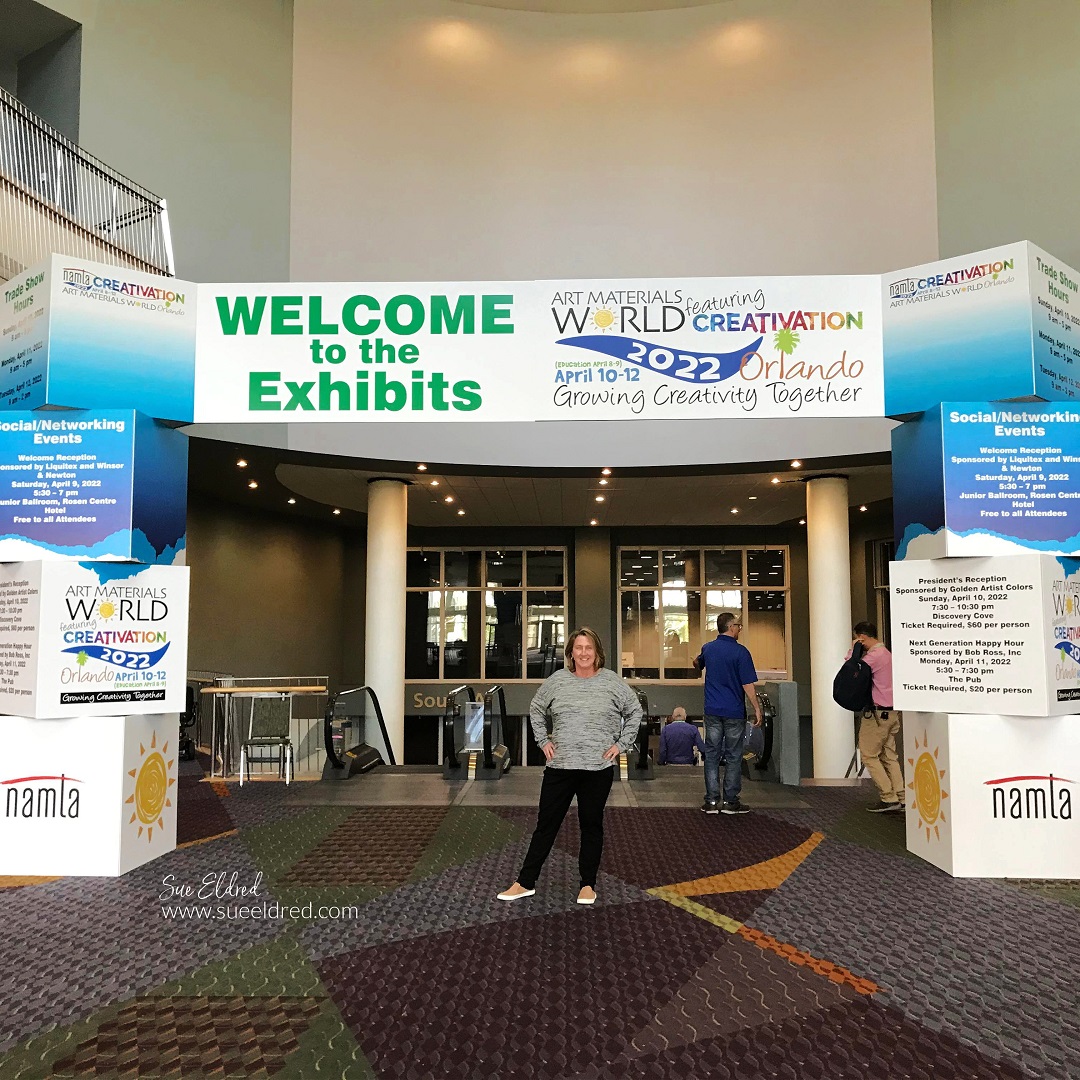
This particular show was kind of a new one for everyone.

Last year the Creativation Show merged with the National Art Materials Trade Show

for one awesome show in Orlando, Florida.  With travel being restricted in some areas,

the show was a little smaller than normal.  That didn’t seem to bother attendees, because

everyone was excited to be together in person.  Besides, being in sunny Florida was a plus.

Melbourne Beach, Florida

Some people took an extra day or two and visited Disney

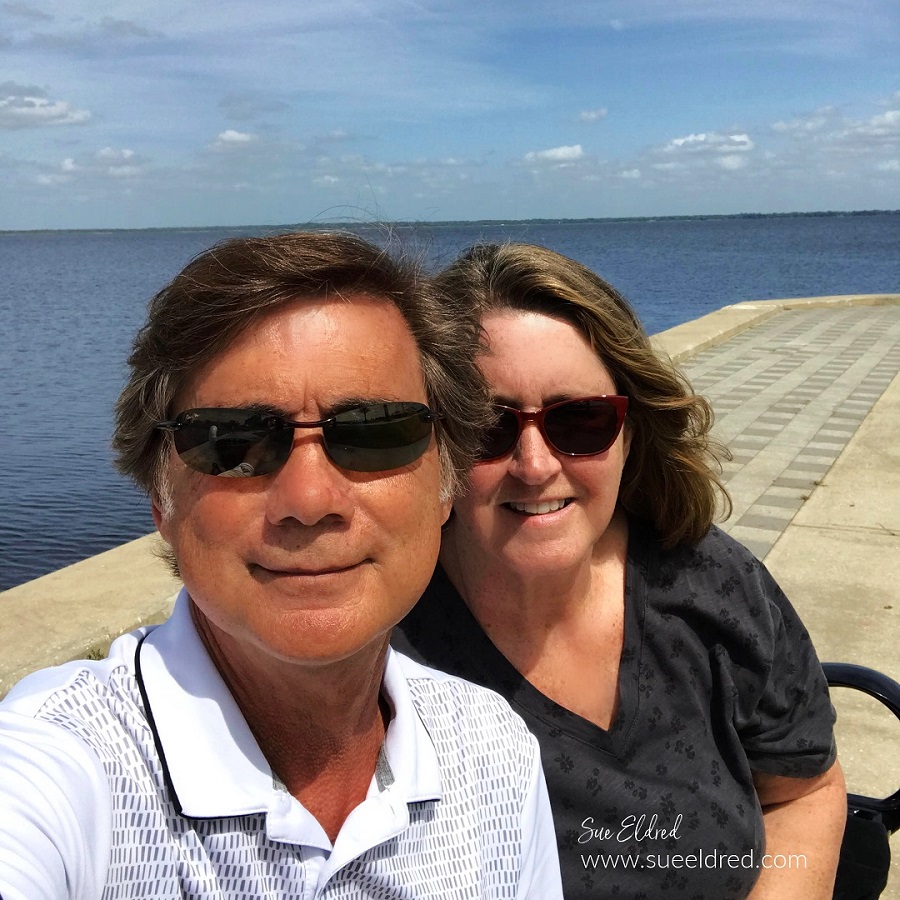
or one of the other Orlando attractions.  I brought my hubby with me,

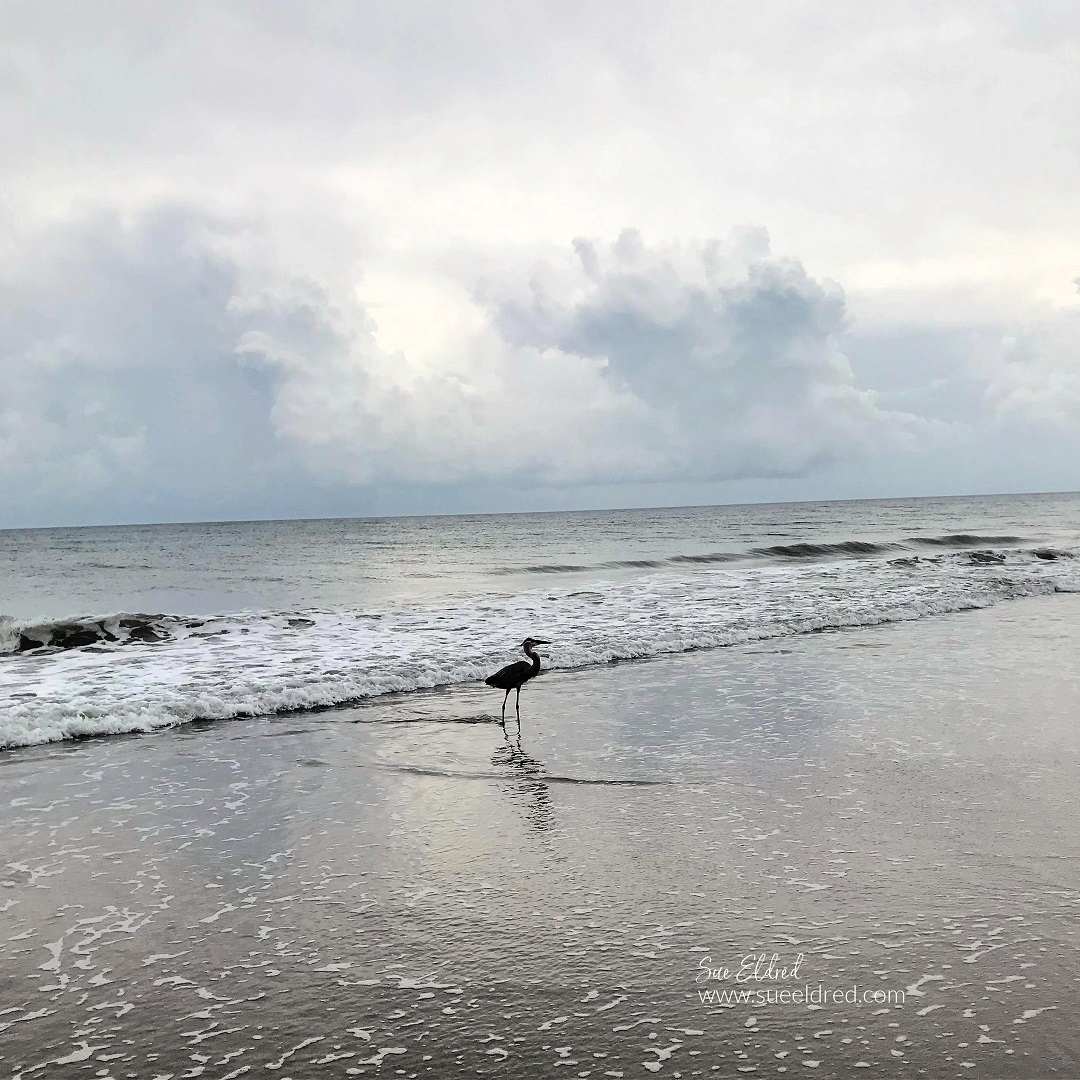
and we flew in a few days early and went to Melbourne Beach.

The week we were in Florida was a milestone birthday for my husband.

We (He) didn’t think it was fair for me to be in Florida without him on his birthday.

We soaked up a little Vitamin Sea, and we experienced our first Beach Wedding

from the comforts of our beach chairs.  I teared up; I always do.  (Too bad we weren’t invited.)

Namta 2022 Orlando

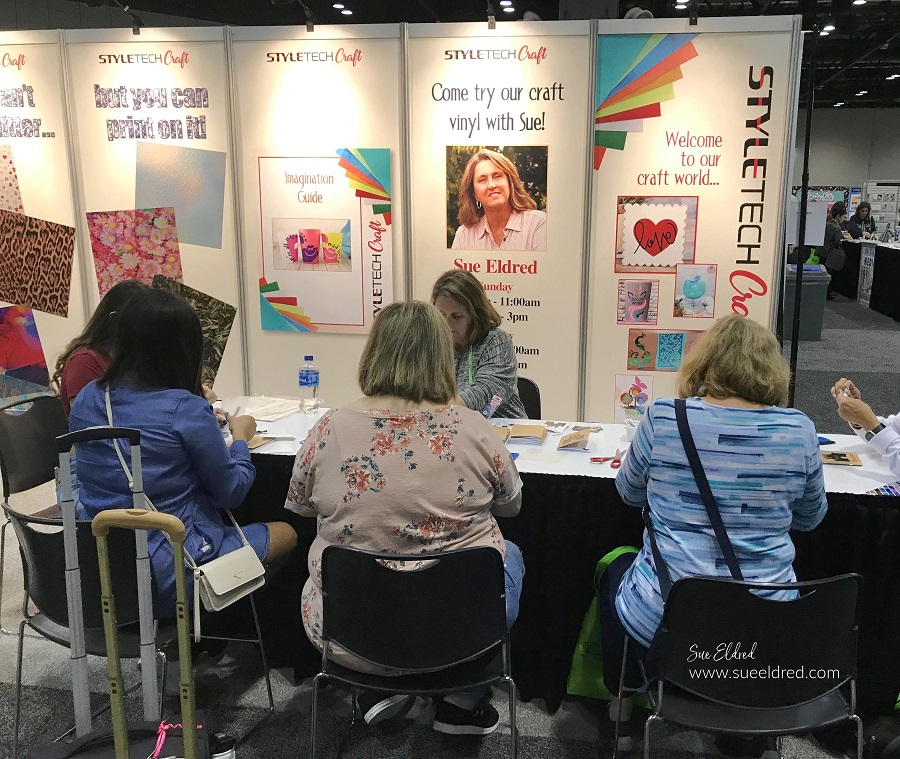
The Namta Show was a 3-day trade show. 

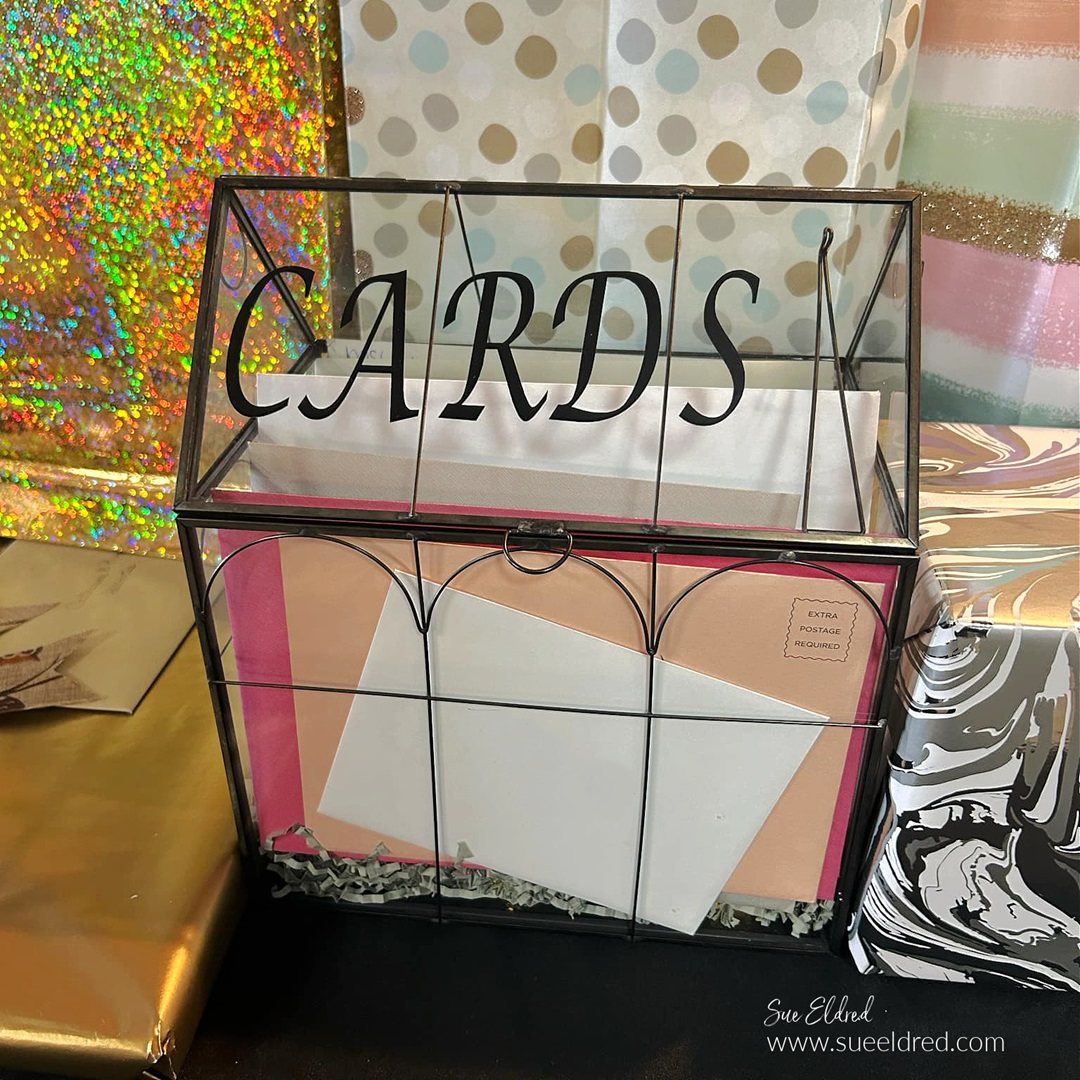
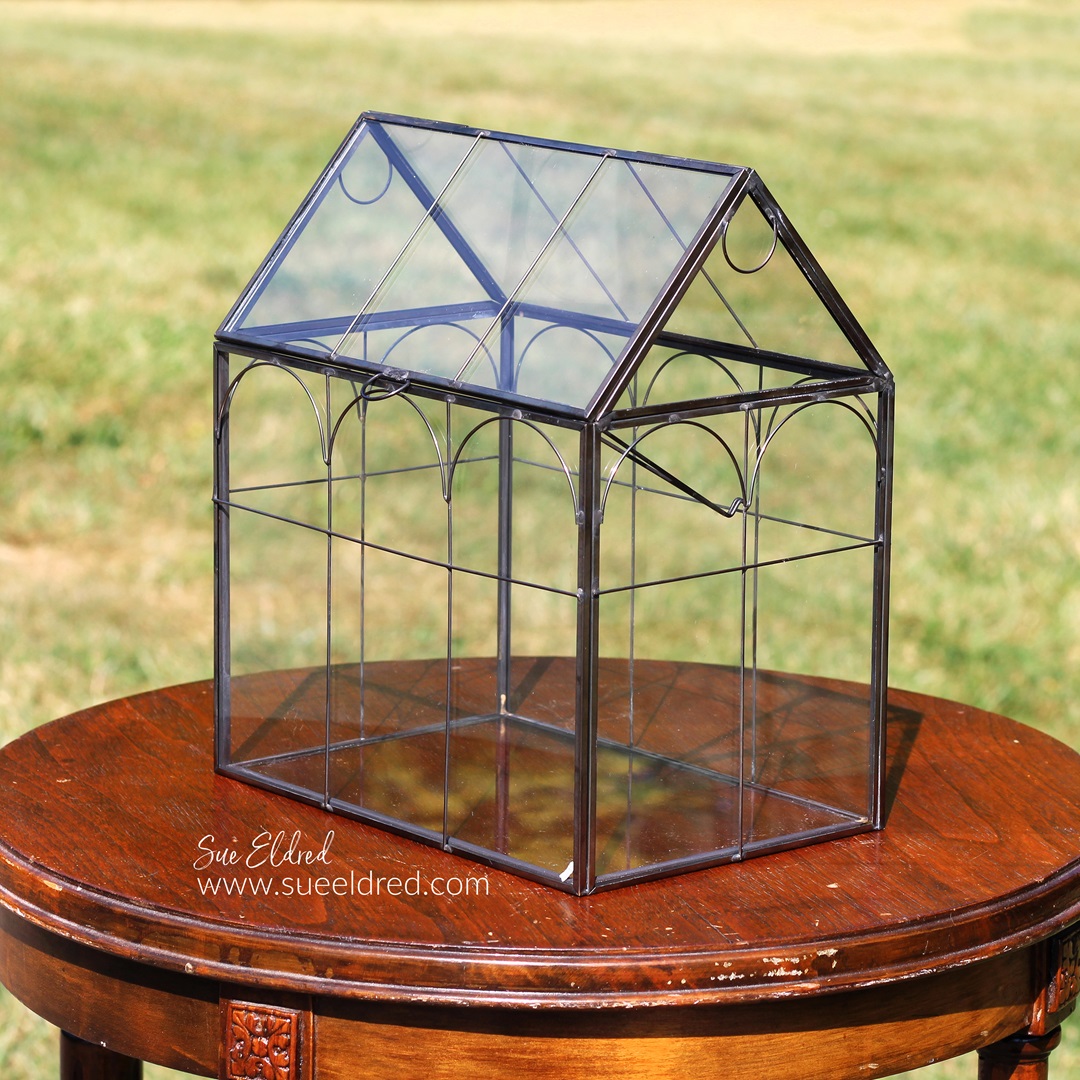
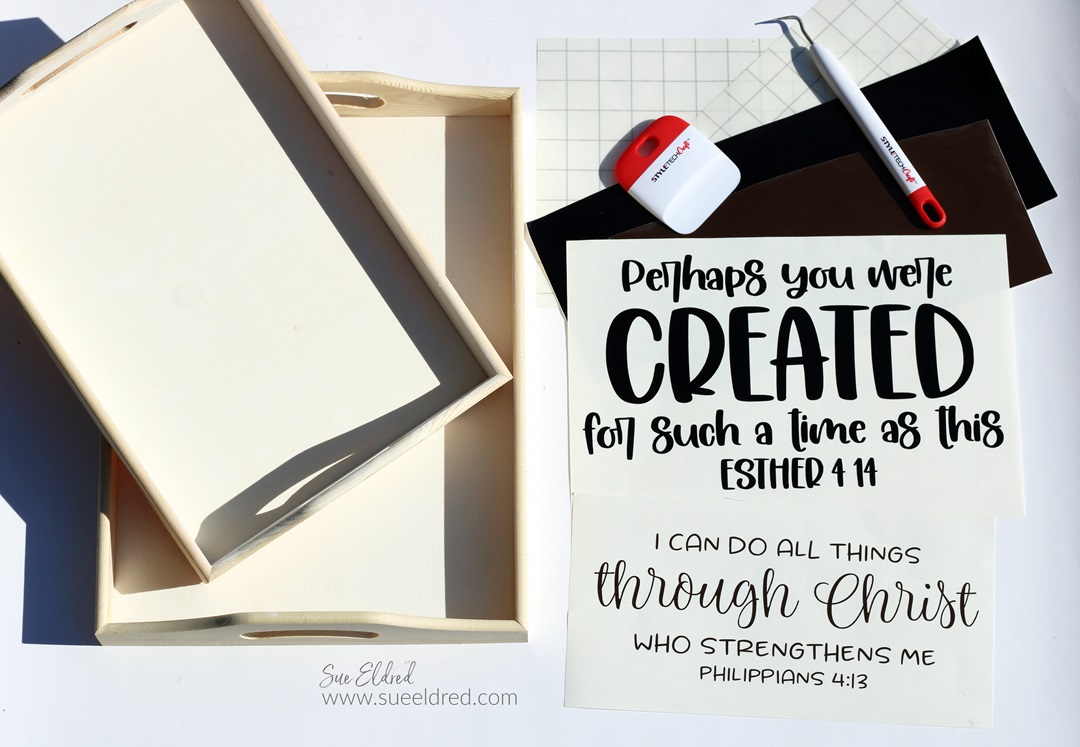
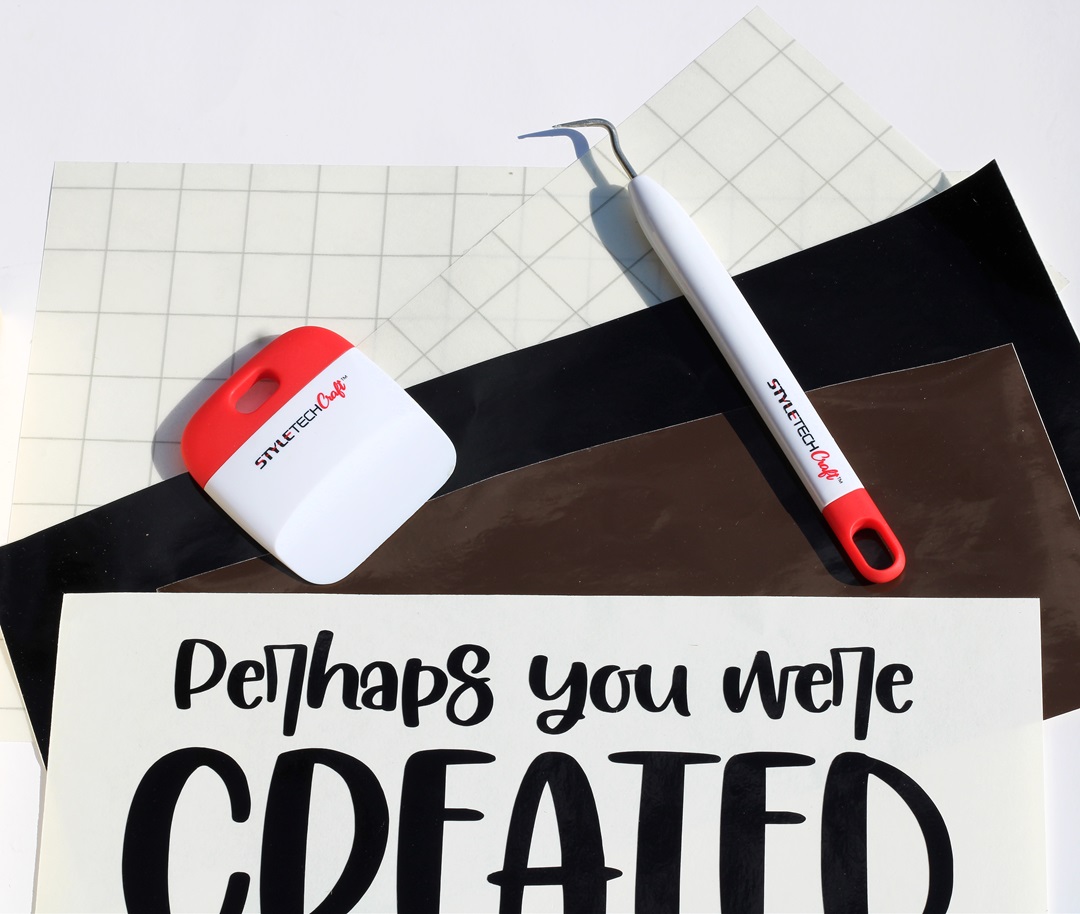
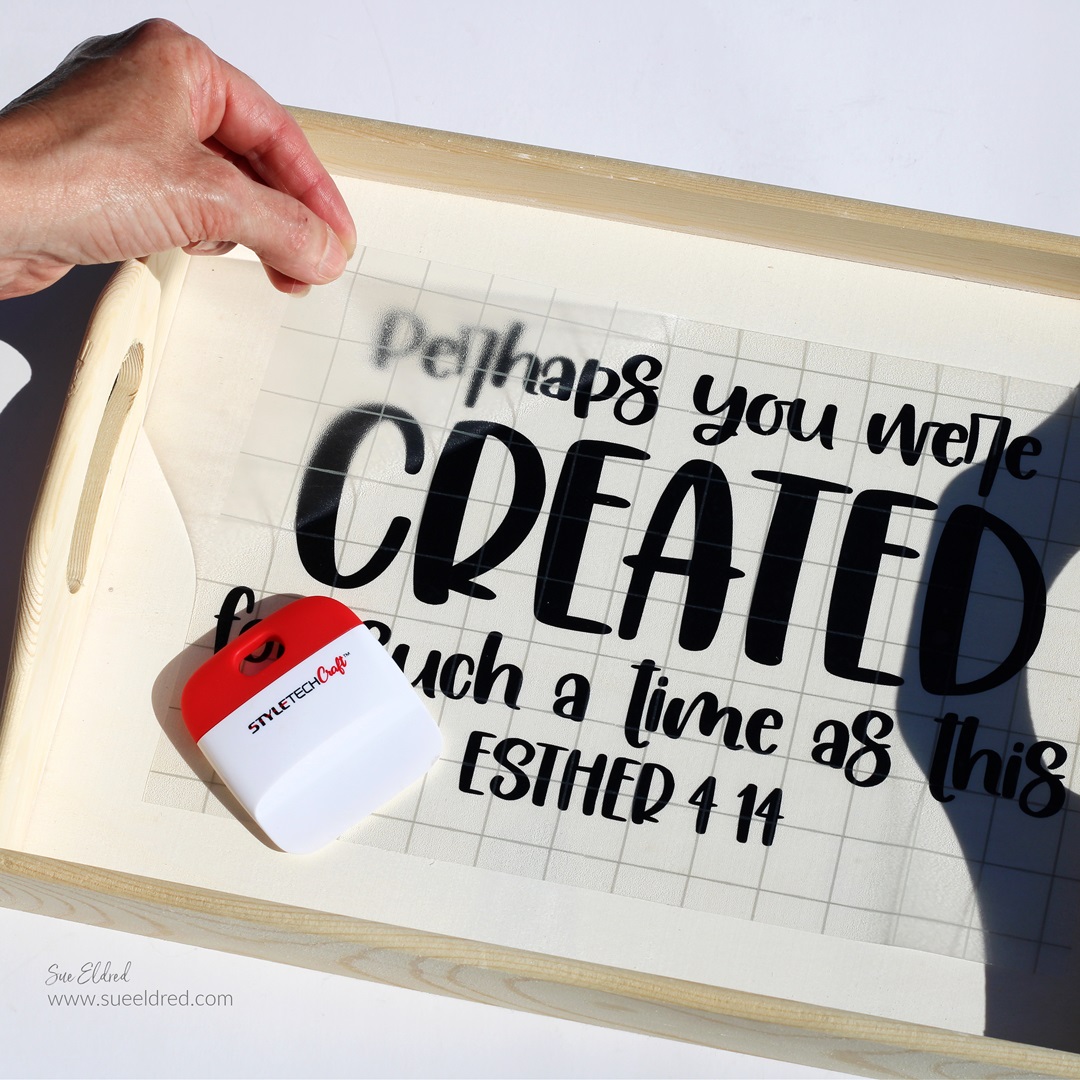
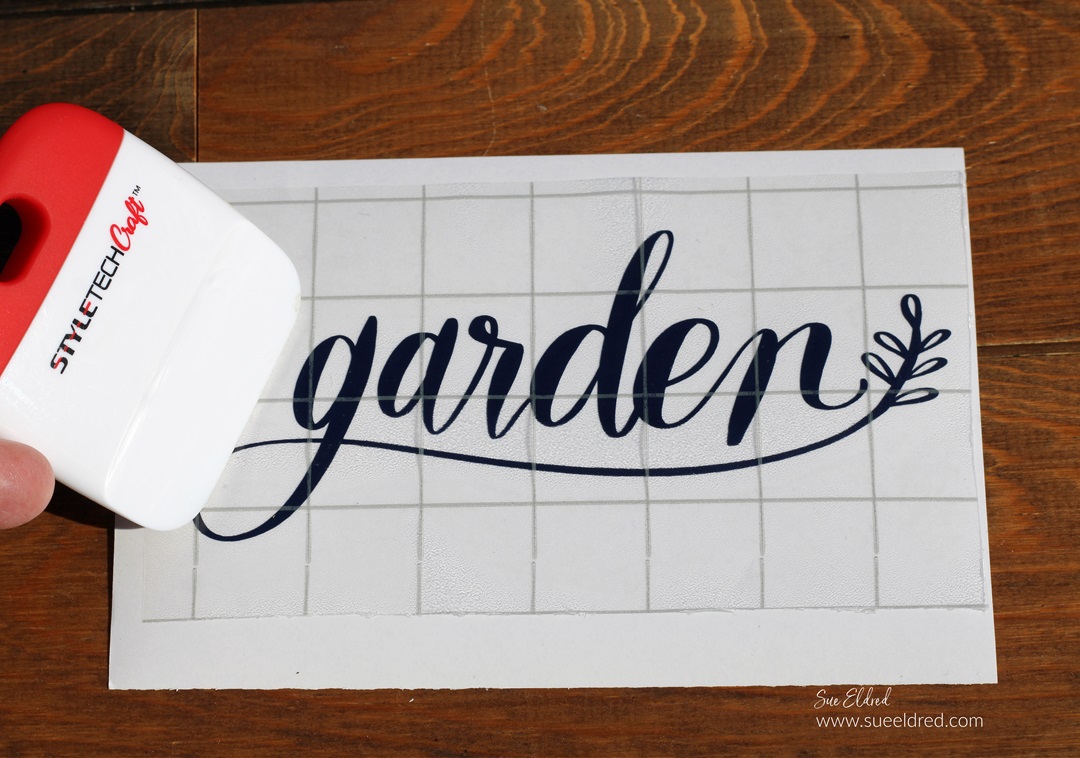
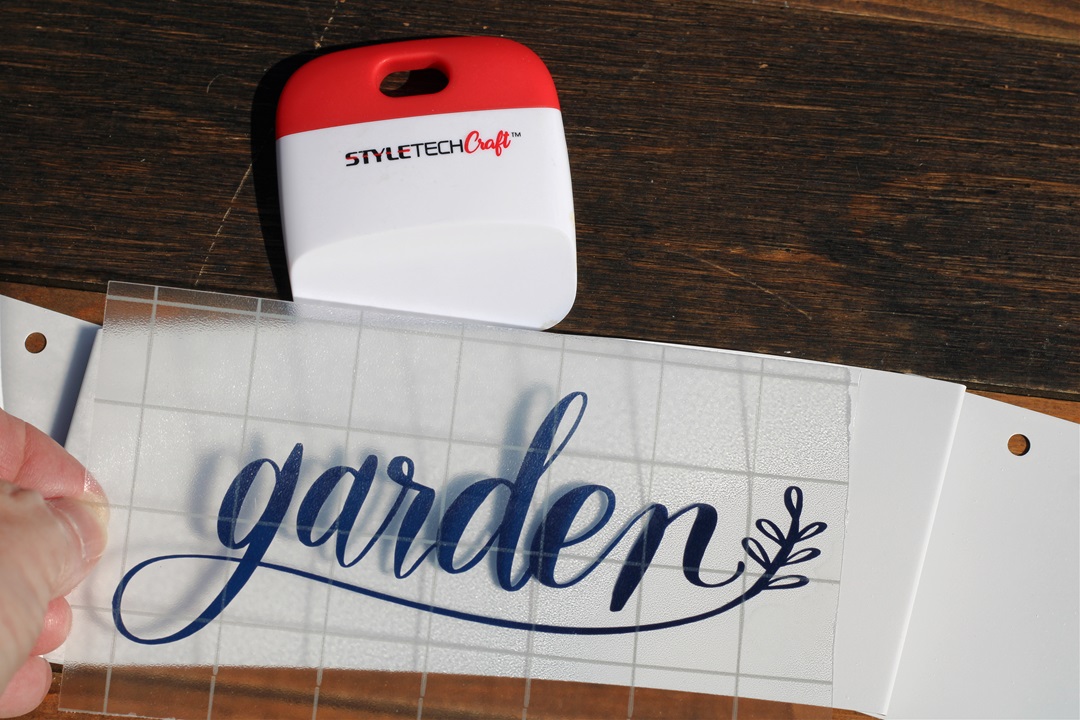
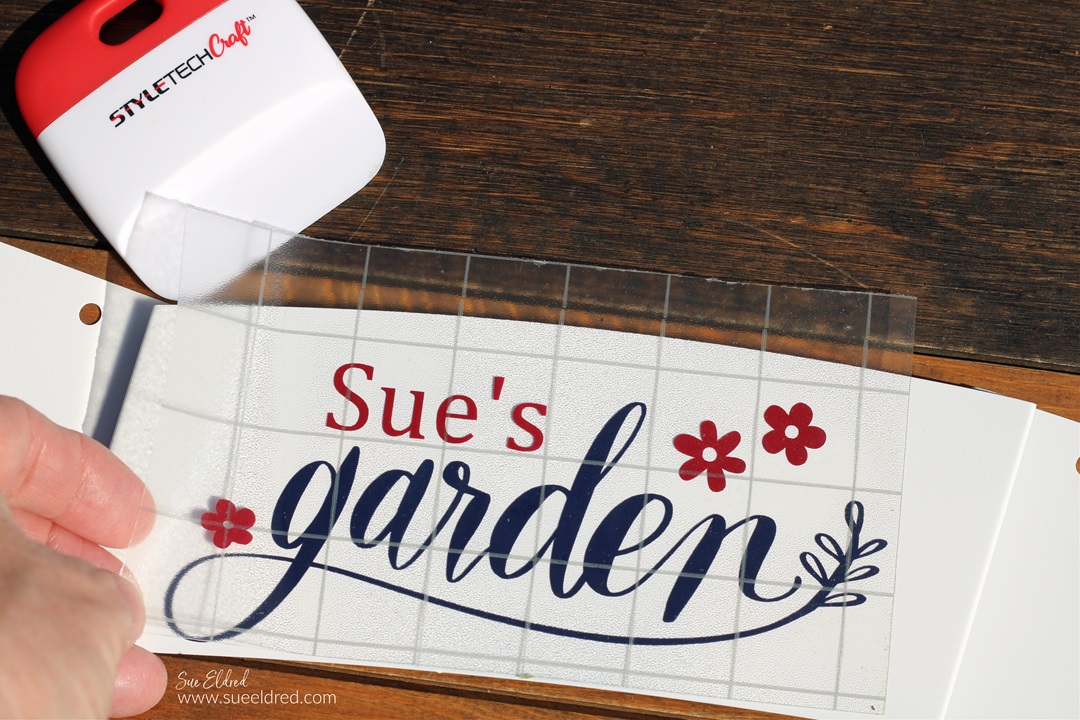
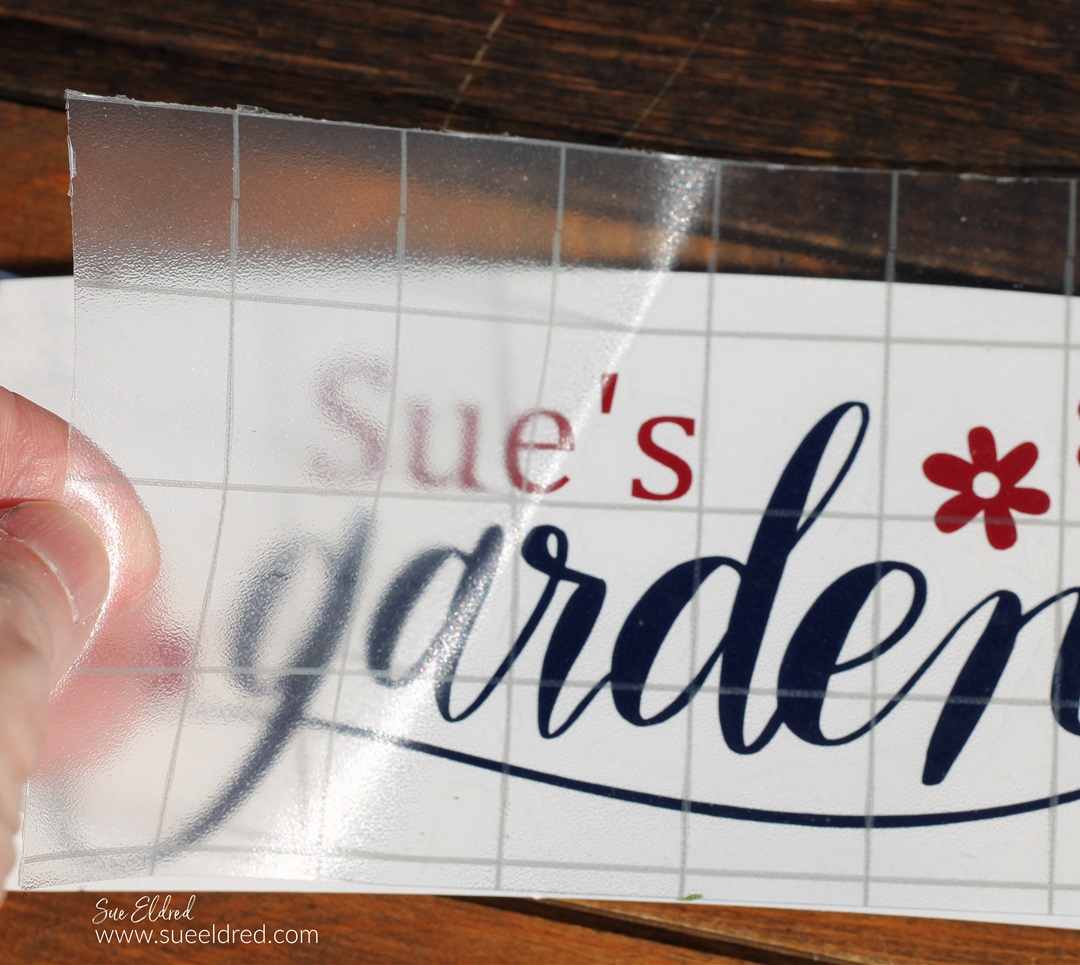
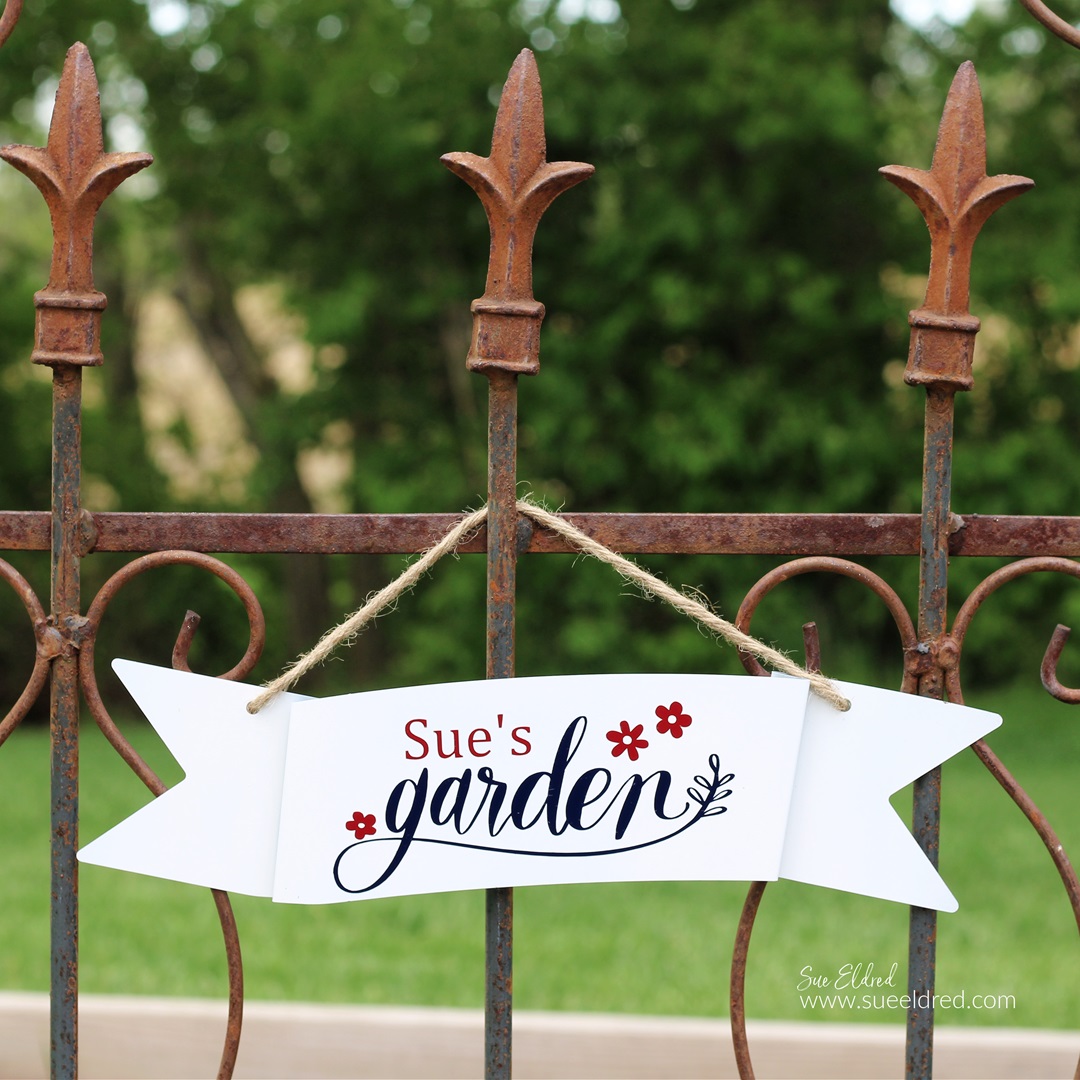
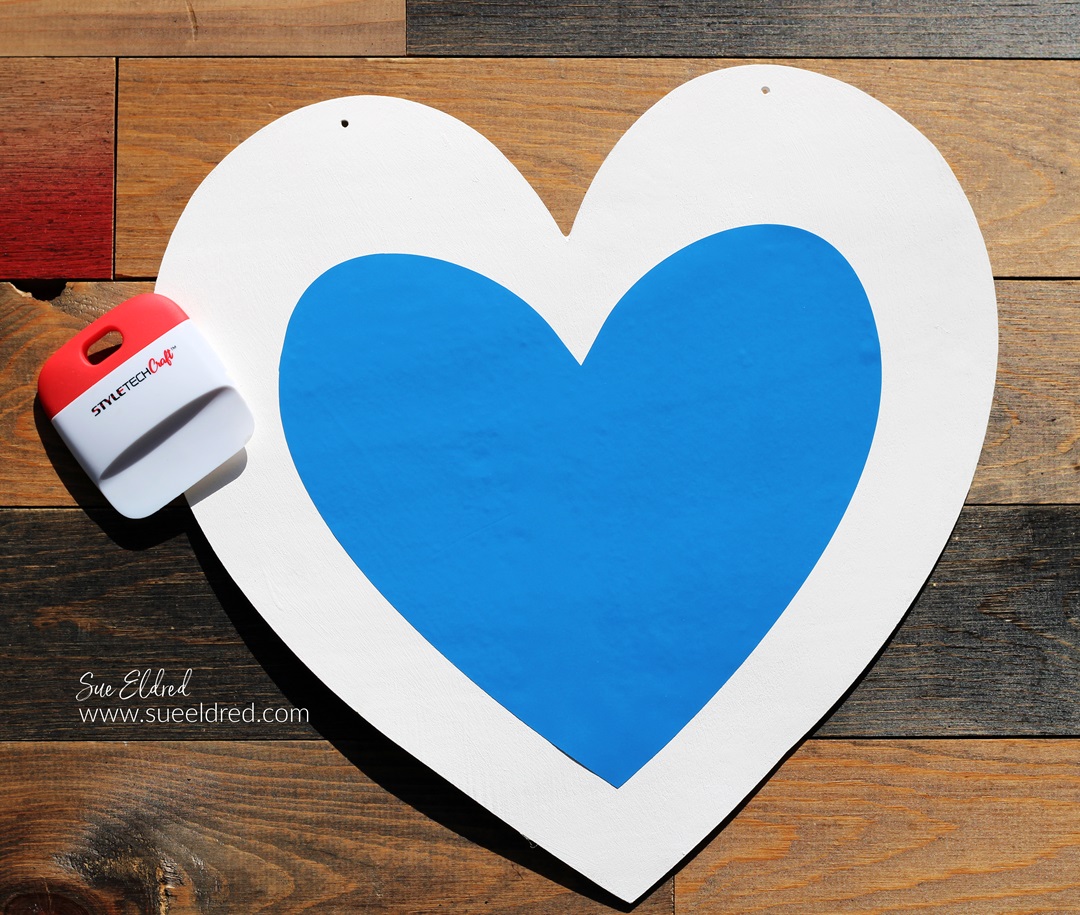
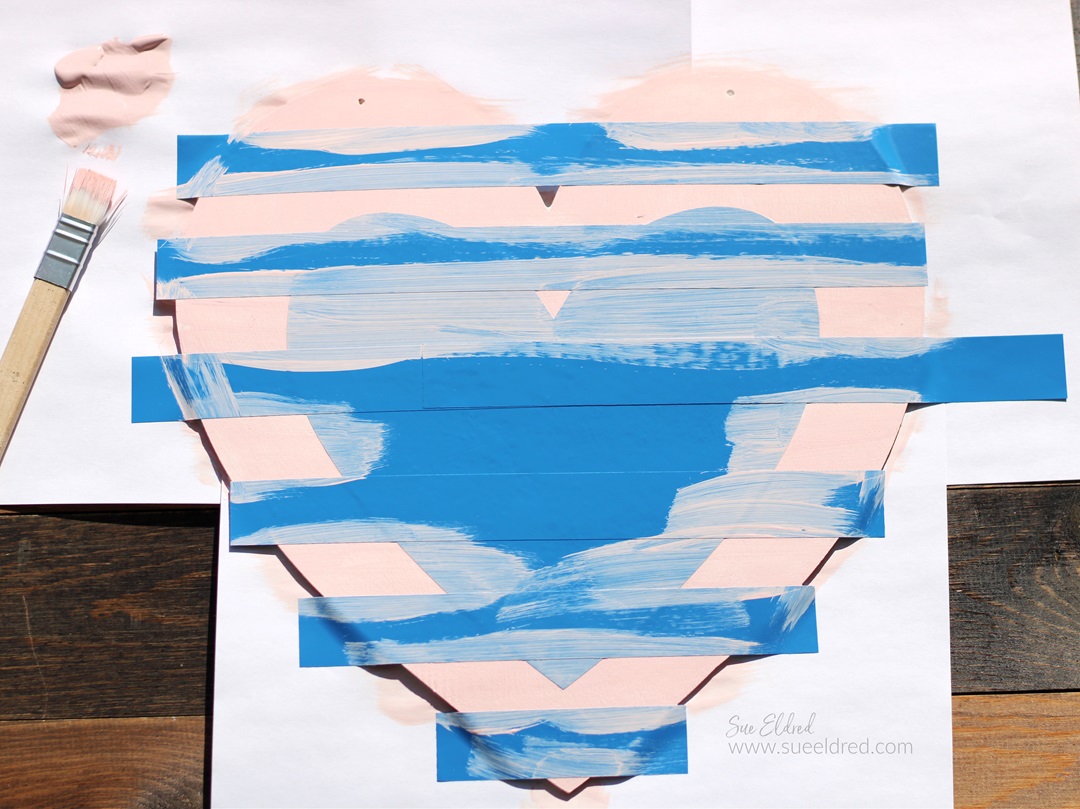
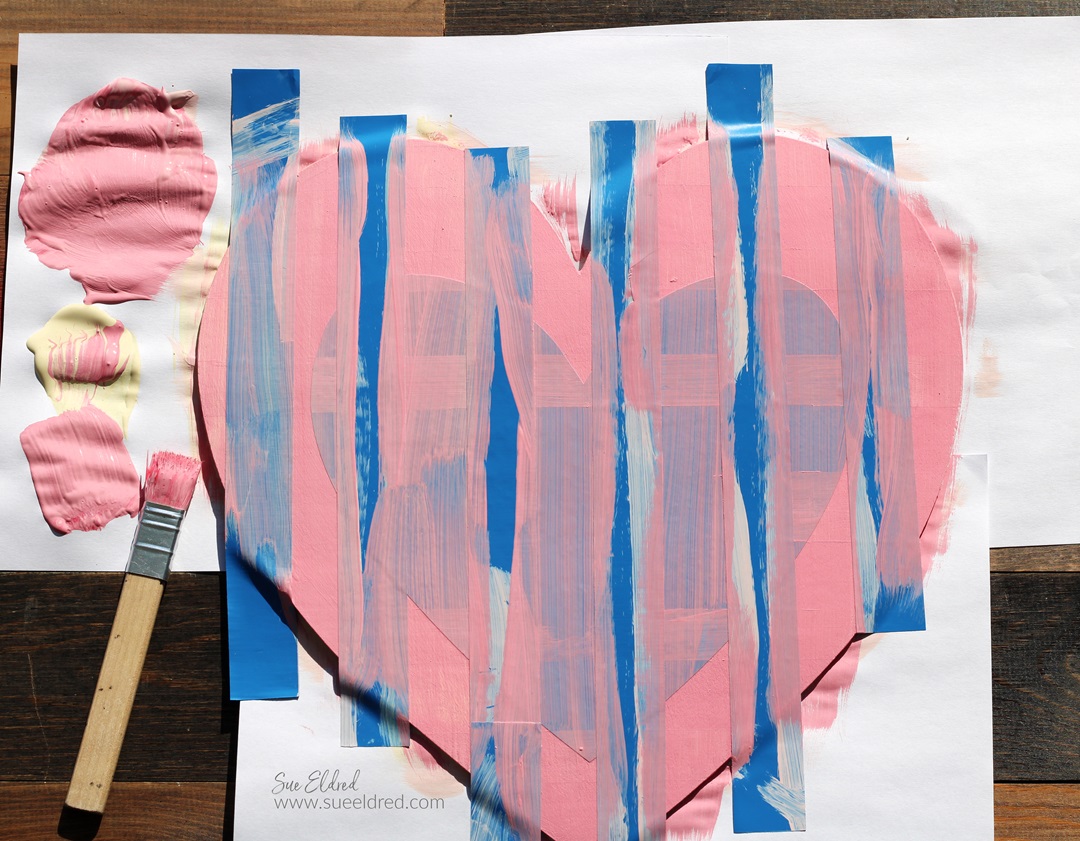
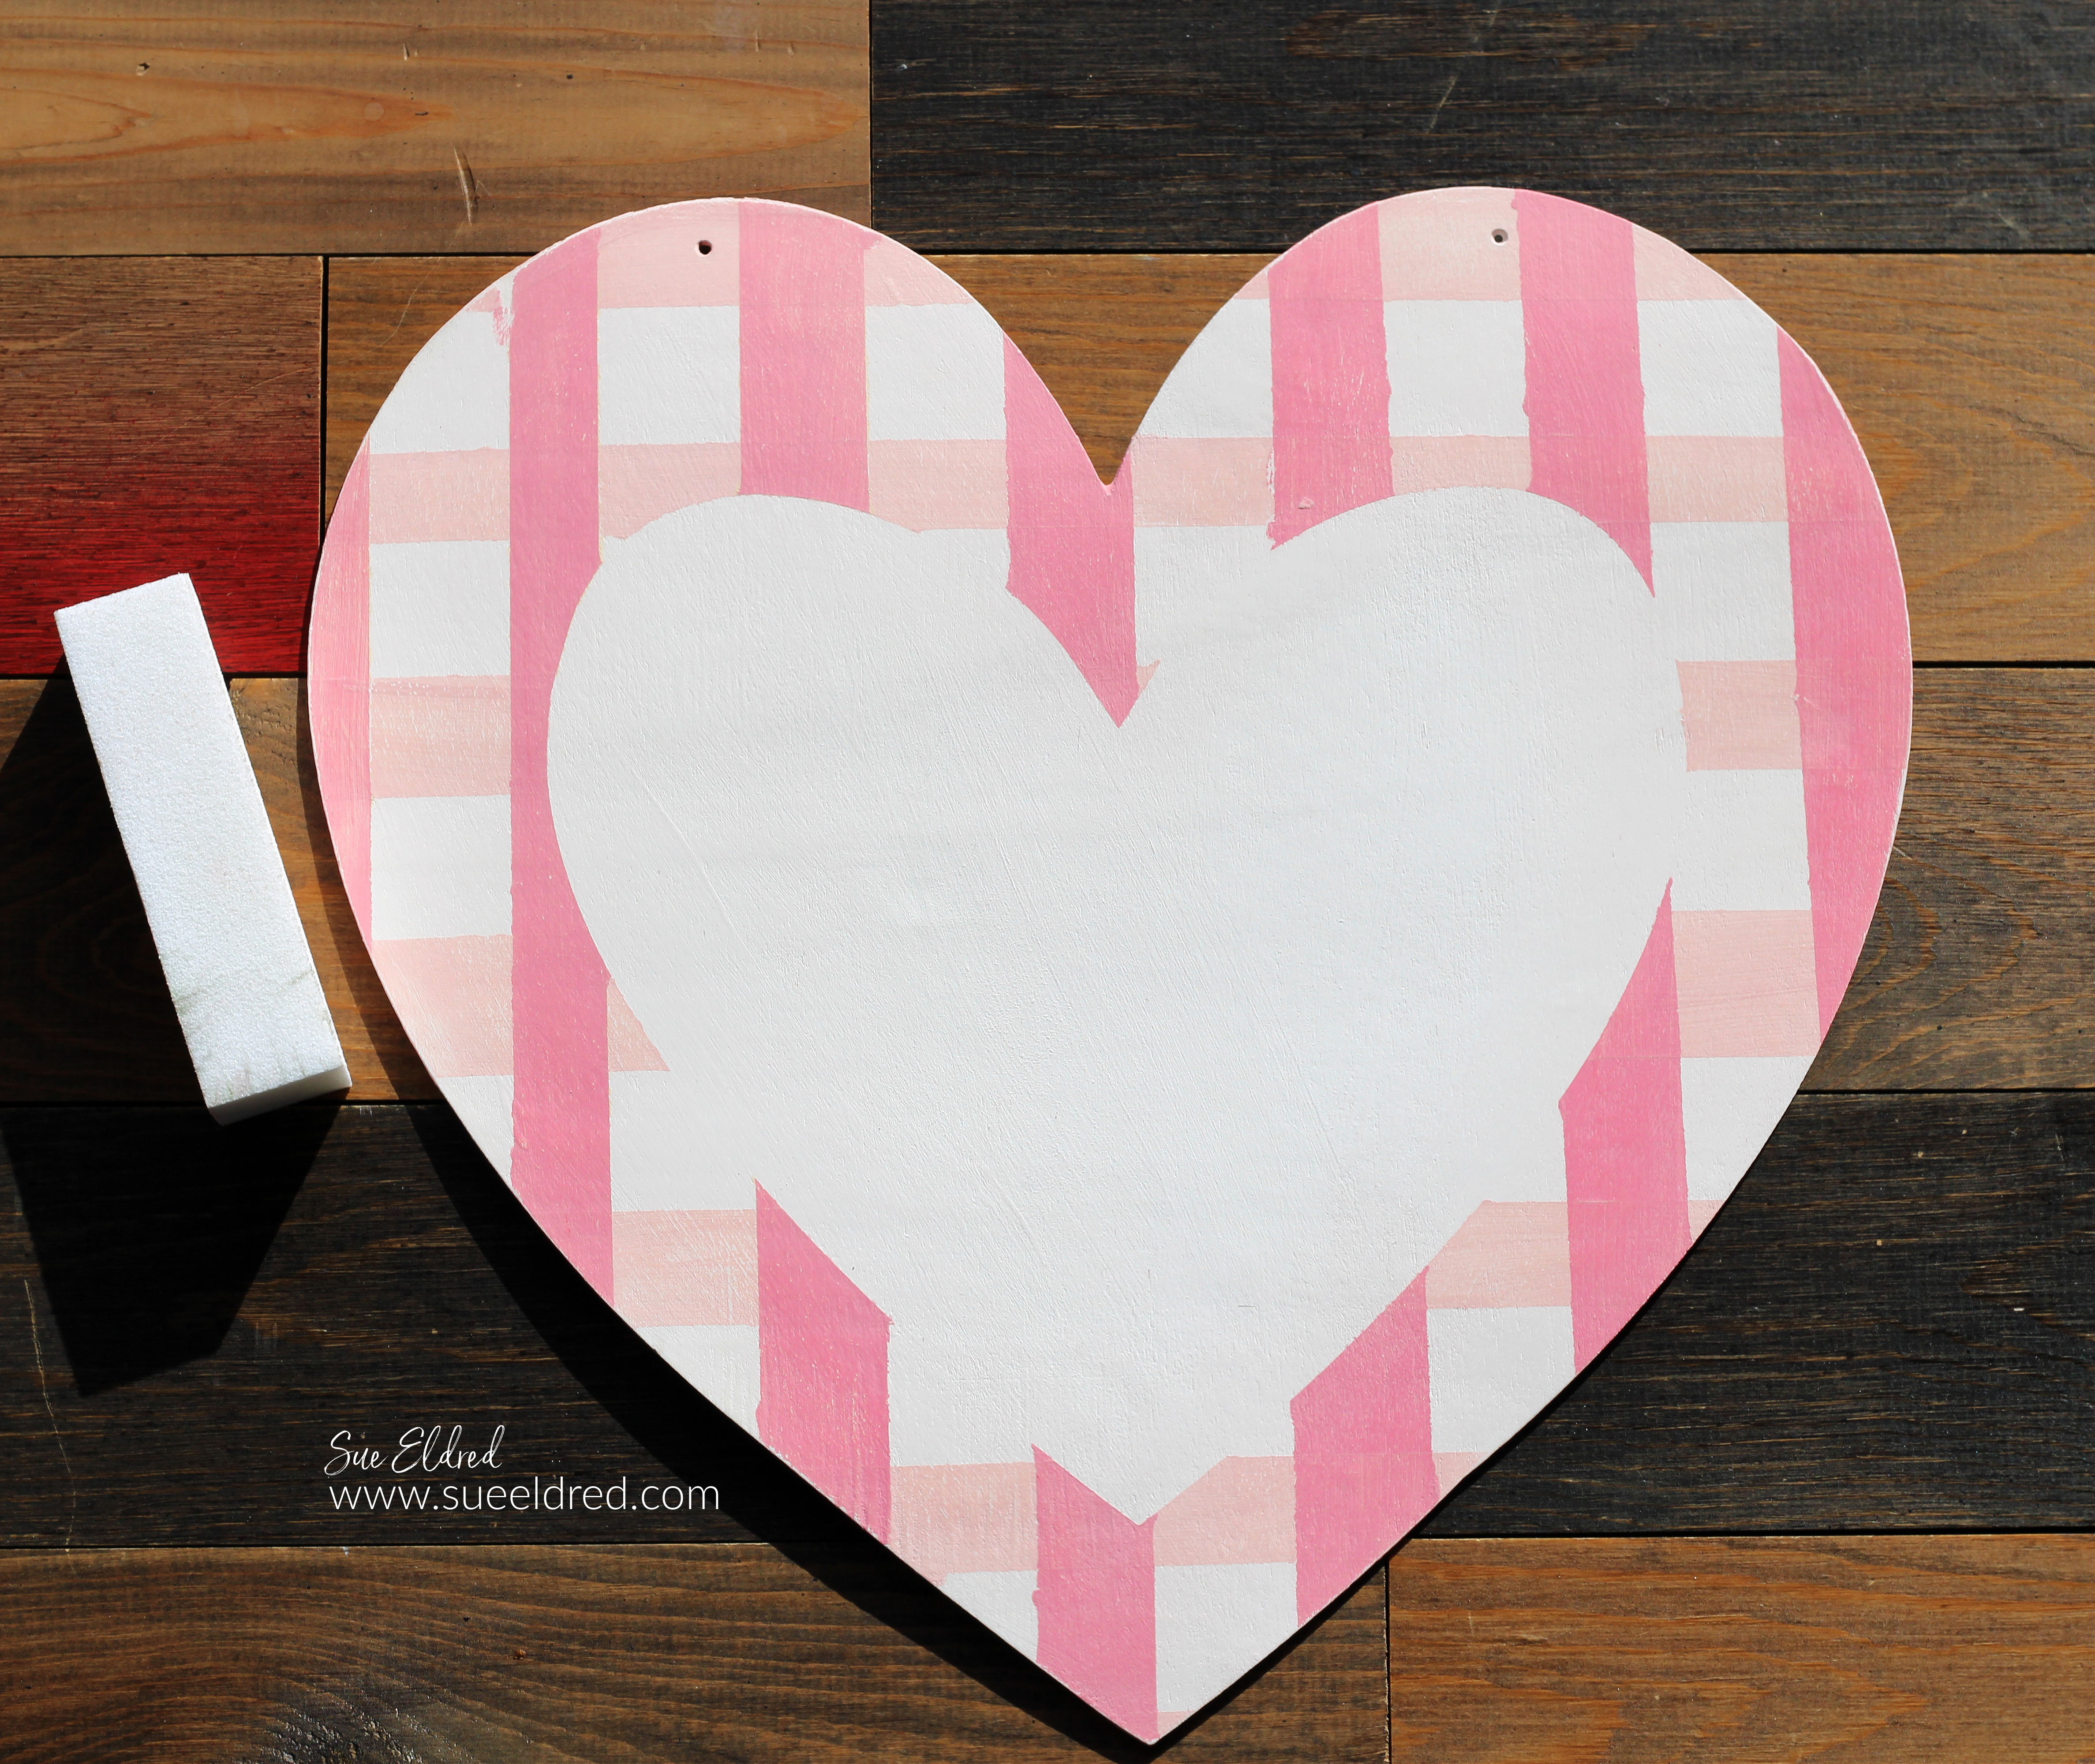
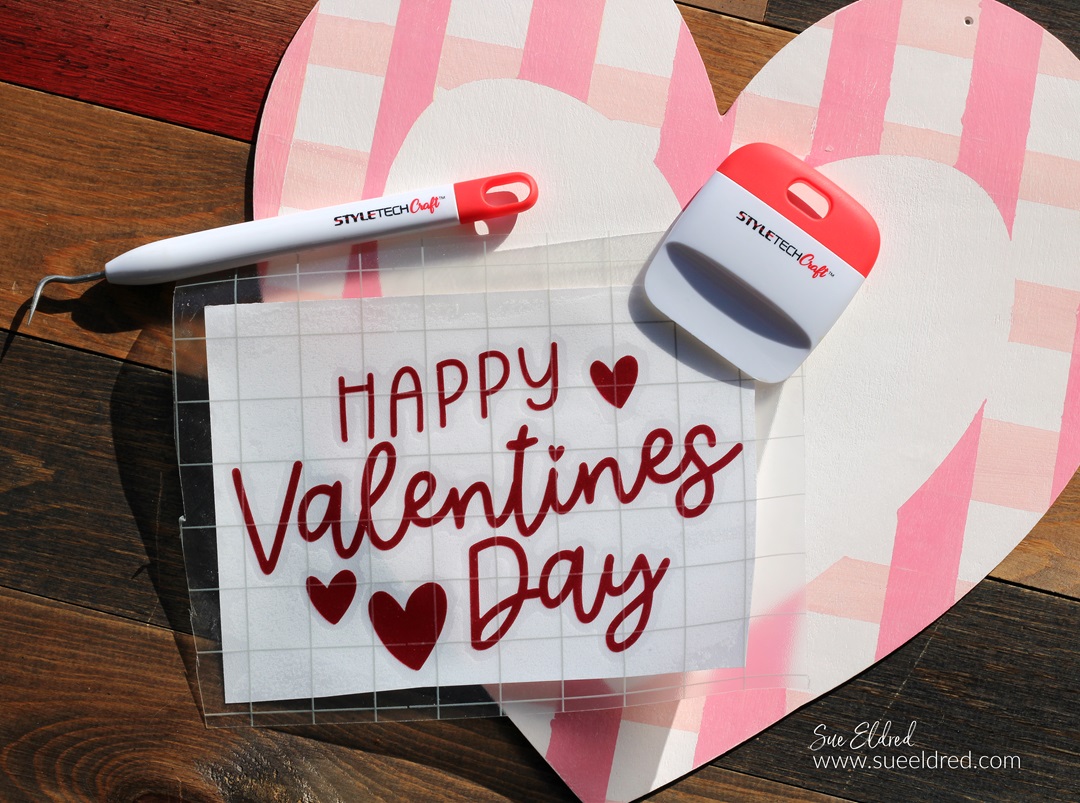
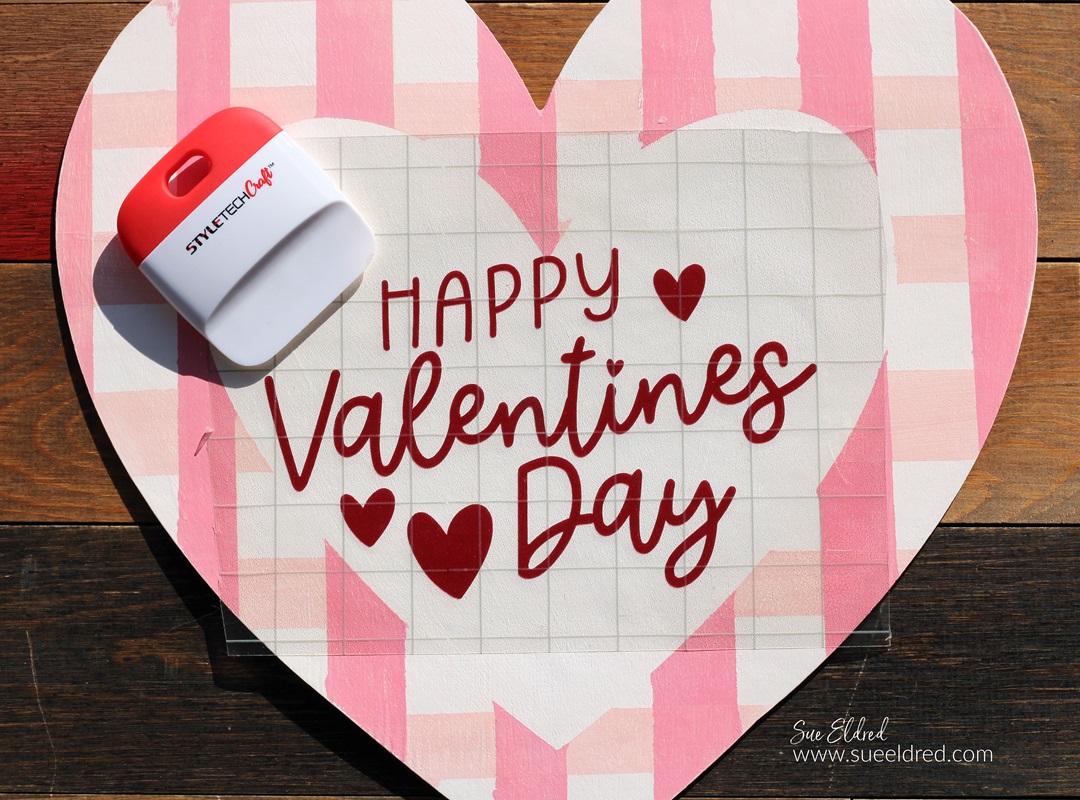
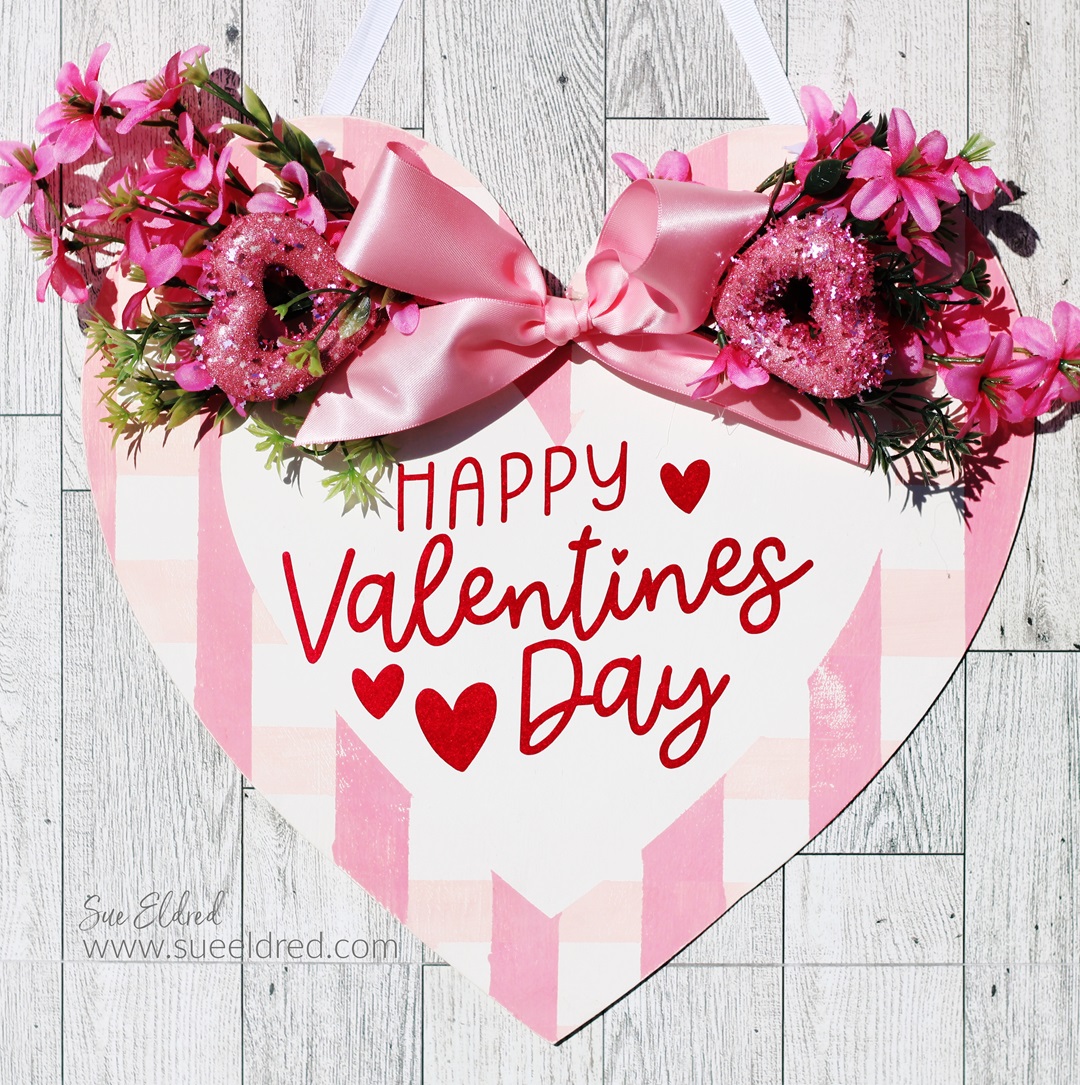
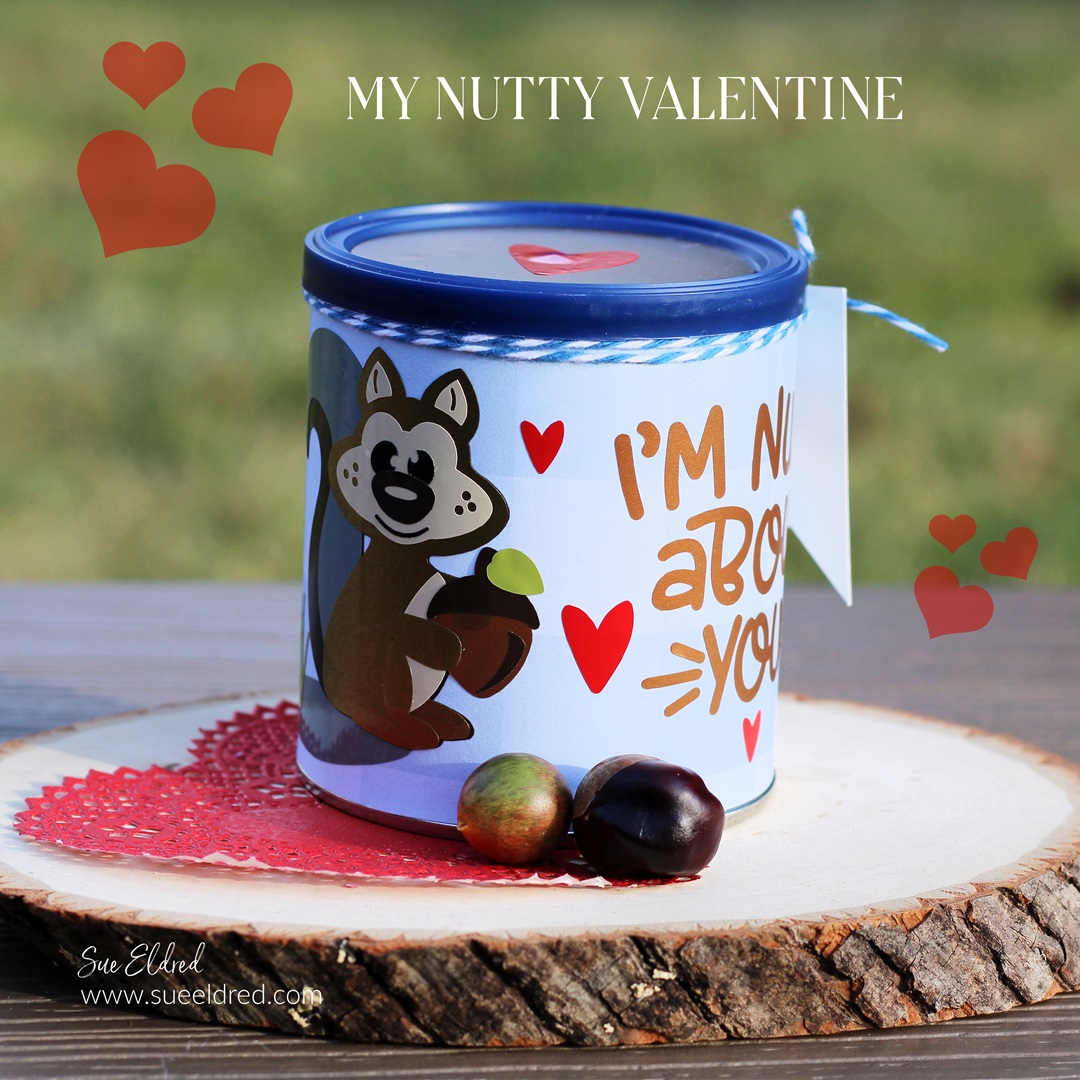
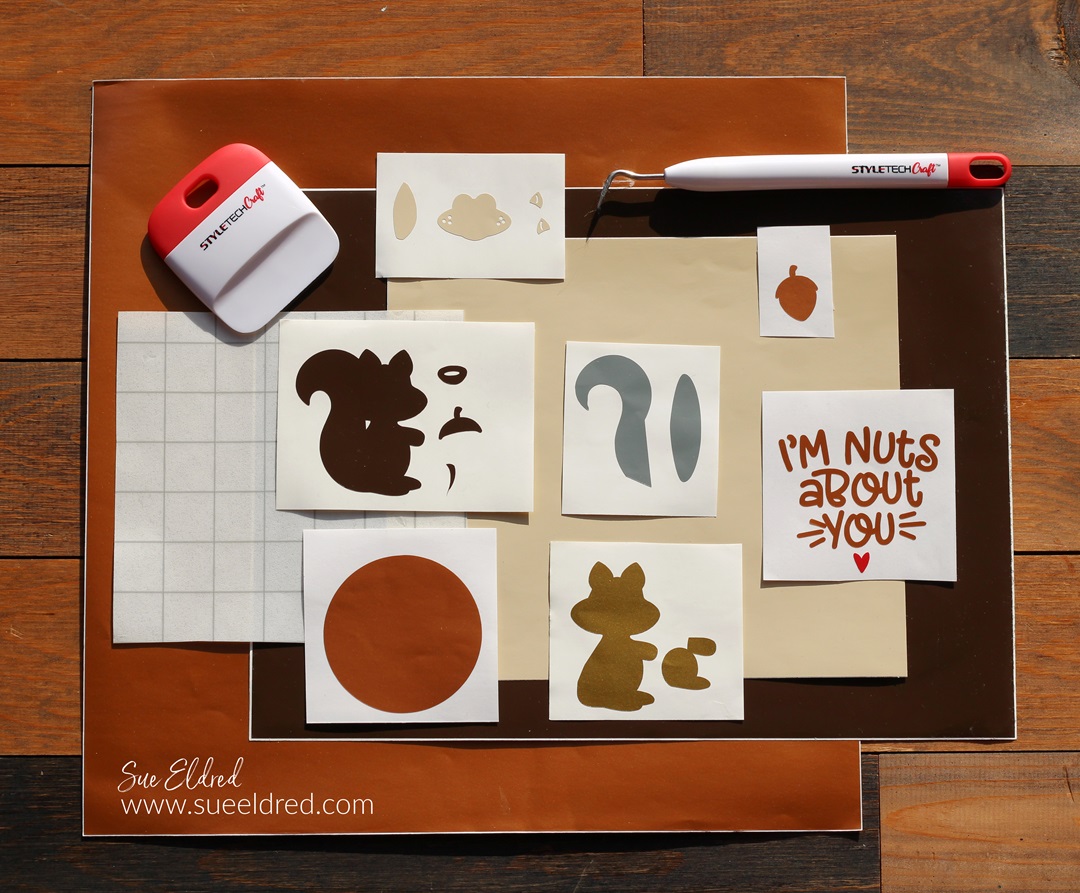
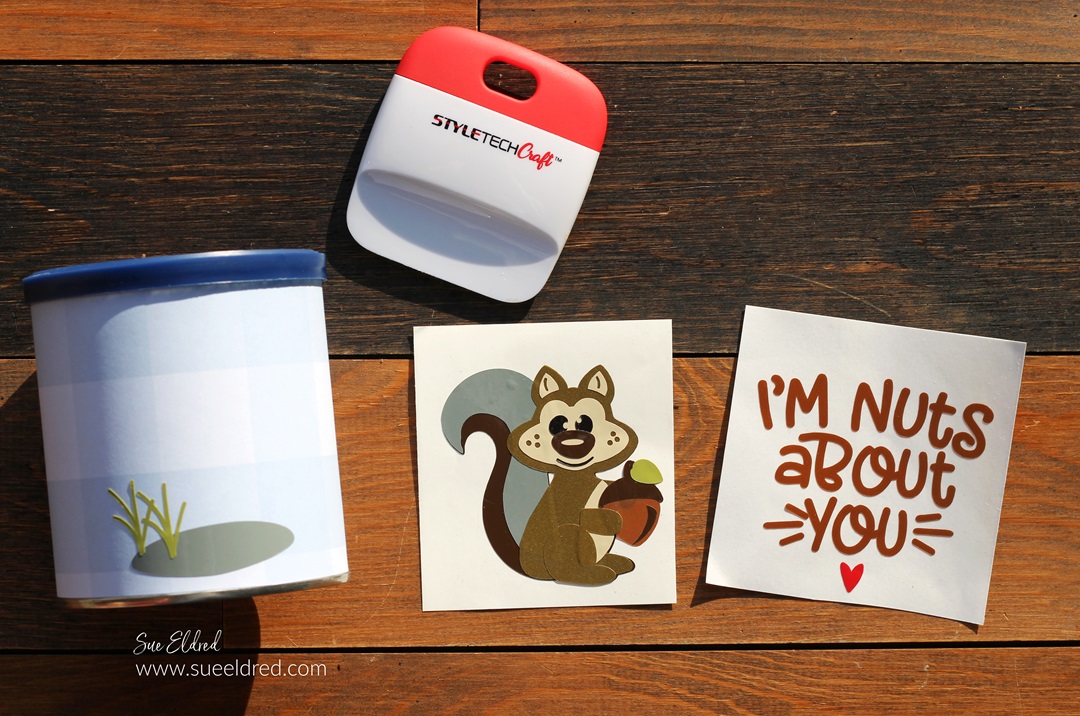
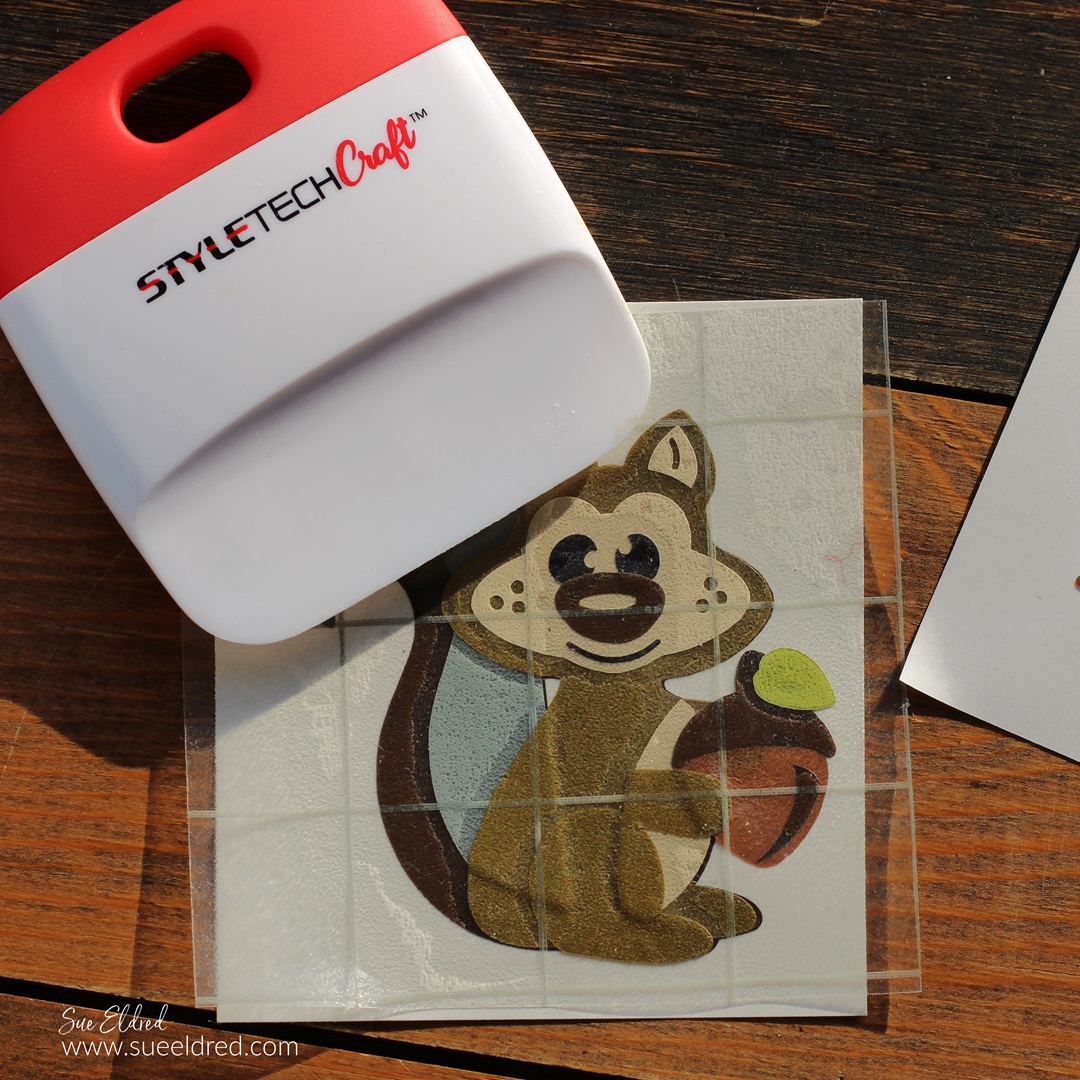
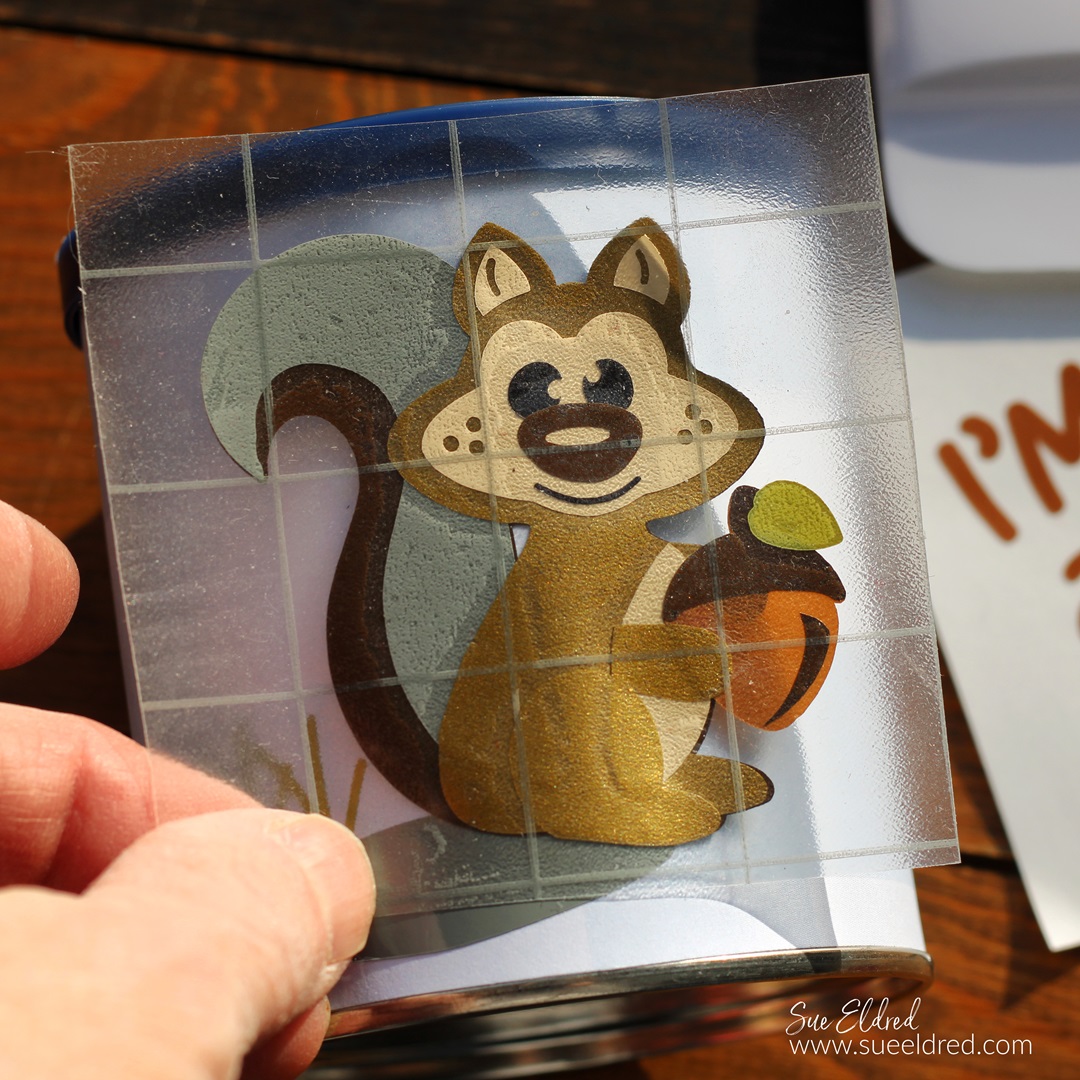
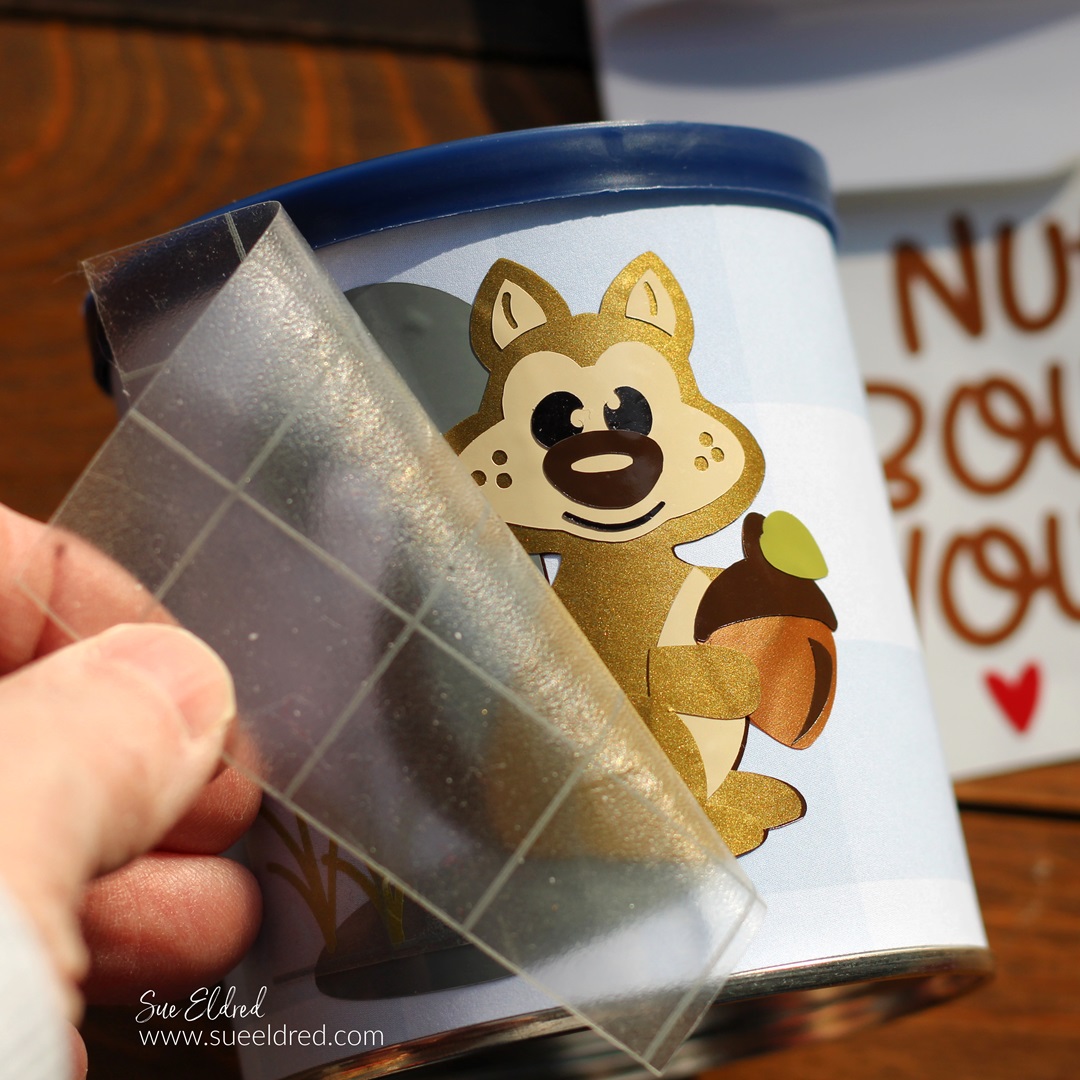
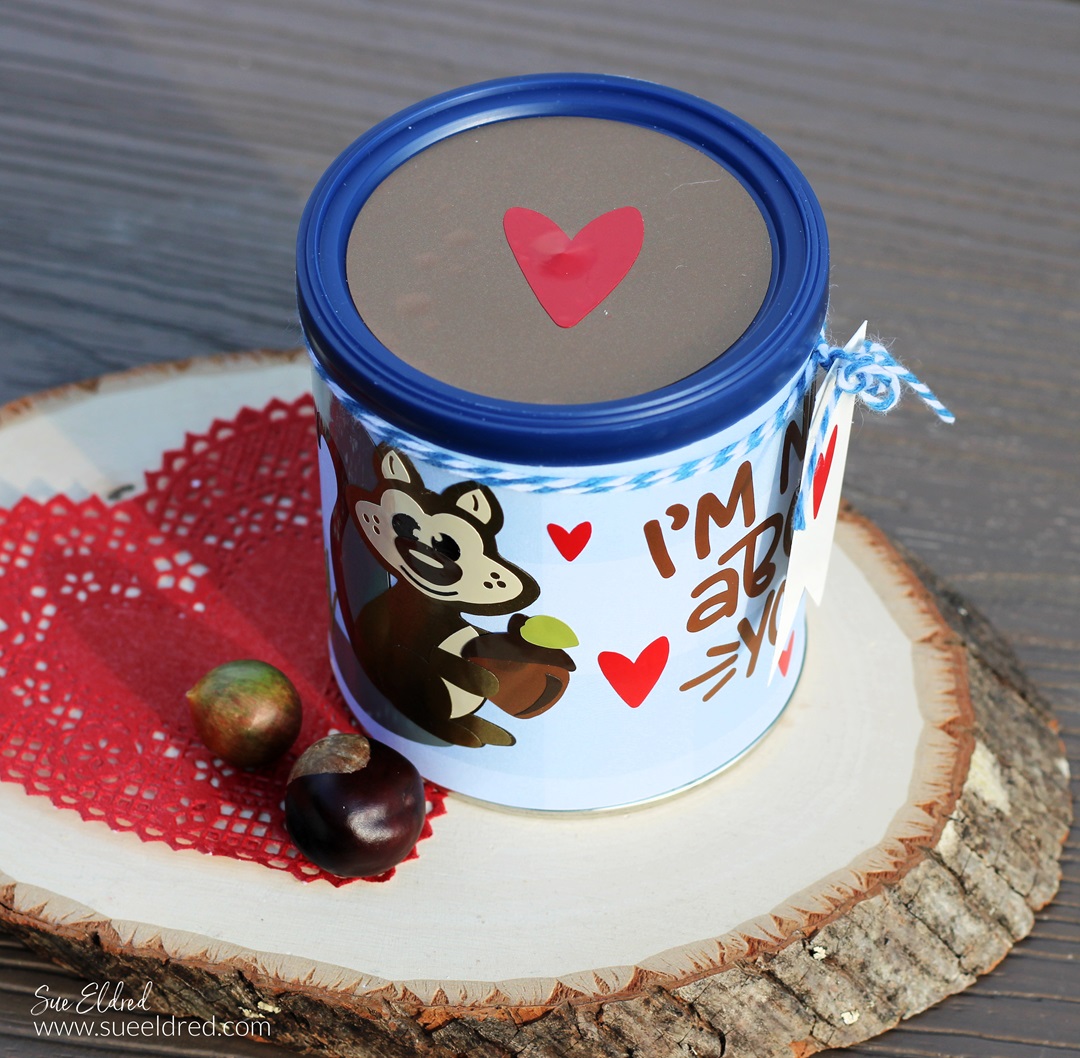
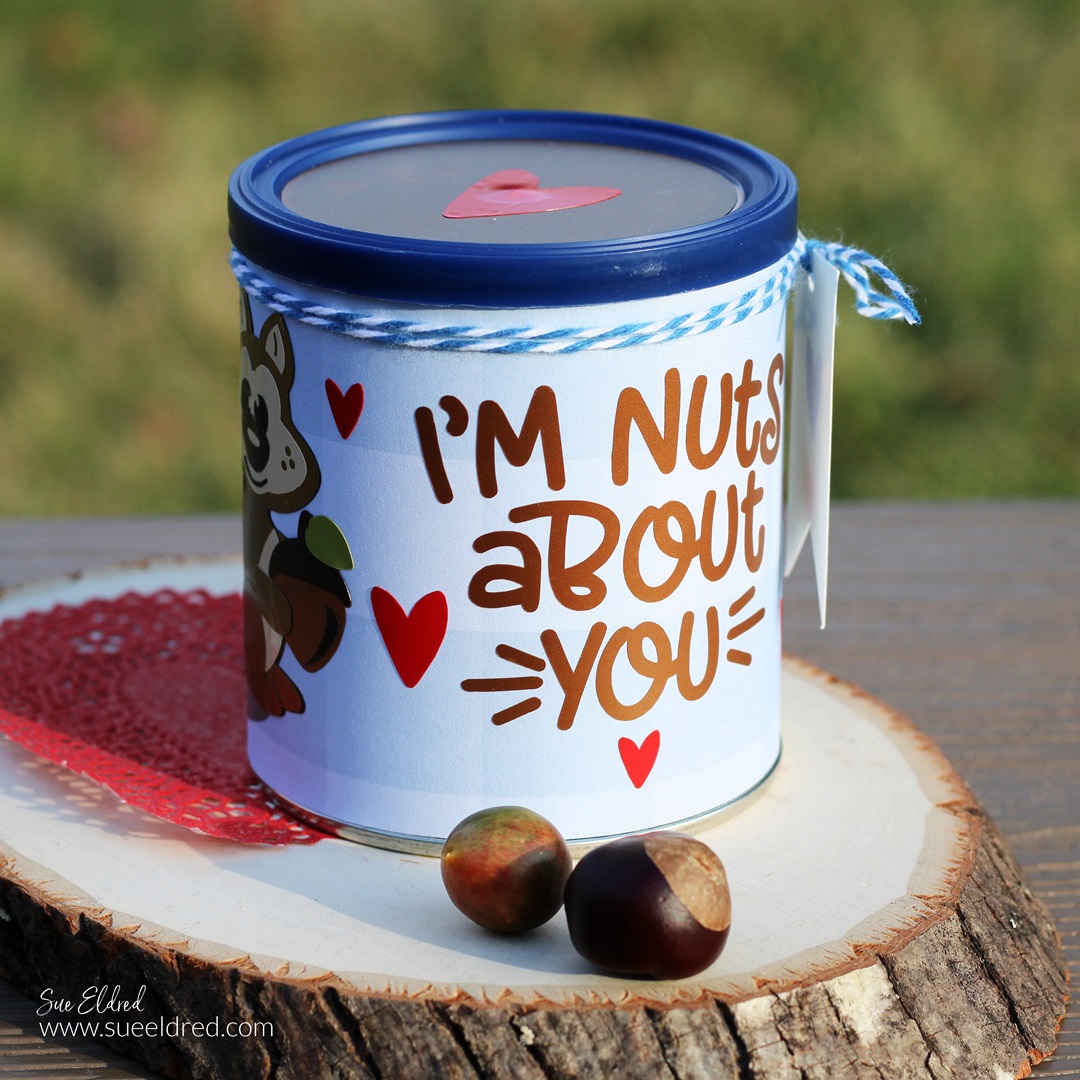
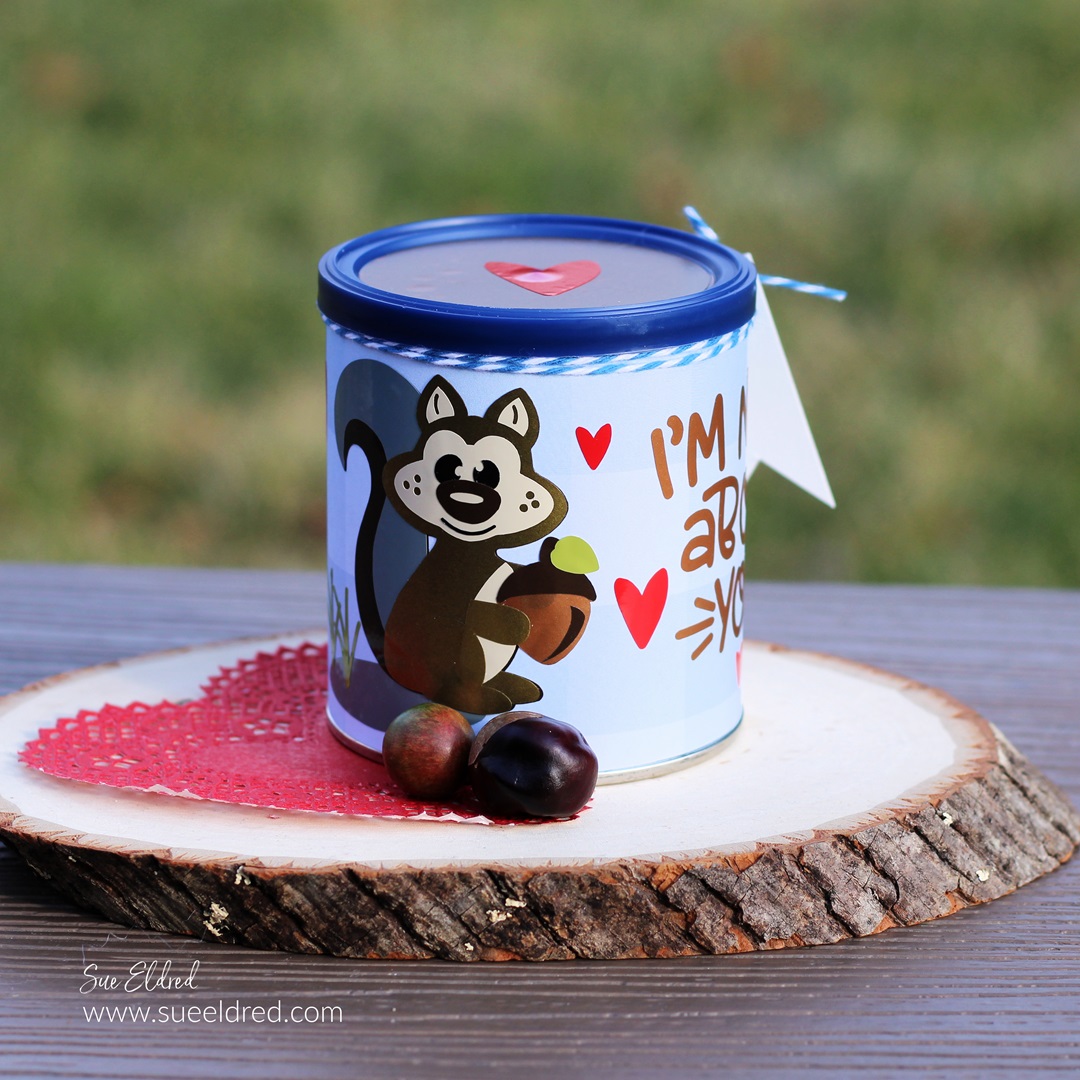
I worked each day in the StyleTechCraft booth doing Make and Takes while my husband golfed.

(A Win/Win in our books!)

Namta 2022 Orlando

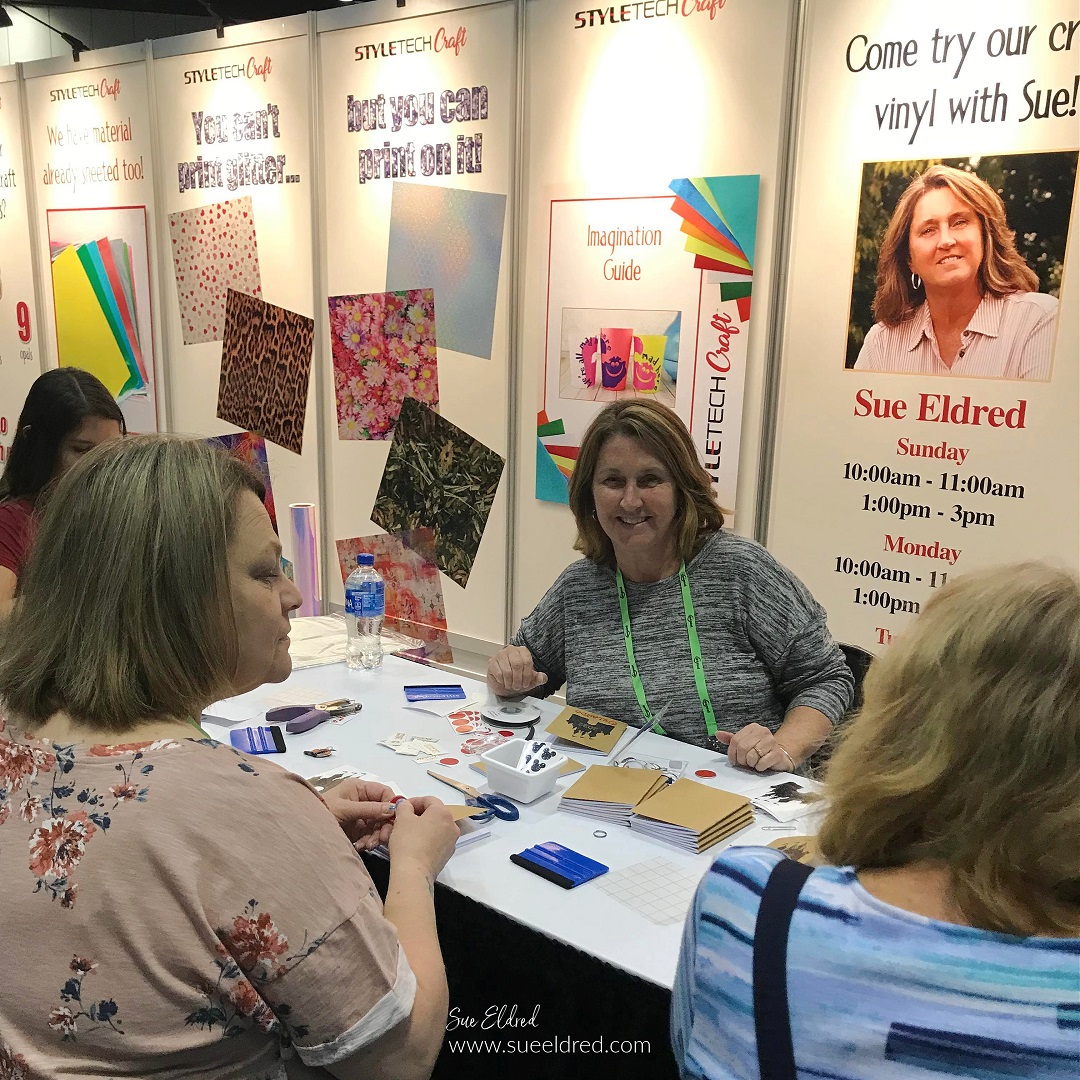
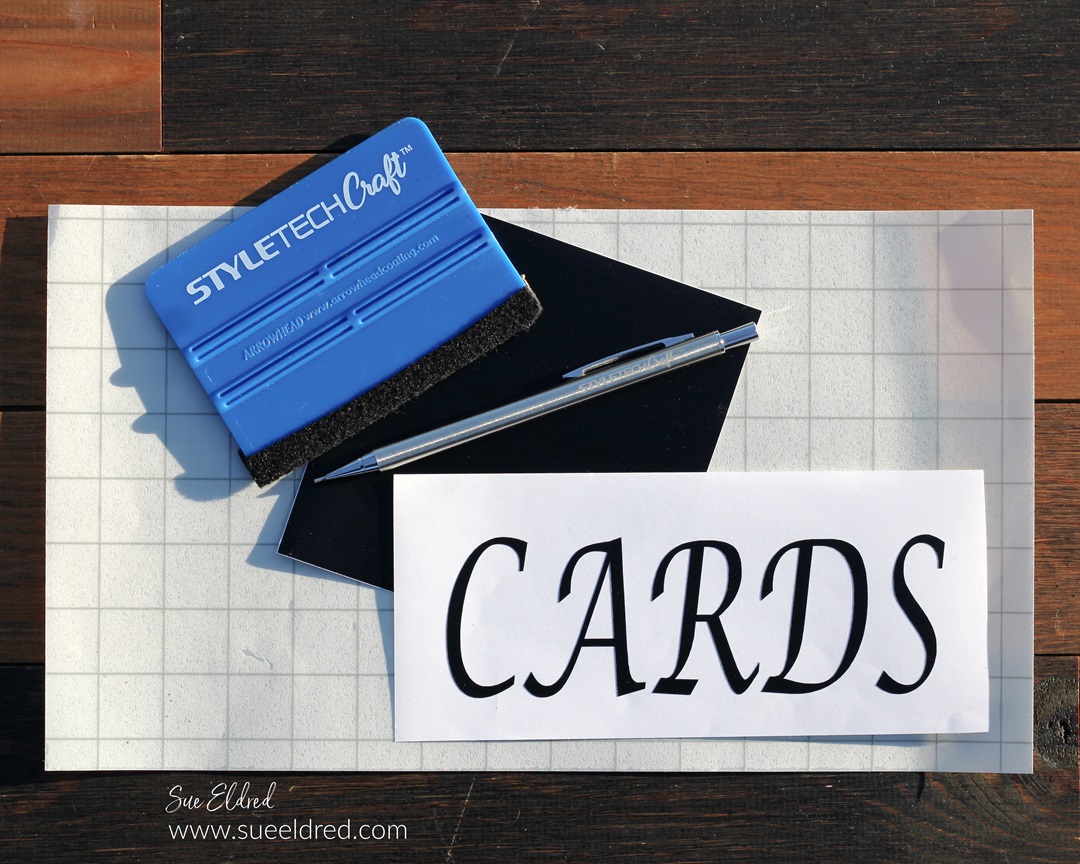
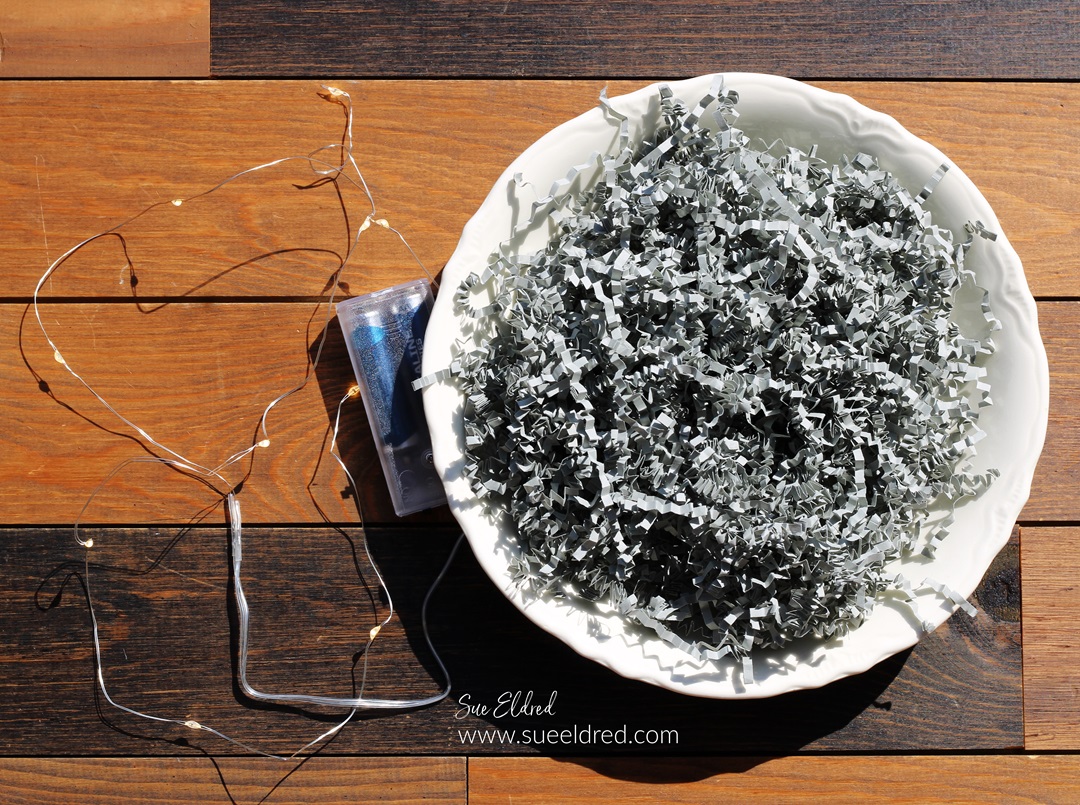
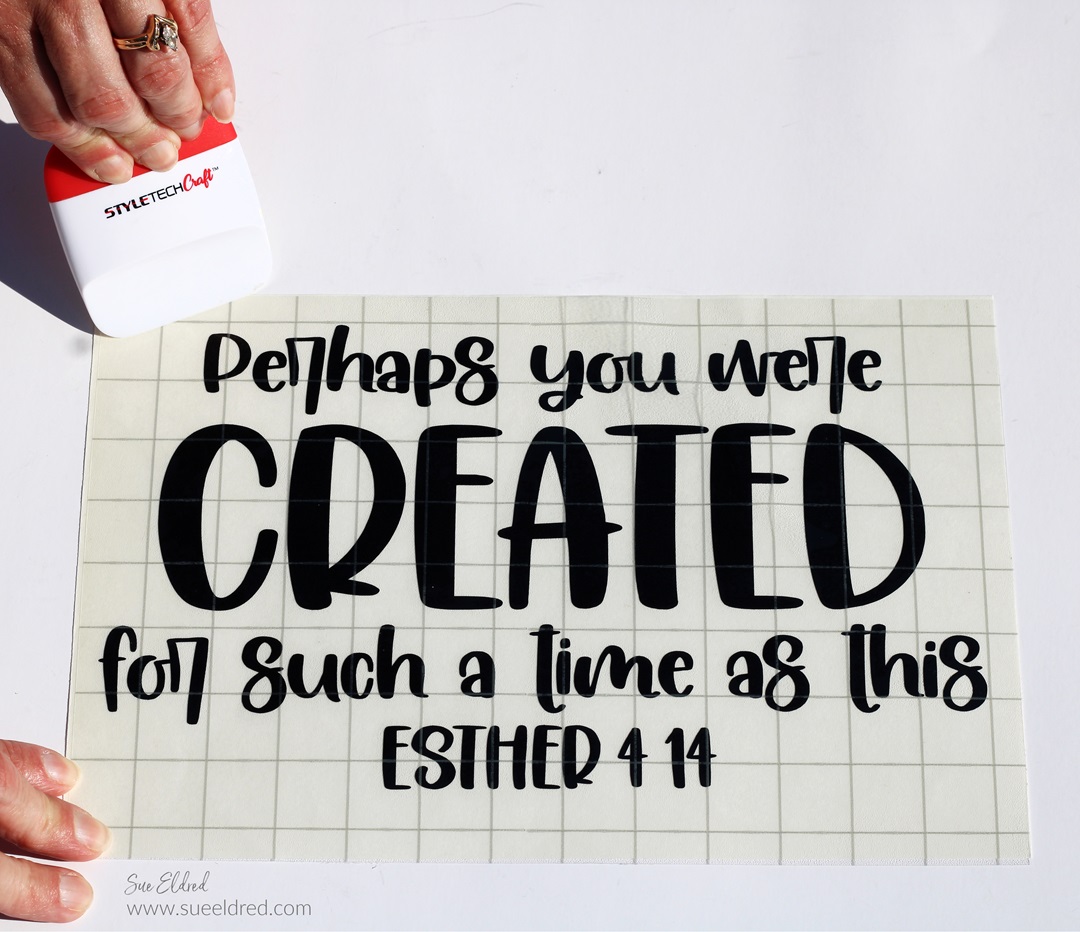
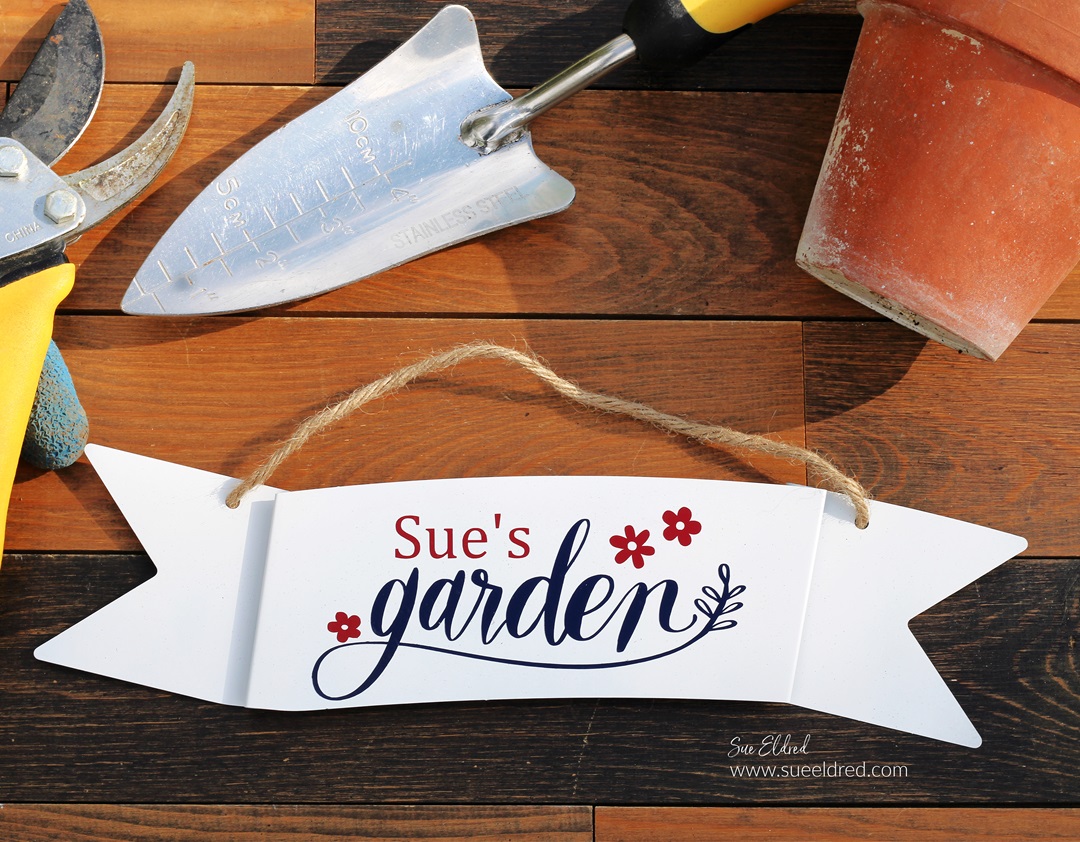
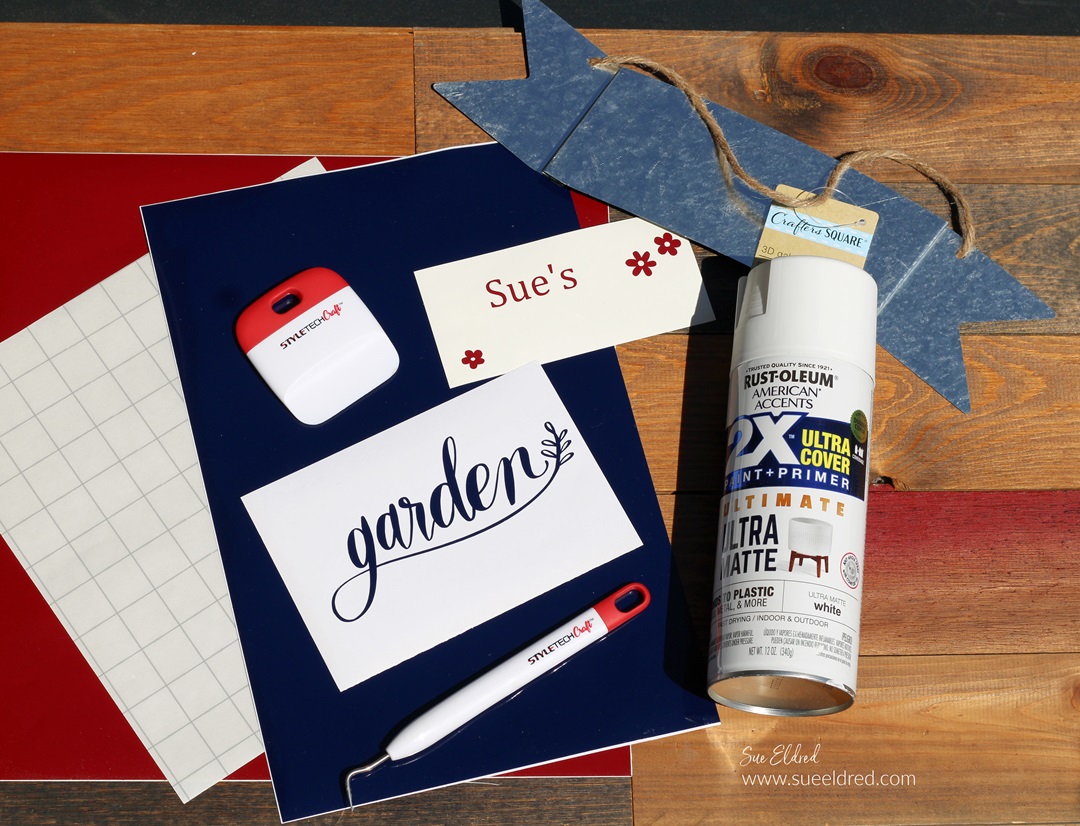
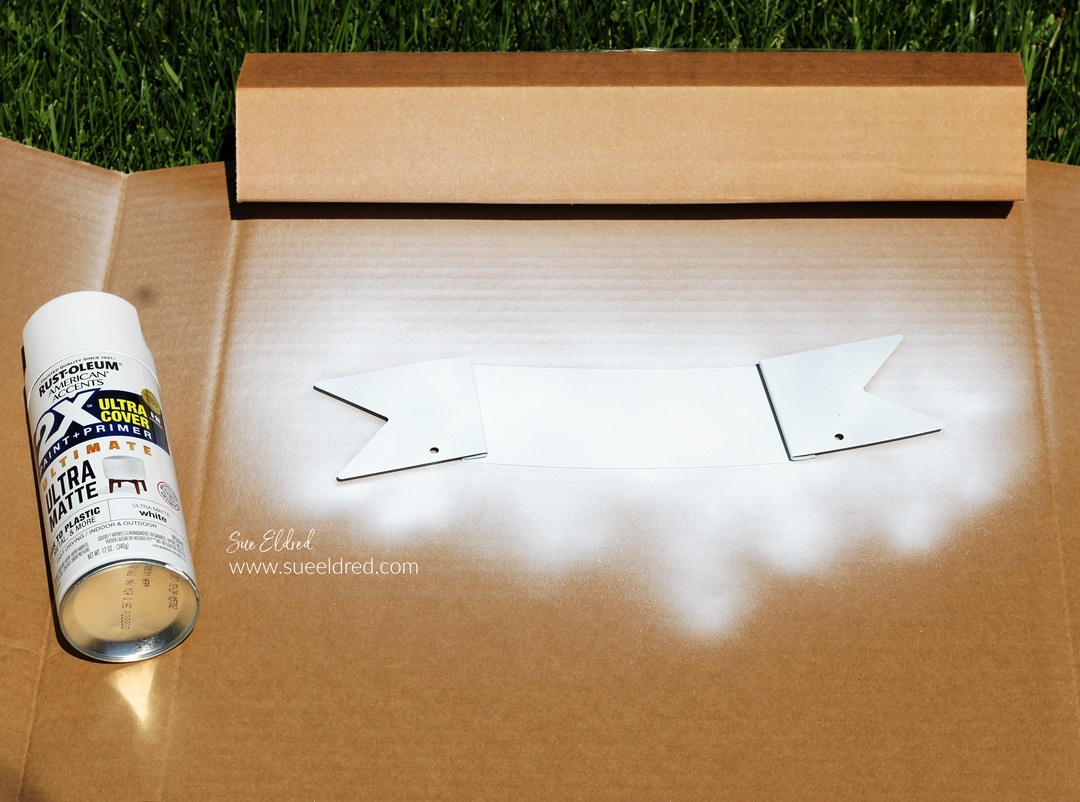
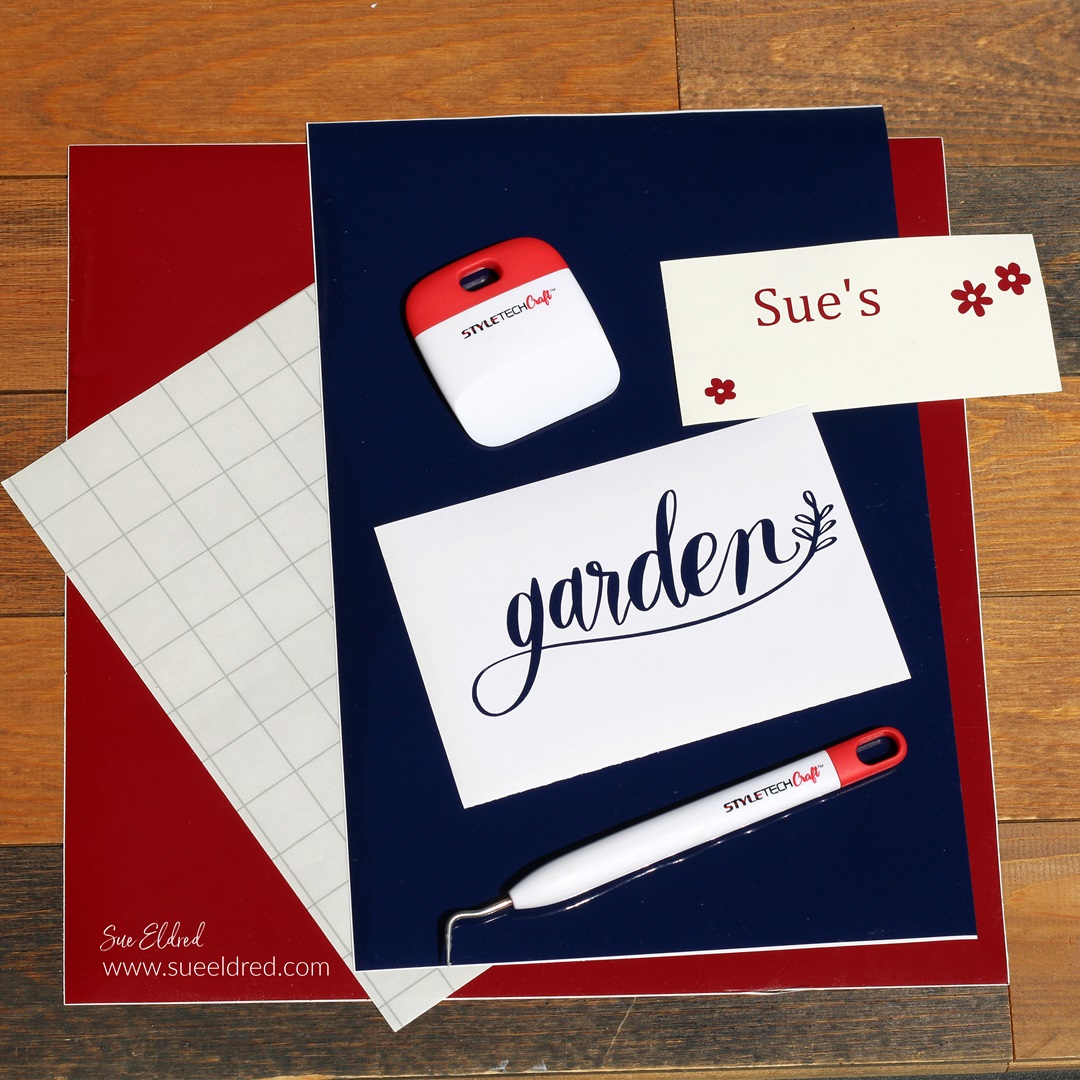
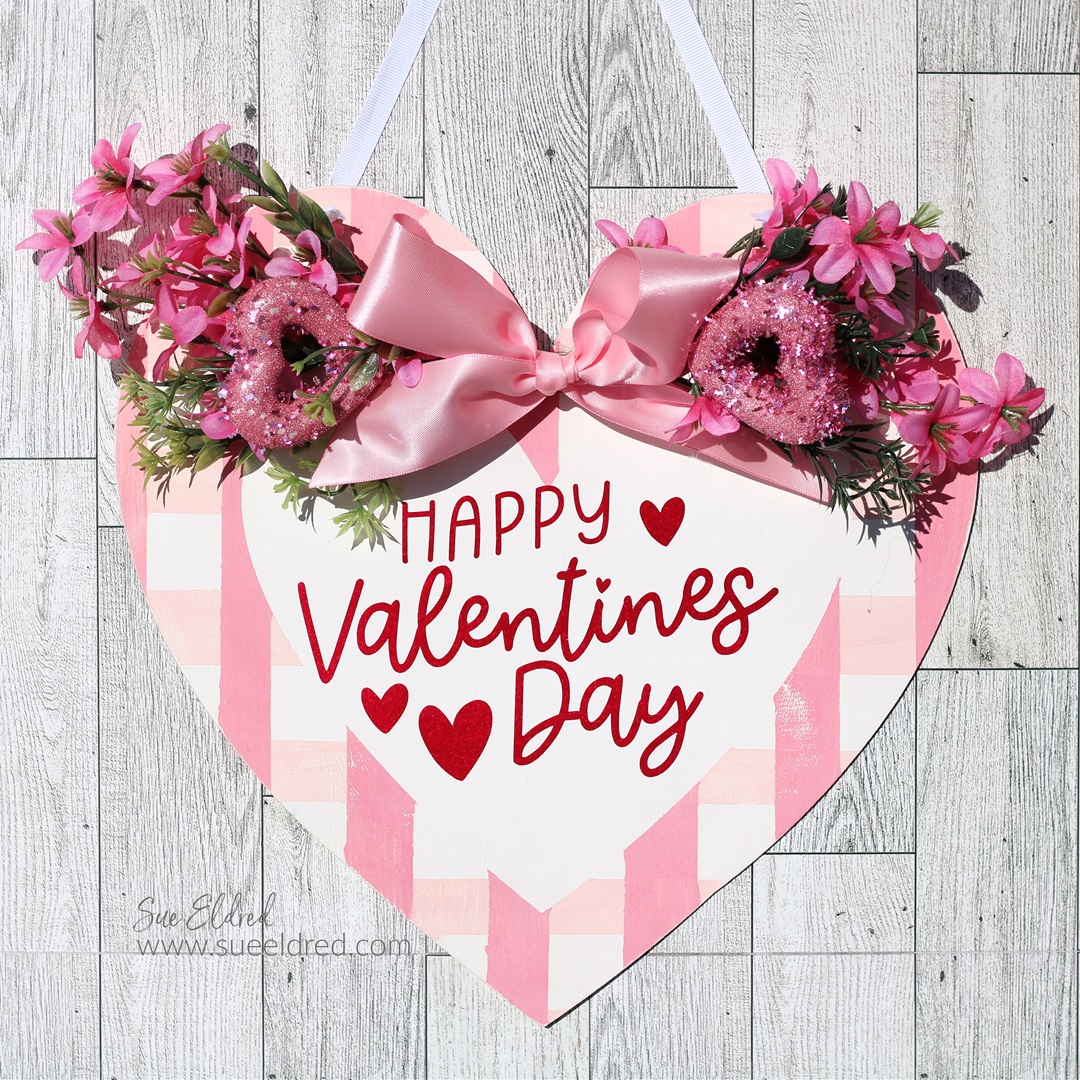
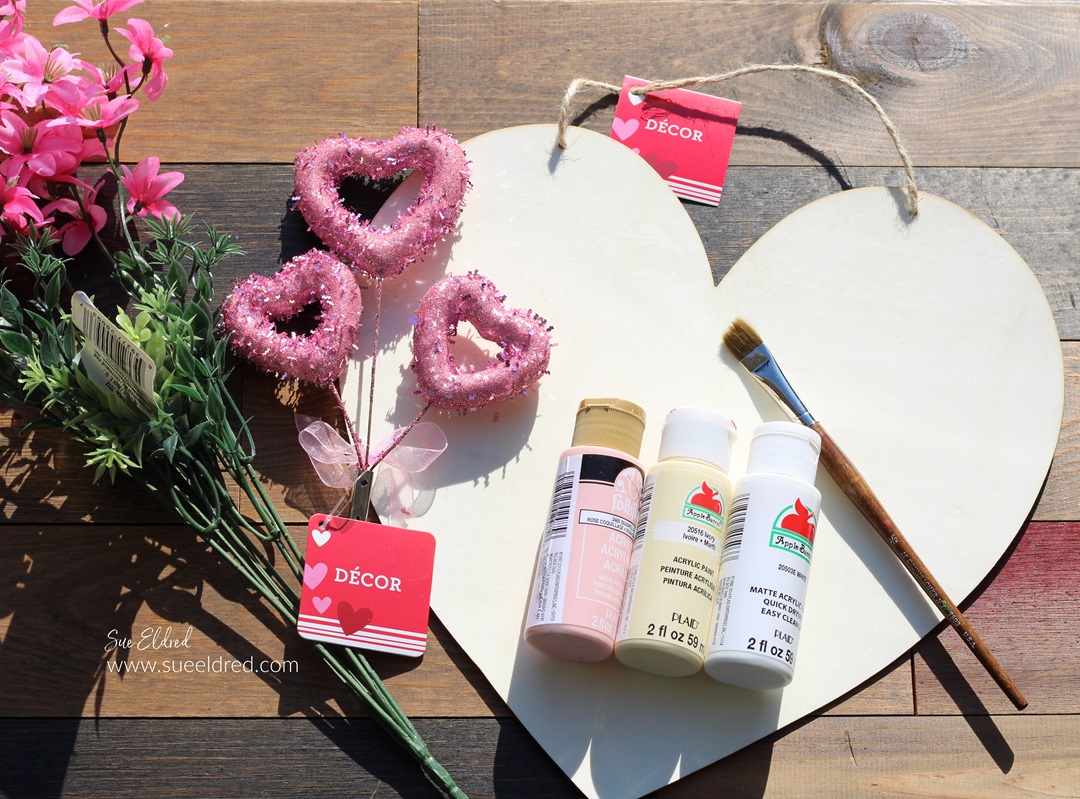
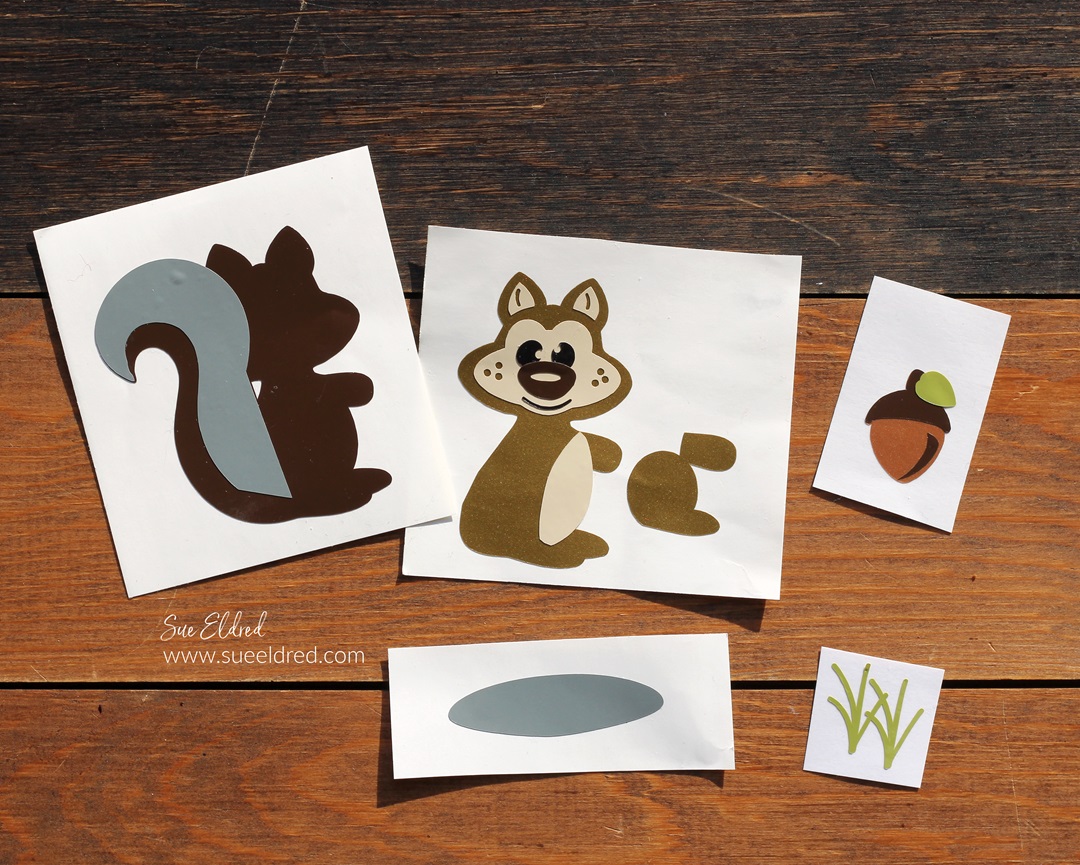
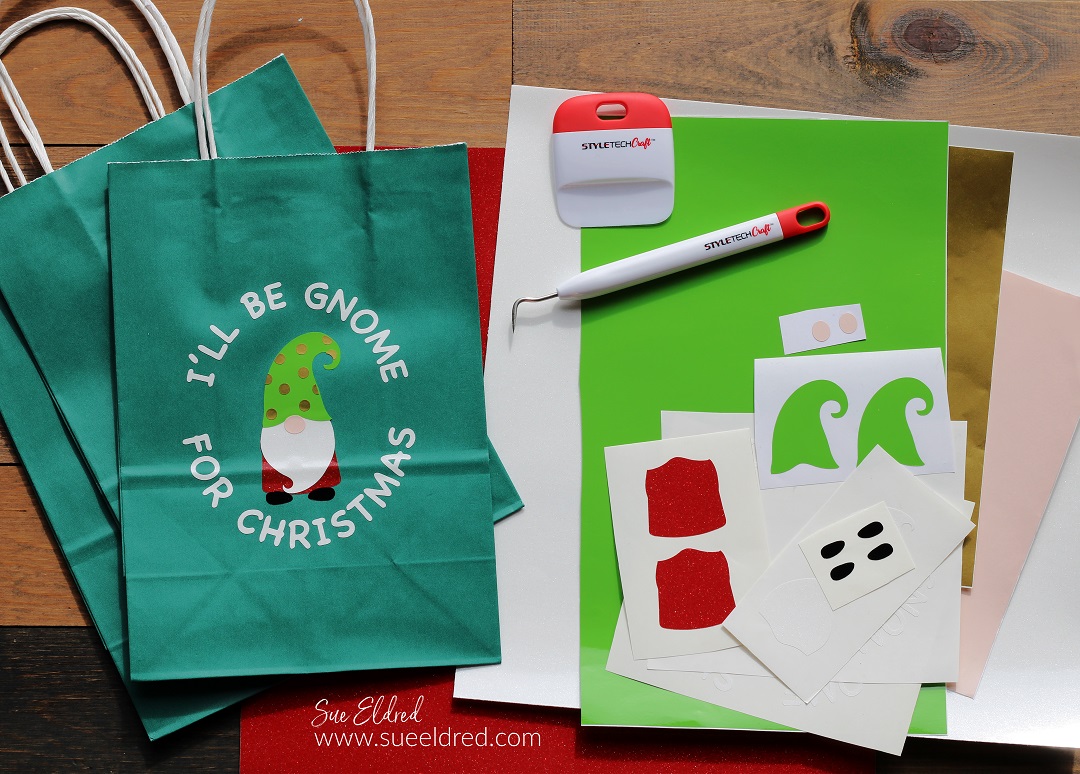
Each day was a new project using StyletechCraft* adhesive vinyl.

Would you believe I get paid to play?  (I’m so lucky to have such a great job!)

As always, I talk too much and forget to take pictures.

Being at the show with all my industry friends is like a big family reunion.

And because of the pandemic, we haven’t seen each other in a couple of years.


Styletech Craft products brought to you by ATSM Craft

*Disclosure:  This blog uses ads and affiliate links.  If you choose to make a purchase using one of the links, I receive a small commission (at no additional cost to you) that helps offset the costs of maintaining this blog.  Thanks for your support!

Namta 2022 Orlando

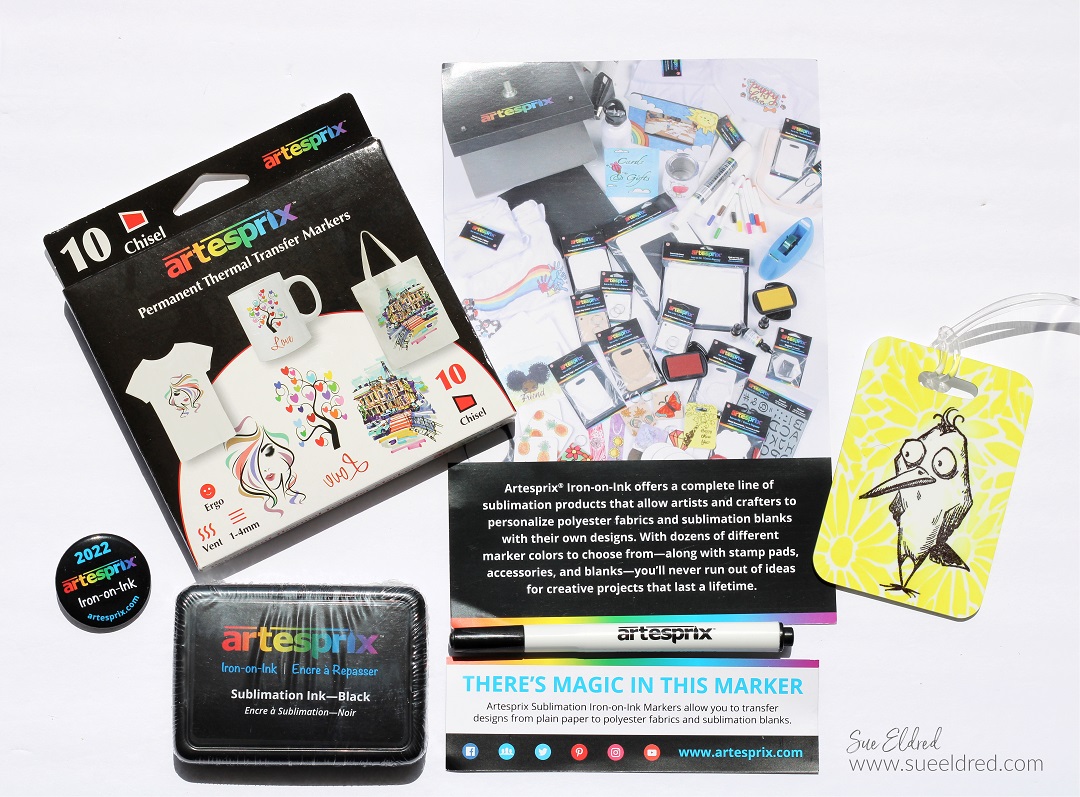
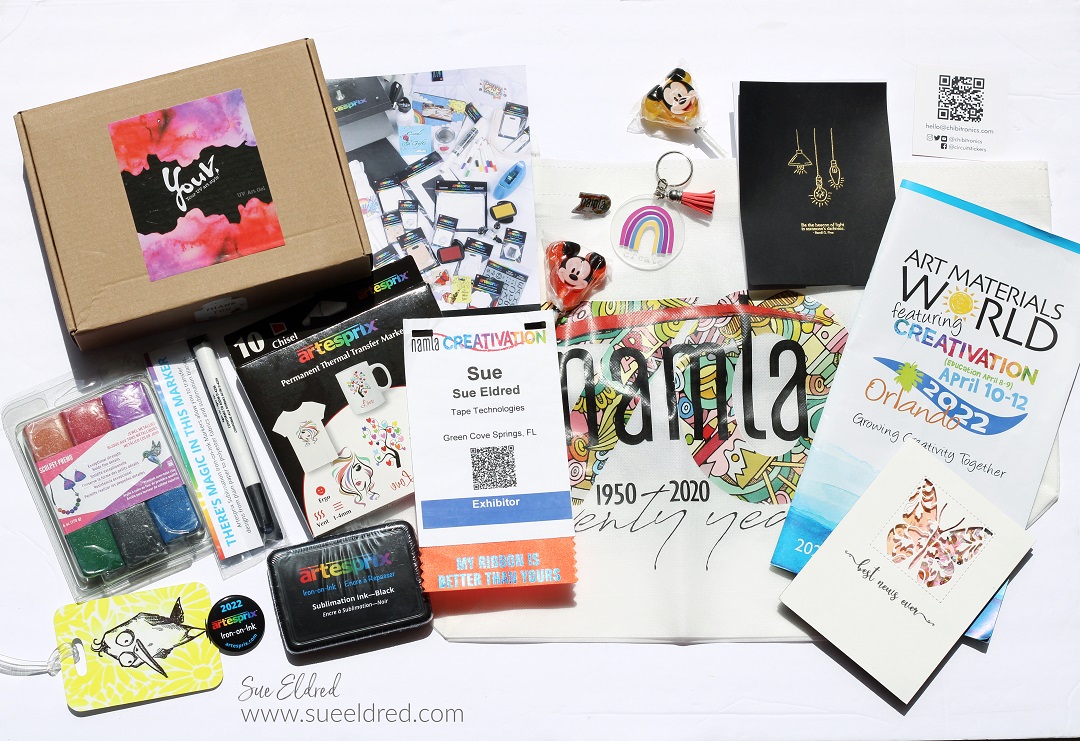
Across the aisle from the StyleTechCraft Booth was the Artesprix Booth.

They were demoing their sublimation markers* and inkpads*.

I was excited to be able to watch a demo as this is new to me.

They were so generous; they gave me markers and inks to try out.

Namta 2022 Orlando-YouV-Sue's Creative Workshop www.sueeldred.com 3047

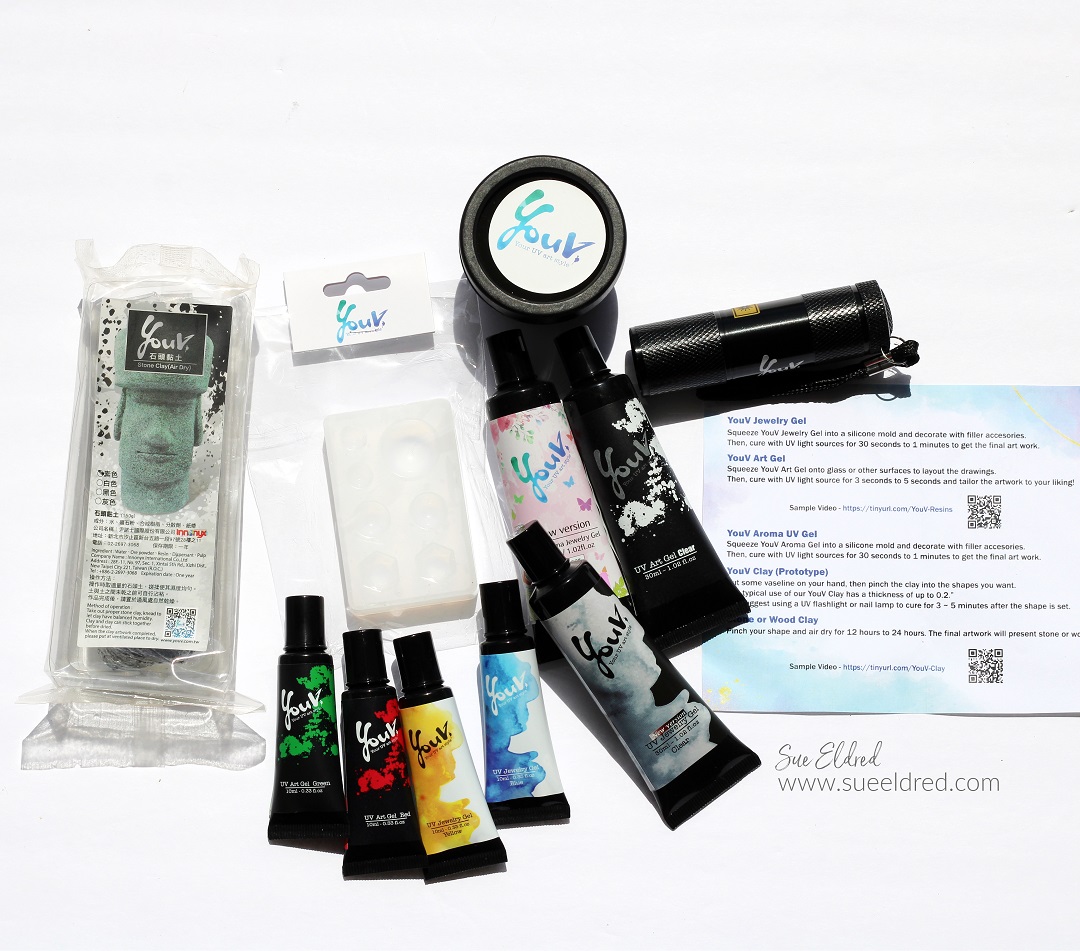
A new booth at the show this year was the YouV Art booth.

They have different types of resin that doesn’t need to be mixed.

And it cures with a UV light in just a matter of minutes.

They made it so easy to use.  I can’t wait to play with this.

I see a new video in my future.

Namta 2022-Orlando-Chibitronics-Sue's Creative Workshop www.sueeldred.com

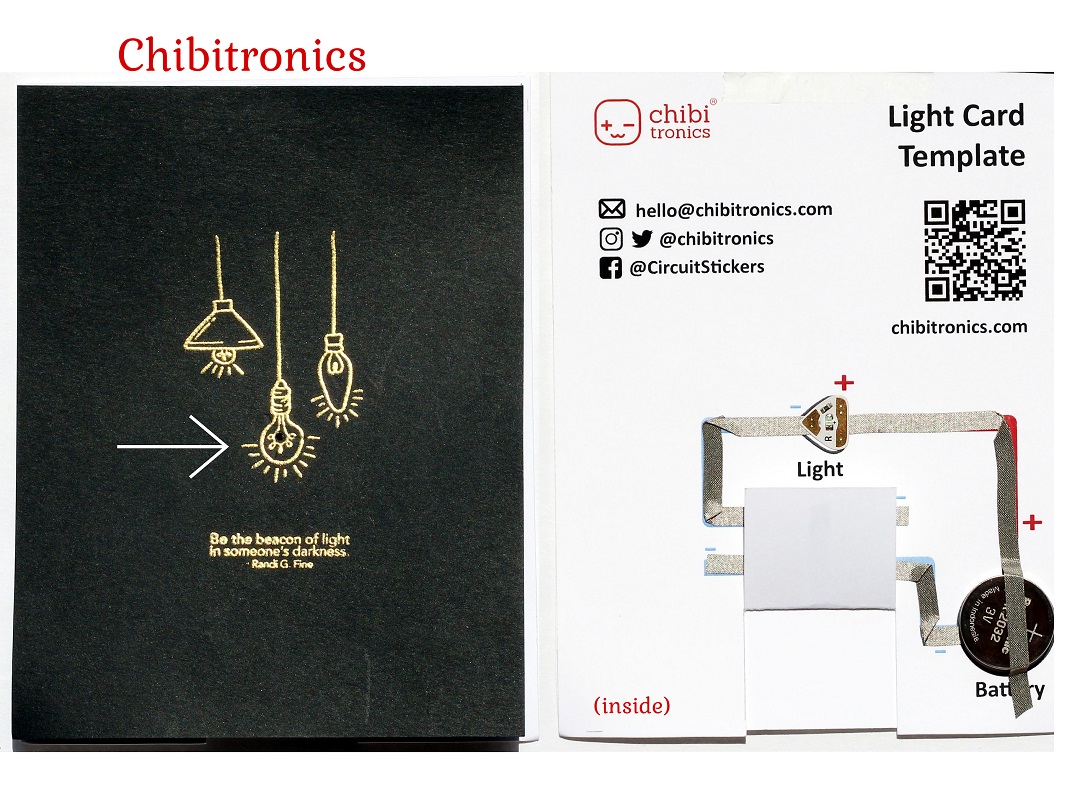
I thought the Chibitronics booth was so cool,

even though I’m not a technical person.

I learned how to make an easy card using simple circuitry.

The lightbulb on the front the card lights up.  So many possibilities.

It’s very educational.  I can see my grandsons loving making light up cards.

Hmmm….maybe another video.

Namta 2022-Orlando-Dress My Crafts-Sue's Creative Workshop www.sueeldred.com 3059

Several companies were not able to attend in person this year

and they gave several designers new products to try out.

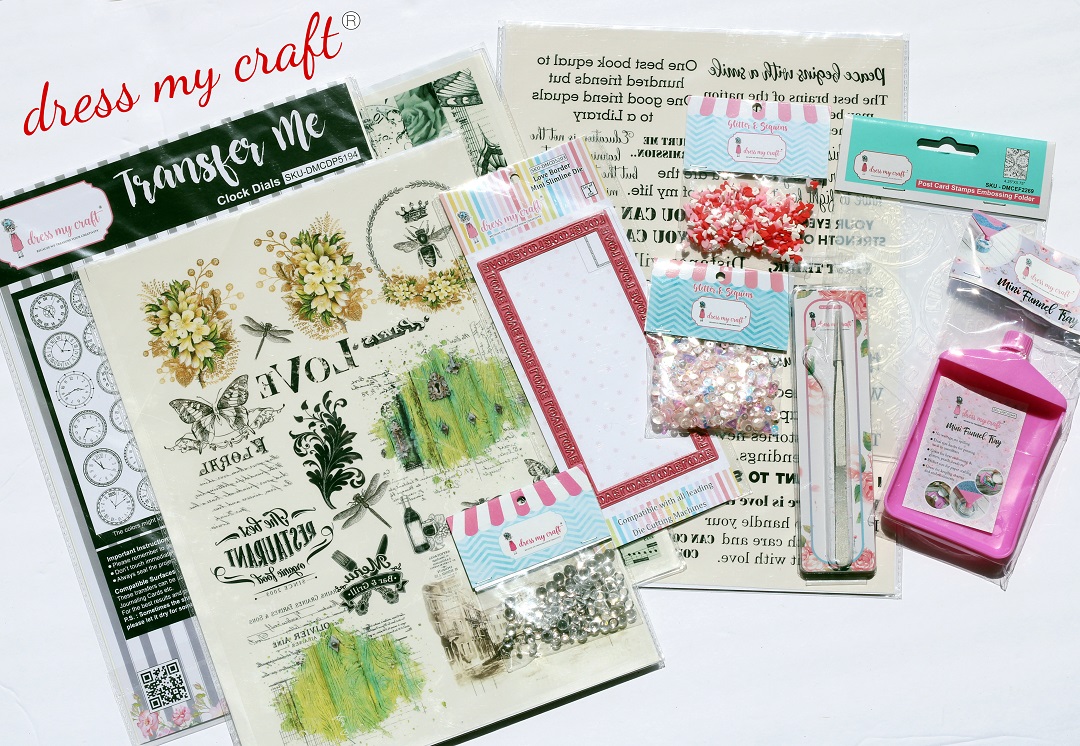
Dress My Crafts was one of those companies that spoiled us with samples.

They even gave us extra to give away. Watch for a GIVEAWAY later this week.

Namta 2022-Orlando-Emerald Creek-Sue's Creative Workshop www.sueeldred.com 3086

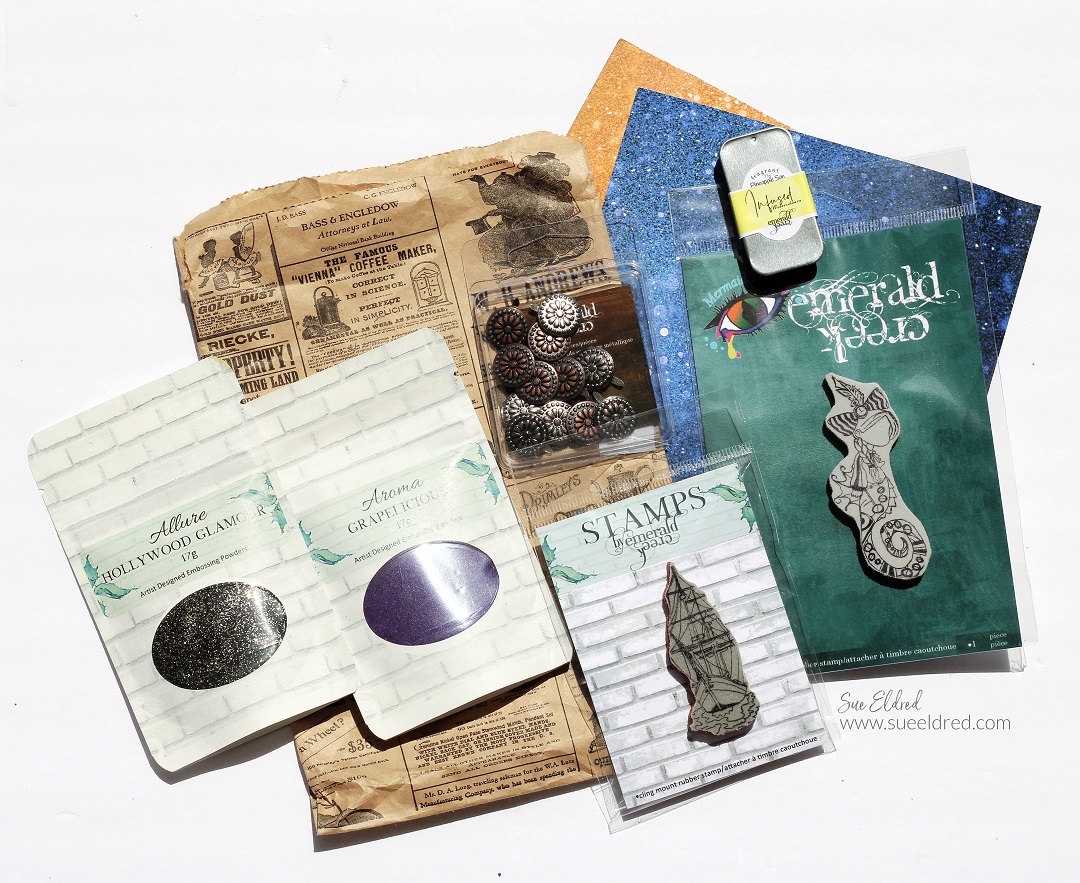
I received some embossing powders and stamps from Emerald Creek.

I have a few ideas for those embossing powders.

With names like Hollywood Glamour and Grapelicious, how can they not be great.

Namta 2022 Orlando

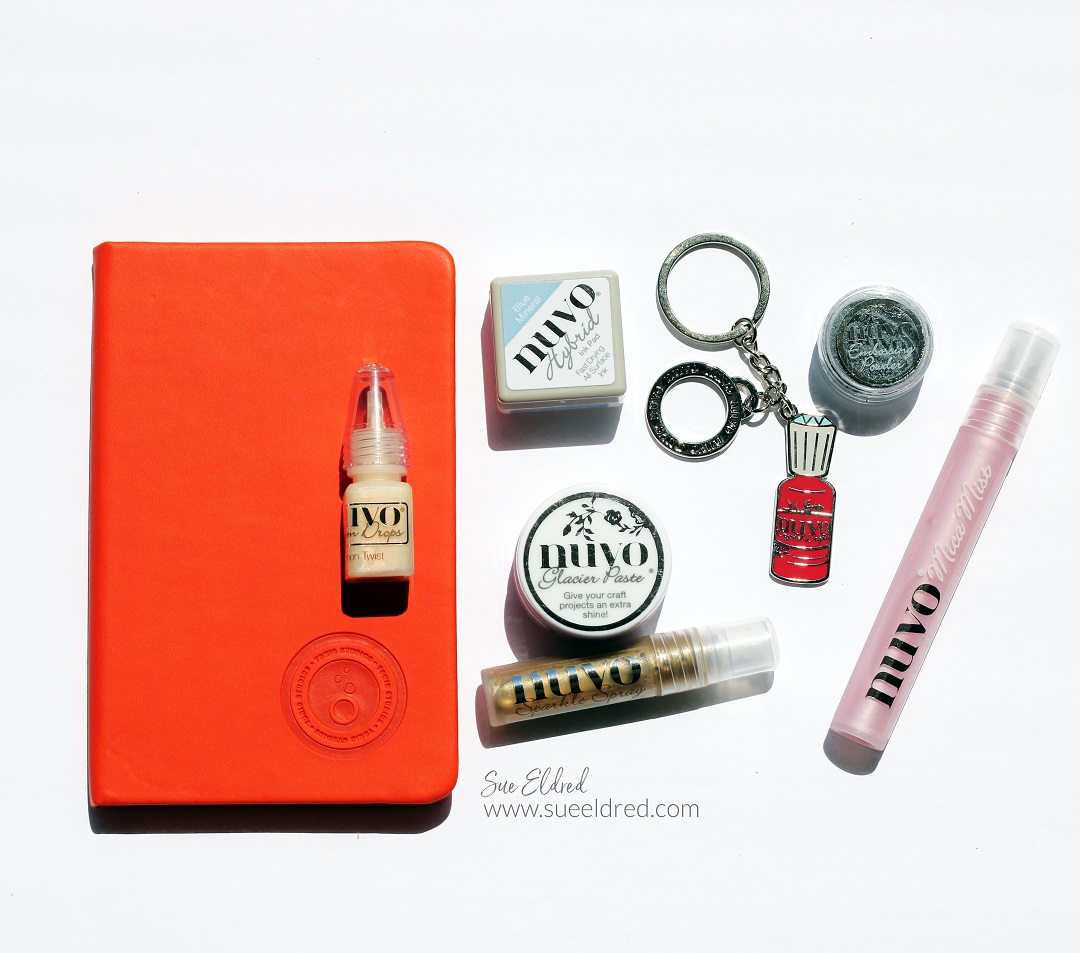
I also received New Nuvo Products from Tonic Studios,

inks, mists, embossing powder, pearls and glacier paste.

All great products for paper crafting and cardmaking.

Namta 2022 Orlando

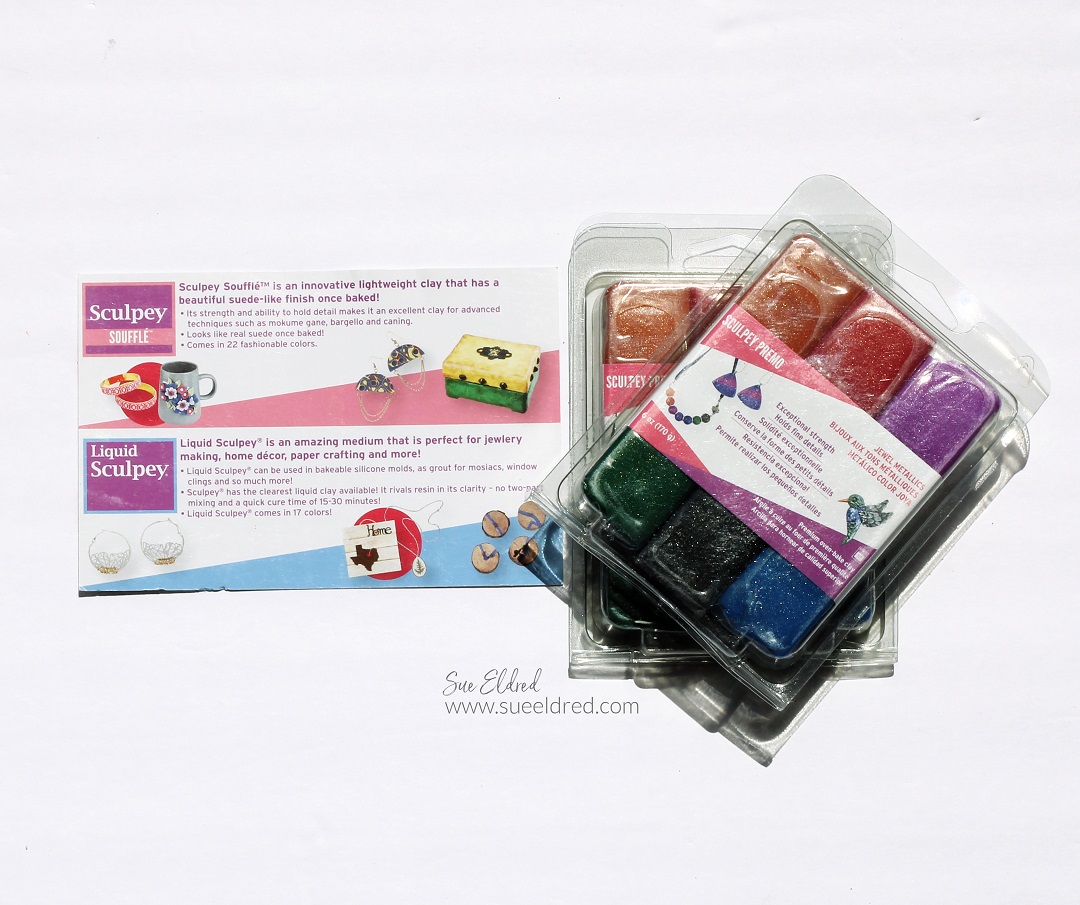
I’ll admit, it’s been a while since I’ve played with Sculpey Clay*.  

Thanks to a generous gift from Sculpey,

I think a playdate is in order with my boys and this fun clay.

Namta 2022 Orlando

The week included a great company dinner at Paddlefish in Disney Springs.

And a relaxing last day in Historic downtown Sanford enjoying some good Greek food.

I enjoyed seeing so many good friends, making a few new ones

and creating new connections.

All in all, the Namta Show was a very good experience.
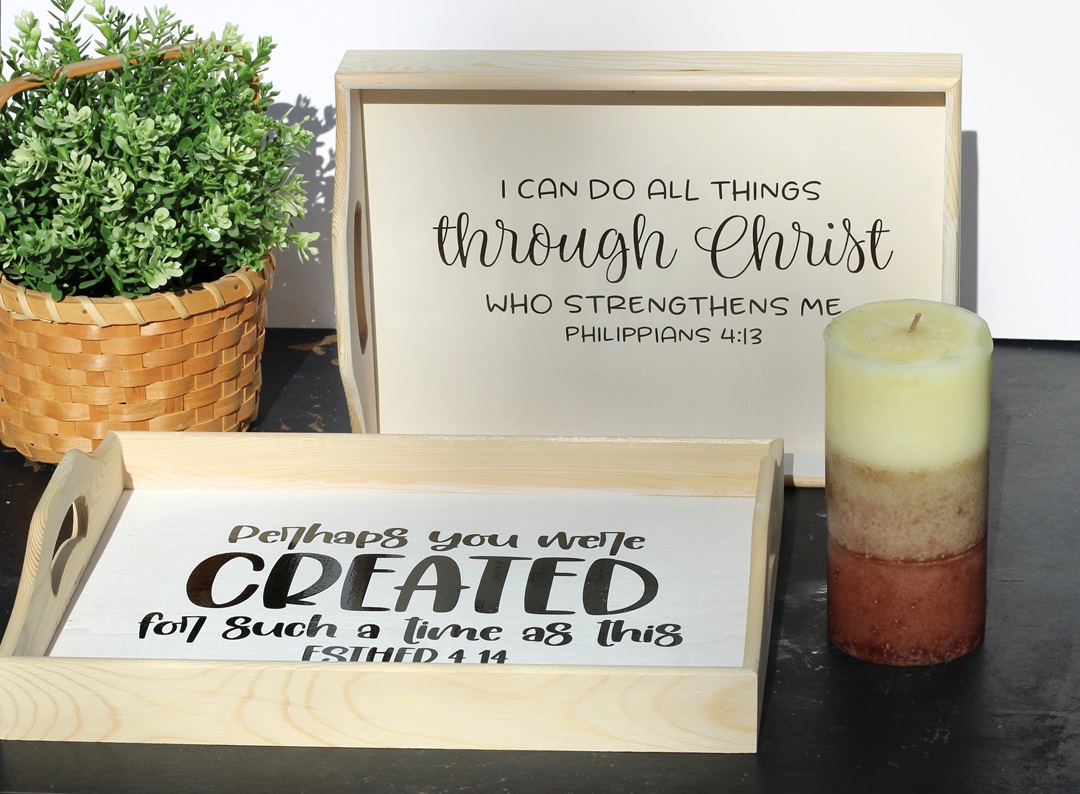
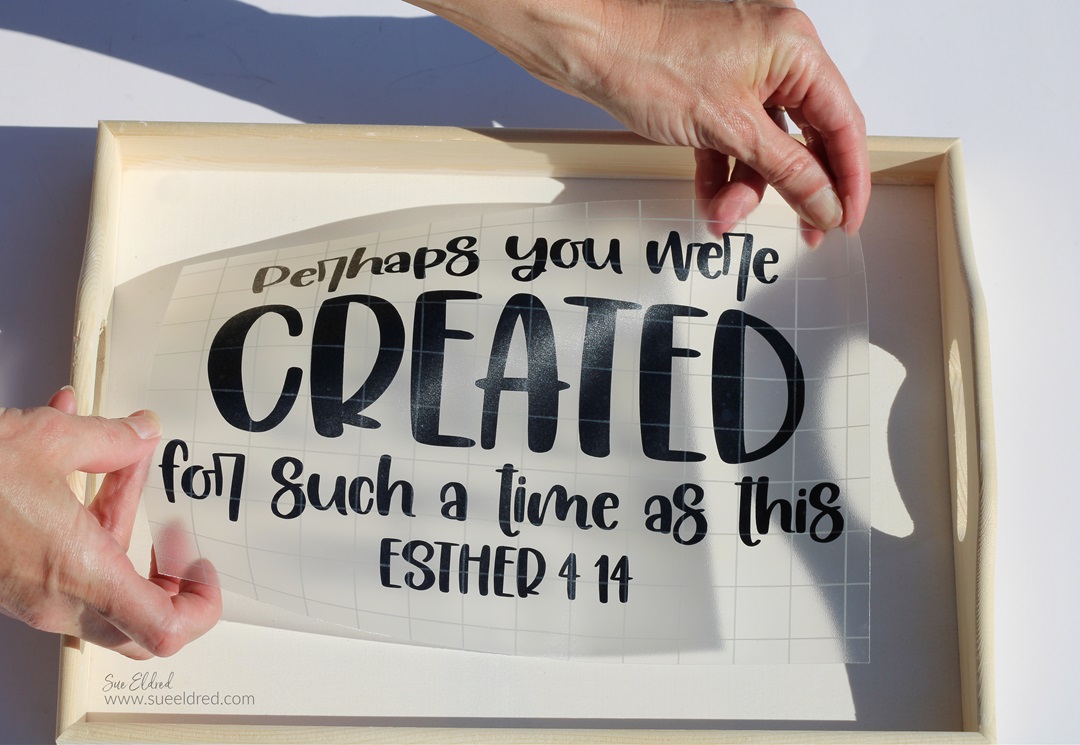
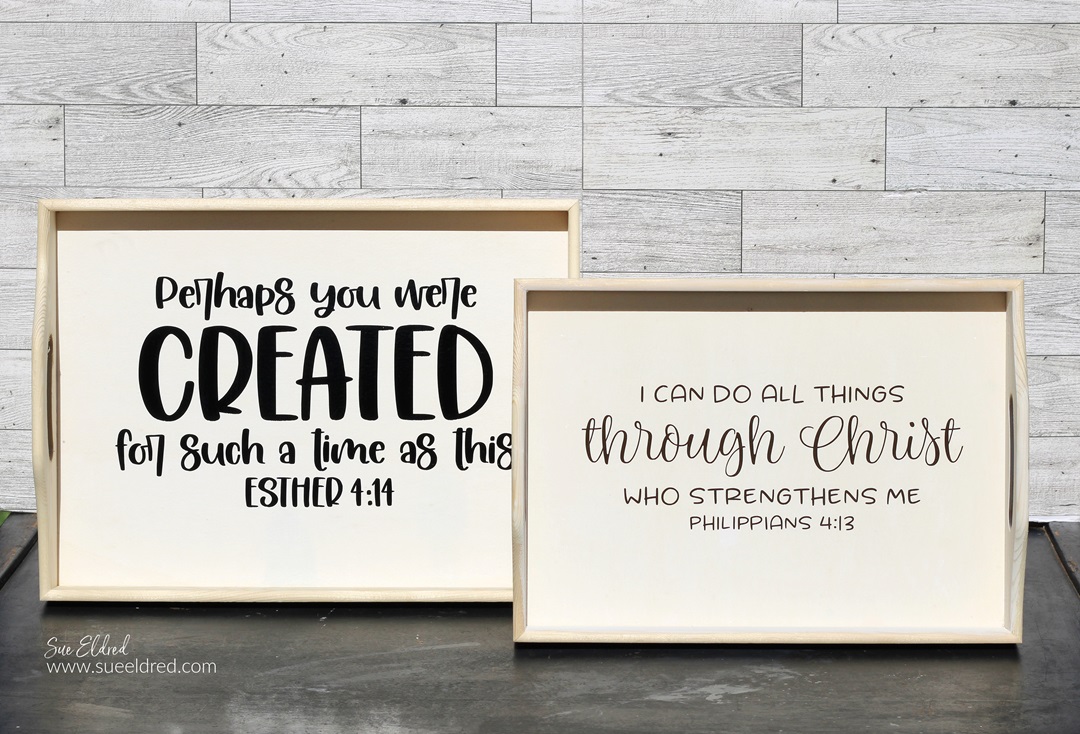
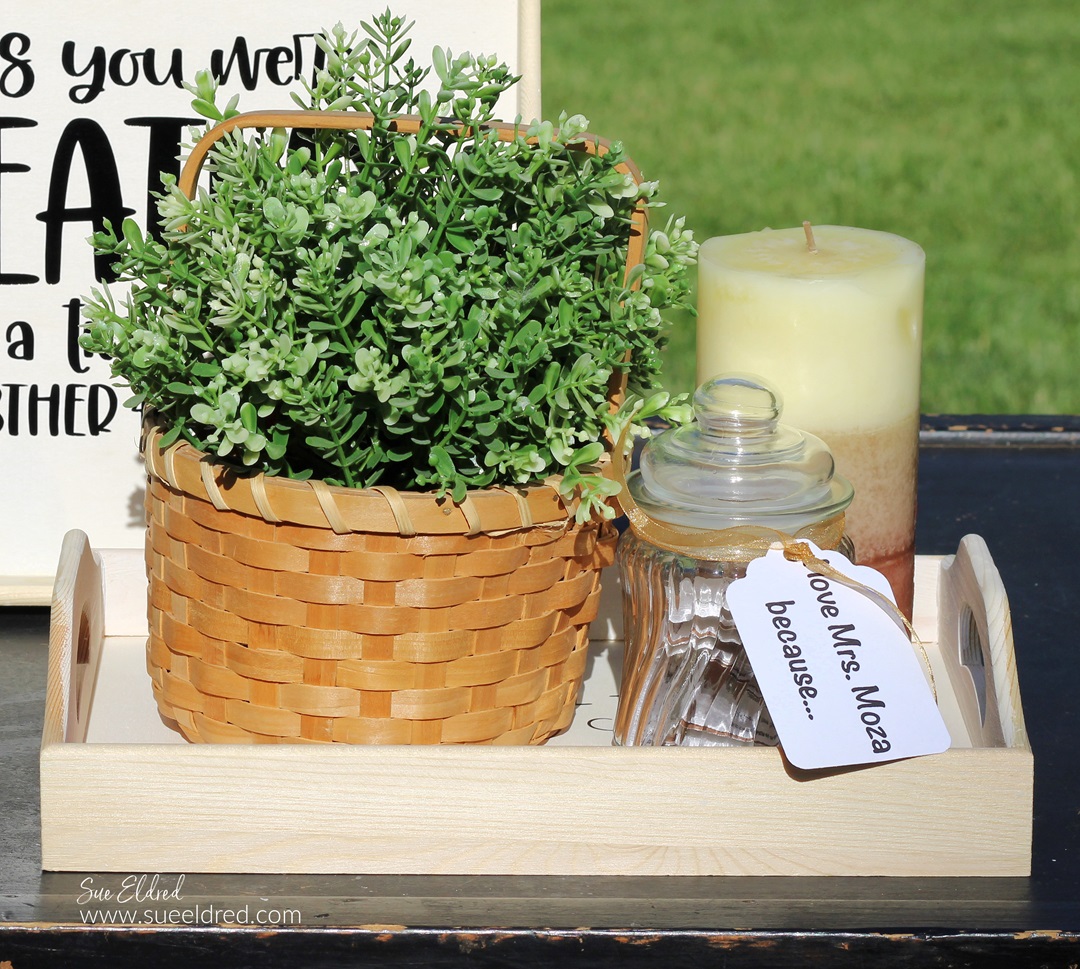
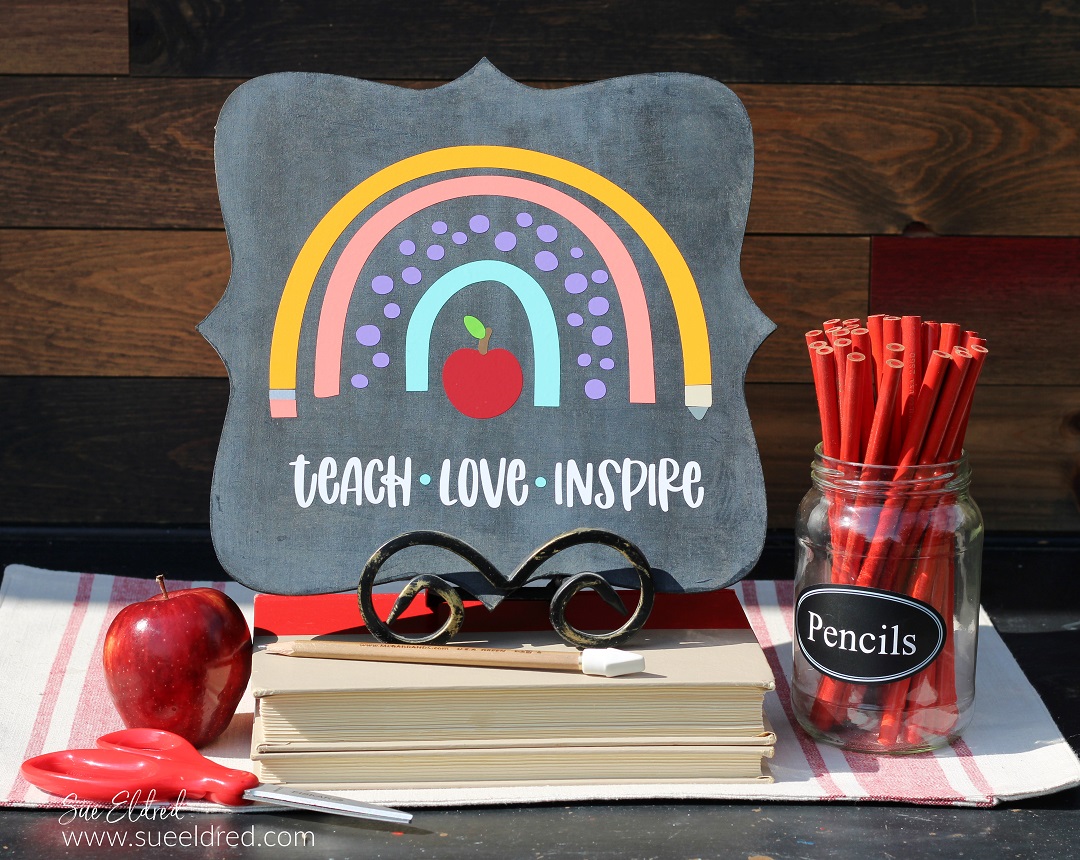
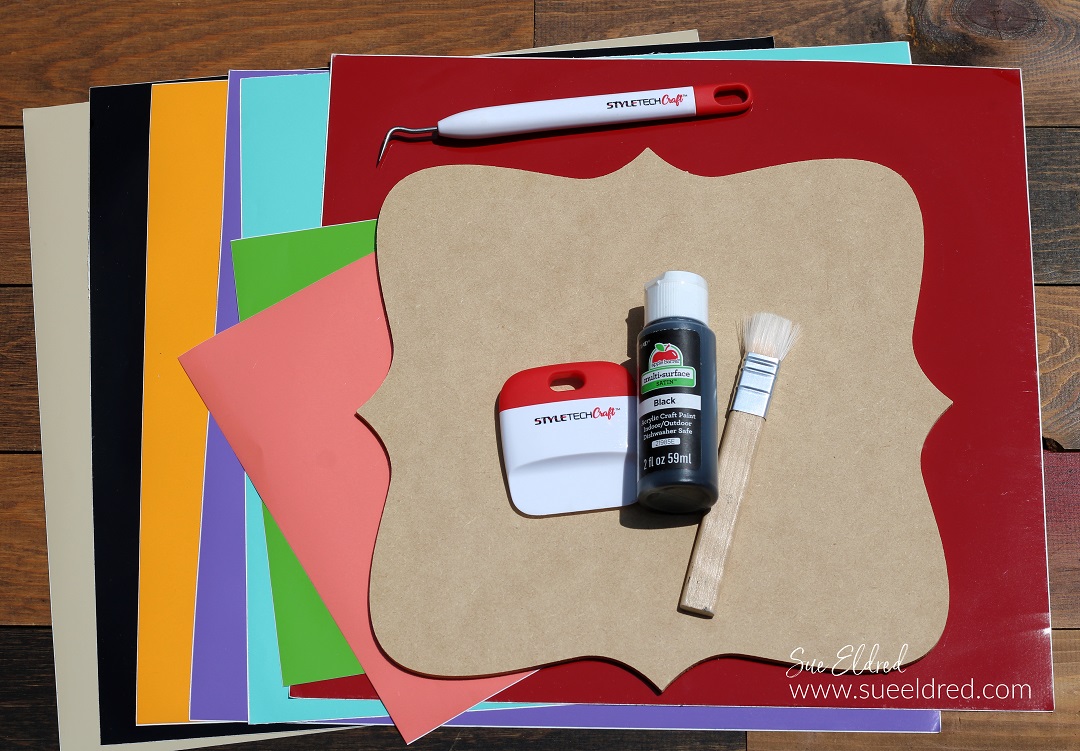
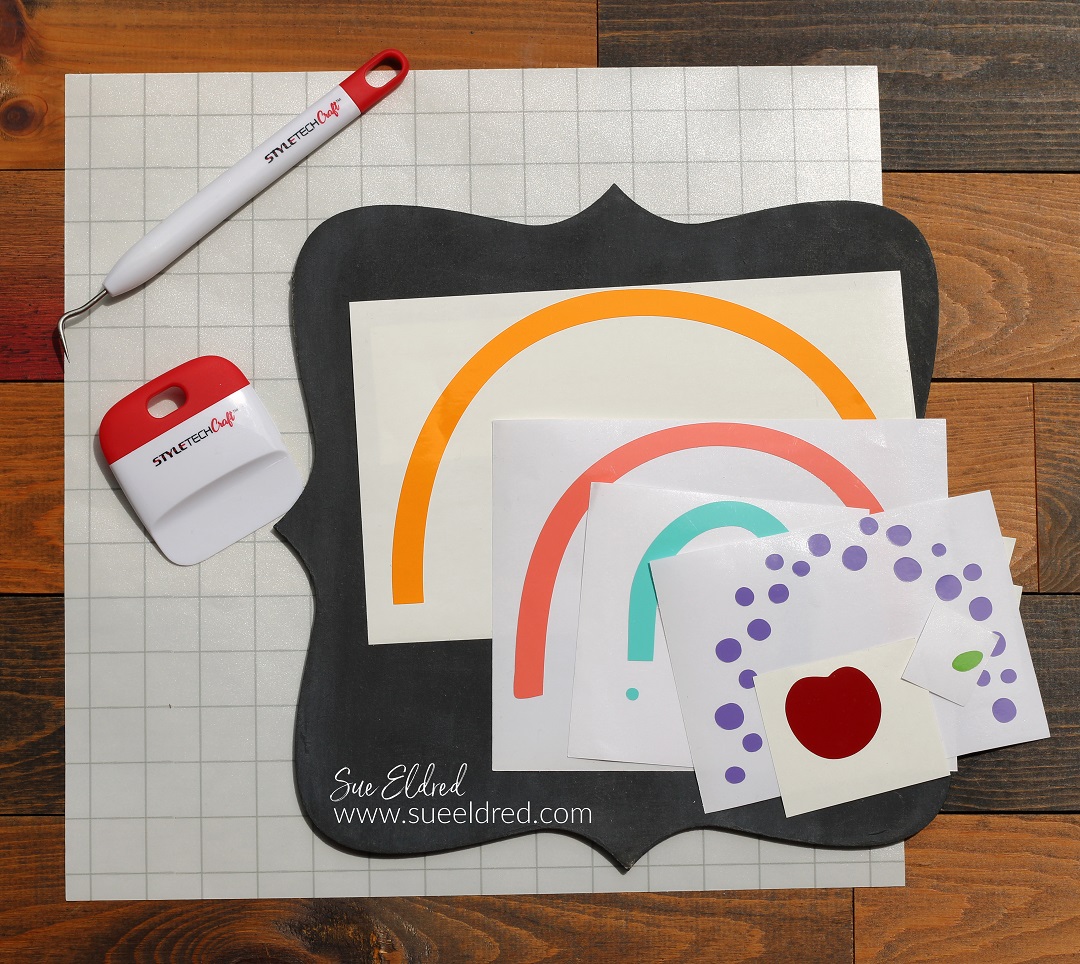
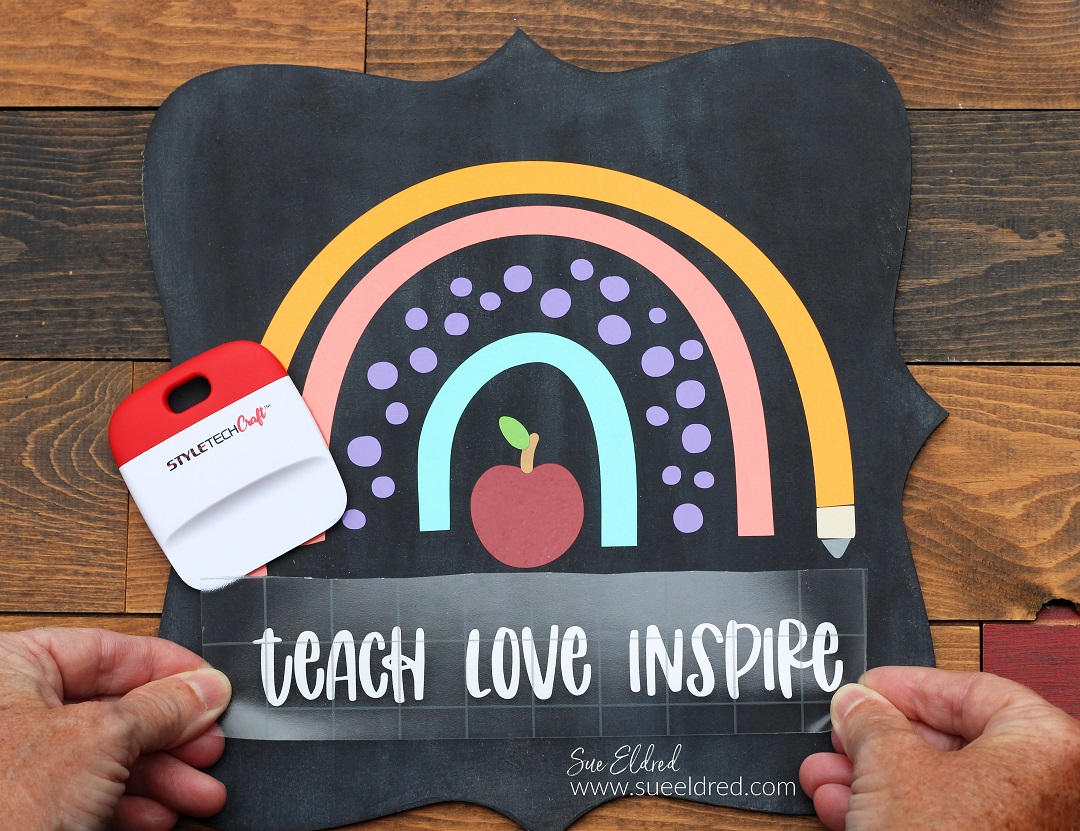
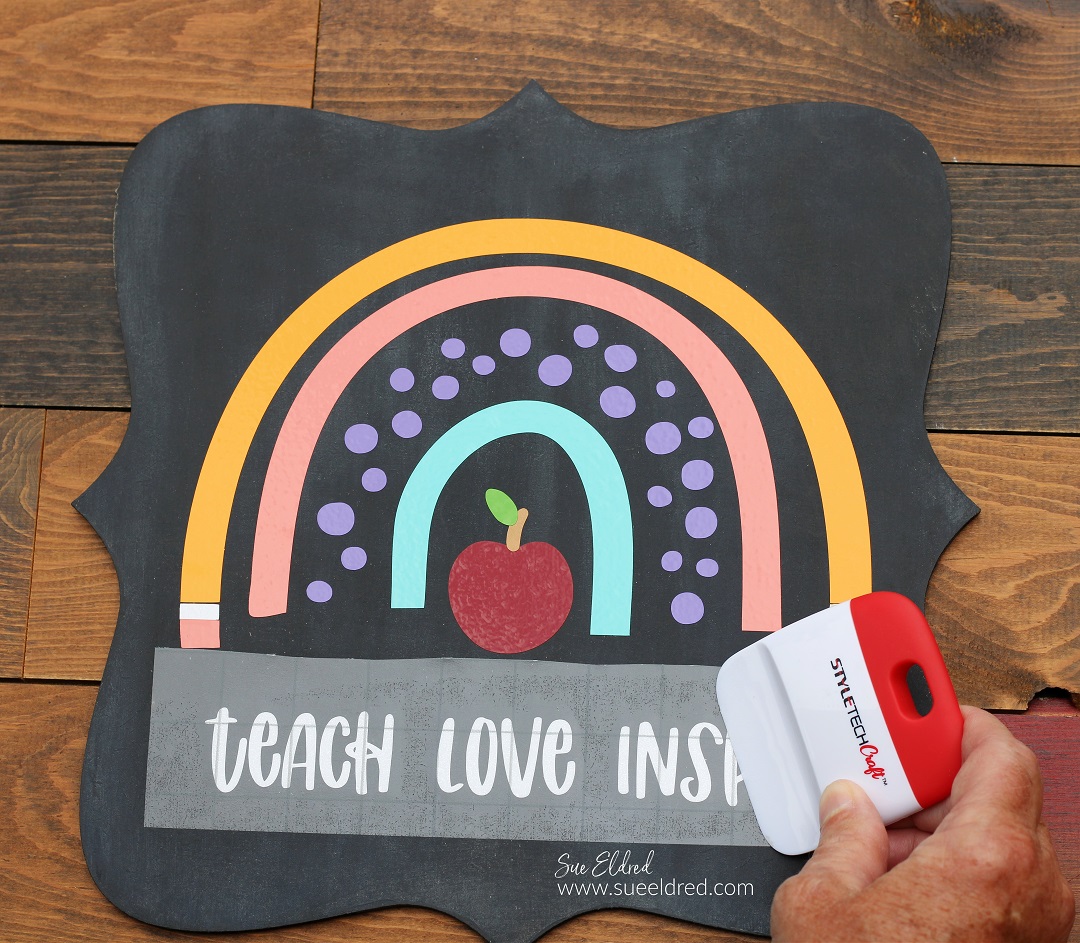
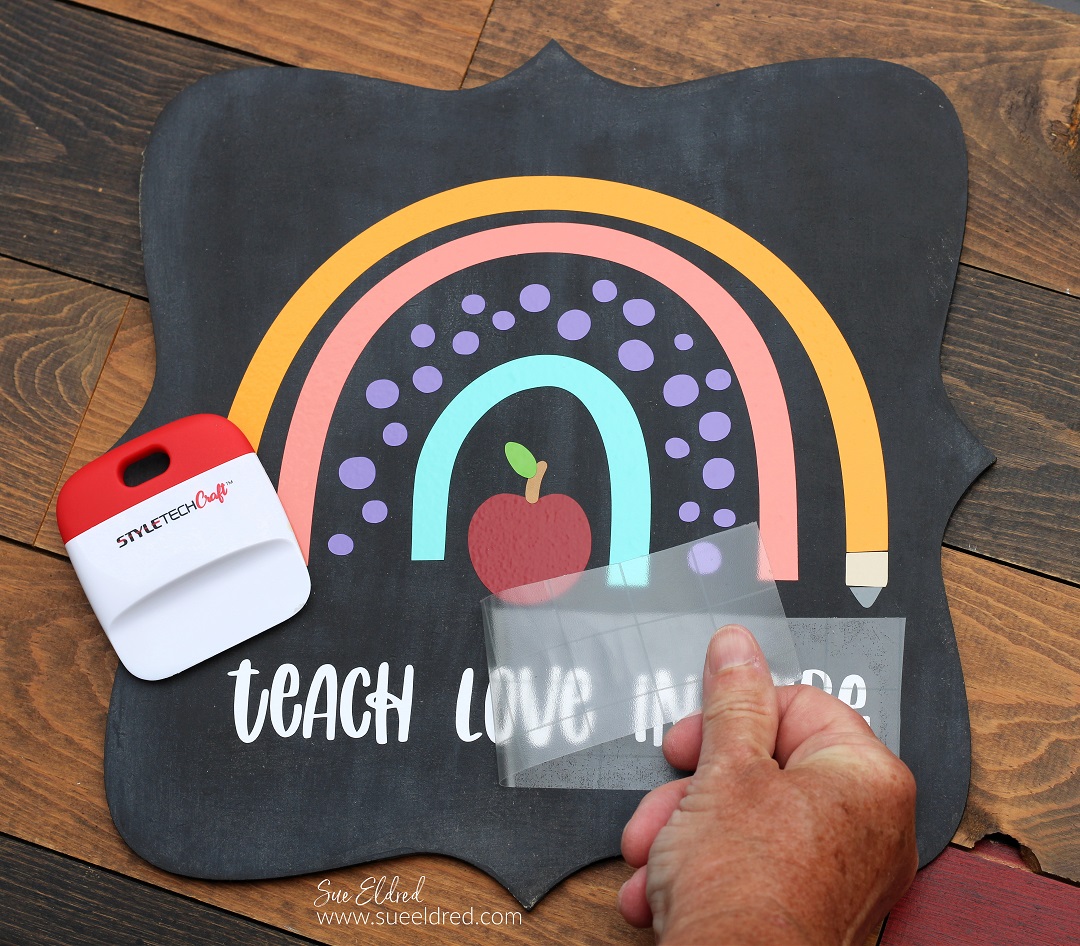
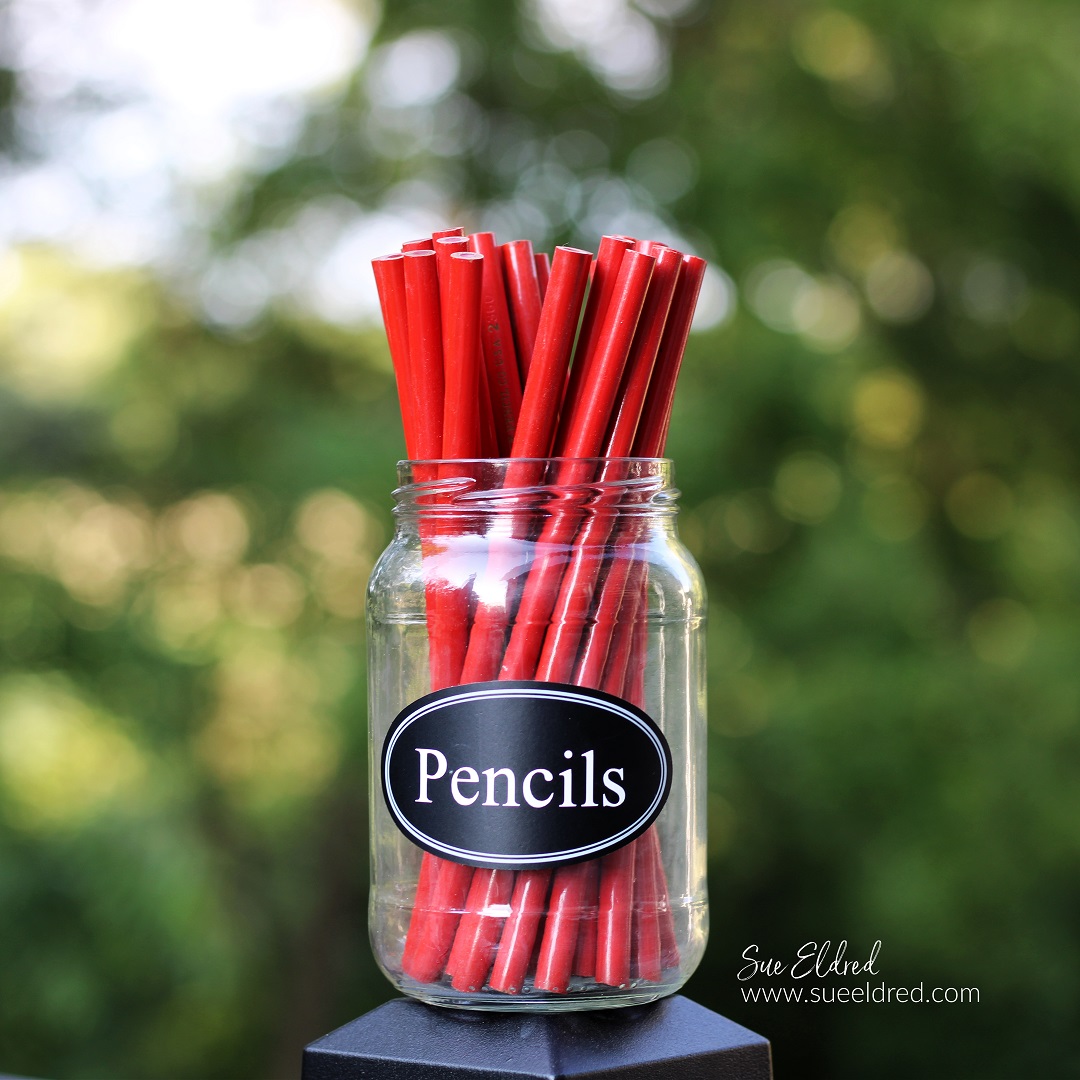
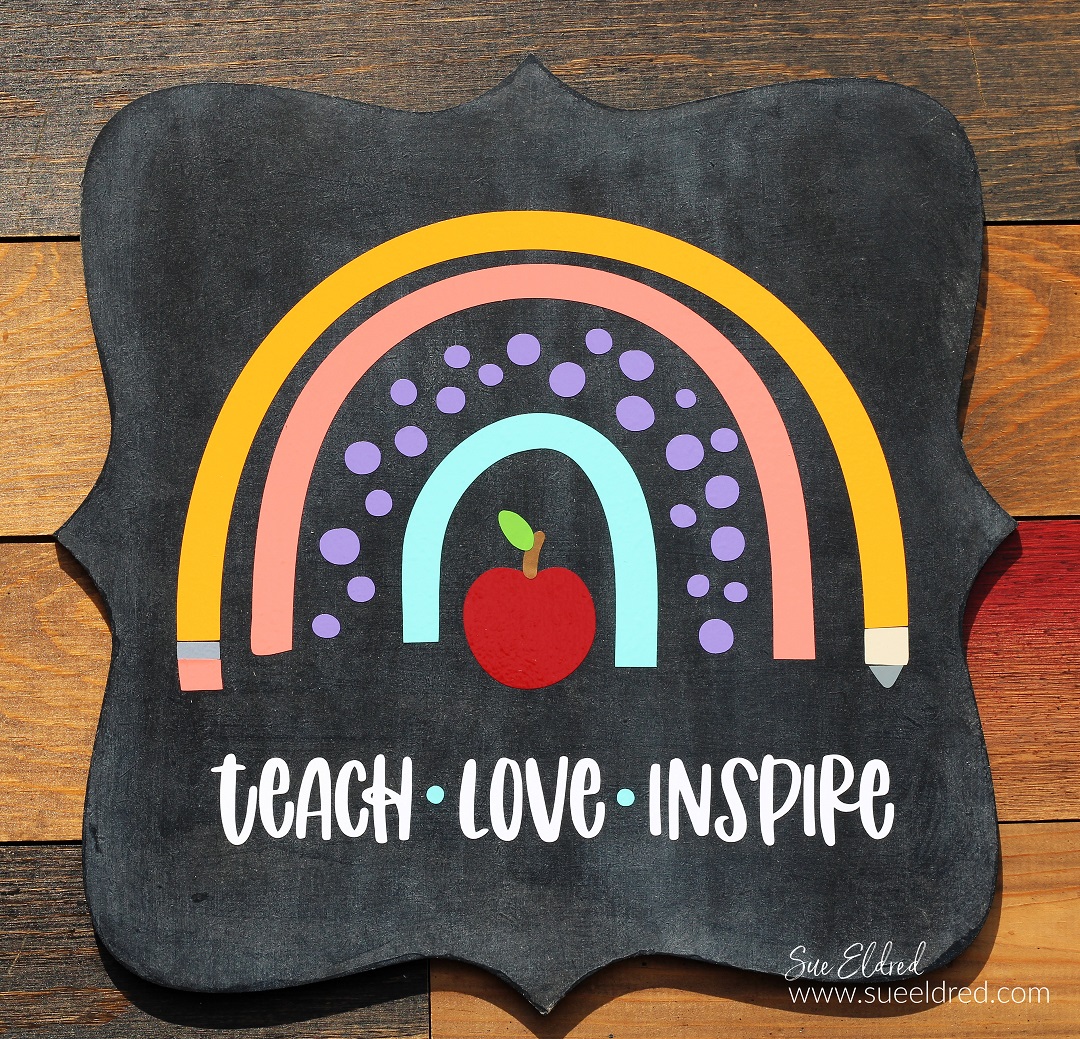
Sue’s 2021 Holiday Workshop Sneak Peek

2021 Holiday Workshop Sneak Peek-Sue's Creative Workshop www.sueeldred.com 4626

Looking for a Little Extra Holiday Inspiration?

I’m excited to announce that Sue’s Holiday Workshop is going Virtual

again this year with a fun Holiday Kit.  (I have so many fun ideas in the works.) 

I will be posting all the nitty-gritty details on the projects

and how to order right here on October 10th

For more information or to get on the email list: suesholidayworkshop@yahoo.com

Curiosity peeked?  You can read about 2020’s Virtual Holiday Workshop here.