*Disclosure: This blog uses ads and affiliate links. If you choose to make a purchase using one of the links, I receive a small commission (at no additional cost to you) that helps offset the costs of maintaining this blog. Thanks for your support!
Directions:
Carefully unwrap the peanut butter cup wrappers. Smooth out the wrinkles using your fingernail.
Place the wrappers into the opening of the disposable sticker maker. Pull the wrappers through on the back of the machine, tear.
Cut the wrappers into smaller strips and pieces.
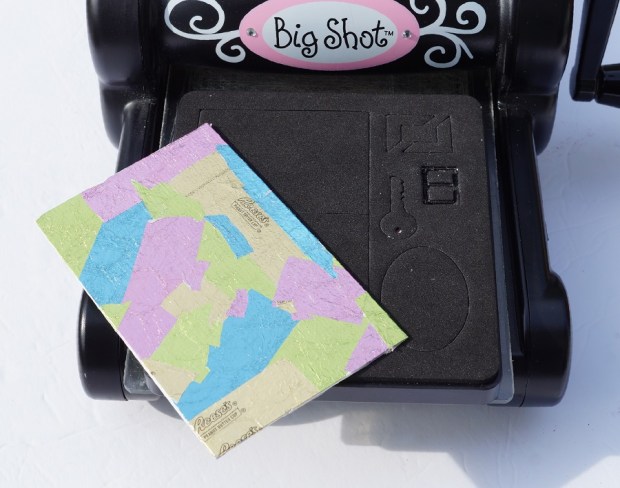
Carefully peel the wrappers from the adhesive backing and place them randomly onto a 3 1/2″ x 5 1/2″ piece of matboard.
Lay the matboard on the Sizzix Tiny Book Die facedown.
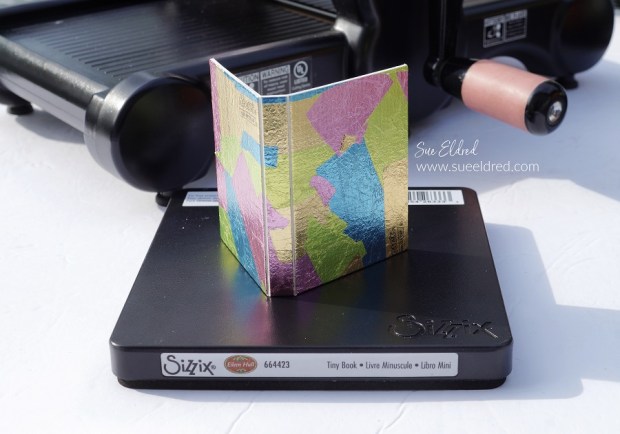
Cut two pieces of white cardstock 2 3/4″ x 11″. Score both pieces of cardstock every 2 1/8″ to create a long accordion piece. You will end up with a small tab at the end of both strips. Use the first tab to connect the strips. Cut the second tab off. Refold to make a long accordion strip.
Adhere both ends of the cardstock into the front and back cover.
*Disclosure: This blog uses ads and affiliate links. If you choose to make a purchase using one of the links, I receive a small commission (at no additional cost to you) that helps offset the costs of maintaining this blog. Thanks for your support!
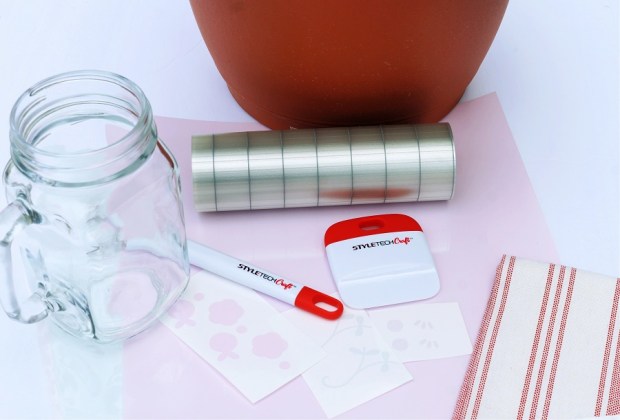
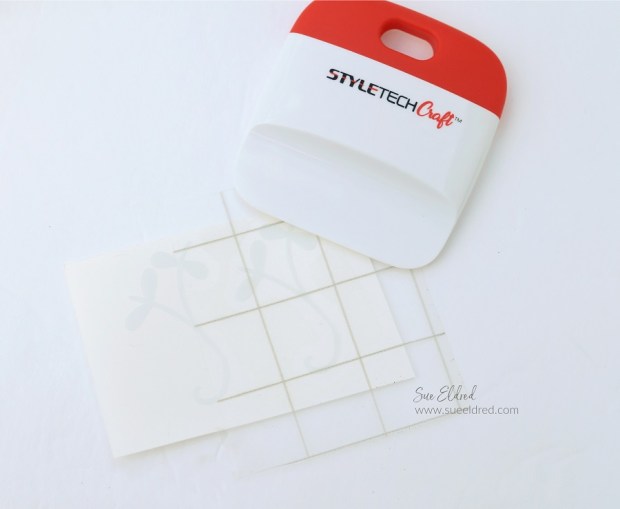
Cut a piece of Vinyl Transfer Tape* to fit over the vinyl image. Gently rub over the transfer paper using the squeegee tool.
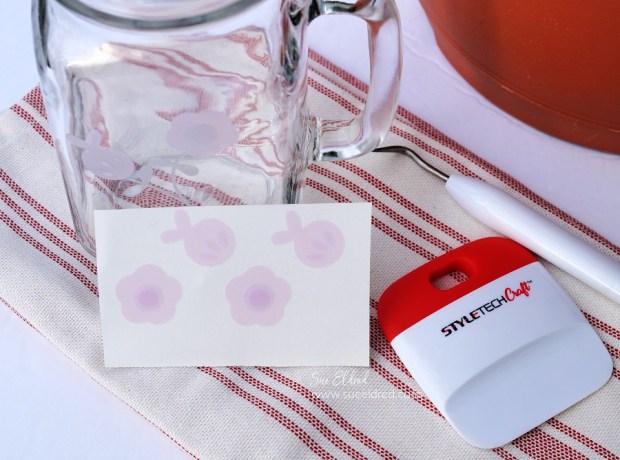
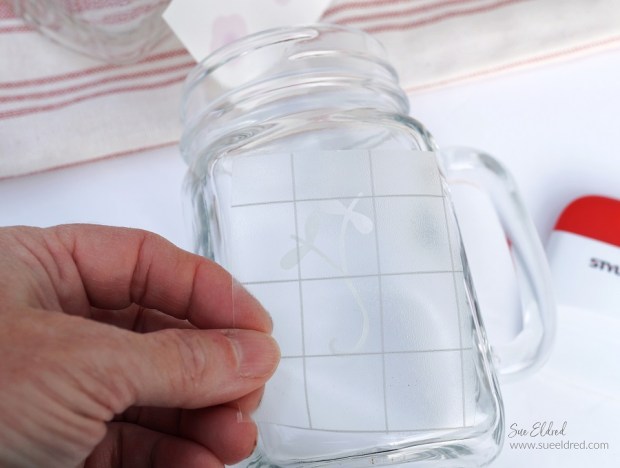
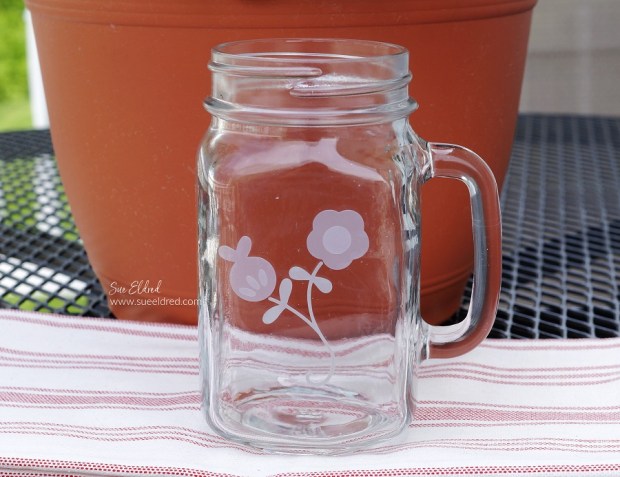
Remove the vinyl from the white liner, center the image on the front of the mug.
Gently rub over the Vinyl Transfer Tape* to make sure all the image has transferred. Remove the transfer tape.
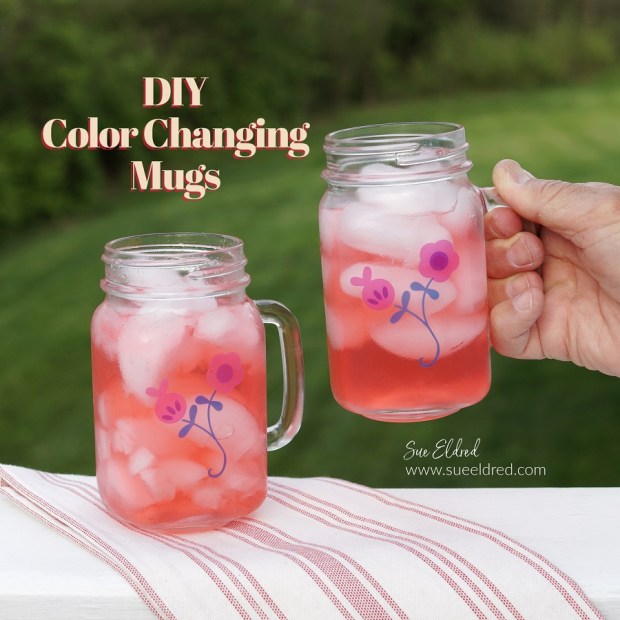
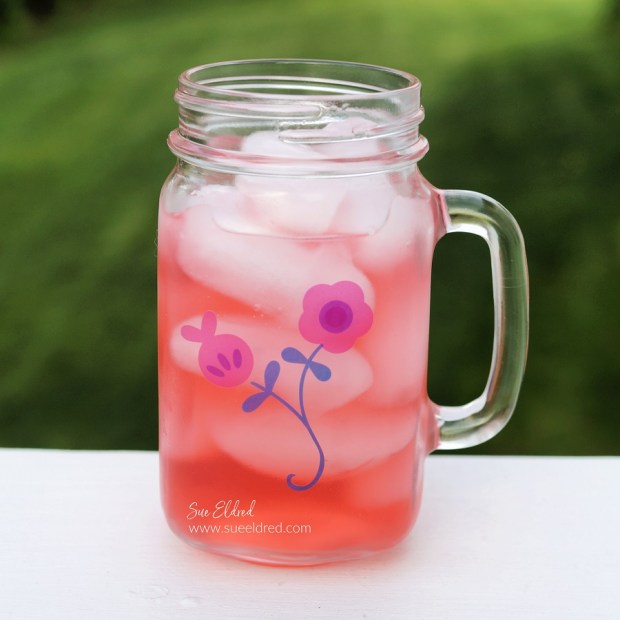
The flower pattern on the mug (before changing) has a subtle etched glass appearance.
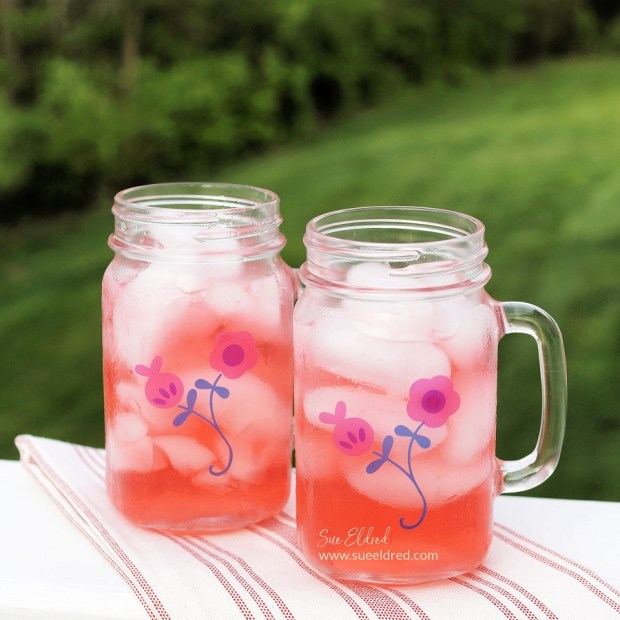
Imagine their surprise when the pattern changes right before their eyes.
A fun complement to Summer.
What would you make with color changing vinyl?
“This is a sponsored post. As a member of the StyleTechCraft Design Team I have been provided product and compensation in exchange for my creative ideas. The views and opinions are my own.
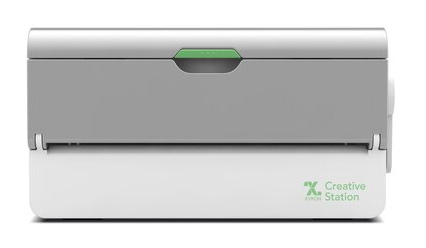
It is the perfect size for larger projects and I love how I can insert a 5″ cartridge for smaller
projects. But to be perfectly honest, I love all my Xyronproducts.
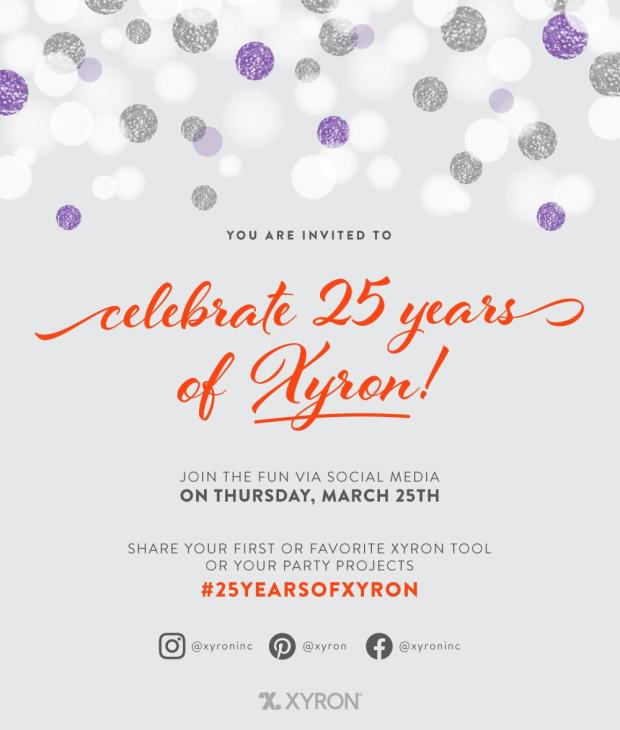
Happy Anniversary Xryon, looking forward to crafting with you for many years to come.
*Disclosure: This blog uses affiliate links. If you choose to make a purchase using one of the links, I receive a small commission (at no additional cost to you) that helps offset the costs of maintaining this blog. Thanks for your support!
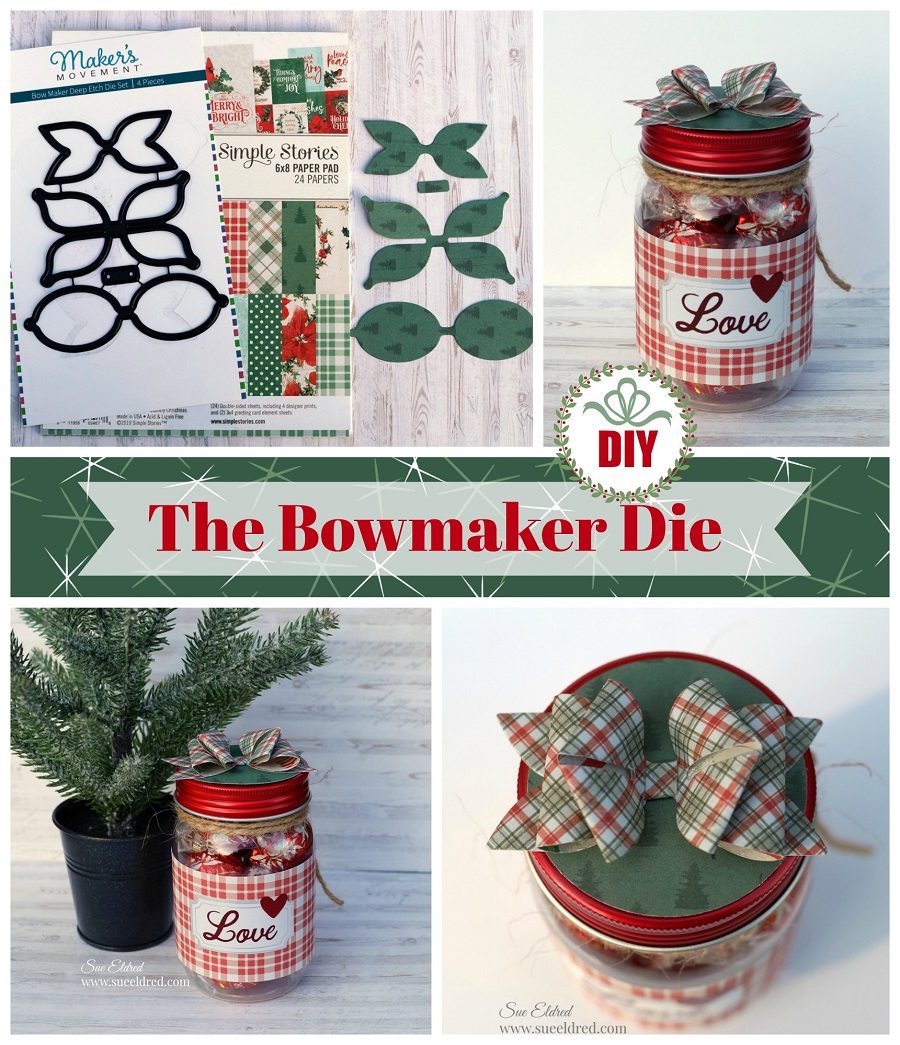
I recently got a chance to play with the Bow Maker Die from The Maker’s Movement.
While I will admit that I was confused for a brief moment on how it worked.
Once I figured out how easy it was to use, I wanted to share this simple project
and tutorial with you.
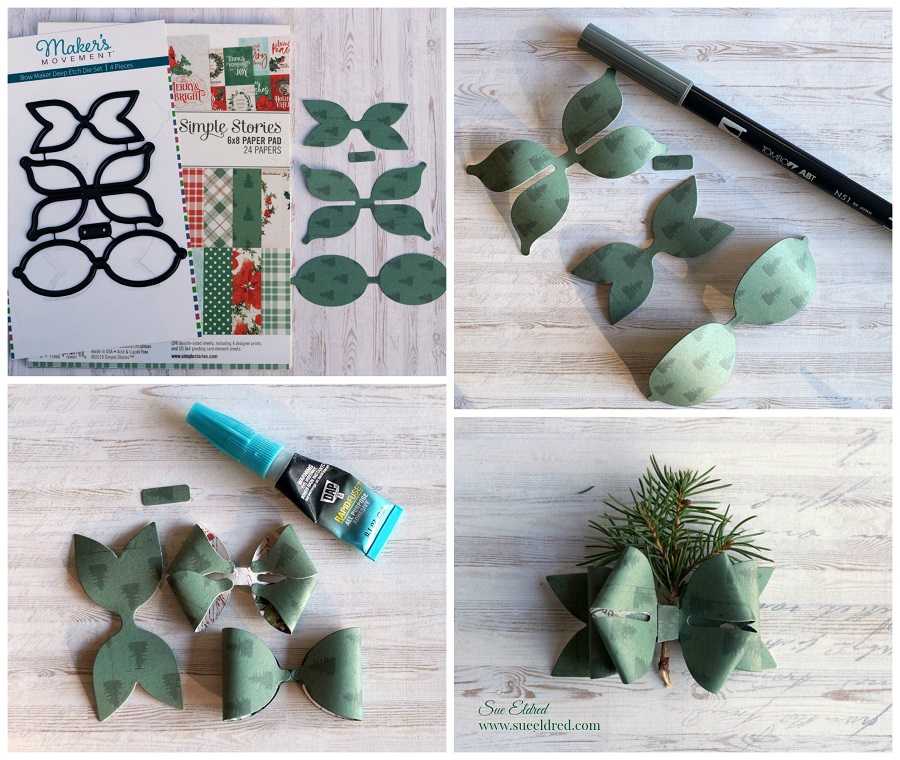
The Bow Maker is a four-piece die set that is deep etched, which makes it so easy to cut through cardstock, thick paper, and even fabric. They are great for greeting cards, birthday cards, scrapbooking, gift tags, and much more fun projects.
Disclosure: This is a sponsored post for the Maker’s Movement. I have been provided product and compensation in exchange for my creative ideas. The view and opinions are my own.
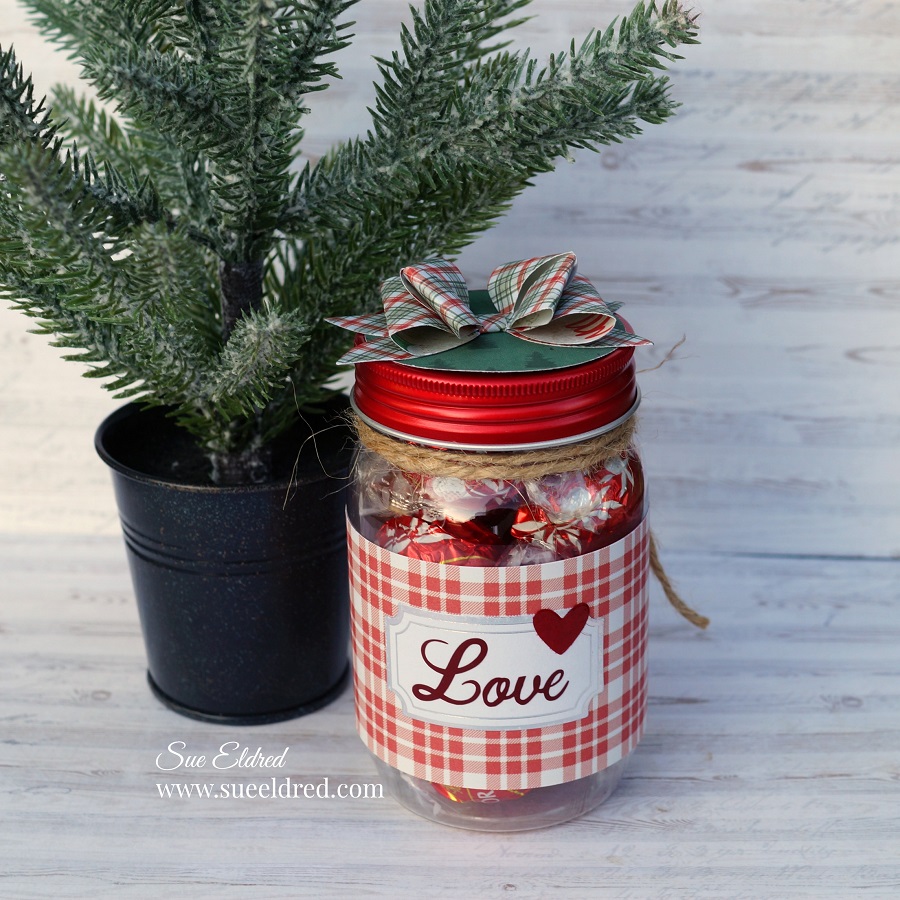
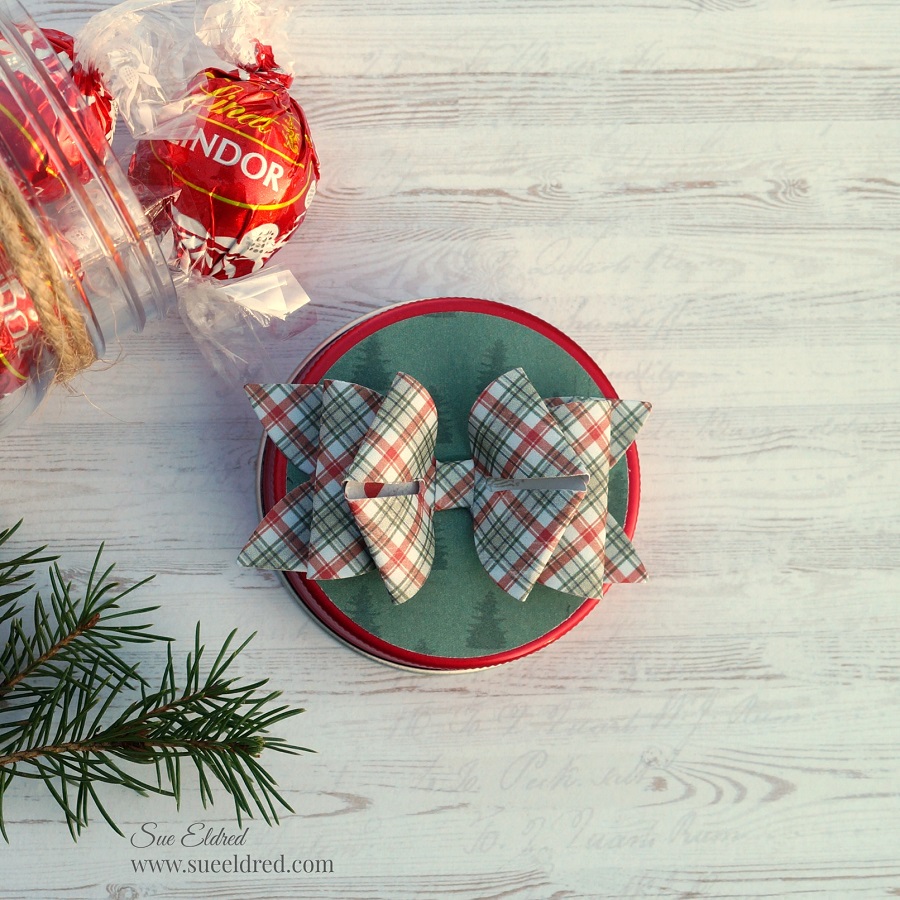
I decorated a little jar I found at Dollar Tree and topped it off with a cute little paper bow.
*Disclosure: This blog uses affiliate links. If you choose to make a purchase using one of the links, I receive a small commission (at no additional cost to you) that helps offset the costs of maintaining this blog. Thanks for your support!
Looking for a little extra Inspiration this Holiday Season? Sue’s Holiday Workshop is going Virtual with a fun Holiday Kit.
Here’s what we’ll be making:
Penguin Snow Globe Card
Snowy Winter Wonderland Snow Globe Card
Holiday Joy Christmas Card
Merry Christmas Time Tiny Book
Snowflake Book Case that holds the Tiny Book
Snowman Santa Wood Bead Ornament
4″ Merry Christmas Snowflake Acrylic Tag Ornament
4″ Buddy’s Coffee Acyrlic Tag Ornament
Included in the Kit:
Card layers and Stamped Pieces. Ribbon, 3D Foam Squares and Envelopes
Covered Chipboard Book Case, Painted Handle, Wood Snowflake Embellishment
Tiny Book Cover, Cut Pieces to Cover the Book, Small Frame, Holly Embellishment, Twine, Gold Vinyl Words
Beads, Santa Hat, Scarf pieces, Twine
Two 4″ Acrylic Circles, Metallic Vinyl Designs, Transfer Tape, Twine, Adhesive Pearl Rhinestones.
I will be creating a special Facebook Group where I will add additional photos and videos of how to make the projects and links to products used. I will also have additional add on kits from previous Workshops to purchase at a greatly reduced price.
You will need to provide: (not included in kit)
Art Markers or Colored Pencils
Scissors
Tape Runner
Craft Glue
The cost of the Kit is $25.00
Shipping is $7.50 for Priority Mail.
There will be a limited amount of kits available, so reserve yours today.
Holiday Workshop Kits will be available November 7th to pick up or ship.
Email: suesholidayworkshop@yahoo.com to reserve your kit.
*Disclosure: This blog uses affiliate links. If you choose to make a purchase using one of the links, I receive a small commission (at no additional cost to you) that helps offset the costs of maintaining this blog. Thanks for your support!
It’s that time of year when thoughts are leaning towards the Holidays.
As a crafter, it’s my favorite time of year to do craft projects.
But, as a blogger, there’s a lot of crafting, creating, and sharing to do.
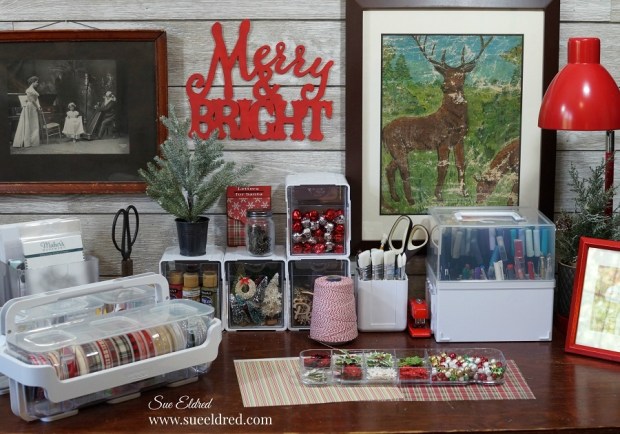
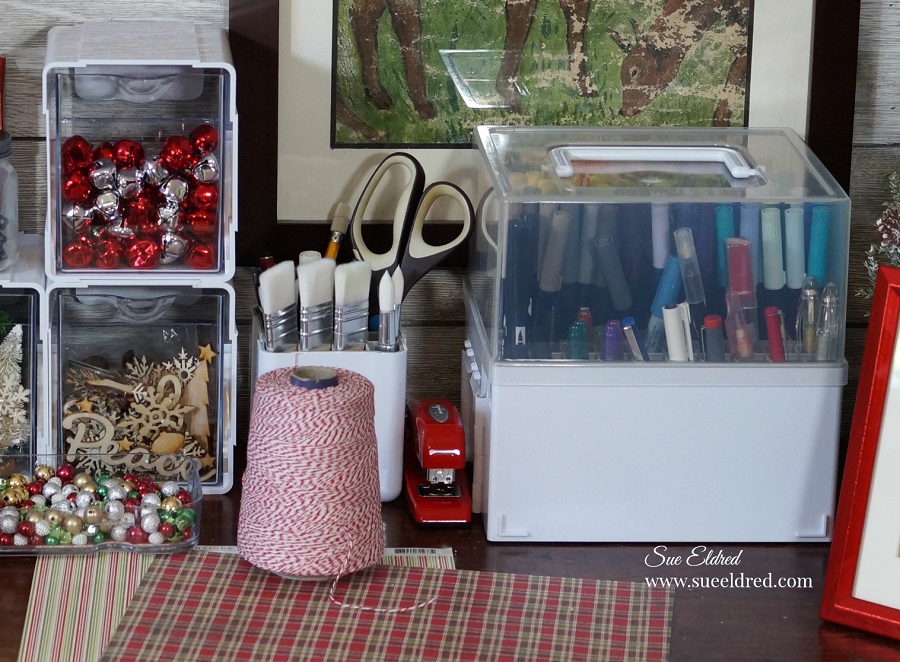
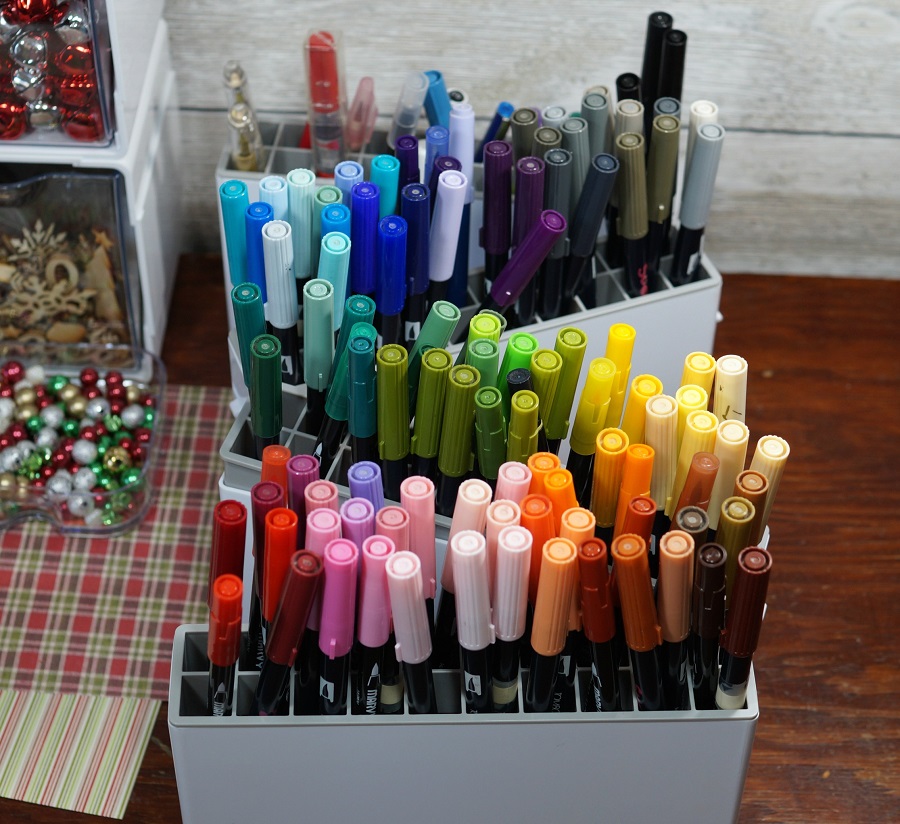
For fun, I thought I’d show how I organize my Craft Supplies for the
Ultimate Holiday Crafting Season.
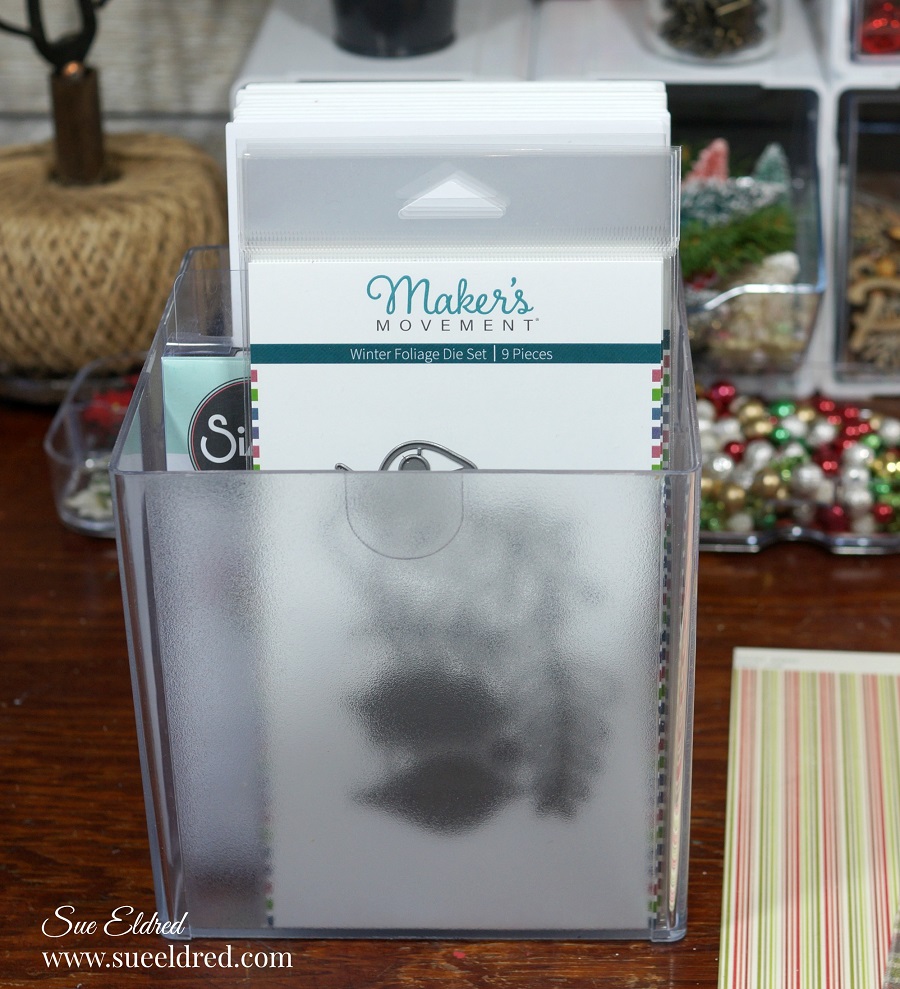
Of course, my go-to storage comes from Deflecto.
Disclosure: “This is a sponsored post. As a member of the Deflecto Design Team I have been provided product and compensation in exchange for my creative ideas, views and opinions.”
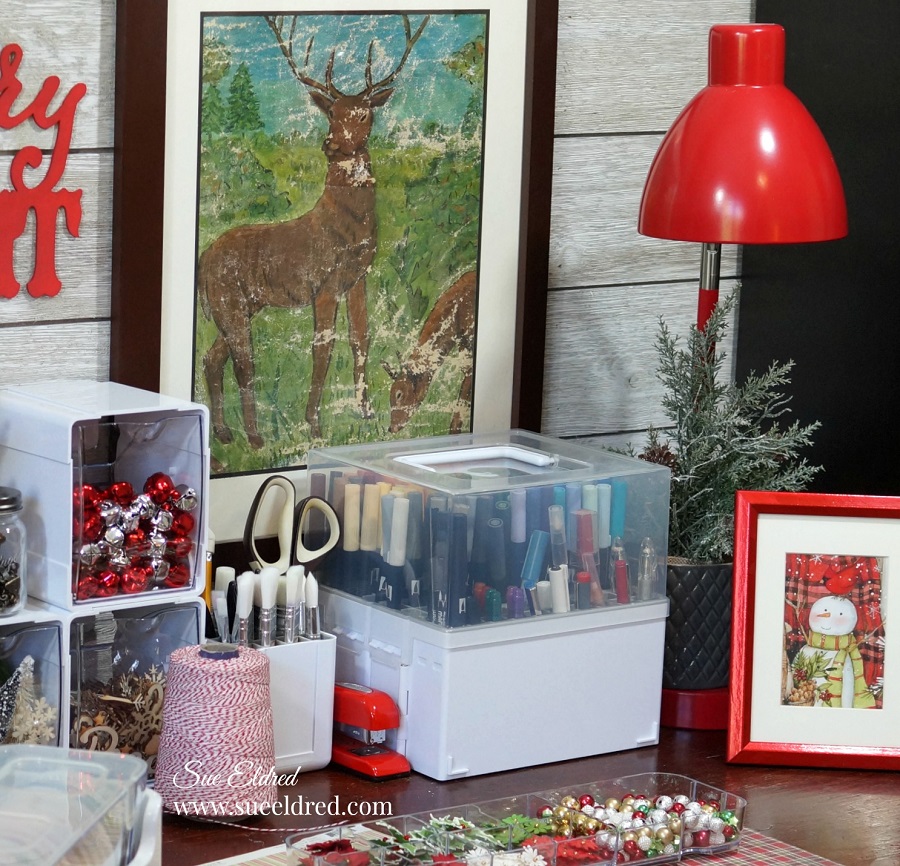
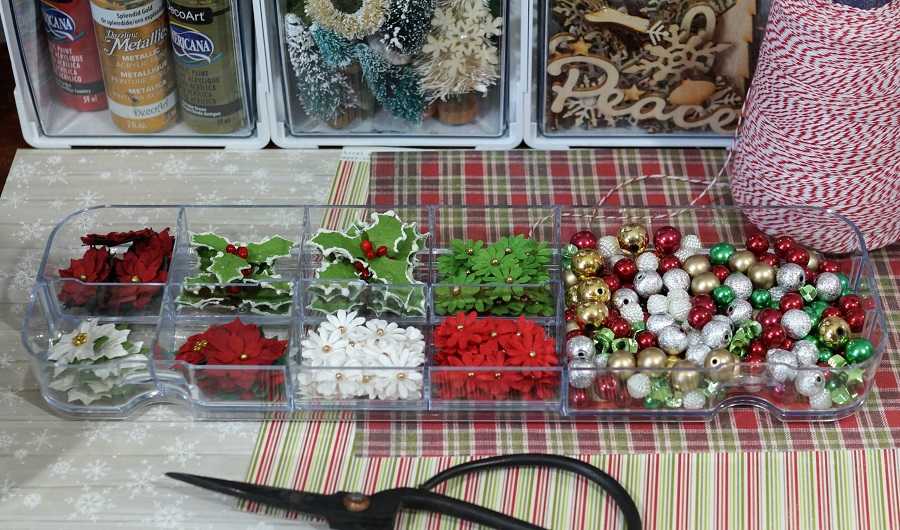
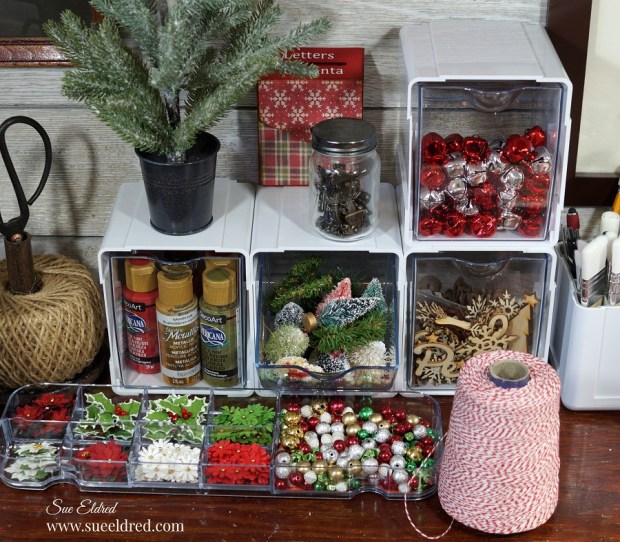
To prepare for the busy season ahead, I like to transition my space with
all my Christmas Crafting Supplies conveniently close.
I like to mix a little old with the new to make it interesting.
I never know what will inspire the next project.
Here a few of the products I used for my Holiday Crafting Organization.
I hope you enjoyed the tour into my Holiday Crafting Organization.
Now it’s your turn to… Update your Holiday Craft Space and enjoy the difference it makes.
*Disclosure: This blog uses affiliate links. If you choose to make a purchase using one of the links, I receive a small commission (at no additional cost to you) that helps offset the costs of maintaining this blog. Thanks for your support!
Dexter is our 9-month Shichon puppy. He is a sweet, loving, energetic ball of fluff.
We adopted him two days before Valentine’s Day and about a month before everything
went nuts. He’s not a quarantine puppy, but he’s sure been a bright spot during that time.
I’ve been on more walks and talked to more neighbors because of him. He loves everyone!
Anyway…
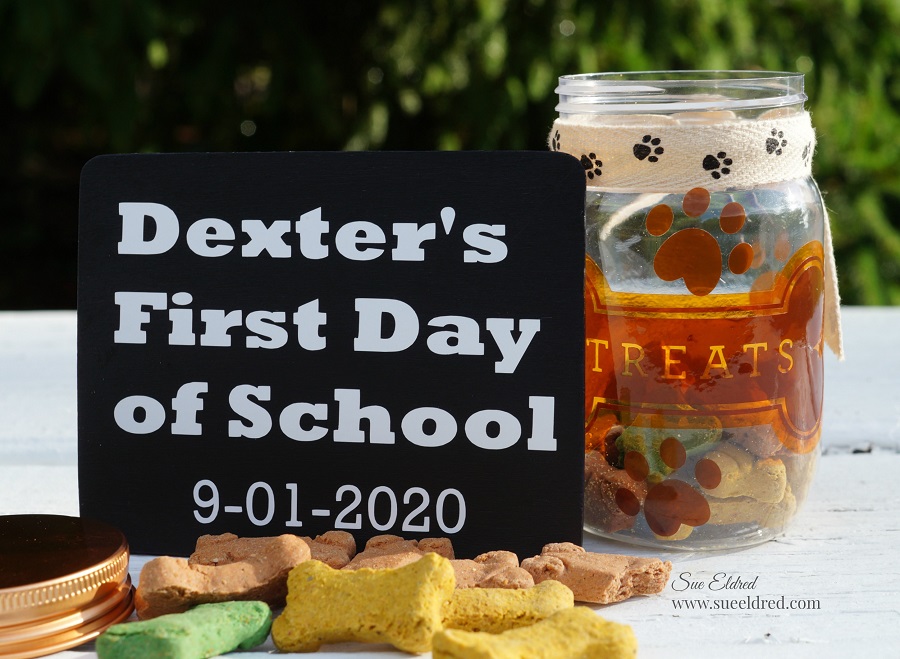
In the list of instructions for the first day of class was to bring dog treats. (lots of treats)
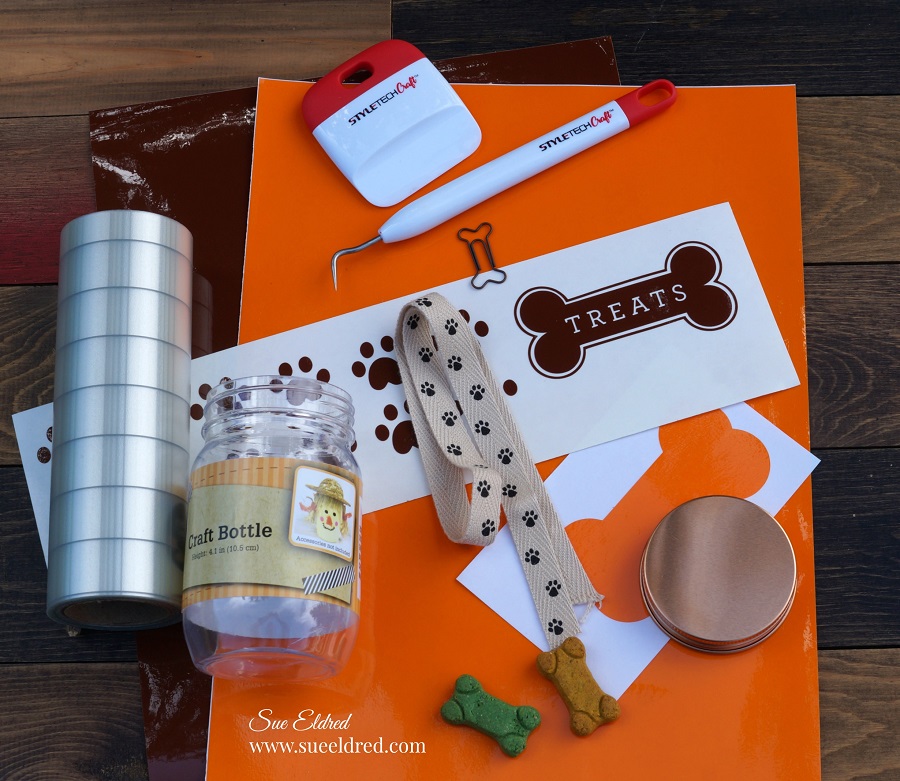
So, I decided to decorate a little jar for his treats.
I found the little plastic jar at Dollar Tree* and used vinyl to decorate it.
*Disclosure: This blog uses affiliate links. If you choose to make a purchase using one of the links, I receive a small commission (at no additional cost to you) that helps offset the costs of maintaining this blog. Thanks for your support!
Using a “Dog Bone Treats” SVG file from the Silhouette Store and the Silhouette Cameo Electronic Die-Cutting Machine*, cut out the images using StyletechCraft Transparent Vinyl in Sunflower and Brown.
Use the vinyl pick to remove the letters from dog bone, leave the inside pieces of the letters.
Cut a piece of Vinyl Transfer Tape* to fit over the vinyl image. Gently rub over the transfer paper using the squeegee tool. Remove the vinyl image from the white liner.
Overlay the brown bone onto the large orange bone silhouette.
Carefully apply the vinyl to the jar. Give the vinyl a gentle rub using the squeegee to make sure everything has transferred and remove the transfer tape.
Add paw prints randomly around the jar using the transfer tape.
Tie with a paw print ribbon and fill with dog treats.
FYI…The First Day of School Sign was made by painting a small wood sign with black chalkboard paint and applying words created with StyleTechCraft White Craft Vinyl*.
Dexter is such a smart, sweet little boy.
He’s our first dog and, he’s been a great addition to our family. He brings a lot of smiles.
And by the way…he did really great during his first class!
“This is a sponsored post. As a member of the StyleTechCraft Design Team I have been provided product and compensation in exchange for my creative ideas. The views and opinions are my own.
What do you do with all those Christmas Photo Cards you’ve just received?
Before you put all your Christmas Crafting Supplies away…
I have one last project for you to make.
The Beloved Christmas Photo Card.
I love annual Christmas photo cards and how it shows how your family changes from
one year to the next. I have a hard time throwing them away after the season is over.
What do you do with them besides putting them in a box?
This year, I finally decided to make an album to put them in.
The album had to be simple so that I can easily add the next years’ photo cards and easy
enough that I would actually do it.
This is how I made it…
I started with two 5-1/2″ x 8-1/2″ pieces of white matboard and two 12″ x 12″ pieces of Christmas Scrapbook paper.
I used my Xyron Creative Station* to add adhesive to the back of the scrapbook paper before adhering it to the matboard. I added the second piece of scrapbook paper to the other side of the matboard.
Punch a hole in the top of the matboard covers with a Crop-A-Dile Punch*.
Align the Photo Cards with the top cover and use a pencil to draw a mark on the card so you’ll know where to punch the hole.
Using a large book ring, I added my cards to my album with the most recent photo cards on top.
For your convenience here’s these are the products I used:
*Disclosure: This blog uses affiliate links. If you choose to make a purchase using one of the links, I receive a small commission (at no additional cost to you) that helps offset the costs of maintaining this blog. Thanks for your support!
“This is a sponsored post. As a member of the StyleTechCraft Design Team I have been provided product in exchange for my creative ideas. The views and opinions are my own.
Disclosure: This blog uses affiliate links. If you choose to make a purchase using one of the links, I receive a small commission (at no additional cost to you) that helps offset the costs of maintaining this blog. Thanks for your support!
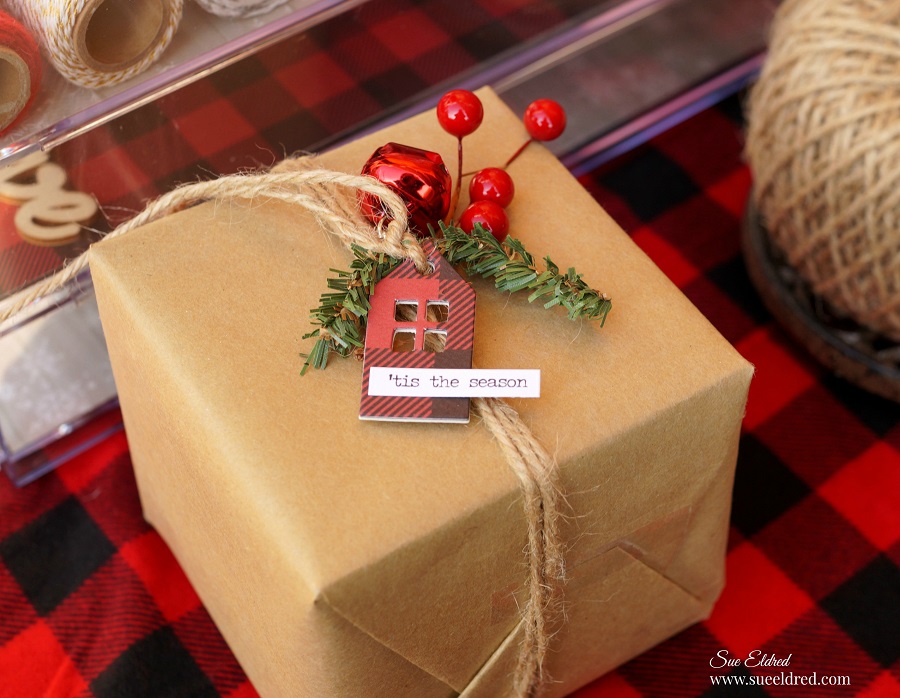
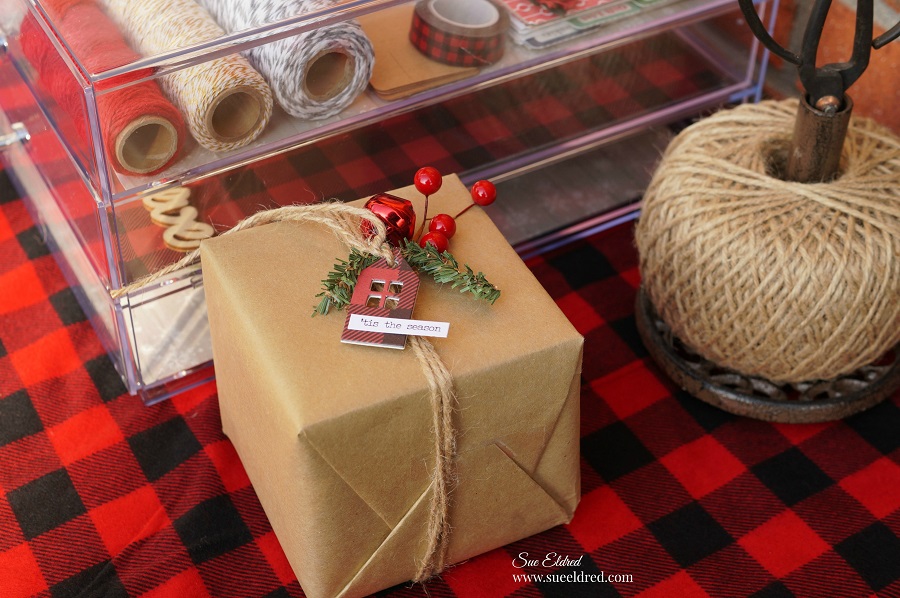
Brown paper packages tied up in string.
It’s easy to make your gifts look special when everything’s right at your fingertips.
Disclosure…“This is a sponsored post. As a member of the Deflecto Design Team I have been provided compensation and product in exchange for my creative ideas. The views and opinions are my own.