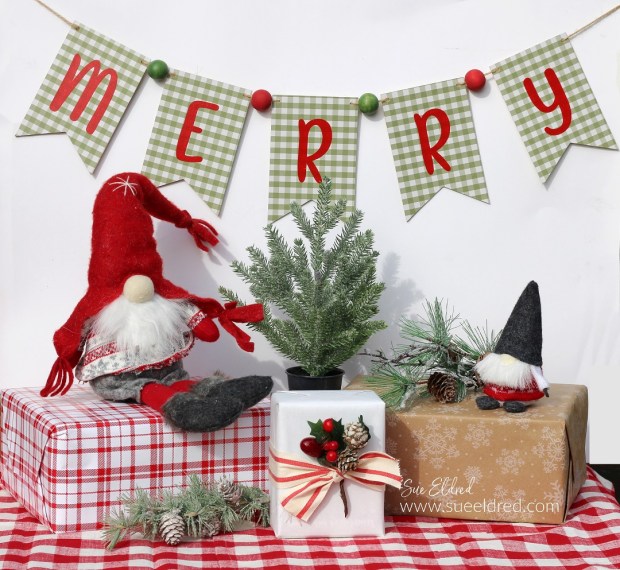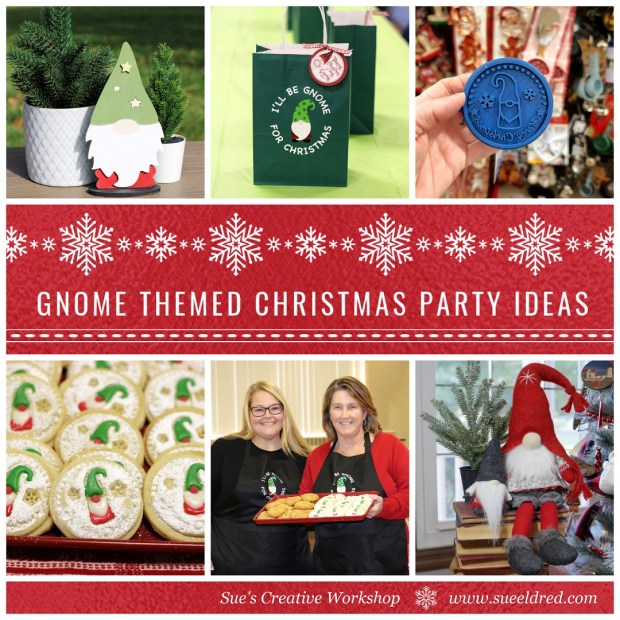
Gnome Themed Christmas Party Ideas.
Are you hosting a Christmas Party this year and looking for a fun theme?
How about a cute Gnome Themed Party?

From Gnome Party Goods on Amazon* to decorations from Dollar Tree*,
Gnomes are so popular you can find them everywhere.

Seriously, who can resist these Whimsical Woodland Creatures?

*Disclosure: This blog uses ads and affiliate links. If you choose to make a purchase using one of the links, I receive a small commission (at no additional cost to you) that helps offset the costs of maintaining this blog. Thanks for your support!
This slideshow requires JavaScript.
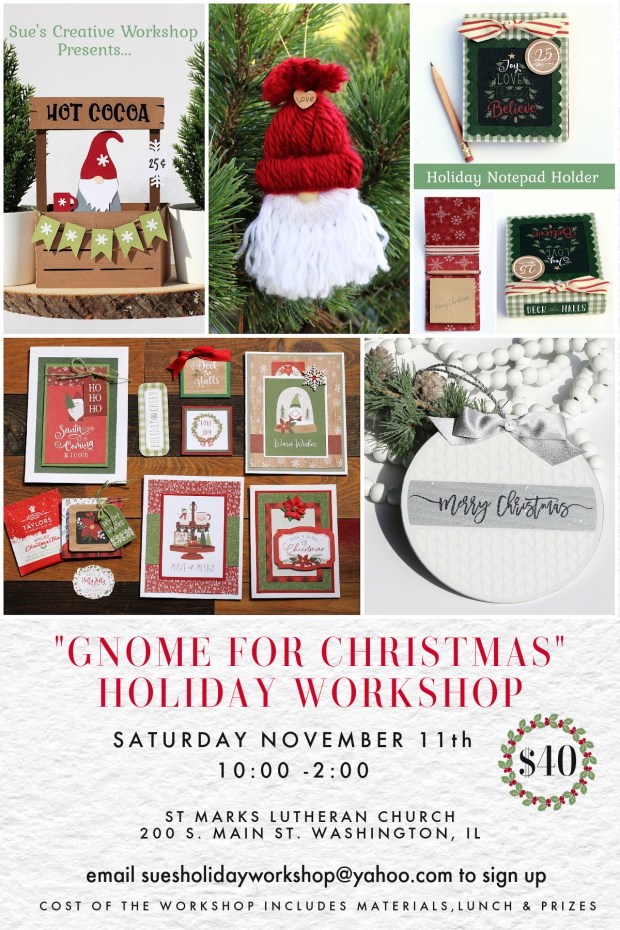
I’ll be Gnome for Christmas Holiday Workshop…
For the last several years, I’ve hosted a Holiday Crafting Workshop.
Because I was feeling a little Gnomish this year, I went with a Gnome theme.
We made Gnome themed cards and Holiday Decorations.
It was so much fun planning the projects and decorations.
(If you would like to learn more about the Holiday Workshop click here.)

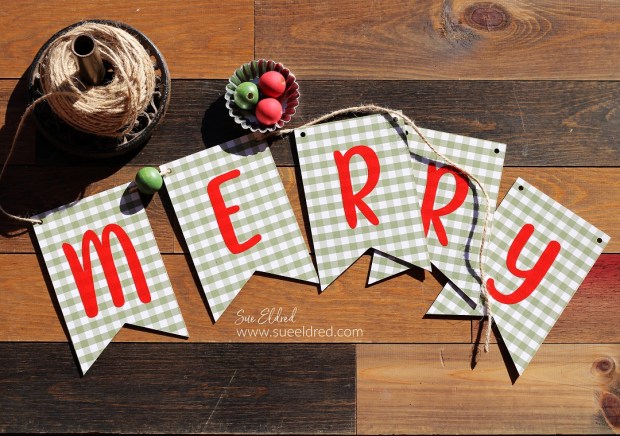
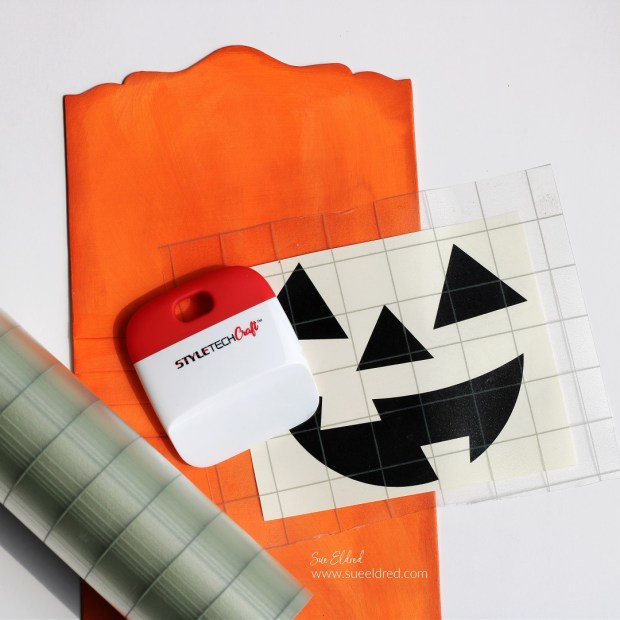
Personalized Gnome Themed Gift Bags
When hosting a party or event, you need a few gift/loot bags to match the theme.
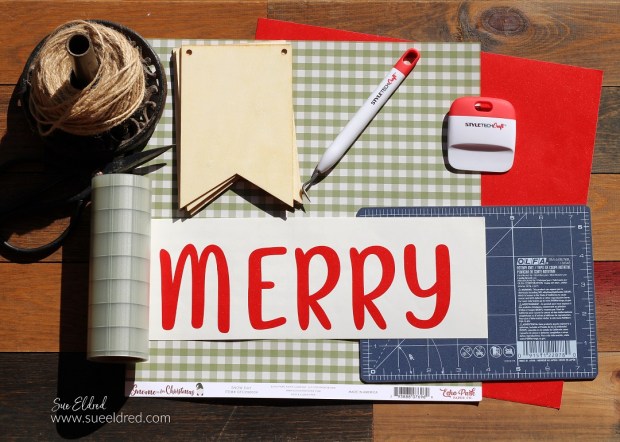
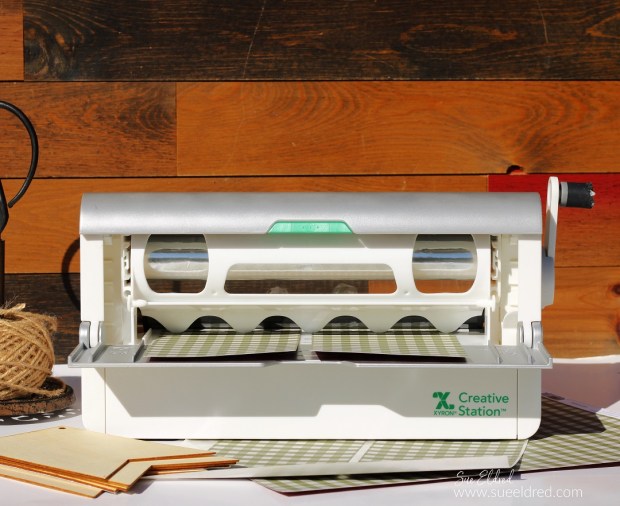
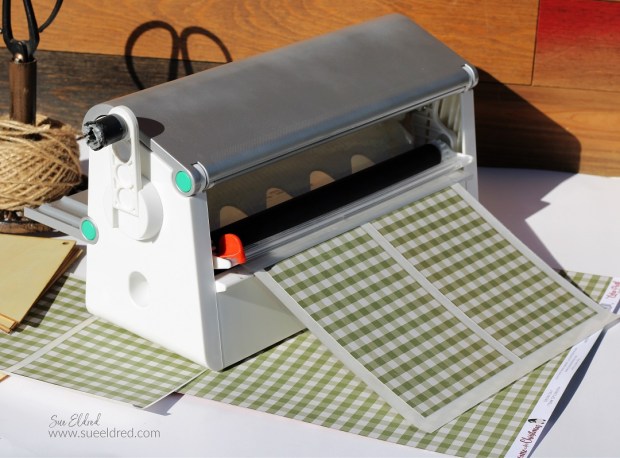
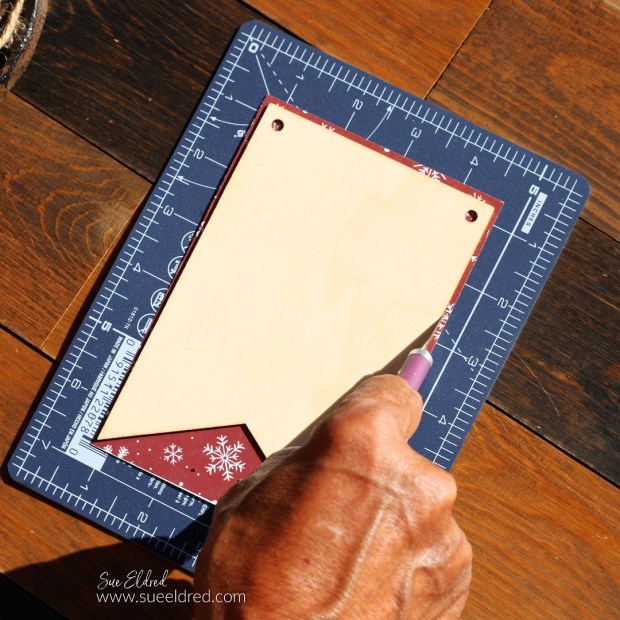
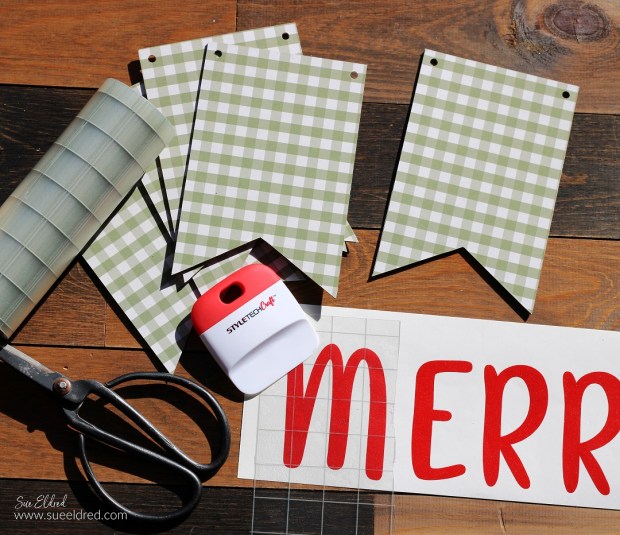
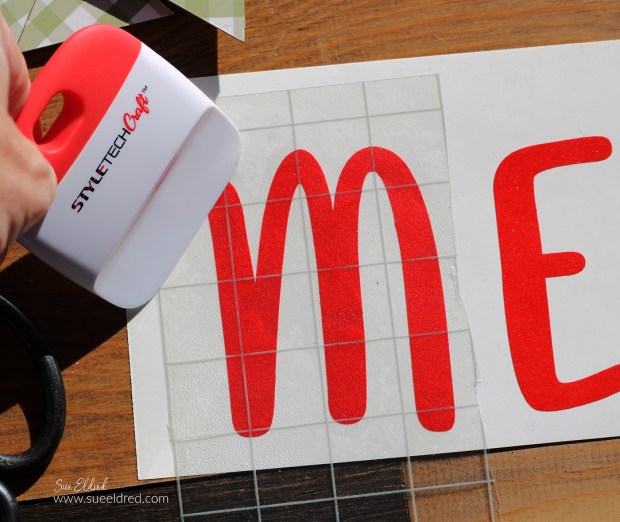
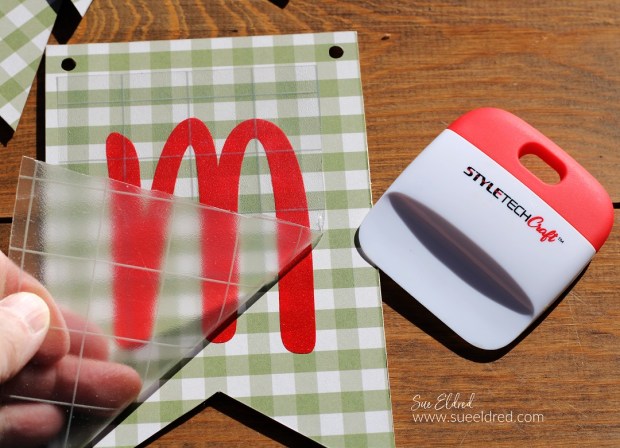
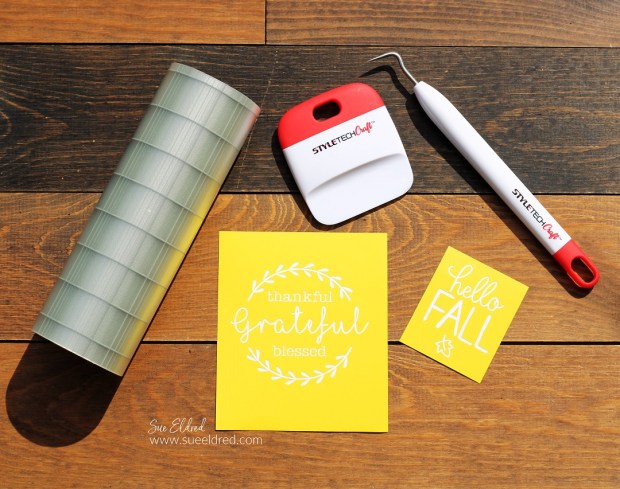
I created these Gnome themed gift bags using a
Silhouette Cameo Electronic Die Cutting Machine*
and StyleTechCraft Adhesive Vinyl*.
The bags held everything they would need to make the projects.
The Gnome SVG Cut files came from The Silhouette Store.

“This is a sponsored post. As a member of the StyleTechCraft Design Team I have been provided product and compensation in exchange for my creative ideas. The views and opinions are my own.

Gnome Themed Aprons
Keeping with the theme and making a statement!
How cute are these?
We made matching Aprons using Heat Transfer Vinyl from StyleTechCraft*.

StyletechCraft products brought to you by ATSM Craft*

Using Heat Transfer Vinyl…
It was my first time using HTV vinyl*, and I was pleasantly pleased
with how easy it was. I used a regular iron to press the vinyl
onto the Black Aprons* found on Amazon*.
Tip: Remember to mirror the image if it has words.
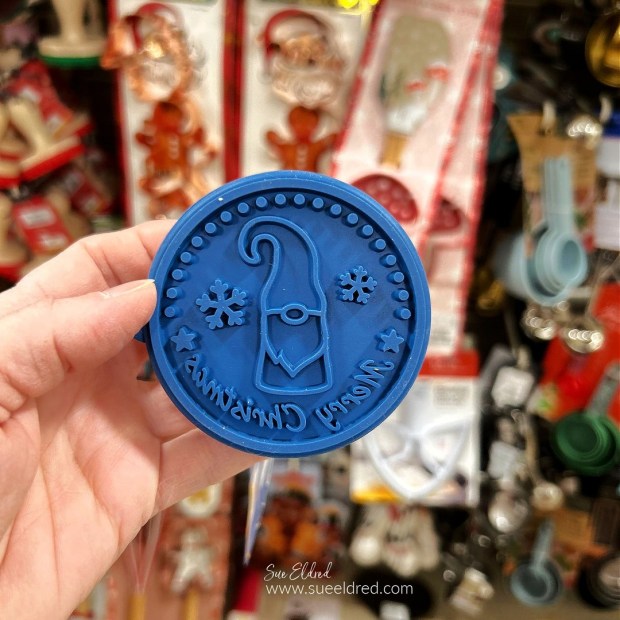
Gnome Christmas Cookies
No Holiday Gathering would be complete without a few Christmas Cookies.
I found this cute Gnome Cookie Stamp at Homegoods and couldn’t resist.
The Gnome Cookies turned out adorable and tasted so good.

Are you looking for a yummy Christmas Cookie Recipe?
Here’s the recipe my mom gave me as a new bride many years ago.
I have made them every year since. (A Family Favorite!)
Enjoy!
SUE’S FAVORITE SUGAR COOKIE RECIPE
- 1- 1/2 c. powdered sugar
- 1 c. butter or margarine
- 1 egg
- 1 tsp. vanilla
- 2- 1/2 c. all purpose flour
- 1 tsp. cream of tartar
- 1 tsp. baking soda
- Cream sugar & butter, add egg & flavoring, mix thoroughly.
- Sift dry ingredients together and stir in. (I dump)
- Refrigerate 2 to 3 hours.
- Heat oven to 375°.
- Divide dough in half & roll out on lightly floured pastry sheet.
- Roll thin, but thick enough to pick up the design with the cookie cutters.
- Dip cookie cutter into flour before each cutting. Cut as many cookies from each rolling as possible. The least amount of working with the dough gives the best cookie.
- Place on lightly greased baking sheet. Bake 7 to 8 min. or until delicately golden.
- For the Glaze I dump around a cup of powdered sugar into a bowl. Add a dash of vanilla. Add milk one tablespoon at a time until you get the consistency you want. (hint: not too runny)

Supplies Used to make the Gift Bag and Apron: (*affiliate links)