Easy Door Hanger Idea for late Summer

Not Quite Ready for Fall Decor…

As summer began to wind down and my patriotic decorations came off the door,

I found myself searching for the perfect transition piece-

something cheerful enough for late summer, but with just a hint of fall

The Welcome sign has “fall-ish” colors while still being summer themed.
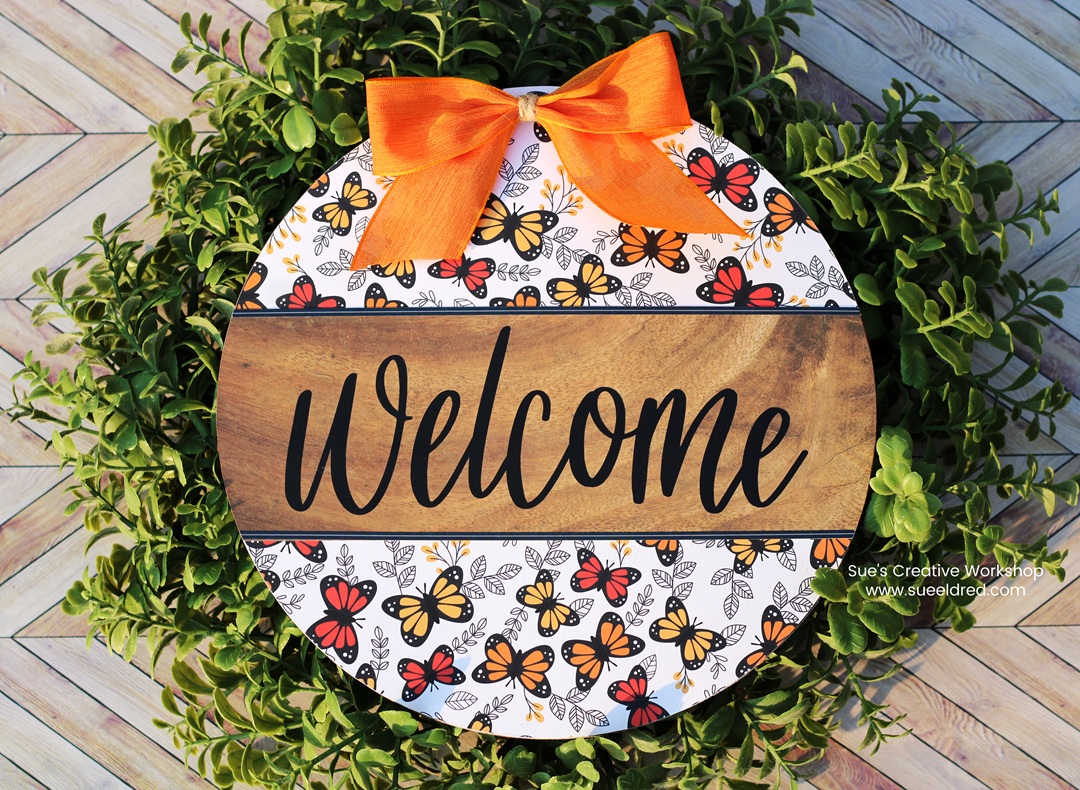
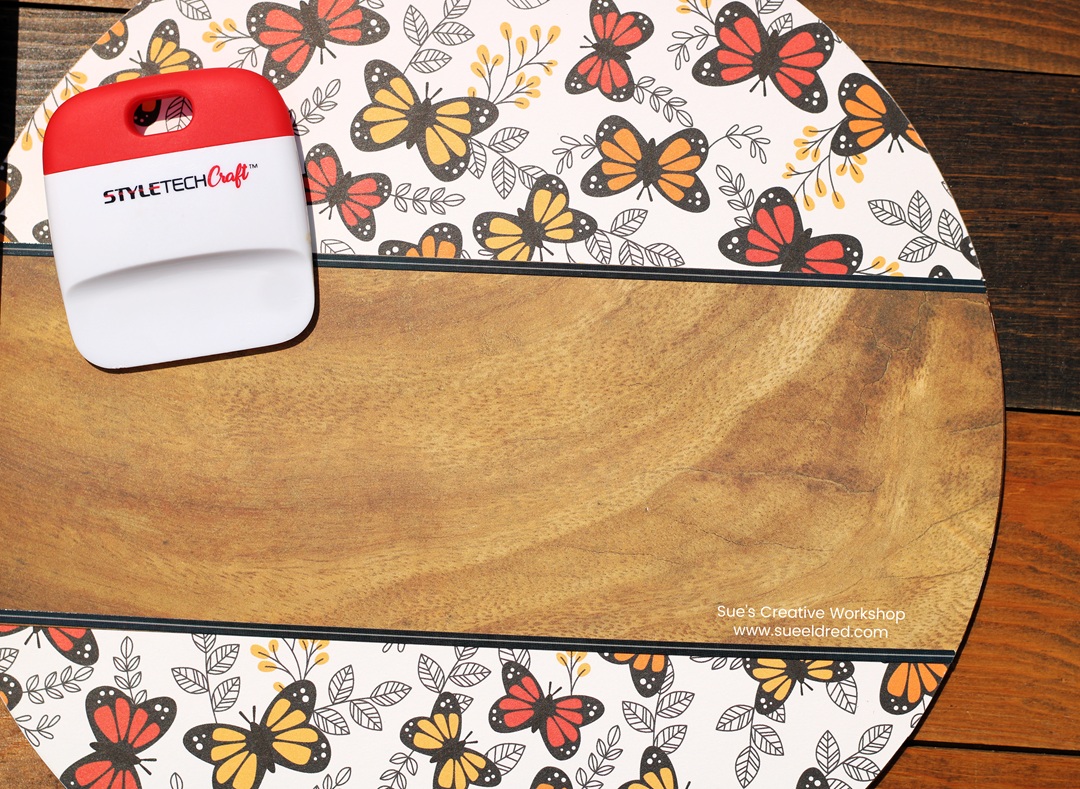
Butterfly Welcome Door Hanger

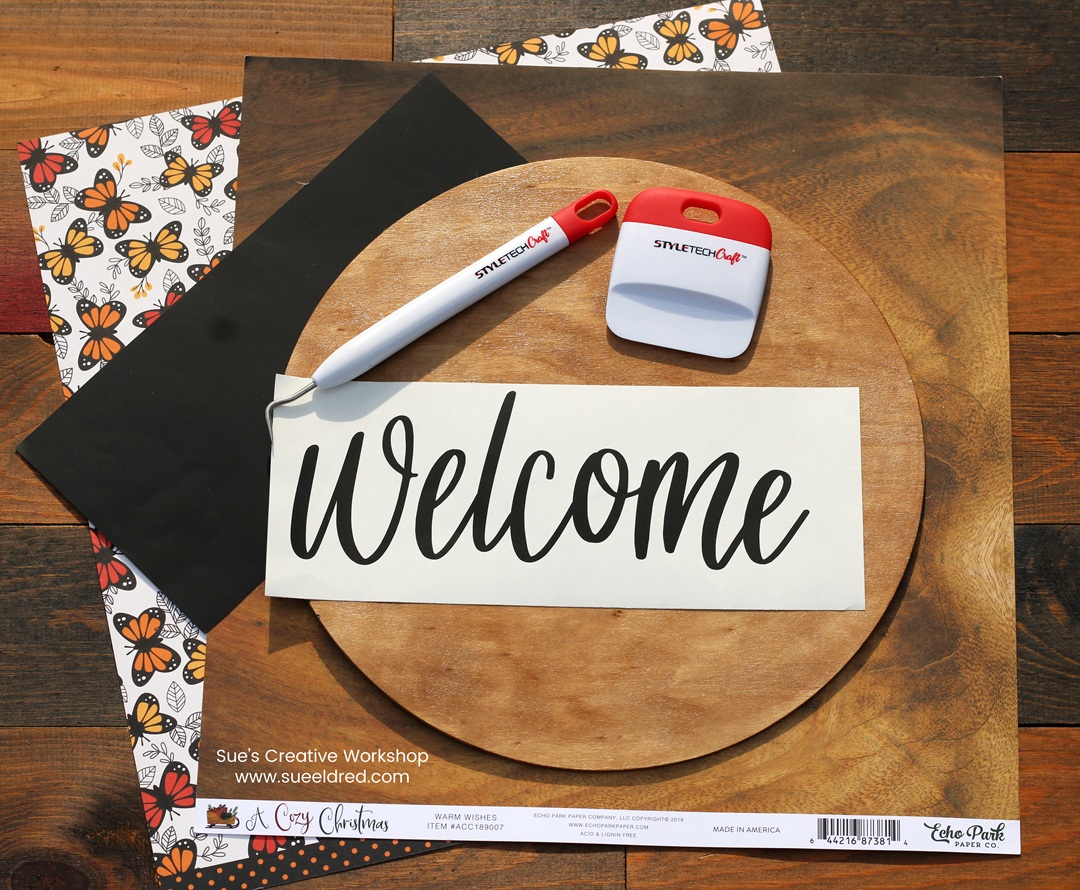
I made the door hanger using a 10″ Wood Circle*, decorative scrapbook paper,

and StyleTechCraft adhesive vinyl.

Additional Materials used:  (*affiliate links)

*Disclosure:  This blog uses ads and affiliate links.  If you choose to make a purchase using one of the links, I receive a small commission (at no additional cost to you) that helps offset the costs of maintaining this blog.  Thanks for your support!
How I made the Butterfly Welcome Door Hanger:

  • I used my Xyron Creative Station* to add adhesive to the back of the butterfly scrapbook paper.  (You can also use a liquid adhesive such as Mod Podge or a spray adhesive.  Whatever works best for you.)
  • Trim around the edge of the paper using a Craft Cutting Mat and Craft Knife*.  For a smoother edge, lightly sand edges with a fine grit sanding block*.
  • I cut a 3 1/2″ strip of woodgrain scrapbook paper to add to the middle of the circle.  It gives me a plain base to add my greeting.
  • To make the woodgrain stand out, I used a thin border sticker on the top and bottom of the woodgrain strip.

  • I cut the word “Welcome” using a Silhouette Electronic Die-Cutting Machine* and black matte vinyl from StyleTechCraft.
  • I transferred the vinyl onto the front of the door hanger using transfer paper.
  • I made a simple orange bow to add to the top of the door hanger.
  • Drill a couple of holes in the top of the wood for hanging.
  • The door hanger would look great on its own or as part of a simple wreath.

Just a heads up—I didn’t seal the paper on this door hanger, so be sure to hang it somewhere protected from the weather.
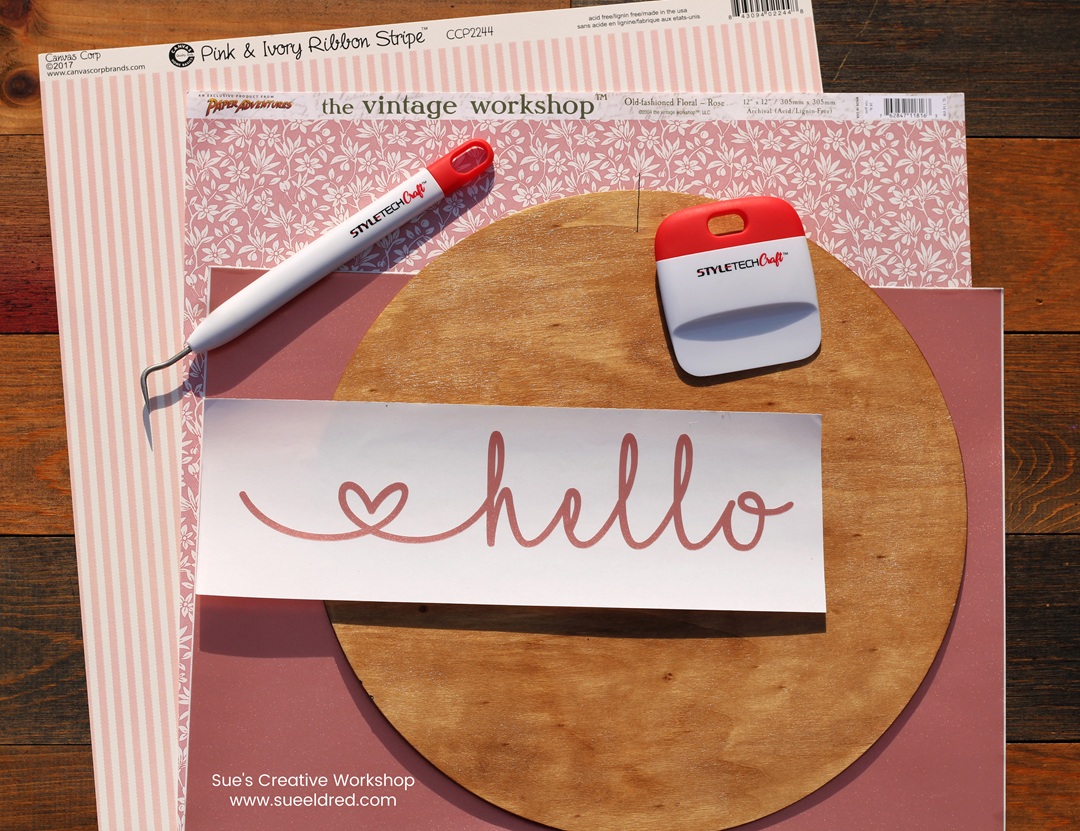
Pretty in Pink Door Hanger

I dug deep into my hoarded collection of paper for the right one

for this project.  And because I couldn’t decide which papers I liked best,

I made a second one.
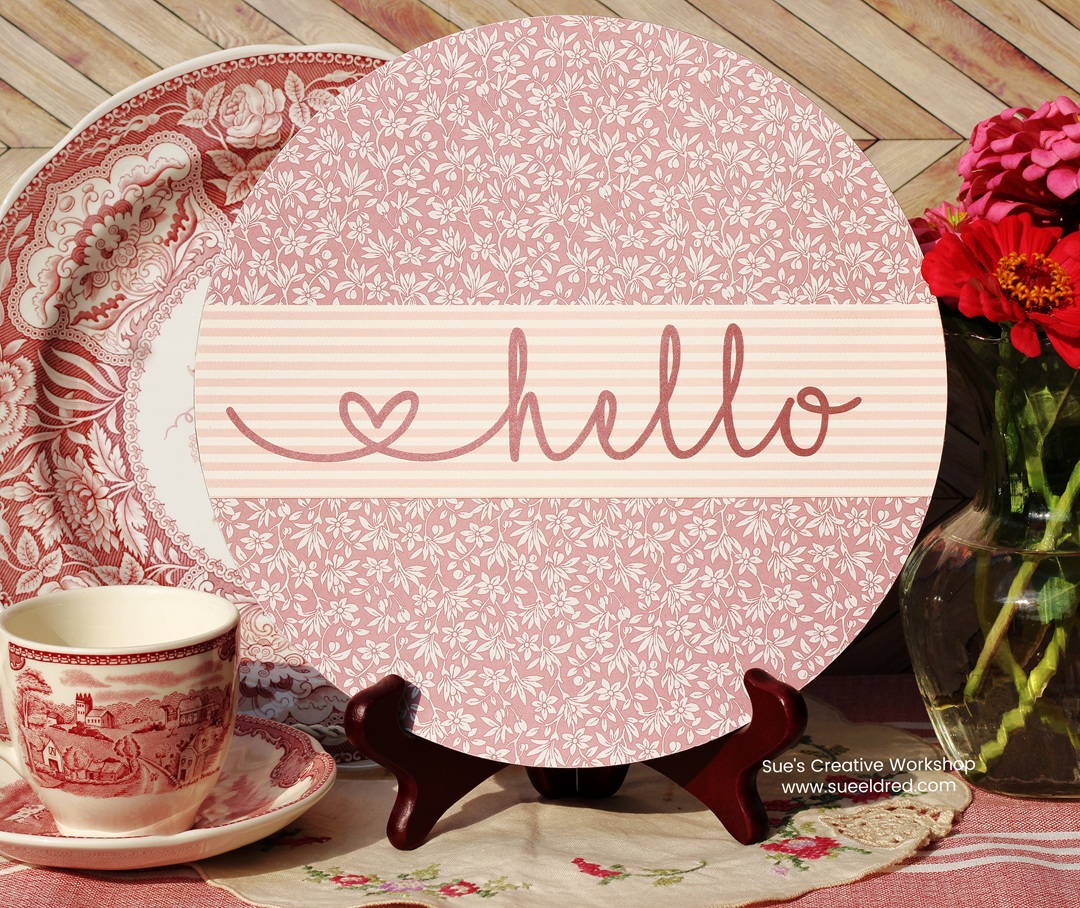
These door hangers are such an easy way to add a little cheer

to your home as summer winds down.

I had a lot of fun making them, and I hope you give this project a try too!



“This is a sponsored post.  As a member of the StyleTechCraft Design Team I have been provided product and compensation in exchange for my creative ideas.  The views and opinions are my own.
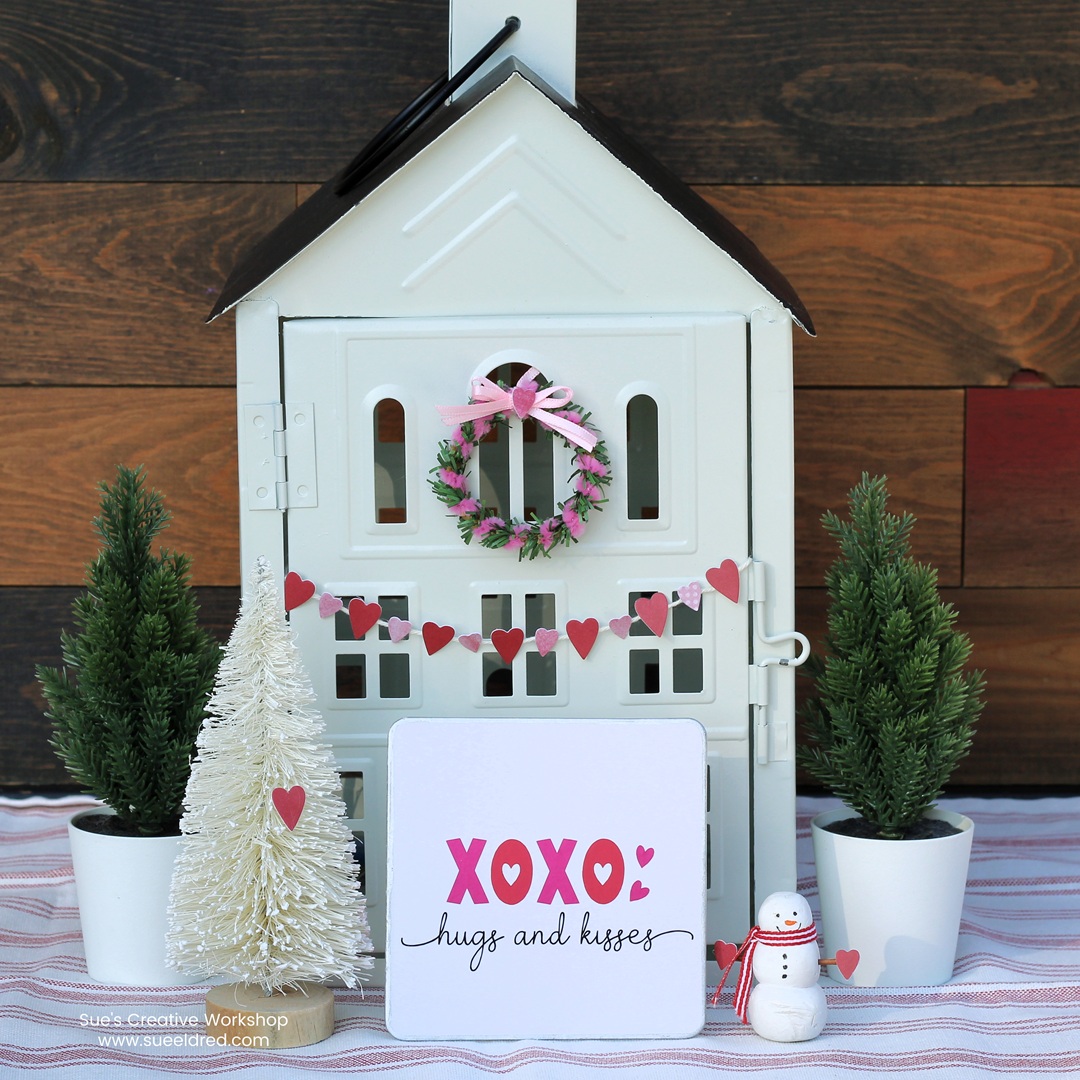
DIY Valentine’s Day Decoration with Clothespin Easel

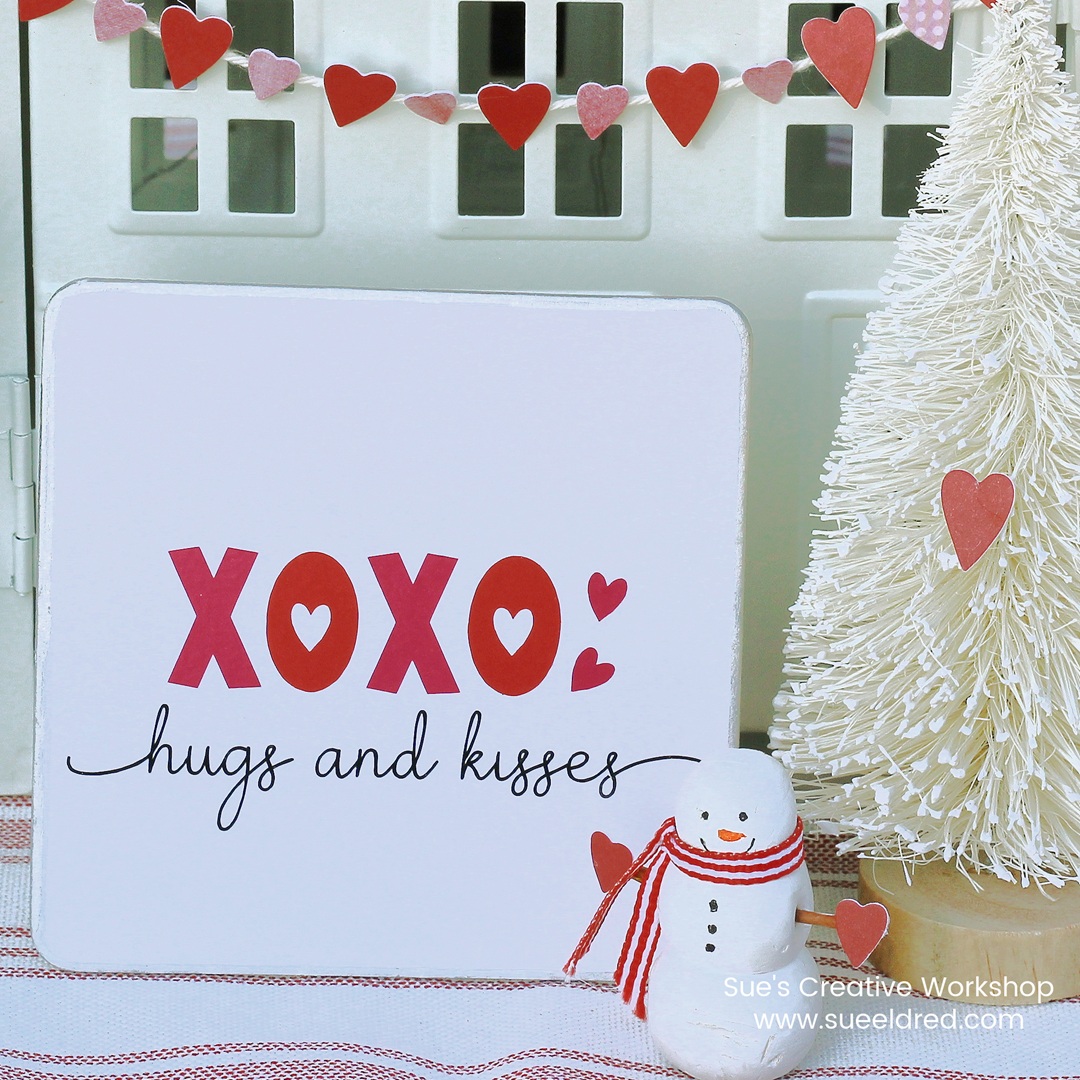
How to make a Hugs and Kisses Valentine’s Day Decoration.

Eight years ago, I created a simple “Make and Take” project for

the StyleTechCraft Booth at a convention in Phoenix.

The project was a simple Valentine’s Day vinyl craft added to a

plain matboard coaster.  The Valentine’s Day coaster featured a

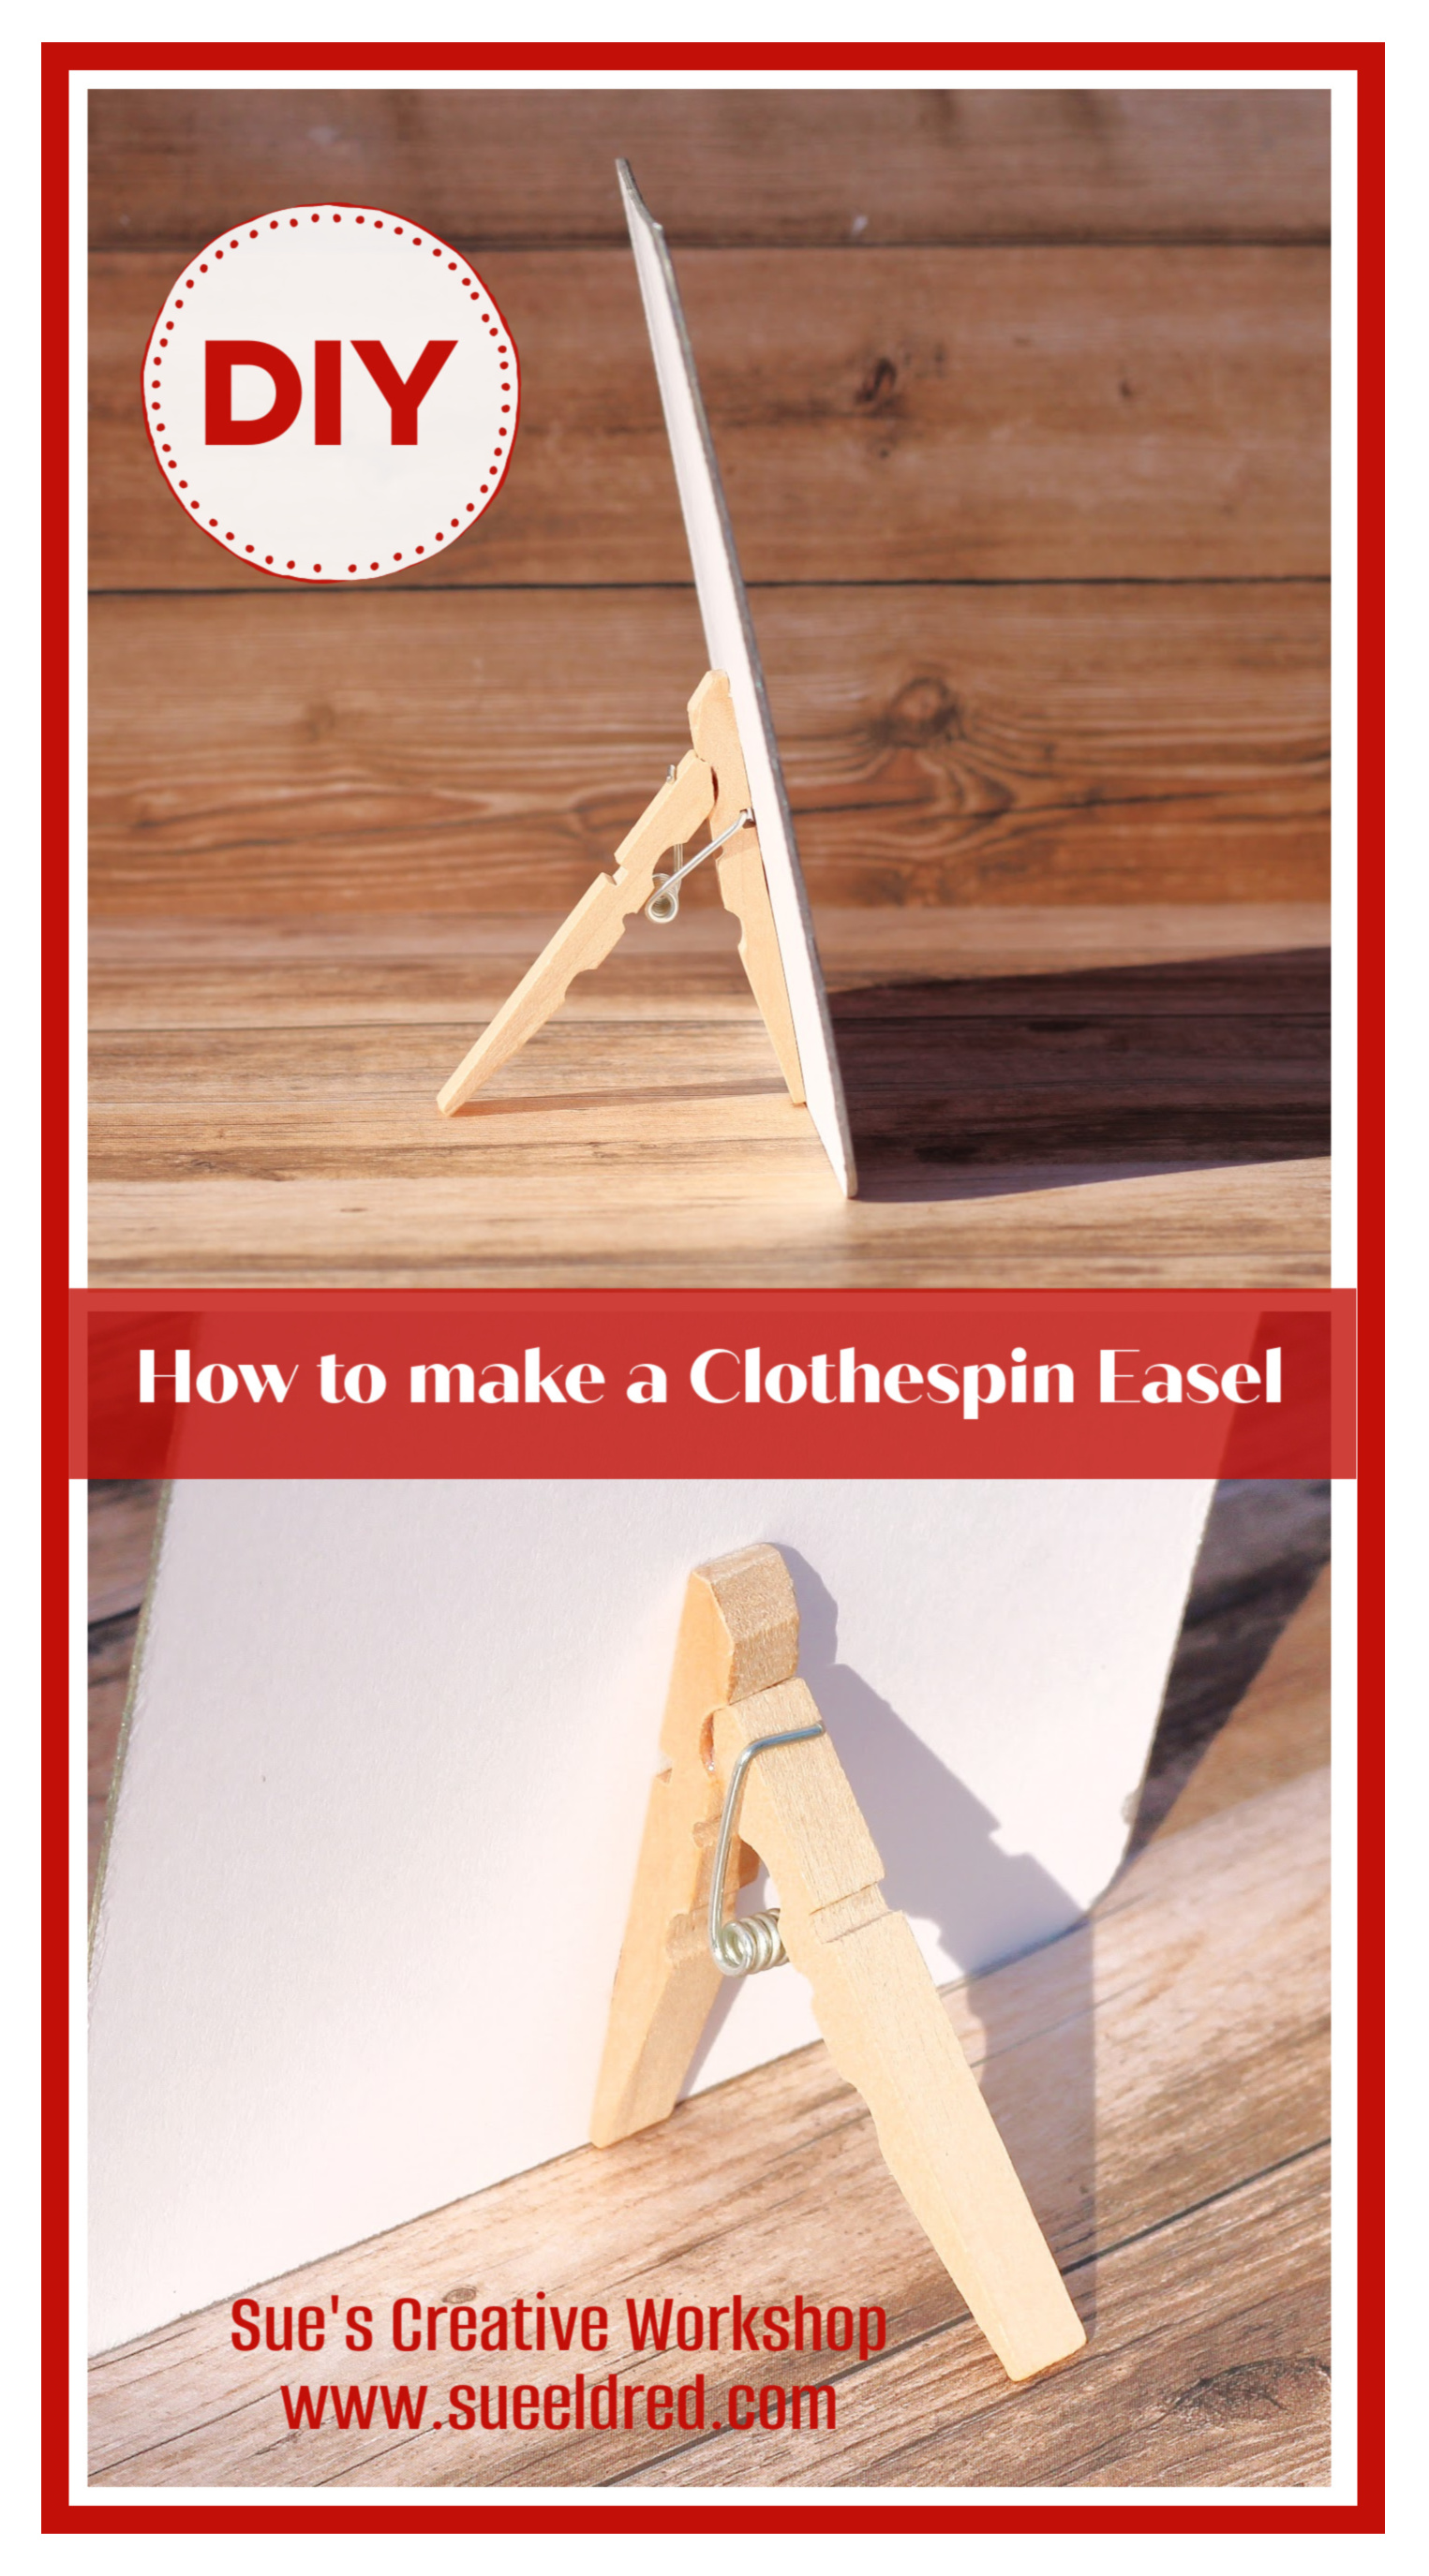
simple easel on the back made using a spring-loaded clothespin.

Surprisingly, that little clothespin easel was a smash hit.

In the last eight years, it has been my most viewed and pinned 

pin on Pinterest.  (And my most stolen pin also.)

Materials Used:   (*affiliate link)

*Disclosure:  This blog uses ads and affiliate links.  If you choose to make a purchase using one of the links, I receive a small commission (at no additional cost to you) that helps offset the costs of maintaining this blog.  Thanks for your support!

To make the Hugs and Kisses Coaster:                             

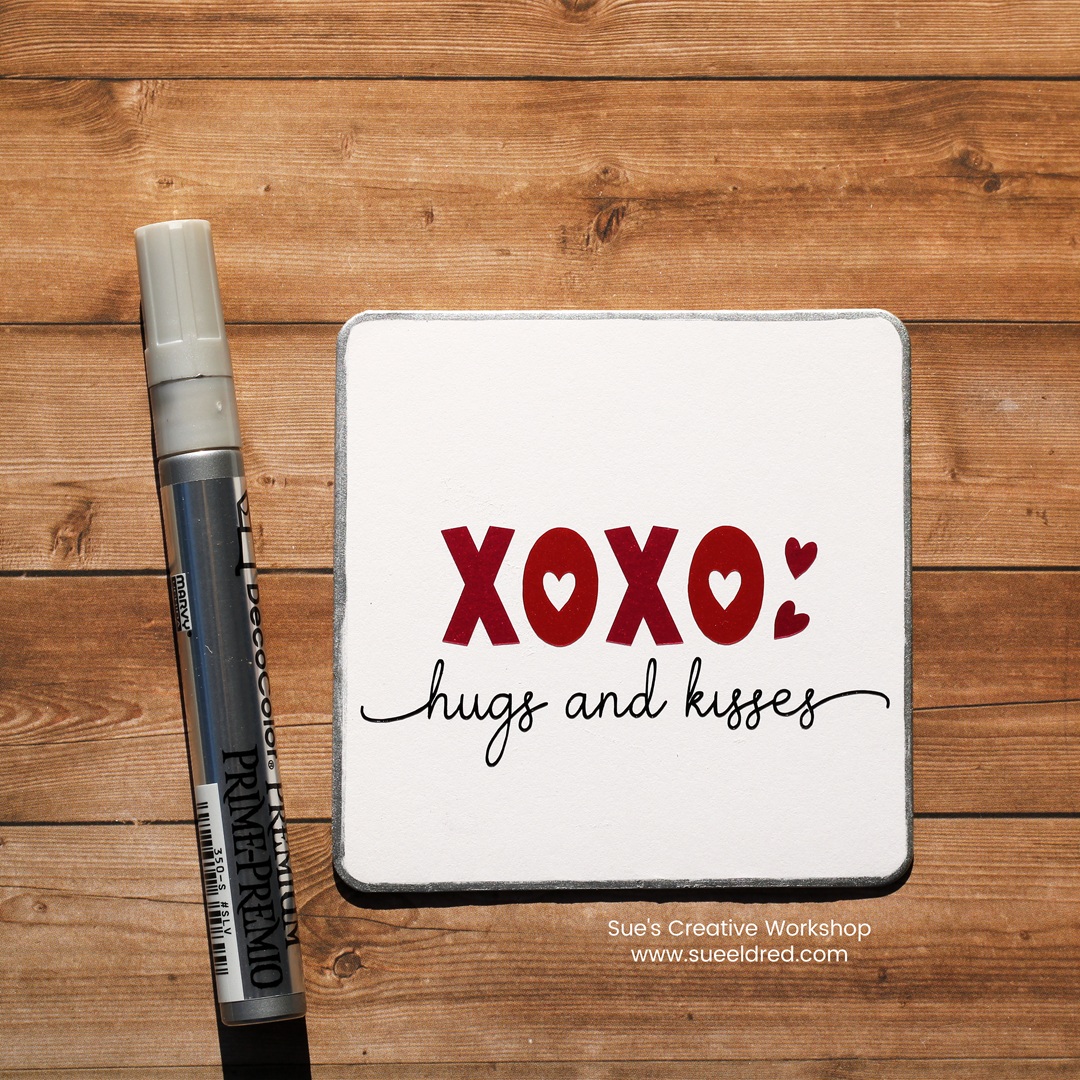
  1. I started with a plain 4″ square coaster*.
  2. Size the “xoxo hugs and kisses” design to fit onto the center of the coaster.
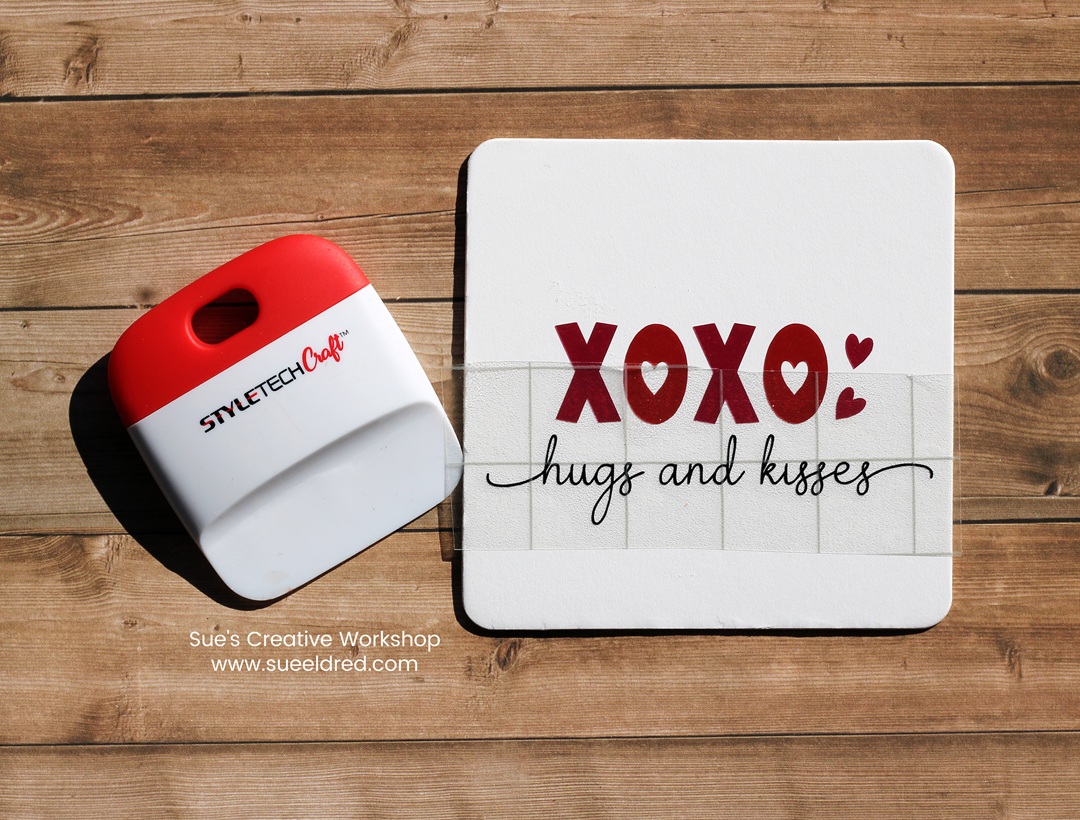
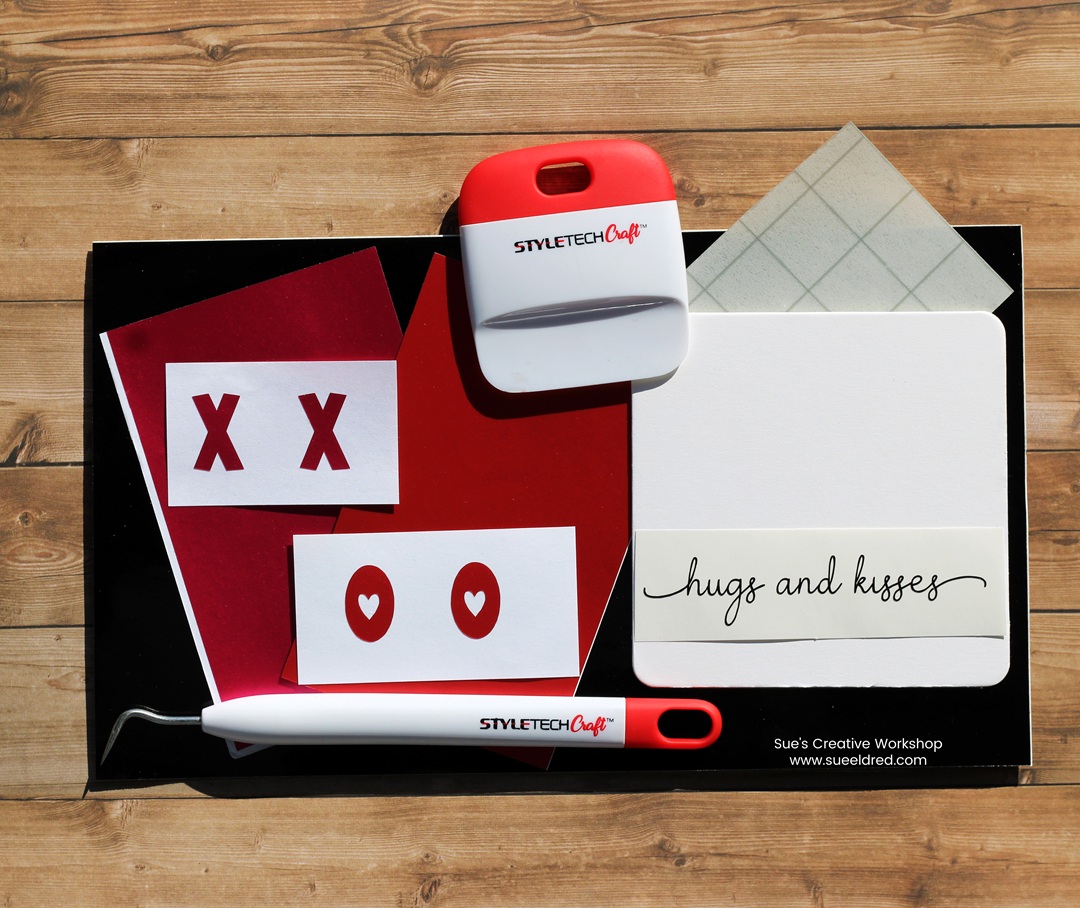
  3. Using a Silhouette Cameo Electronic Die Cutting Machine*, cut the XOXO pieces of the design using StyleTechCraft Pink and Red Luster Vinyl.
  4. Cut the words “hugs and kisses” using StyleTechCraft Black Adhesive Glossy Craft Vinyl.
  5. Using transfer paper, I transferred the design onto the front of the coaster.

6.  I edged the sides of my coaster in silver, using a Silver Leaf Paint Pen*.

To make the Easel…

  1. Glue a Wooden Clothespin* on the back of the coaster with Rapid Fuse Adhesive*.
  2. Pull the clothespin open just enough so that the round metal spring comes slightly out of its groove.  (Some clothespins work better than others so you might need a little luck.)
  3. To keep the clothespin from snapping shut…glue the top ends of the clothespin together.

These little coasters make sweet Valentine’s Day decorations or thoughtful handmade gifts. Happy crafting!

“This is a sponsored post.  As a member of the StyleTechCraft Design Team I have been provided product and compensation in exchange for my creative ideas.  The views and opinions are my own.
Give the Gift of Amazon Prime*

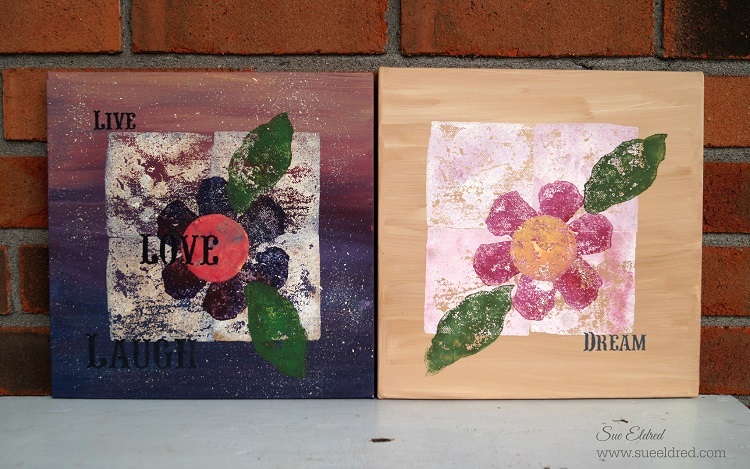
Block Stamping on Canvas with Smoothfoam

Both Canvas' 4913

I had this great idea to make stamps using Smoothfoam so that I could do sidewalk stamping with my

Grandsons.  After one messy (but fun) try, I decided it really wasn’t going to work the way I wanted.

So… I decided to use the stamps on a canvas instead.

(See Wednesday’s post:  The Good, the Bad and the Messy)

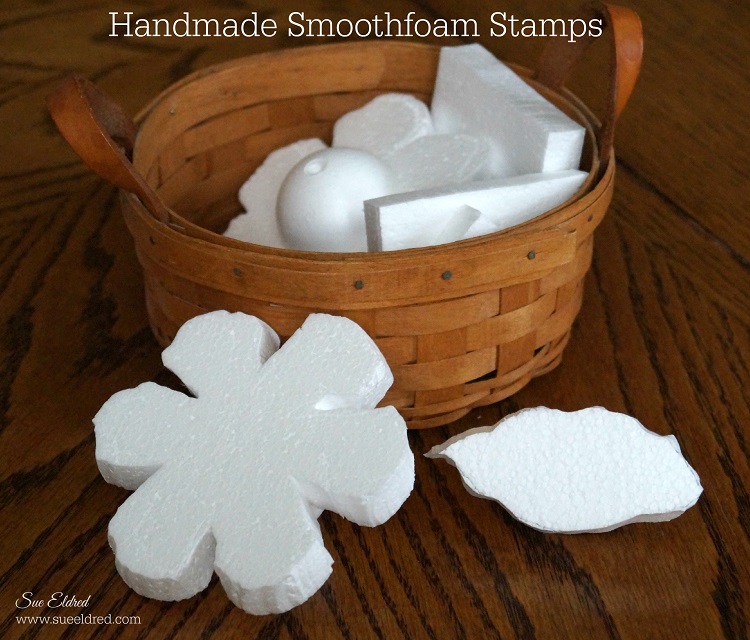
Handmade Smoothfoam Stamps 4837

I created the stamps using a Hotwire Foam Cutter.  You could also use a craft knife.

Because the original plan was to use them with the kids, I glued handles on the back.

I made flower shapes, leaves, squares and triangles.

Block Stamping Collage

Supplies Used:

  1. Prime canvas with acrylic paint.
  2. Sponge acrylic paint on the back of the Smoothfoam pre-cut square, stamp onto the canvas.  You may need to press the back of the canvas with your remaining hand to get crisper image.  Repeat three more times to create square background.
  3. Stamp flower and leaves.  Using a small Smoothfoam ball cut in half, stamp center of flower.
  4. Stencil words on Canvas.

Block Stamping on Canvas with Smoothfoam

Disclaimer:  This project was created for and sponsored by Smoothfoam.