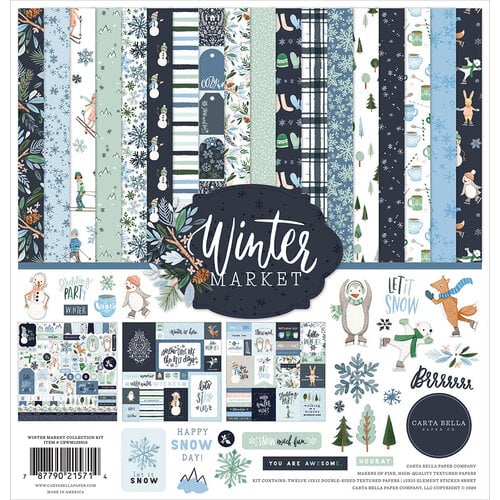
The Winter Fun Folio Album made using Eileen Hull’s New Folio Journal Die from Sizzix*
and the Carta Bella Paper Company Winter Market Collection*.

Hi Everyone!
Today, I’m participating with Eileen Hull and Teams for a Chapter 1 Release Party Blog Hop using
the New Folio Journal Die*. Just wait till you see all of the fun options the New Folio Journal Die* has in store for you!

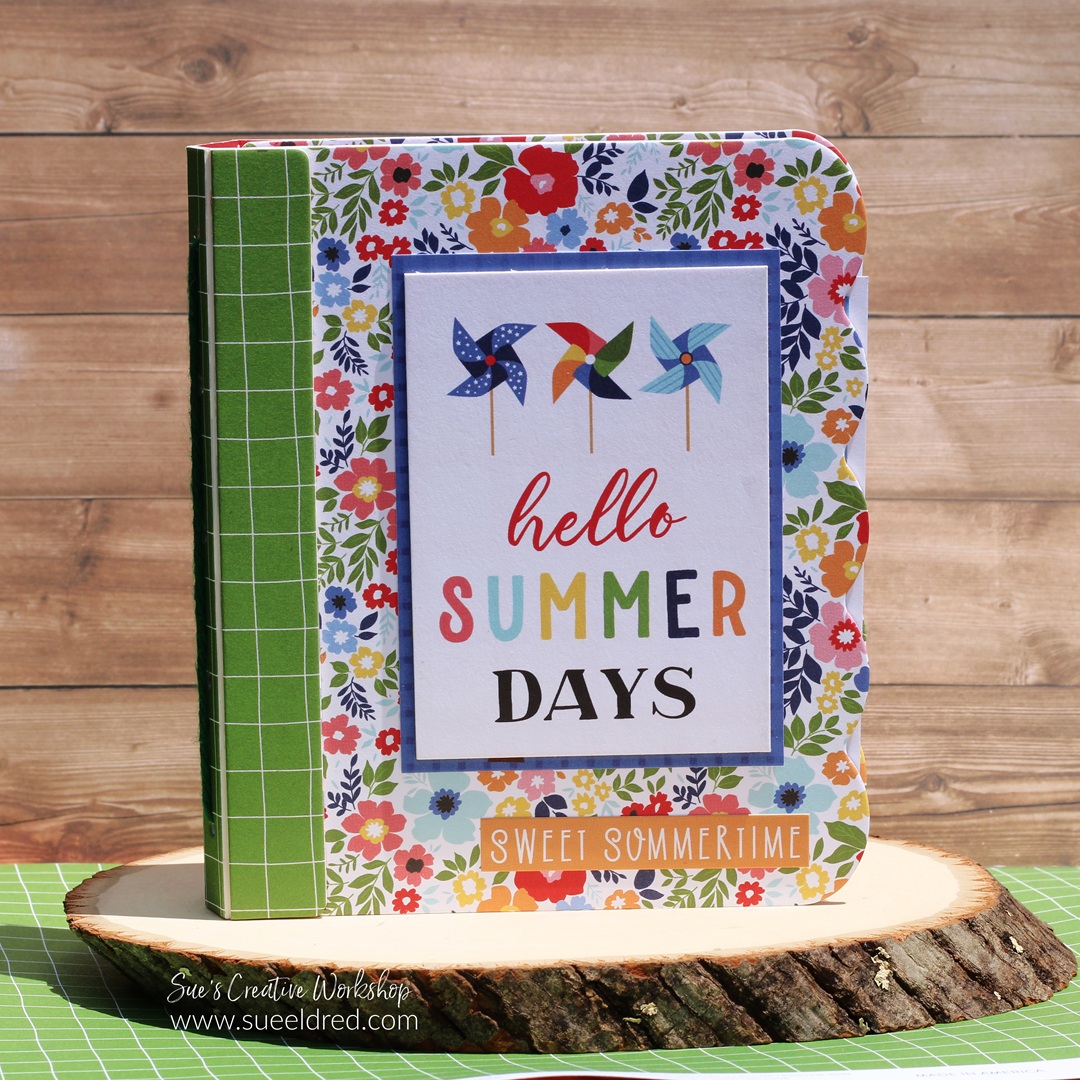
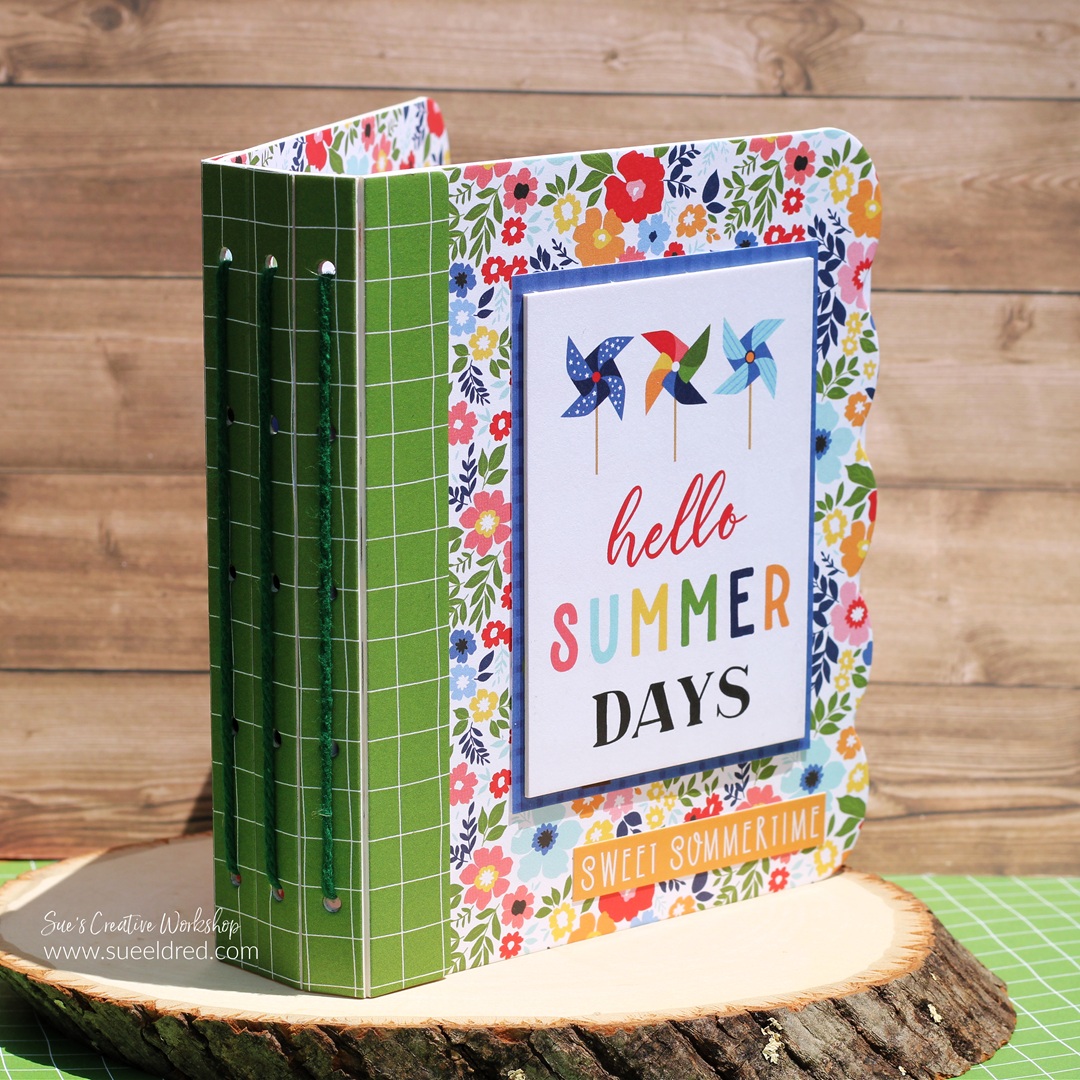
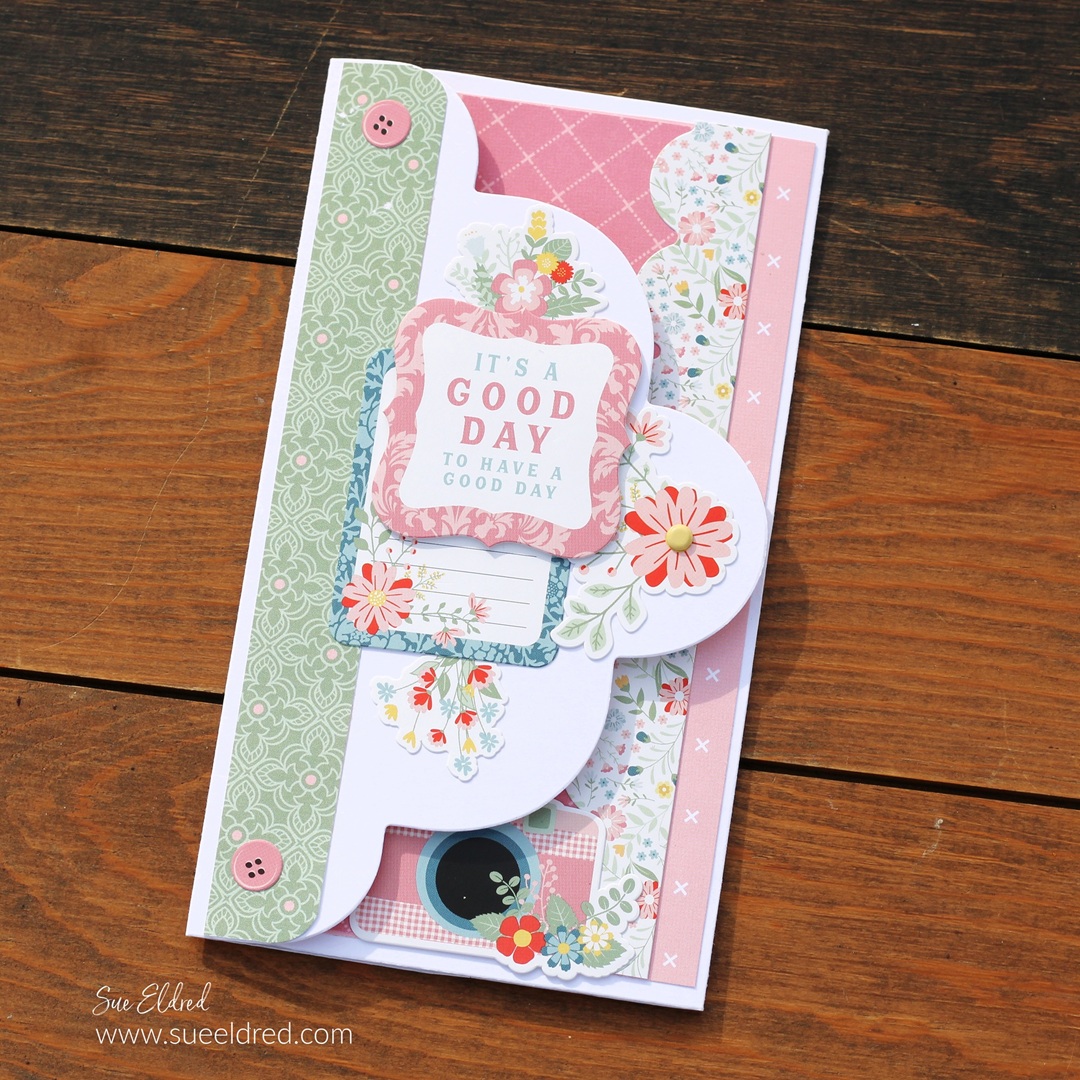
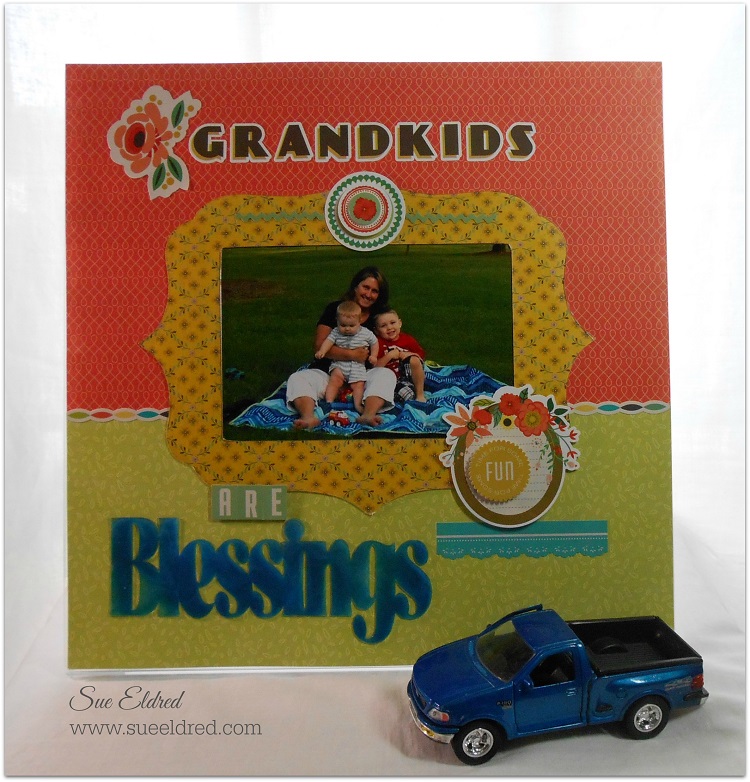
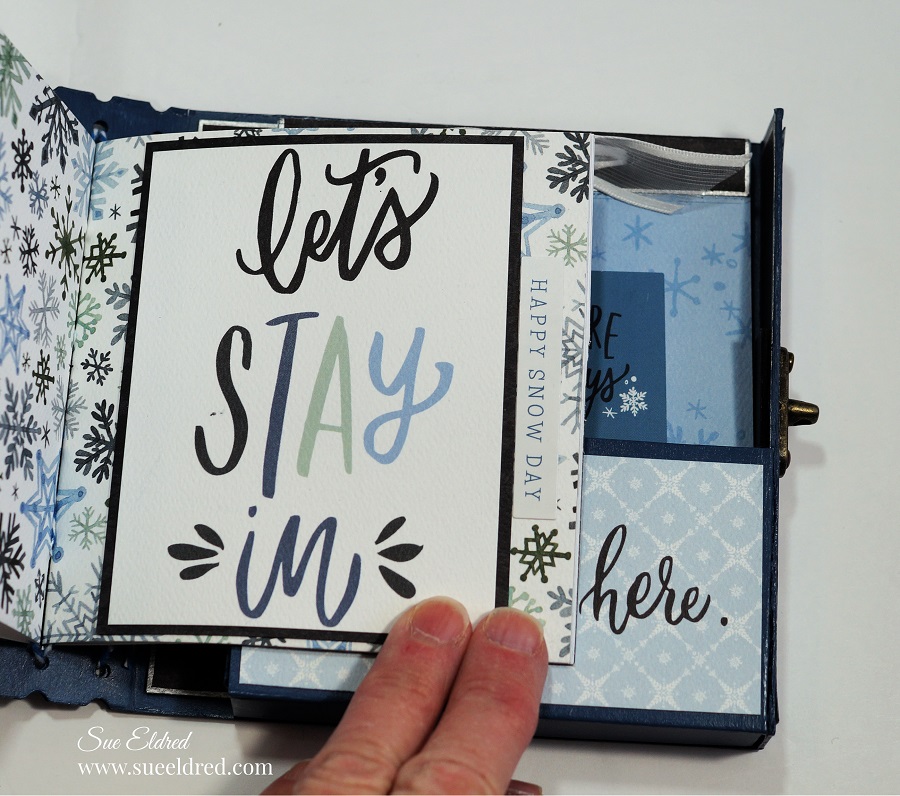
Here is my Album using the New Folio Journal Die*.
It is a fun Winter Themed album with four smaller albums tucked inside.
It’s the perfect album for adding little nooks and crannies. This album was fun to make.
I even added an Antique Bronze Hasp Latch Hook* to keep everything securely in place.
For fun, I will be giving my album away to one lucky commenter.
(Information on the Hop and chances to win prizes at the bottom of the post.)
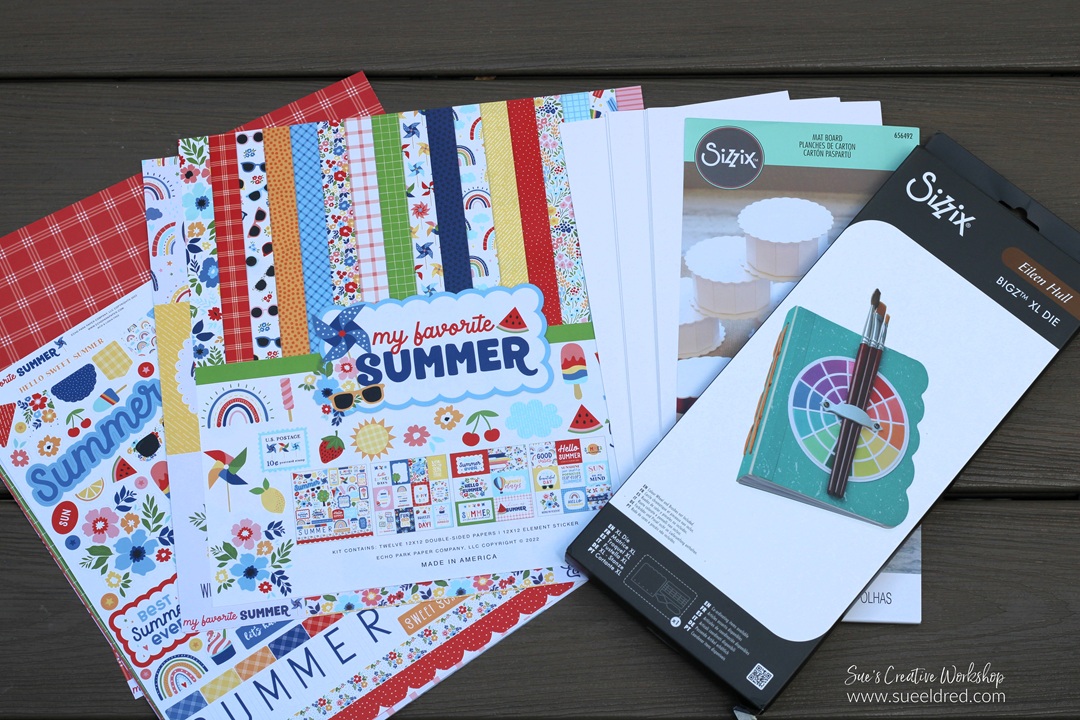
Materials Used: (*affiliate links)

*Disclosure: This blog uses affiliate links. If you choose to make a purchase using one of the links, I receive a small commission (at no additional cost to you) that helps offset the costs of maintaining this blog. Thanks for your support!
Album Details:
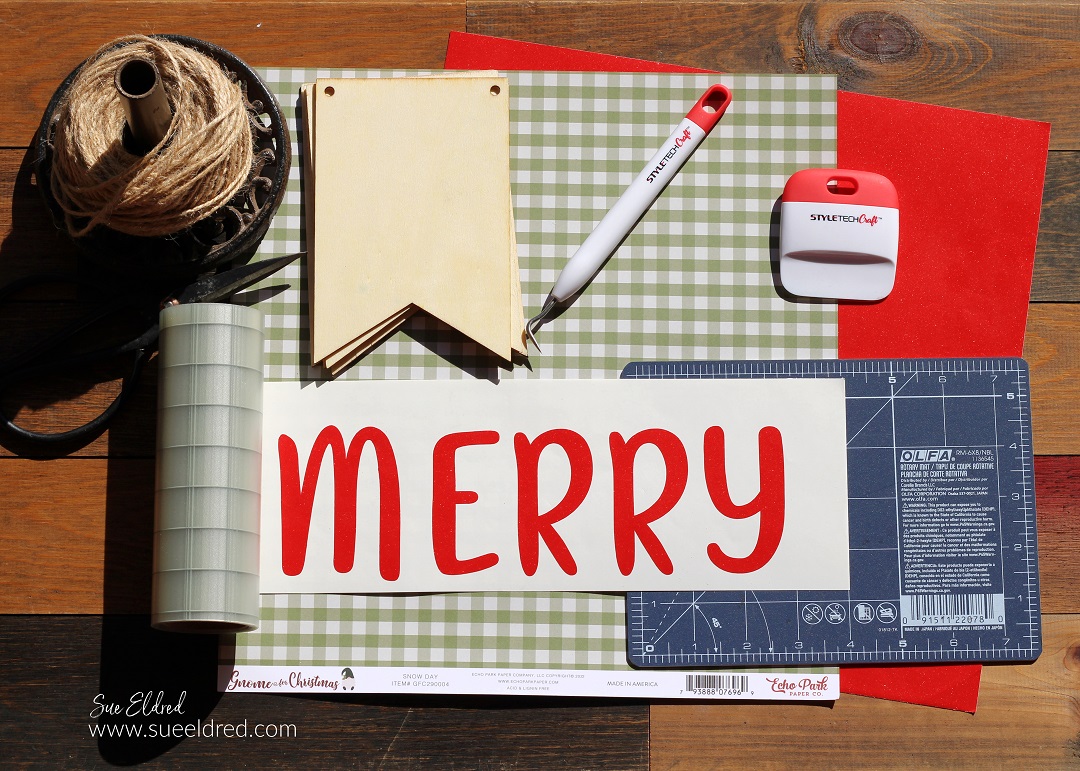
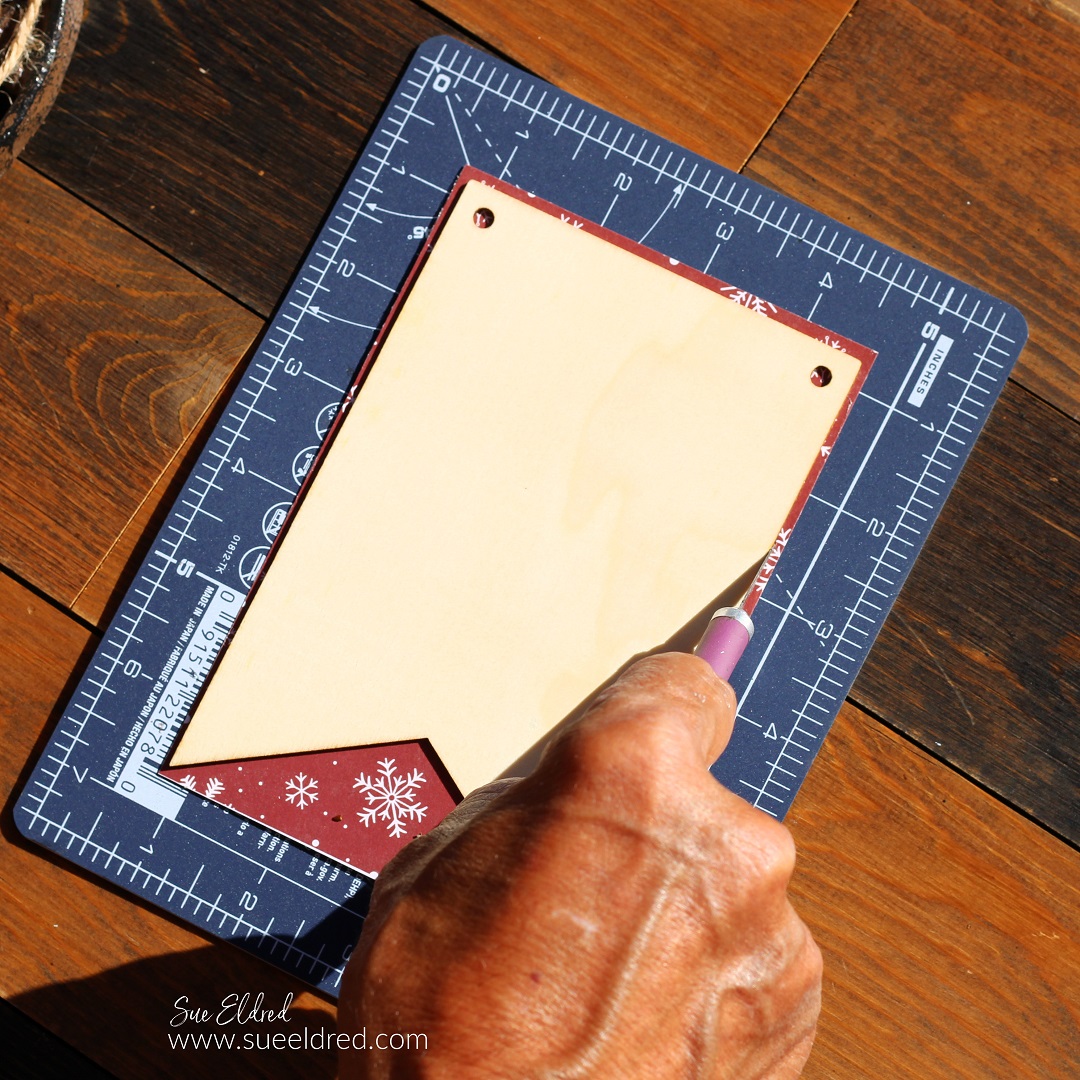
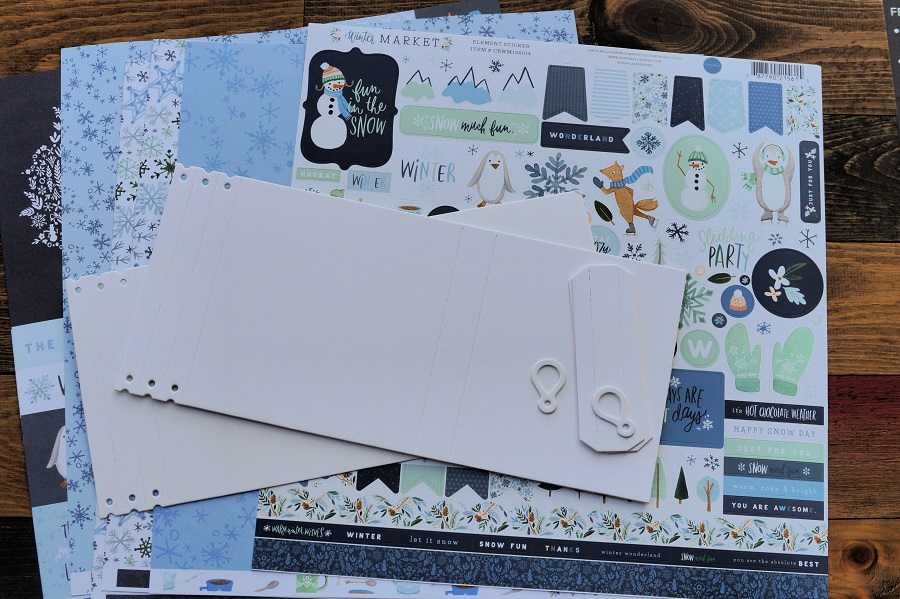
- The album pieces are die-cut using Sizzix White Matboard Sheets*, which is the perfect size for cutting long pieces. (You will need to cut the album pieces twice.)
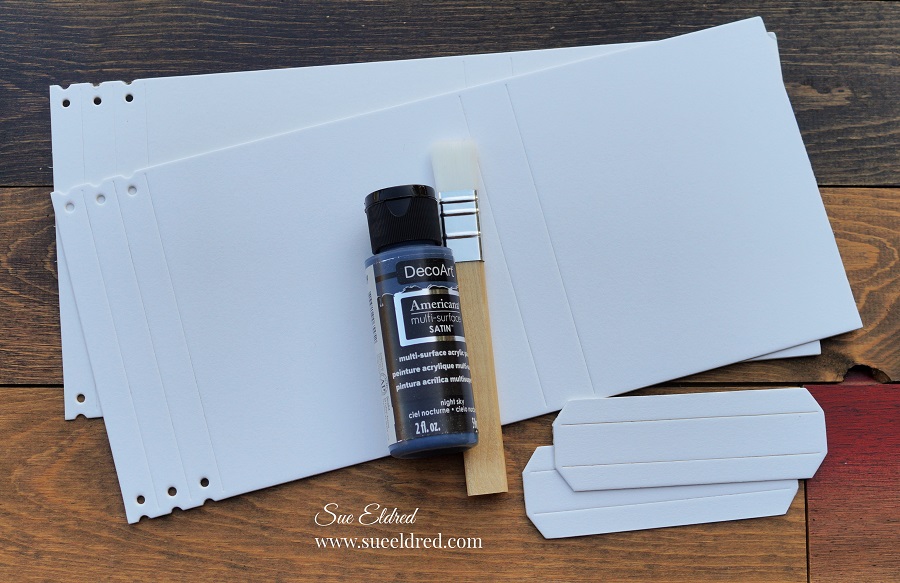
- Before I assembled my album, I painted both sides of the album pieces with DecoArt Multi-Surface Acrylic Paint in Night Sky.
- The two smaller rectangle die-cut pieces shown in the bottom right corner of the picture comes with the die. They are used for creating pockets with the outer flaps. I painted them dark blue as well.

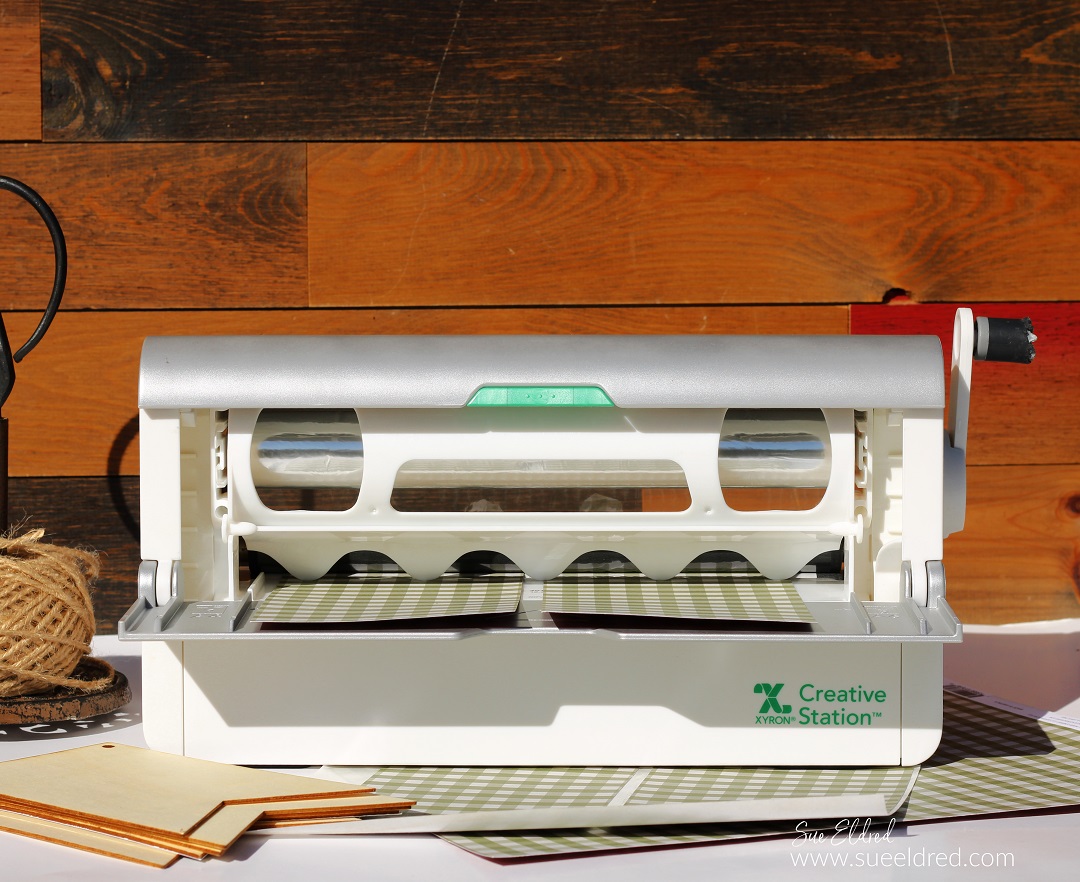
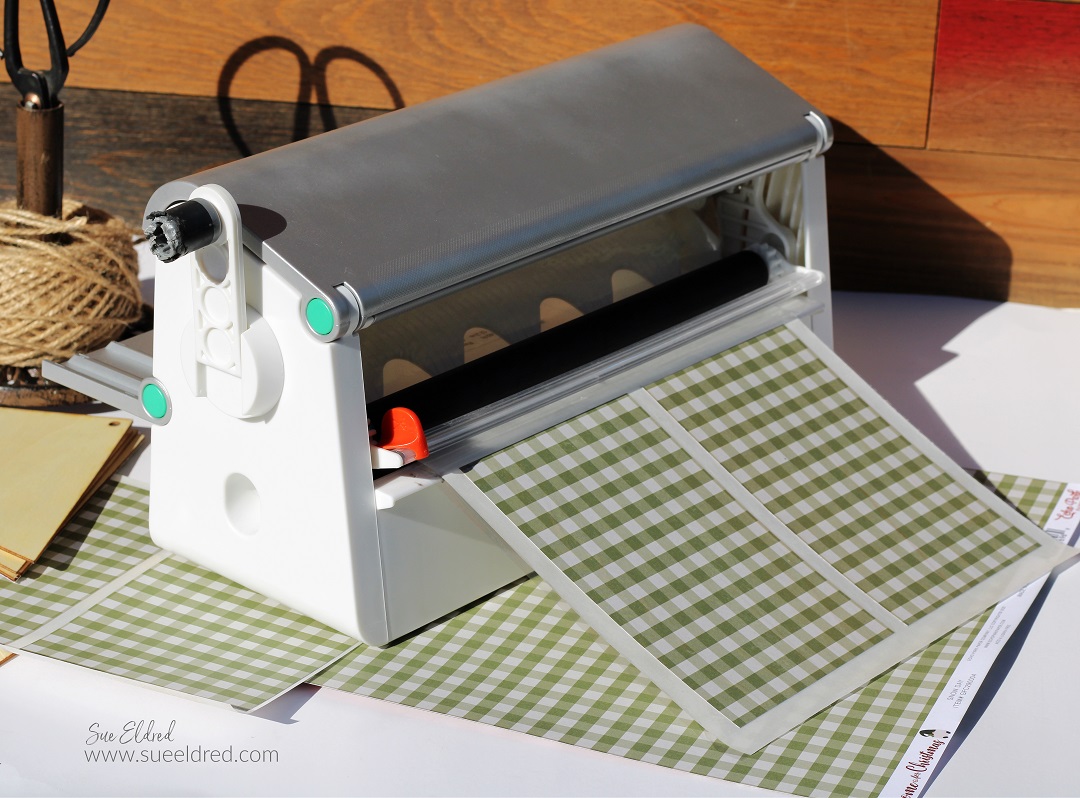
Album Making Tip: I like to use my Xyron Creative Station* to add adhesive to my paper before sticking it onto the matboard. It adds a complete adhesive layer with puckering or wrinkles.

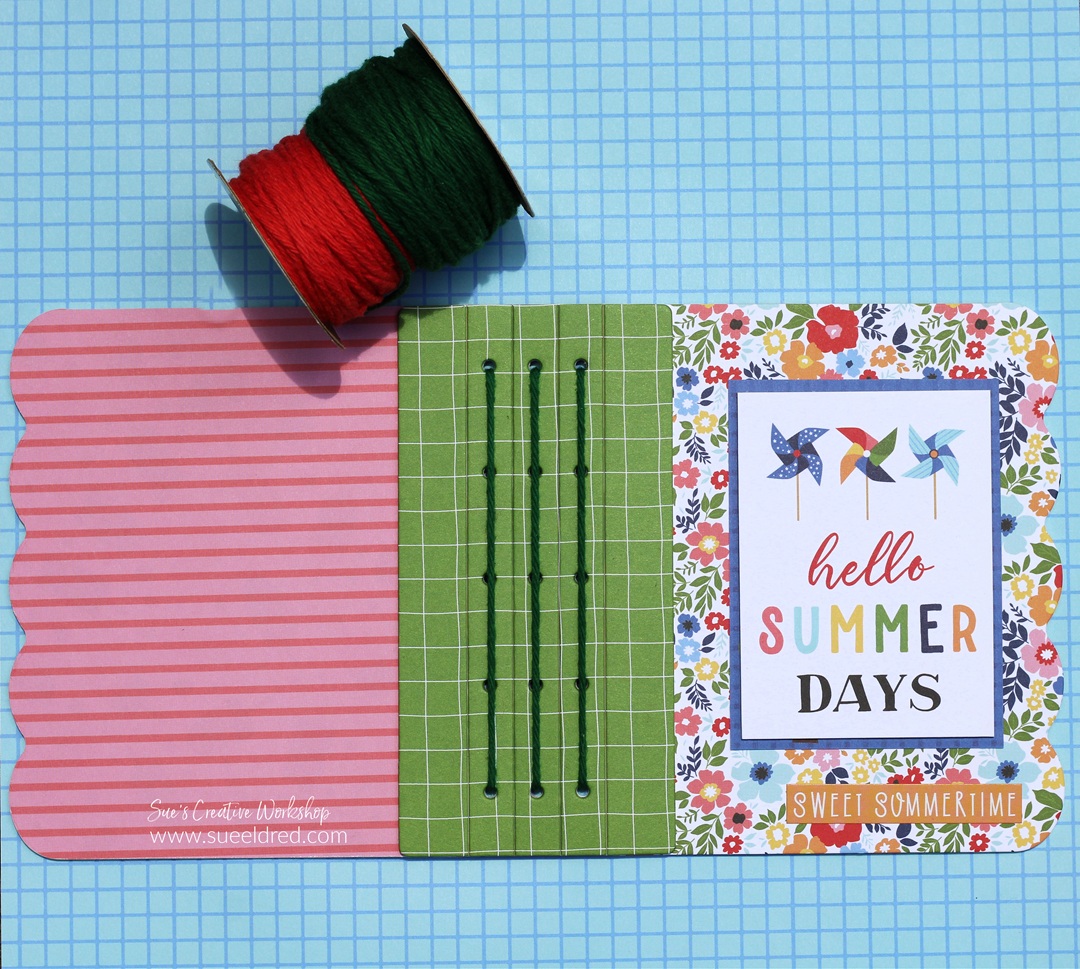
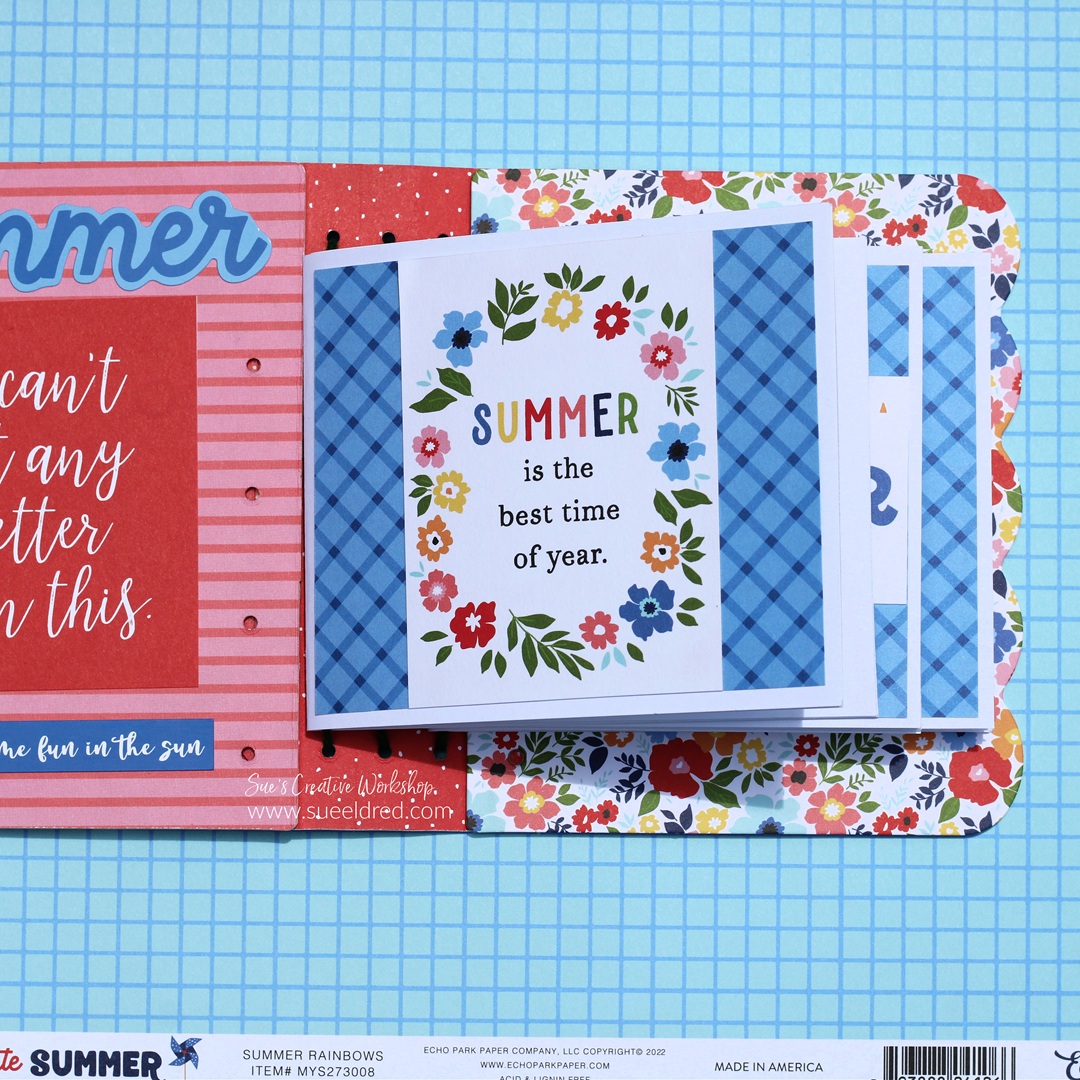
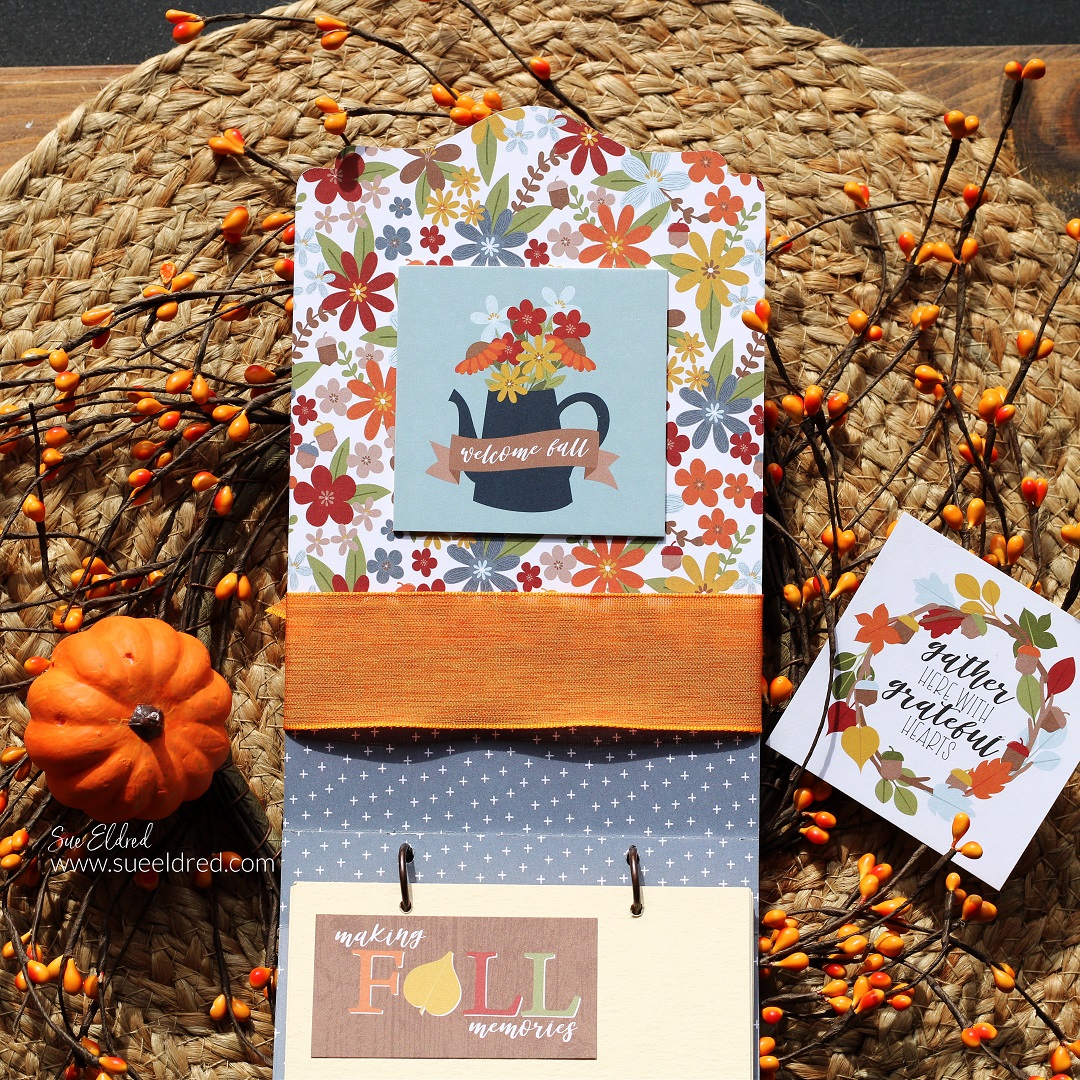
Here’s a picture of the album when it’s open.
- On one end, I left the flap in tack, I use it to corral the mini-albums in the center of the spine.
- On the other end, I cut the flap down and created a pocket to hold a small removable album.
- I used Rapid Fuse Adhesive* with the matboard to adhere to the pocket pieces. It not only dries extremely fast, but it holds well too.
(I apologize, there are too many details to write a full tutorial on the album.)

- I used Blue and White Twine to attach the three small albums to the spine.
- Each little album has several blank pages to add pictures and journaling.

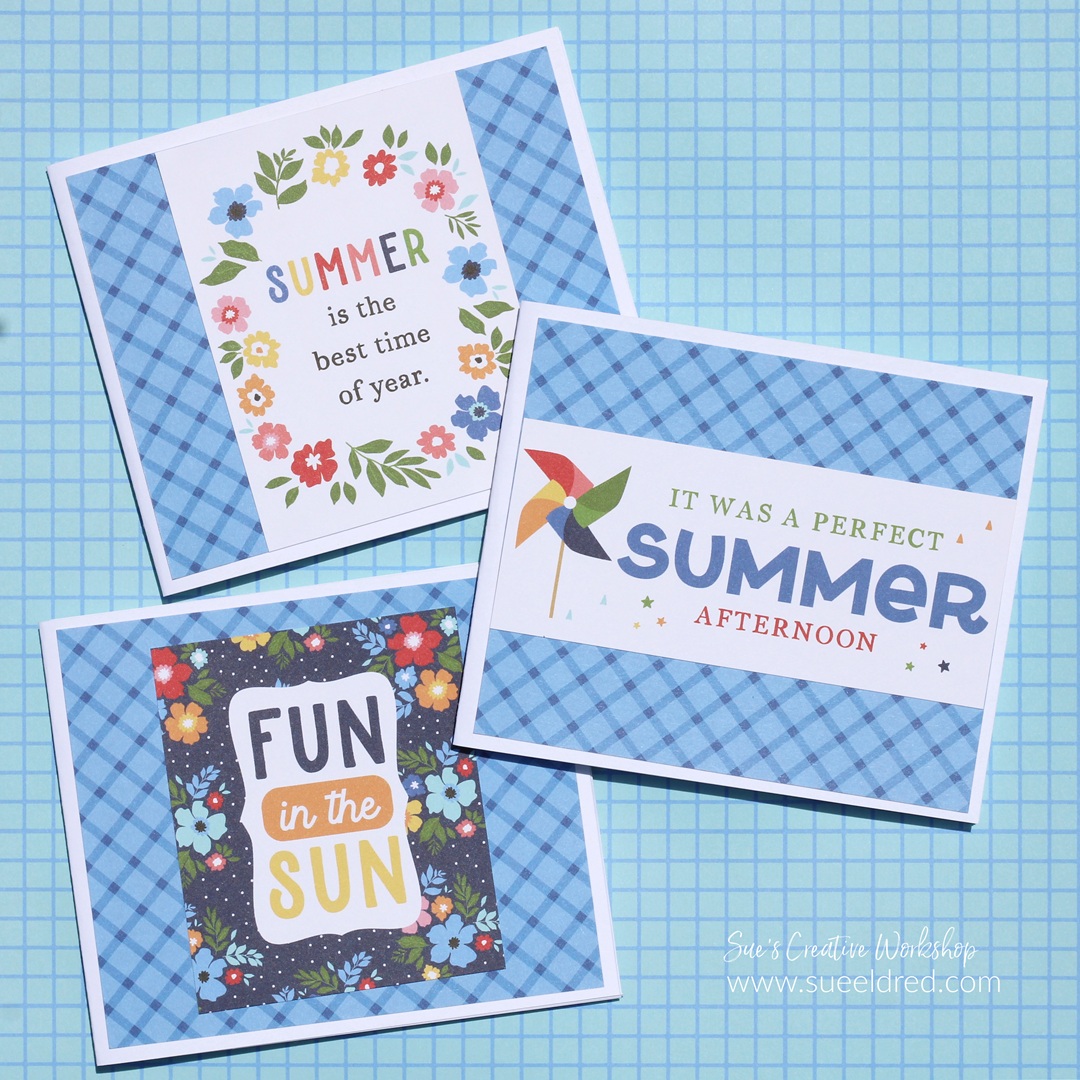
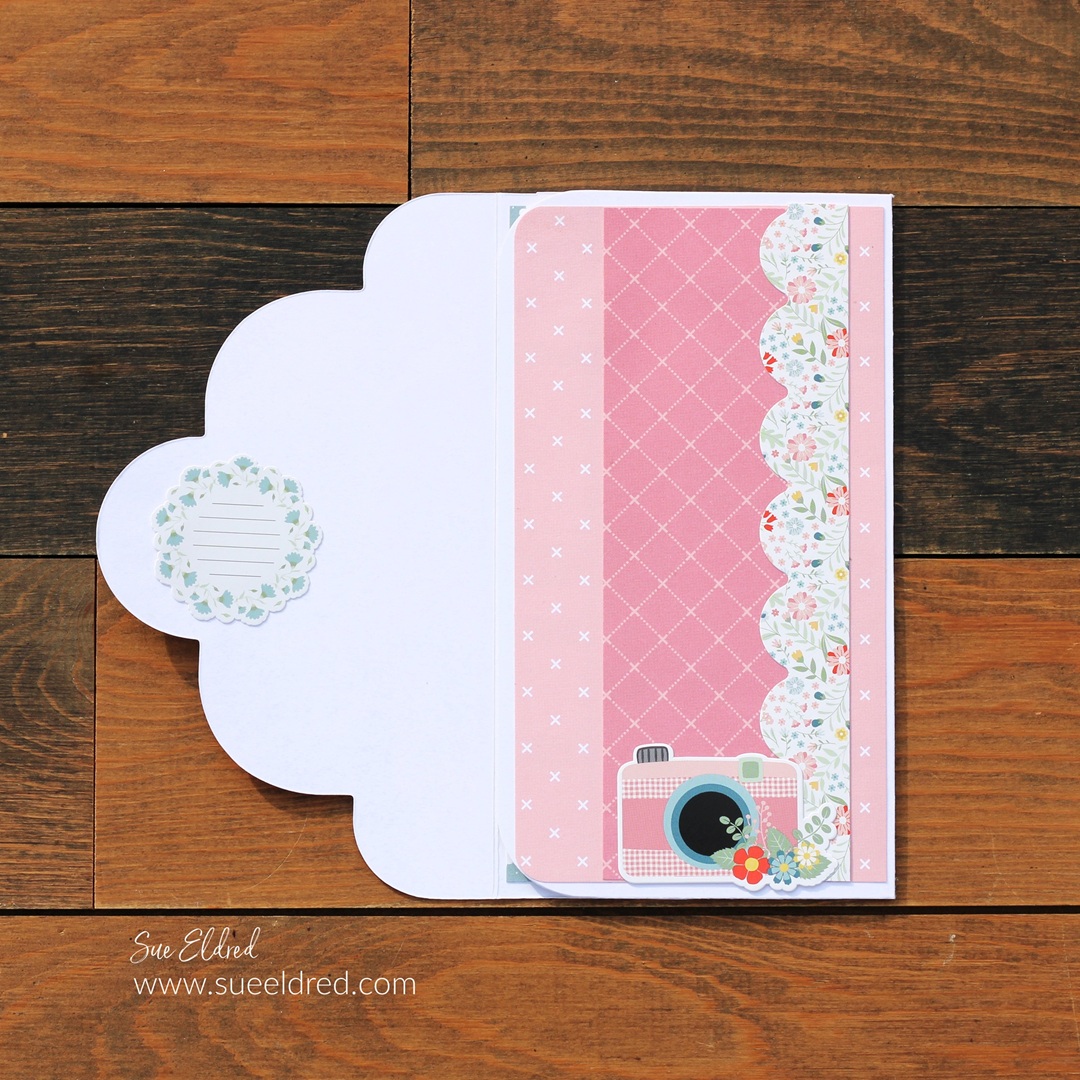
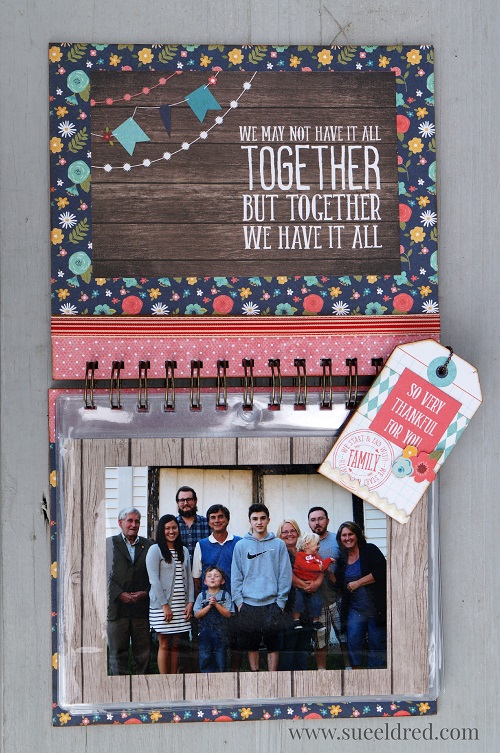
Here is a close up picture of the back pocket.
The Mini-Album easily slips in and out of the pocket.
There is plenty of room in the pocket for adding pictures or a second small album.

Would you like to Win my Winter Fun Folio Album?
There are several ways to enter.
- Leave a comment on this post telling me you’d like to win.
- Follow, Like and Comment on my Facebook Page
- Follow, Like and Comment on my Instagram Page.
- US Addresses Only.
Winner will be chosen: Wednesday, February 9, 2021
Welcome to the Chapter 1 Eileen Hull/Sizzix Release Party Blog Hop!
Please hop through the blogs and be inspired by the work of the talented Inspiration and Educator teams. Leave a comment for each designer (list below) and, you could win a Folio Journal die (as soon as it arrives!)
Join Eileen and special guests for a Facebook Live on Wednesday, February 3rd at noon Eastern. Comment on the Facebook Live and be eligible to win either the Mandala Die or the Folio Pages, Pockets and Flowers Die. (two winners!)
Winners will be announced on Eileen’s Facebook Live show on February 9th at 6:00 EST.
We appreciate your love and support, friends!