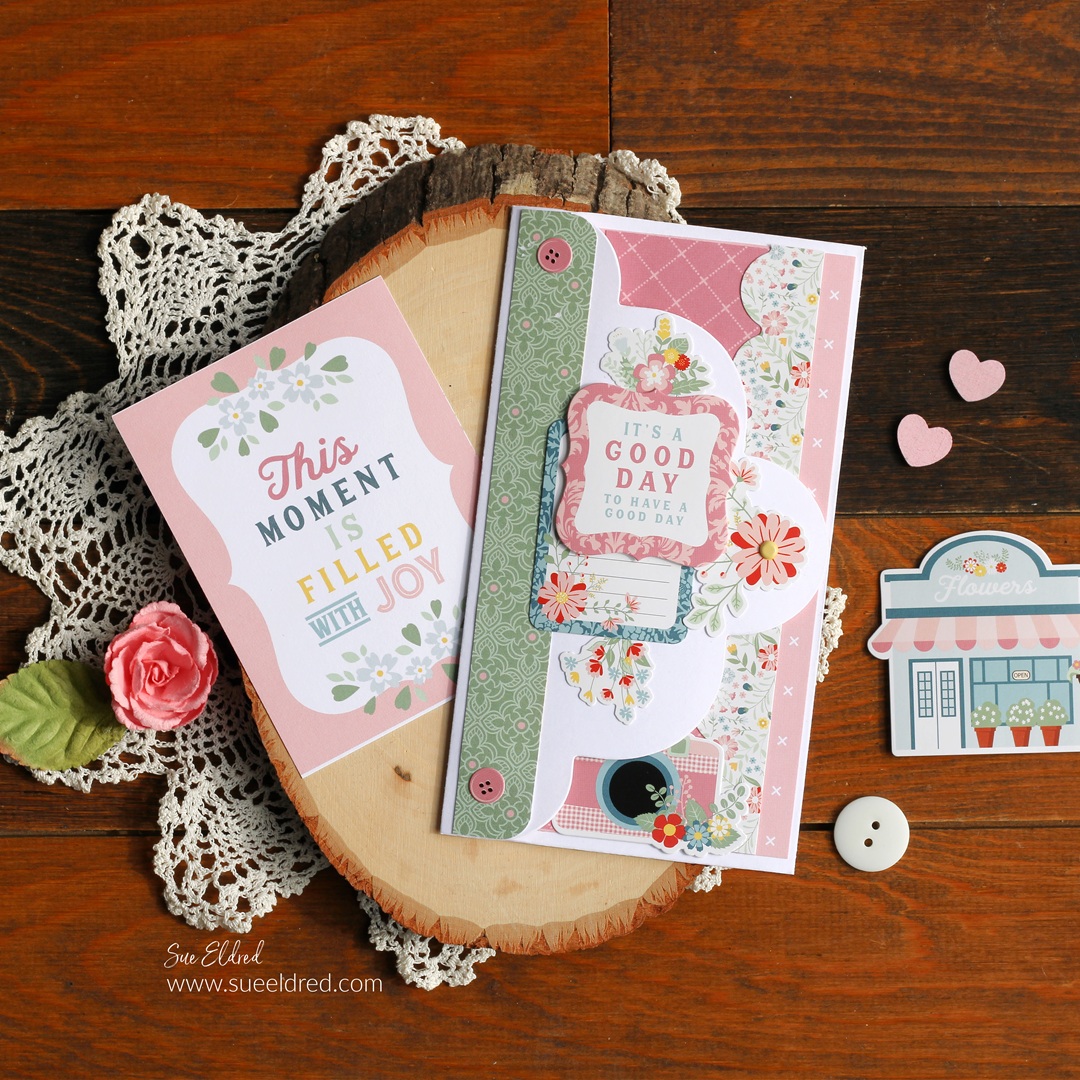
Life is Beautiful Tri-Fold Tag Card

How to Make a Simple Tri-Fold Card Using a Large Tag.  

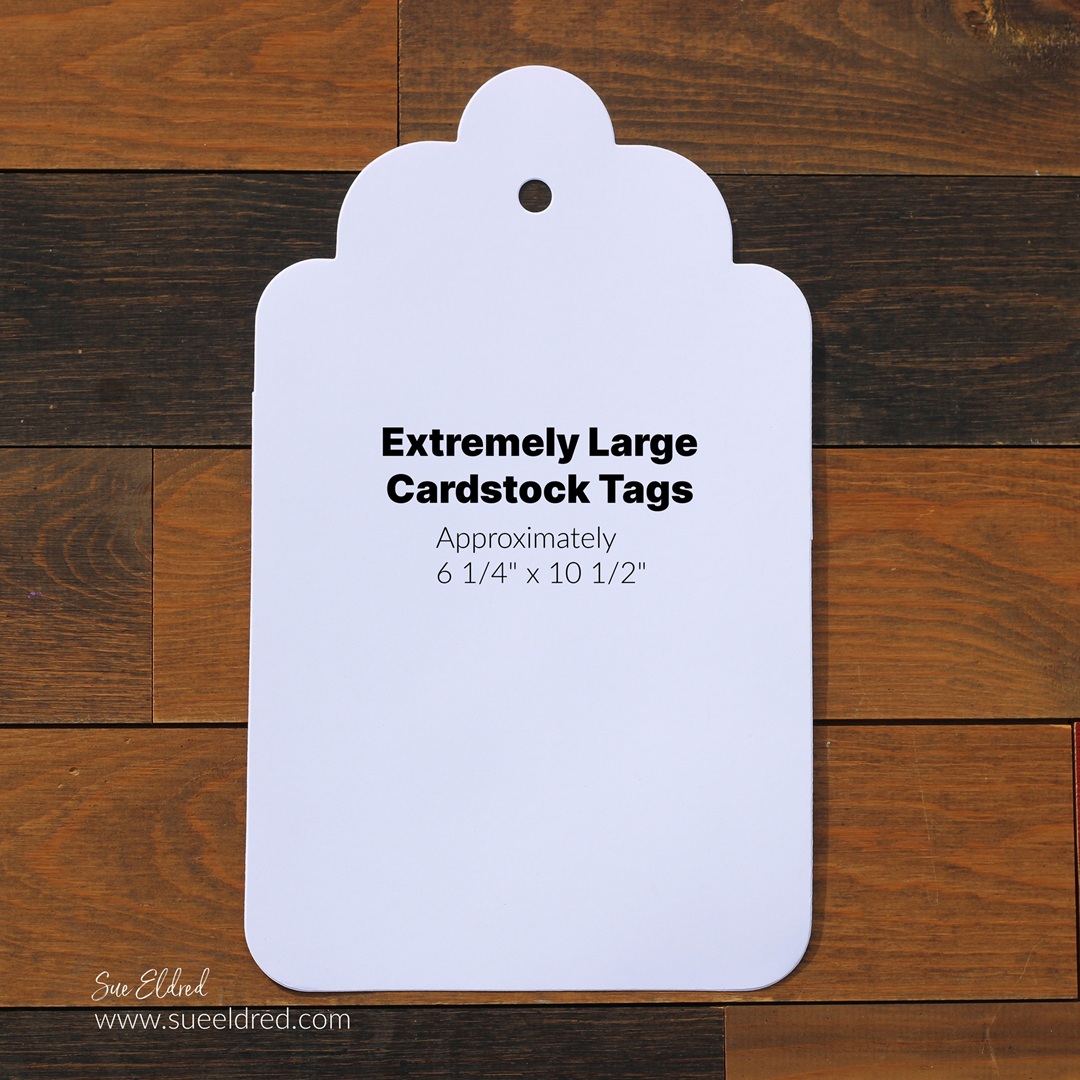
I was playing around in my studio when I encountered my oversized tag die.

I hadn’t used it in a while, so I decided to make a tri-fold card.

(I love it when something old becomes new again.)

(The Die Cut Tag measures approximately 6 1/4″ x 10 1/2″.)

To create the tri-fold card…

I die-cut the large tag using a piece of white cardstock.

You can find the Extremely Large Tags* in my Etsy Shop*.

Amazon prime

*Disclosure:  This blog uses ads and affiliate links.  If you choose to make a purchase using one of the links, I receive a small commission (at no additional cost to you) that helps offset the costs of maintaining this blog.  Thanks for your support!
I used a scoreboard and scoring tool* to score the tag lengthways

at 3 1/2″ and 7″ and folded it in three sections.

I grabbed my Echo Park’s Life is Beautiful Scrapbook Collection*

and got to work decorating the first fold of the tag.

I used a corner rounder punch* on one end of the layers.

I made sure to cover up the hole of the tag with a sticker.

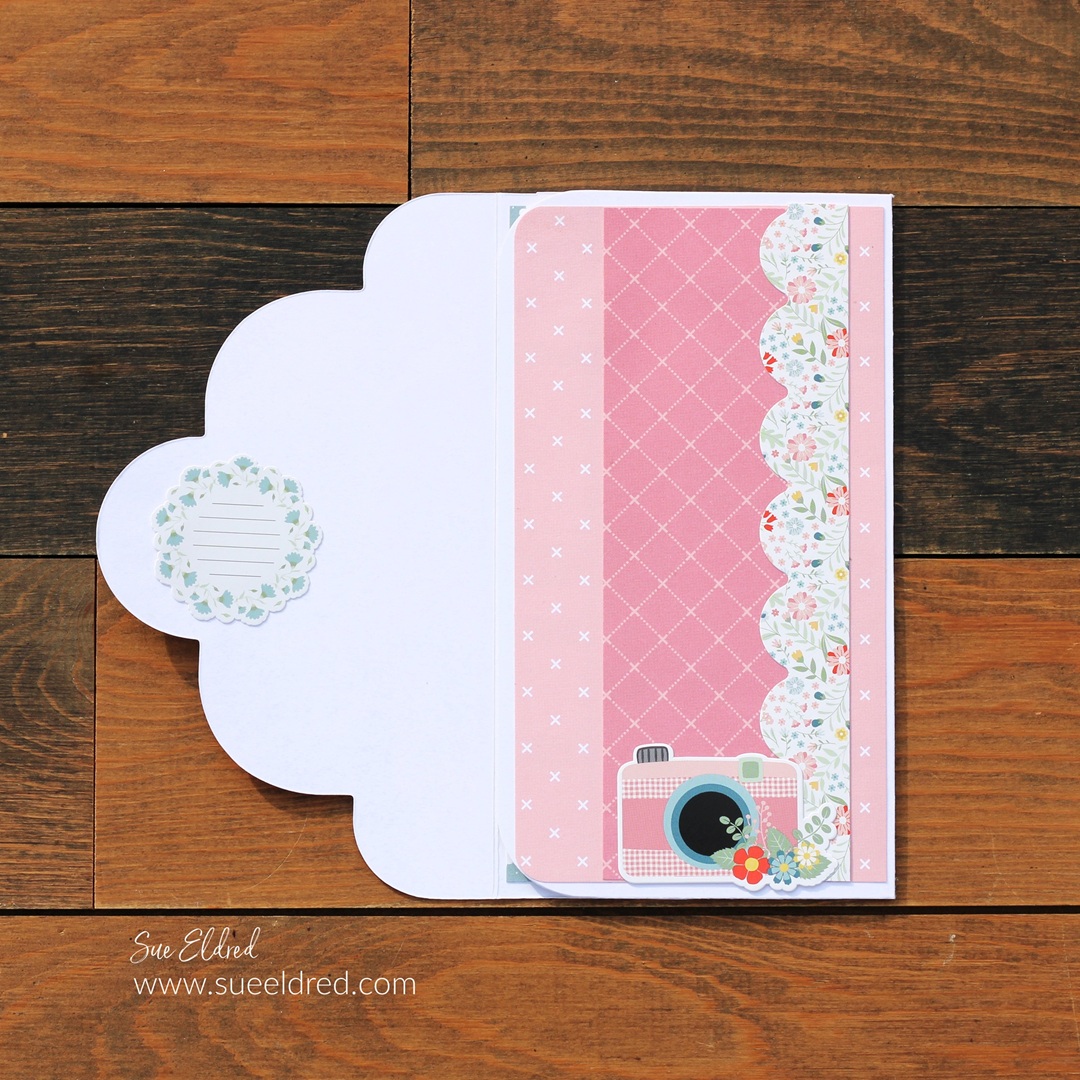
I kept the inside of the folded tag simple with simple layers,

a couple of stickers and a journaling card from the collection.

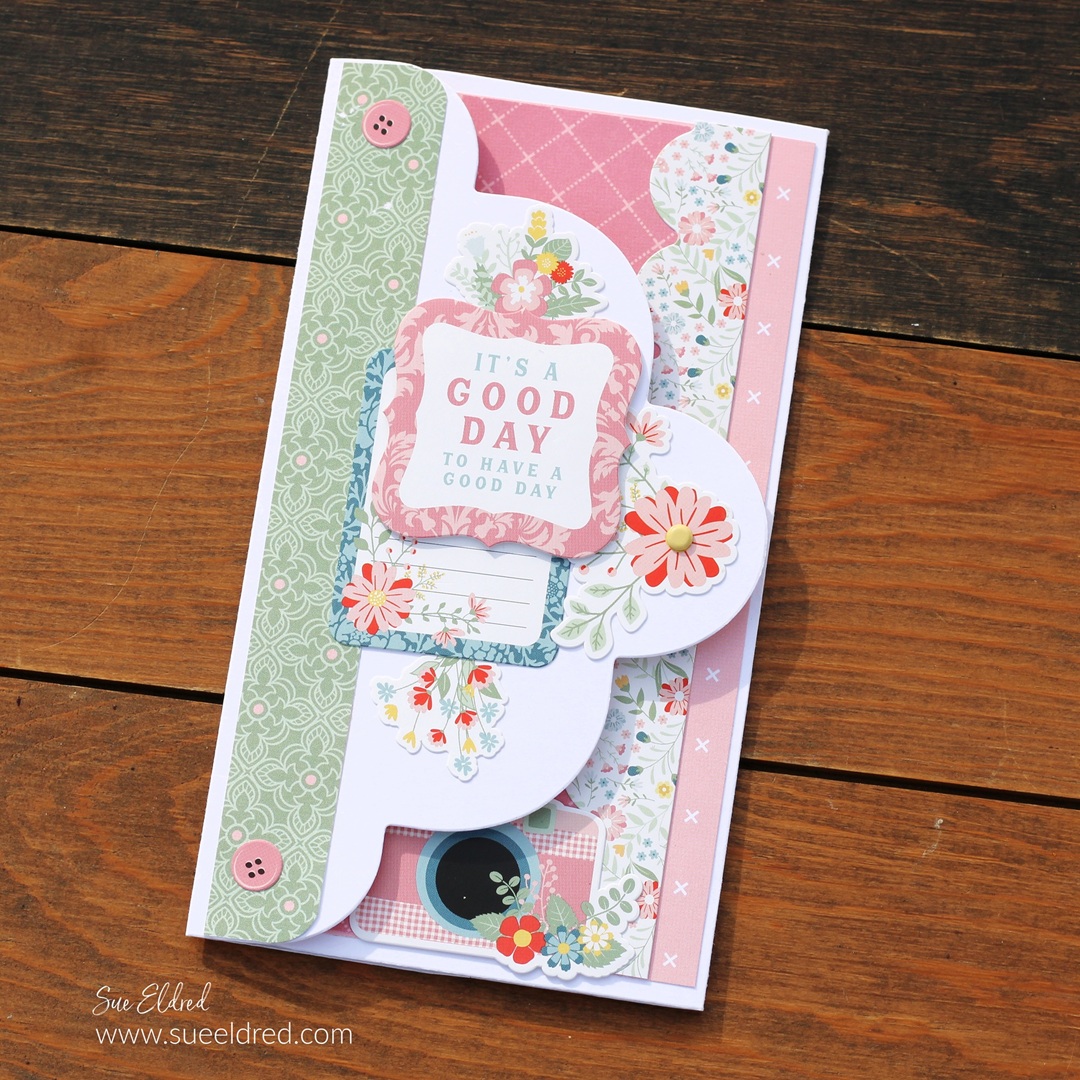
On the front of the tag, I used stickers mounted with

foam mounting squares* to create dimension.

And…you can mail the trifold card in a letter sized envelope.

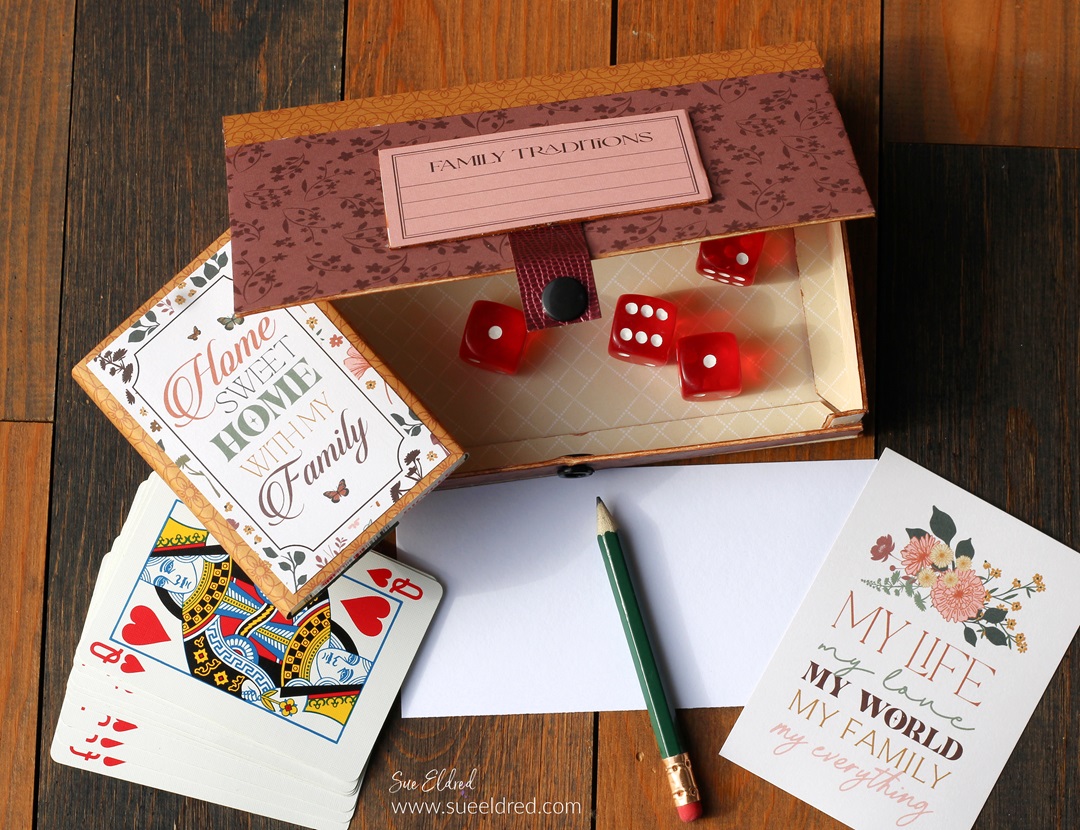
Family Game Night DIY Mini Storage Box

Family Game Night

The people in my family love to play games.

When we get the whole big group together for a Family Dinner,

someone usually brings out the dice.

Everyone crowds around the table, and we play a game or two.

Dice is one of their favorite games because even young kids can play along.

(that is until they get bored and leave)

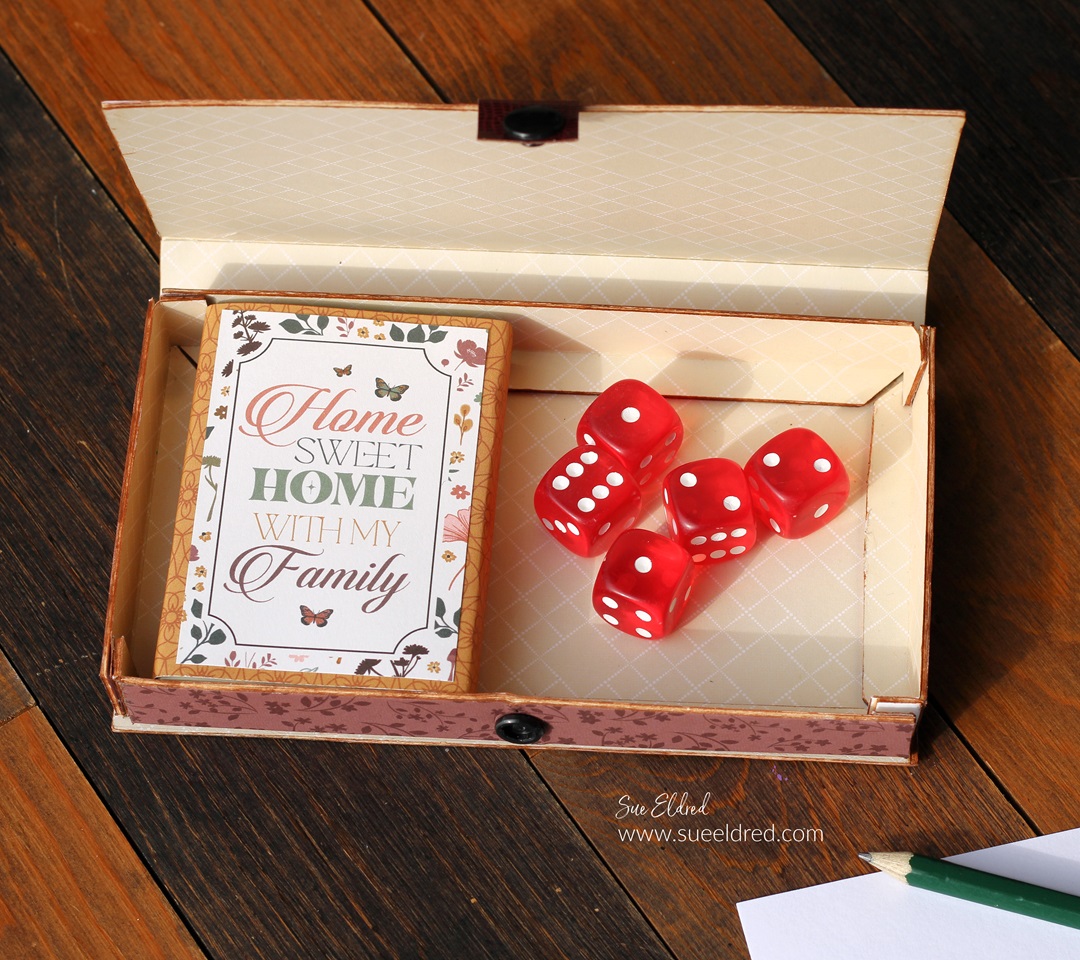
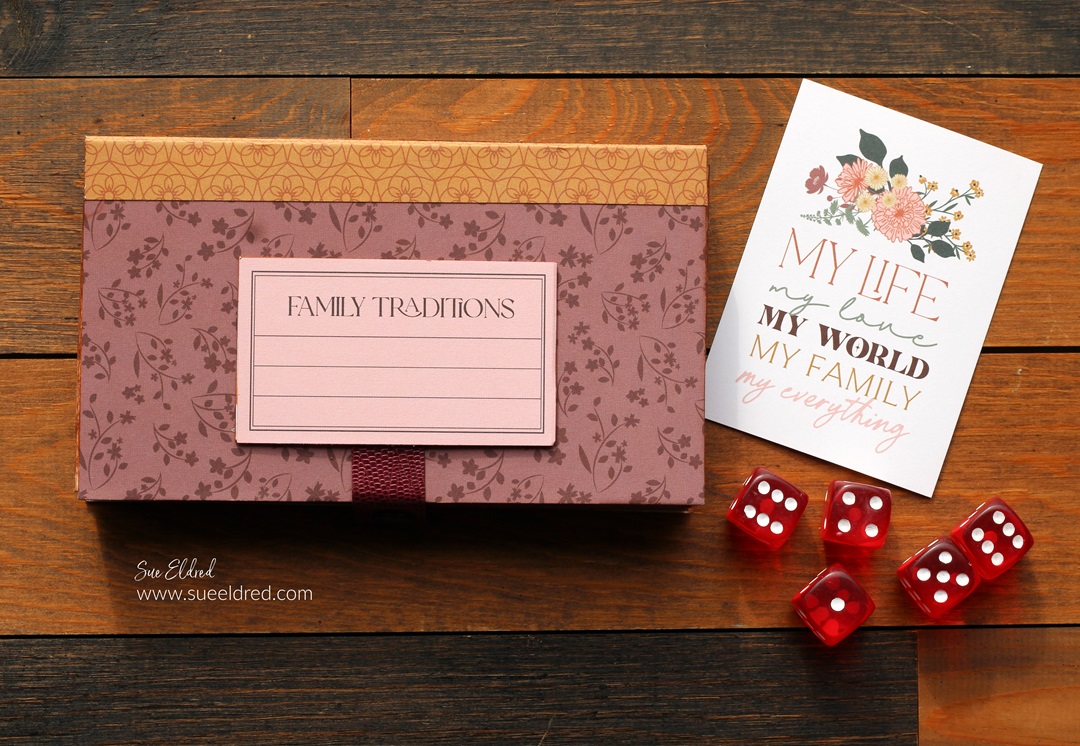
For fun, I made a small box just the right size for holding

a deck of cards and a set of dice.

Inside the box, there is enough space to add a small pencil

and paper for keeping score.

To Make the Box: 

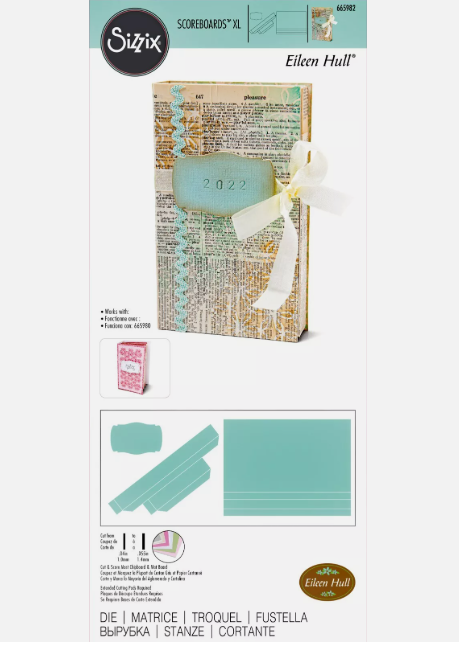
  • Gently fold the scored edges and tabs of the mat board.
  • Adhere the box together using 3/8″ Scor-Tape*.
  • If the white core of the mat board bothers you, go around the edges of the mat board with a brown marker to hide the white core.

*Disclosure:  This blog uses ads and affiliate links.  If you choose to make a purchase using one of the links, I receive a small commission (at no additional cost to you) that helps offset the costs of maintaining this blog.  Thanks for your support!

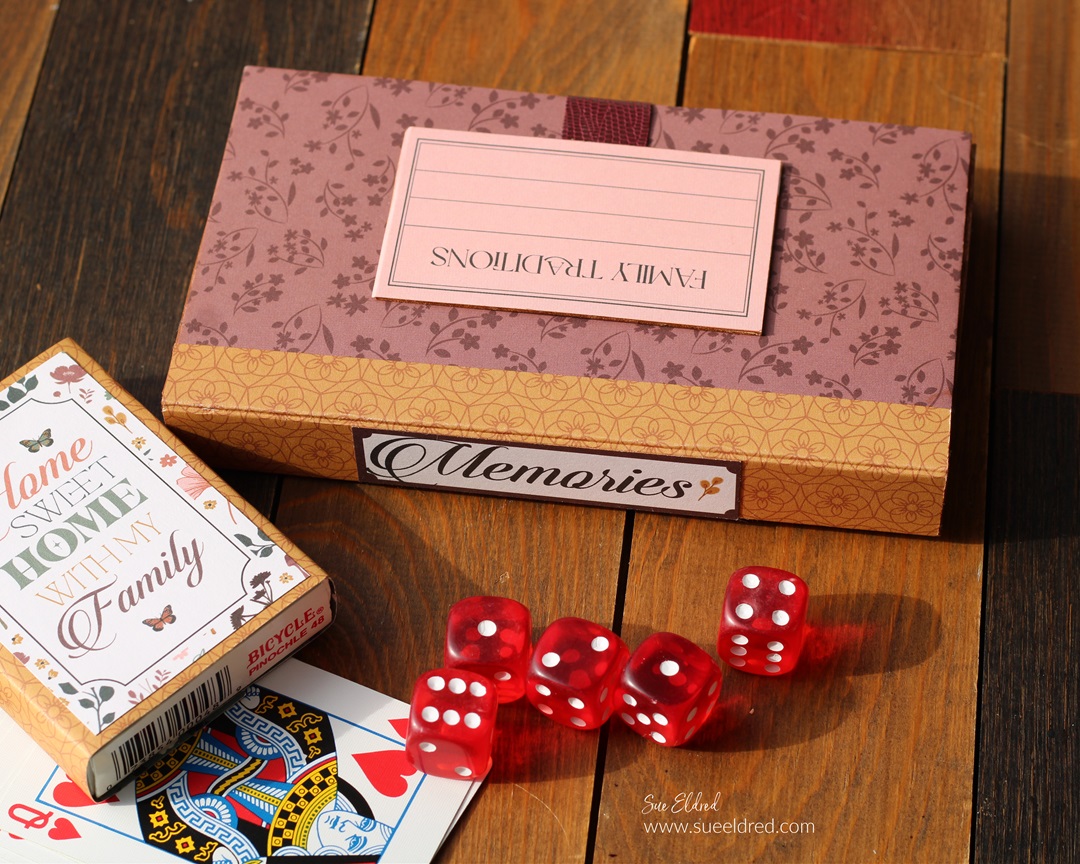
I added the word “Memories to the spine of the box.

Isn’t making memories what it’s all about?

I used a strip of faux leather paper, and a simple snap to

hold the box closed when not in use.

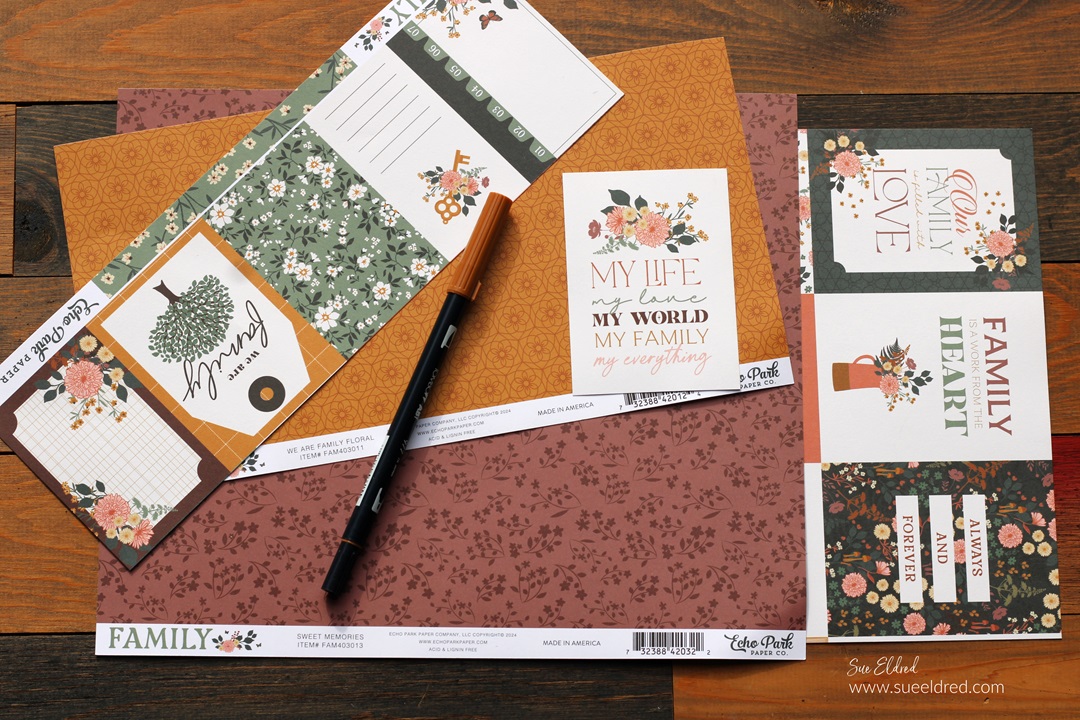
Materials Used:  (*affiliate links)

Shop Tombow

The Puppy Love Album is another project that I made

using the Skinny Mini Book Box Die*.

You can see more here.

Eileen Hull Educator Logo

Disclosure:  This is a sponsored post.  As a member of the Eileen Hull Inspiration Team, I have been provided product in exchange for my creative ideas.  The view and opinions are my own.

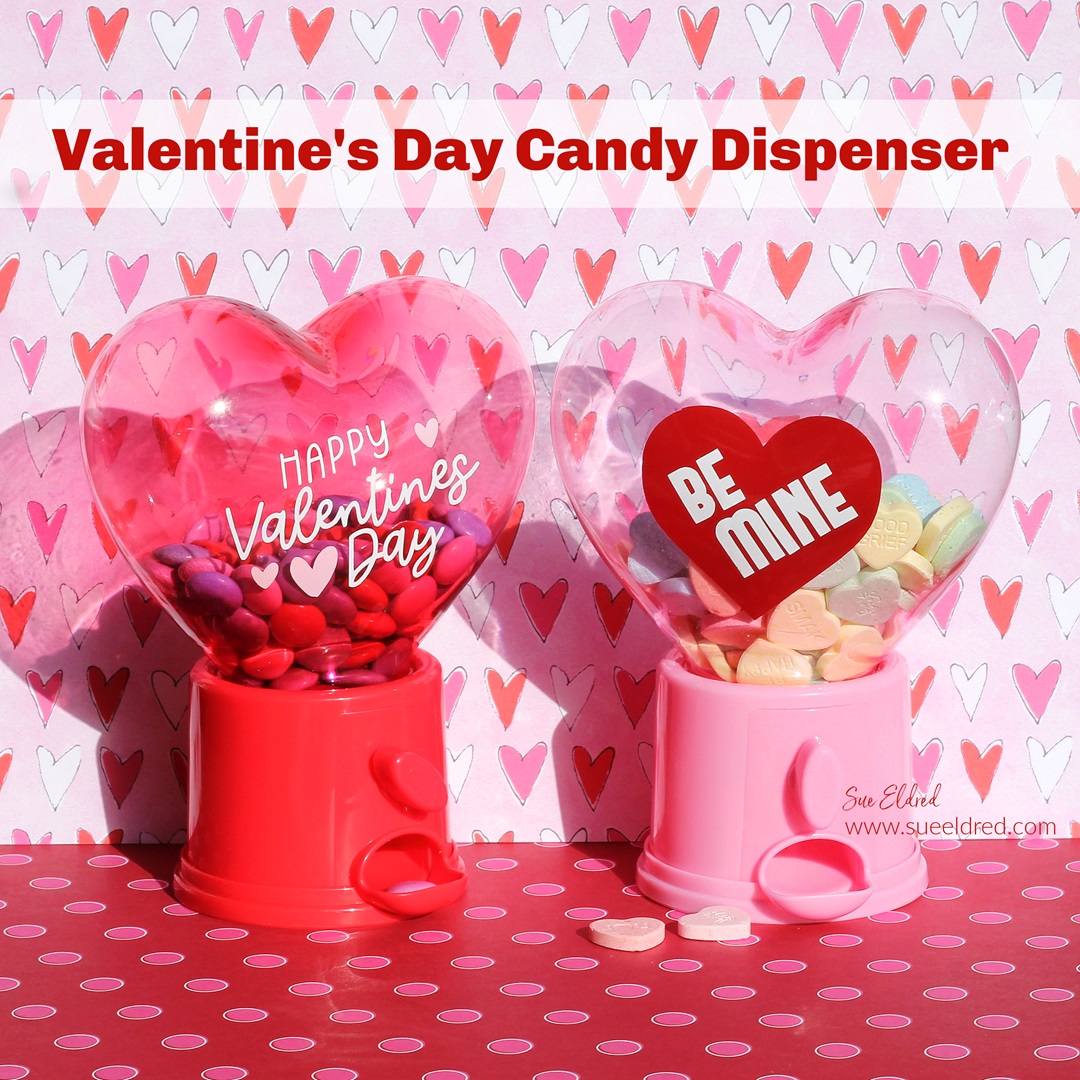
Valentine’s Day Candy Dispenser

Valentine's Day Candy Dispenser

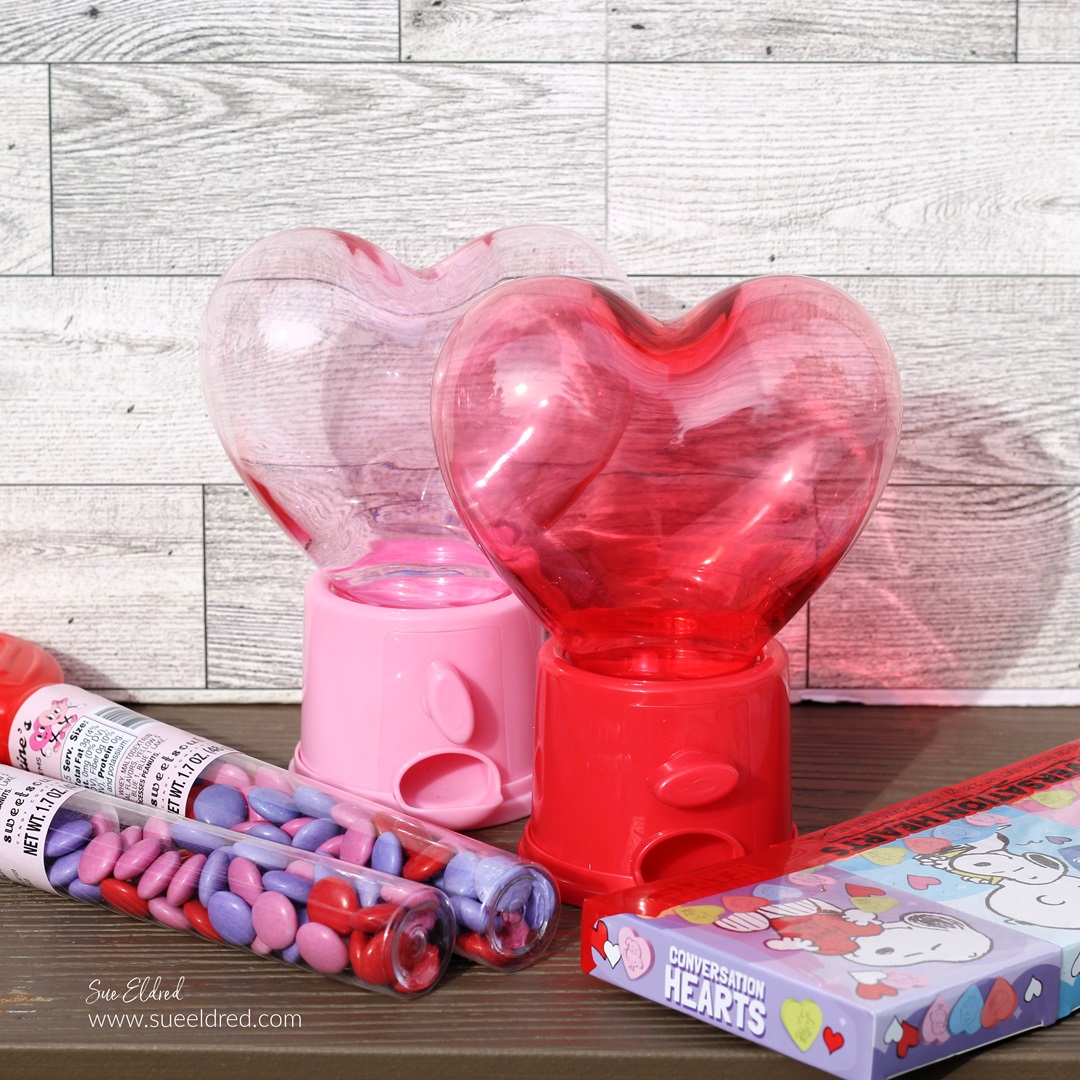
Dollar Tree Heart Candy Dispensers

Using Dollar Tree* items and StyleTechCraft Vinyl*,

you can create an adorable, simple,

and inexpensive Valentine’s Day Treat Dispenser.

They make a fun little gift.

“This is a sponsored post.  As a member of the StyleTechCraft Design Team I have been provided product and compensation in exchange for my creative ideas.  The views and opinions are my own.
Valentine's Day Candy Dispensers

While at my local Dollar Tree* the other day, I found

these adorable Candy Dispensers.

I knew they wouldn’t last long there, so I grabbed a couple.

(FYI…they also have Easter Candy Dispensers*.)

Disclosure:  This blog uses ads and affiliate links.  If you choose to make a purchase using one of the links, I receive a small commission (at no additional cost to you) that helps offset the costs of maintaining this blog.  Thanks for your support!

Valentine's Day Candy Dispensers

I decided to make these cute little dispensers even cuter

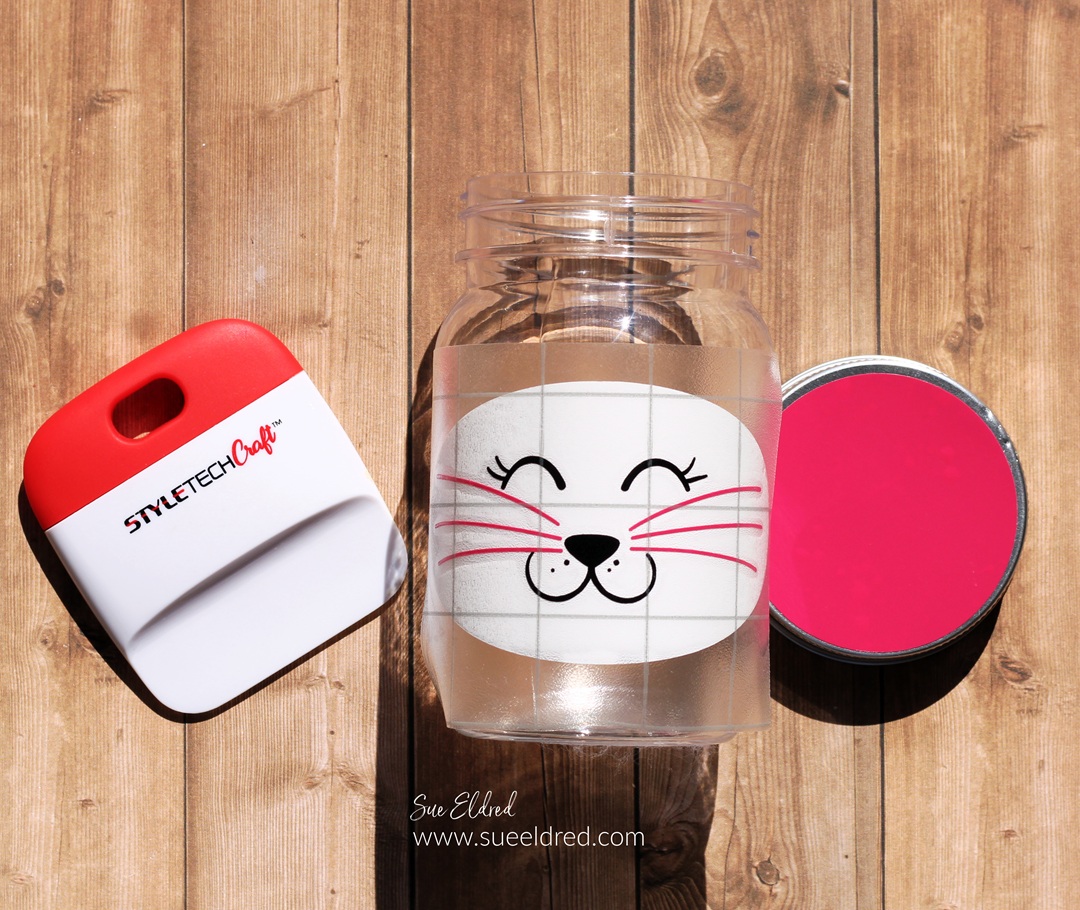
with the help of StyleTechCraft Glossy Craft Vinyl*. 

Valentine's Day Candy Dispenser

Materials Used:  (*affiliate links)

Directions:

StyletechCraft products brought to you by ATSM Craft*

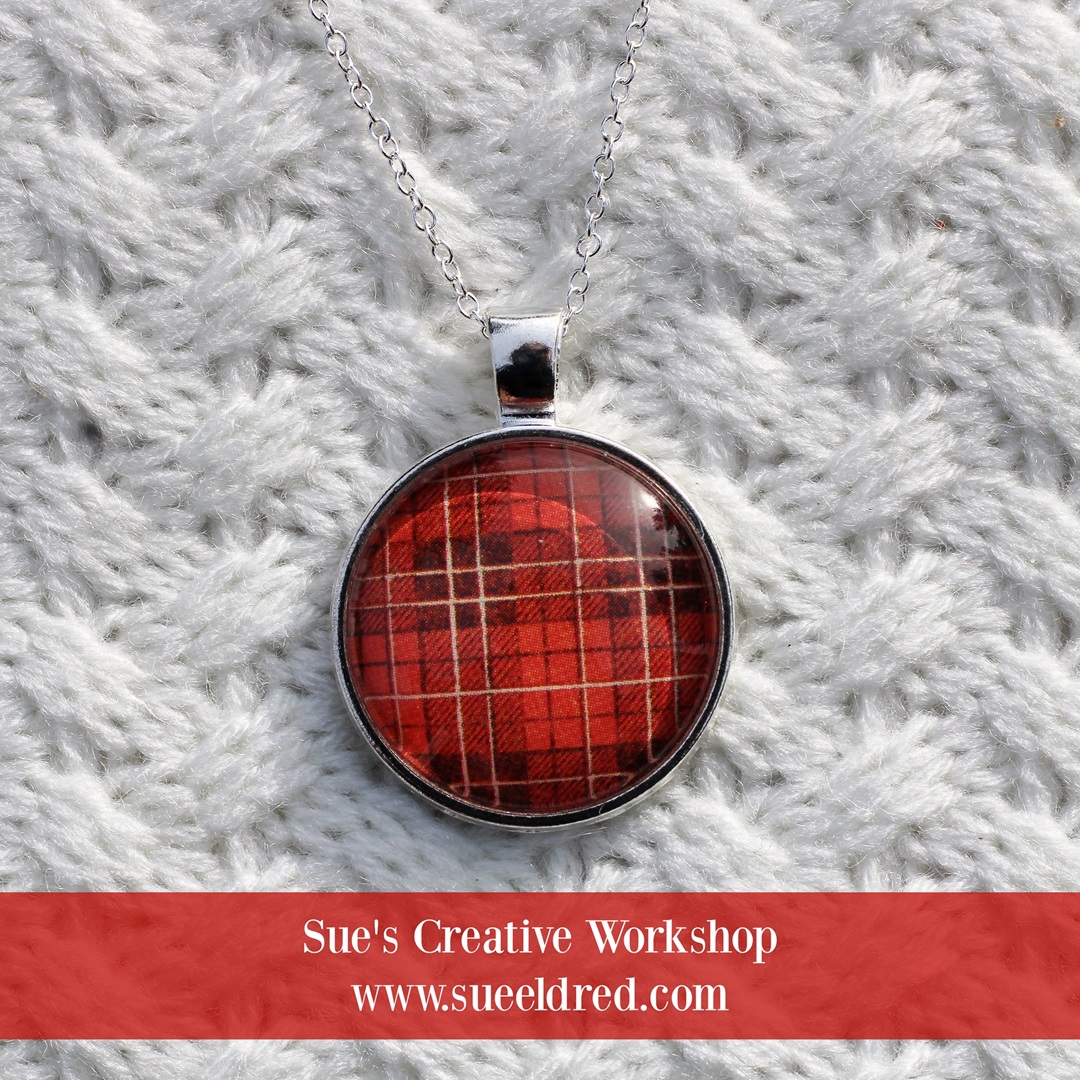
Quick and Easy Holiday Necklaces

Quick and Easy Holiday Necklaces-Sue's Creative Workshop www.sueeldred.com

How to Make a Quick and Easy Holiday Necklace

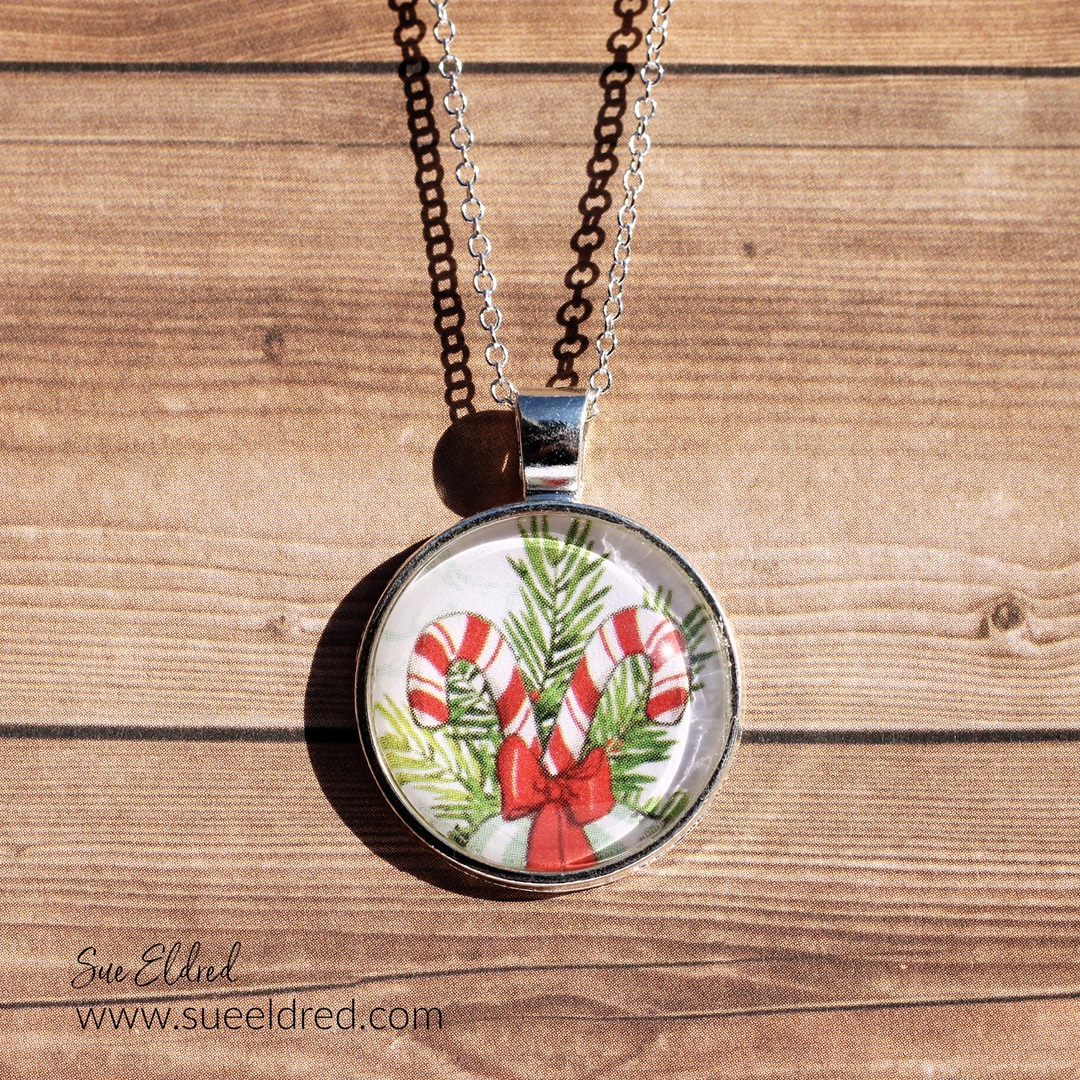
Looking for an easy and inexpensive Holiday Gift?

These necklaces are super easy to make.

You can also use this technique with small photos for personalized jewelry.

Or you could use the pendant base as an album embellishment or charm.

Materials Used:  (*affiliate links)

This quick drying Liquid Gloss is perfect for adding an impressive touch to creations. This crystal-clear high gloss glaze dries hard

Amazon prime

You can find Jewelry Blanks on Amazon Prime!

*Disclosure:  This blog uses ads and affiliate links.  If you choose to make a purchase using one of the links, I receive a small commission (at no additional cost to you) that helps offset the costs of maintaining this blog.  Thanks for your support!

Quick and Easy Red Plaid Holiday Necklace-Sue's Creative Workshop www.sueeldred.com 7499

Directions:

  1. Remove grease or fingerprints from the glass dome using an Alcohol Wipe*.
  2. Place a small amount of Sizzix Effectz Liquid Gloss* on the back of the glass dome.
  3. Place the dome onto the scrapbook paper. Rub the dome around the image to remove any bubbles under the glass.
  4. Allow 5-10 minutes for the liquid gloss to dry.
  5. Cut around the dome with scissors.
  6. Add a small amount of liquid gloss to the base of the pendant and place the dome inside.

3D Snowflake Christmas Trees

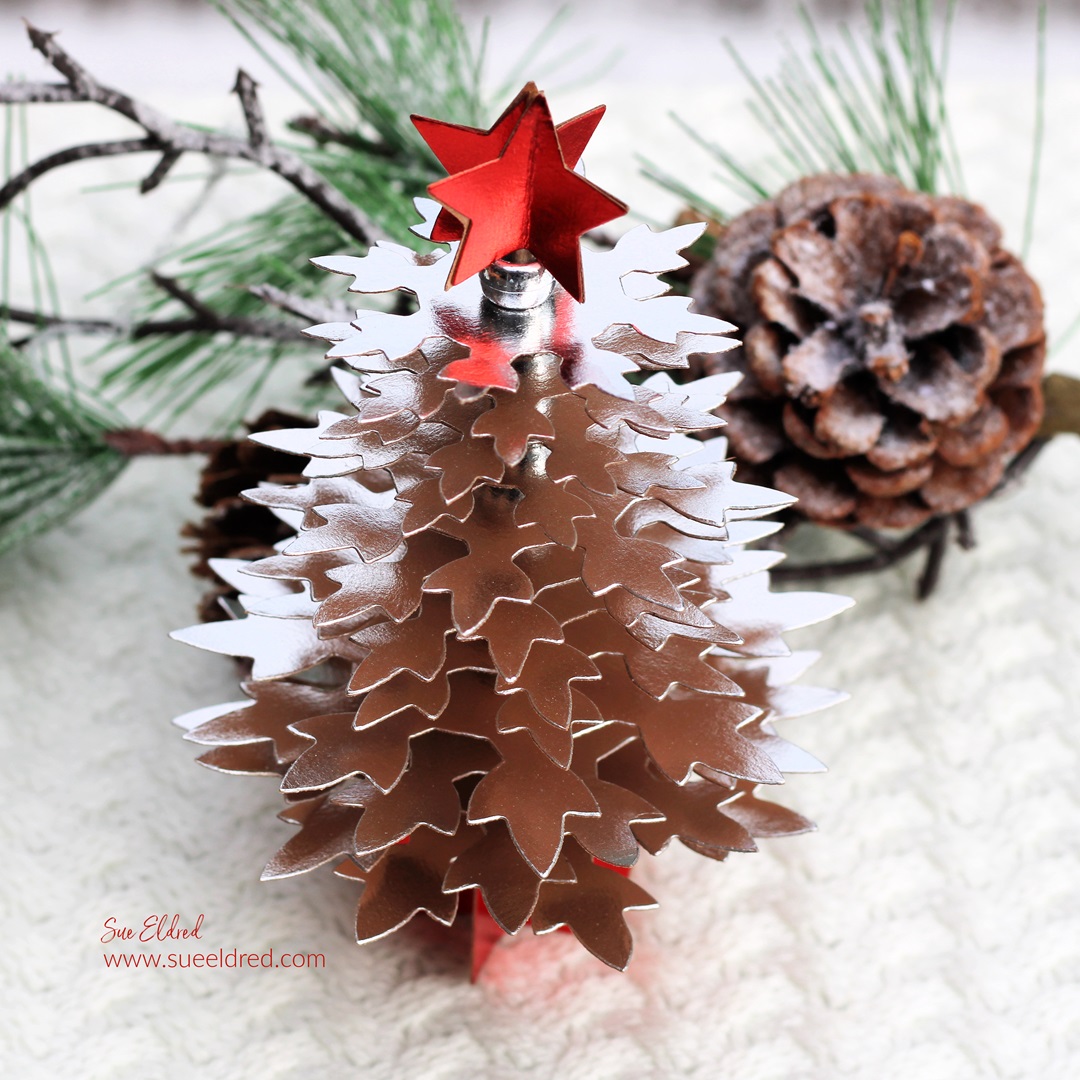
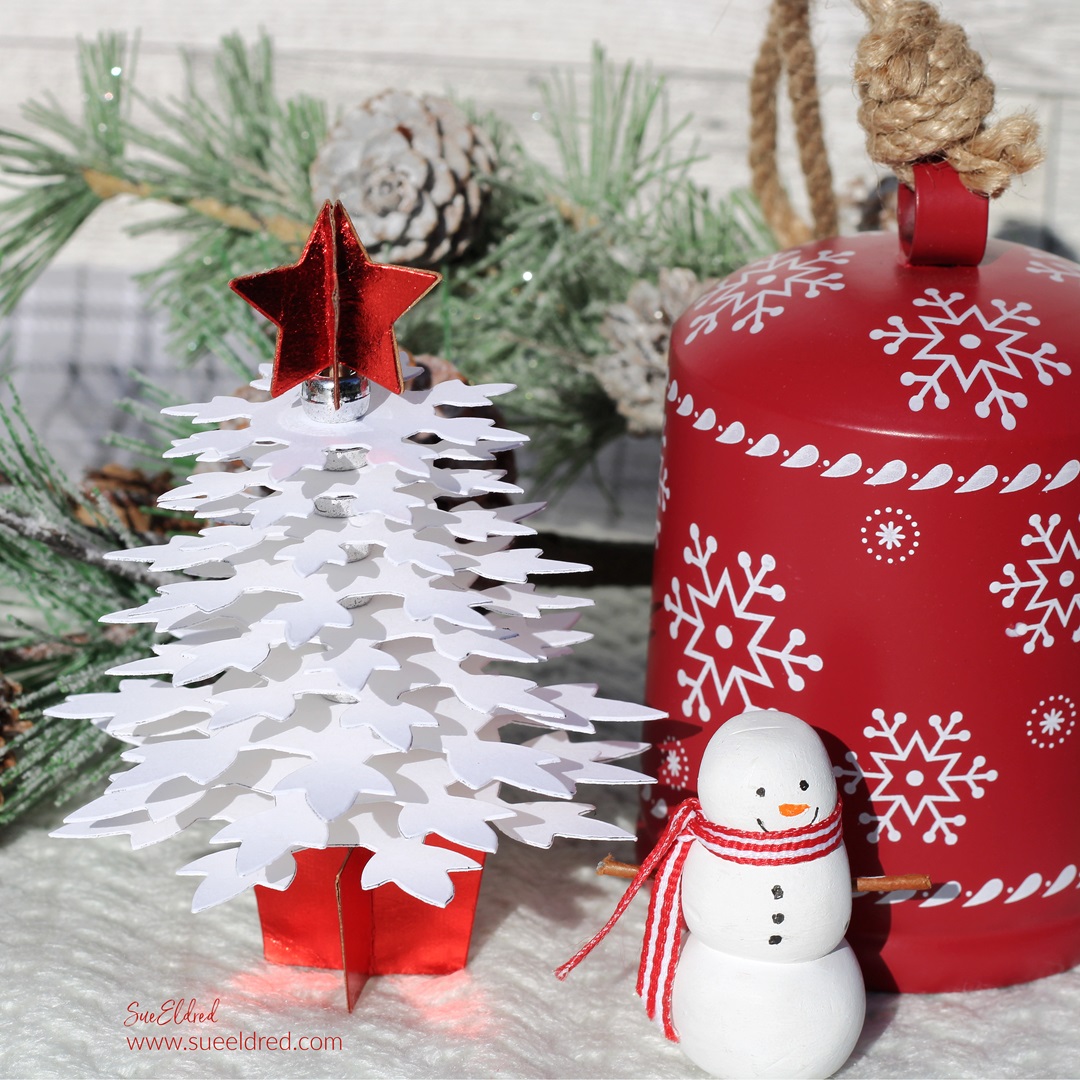
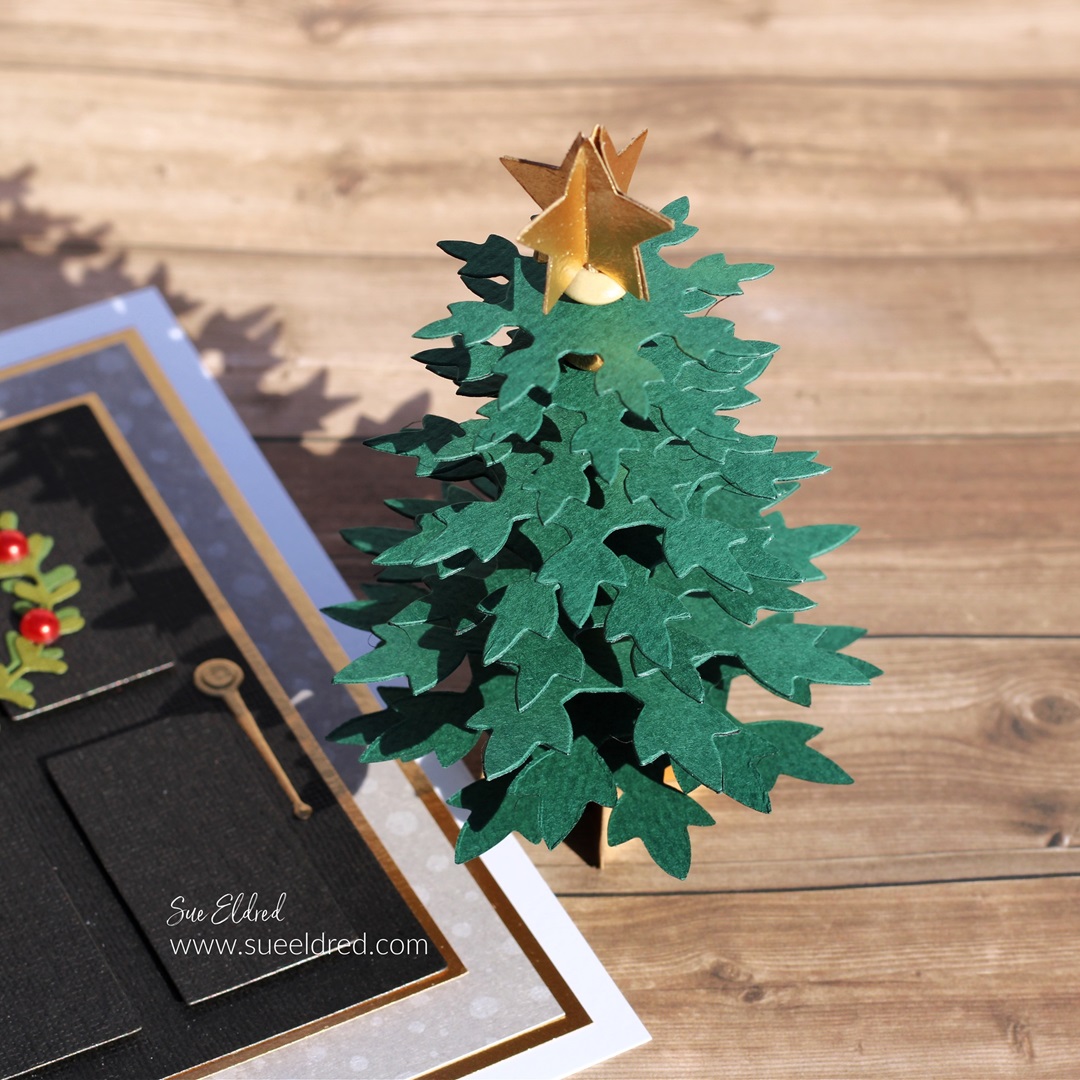
3D Silver Snowflake Christmas Tree

How to make 3D Snowflake Christmas Trees.

One of my favorite new Christmas Dies this year is the

3D Snowflake Christmas Tree Die* from Sizzix.

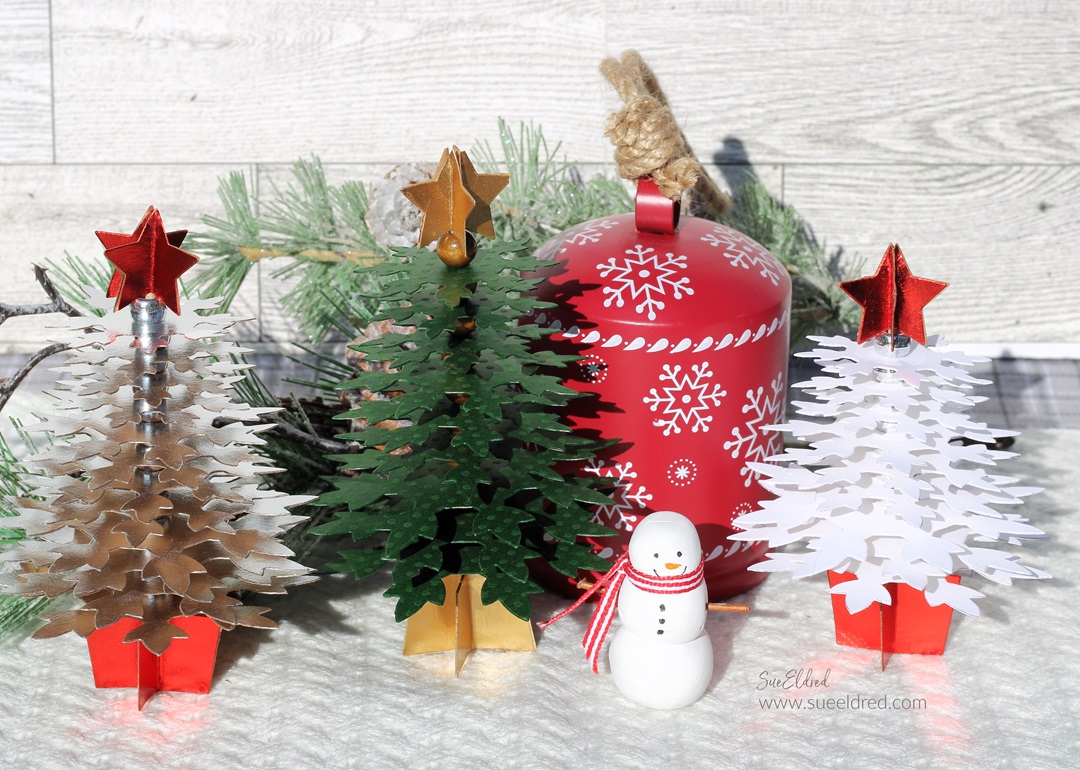
The trees are so easy to make, and you can make a variety of trees

by removing or adding snowflakes.

*Disclosure:  This blog uses ads and affiliate links.  If you choose to make a purchase using one of the links, I receive a small commission (at no additional cost to you) that helps offset the costs of maintaining this blog.  Thanks for your support!

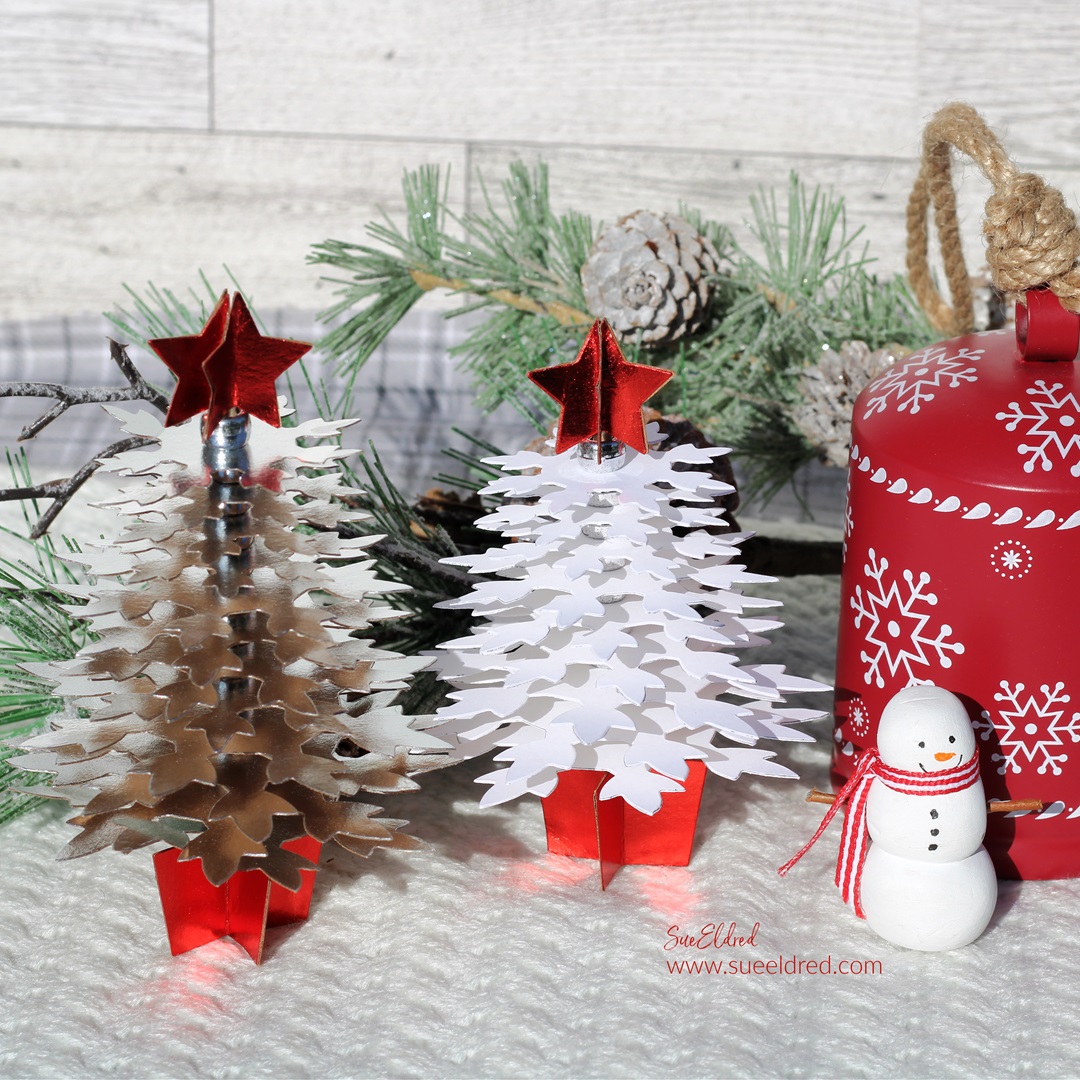
3D Silver & White Snowflake Christmas Trees

I made the retro-inspired tree using Silver and Red Metallic

Cardstock with silver beads as the spacers.  (It’s my favorite!)

These would look adorable on your Christmas table alongside each plate.

3D Snowflake Christmas Tree

To make the 3D Christmas Trees…

Materials Used:  (*affiliate links)

  1. Die-cut three sets of green snowflakes.
  2. Die-cut four sets of gold stars and the gold base.
  3. Fold the four gold stars and gold tree bases in half. Glue the four sides together.
  4. Place a little dab of glue on the bottom of the stick and place it in the center of the gold base.
  5. Add a small wood bead onto the stick and alternate beads and snowflakes.
  6. Leaving approximately ½”, cut the excess stick off the top of the tree.
  7. Add a little glue to the top of the stick and add the gold star.

3D Snowflake Christmas Trees

3D White Snowflake Christmas Tree-Sue's Creative Workshop www.sueeldred.com 7572

Add some twine to the top of the snowflake tree and hang it as a Christmas Decoration.

Joy & Noel Christmas Cards

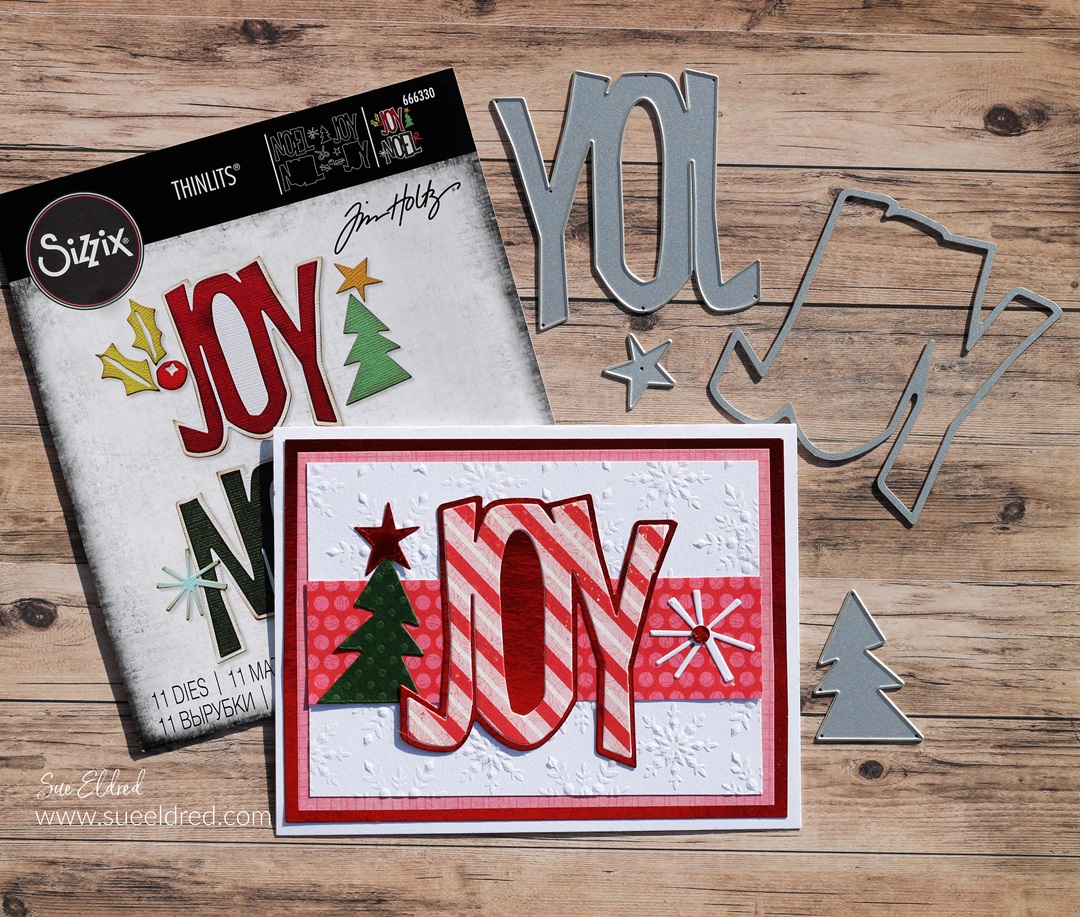
Noel Christmas Card using the Tim Holtz Big Tidings Dies by Sizzix.

Spread some festive cheer this season with cards

made with the  Sizzix Big Tidings Die Set by Tim Holtz*®!

This bold and fun sentiment die set comes with festive accents,

including holly, a Christmas tree, a snowflake, and a ribbon.

*Disclosure:  This blog uses ads and affiliate links.  If you choose to make a purchase using one of the links, I receive a small commission (at no additional cost to you) that helps offset the costs of maintaining this blog.  Thanks for your support!

Joy Christmas Card

The Joy card was one of the cards we made last month

in my Holiday Paper Crafting Workshop.

They are both quick and easy card to make when you need multiples.

(I created the white snowflake background with a Snowflake Embossing Folder*.)

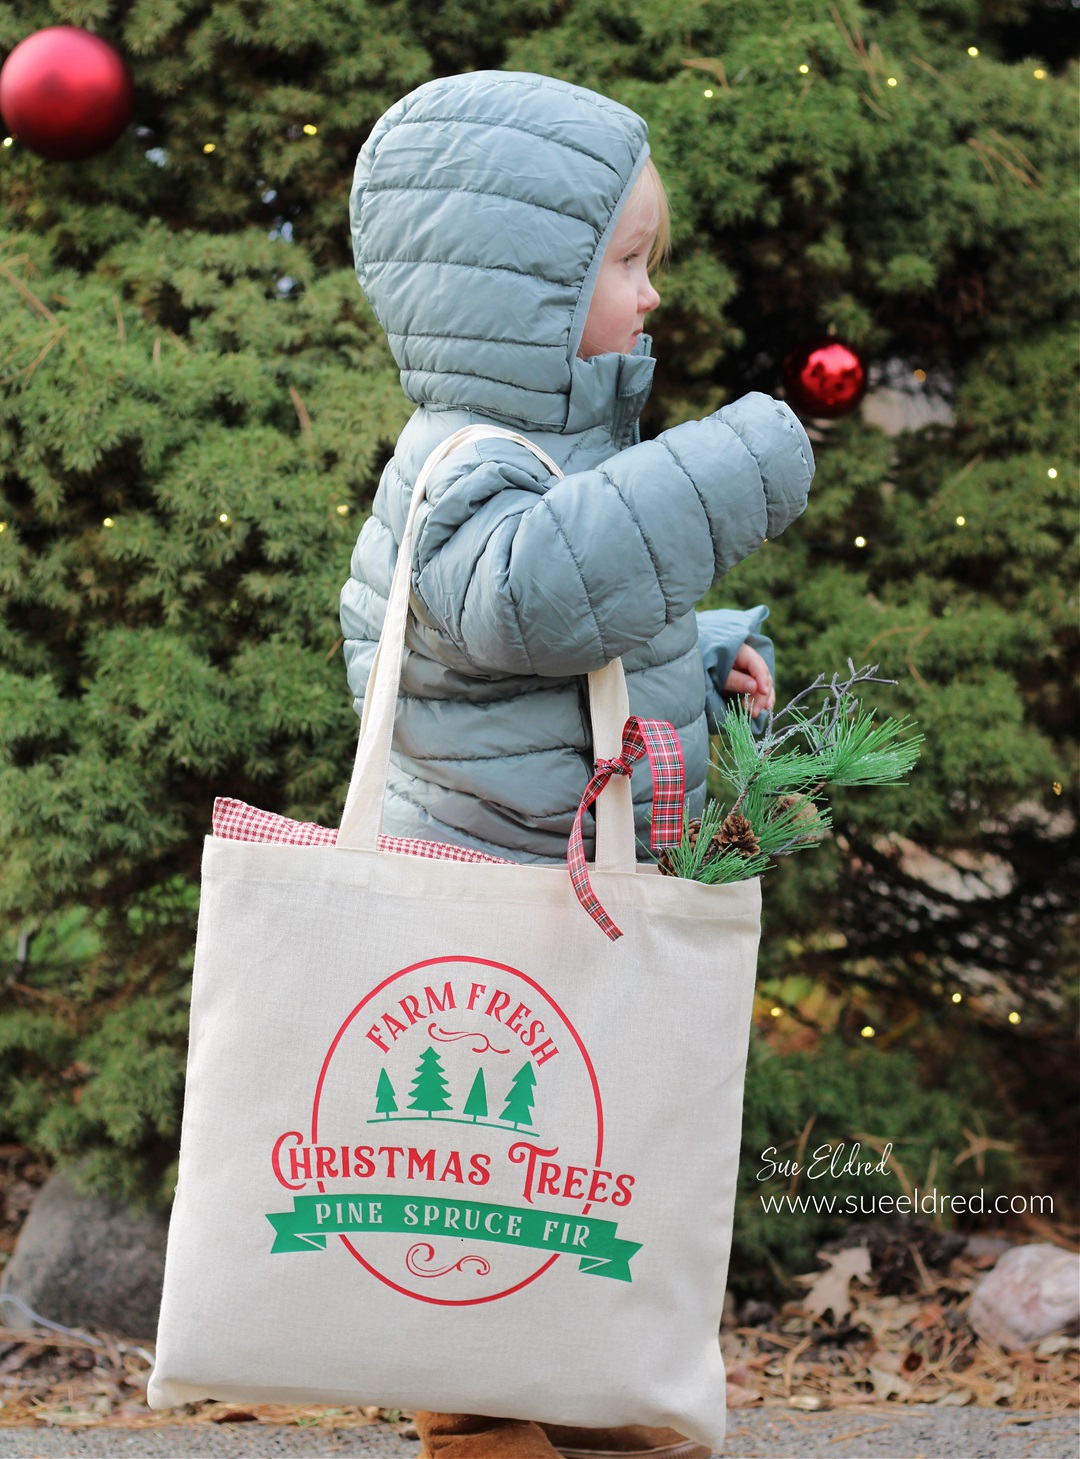
DIY Christmas Tree Reusable Gift Bag

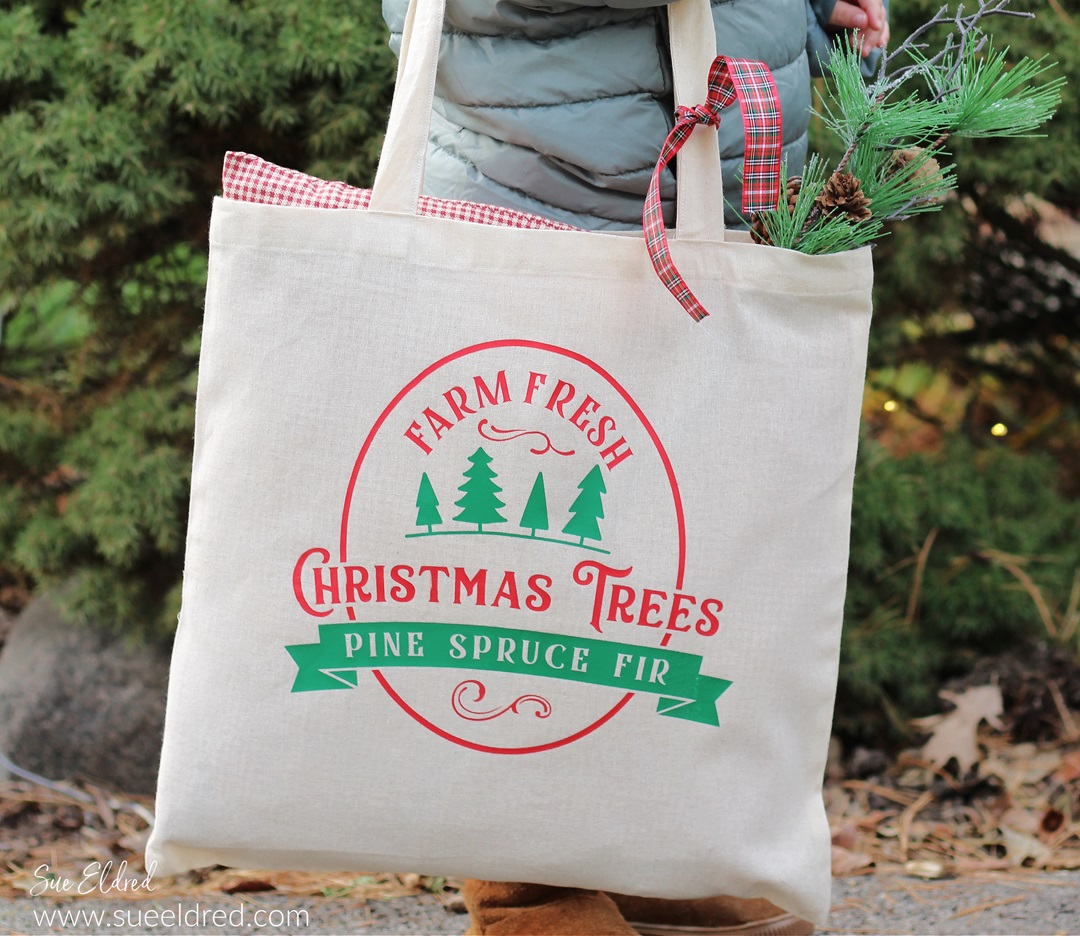
DIY Christmas Tree Reusable Gift Bag using StyleTechCraft HTV Vinyl

DIY CHRISTMAS TREE REUSABLE GIFT BAG

Are you getting ready for Christmas?

This past Thanksgiving weekend came and went so quickly.

But I am so Thankful that I got to spend it with all three

of my kids and their families.

Family Time is Priceless.

DIY Christmas Tree Reusable Gift Bag using StyleTechCraft HTV Vinyl

While she was here, I asked my sweet little Granddaughter to

model this bag that I made using StyleTechCraft’s Heat Transfer Vinyl*.

It’s made from an inexpensive cotton bag* and is perfect for

carrying gifts for all those Holiday Parties.

Or you can give it as part of the gift.

StyletechCraft products brought to you by ATSM Craft*

*Disclosure:  This blog uses ads and affiliate links.  If you choose to make a purchase using one of the links, I receive a small commission (at no additional cost to you) that helps offset the costs of maintaining this blog.  Thanks for your support!

DIY Christmas Tree Reusable Gift Bag using StyleTechCraft HTV Vinyl

DIY Christmas Tree Reusable Gift Bag using StyleTechCraft HTV Vinyl

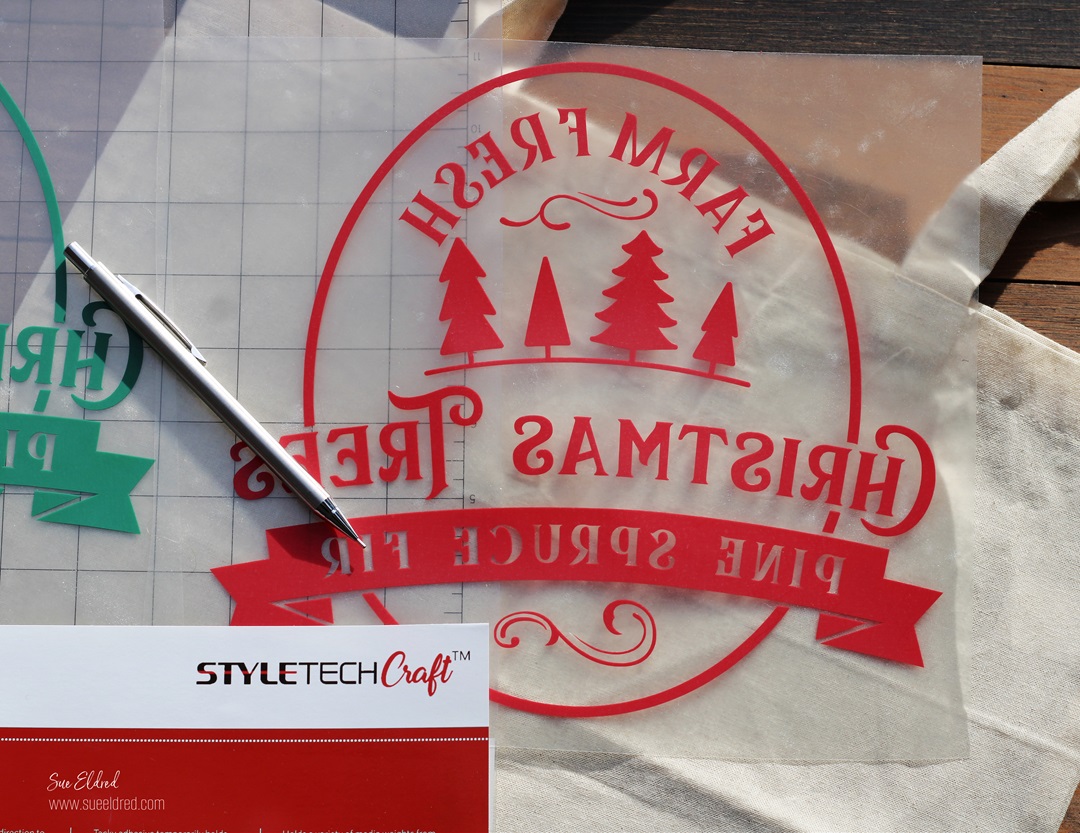
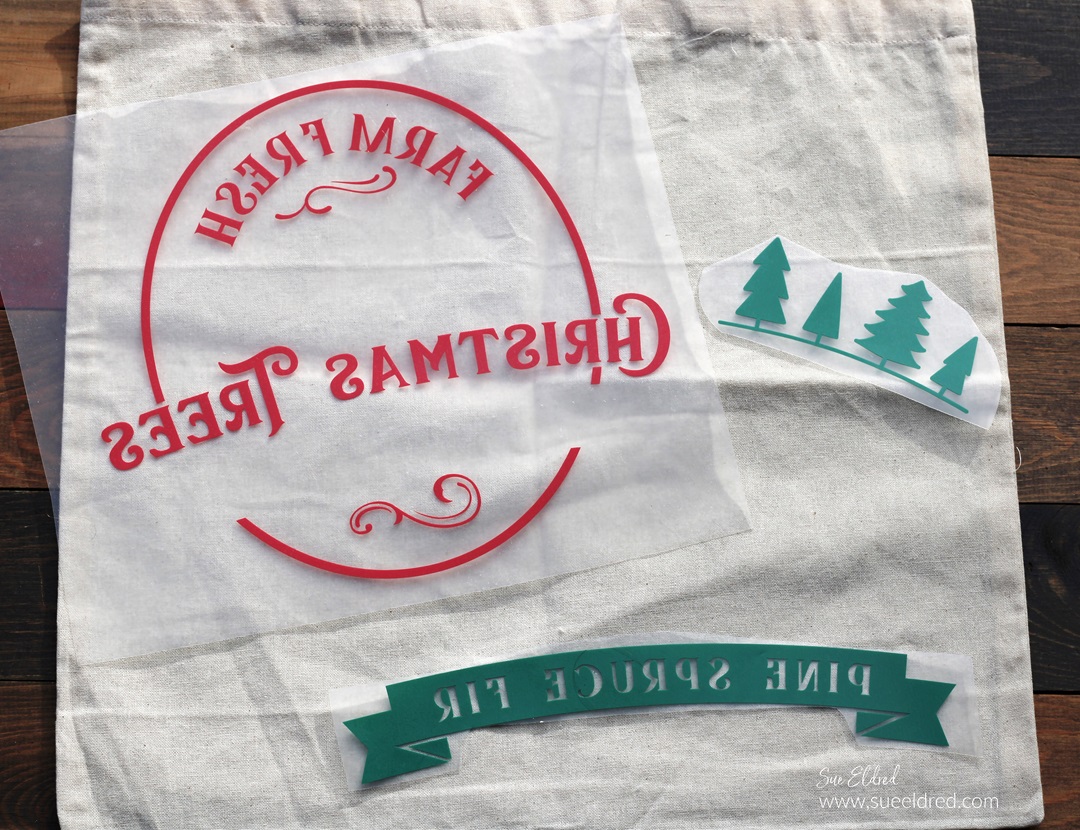
  • I cut the image out of both red and green HTV vinyl.
  • I removed the vinyl that I wanted to be green from the red image.
  • With the green image, I cut out only the pieces that I wanted to use with the red layer.
  • Make sure to mirror the image and place the shiny side down on the cutting mat.

DIY Christmas Tree Reusable Gift Bag using StyleTechCraft HTV Vinyl

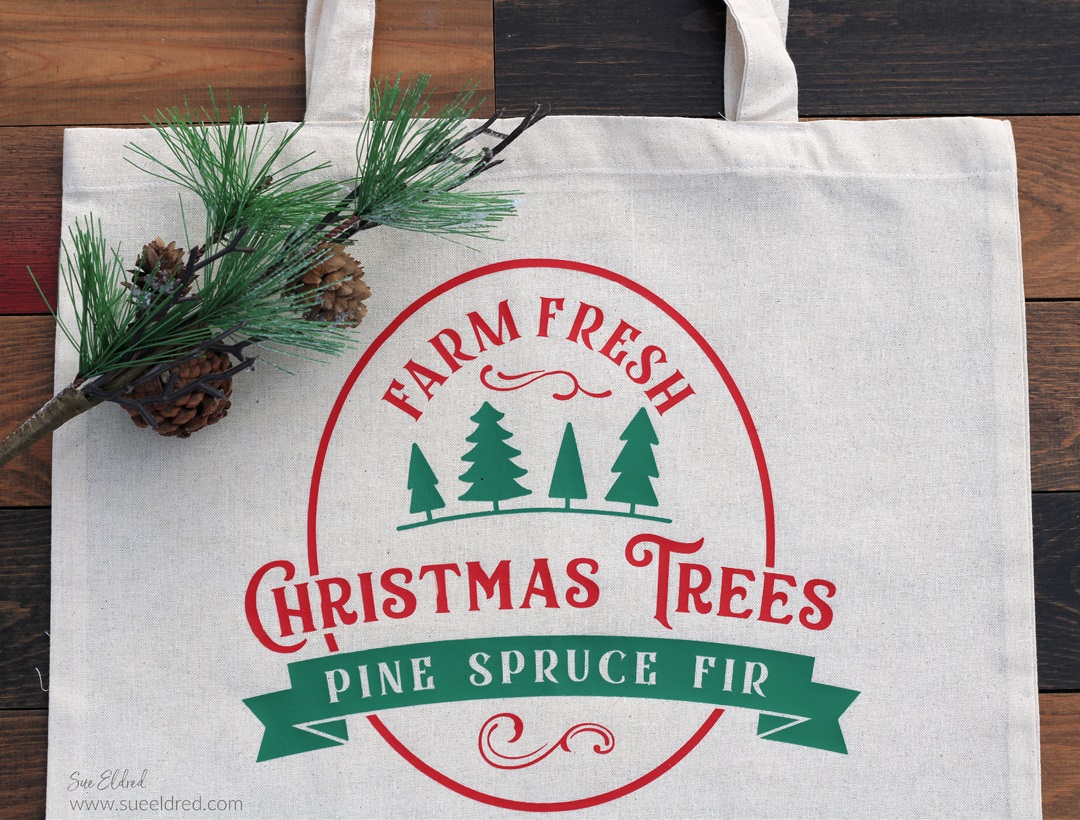
  • Position the design on your bag.  Use an iron or a heat press* to apply heat and pressure to the design, following the manufacturer’s instructions.
  • Peel off the clear transfer tape.

“This is a sponsored post.  As a member of the StyleTechCraft Design Team I have been provided product and compensation in exchange for my creative ideas.  The views and opinions are my own.

Holiday Paper Crafting Workshop Samples & Important Update

Sue's 2024 Holiday Paper Crafting Workshop Update-Sue's Creative Workshop www.sueeldred.com (2)

Our First Workshop Date Has Sold Out!

I’m excited to announce that we have added another date

for Sue’s 2024 Holiday Paper Crafting Workshop.

I will be doing a second Workshop on Friday, November 8th.

If there is enough interest, we are considering adding a third

workshop on the following weekend, Saturday, November 16th.

Black Holiday Door Card-Sue's Creative Workshop www.sueeldred.com 6828Snowflake Christmas Tree-Sue's Creative Workshop www.sueeldred.com 6834

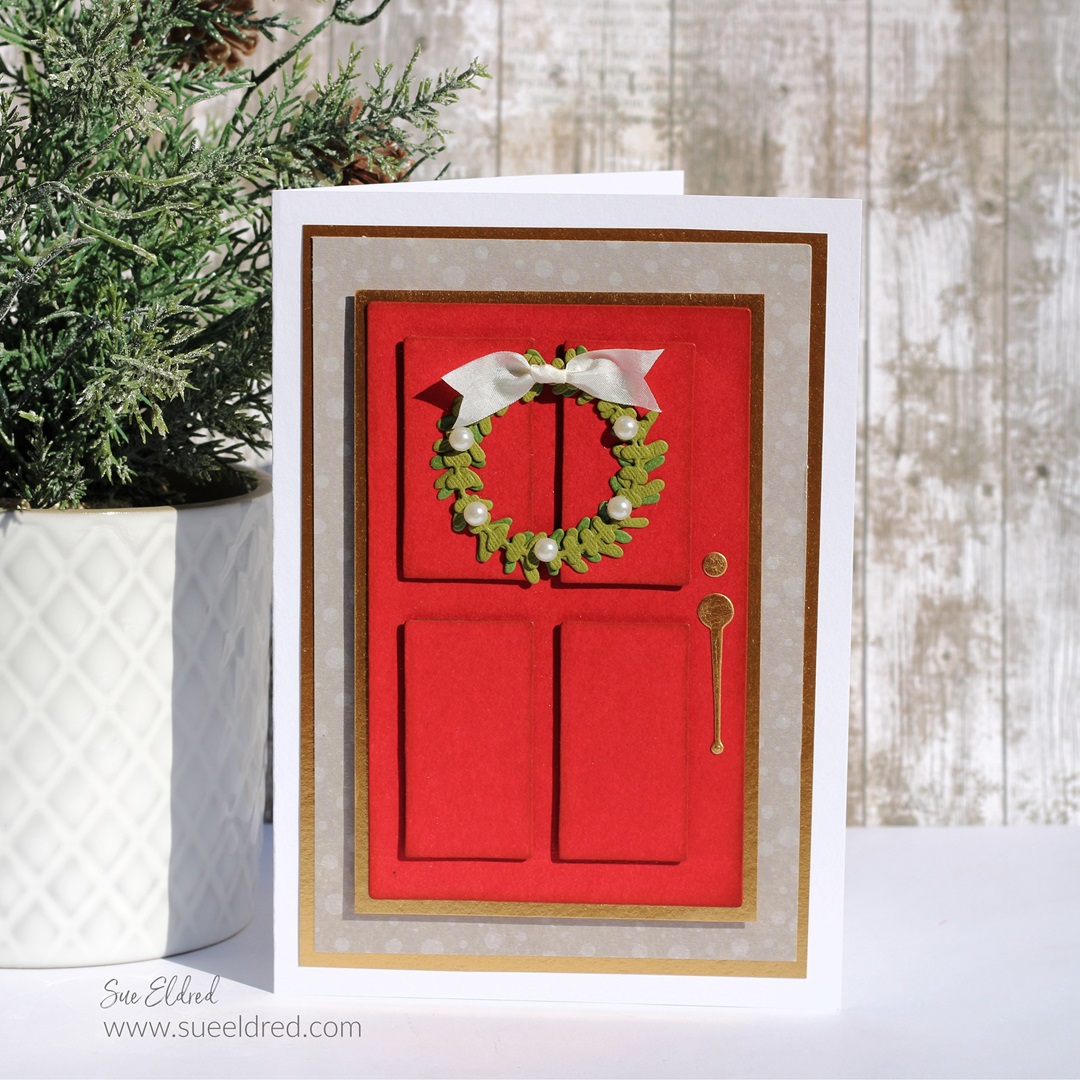
Red Holiday Door Card-Sue's Creative Workshop www.sueeldred.com 6825Holiday Necklace-Sue's Creative Workshop www.sueeldred.com 6865

Cardinal Card-Sue's Creative Workshop www.sueeldred.com 6863Embossed Snowflake Card-Sue's Creative Workshop www.sueeldred.com 6845

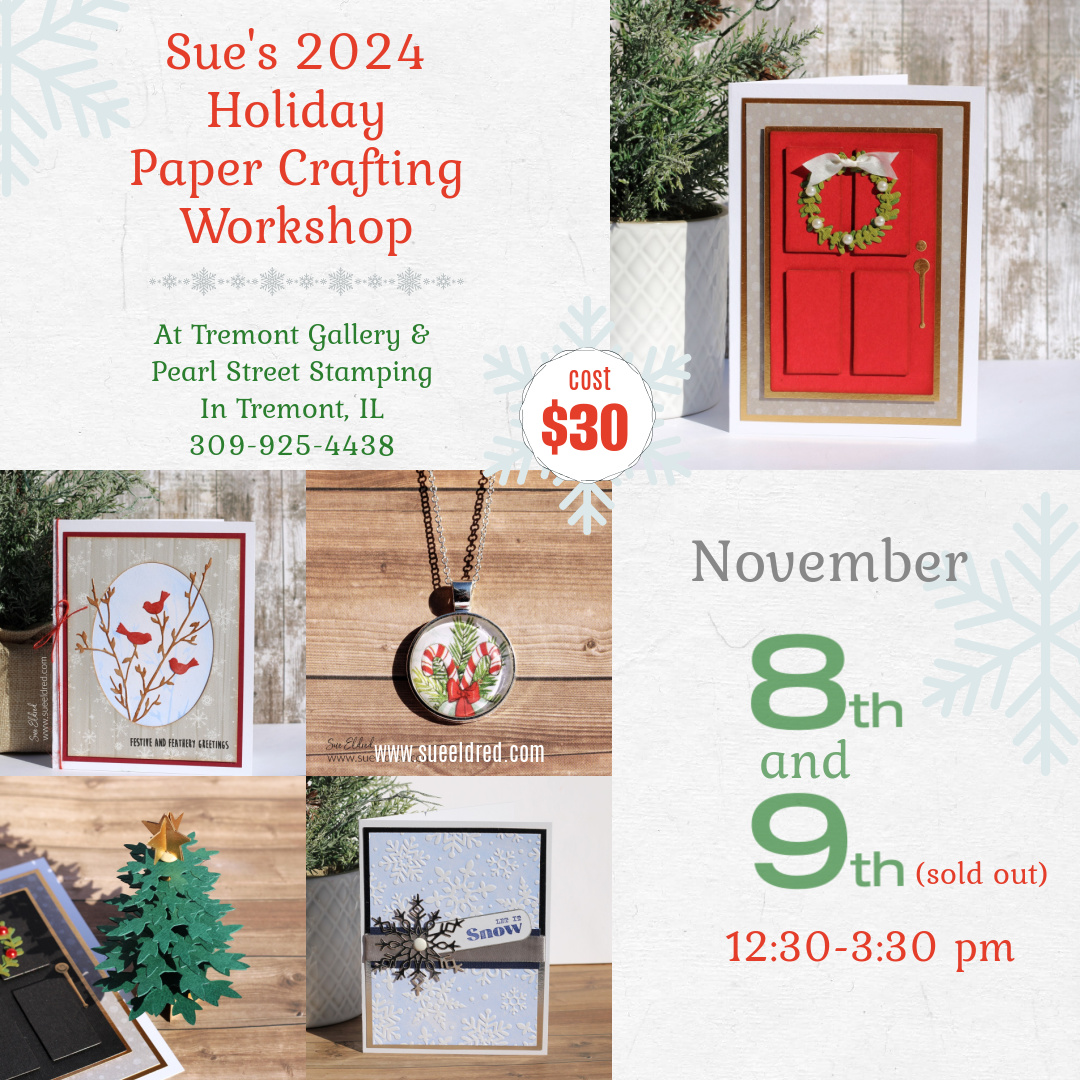
Here is a sampling of some of the projects we will be making.  

Class Description:

Looking for a jumpstart to the holiday season? Sue is hosting a Holiday Paper Crafting Workshop! Join with other paper crafters for a fun afternoon of creating together.  In the workshop, we will be making 6-8 Christmas Cards, a 3D Snowflake Christmas Tree Decoration, and a quick and easy Holiday Necklace. Come and enjoy the relaxed atmosphere, before the busy hustle and bustle of the holidays.

Cost is only $30

Call Tremont Gallery to Sign Up:  309-925-4438 (Store Open Wednesday-Friday)

(Leave them a message, and they will get back to you.)

For more information you can email me at suesholidayworkshop@yahoo.com 

Disclosure:  This blog uses ads and affiliate links.  If you choose to make a purchase using one of the links, I receive a small commission (at no additional cost to you) that helps offset the costs of maintaining this blog.  Thanks for your support!

Mr. One-derful’s First Birthday Card

Mr. One-derful's First Birthday Card

Milo’s First Birthday Card

My husband and I recently got invited to my nephew Milo’s First Birthday Soiree.

It’s not every day that you get invited to a Fancy Party for a one-year-old.

So, when that happens, you need to make a “fancy card”.

Mr. One-derful's First Birthday Card

  • I used a Silhouette Cameo Electronic Die Cutting Machine and simple fonts to design the card.
  • I cut out the words for the outside of the card using StyleTechCraft Gold Metallic vinyl.  I cut the large number one using StyleTechCraft Black Glossy Craft Vinyl.

Materials:

StyletechCraft products brought to you by ATSM Craft*

*Disclosure:  This blog uses ads and affiliate links.  If you choose to make a purchase using one of the links, I receive a small commission (at no additional cost to you) that helps offset the costs of maintaining this blog.  Thanks for your support!

Mr. One-derful's First Birthday Card

  • To transfer the large number one onto the gold number one, (which is slightly larger) I used StyleTechCraft transfer tape.
  • Place transfer paper over the vinyl and rub with a vinyl scraper tool to help the vinyl cling to the Vinyl Transfer Tape*.
  • Center the vinyl onto the cardstock and again rub over the vinyl to transfer.
  • Remove the transfer tape.

Mr. One-derful's First Birthday Card

  • To make the layered number one stand out, I added thin foam mounting squares to the back.

Mr. One-derful's First Birthday Card

  • Add the gold chrome words “Mr. One’derful” to the front of the number one with transfer tape.
  • Place the number one onto the front of a simple white card with a gold layer.  I added Milo’s name for fun.

Mr. One-derful's First Birthday Card

The Party was an auspicious event that included

displays of the guest of honor’s fabulous art pieces,

a caricature artist, hors d’oeuvres, and live music.

Formal attire was strongly encouraged, so,

my husband wore a jacket, and I wore a black dress with pearls.

“This is a sponsored post.  As a member of the StyleTechCraft Design Team I have been provided product and compensation in exchange for my creative ideas.  The views and opinions are my own.

Mini Chest of Drawers for Little Essentials

Mini Chest of Drawers using the Sizzix Stacking Drawers Die by Eileen Hull

“Eileen Hull’s Top-Drawer Challenge”

This month, the Eileen Hull Design Team was challenged to make

something using the Sizzix Stacking Drawers Die designed by Eileen*.

I LOVE MAKING MINIATURES!  

So, true to my “miniature-loving” self, I made a Mini Chest of Drawers

for the Little Essentials that I have sitting on my desk.

Eileen Hull Educator Logo

Disclosure:  This is a sponsored post.  As a member of the Eileen Hull Educator Team, I have been provided product in exchange for my creative ideas.  The view and opinions are my own. 

Mini Chest of Drawers using the Sizzix Stacking Drawers Die by Eileen Hull

Materials Used:  (*affiliate links)

*Disclosure:  This blog uses ads and affiliate links.  If you choose to make a purchase using one of the links, I receive a small commission (at no additional cost to you) that helps offset the costs of maintaining this blog.  Thanks for your support!

Little Gift Box made with the Sizzix Stacking Drawers Die by Eileen Hull.

To make the Mini Chest of Drawers…

Mini Chest of Drawers using the Sizzix Stacking Drawers Die by Eileen Hull

  • I painted the Mat Board* and small wood cubes with Apple Barrel Black Multi-Surface Acrylic Paint* before I assembled the box.
  • Fold the matboard and adhere to the ends of the die-cut using Scor-Tape*.
  • FYI…Place the drawer bottom inside drawer so that the drawer slides more easily.  (You can also rub a piece of clear wax on the bottom of the drawer.)
  • Adhere the two boxes together.
  • Retouch the paint if necessary.

Buy Crafting Supplies Now at Dollar Tree starting at $1.25!

Mini Chest of Drawers using the Sizzix Stacking Drawers Die by Eileen Hull

  • I measured and cut side and top pieces for my dresser using Mat Board*.
  • I painted the Mat Board* black and cut smaller pieces of woodgrain scrapbook paper to adhere to the Mat Board*.

Mini Chest of Drawers using the Sizzix Stacking Drawers Die by Eileen Hull

  • One trick I like to use is to color the edge of the paper with a dark gray marker to hide the white core of the paper.
  • Cut the back off the decorative brads and glue them to the front of the drawers.

Mini Chest of Drawers using the Sizzix Stacking Drawers Die by Eileen Hull

  • I cut an extra layer of mat board for the top of the dresser for added dimension.

Mini Chest of Drawers using the Sizzix Stacking Drawers Die by Eileen Hull

If you have a little girl in your life,

the mini dresser would be great for little barrettes or even Barbie shoes.