How to use the Watercolor Flowers & Lattice Stencil

How to use the Watercolor Flowers & Lattice Stencil

How to Stencil a Beautiful and Simple Floral Card

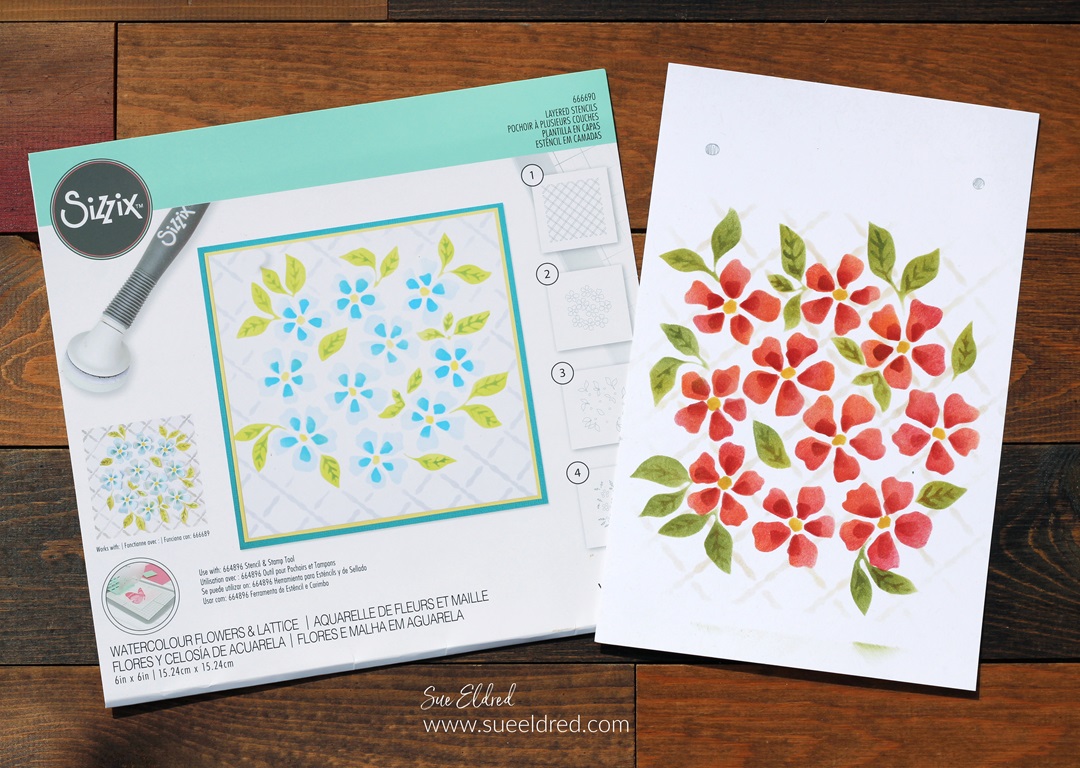
using the Sizzix Watercolour Flowers & Lattice 4 pc Stencil Set by Eileen Hull*.

Did you know that Sizzix has created several layered Stencil Sets to use

with their New Stencil & Stamp Tool*?

The NEW dual-purpose Stencil & Stamp Tool from Sizzix*

makes both stenciling and stamping easier than ever before!

*Disclosure:  This blog uses ads and affiliate links.  If you choose to make a purchase using one of the links, I receive a small commission (at no additional cost to you) that helps offset the costs of maintaining this blog.  Thanks for your support!

How to use the Watercolor Flowers & Lattice Stencil

Materials Used:  (*affiliate links)

How to use the Watercolor Flowers & Lattice Stencil

Since I don’t have the New Tool* yet, I thought I would show you how I used the stencils without the tool.

How to use the Watercolor Flowers & Lattice Stencil:

  • I started with a Watercolor Paper* base for my card front.
  • Cut the paper longer than the stencil.
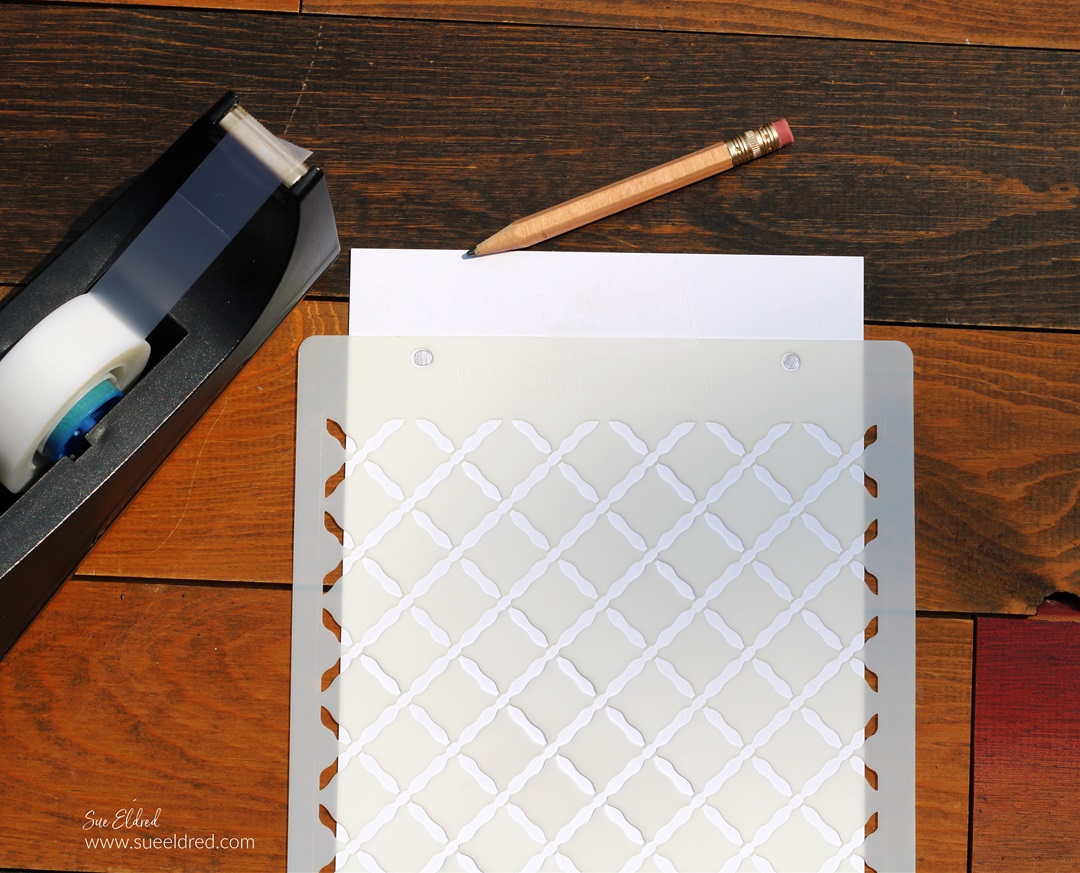
  • Center and tape the stencil onto the paper.
  • Using a pencil, fill in the holes to create a guide to line up the remaining stencils.

How to use the Watercolor Flowers & Lattice Stencil

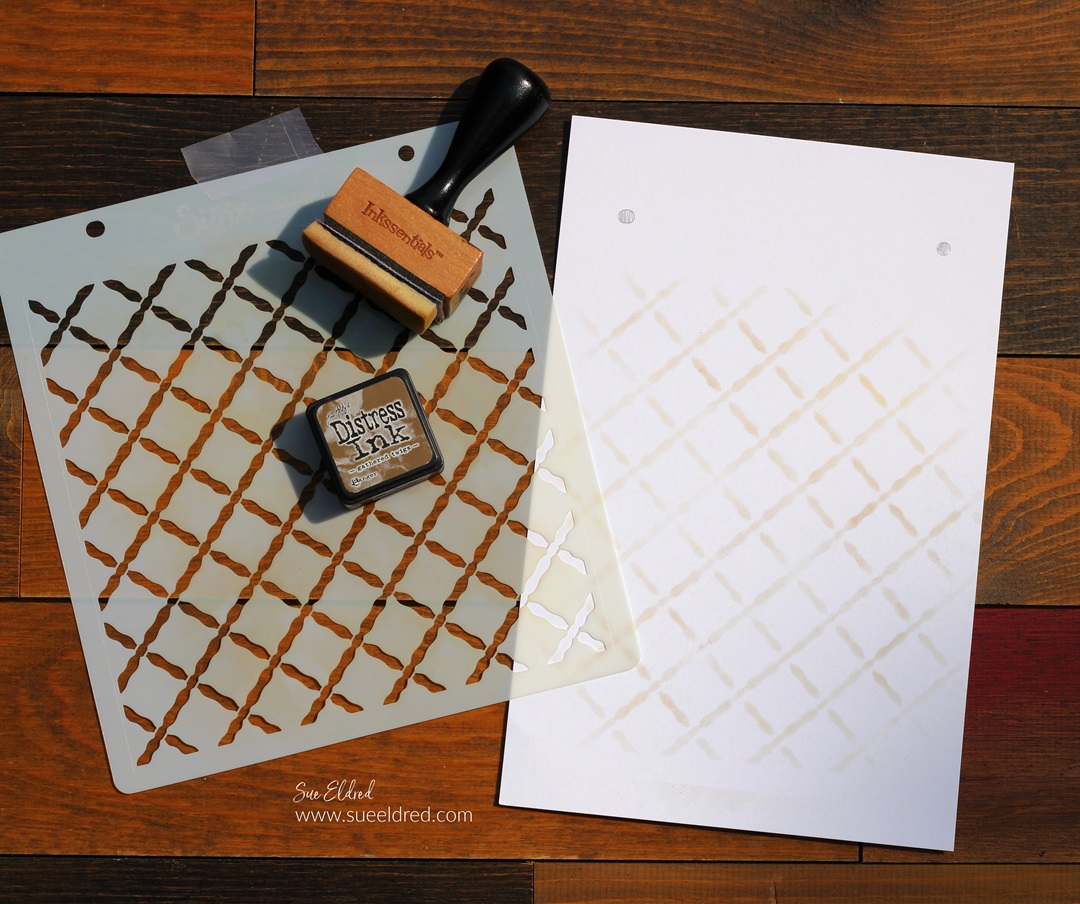
Stencil #1 Lattice Background

  • Line up the holes of the lattice stencil with the pencil guide marks.
  • Put a piece of tape to hold the stencil in place.  
  • Rub an Ink Applicator* over the Gathered Twigs Distress Inkpad*.  I wanted a subtle background, so I rubbed some of the ink onto scrap paper before using it on the stencil.  
  • Remove stencil.

How to use the Watercolor Flowers & Lattice Stencil

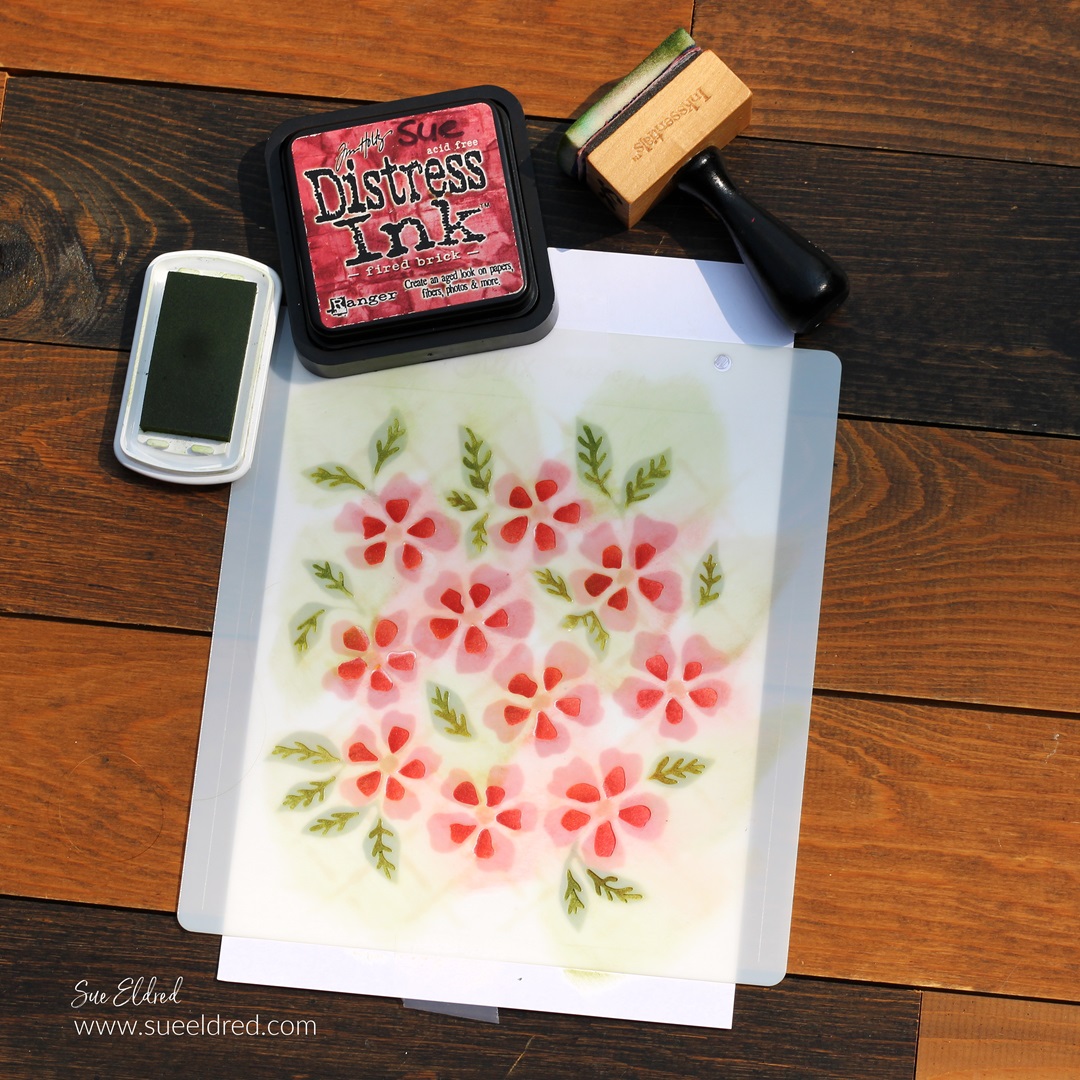
Stencil #2 Flowers

How to use the Watercolor Flowers & Lattice Stencil from Sizzix and Eileen Hull

Stencil #3 Leaves

How to use the Watercolor Flowers & Lattice Stencil from Sizzix and Eileen Hull

I could have stopped right here after removing the third stencil. 

It looks beautiful.  But as we all know it’s all about the details.

So, onto Stencil #4 to add the details.

How to use the Watercolor Flowers & Lattice Stencil from Sizzix and Eileen Hull

Stencil #4 Details

How to use the Watercolor Flowers & Lattice Stencil from Sizzix and Eileen Hull

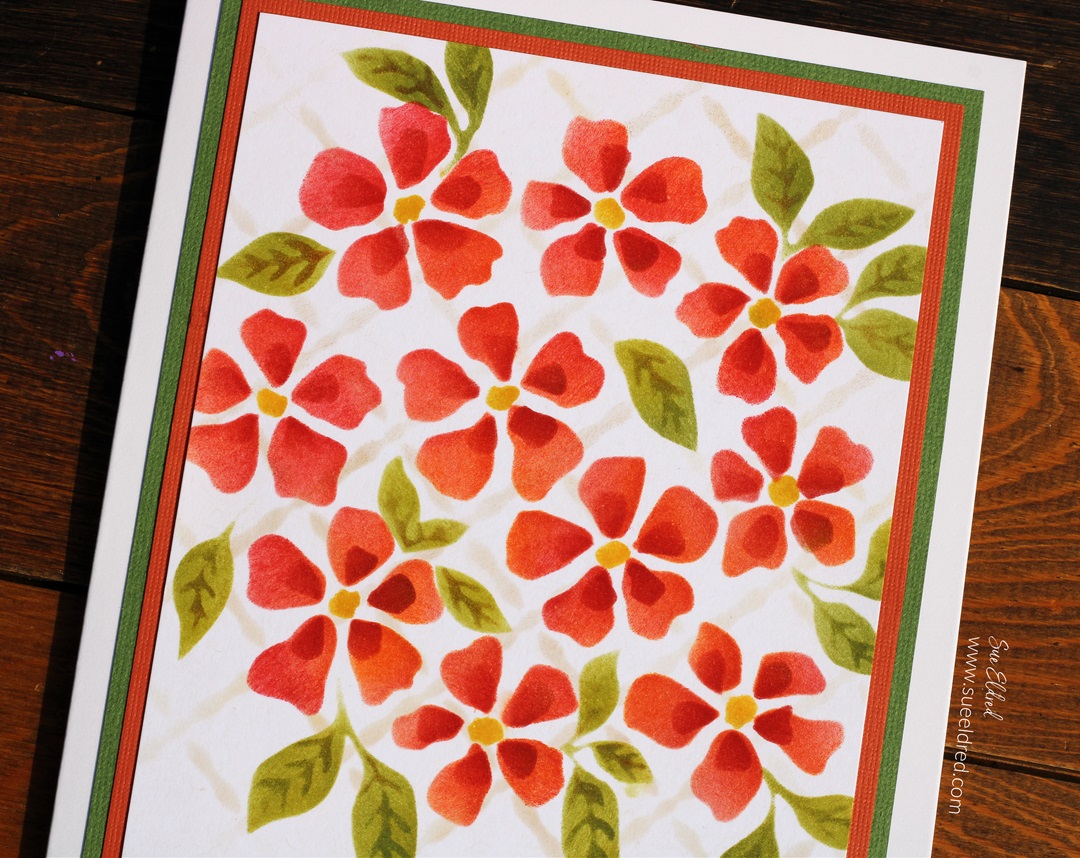
The finished stenciled flowers.

  • Cut the stenciled flowers to size and layer onto coordinating cardstock for a beautiful floral card.

How to use the Watercolor Flowers & Lattice Stencil from Sizzix and Eileen Hull

You can use the Sizzix Watercolour Flowers & Lattice 4 pc Stencil Set by Eileen Hull* to make cards, scrapbook layouts, mini albums, and so much more.  

Eileen Hull Educator Logo

Disclosure:  This is a sponsored post.  As a member of the Eileen Hull Educator Team, I have been provided product in exchange for my creative ideas.  The view and opinions are my own. 

Simple Reverse Painting Technique on Acrylic

Reverse Painting Technique on Acrylic-How to make a Mandala Suncatcher

How to make a Mandala Suncatcher using a Simple Reverse Paint Technique on Acrylic

Are you looking for a fun and easy project to make this summer

that both kids and adults will enjoy.

The Mandala Suncatcher is an easy project that uses a reverse paint technique,

paint markers, and StyleTechCraft vinyl.

“This is a sponsored post.  As a member of the StyleTechCraft Design Team I have been provided product and compensation in exchange for my creative ideas.  The views and opinions are my own.
Reverse Painting Technique on Acrylic-How to make a Mandala Suncatcher

Materials Used:  (*affiliate links)

StyletechCraft products brought to you by ATSM Craft*

*Disclosure:  This blog uses ads and affiliate links.  If you choose to make a purchase using one of the links, I receive a small commission (at no additional cost to you) that helps offset the costs of maintaining this blog.  Thanks for your support!

Reverse Painting Technique on Acrylic-How to make a Mandala Suncatcher

Directions:

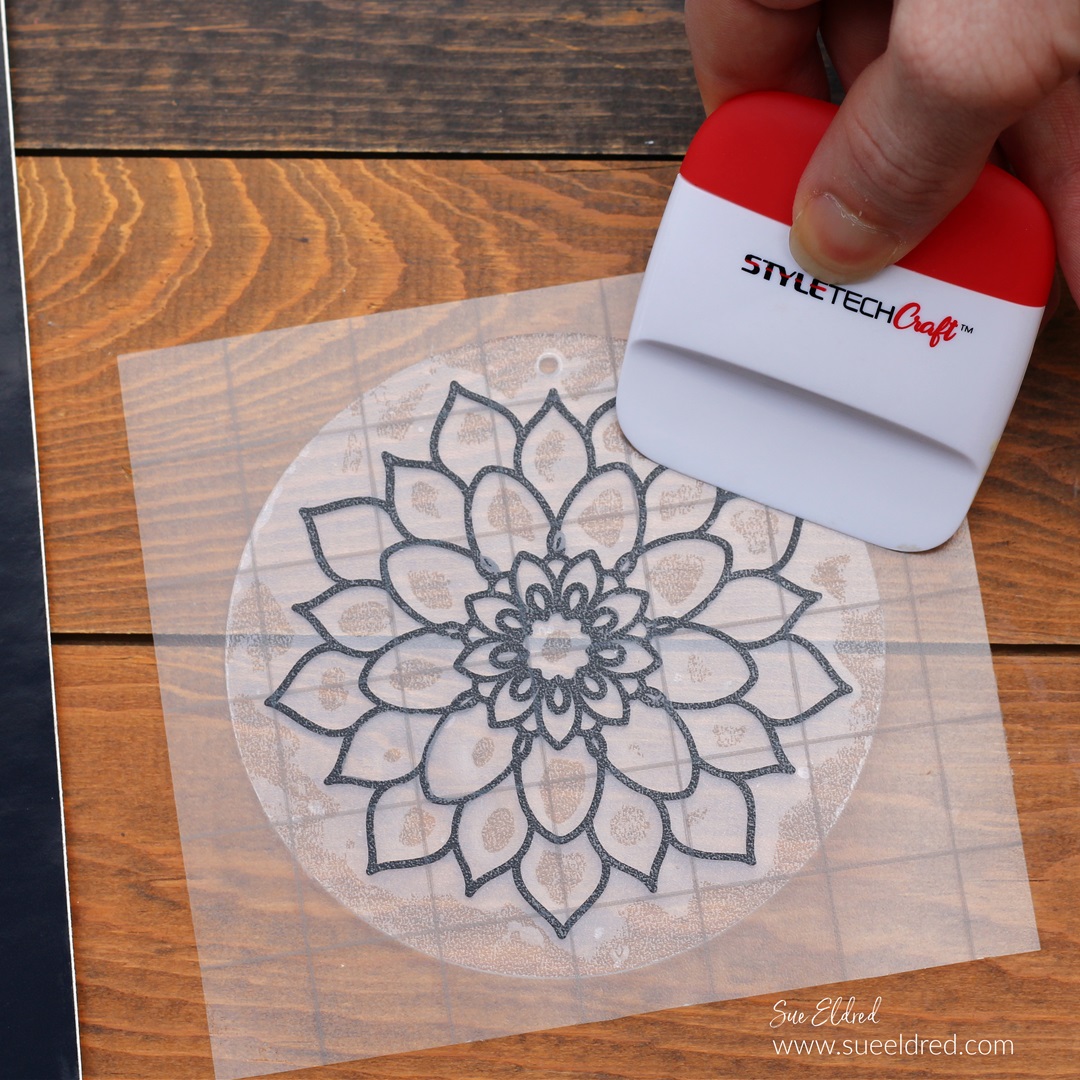
  • The mandala design was cut out of black glossy adhesive vinyl using a Silhouette Cameo Electronic Die Cutting Machine*.
  • After the design has been cut, remove the excess vinyl in and around the design using a vinyl weeding tool*.
  • My acrylic circle* had a protective coating on both sides. Remove the protective layer from one side of the circle.  Place vinyl transfer paper over the mandala design. Rub over the design using a vinyl scraper tool to help the vinyl cling to the transfer paper.
  • Place the transfer paper with the mandala design centered on the acrylic circle.
  • Gently rub over the design and remove the Vinyl Transfer Tape*.

Reverse Painting Technique on Acrylic-How to make a Mandala Suncatcher

  • Turn the acrylic circle over.
  • Remove the protective layer on the back of the circle.
  • You will do a reverse painting technique on the back of the circle.
  • Starting in the center of the design, color using the paint markers.

Reverse Painting Technique on Acrylic-How to make a Mandala Suncatcher

  • Make sure to color to the edge of the lines and get the colors as close as possible.
  • Here is the back of the circle with the mandala design colored in.

Reverse Painting Technique on Acrylic-How to make a Mandala Suncatcher-Sue's Creative Workshop www.sueeldred.com 5502

  • I added a gold edge to the suncatcher using a DecoColor Gold Calligraphy Pen*. (I think it helps the design stand out.)
  • The best part of the reverse paint technique is that when you flip the circle back over, you’ll have crisp black lines.
  • Add gold and white twine to the top of the acrylic circle to hang.

A reverse painting option… for those who don’t have an electronic die-cutter would be to trace a pattern onto the acrylic before painting.  (see below↓)

REVERSE GLASS PAINTING TECHNIQUE WITH DECOCOLOR MARKERS

You can see the original Reverse Glass Painting Technique with DecorColor Markers post here.

Gift Box using Eileen Hull’s Stacking Drawer Die

Little Gift Box made with the Sizzix Stacking Drawers Die by Eileen Hull.

A Little Gift Box using the Stacking Drawer Die*.

Earlier this month, Sizzix and Eileen Hull re-released the Stacking Drawer Die

along with several other dies.  (you can see the original post here)

While there are several ways to use this die,

I thought the Stacking Drawers* would also make a perfect little gift box.

Eileen Hull Educator Logo

Disclosure:  This is a sponsored post.  As a member of the Eileen Hull Educator Team, I have been provided product in exchange for my creative ideas.  The view and opinions are my own. 

Little Gift Box made with the Stacking Drawers Die

Materials:  (*affiliate links)

*Disclosure:  This blog uses ads and affiliate links.  If you choose to make a purchase using one of the links, I receive a small commission (at no additional cost to you) that helps offset the costs of maintaining this blog.  Thanks for your support!

Little Gift Box made with the Sizzix Stacking Drawers Die by Eileen Hull.

To make the gift box…

Little Gift Box made with the Sizzix Stacking Drawers Die by Eileen Hull.

  • I like to paint the mat board with Deco Art Multi-Media Acrylic Paint* before I assemble the box. 
  • Fold the matboard and adhere to the ends of the die-cut using a Strong Double-Sided Tape*.  
  • Retouch the paint if necessary.  
  • FYI…If you use a thinner mat board for the bottom layer of the drawer, it is easier to open and close.  

Little Gift Box made with the Sizzix Stacking Drawers Die by Eileen Hull.

  • Another trick to make the drawer run smoother is to rub Clear Paraffin Wax* on the bottom of the drawer and the bottom of the box.

Little Gift Box made with the Stacking Drawers Die

  • To decorate the box, I used a Xyron Disposable Sticker Maker* maker to add adhesive to the back of my paper.  It’s a quick and easy way to cover the sides of the box.

Little Gift Box made with the Sizzix Stacking Drawers Die by Eileen Hull.

CBBL364016_Bloom_Collection_Kit

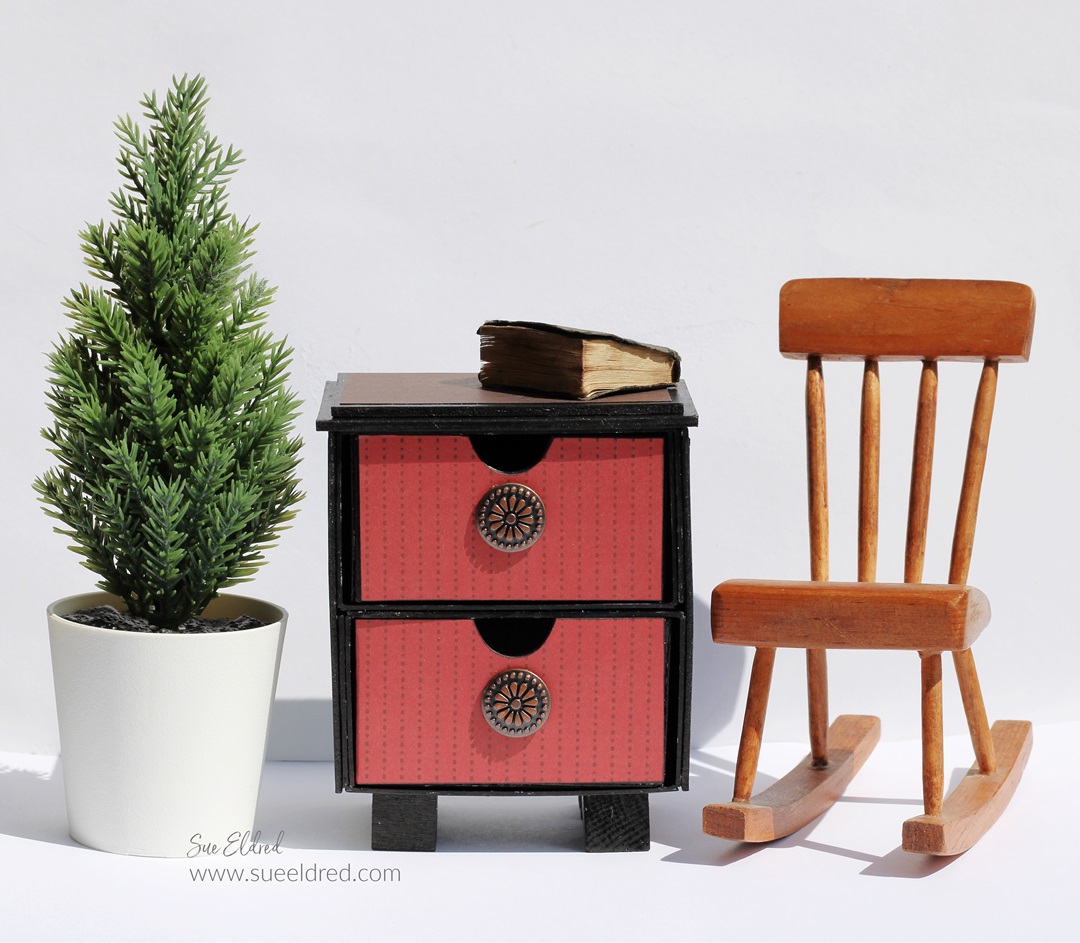
Mini Steamer Trunk and more…

Mini Steamer Trunk

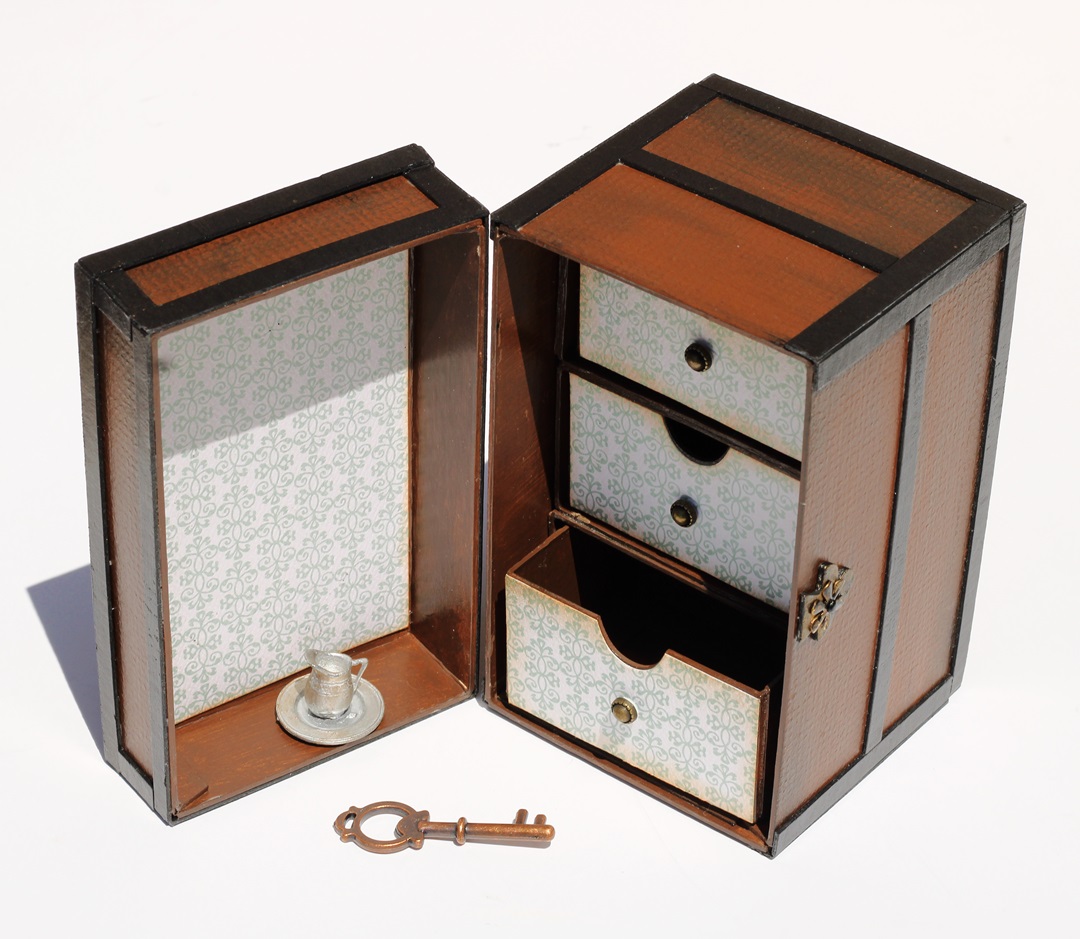
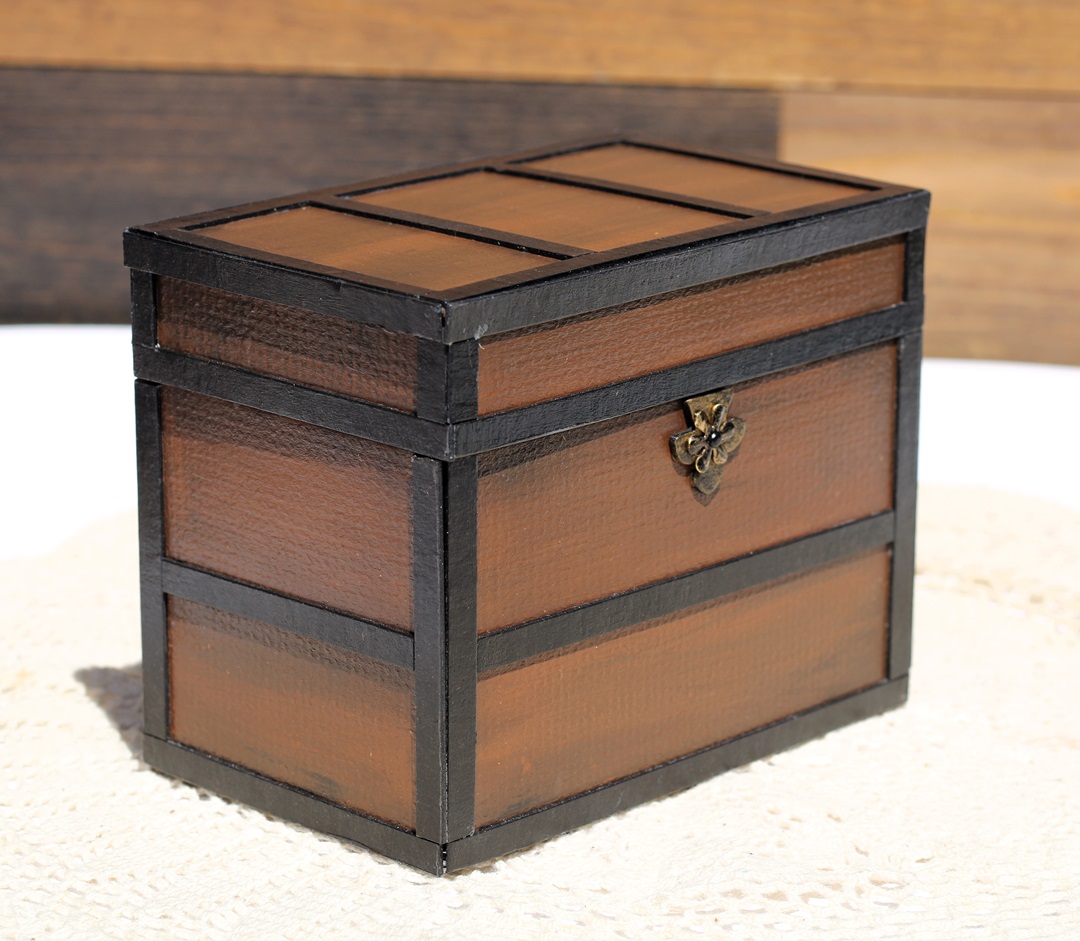
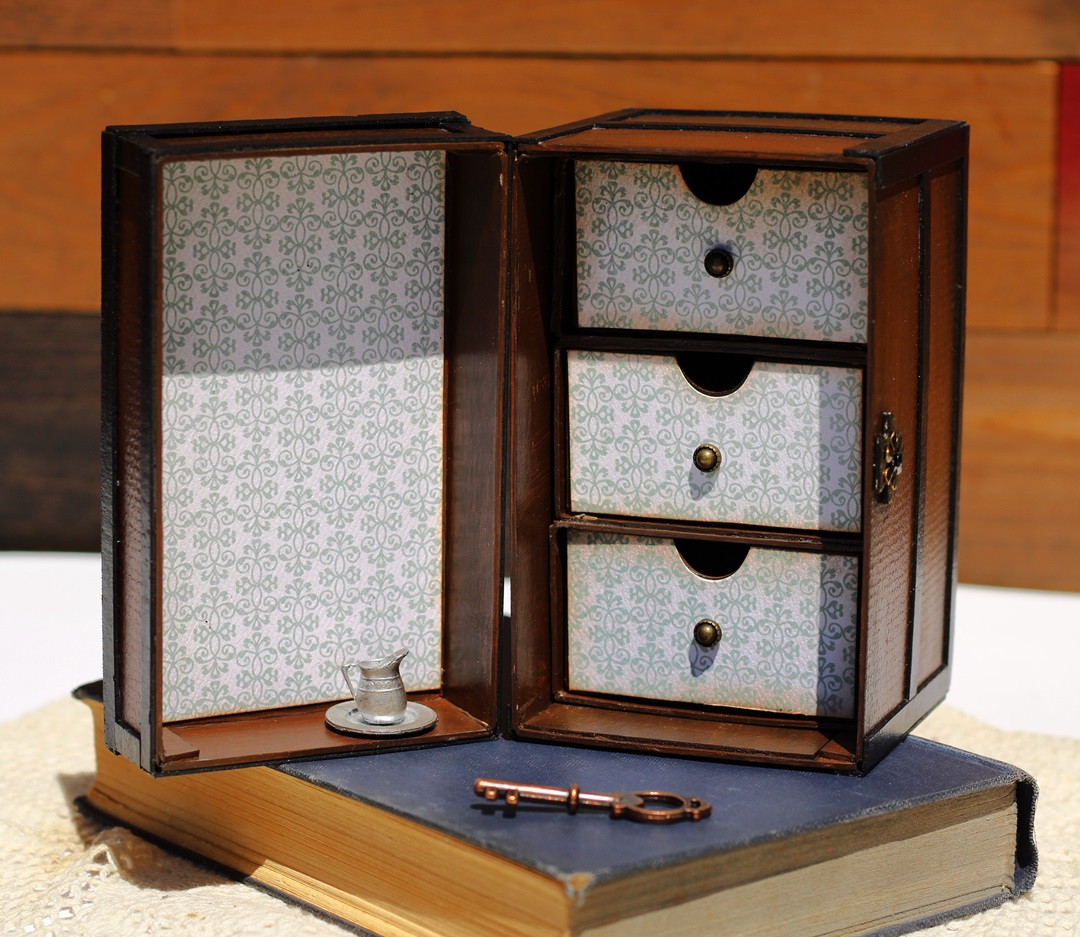
The Mini Steamer Trunk

I have been fascinated with old vintage things for a long time.

Just look around my house.
You will find vintage items sprinkled in every room.

Some items have a good story or are family keepsakes.
The others are there because they make me happy

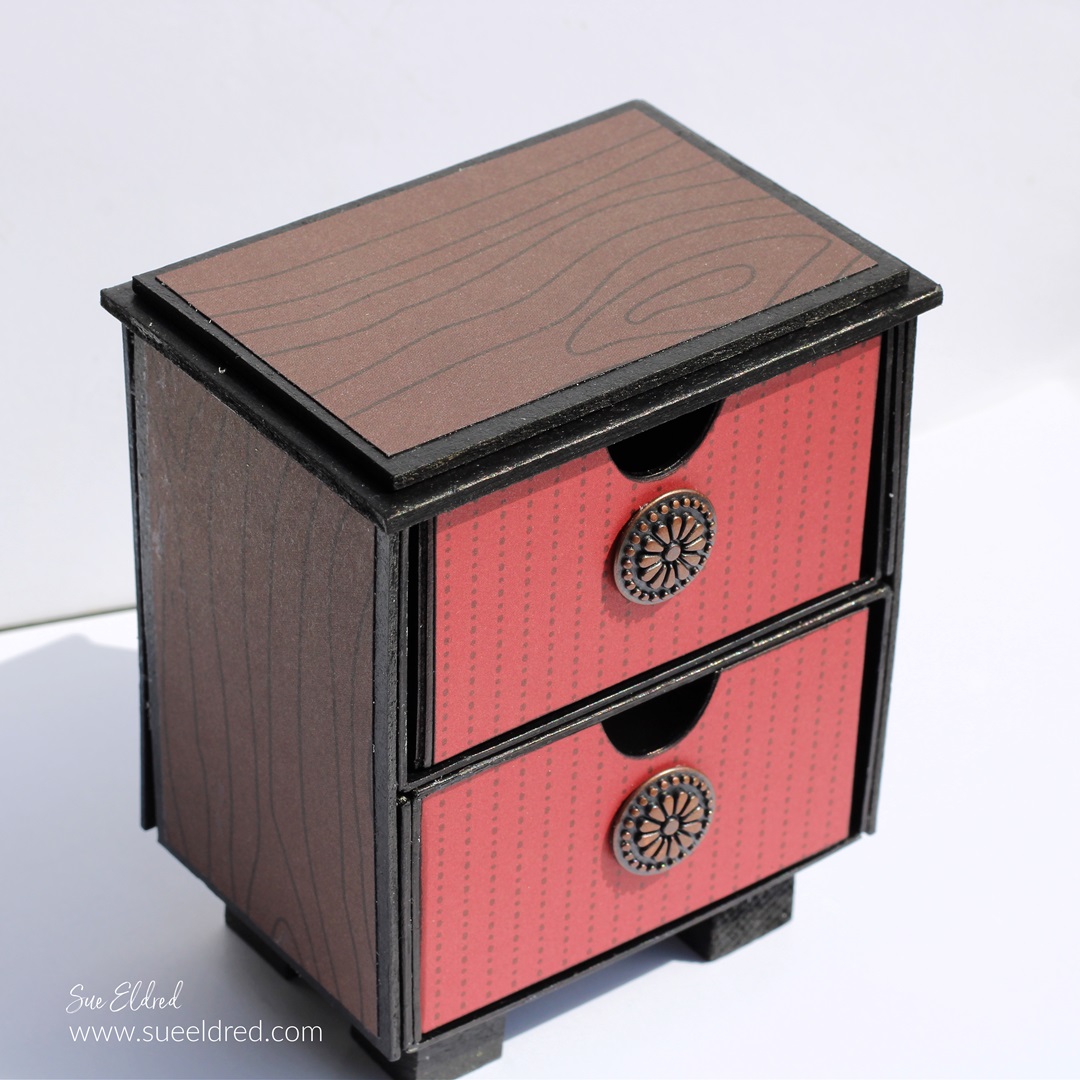
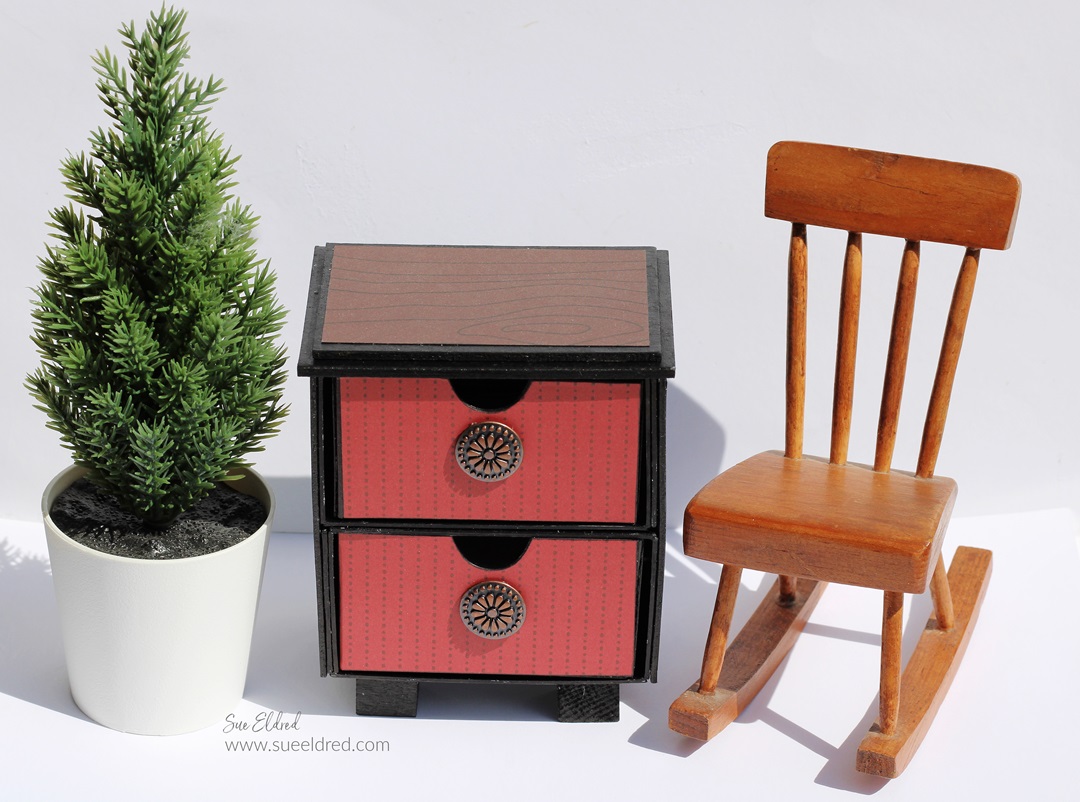
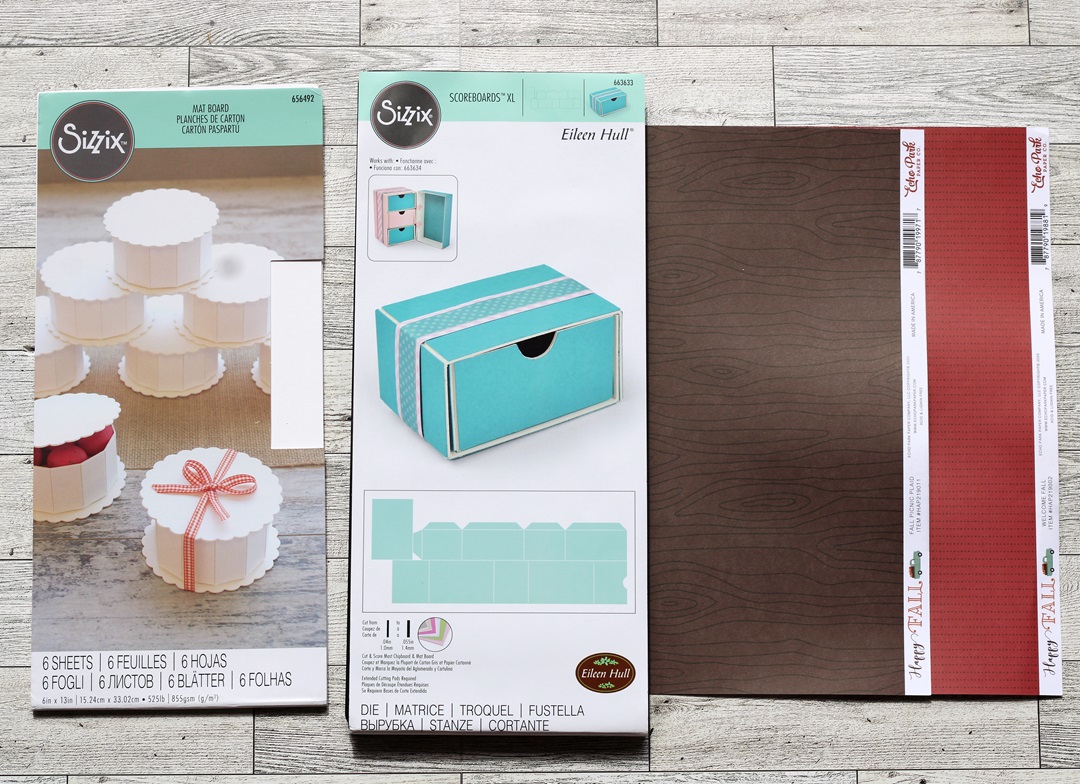
So… When Sizzix and Eileen Hull re-released the Treasure Box Die*

and the Stacking Drawer Die*, I decided to make a Miniature Steamer Trunk.   

*Disclosure:  This blog uses ads and affiliate links.  If you choose to make a purchase using one of the links, I receive a small commission (at no additional cost to you) that helps offset the costs of maintaining this blog.  Thanks for your support!

Mini Steamer Trunk-Sue's Creative Workshop www.sueeldred.com 4894

A little Inspiration…

Sometimes, I get lucky, and I get a vision of how I want a project to turn out.

The mini steamer trunk was one of those projects.

I found an image online for my inspiration.

(I’m so happy with the way it turned out.)

Mini Steamer Trunk-Sue's Creative Workshop www.sueeldred.com 4864

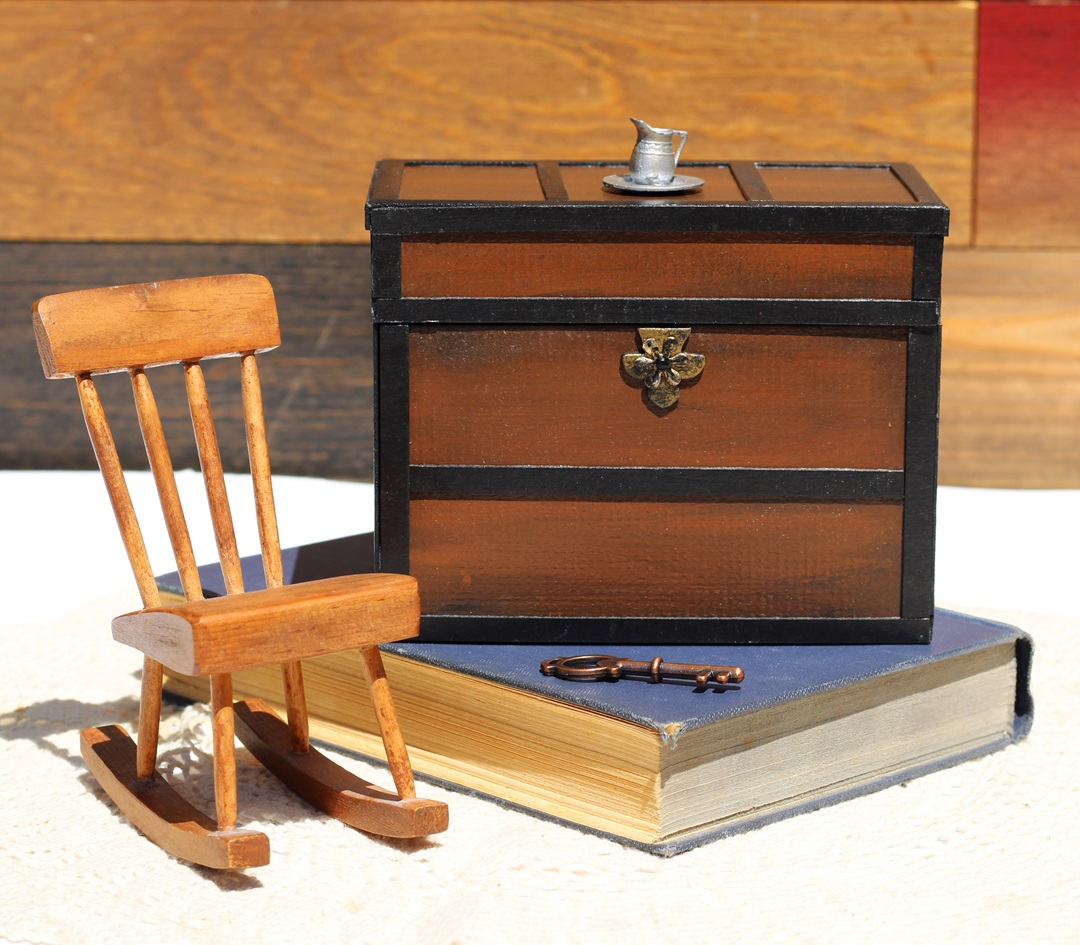
The base of the Steamer Trunk was die-cut using a black textured mat board.

I painted the trunk with a mix of browns, and black acrylic to give it a woodgrain look.

To make it look like a steamer trunk, I glued thin strips of black mat board

to the top and sides of the trunk.

To give it a shine I painted the trunk with Mod Podge Satin Sealer*.

The Treasure Box* measures 3 1/4” x 5 1/4” x 4”.

Mini Steamer Trunk-Sue's Creative Workshop www.sueeldred.com 4826

I painted three Stacking Drawers* the same as the base of the trunk.

I added decorative scrapbook paper on the front of the drawers and

the inside of the lid.  I think it looks like old wallpaper.

The Steamer trunk is one of the projects I made for the Eileen Hull and Sizzix June Release Party. 

(see below for more information)

Little Gift Box made with the Sizzix Stacking Drawers Die by Eileen Hull.

A Little Gift Box using the Stacking Drawer Die*

The Stacking Drawers* also make a perfect little gift box.

I will have a tutorial on how I made this little gift box later this month.

Summer Bloom Mini Album

Summer Blooms Mini Album

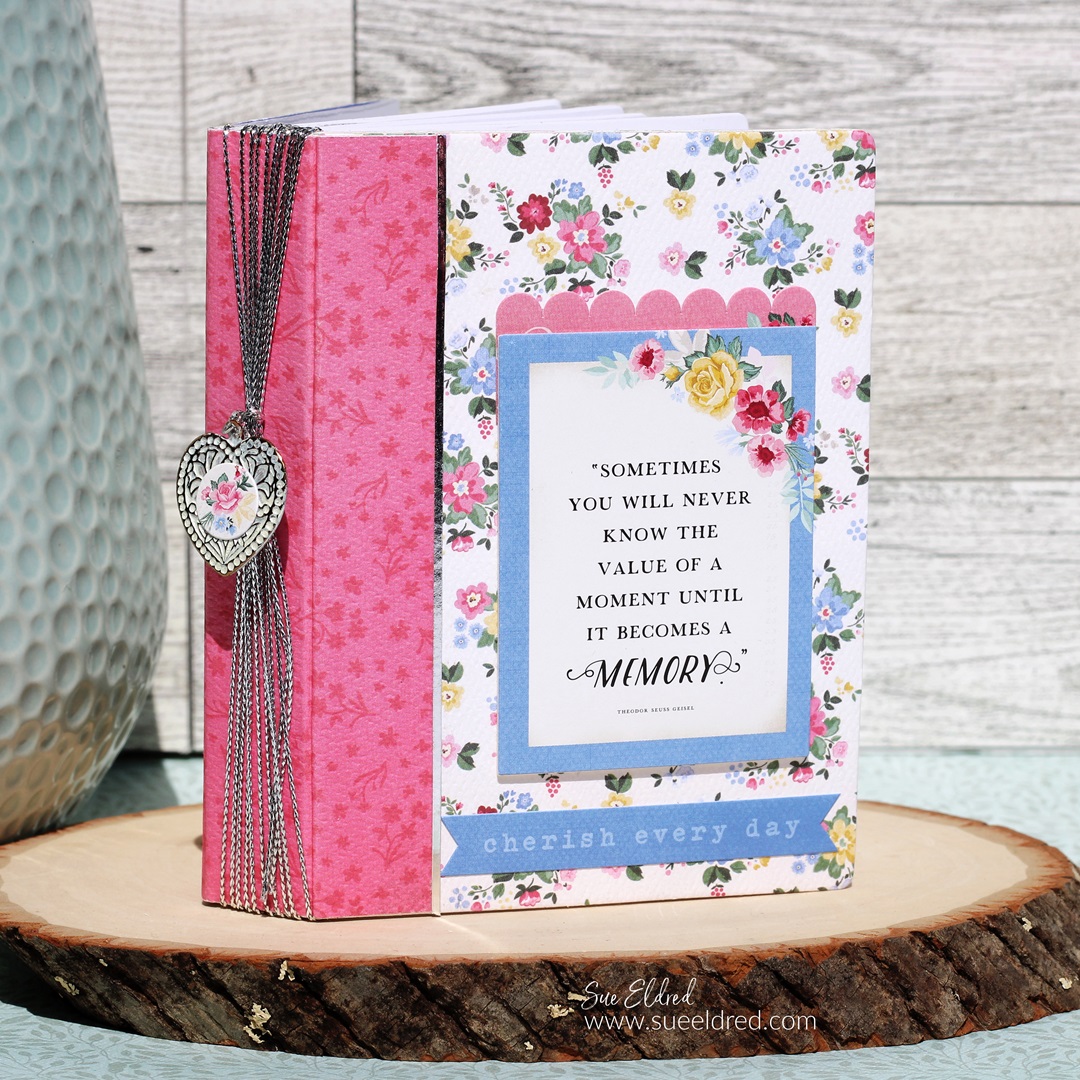
Summer Blooms Mini Album was made using Eileen’s Notebook Die*.

Click here for the Summer Blooms Mini Album Tutorial

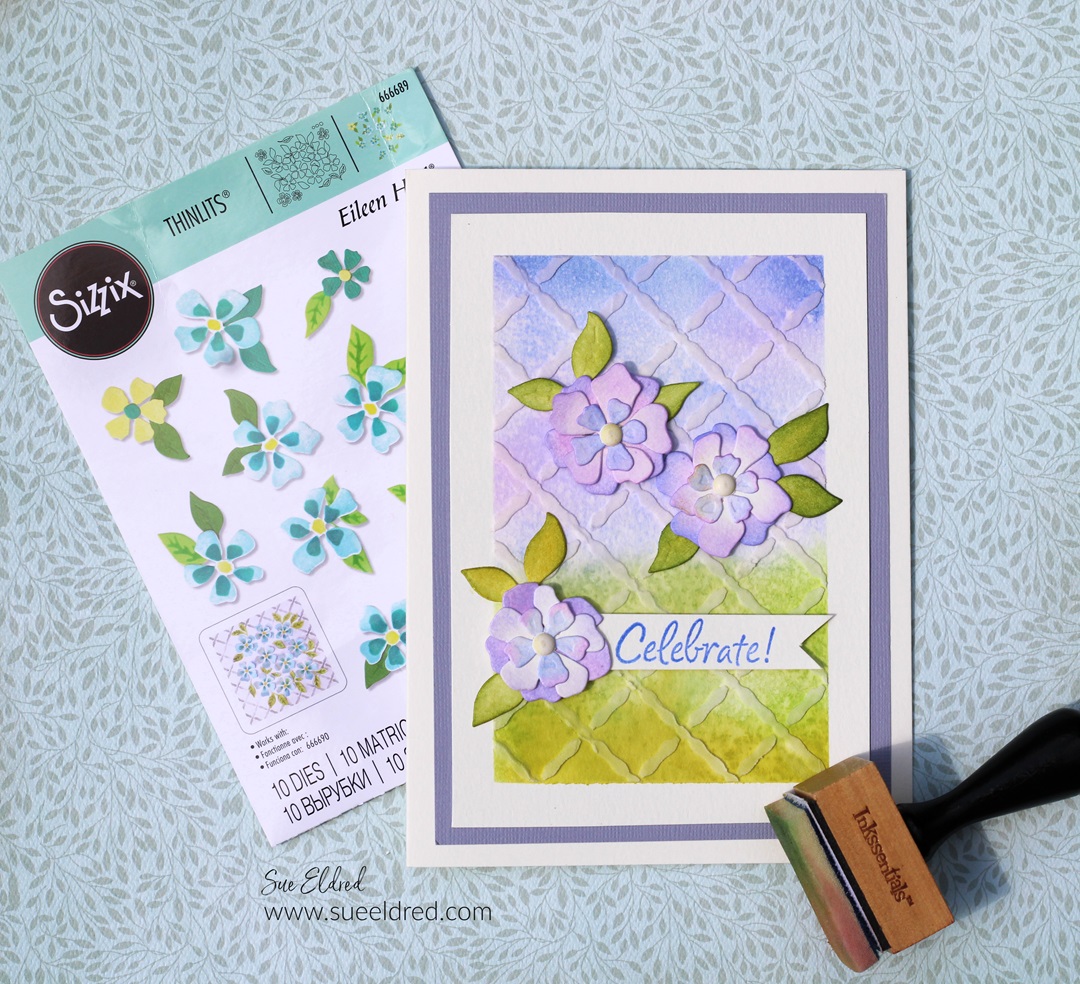
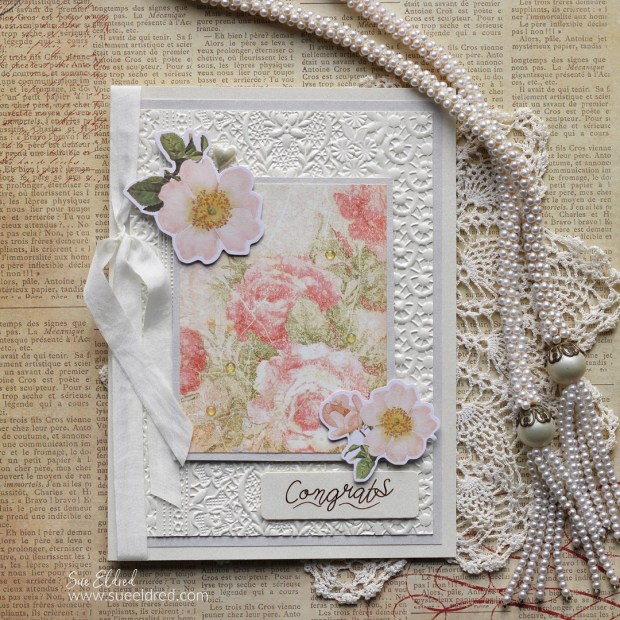
Floral Lattice Card

The Floral Lattice Card was made using the

NEW Painterly Blooms & Background Thinlet Dies from Eileen Hull*.

I inked the background of the card using dye inks on watercolor paper.

I spritzed the paper with a mini mister* to give the background a mottled effect.

I used a palette knife* to spread white embossing paste* over the lattice stencil

from the Watercolour Flowers & Lattice Layered Stencils Set*.

FYI…The Watercolour Florals & Lattice stencil set* was inspired by a watercolor picture that Eileen painted.

The set included 4 stencils.  Three stencil layers give dimension and the fourth layer, a versatile lattice design, that can be used to create a plaid pattern!

Eileen Hull and Sizzix June Release Party

For more great projects from Eileen Hull’s Design Teams, we’re having a Blog Hop with tons of awesome inspiration.  Click here for Eileen’s Blog.

We hope you will watch our release party on June 4th at noon Eastern to see lots of samples and alternate ideas for ways to use these dies. There will be a GIVEAWAY!!!

Eileen Hull Educator Logo

Disclosure:  This is a sponsored post.  As a member of the Eileen Hull Educator Team, I have been provided product in exchange for my creative ideas.  The view and opinions are my own. 

How to make a Farmhouse Garden Sign

How to make a Farmhouse Garden Sign

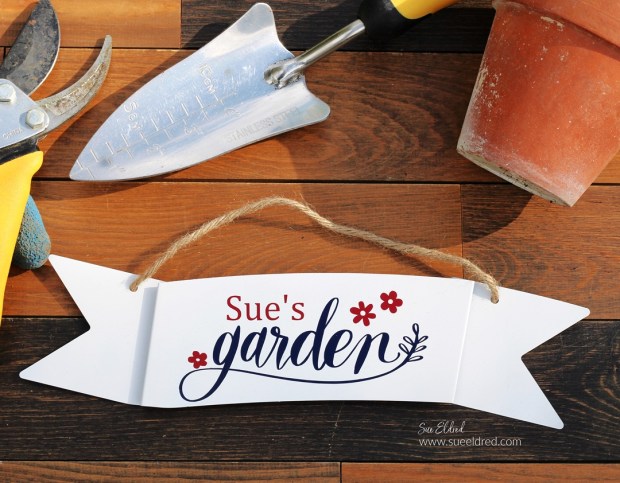
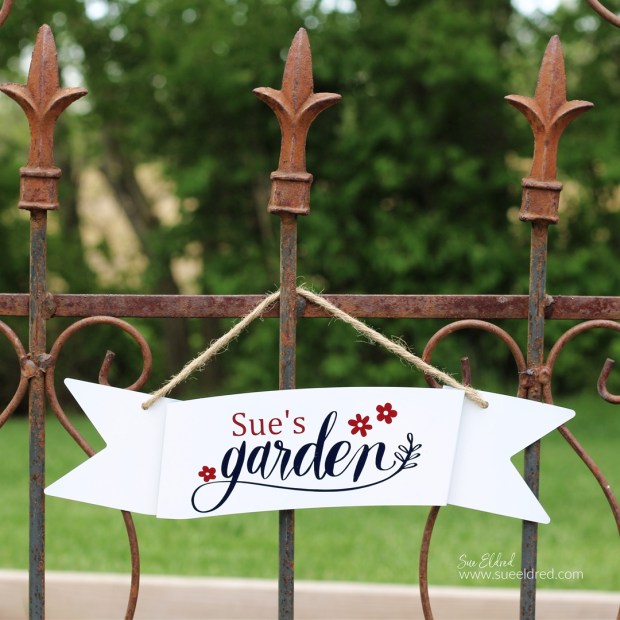
How to make a Personalized Farmhouse Garden Sign.

The “Garden sign” is a quick and easy Dollar Tree project.

Now that garden season is upon us, my mind is distracted with all things gardening.

I will start planting next week, and I can’t wait.

In anticipation of this year’s garden, I created a garden sign

using an inexpensive galvanized banner purchased at Dollar Tree*.

I made it with a traditional red, white, and blue color scheme.

How to make a Farmhouse Garden Sign

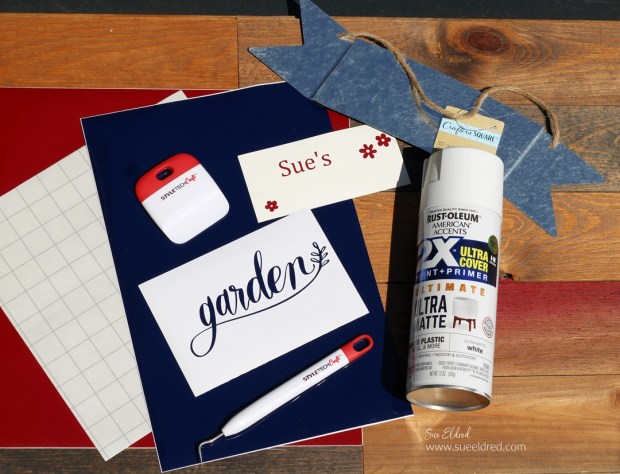
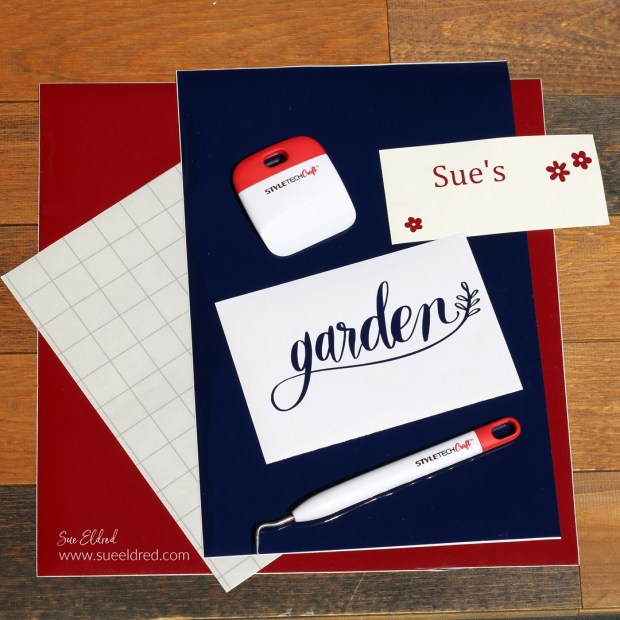
Materials Used:  (*affiliate links)

StyletechCraft products brought to you by ATSM Craft*

*Disclosure:  This blog uses ads and affiliate links.  If you choose to make a purchase using one of the links, I receive a small commission (at no additional cost to you) that helps offset the costs of maintaining this blog.  Thanks for your support!

How to make a Farmhouse Garden Sign

Directions:

Buy Your Crafting Supplies Now at Dollar Tree starting at $1.25!

How to make a Farmhouse Garden Sign

There are so many great colors of StyleTechCraft Glossy Craft Vinyl to choose from.

How to make a Farmhouse Garden Sign

How to make a Farmhouse Garden Sign

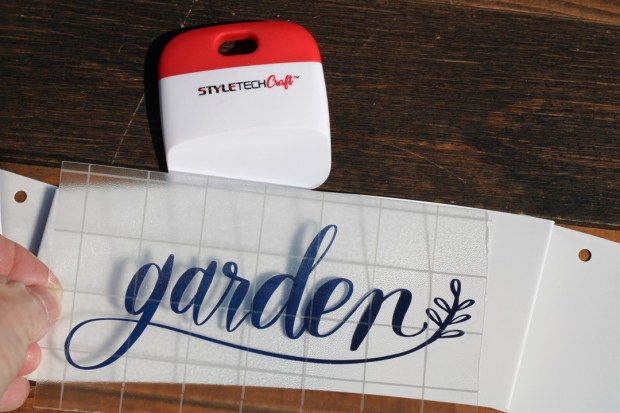
  • Remove the vinyl from its white protective layer and place onto the banner.
  • Rub over the vinyl with the scraper tool to transfer the vinyl onto the banner.
  • Gently lift the transfer paper from the vinyl.

FYI…the transfer paper is reusable.

How to make a Farmhouse Garden Sign

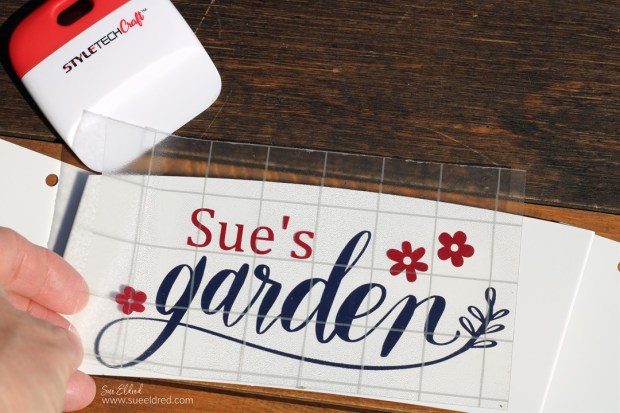
  • Line up the second layer over the first.

How to make a Farmhouse Garden Sign

  • Gently remove transfer paper from the banner.
  • Allow the vinyl to cure for 72 hours before using.

How to make a Farmhouse Garden Sign

The vinyl on the sign will hold up to the weather and looks great in my garden.

“This is a sponsored post.  As a member of the StyleTechCraft Design Team I have been provided product and compensation in exchange for my creative ideas.  The views and opinions are my own.

New 2024 Sizzix Dies by Eileen Hull

New Sizzix Dies by Eileen Hull

New Dies from Eileen Hull and Sizzix

I’m excited that I finally get to share the samples I made using the New Sizzix dies by Eileen Hull.  It’s always fun getting new dies to play with.  And these are now my new favorites. (that is until next time)

Embossed Wedding Card

Elegantly Embossed Wedding Card

My first card uses Sizzix® 3D Textured Impressions® A5 Embossing Folder-Lace by Eileen Hull*.

I really love the new larger size.  The Lace 3D embossing folder is so amazing! It’s a new LARGE size measuring 8 1/2” x 5 3/4”. It works great on bigger journal covers, card backgrounds and on home decor pieces.

The base of the card was embossed using cream cardstock.  I used a piece of old “Baby 2 Bride” paper from Graphic 45 for the front of the card.  I used pearlized cardstock in pearl and silver for the layers.

*Disclosure:  This blog uses ads and affiliate links.  If you choose to make a purchase using one of the links, I receive a small commission (at no additional cost to you) that helps offset the costs of maintaining this blog.  Thanks for your support!

Embossed Birthday Card

Blue Embossed Birthday Card

I created a delicate background for a feminine birthday card by inking the embossing folder with blue ink.  I inked directly onto the embossing folder and placed white cardstock inside.  I’m in love with how soft and subtle it looks.

Listen to Your Heart Mini Book

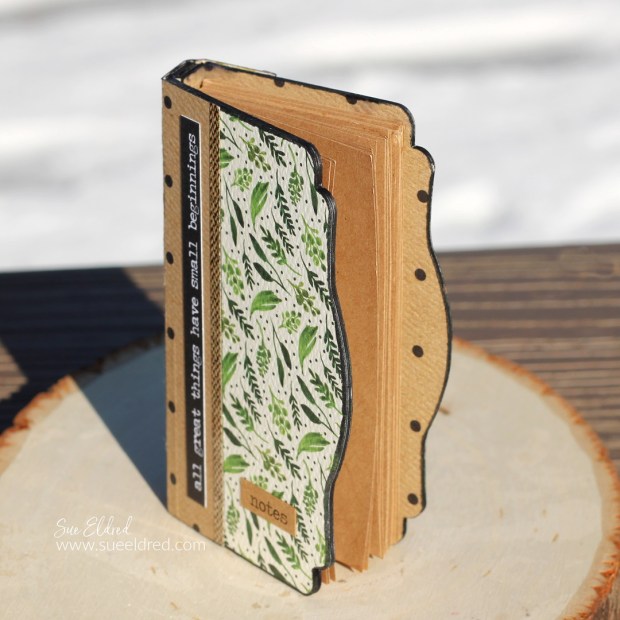
How about a new Mini Book?

This one uses the Sizzix® ScoreBoards™ Die – Mini Book by Eileen Hull®*.

Listen to Your Heart Mini Book-Sue's Creative Workshop www.sueeldred.com 3911

The Mini Book is great because you can create a book using your scraps. This book measures 3 3/4” x 2 1/4” and comes with a strap/handle and tiny label for the book cover. It makes a great bag topper if you fold it in the middle. It is also the perfect size for business cards. Die cut it from felt and stitch up a tiny wallet!

Listen to your Heart Mini Desk Organizer

Listen to your Heart Mini Desk Organizer

I added sides to the mini book using small pieces of matboard and created a small desk organizer.

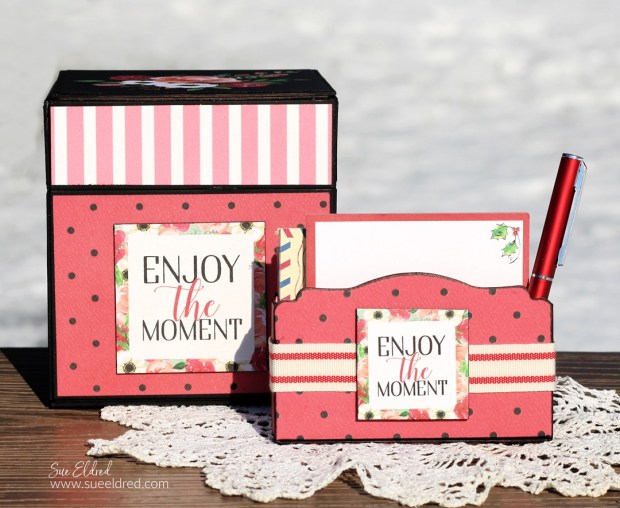
Enjoy the Moment Storage Box

Do you love storage box dies? 

This box uses the Sizzix® ScoreBoards™ XL Die – Storage Box by Eileen Hull®*.

The Storage Box is an XL ScoreBoard die measuring 4” square, the largest square box yet! This box is constructed with a removable top and may be used in many ways, such as organizing desk and office supplies, as a gift box, storing craft supplies and packaging for baked treats.

Enjoy the Moment Storage Box

I love how easy this was to put together and what a perfect size it is.

Enjoy The Moment Storage Box and Mini Desk Organizer

Of course, I had to make a mini desk organizer to match the storage box. 

Sizzix 666560 Faux Postage Thinlet Die by Eileen Hull

Eileen also created a new Faux Postage Thinlet Die* that I didn’t get around to making a sample for.  (Faux Postage Thinlet Card sample post to come later this month.)

The full panel is designed to fit on a 5” x 7” card and creates a fun postage stamp effect. You can also cut (or tear) each stamp apart and use the individual pieces as a miniature work of art! These dies coordinate with similar dies: Snail Mail (A-2 card size) and Mini Slimline (6” x 3”).

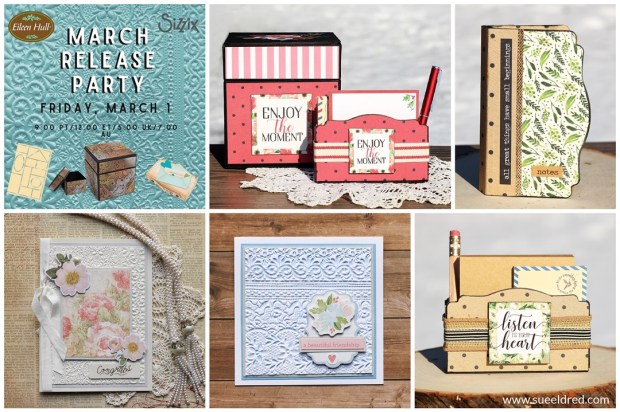
New Eileen Hull and Sizzix March Release Party

Visit Eileen’s Blog for additional information on this collection and to see lots of ideas from the team.

The Release Party will be held on Friday, March 1 at noon Eastern on Eileen’s YouTube, Facebook, and Instagram channels.

There’s a giveaway too- join the live and hear how you can win…

You can find these dies in your local scrapbook stores.  If they don’t carry them, ask them to order.  Eileen also carries them in her Etsy shop and would love your support!

Eileen Hull Educator Logo

Disclosure:  This is a sponsored post.  As a member of the Eileen Hull Inspiration Team, I have been provided product in exchange for my creative ideas.  The view and opinions are my own. 

Sizzix Cantilever Jewelry Box

Sizzix Cantilever Jewelry Box

Cantilever Jewelry Box

Last month, Sizzix reintroduced a few older “classic” dies,

including the Cantilever Box Die*.

I promised I’d make one, and I finally made a Cantilever box

using the Cantilever Die by Eileen Hull*.

Instead of making a sewing box, I made mine into a jewelry box.

*Disclosure:  This blog uses ads and affiliate links.  If you choose to make a purchase using one of the links, I receive a small commission (at no additional cost to you) that helps offset the costs of maintaining this blog.  Thanks for your support!

Sizzix Canteliveer Box Die

Putting it all together…

  • Included on the back of the die-cut packaging are image directions on how to assemble the box.
  • Cut out the pieces as show in the picture above.
  • I used three sheets of the Sizzix Making Essentials Matboard* to die-cut all the pieces used to make the Cantilever Jewelry Box.

Materials Used:  (*affiliate links)

Sizzix Cantilever Jewelry Box

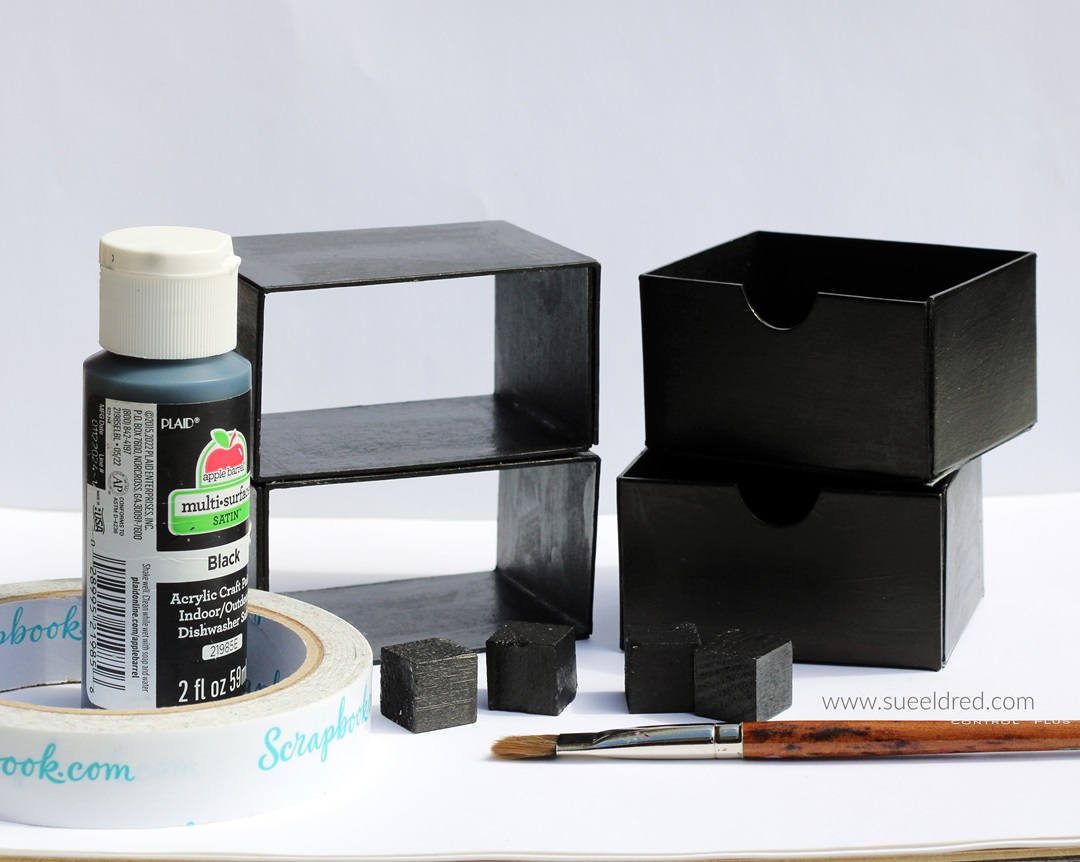
  • I painted all my die-cut pieces with Black Multi-Surface Acrylic Paint*.  I did that before gluing.
  • The instructions on the box showed using a hot glue gun to assemble the boxes. Eileen told me she uses Zip Dry Adhesive* and rubber bands to assemble the boxes. I wasn’t a big fan of using the hot glue gun and will definitely try the Zip Dry Adhesive* the next time.

Sizzix Cantilever Jewelry Box

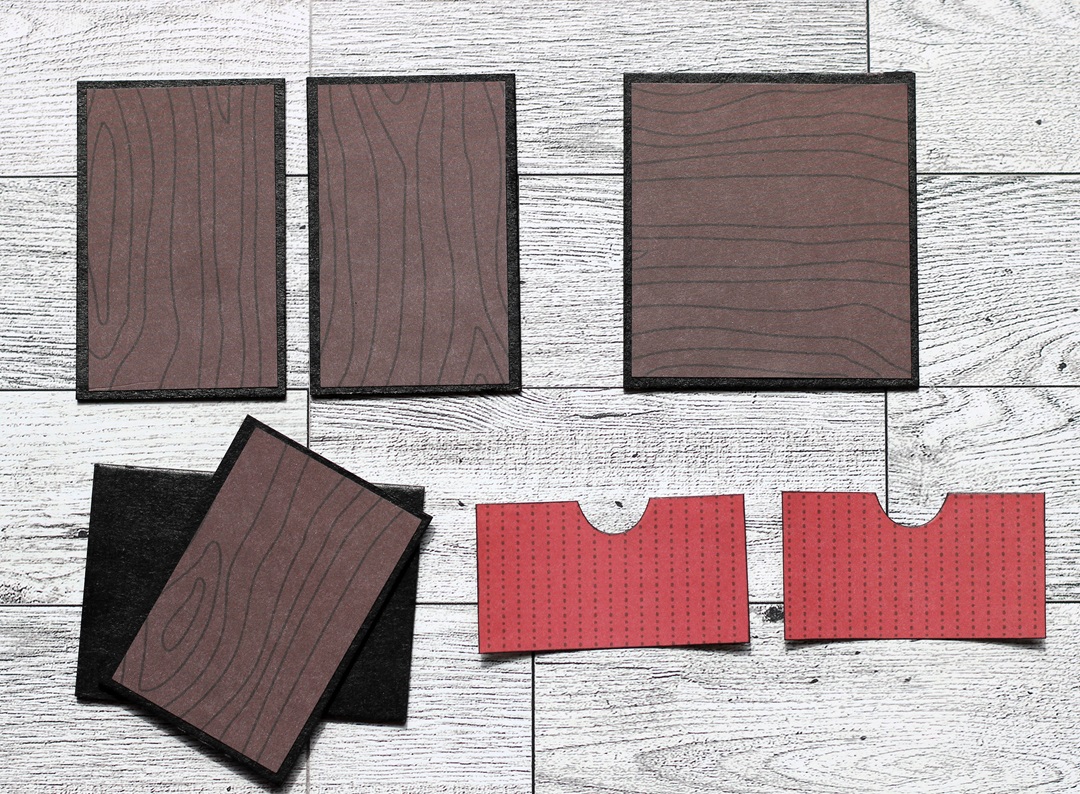
  • I cut 1″ strips of a single-sided grey plaid paper and ran them through the Xyron 3″ Disposable Sticker Maker* to add adhesive to the back of the strips.
  • I carefully added the strips around the edges of each box.  Since the paper I used was single-sided, it was easy to cover the boxes.
  • Once all the boxes were assembled, putting the cantilever box together wasn’t too hard.
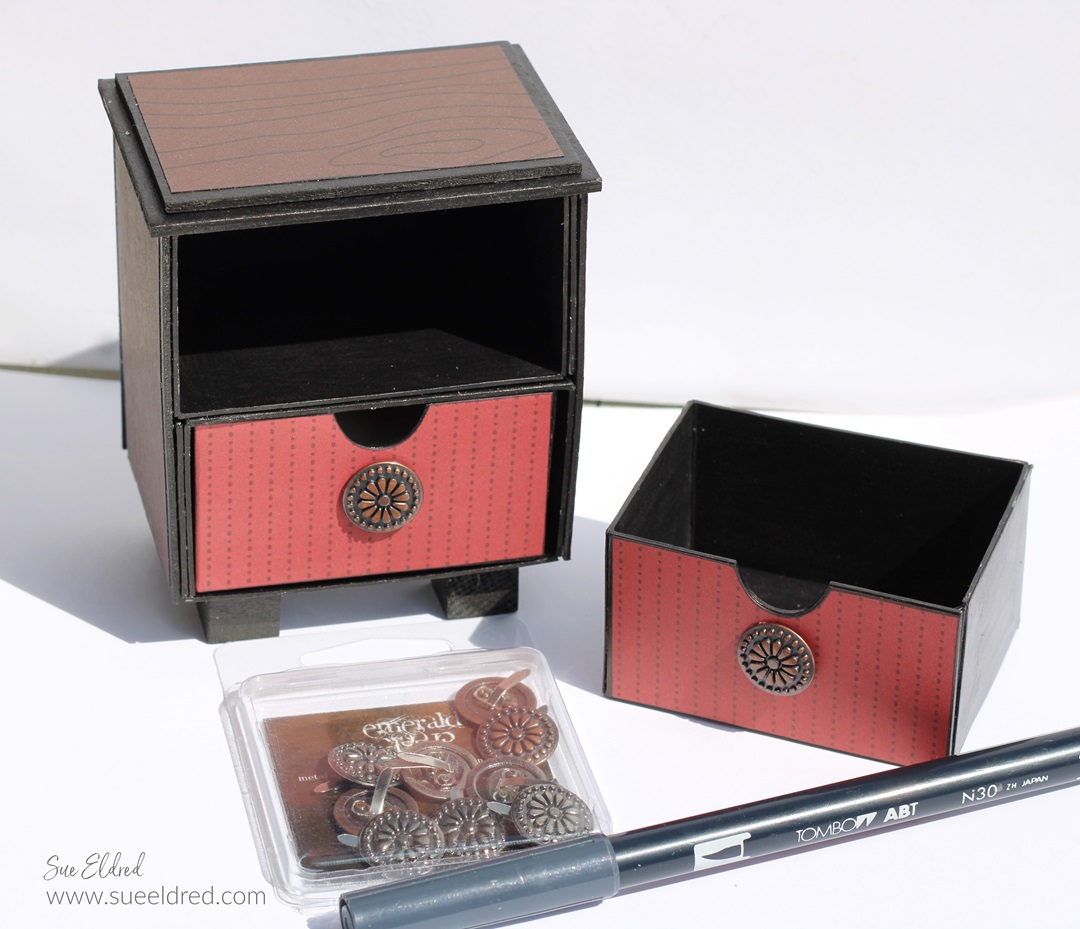
  • For added stability, I glued the bottom two boxes together.  I also added a 2″ x 6″ piece of black painted matboard to the bottom before adding the feet.

Eileen Hull Educator Logo

Disclosure:  This is a sponsored post.  As a member of the Eileen Hull Educator Team, I have been provided product in exchange for my creative ideas.  The view and opinions are my own. 

Buffalo Plaid Valentine Heart

How to make a Buffalo Plaid Valentines Heart Door Hanger-Sue's Creative Workshop www.sueeldred.com 4085

How to Make a Buffalo Plaid Door Hanger for Valentine’s Day.

An inexpensive Valentine’s Day project using items found at Dollar Tree*

and my favorite StyleTechCraft adhesive vinyl.

StyletechCraft products brought to you by ATSM Craft*

*Disclosure:  This blog uses ads and affiliate links.  If you choose to make a purchase using one of the links, I receive a small commission (at no additional cost to you) that helps offset the costs of maintaining this blog.  Thanks for your support!

How to make a Buffalo Plaid Valentines Heart Door Hanger

Materials Used:  (*affiliate links)

Buy Your Crafting Supplies Now at Dollar Tree starting at $1.25!

*Disclosure:  This blog uses ads and affiliate links.  If you choose to make a purchase using one of the links, I receive a small commission (at no additional cost to you) that helps offset the costs of maintaining this blog.  Thanks for your support!

How to make a Buffalo Plaid Valentines Heart Door Hanger

Directions:

  • Remove the twine hanger from the wood heart.
  • Paint the heart with acrylic paint.  I used white.
  • I created a large heart mask for the center of the wood heart using StyleTechCraft Matte Removable Vinyl*.  
  • Press down the edges of the mask so that paint can’t get under the mask.

How to make a Buffalo Plaid Valentines Heart Door Hanger

  • Cut 1″ strips of Removable Vinyl*.  Lay the strips across the wood heart.
  • Rub your finger over the vinyl strips to make sure that they are secure and have no gaps.
  • Paint inside the stripes with a thin coat of acrylic paint.  Be careful not to apply the paint too thick.   Only one thin coat of paint is needed.
  • Remove the vinyl strips.
  • Allow the paint to fully dry before continuing to the next step.

How to make a Buffalo Plaid Valentines Heart Door Hanger

  • Next, add strips of removable vinyl vertically over the heart.
  • Make sure the tape is flat with no gaps.
  • Paint over the heart with a thin coat a darker pink paint.
  • Carefully remove the tape.  Allow the paint to dry.

How to make a Buffalo Plaid Valentines Heart Door Hanger

  • Remove the strips and the heart mask.  Allow the paint to dry.
  • Lightly sand the wood heart. Sanding smooths the paint and helps to hide any little imperfections.
  • Wipe with a clean cloth.

How to make a Buffalo Plaid Valentines Heart Door Hanger

StyletechCraft products brought to you by ATSM Craft*

How to make a Buffalo Plaid Valentines Heart Door Hanger

How to make a Buffalo Plaid Valentines Heart Door Hanger

  • Hot glue faux flowers, glitter heart pick, and ribbon bow to the top of the heart.
  • Add ribbon to the top two holes for hanging.
  • Hang the Wood Heart on a Door or add it to the center of a Wreath.

“This is a sponsored post.  As a member of the StyleTechCraft Design Team I have been provided product and compensation in exchange for my creative ideas.  The views and opinions are my own.
Top 3 Favorite Projects for 2023

Eileen Hull & Sizzix Top 3 Projects of 2023

My top 3 Favorite Sizzix/Eileen project of 2023

Every year the Eileen Hull Teams are asked to pick our three

favorites Sizzix/Eileen Hull projects for the year.

Generally, they’re all my favorites, but these are my top favorites.

(Click on the pictures or links below ↓ to go to the original post with all the details.)

New Chapter 3 Dies from Sizzix and Eileen Hull

The Treasure Box

The Treasure Box is made with Eileen’s Slotted Treat Box Die* from the New Chapter 3 Dies that were released earlier this year.  I reached into my hoarded stash of paper to make this vintage style box.

It’s a great size for holding special treasures.

You can read more about this project here.

*Disclosure:  This blog uses ads and affiliate links.  If you choose to make a purchase using one of the links, I receive a small commission (at no additional cost to you) that helps offset the costs of maintaining this blog.  Thanks for your support!

Mini Pocket of Cheer Christmas Ornament

Mini Christmas Envelope

Holiday Projects are always my favorite projects.

This one uses Eileens Envelope, Folder & Flowers Thinlet Die Set* from Sizzix.

You can see the project tutorial here.

Our Life Our Story Folio Album

Our Life Our Story Mini Album

This little album uses Eileen’s Card Case Die by Sizzix*.  

It is a fun little album with sturdy chipboard pockets perfect

for inserting small notebooks or cards.

You can read more about this project here.

Make sure to “Follow Me” for fun Eileen Hull/Sizzix projects in 2024.

Eileen Hull Educator Logo

Disclosure:  This is a sponsored post.  As a member of the Eileen Hull Educator Team, I have been provided product in exchange for my creative ideas.  The view and opinions are my own. 
DIY Wood Gingerbread House

DIY Wood Gingerbread House

Is it me, or is there even more Gingerbread House projects this year?

I’ve been seeing so many cute ones.

So…I decided why not jump on the Gingerbread House

Trend with one of my last crafty Holiday projects this season.
DIY Wood Gingerbread House

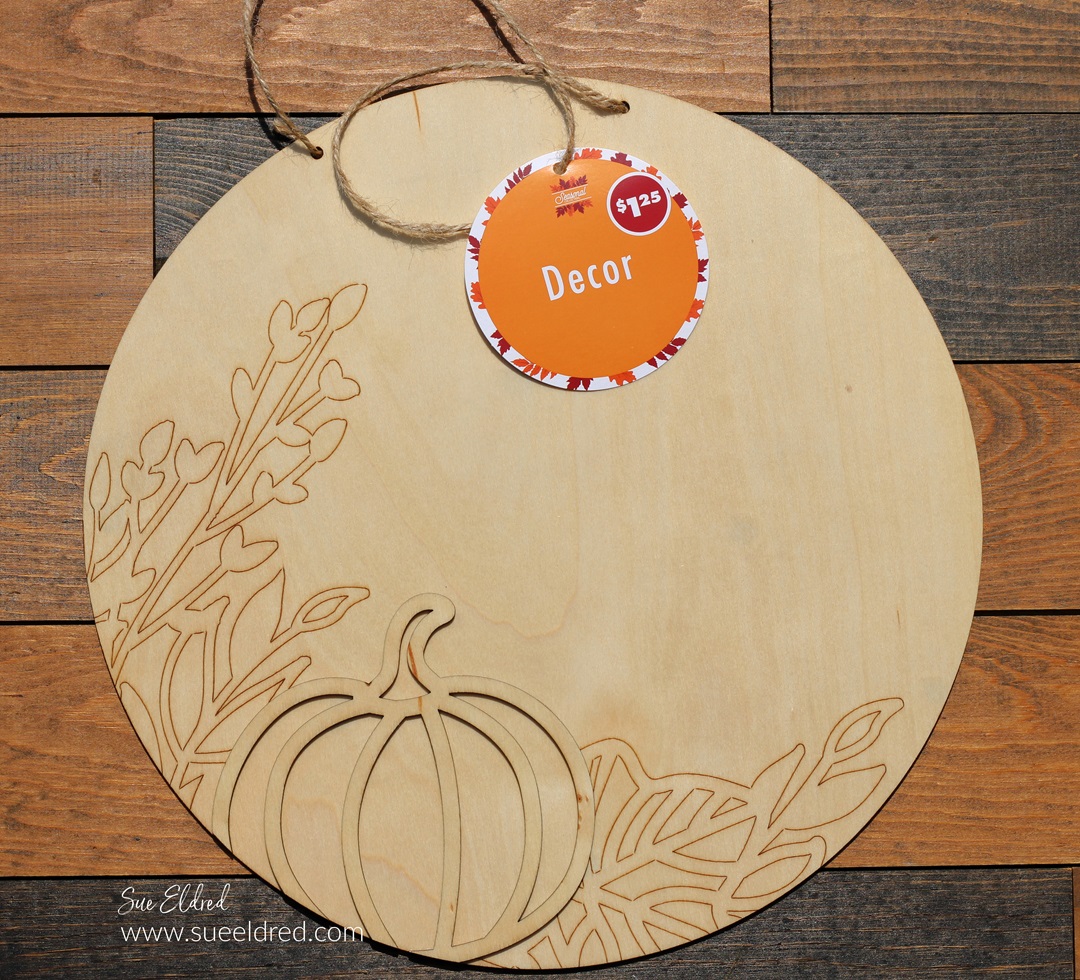
I found this wood house shape at Dollar Tree* earlier this year.

Next, I needed to deconstruct the house.

With patience, I removed the wood heart and house trim

using a craft knife*.  After removing the gingham fabric from the

wood house, I sanded the house smooth with a palm sander*.

*Disclosure:  This blog uses ads and affiliate links.  If you choose to make a purchase using one of the links, I receive a small commission (at no additional cost to you) that helps offset the costs of maintaining this blog.  Thanks for your support!

DIY Wood Gingerbread House

In my workshop, I have a jar of wooden holiday pieces.

I thought these would be perfect for my Gingerbread House.

DIY Wood Gingerbread House

I painted the house and all the pieces using acrylic paint.

I outlined and doodled on the house and wood pieces using a white paint pen*.

It was fun and relaxing, but my doodling skills could definitely use a little work.

The Gingerbread House makes a cute addition to my Holiday Decorations.

DIY Wood Gingerbread House

With just one week until Christmas Eve…

I always wish I could have made more projects.

But, I have to remind myself there’s always next year.

Here’s to taking time and enjoying the rest of the Holiday Season.