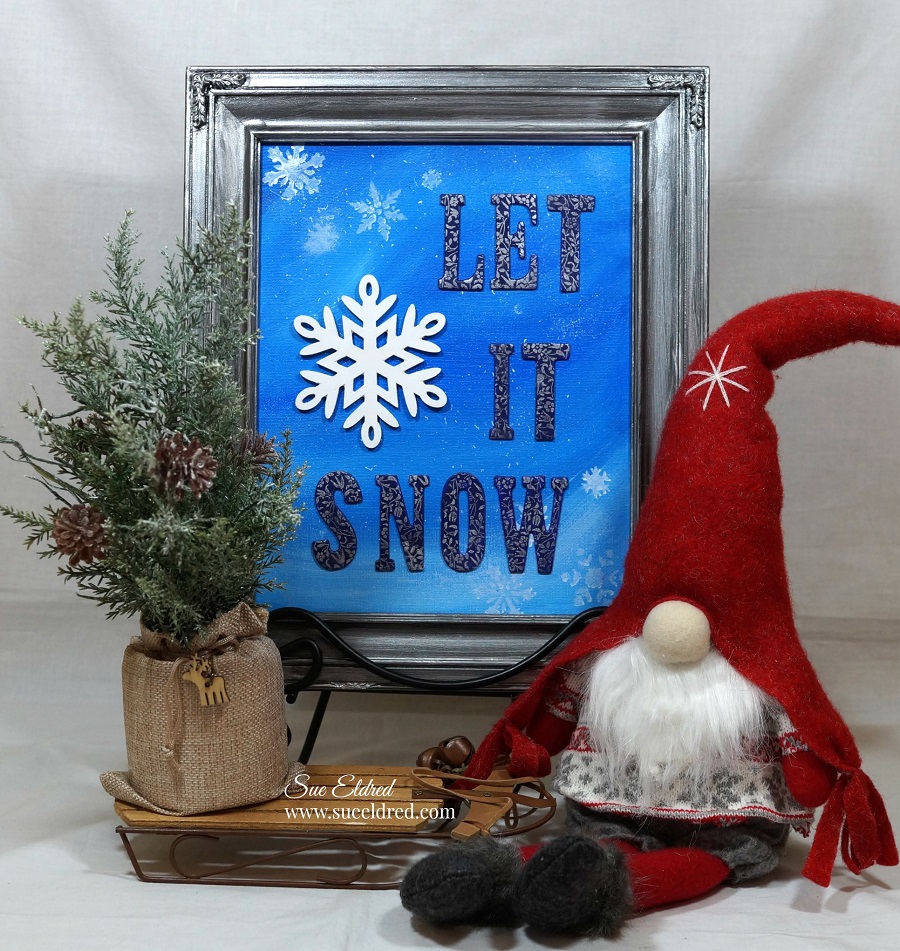
How to make a Porcelain Snowman Ornament using StyleTechCraft Vinyl.
I picked up this round porcelain ornament blank sometime early in the year at Dollar Tree.
I knew it would make a cute Christmas ornament for this year’s Christmas tree.
All it needed was a little StyleTechCraft Craft Vinyl* and a cute snowman design.
![]()
“This is a sponsored post. As a member of the StyleTechCraft Design Team I have been provided product and compensation in exchange for my creative ideas. The views and opinions are my own.
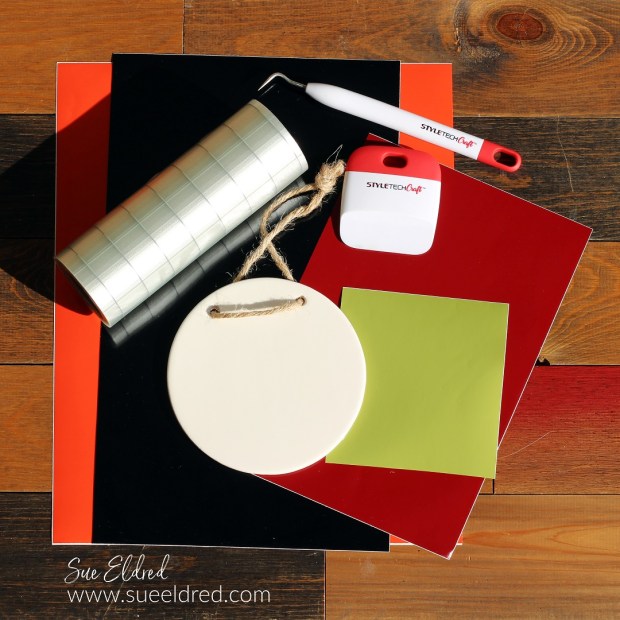
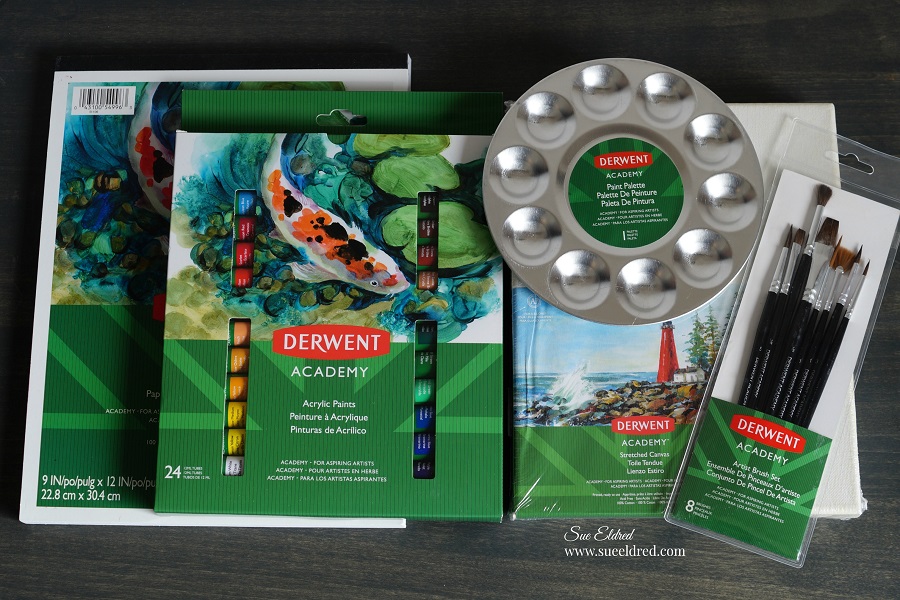
Materials Used: (*affiliate links)
- Ceramic Ornament from Dollar Tree*
- Let it Snow with Snowman SVG file from The Silhouette Store
- StyleTechCraft Glossy Craft Vinyl: Black, Dark Red, Olive, and Green*
- StyleTechCraft Vinyl Transfer Tape*
- StyleTechCraft Vinyl Tool Kit*
- Silhouette Cameo Electronic Die Cutting Machine*

StyletechCraft products brought to you by ATSM Craft*
*Disclosure: This blog uses ads and affiliate links. If you choose to make a purchase using one of the links, I receive a small commission (at no additional cost to you) that helps offset the costs of maintaining this blog. Thanks for your support!
- I used StyleTechCraft Glossy Craft Vinyl and a Silhouette Cameo Electronic Die Cutting Machine* to make the snowman ornament.
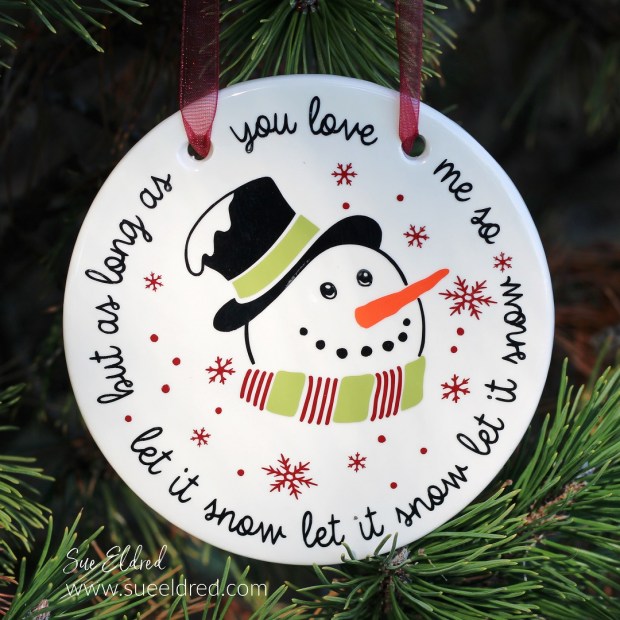
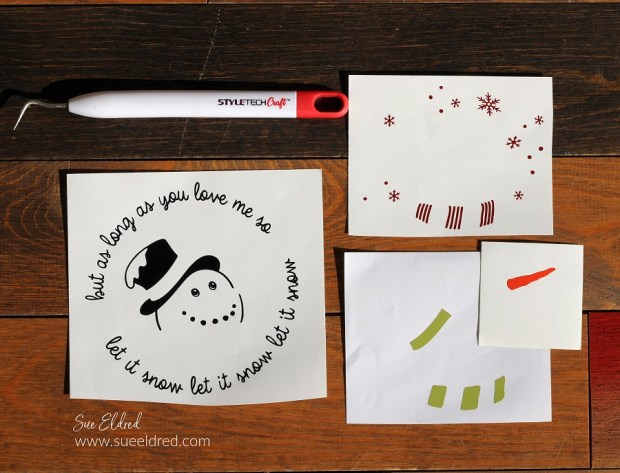
- I used the “Let it, Snow, with Snowman” SVG file and my Silhouette Cameo and sized the design to fit on my ornament. My ornament is almost 5″ round.
- I cut the words and snowman outline using black gloss craft vinyl and used olive and dark red vinyl for the scarf and snowflakes. And, of course, orange vinyl for his carrot nose.

- Because I needed to work around the top holes of the ornament, I cut the outline from the snowman. I carefully placed it on the ornament first to make sure it fit.

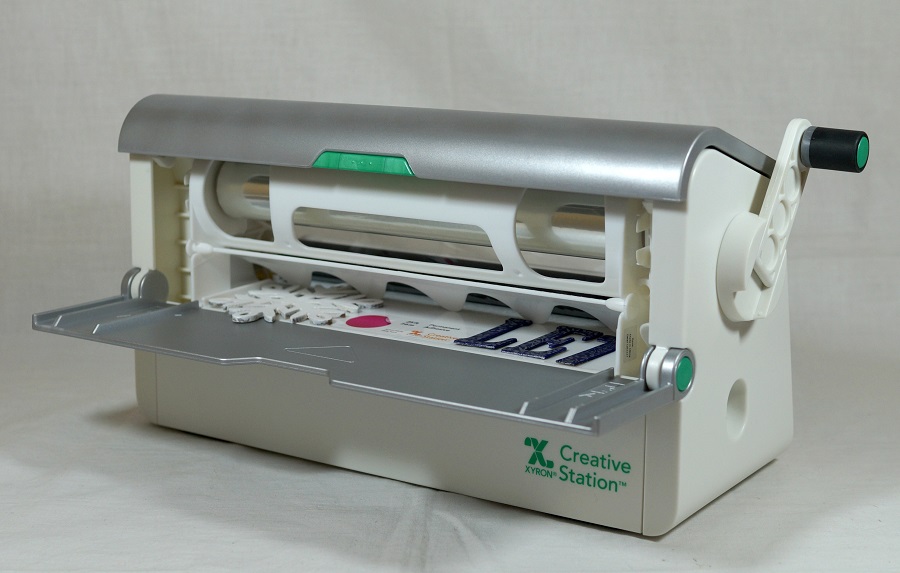
- I used Transfer Tape* to add the snowman design to the ornament.
- Place the Transfer Tape* over the vinyl. Rub gently over the vinyl using a vinyl scraper tool.
![]()
- Remove the transfer paper from the white paper backing and place it on the ornament. The clear transfer tape makes it easy to line up your design.
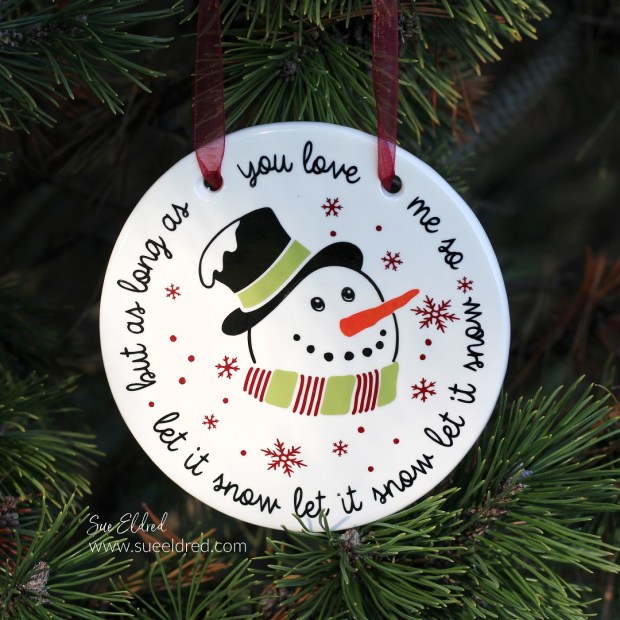
All you need to do to finish up the ornament is to add ribbon for hanging and put it on your tree.